chocolate salted caramel layer cake

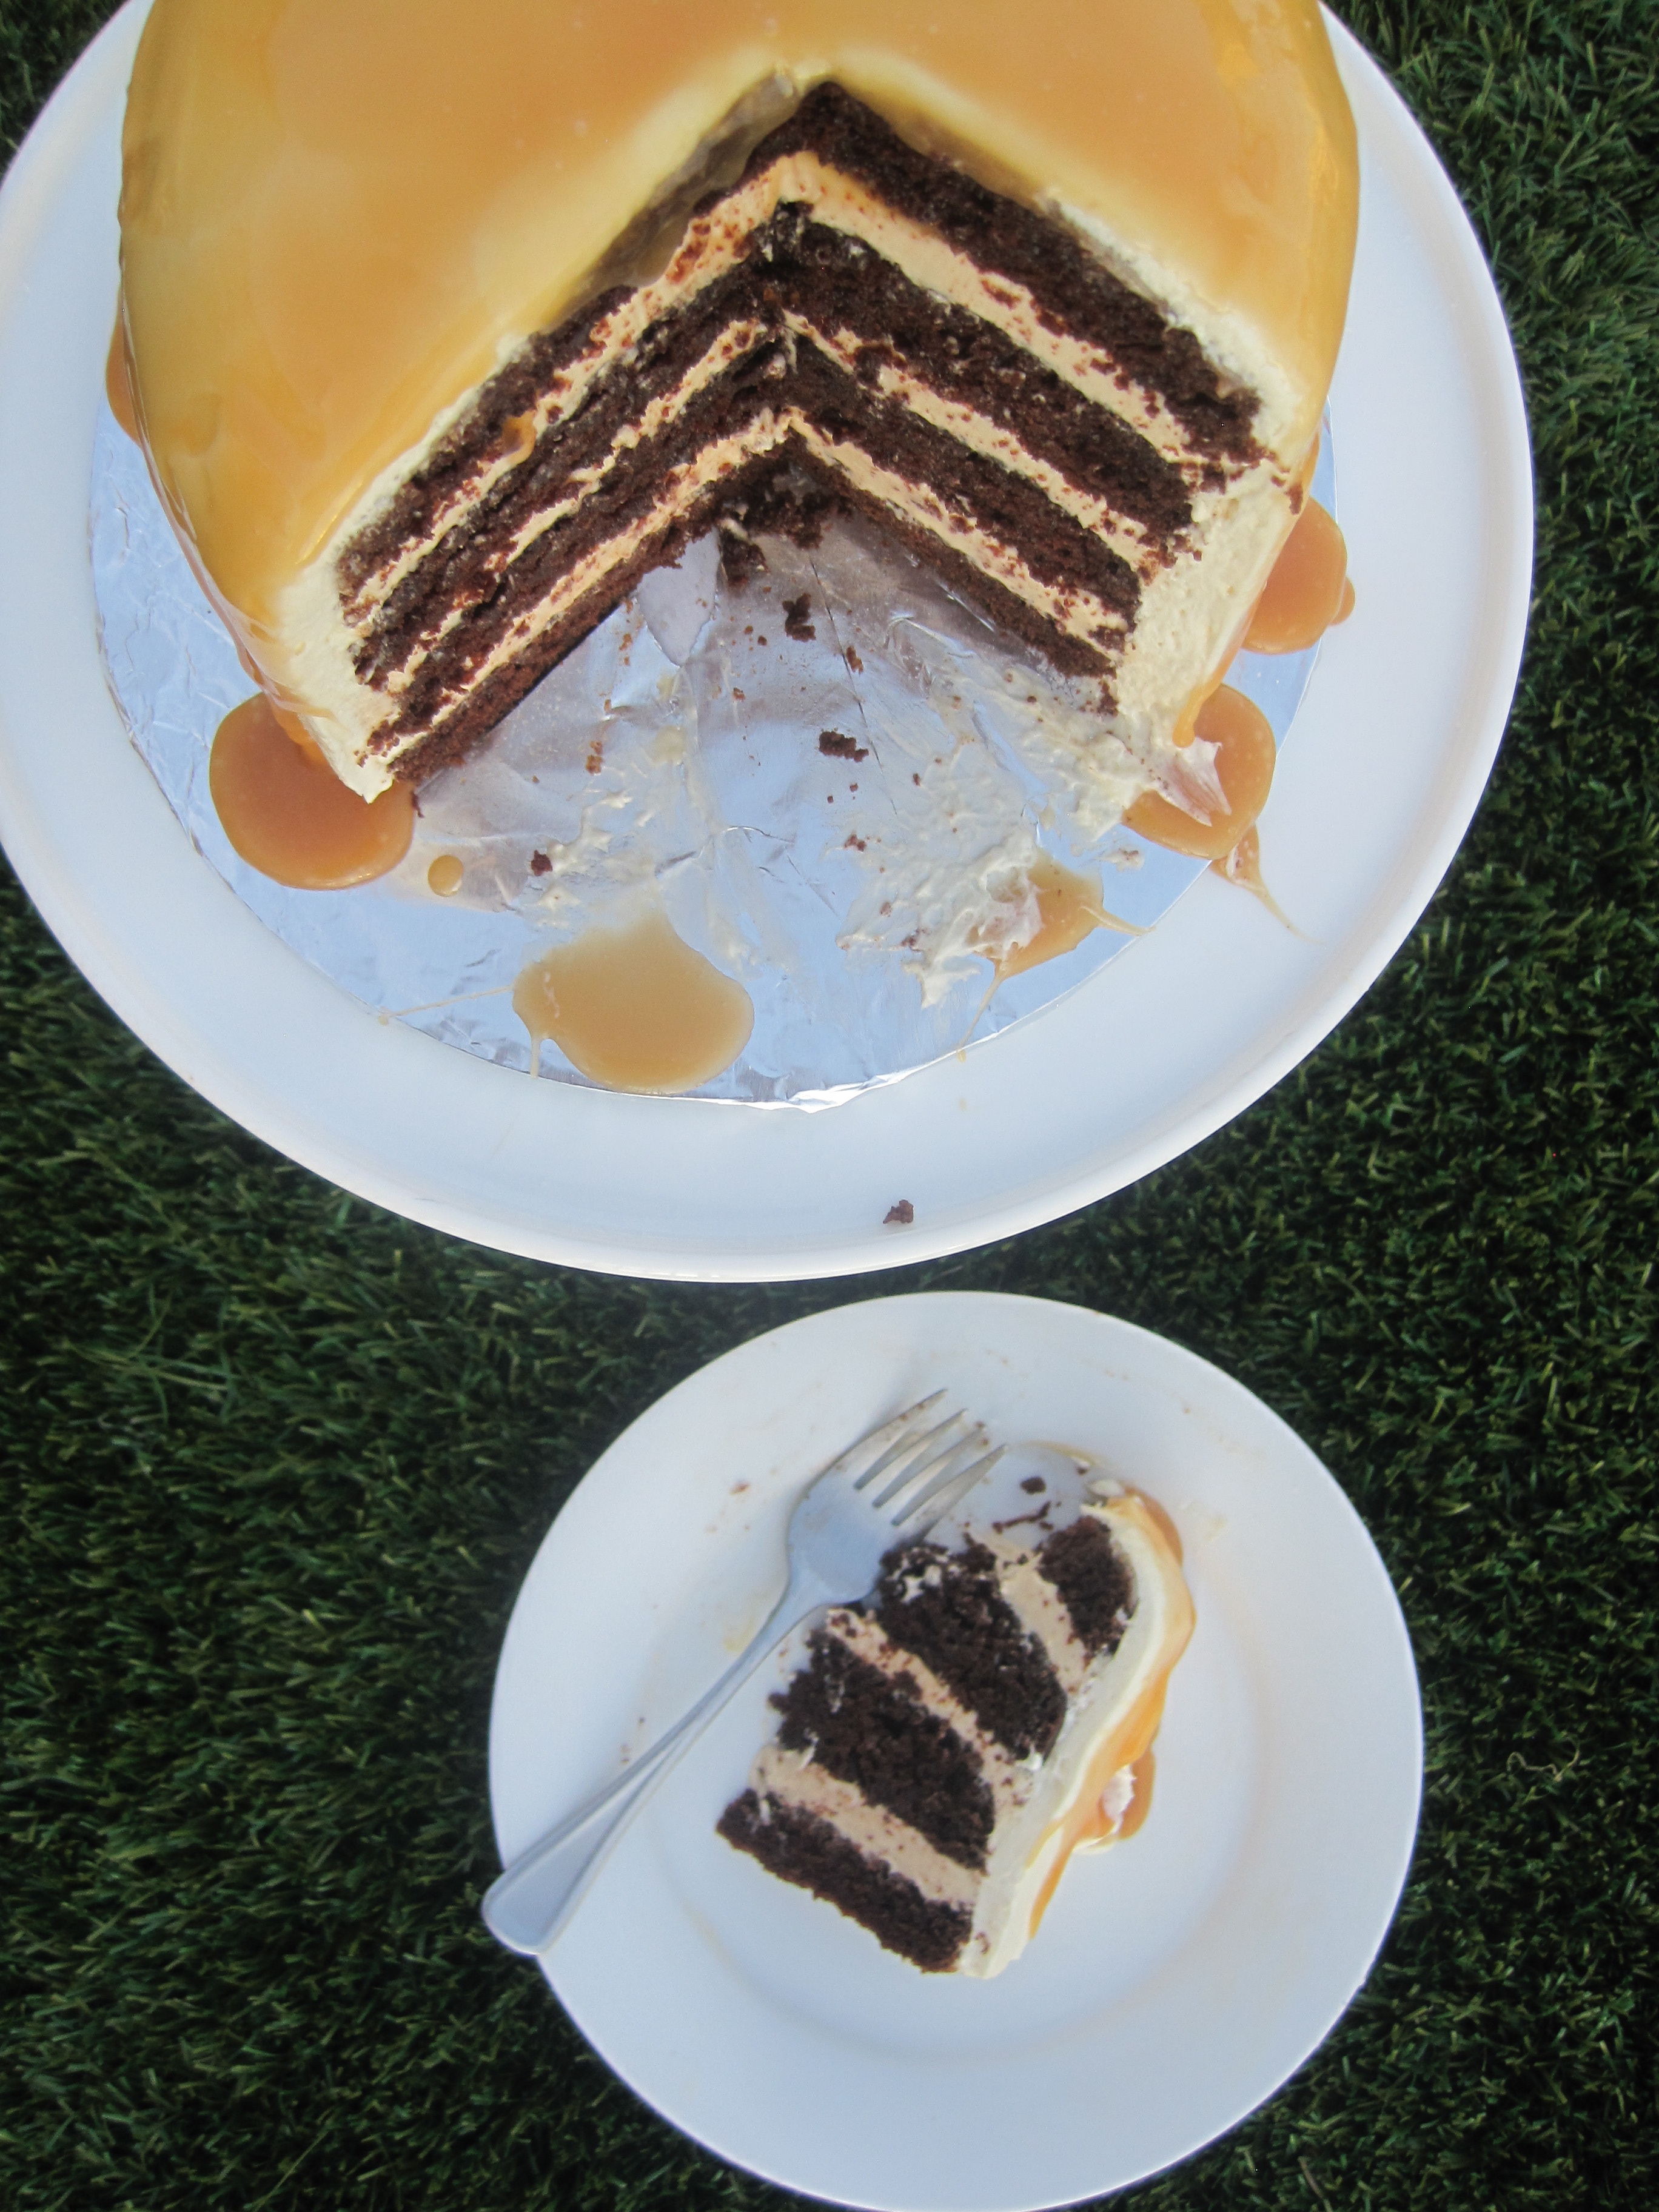
these days salted caramel is everywhere you look!! so why not pair my favorite chocolate cake with the famous salted caramel sauce that seems to go well with everything… riiiiight?

chocolate salted caramel layer cake by the baking cup

the chocolate cake is a devil’s food cake but this time i swapped the milk for buttermilk for a little more flavor and moisture, and the frosting is a swiss meringue buttercream flavored with salted caramel. oh, and to make the cake more scrumptious, i added salted caramel to each layer and on top of the outer layer!

here i have a few pics of the how-to. if you’re a regular visitor, you know i’ve posted more detailed photos in previous recipes such as the decadent cookies and cream cupcakes or the easter salted caramel bundt cake.

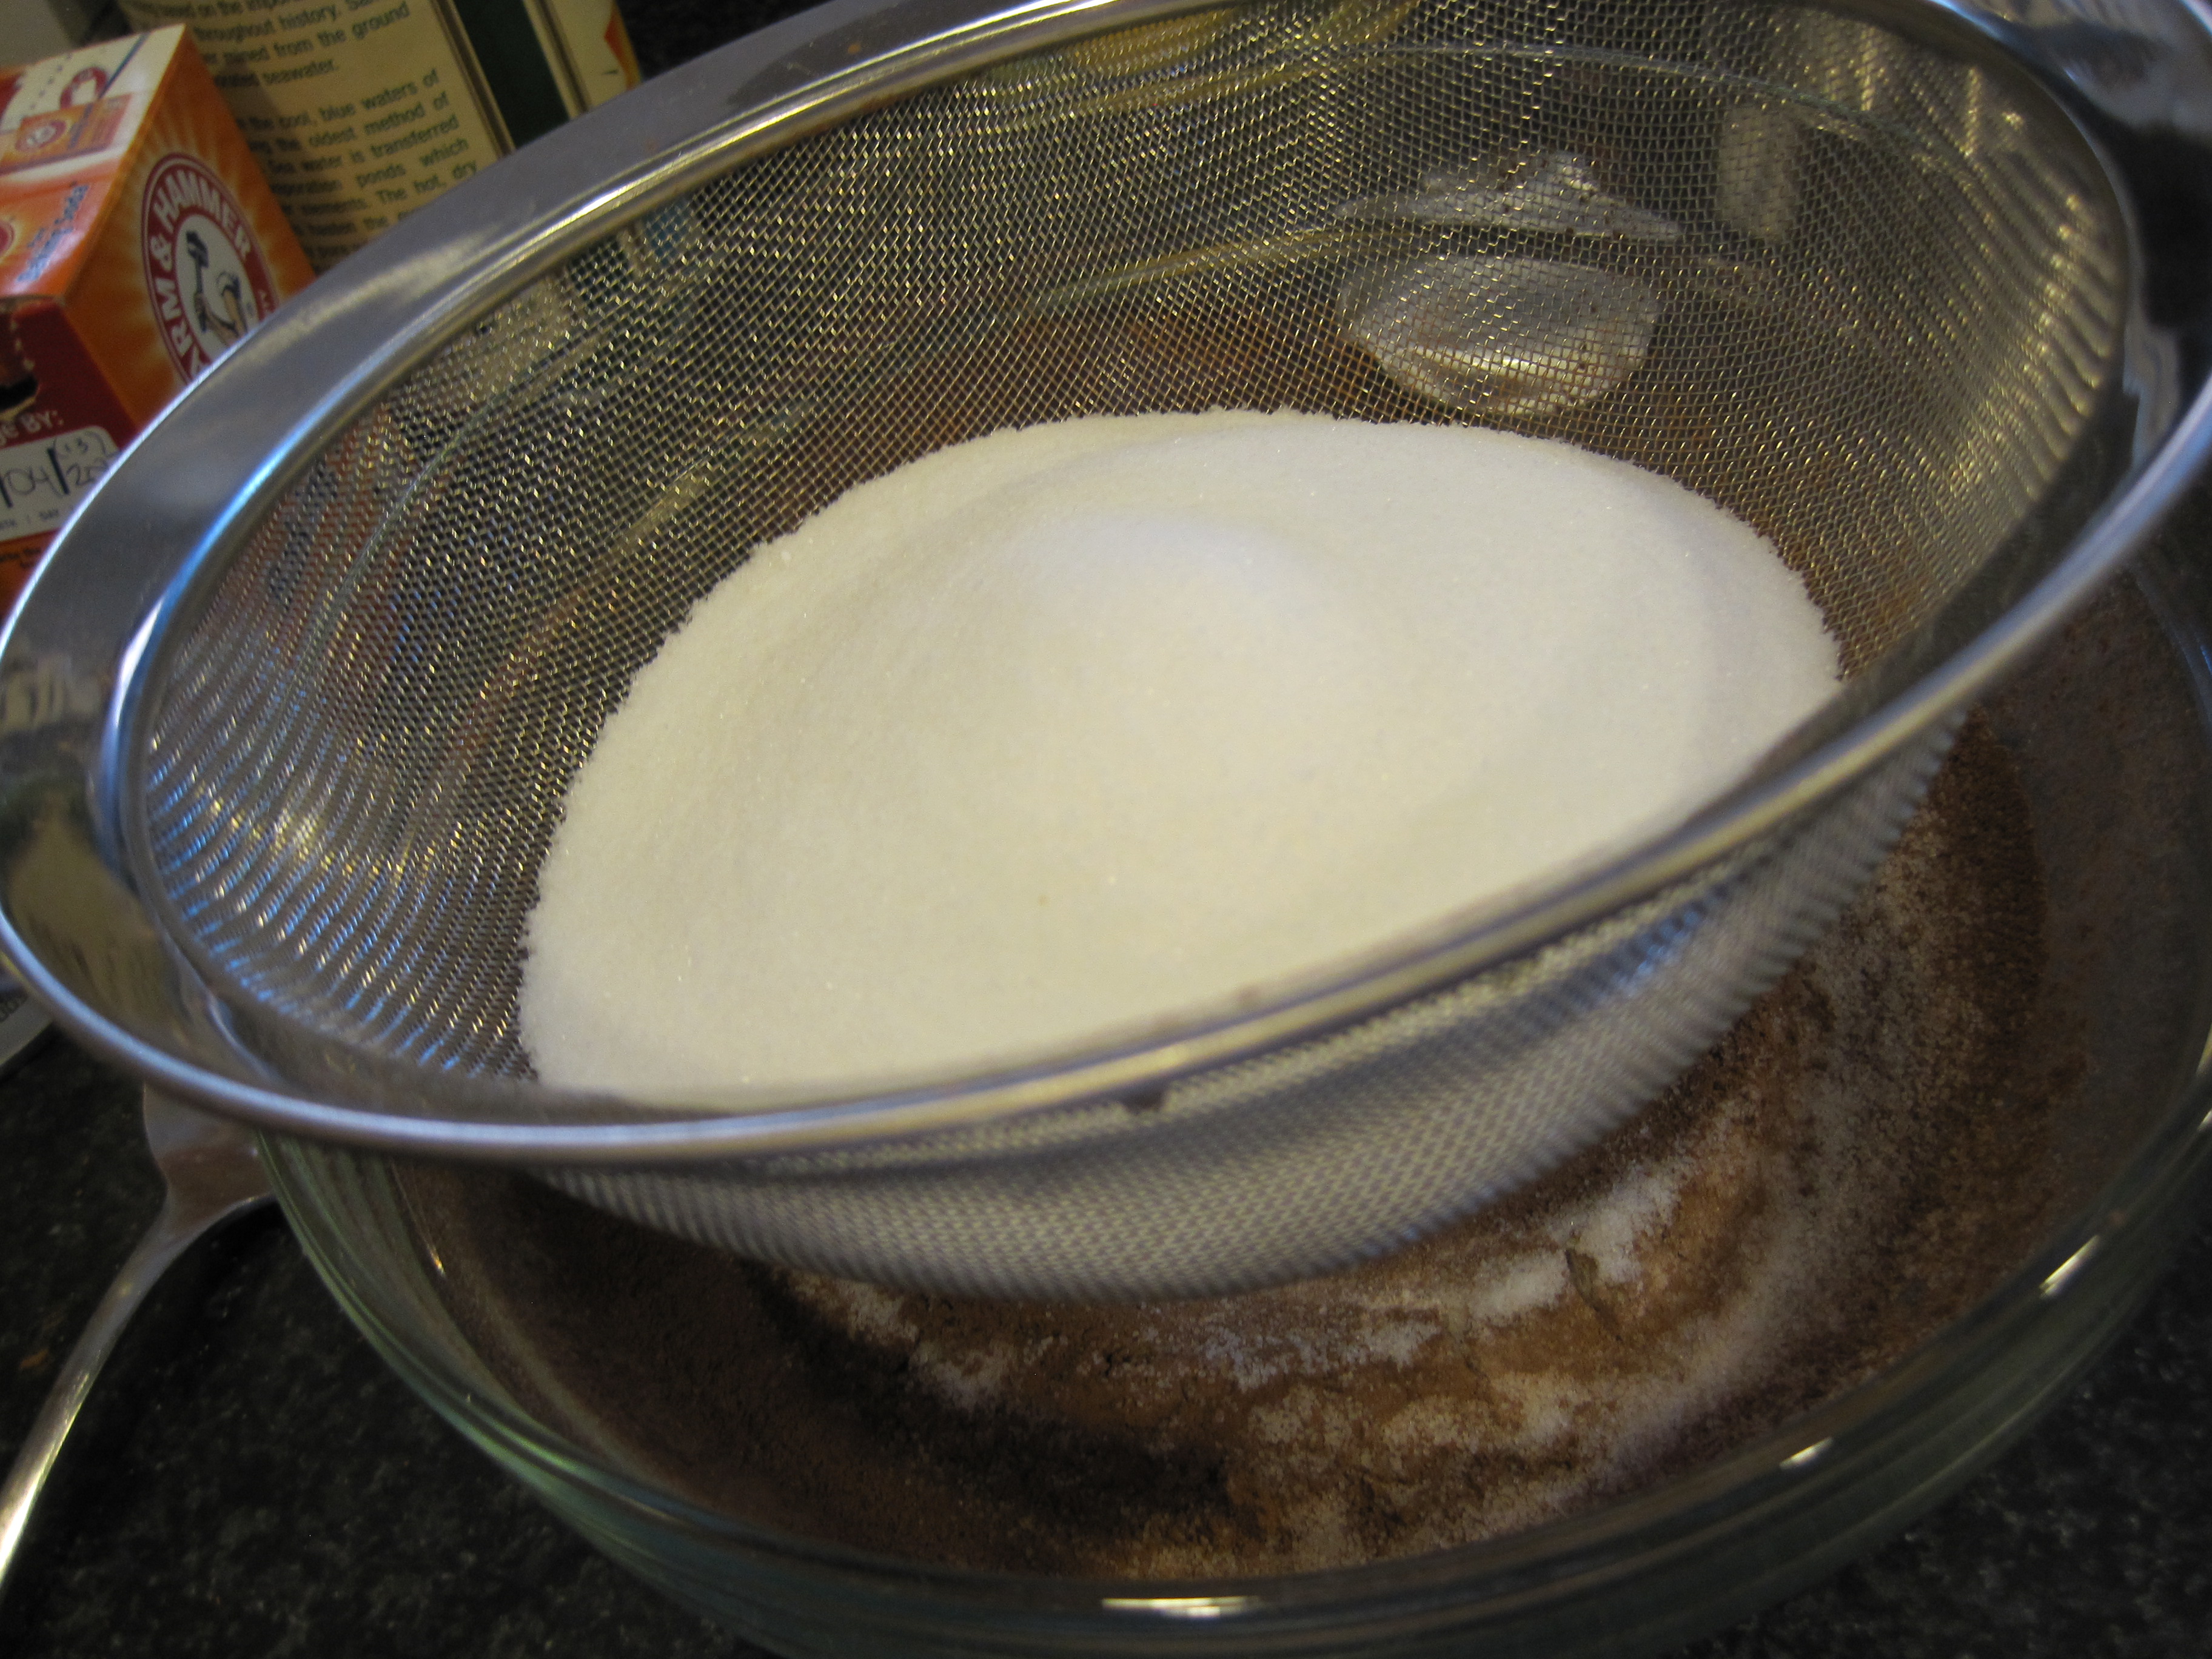
sift all dry ingredients together.

IMG_9470
mix well until combined.

IMG_9472
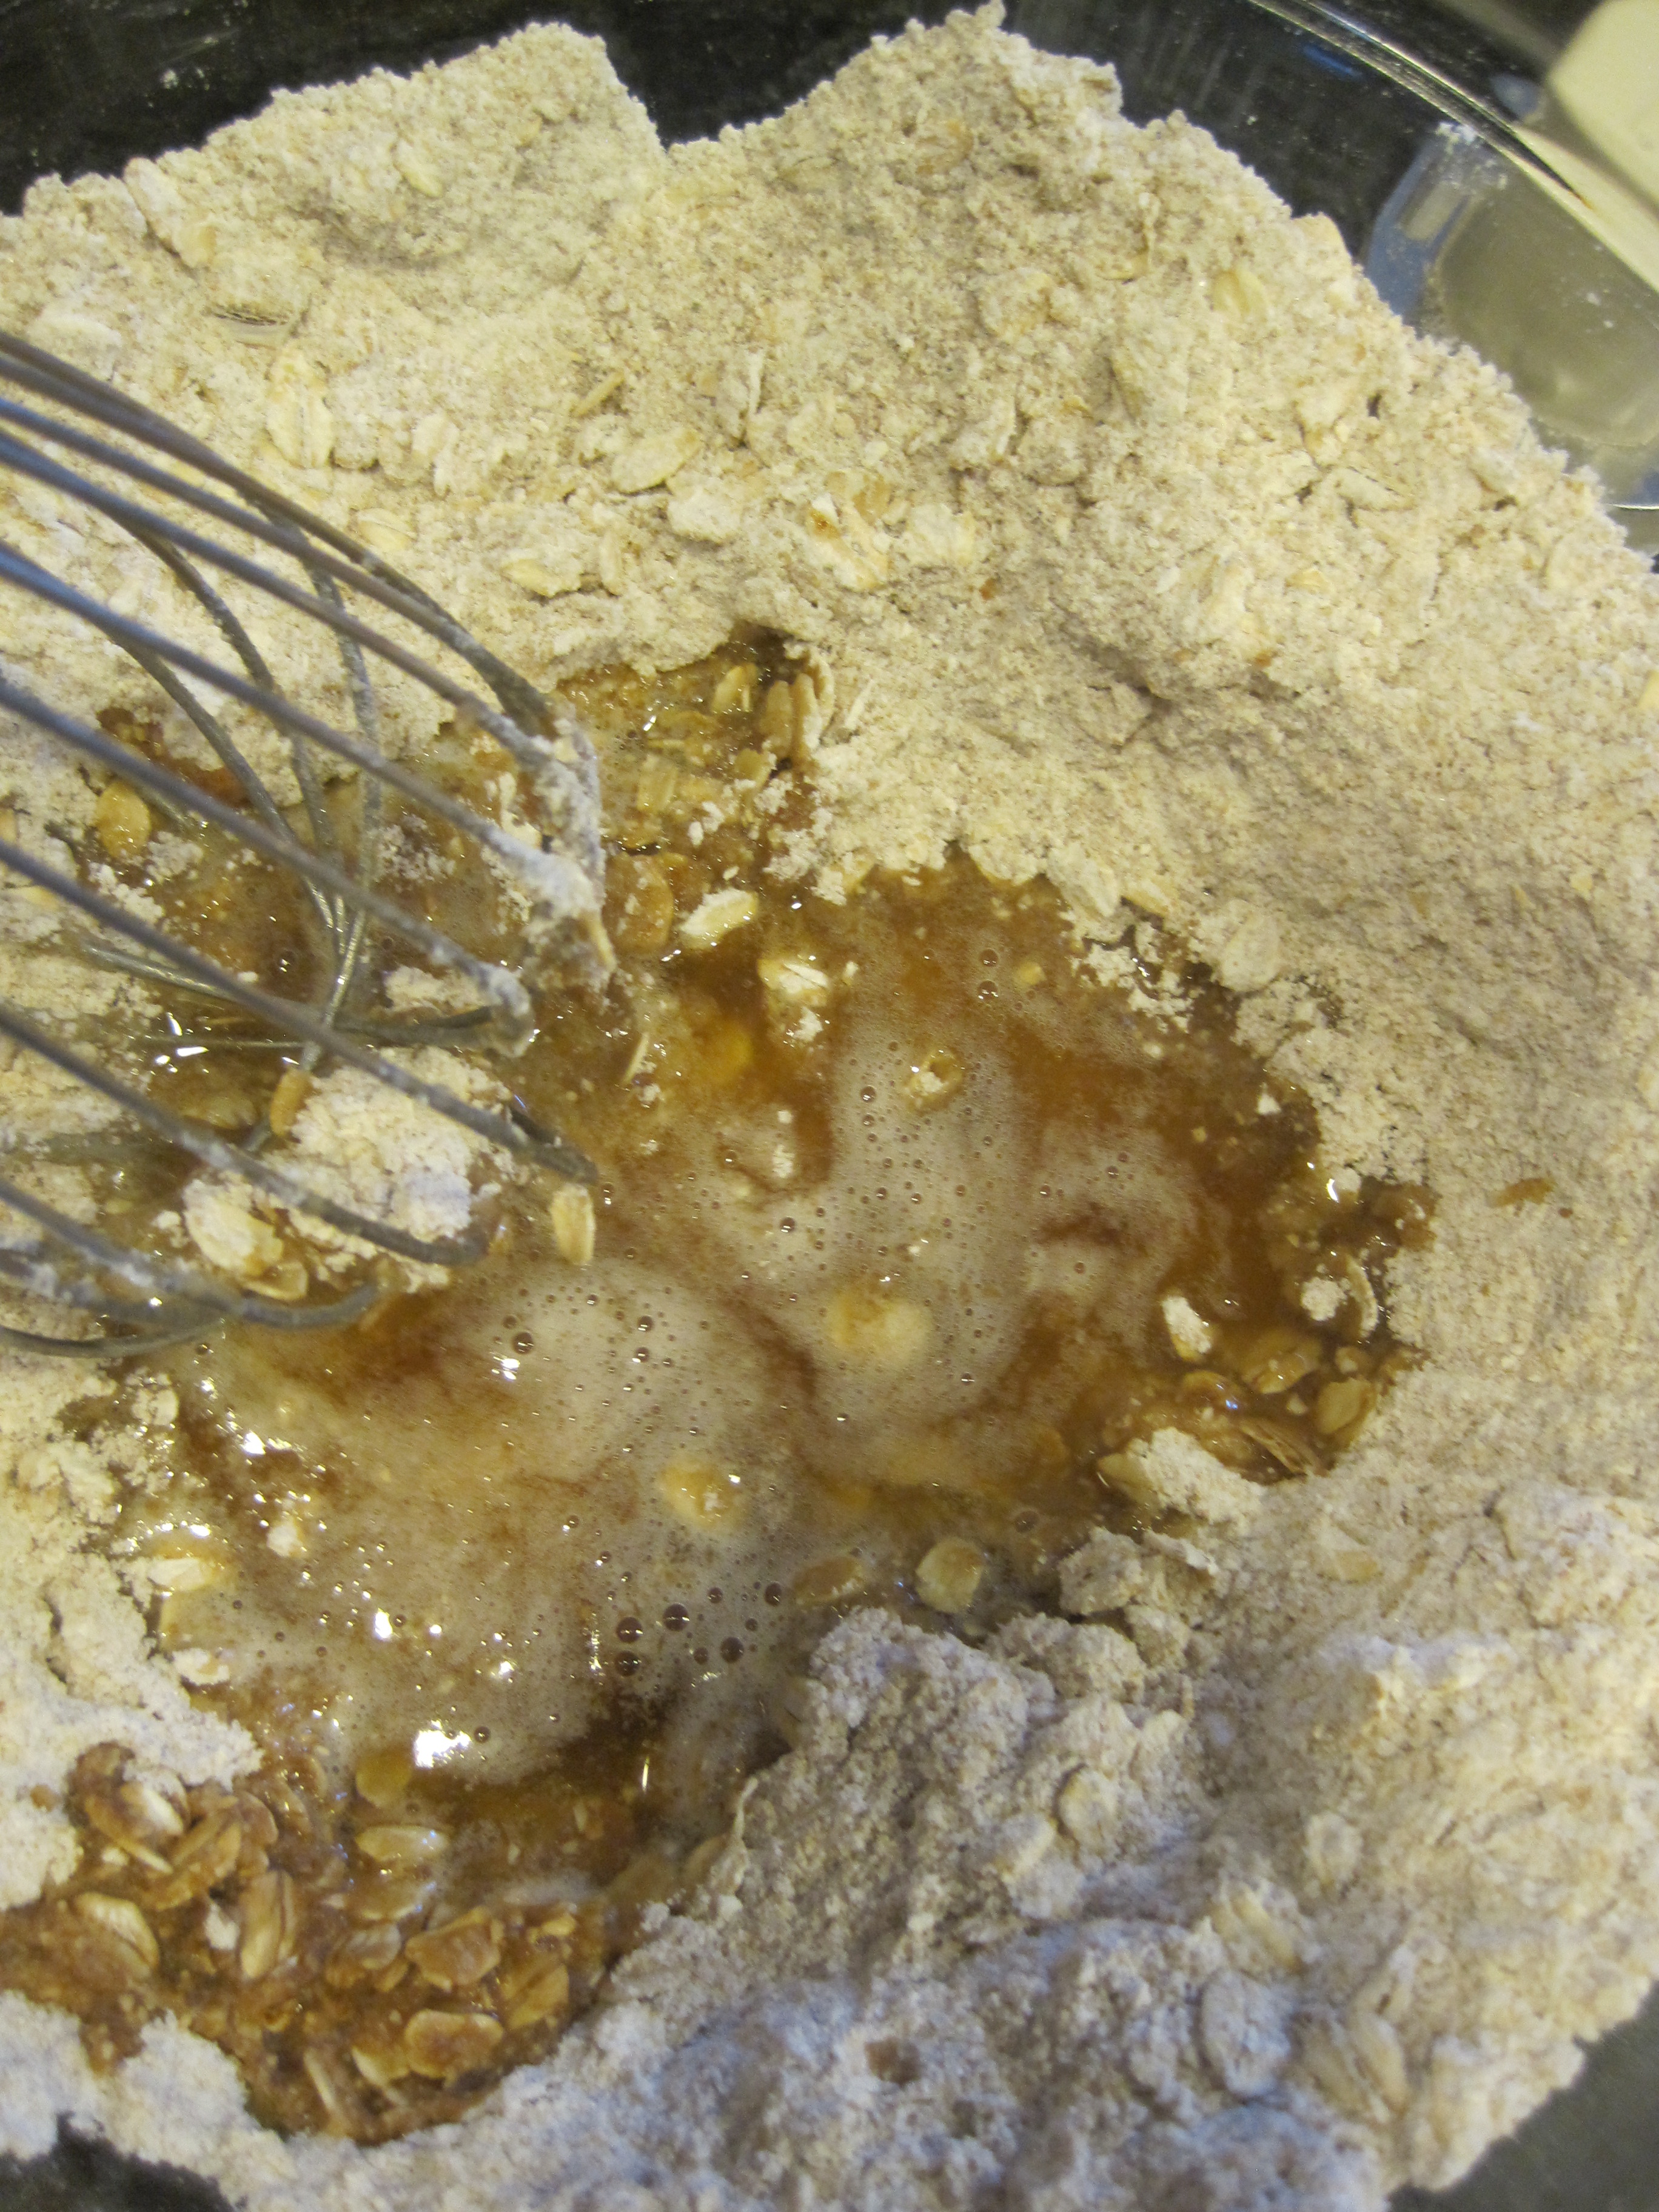
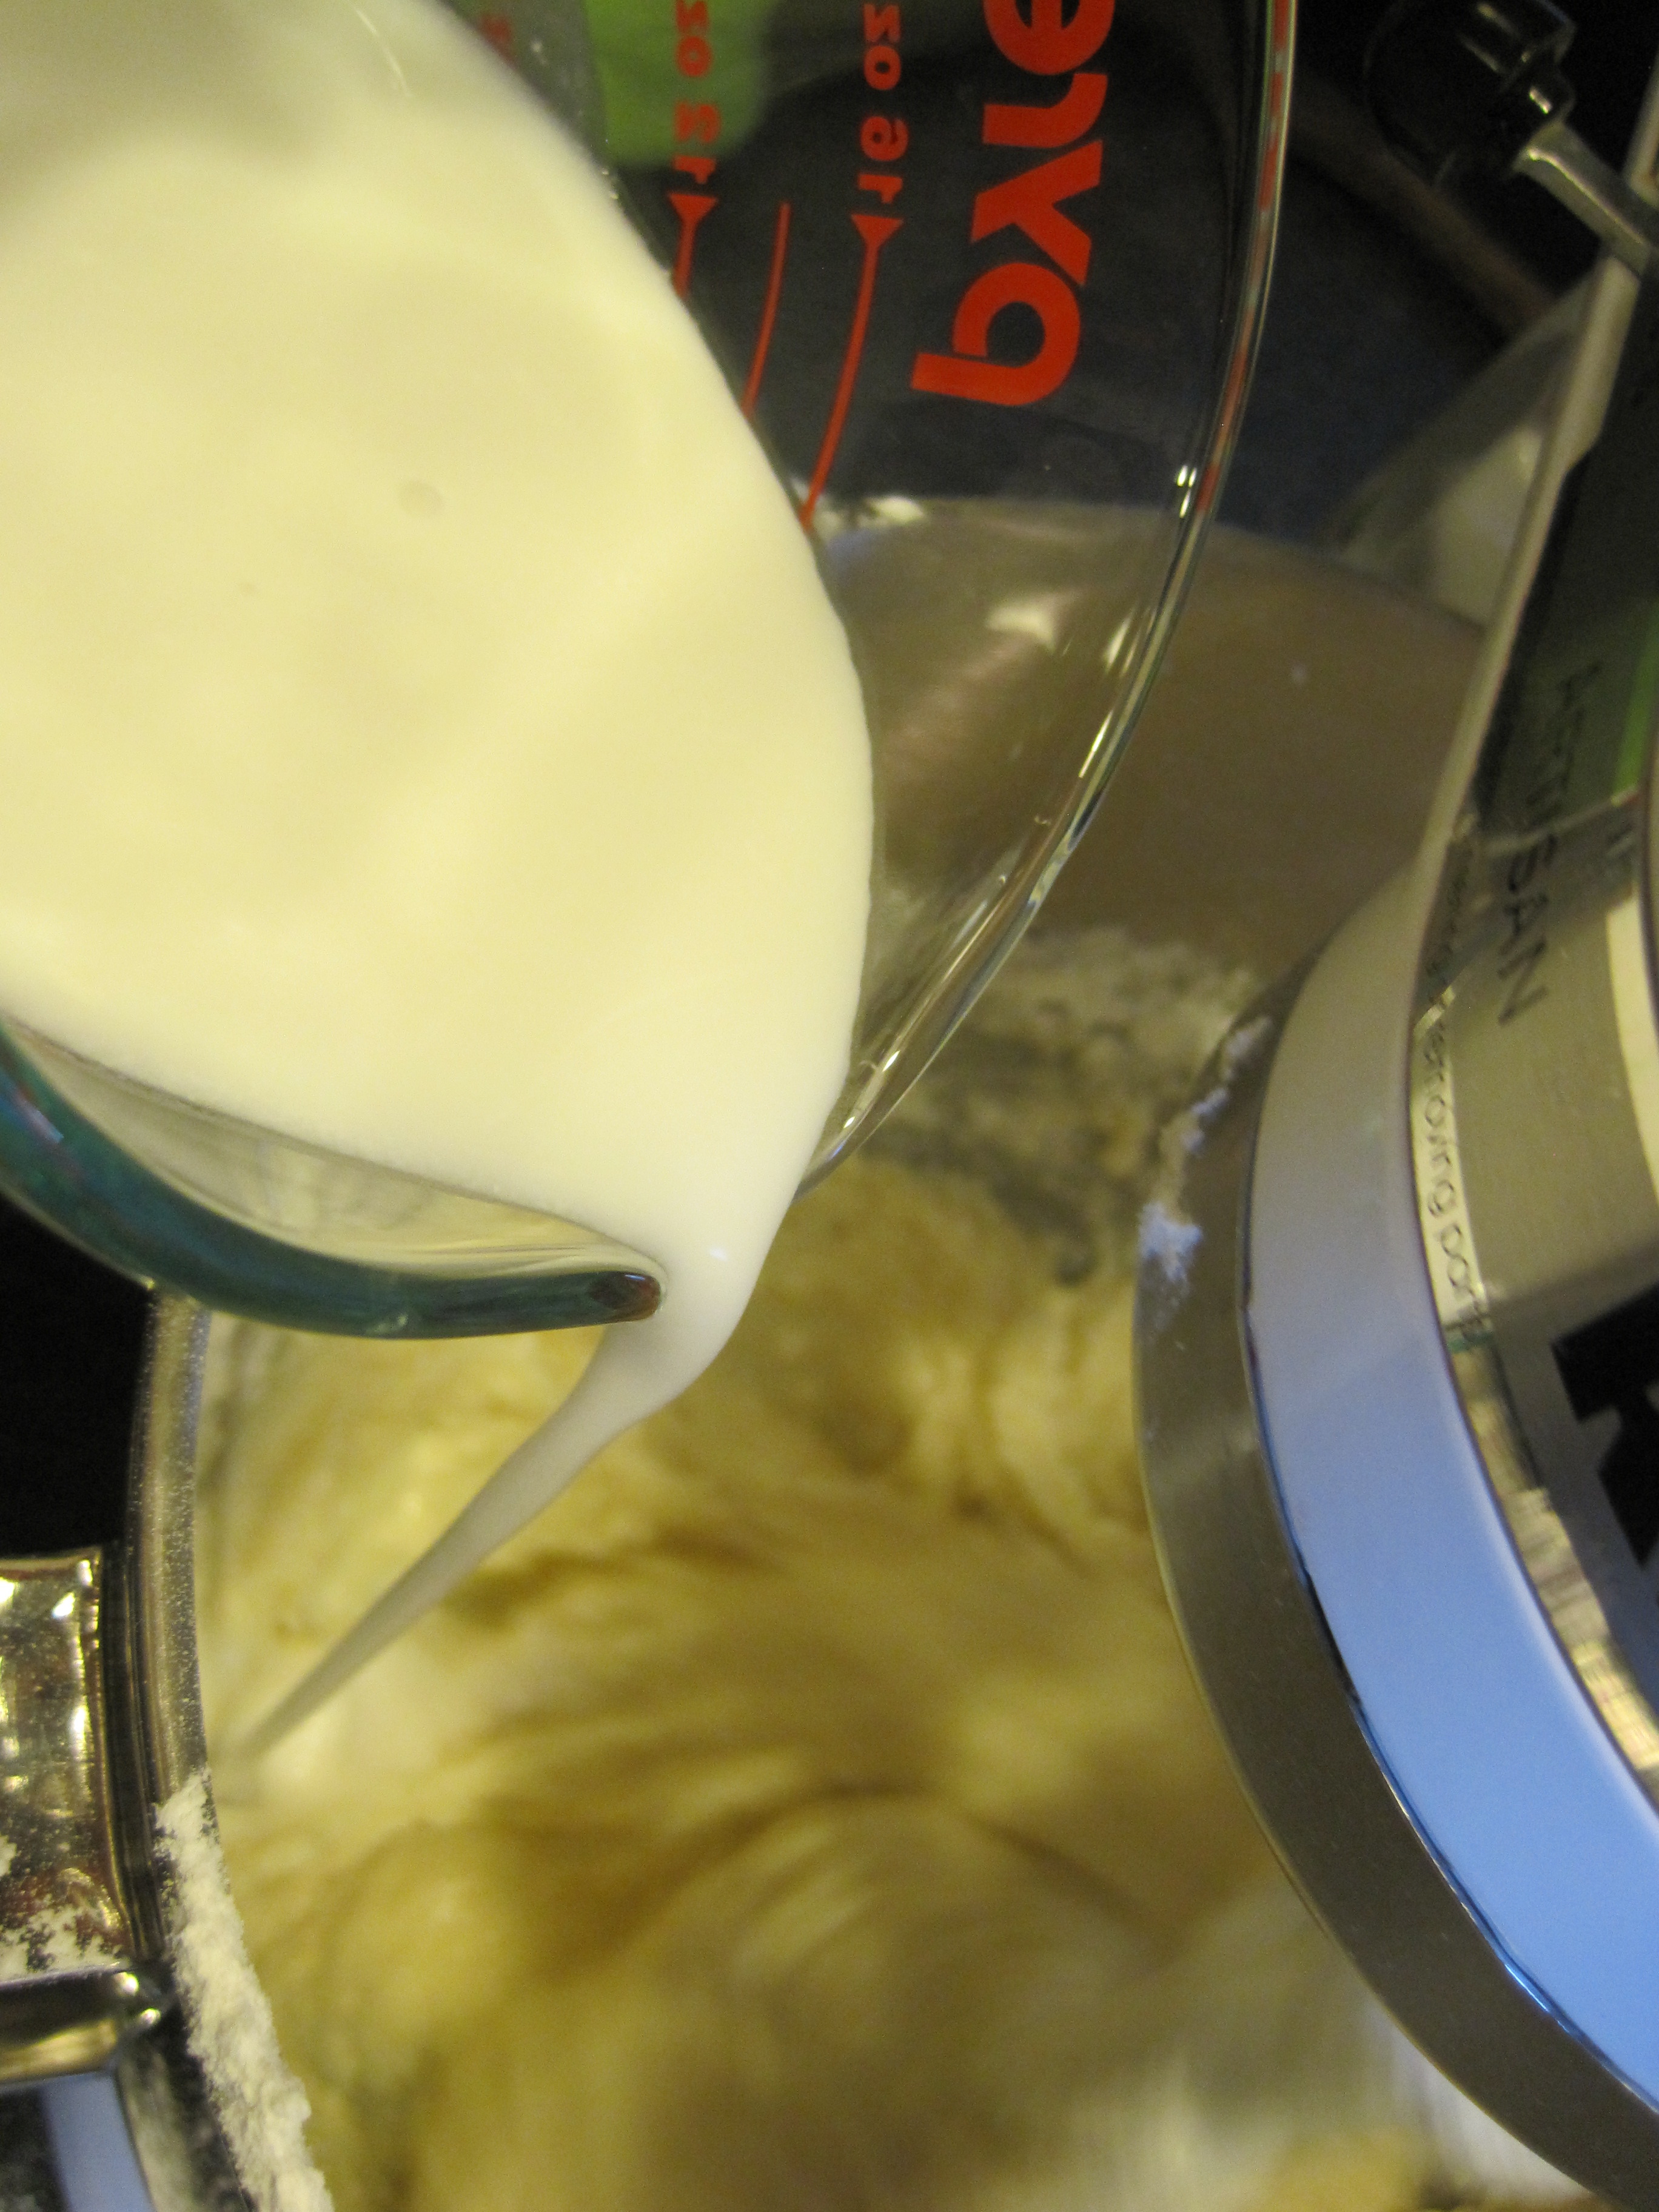
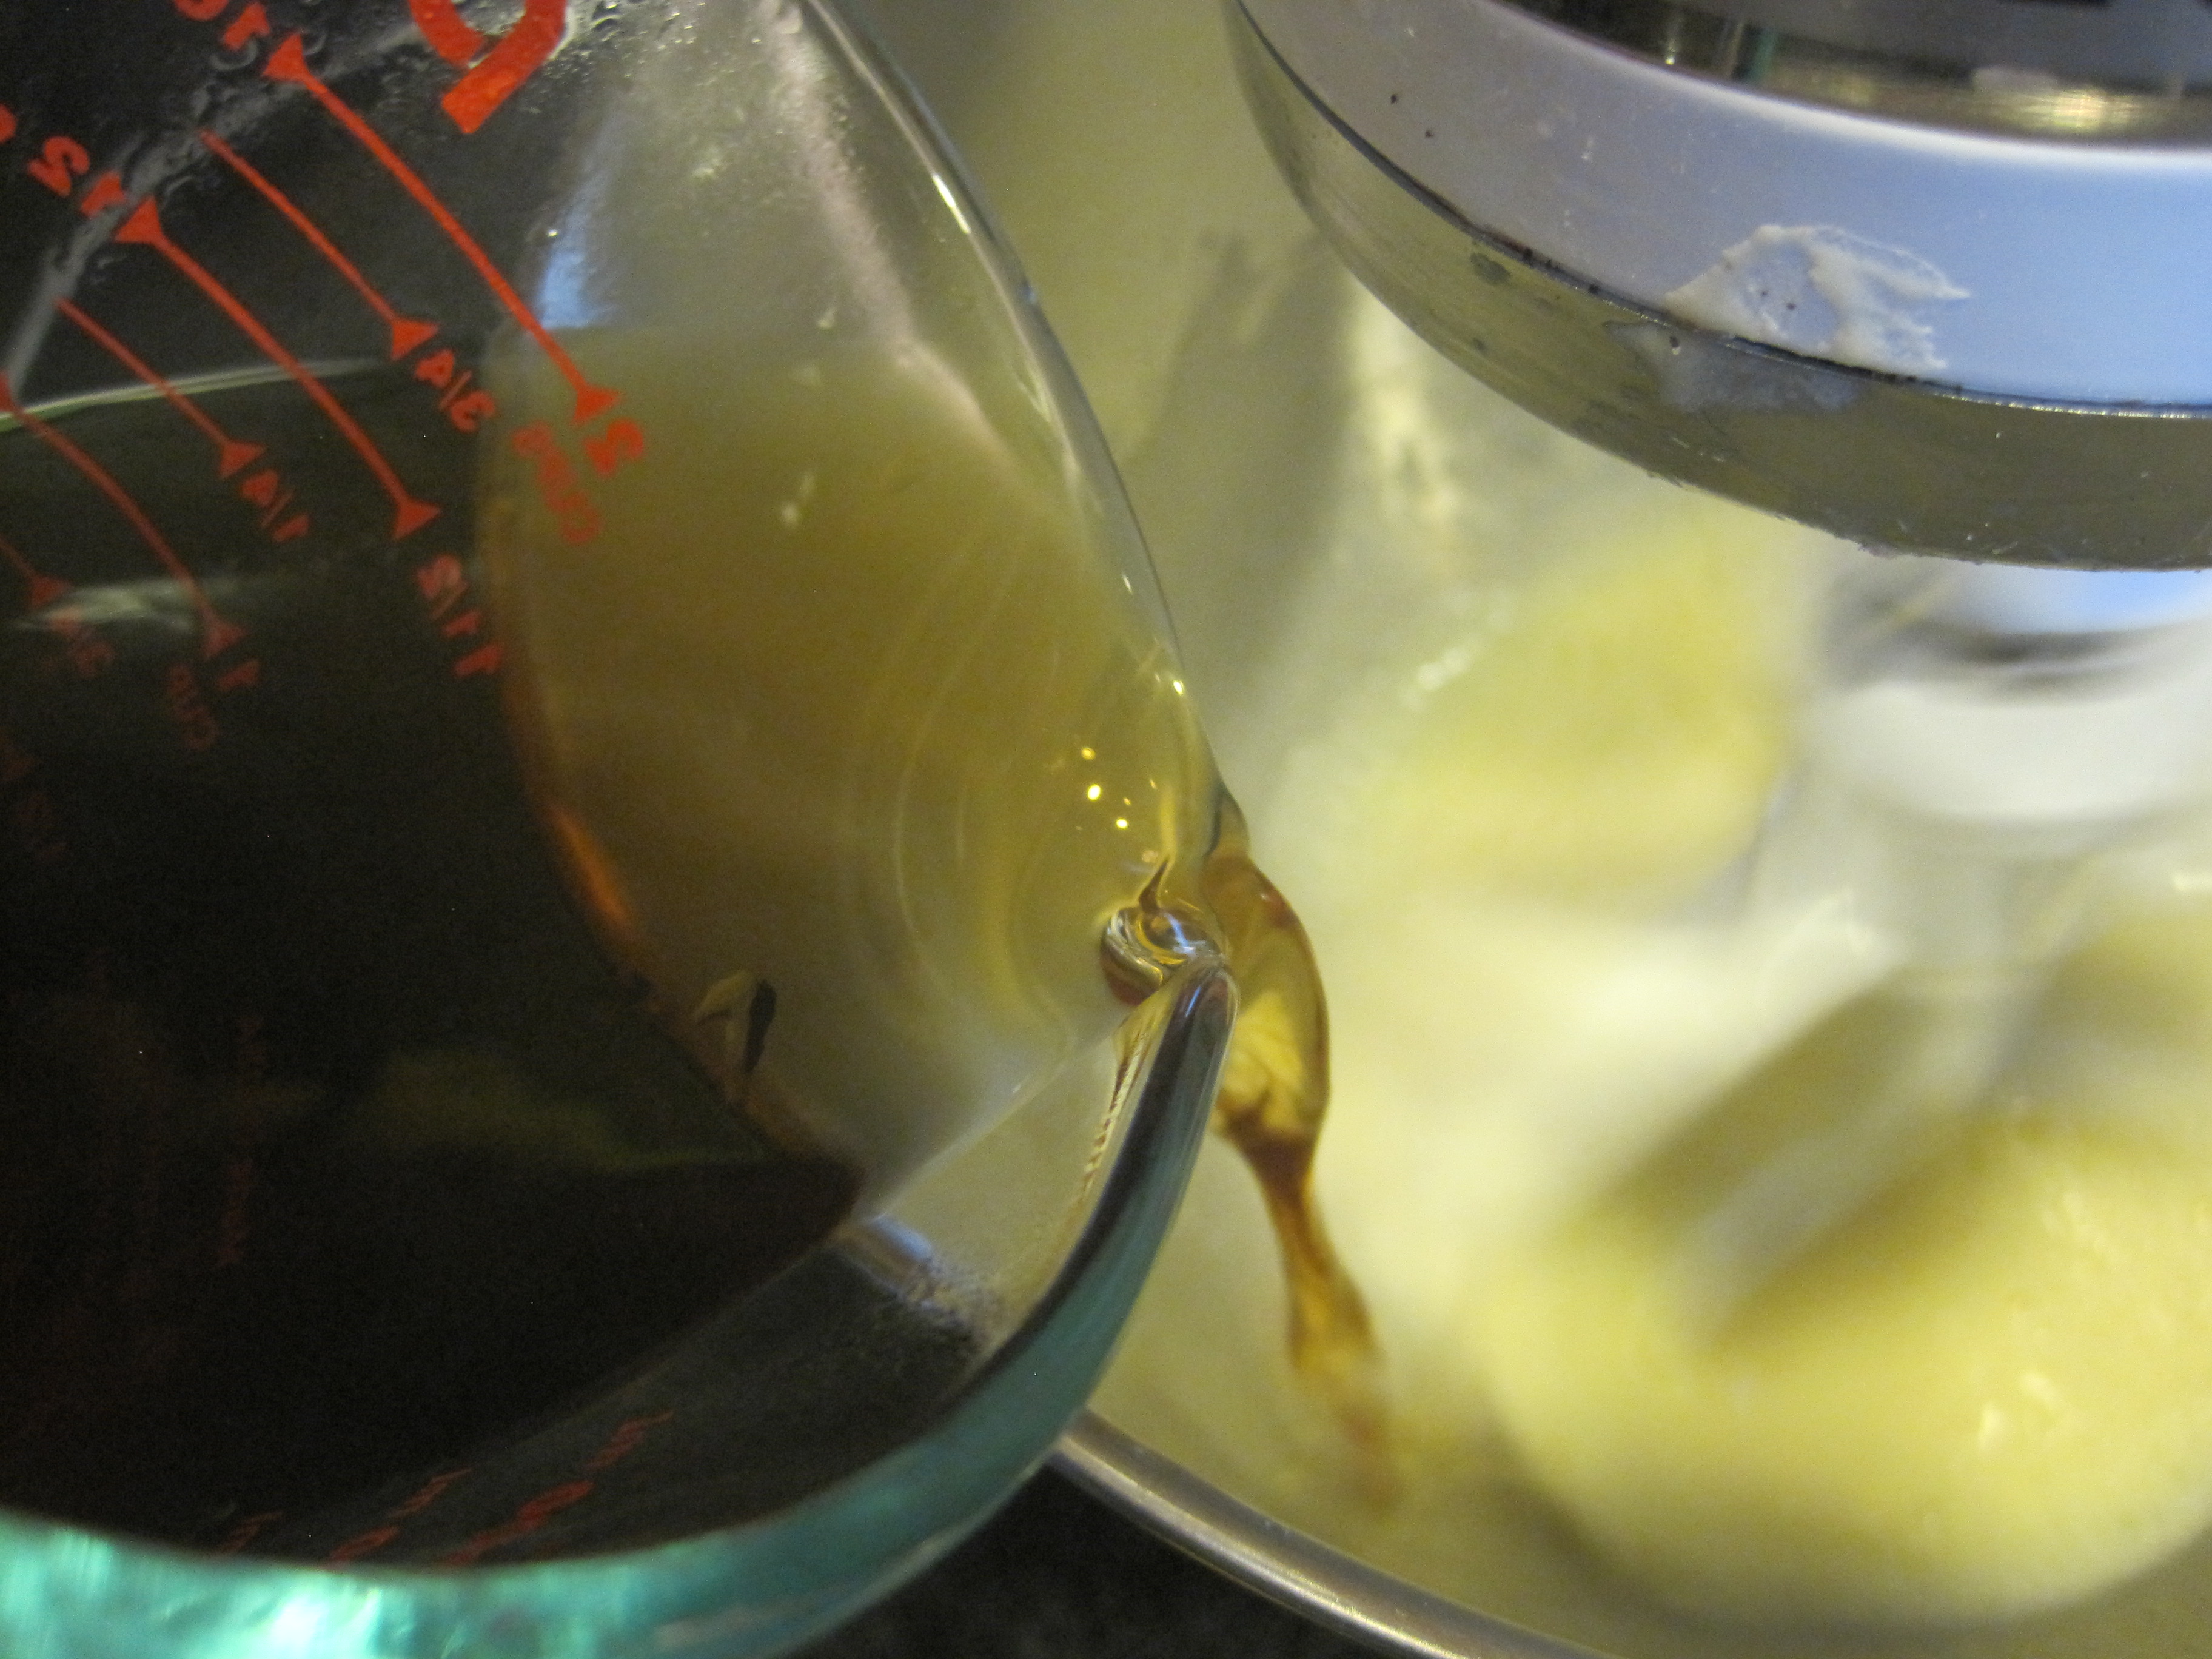
add hot water/coffee mixture.

IMG_9474
add dry ingredients to wet ingredients.

IMG_9476
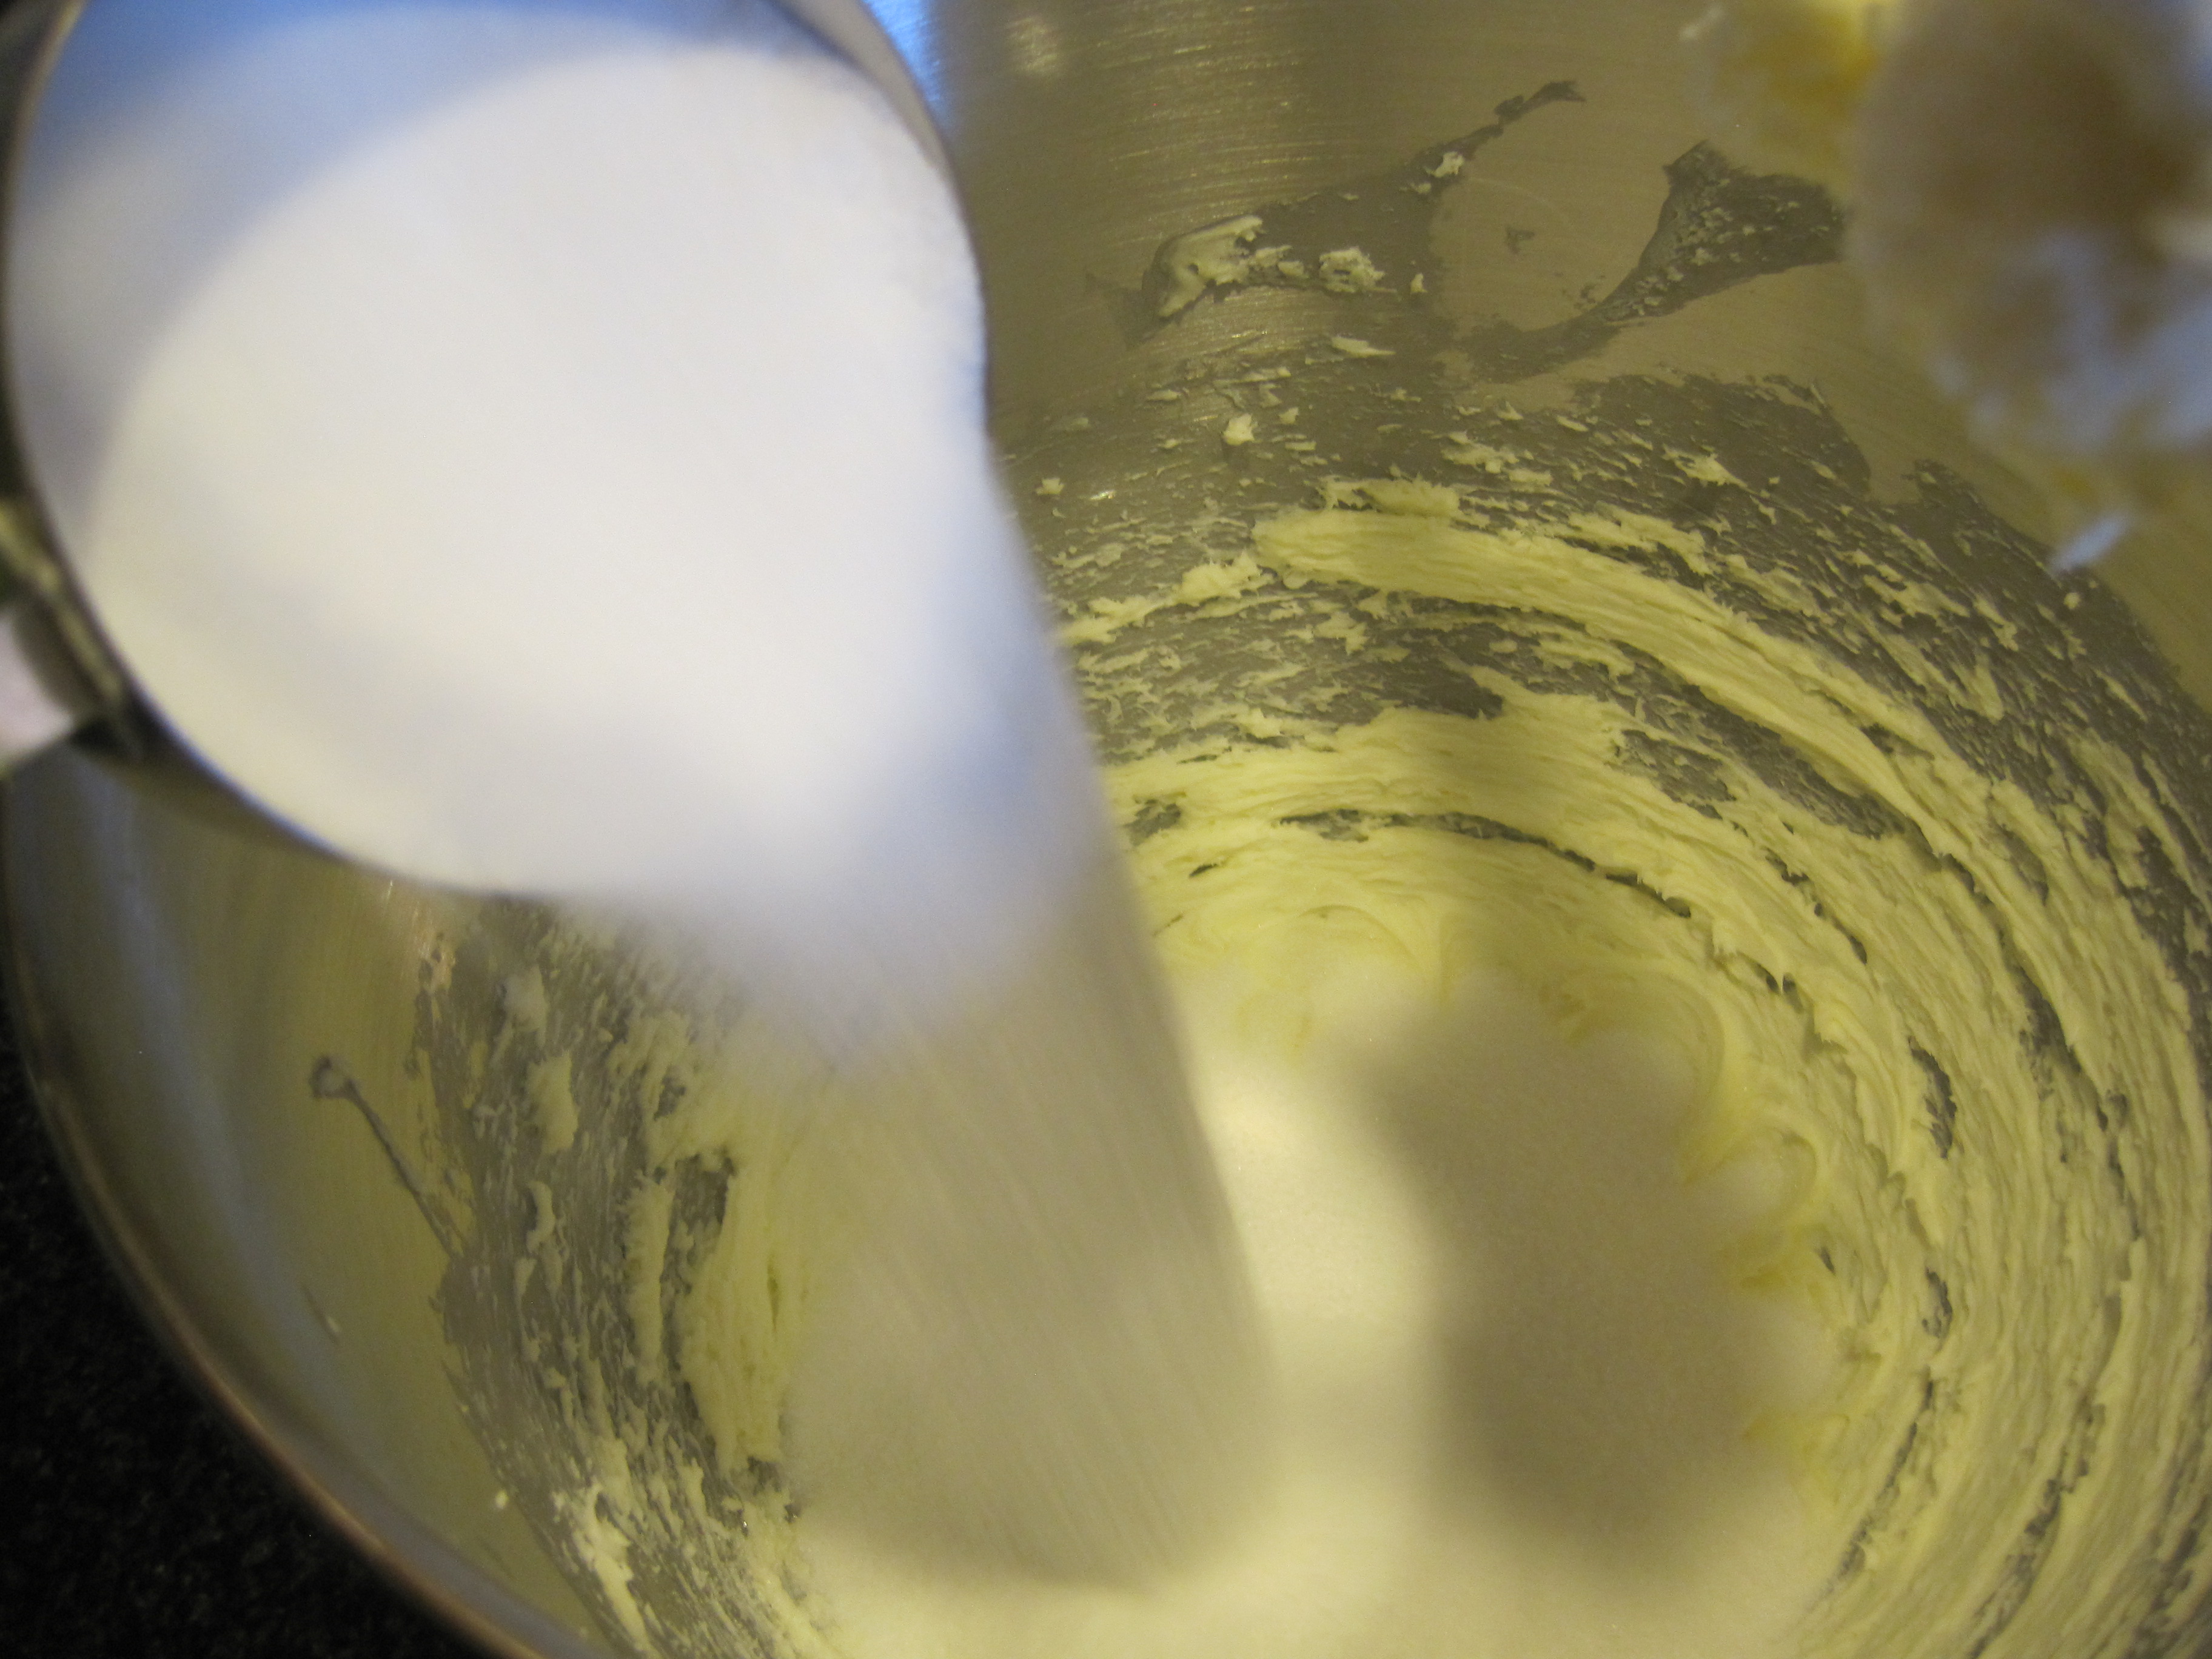
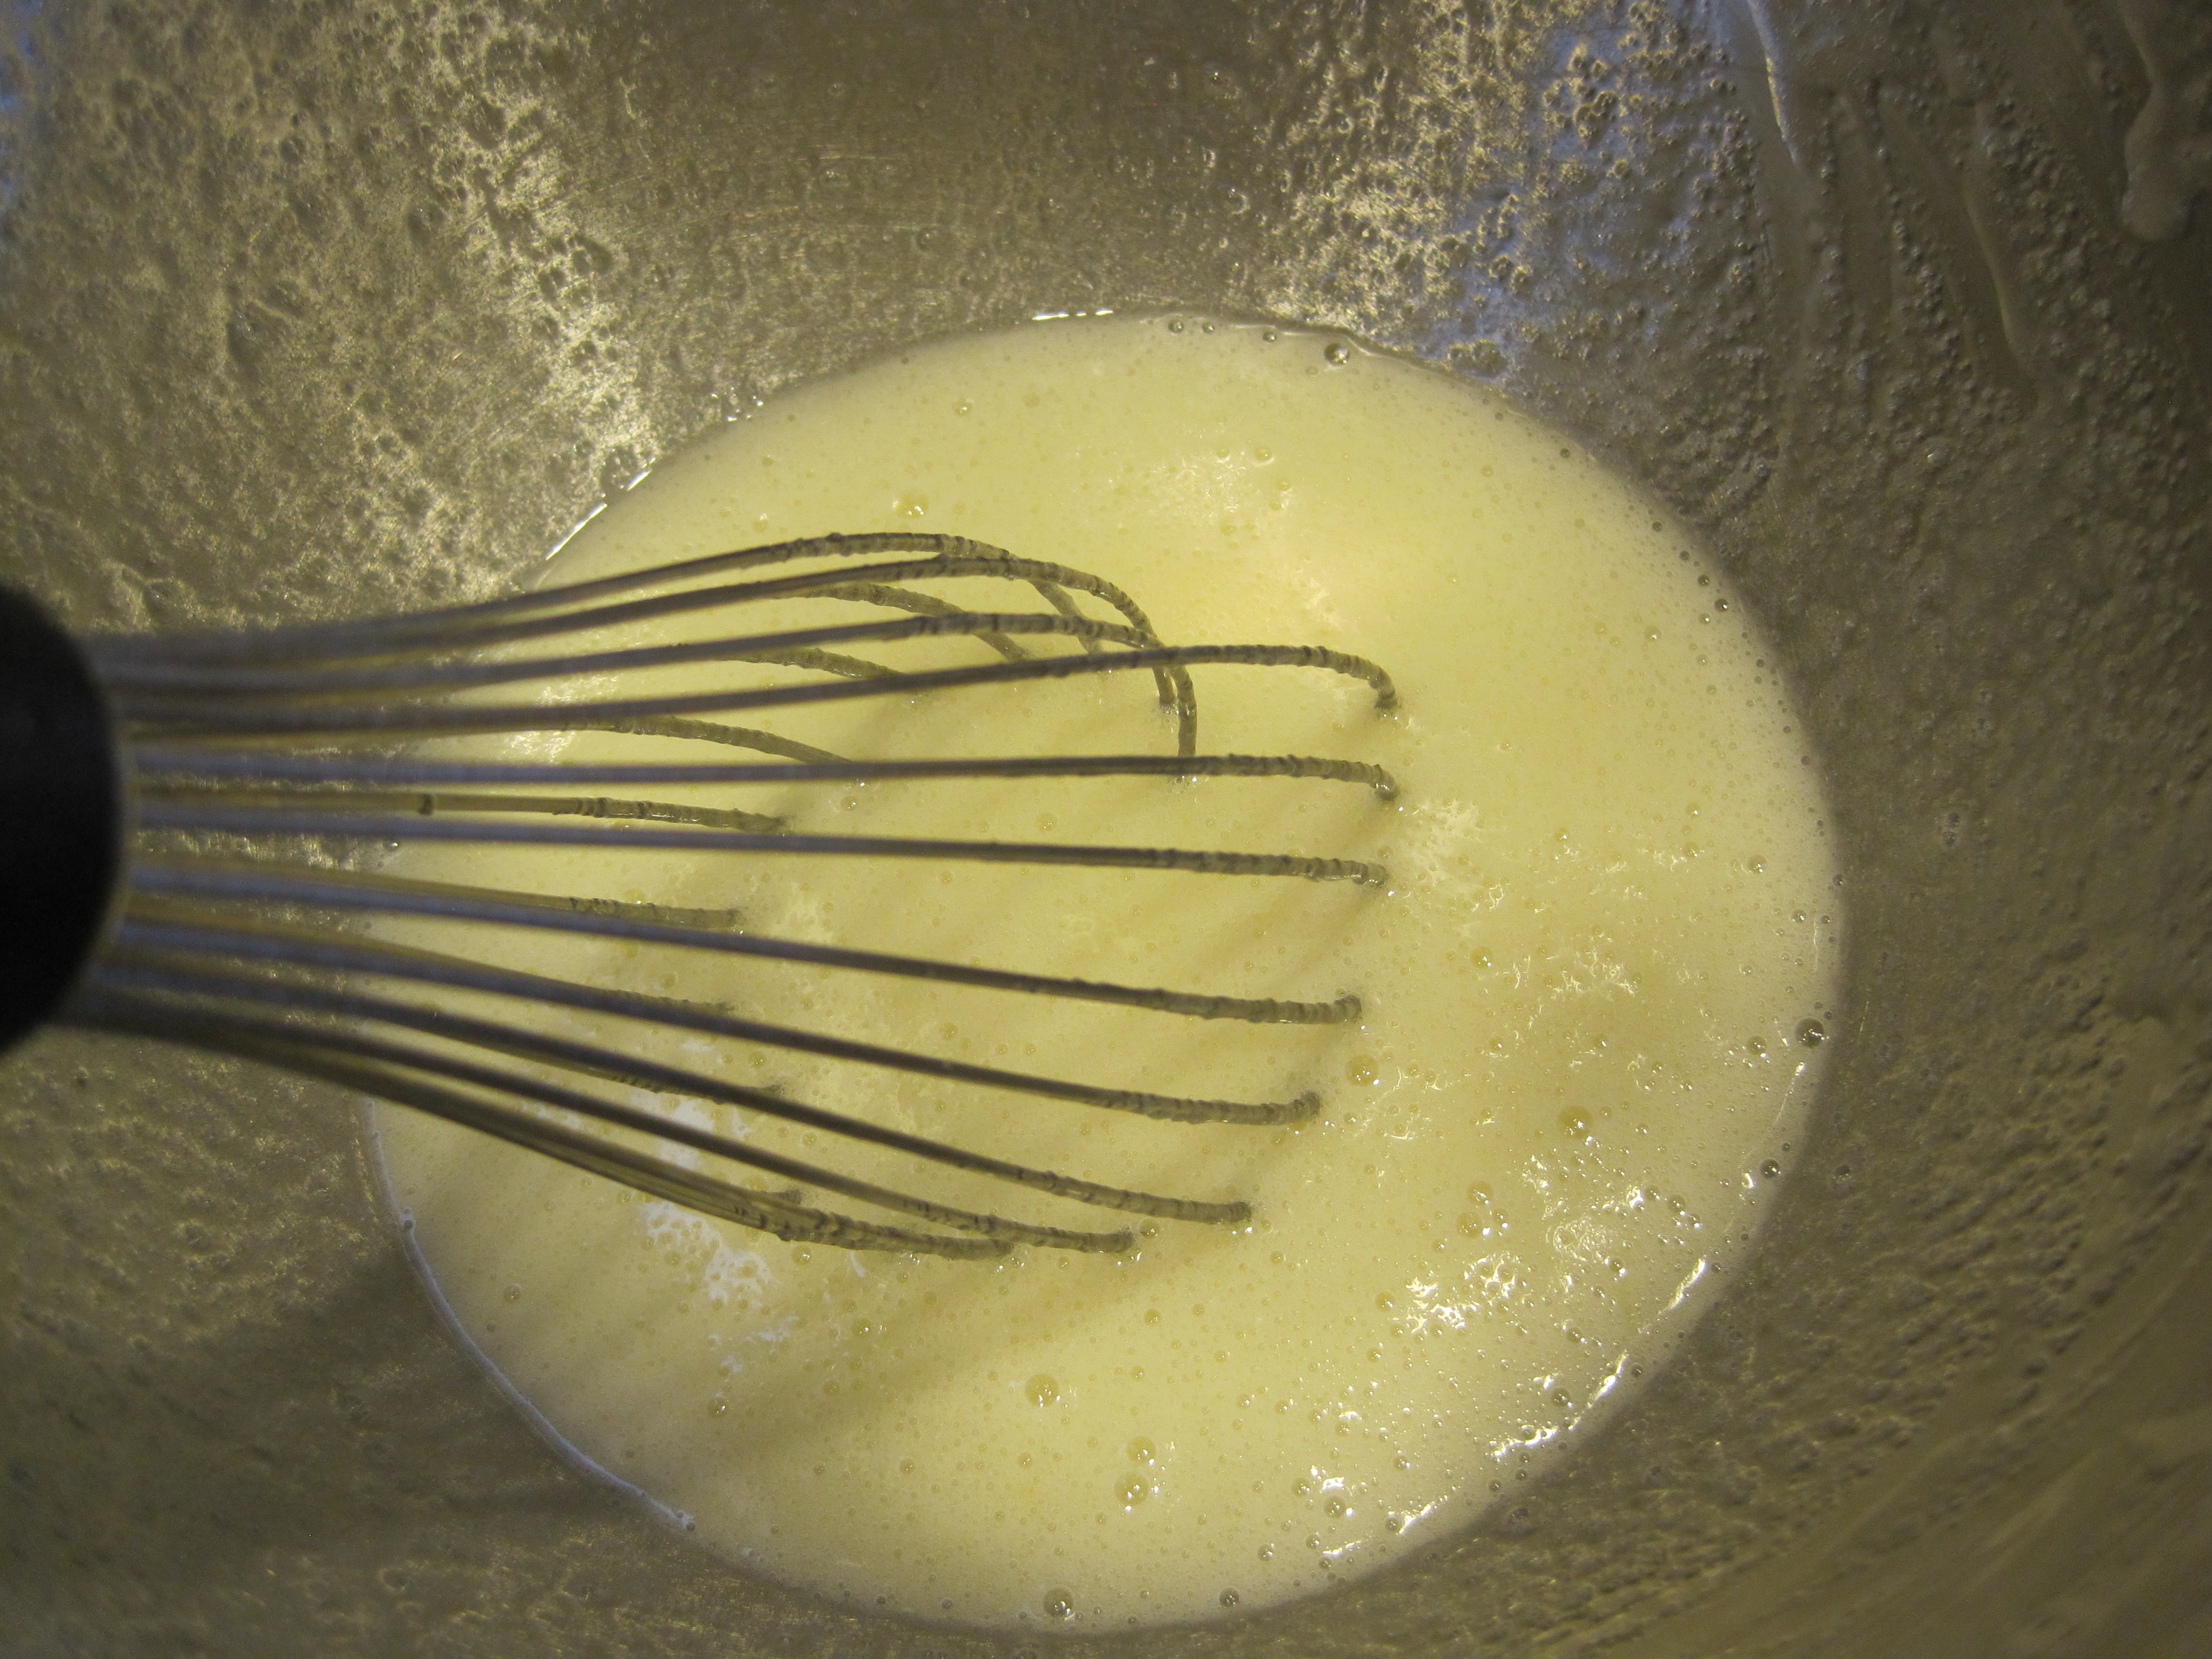
to make the swiss meringue buttercream frosting whisk sugar and egg whites over a pot with simmering water.

IMG_7859
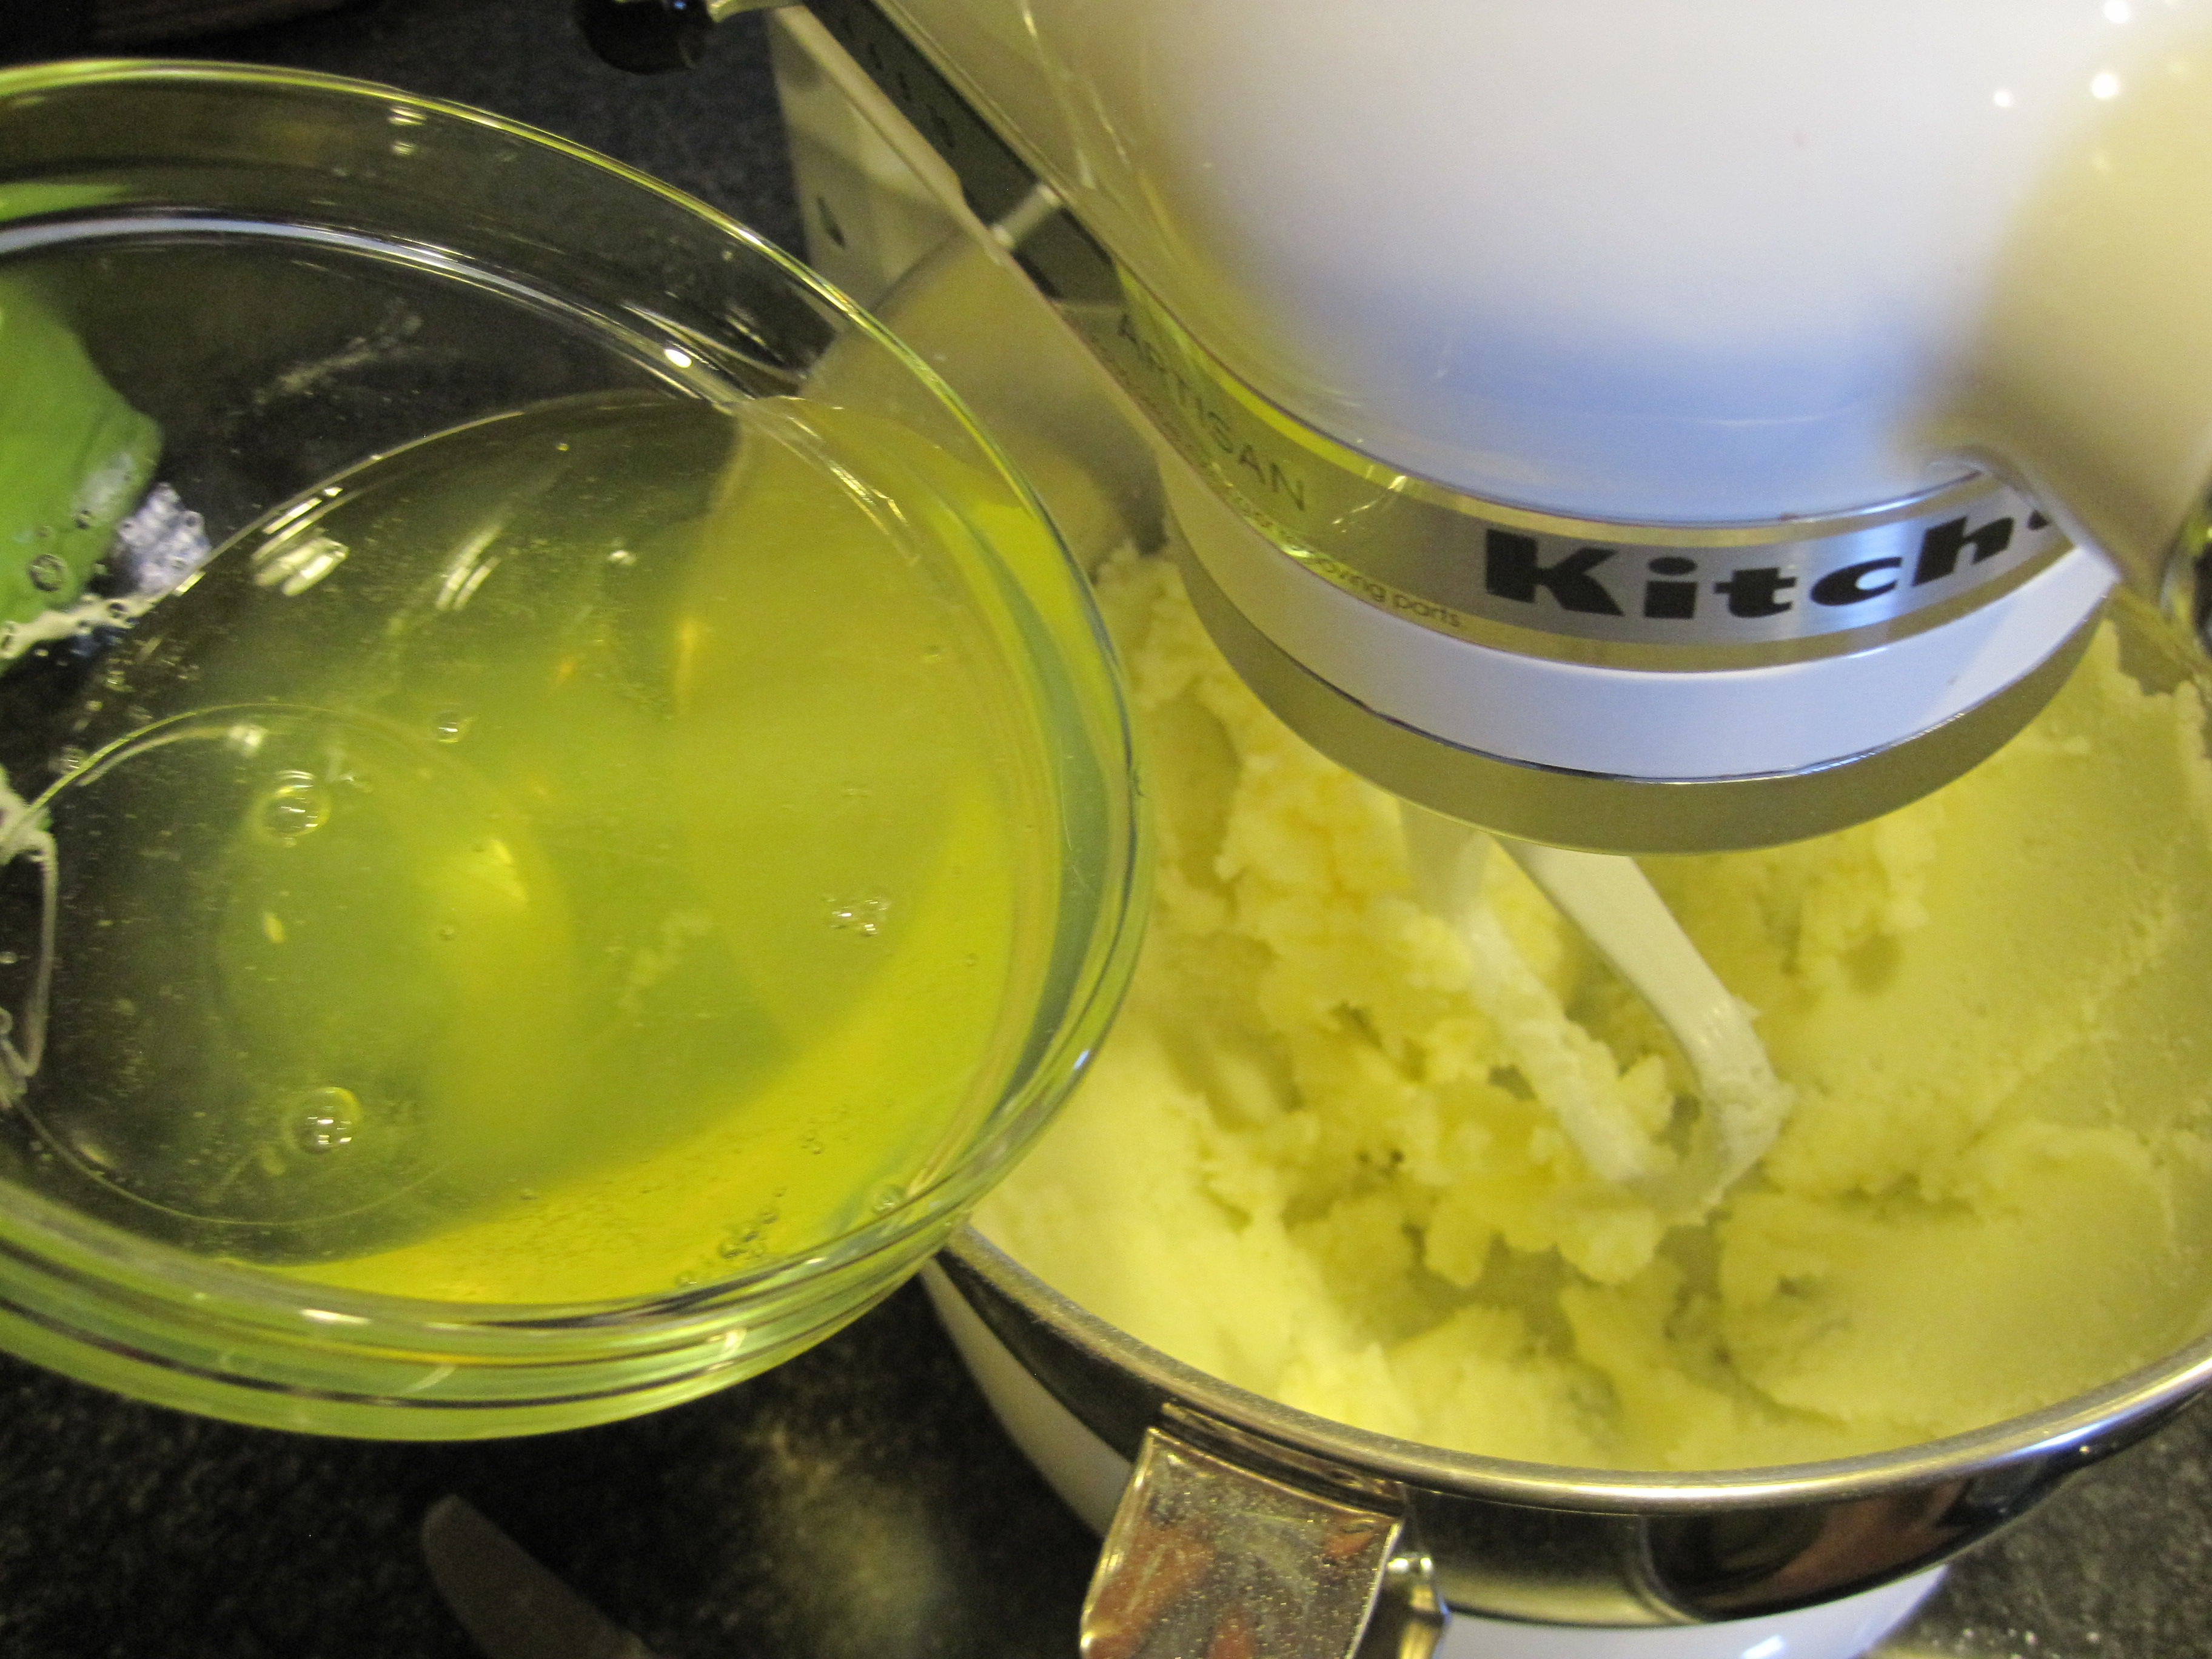
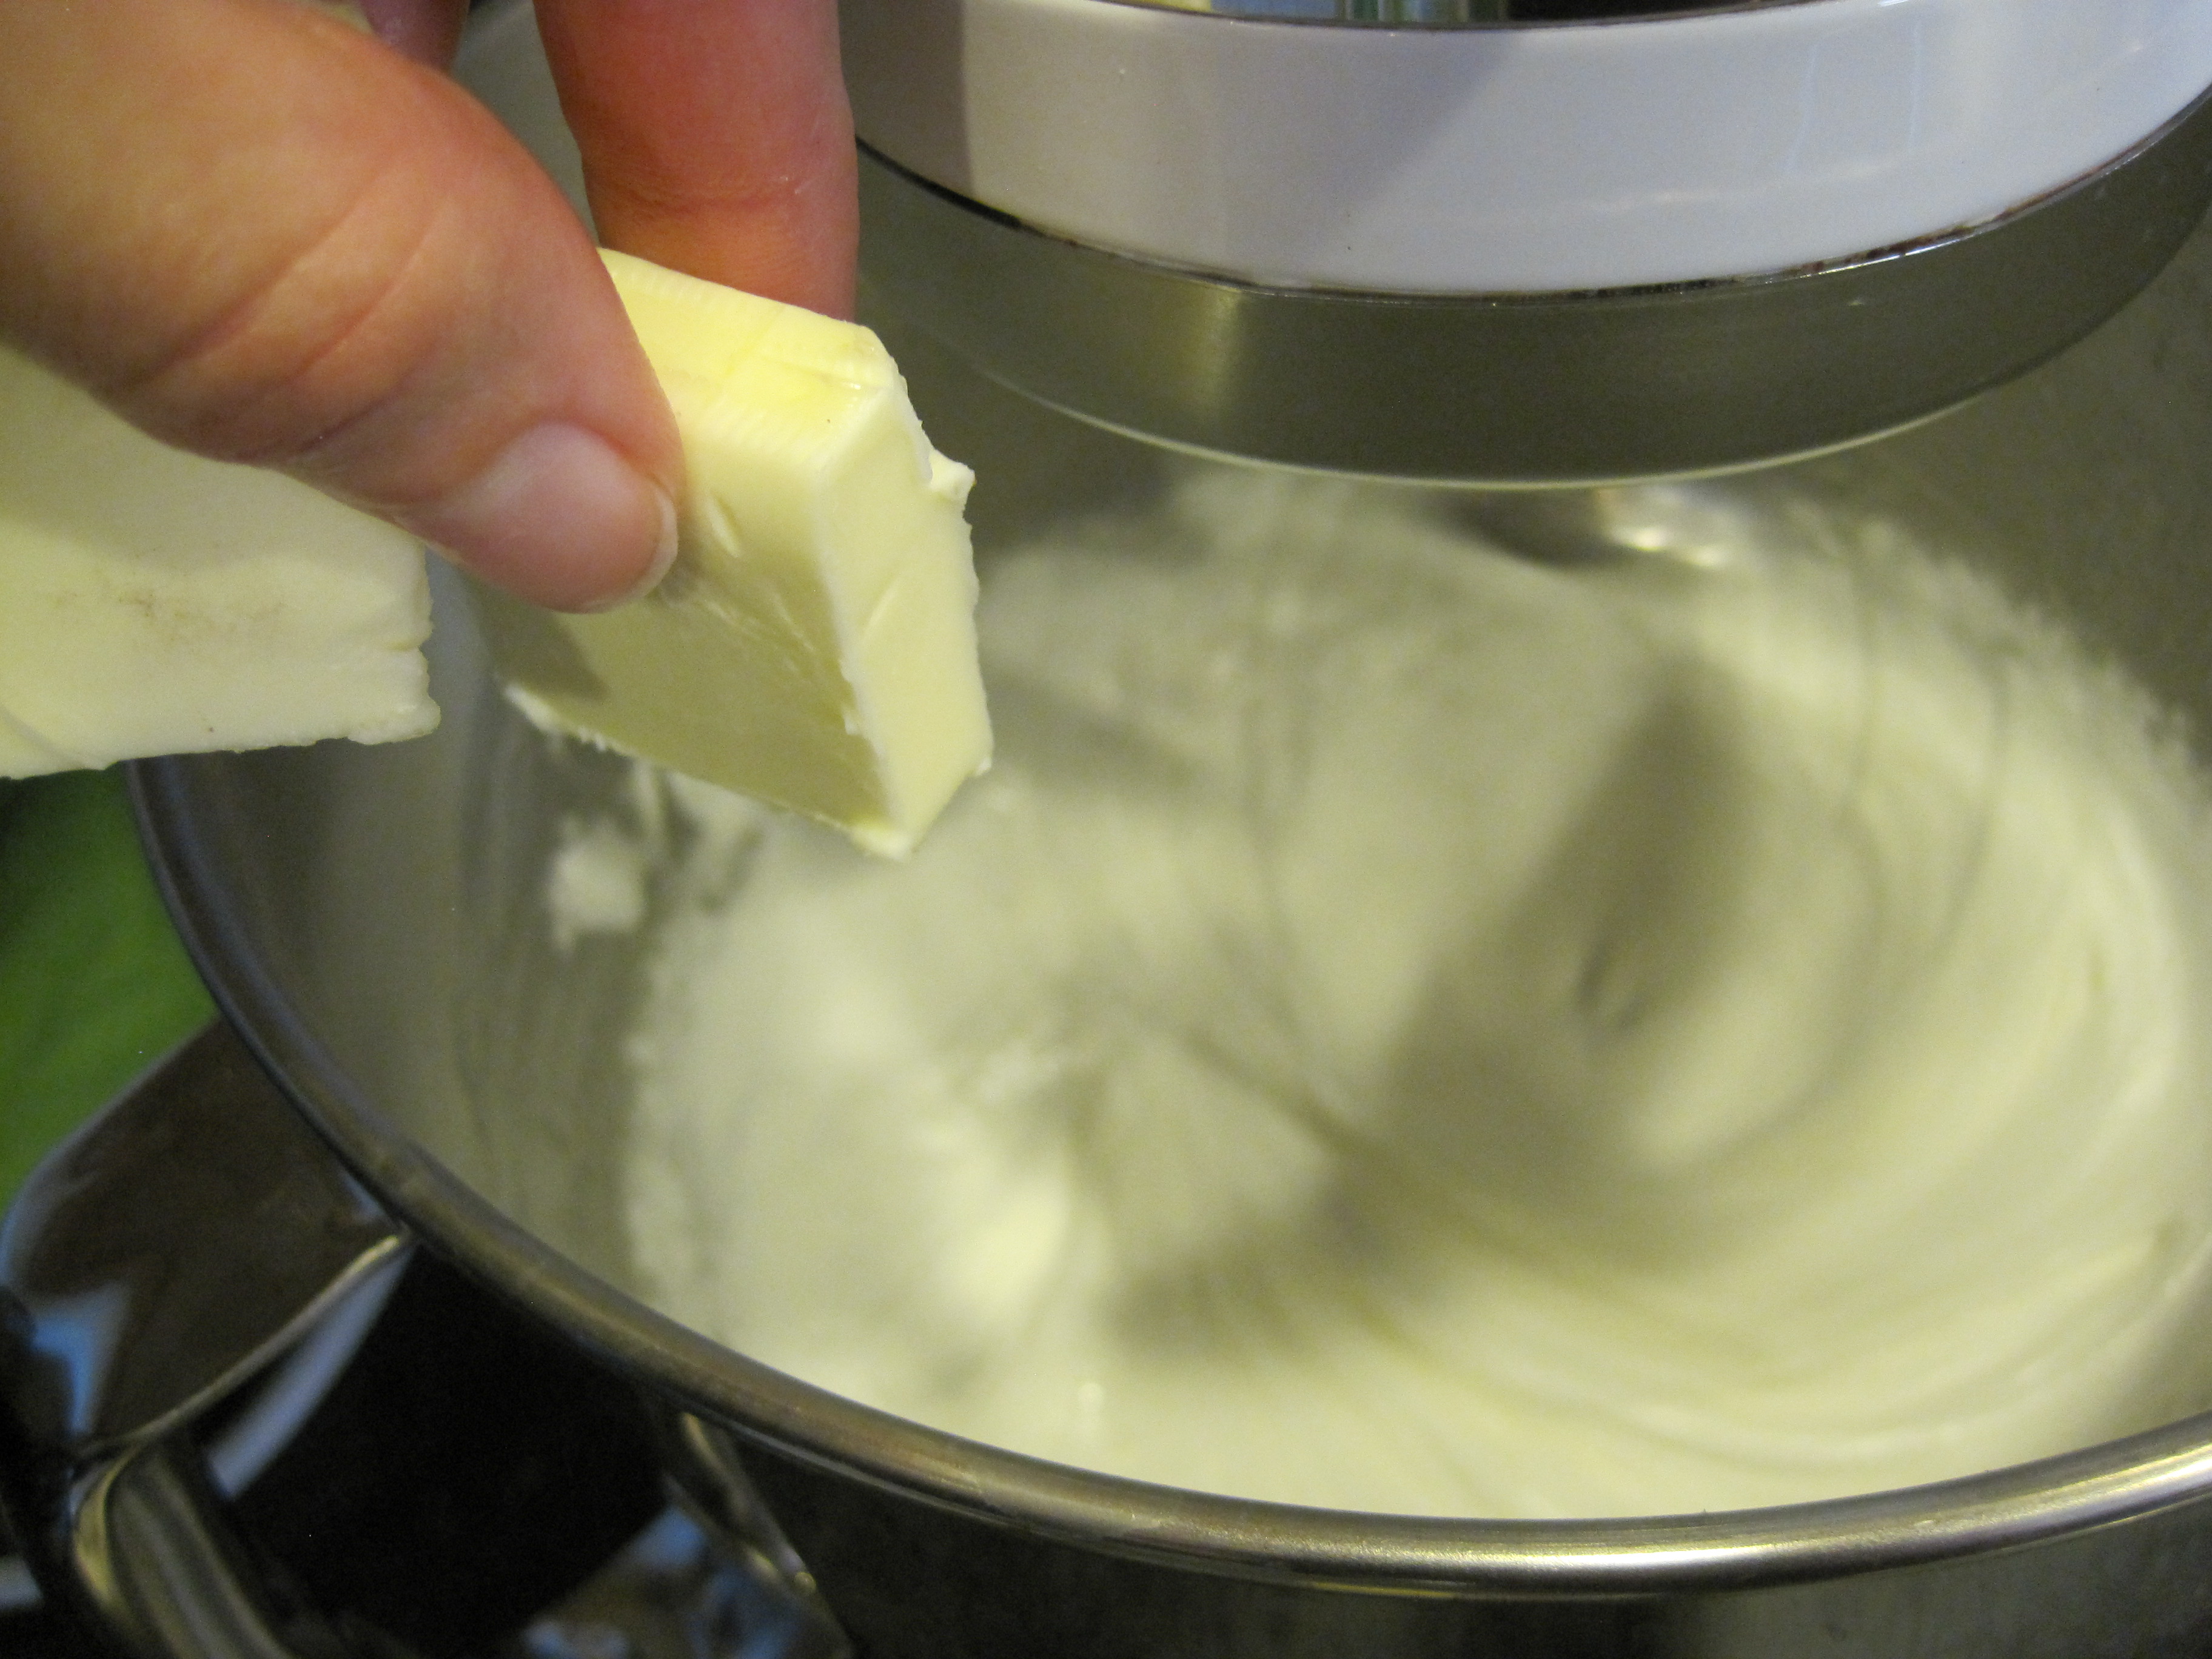
add a tablespoon of butter at a time.

IMG_7866
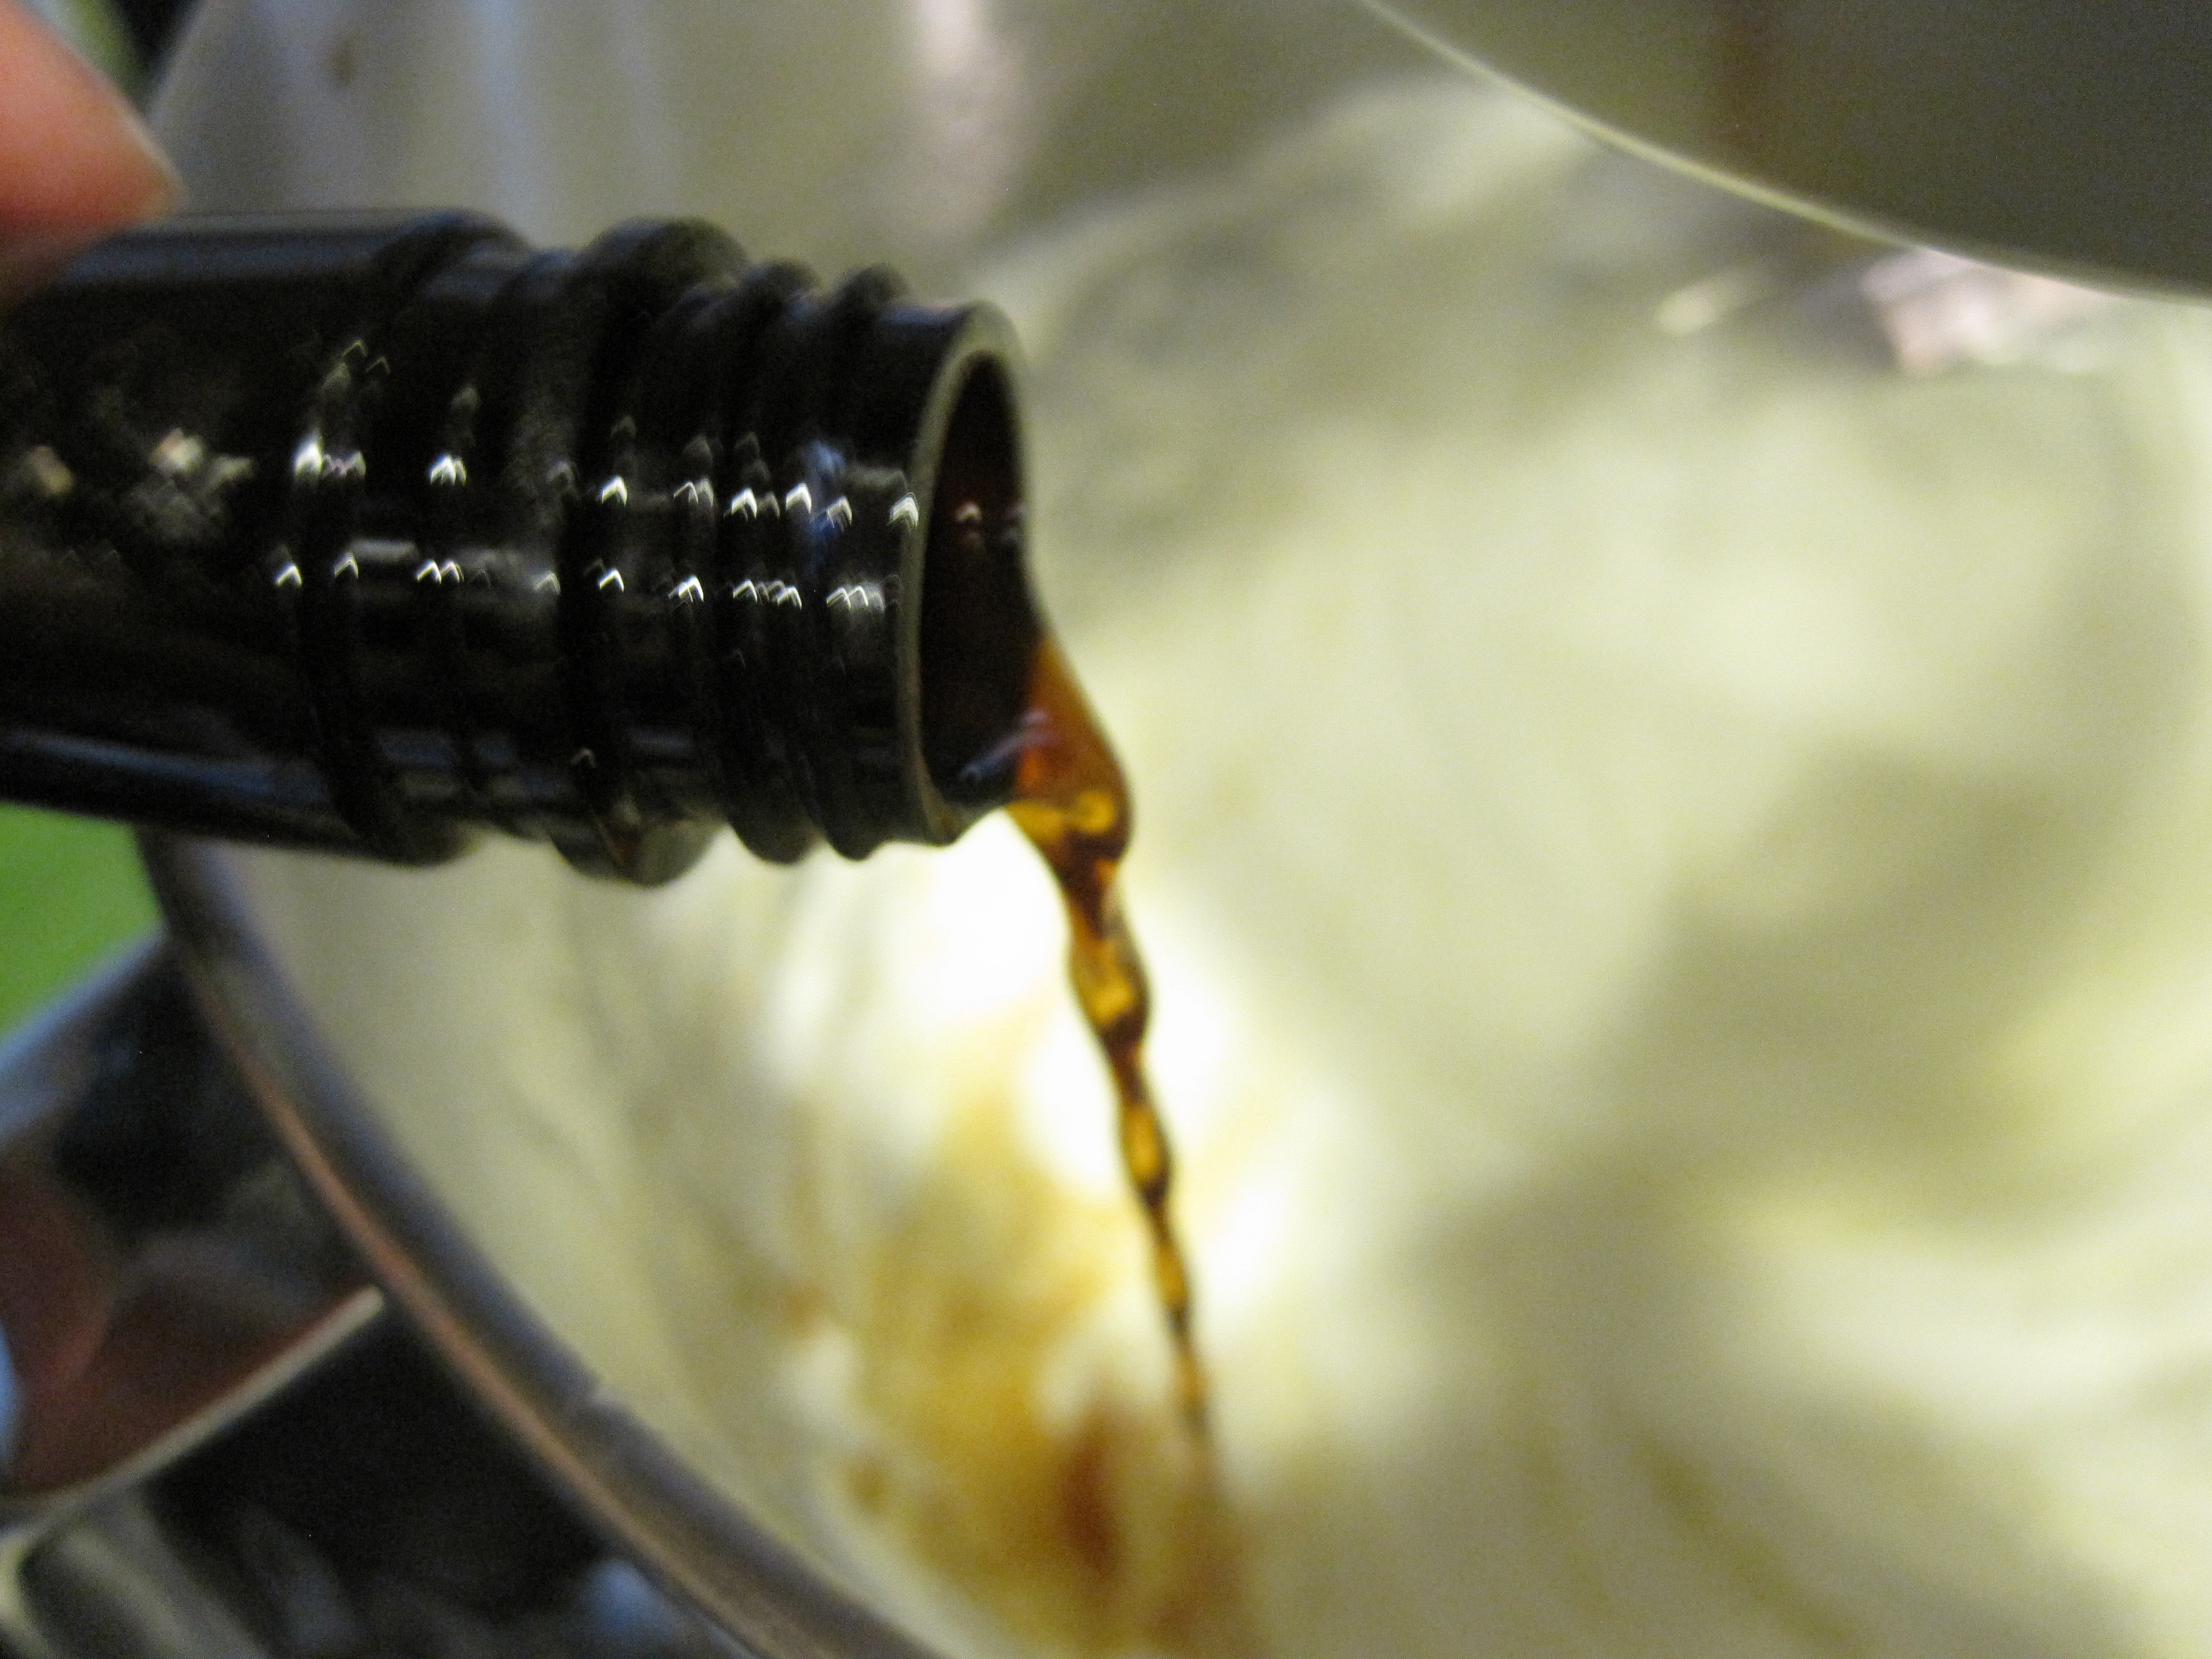
and vanilla of course!

IMG_7868
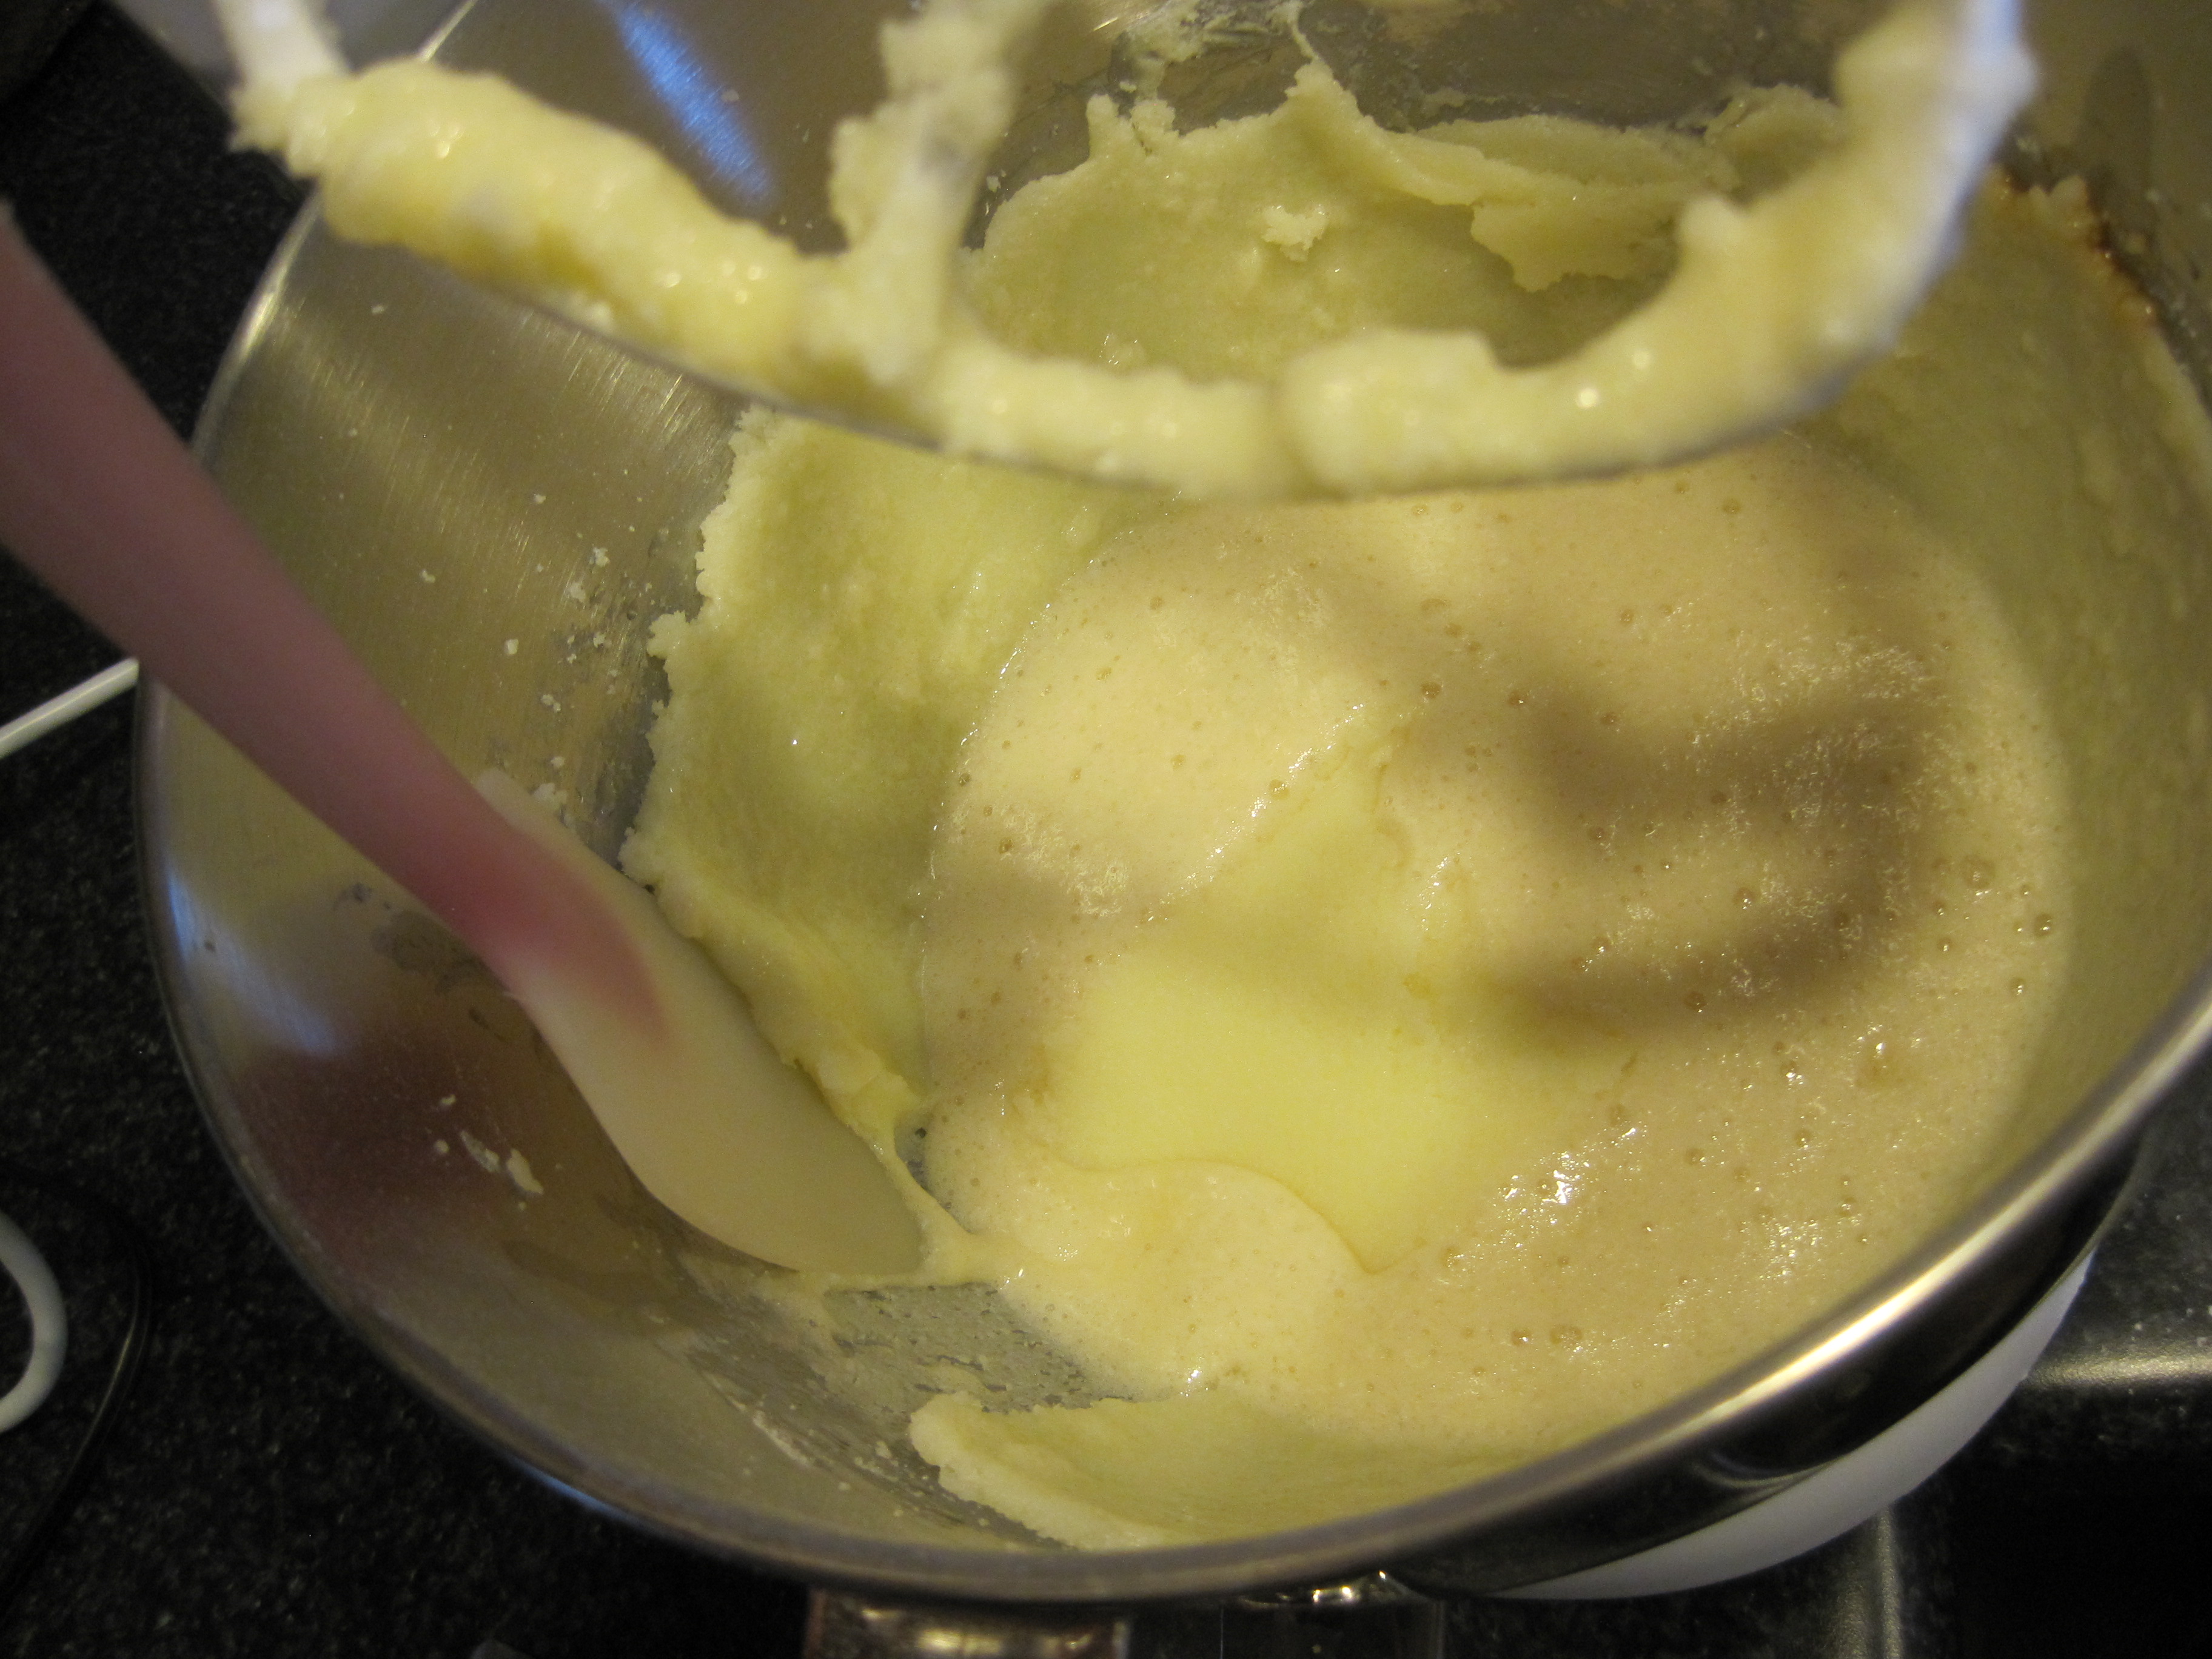
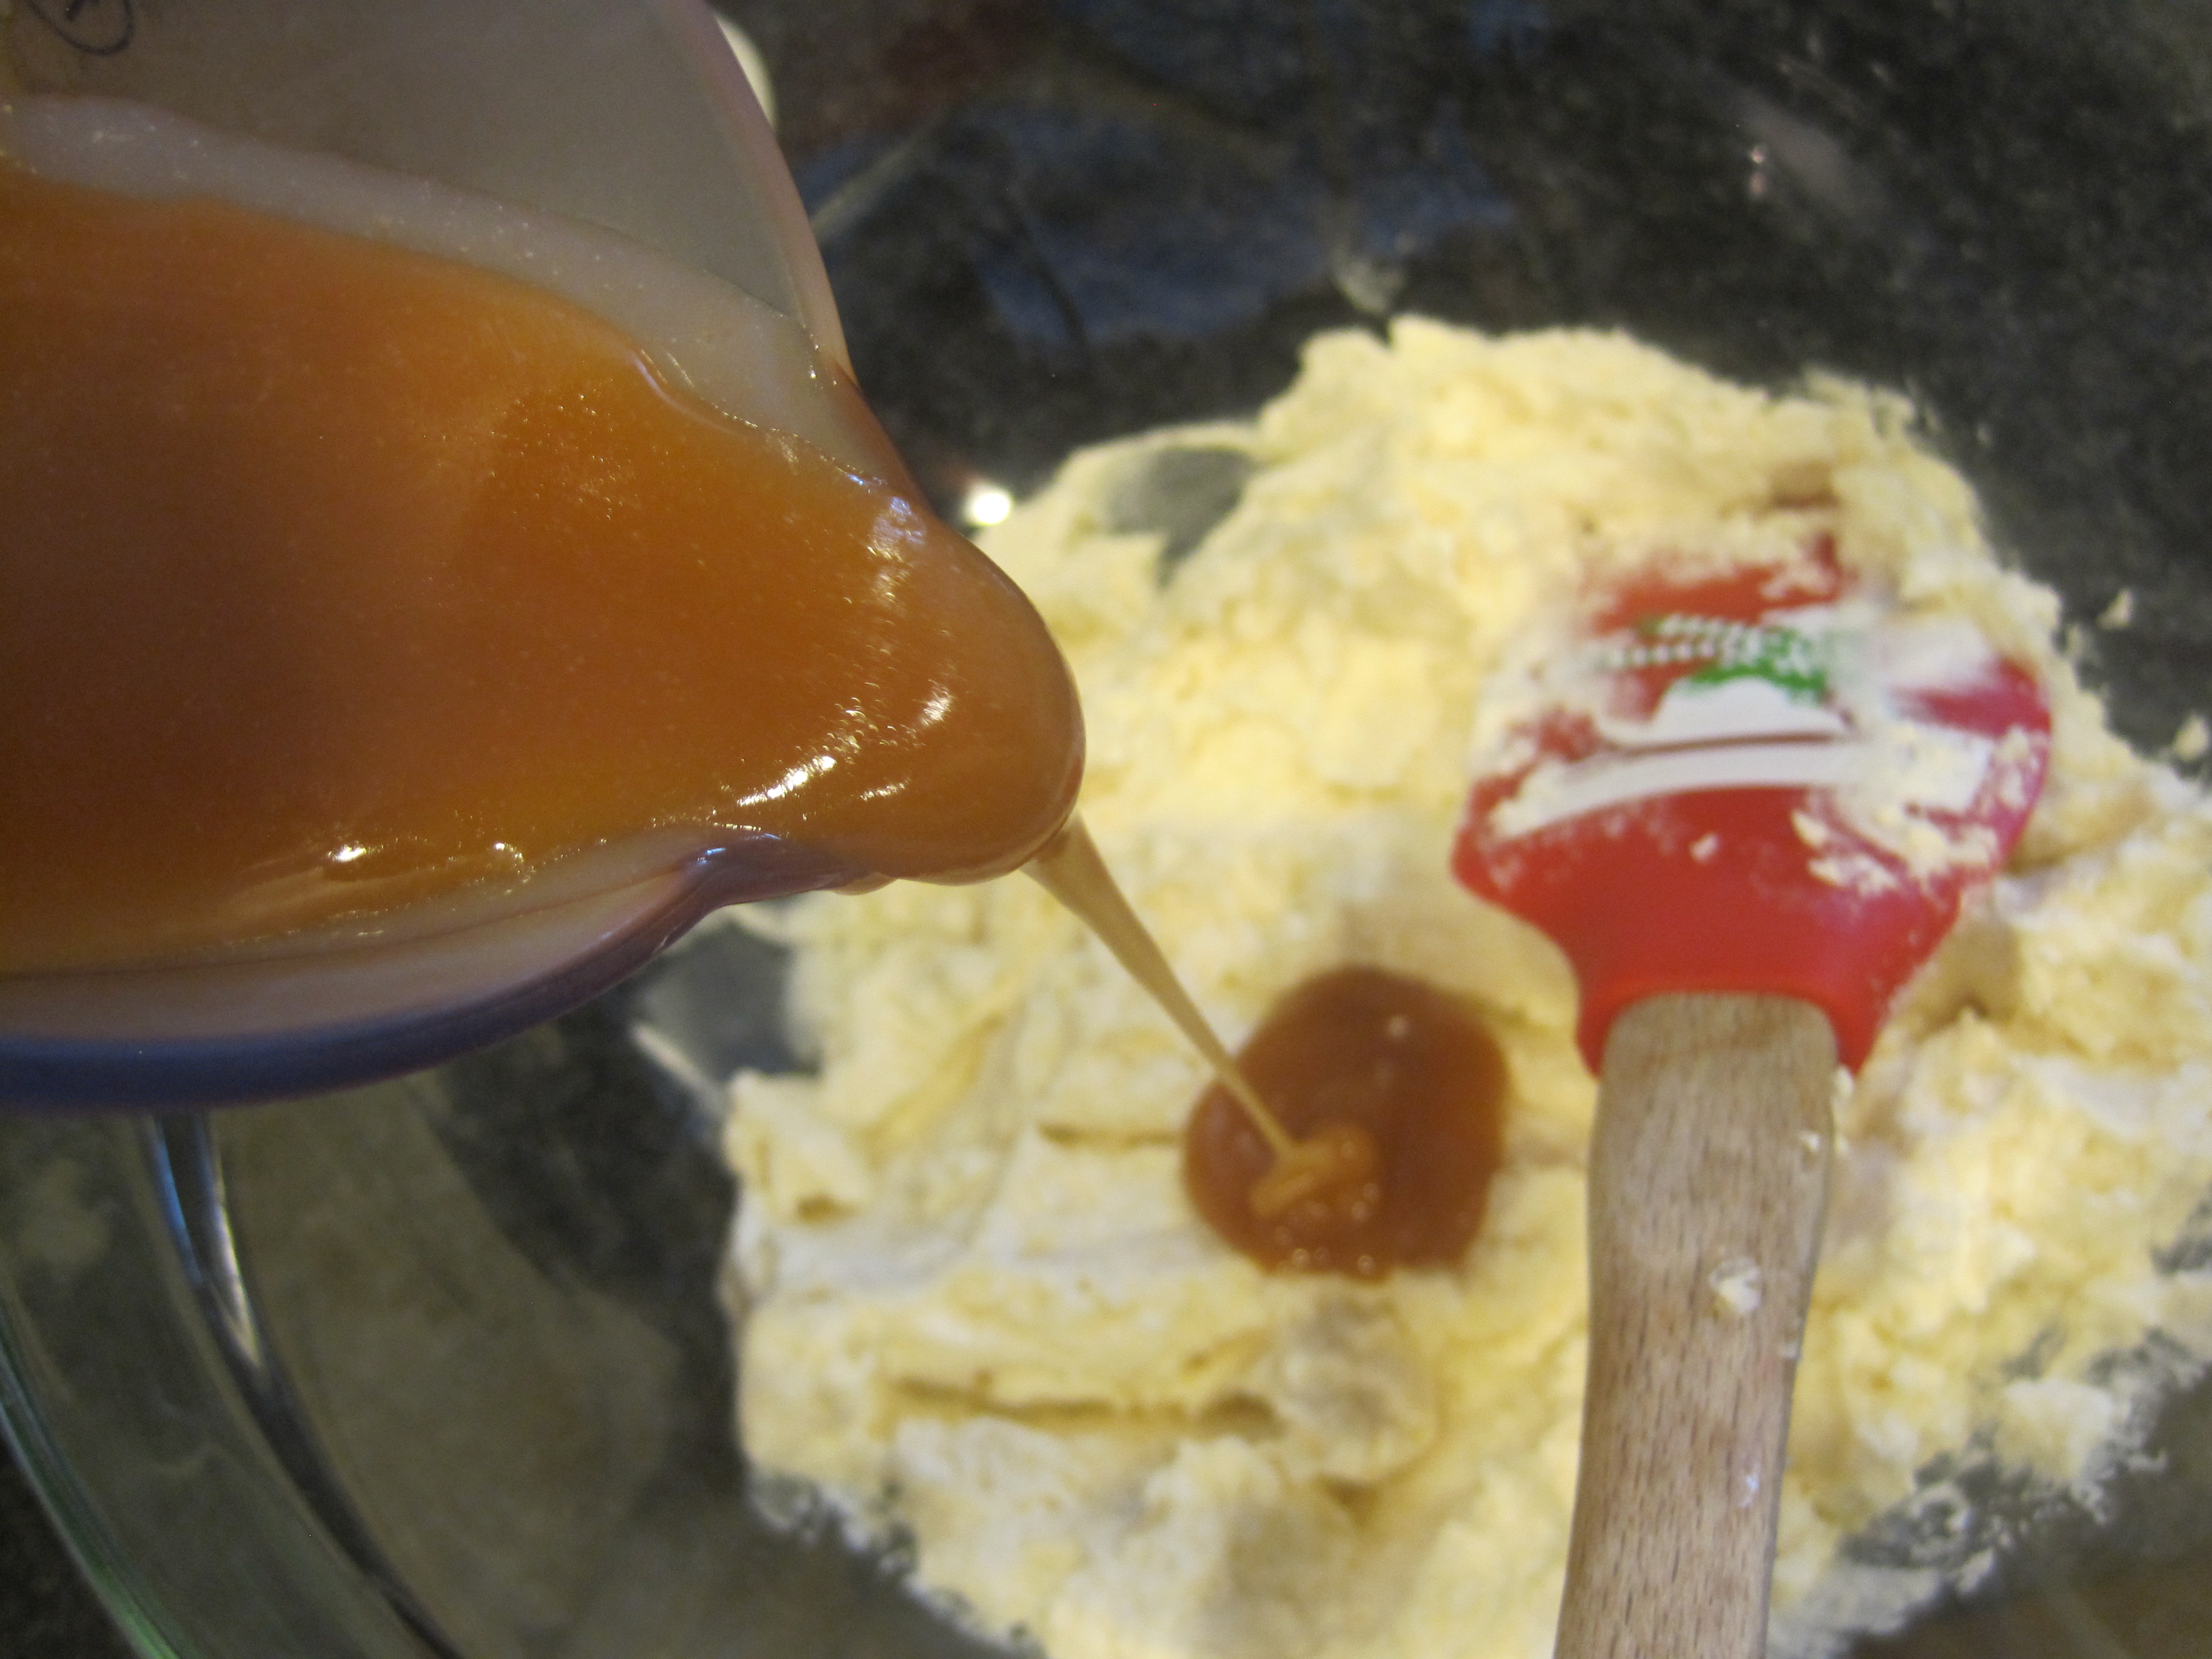
add salted caramel to frosting.

IMG_1243
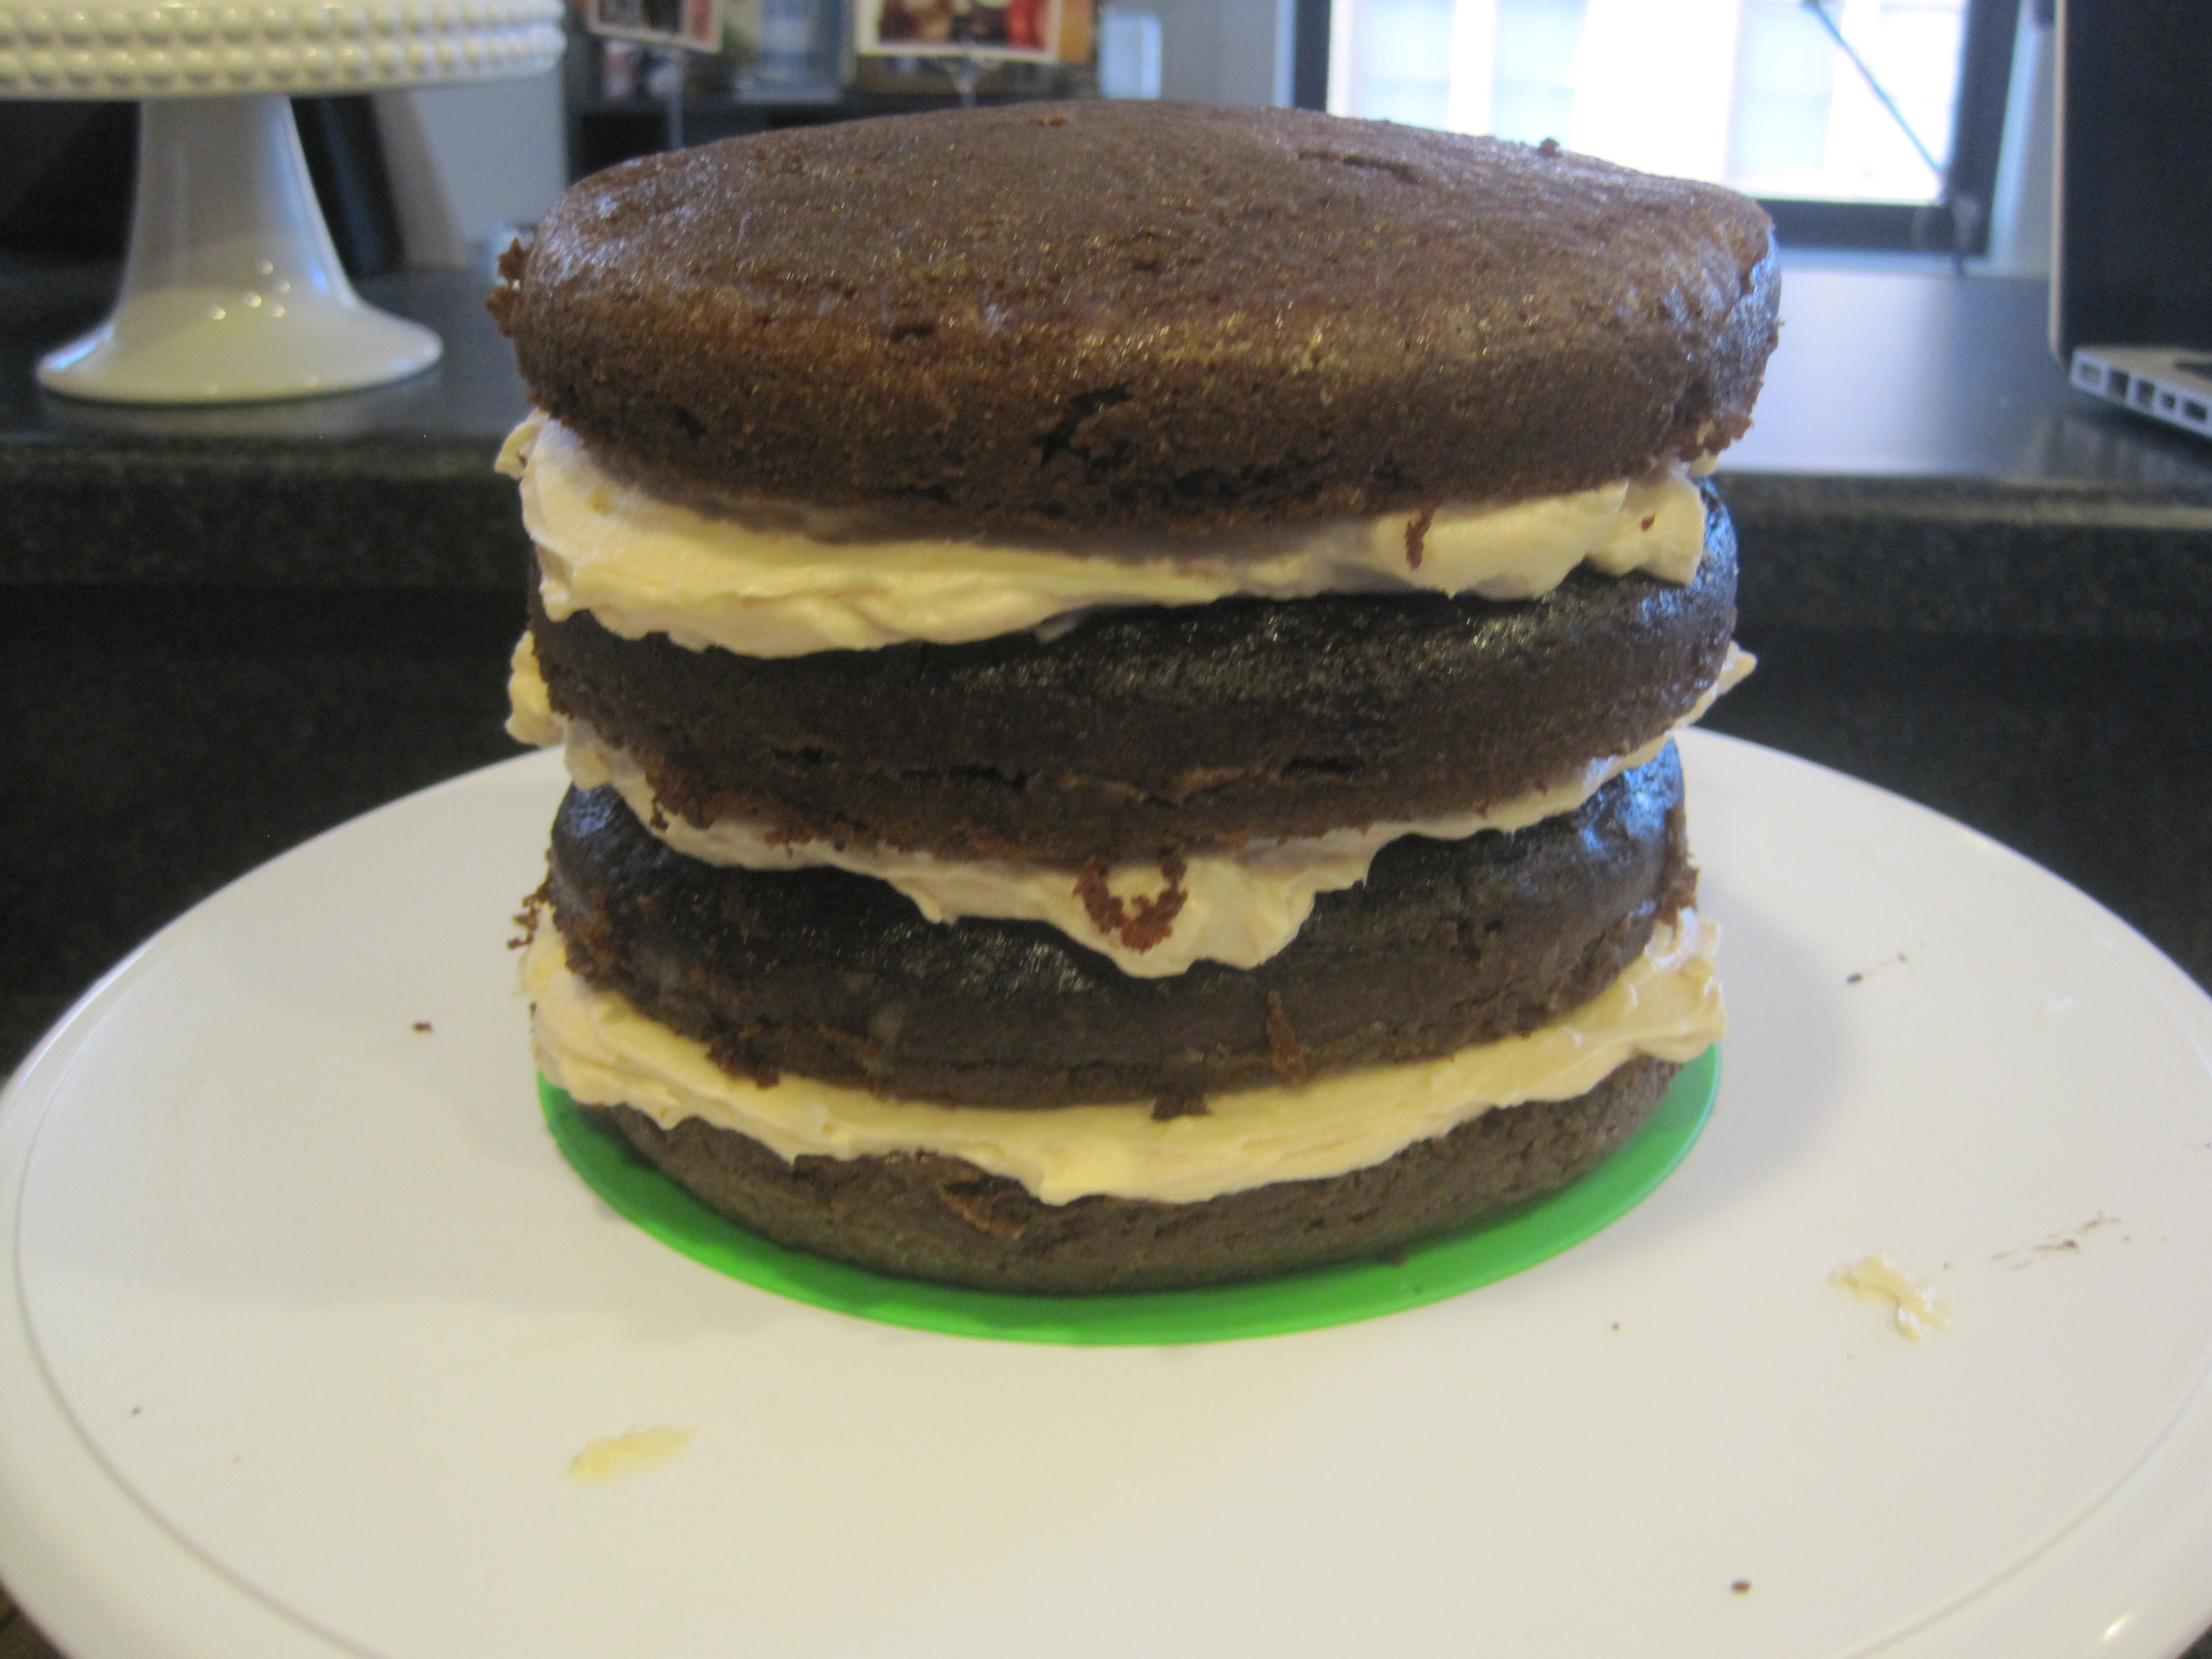
frost your layers and make sure to add one to two tablespoons of salted caramel in between.

IMG_1245

IMG_1247
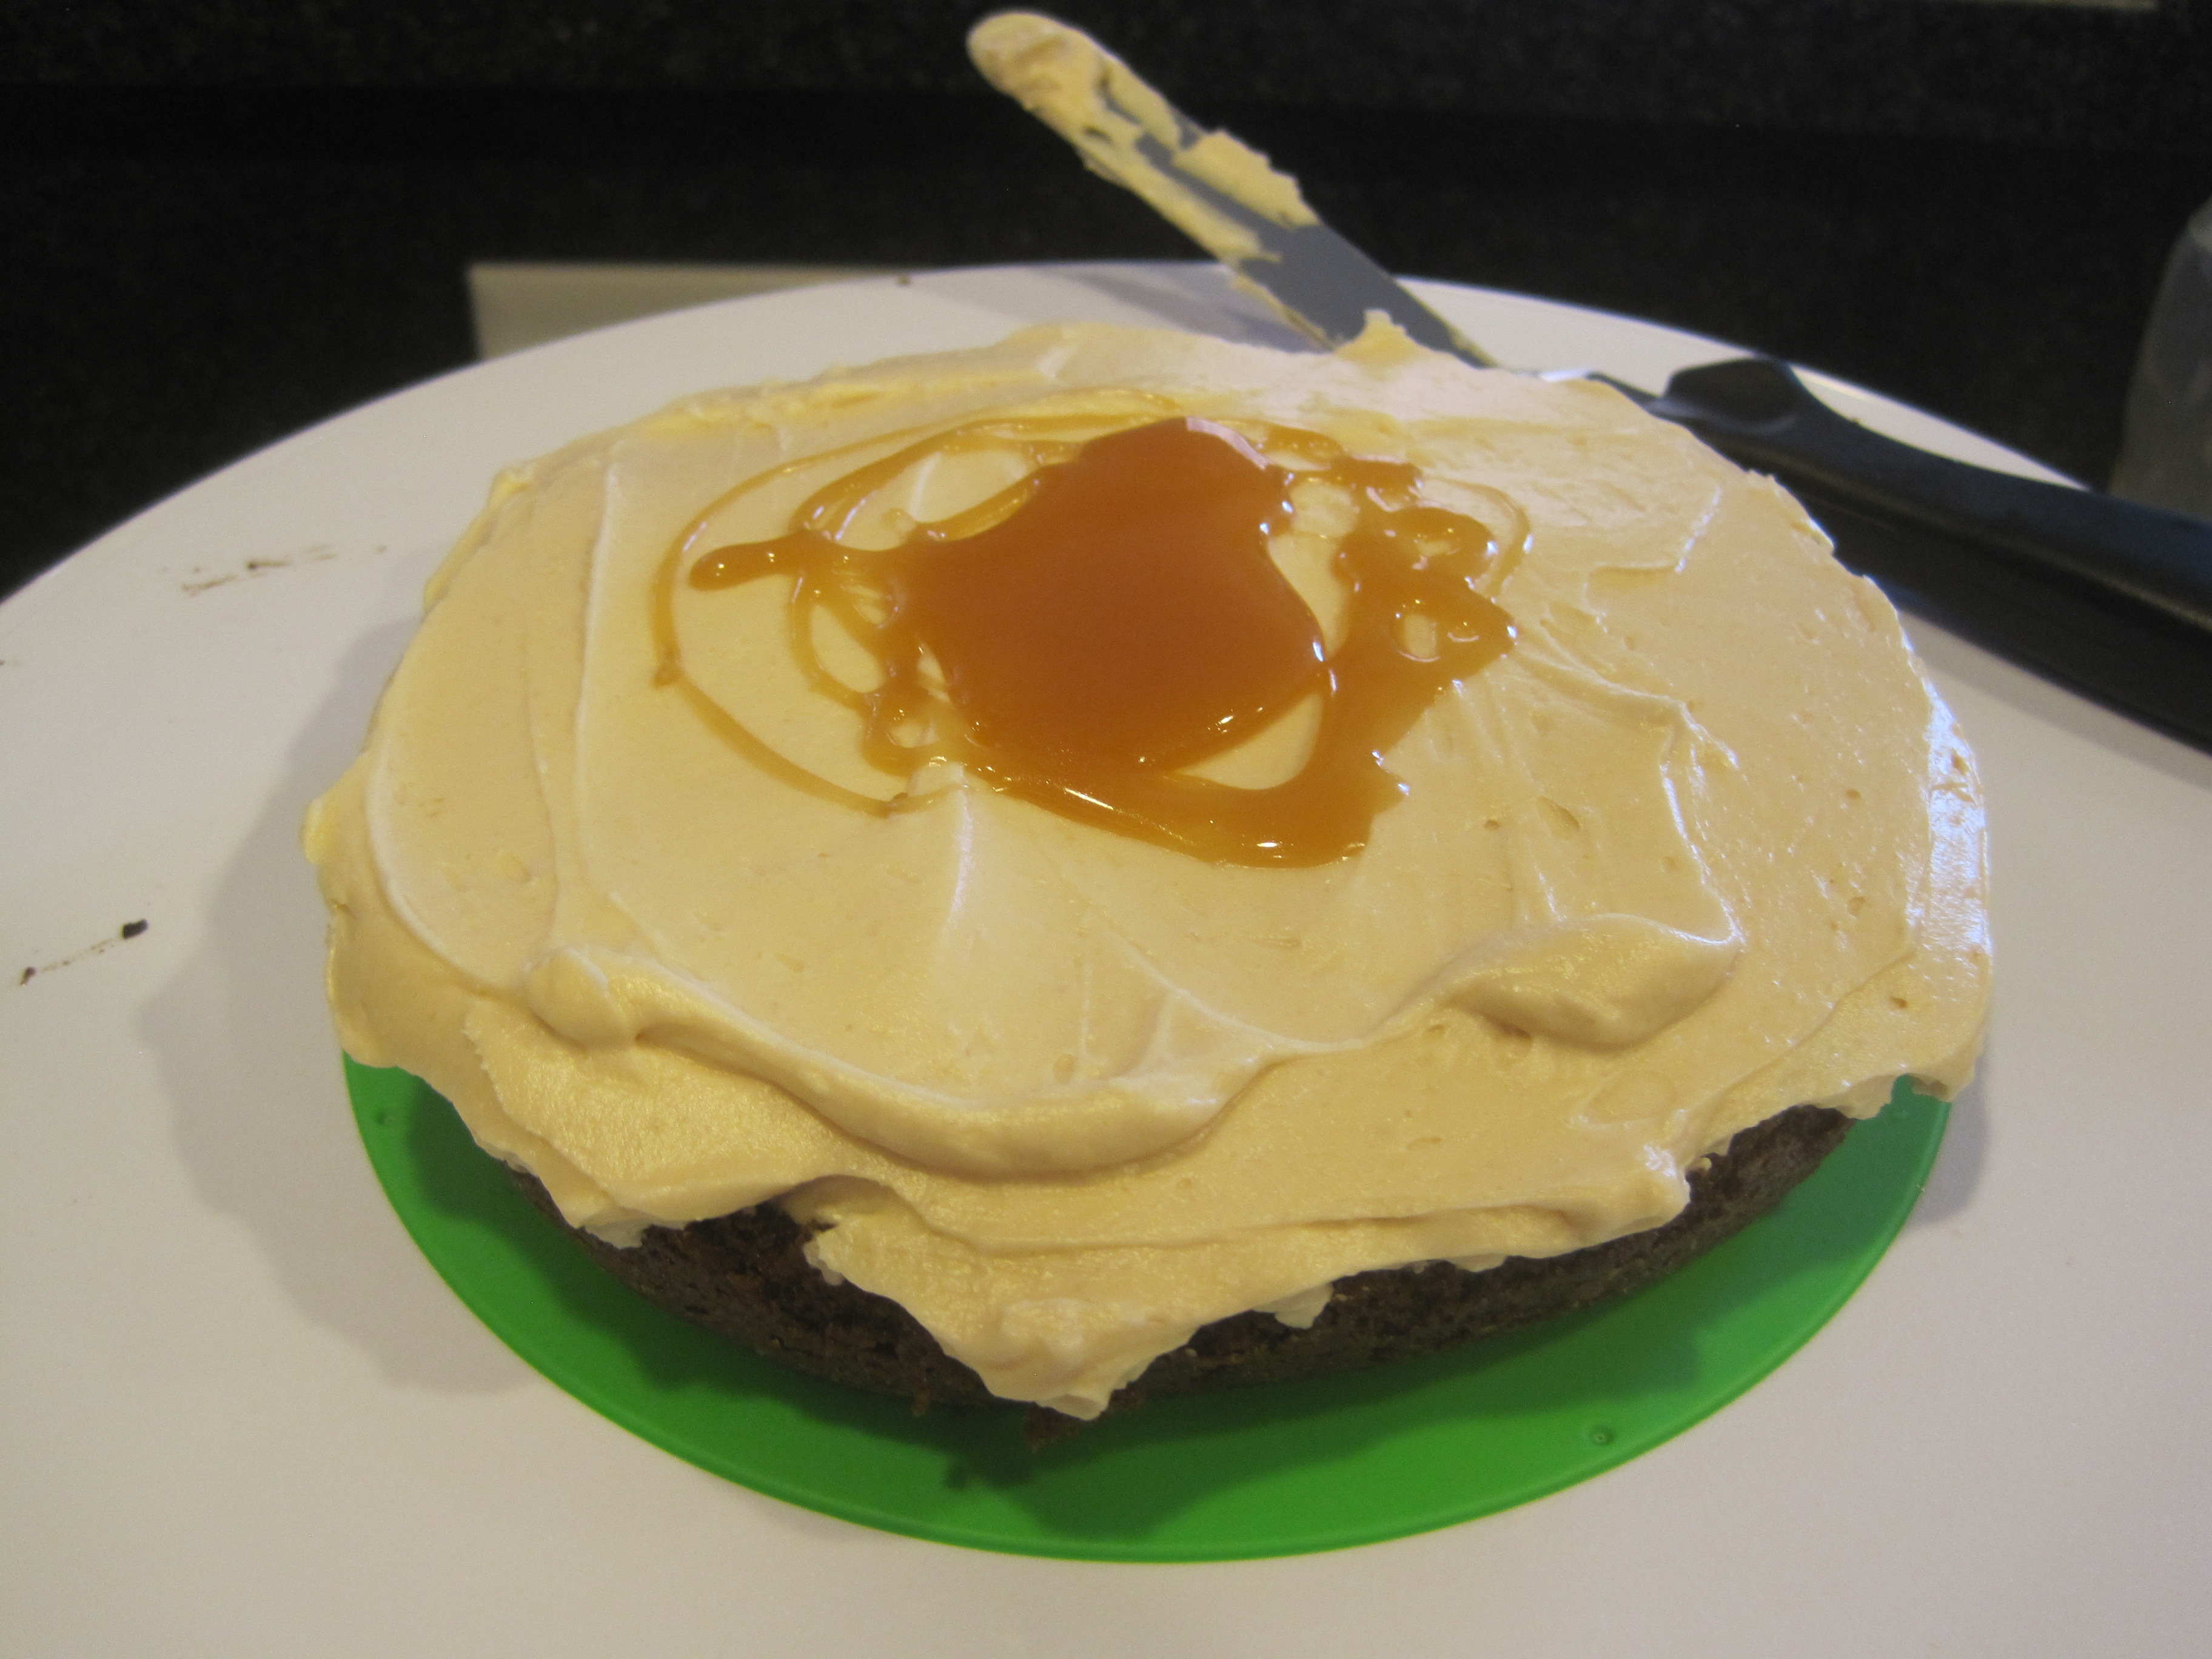
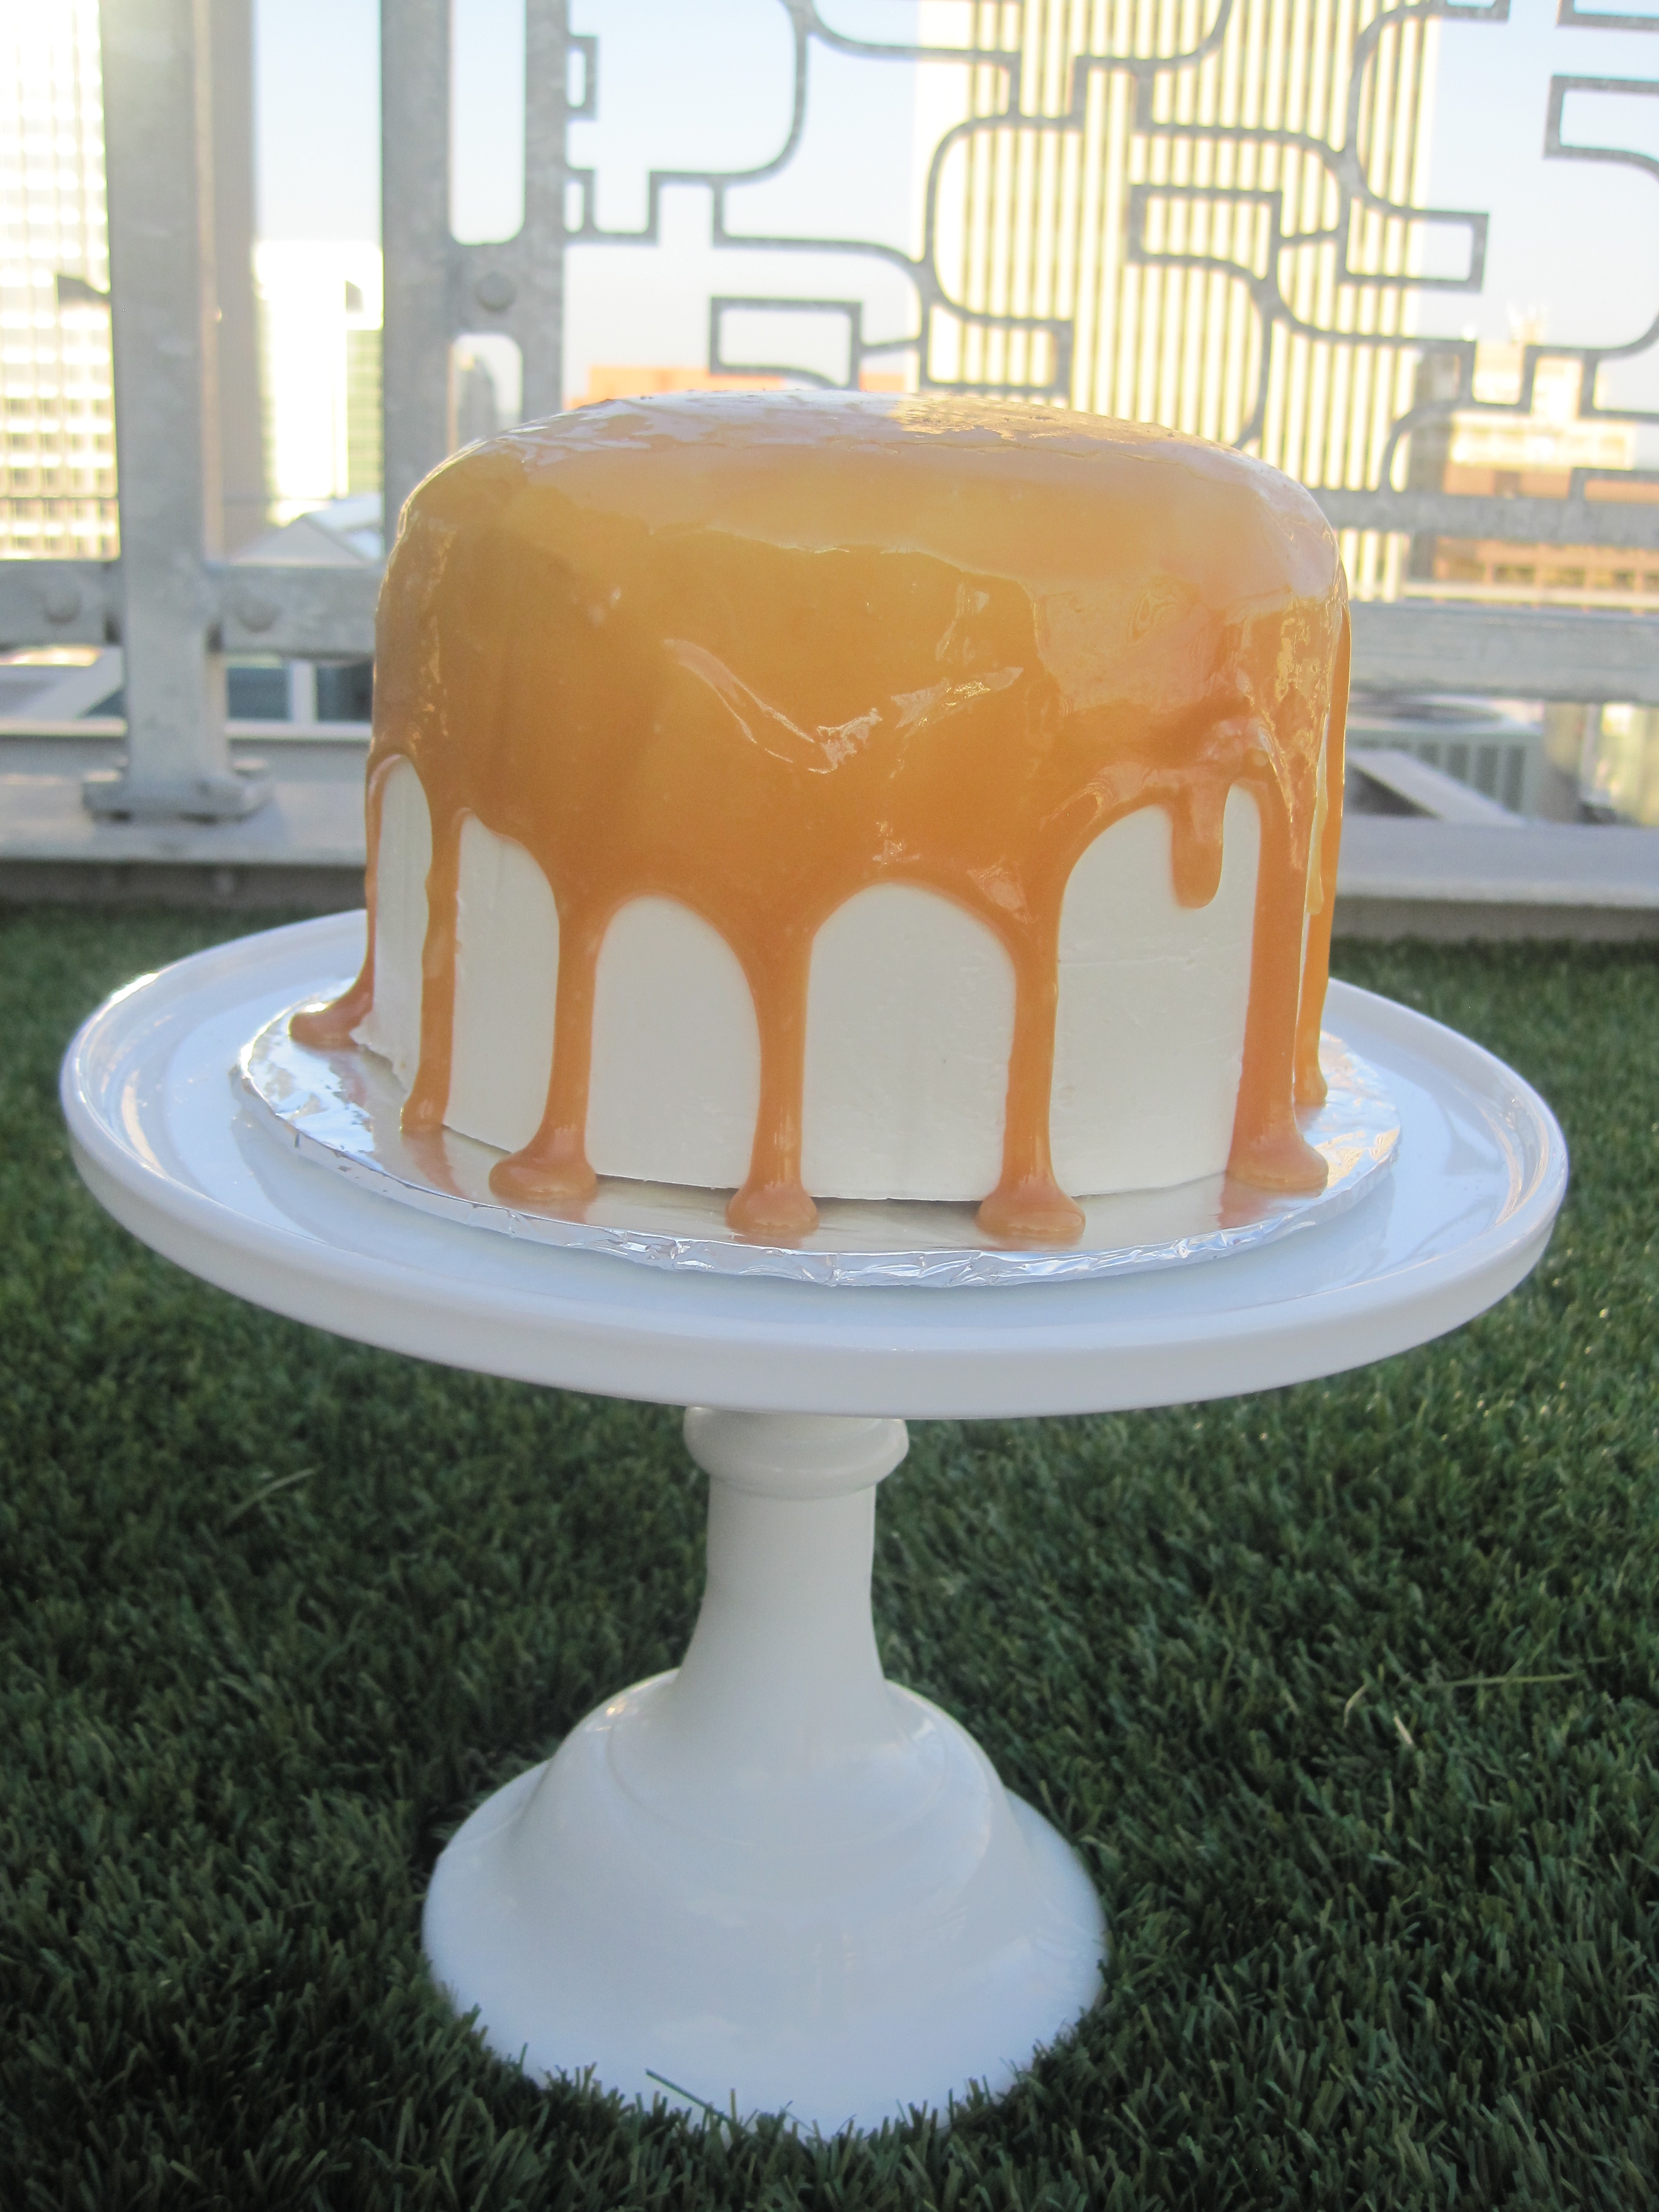
so ready to eat this amazing cake!

chocolate salted caramel layer cake by the baking cup

chocolate salted caramel layer cake by the baking cup

chocolate salted caramel layer cake by the baking cup

chocolate salted caramel layer cake

salted caramel sauce ingredients:
1 cup sugar
2 tablespoons water
2 tablespoons light corn syrup
1/2 cup heavy cream
3 tablespoons butter
1/2 teaspoon lemon juice
1/4 teaspoon salt, kosher or sea salt

yields 1 and 1/2 cups

chocolate cake ingredients:

1 cup all purpose flour
1/2 cup unsweetened natural cocoa powder
1/4 teaspoon sea salt
1/2 teaspoon baking powder
1/2 teaspoon baking soda
1 cup granulated sugar
1 extra large egg {sitting on the kitchen counter for 30-50 minutes approximately}
1/2 cup buttermilk, room temperature {sitting on the kitchen counter for 30-50 minutes approximately}
1/4 cup flavorless oil {canola, vegetable}
1 teaspoon pure vanilla extract
1/2 cup boiling water
2 tablespoons strong brewed decaf coffee

salted caramel swiss meringue buttercream frosting ingredients:

2 1/4 cups granulated sugar
7 large egg whites
3 and 1/2 sticks unsalted butter, cold to the touch {sitting on the kitchen counter for 20 to 30 minutes approximately}
2 teaspoons vanilla extract
3/4 teaspoon sea salt
3/4 cup to 1 cup salted caramel

make the salted caramel:

  1. combine the water, sugar, and the corn syrup in a deep saucepan and cook over medium heat.
  2. stir together with a wooden spoon until the sugar is incorporated.
  3. cover the saucepan and let it cook over medium heat for 2 minutes.
  4. after 2 minutes, remove the lid, increase the heat to medium-high, and bring to a boil.
  5. Do not stir from this point on, but it is important to carefully shake or swirl the pan so that one area of the caramel doesn’t burn.
  6. Continue to cook until the caramel turns an even amber color then remove from the heat and let stand for about 30 seconds.
  7. *** This is the dangerous part *** Pour the heavy cream into the mixture. Wear oven mitts, stand away from the pan, and be careful. The mixture will bubble up significantly.
  8. Stir the mixture with a wooden spoon, again being careful. Add the butter, lemon juice, and salt. Stir until combined.
  9. Pour into a large Pyrex measuring cup or heatproof bowl. Stirring occasionally, allow to cool until thick like molasses and cool to the touch, about 45 minutes.

make the chocolate cake:

  1. preheat oven to 325 degrees.
  2. butter two 6-inch pans throughout. line the bottoms with parchment paper. butter and lightly flour sides and bottoms. set aside.
  3. in a medium bowl sift flour, cocoa powder, salt, baking powder, baking soda and sugar together.
  4. in the bowl of a stand mixer beat egg, milk, oil and vanilla for 1 minute on medium-low speed until combined.
  5. in a small bowl or large measuring cup combine boiling water and coffee. add in a steady form to eggs, milk and oil mixture at low speed until well combined, about 30 seconds.
  6. set speed to the lowest setting and add flour mixture to liquids, 1/2 cup a at time until combined. do not over mix.
  7. divide batter evenly among prepared pans. about 14.5 ounces per pan.
  8. bake for 30 to 35 minutes, or until an inserted toothpick comes out with a few crumbs. start checking at the 30 minute mark with a toothpick.
  9. cool cakes in the pan on a wire rack for 5 to 10 minutes and take out of pans. let cool completely on the cooling rack before frosting, about 1 hour or more.

make the salted caramel swiss meringue buttercream frosting:

  1. add water to a large pot and set on a stove burner over low heat until water steams/simmers. in the bowl of a stand mixer, add sugar and egg whites. place bowl on top of pot with simmering water, making sure the bowl doesn’t touch the water.
  2. whisk egg whites and sugar for 3 minutes, or until the sugar has dissolved and the mixture is shiny and smooth. be careful when you touch the mixture to check if the sugar has dissolved since it’s hot.
  3. transfer bowl to stand mixer and beat with the whisk attachment for 10-12 minutes, or until glossy, fluffy and soft peaks form and the bottom of the bowl is cool and not warm.
  4. while egg whites are whisking, cut butter in 1/2 tablespoon pieces.
  5. once egg whites are ready, add butter, two pieces at a time beating on medium to medium-high speed {speed #5 or #6 in a kitchenaid}.
  6. add salt and vanilla. mix until well combined.
  7. in a separate bowl, combine about 2 and 1/4 cups of frosting and 3/4 to 1 cup of the salted caramel. mix well with a whisk for about a minute or until well combined. you’ll have enough vanilla frosting for the outside of the cake.

to assemble the cake:

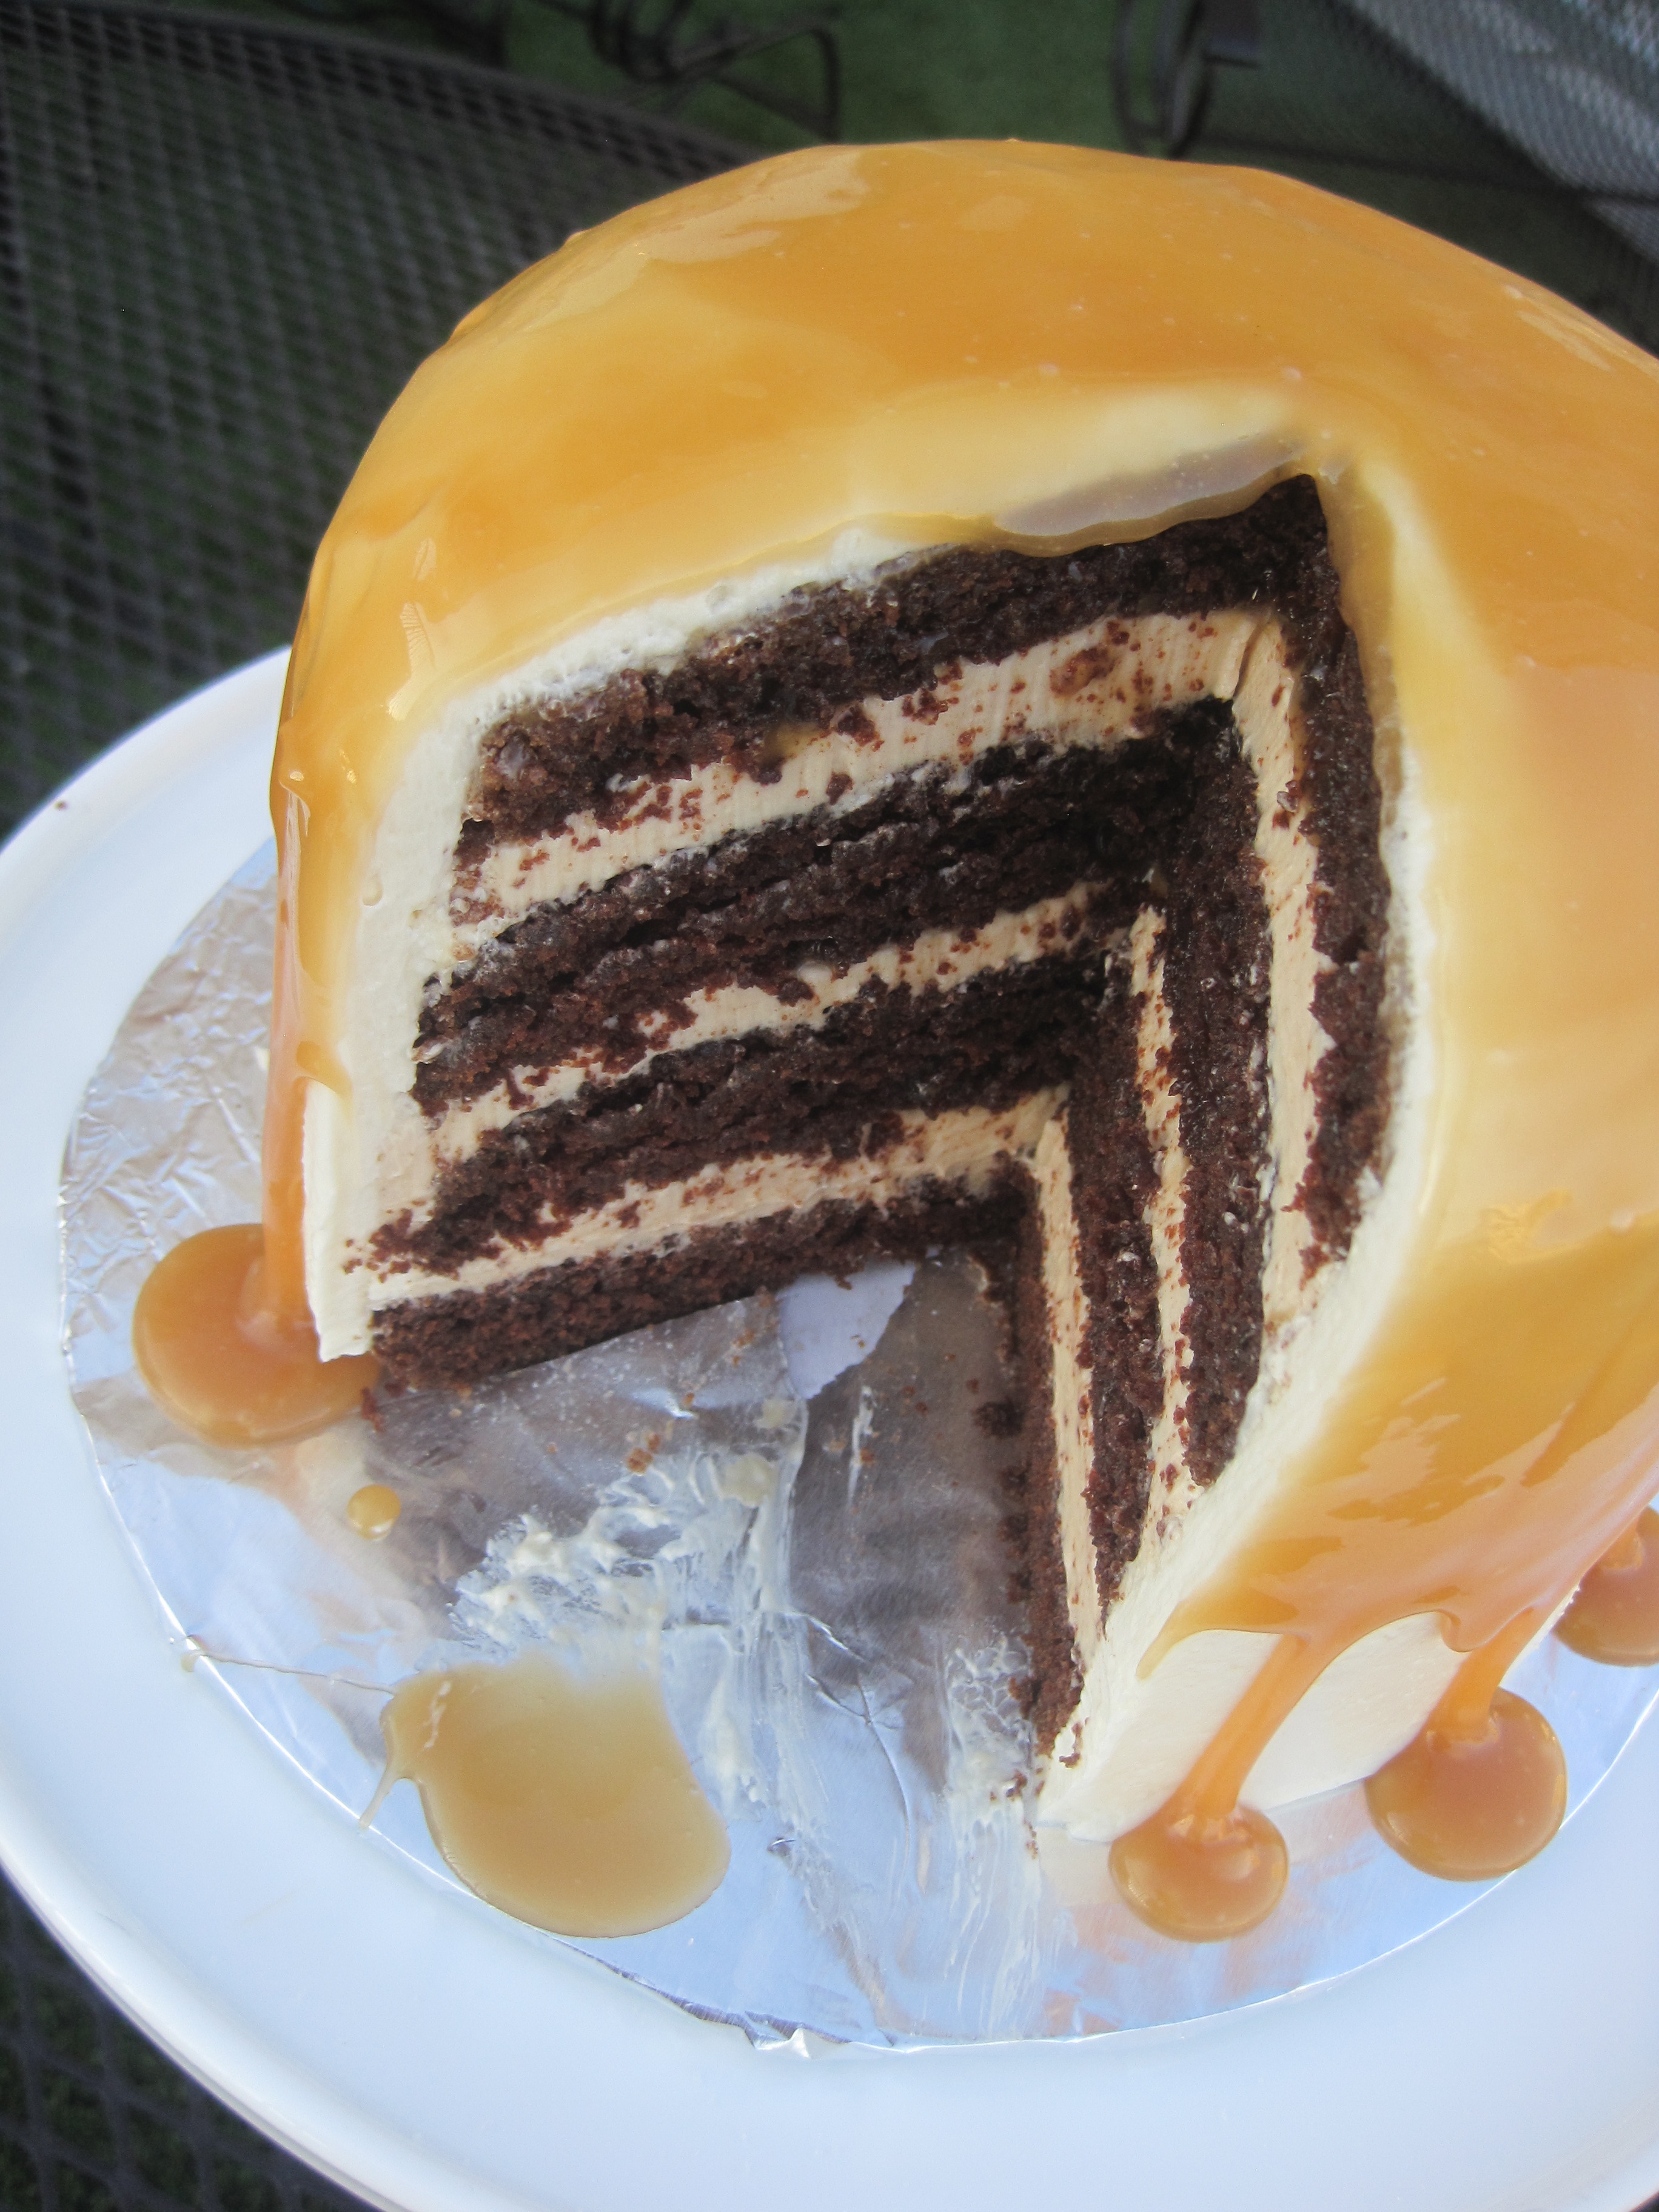
  1. cut all layers in half with a serrated knife {you’ll have 4 layers in total} and make sure to also cut any domes that formed while baking – you want the layers as straight and flat as possible.
  2. place a dollop of frosting in the middle of a plate, cake stand or cake board wrapped in tin foil paper and set first layer top side up. the addition of frosting is to prevent the cake moves while working on it. add 3/4 cup of the salted caramel frosting to first layer and spread with an offset spatula, and add 1 to 2 tablespoons of salted caramel. place another cake layer with top side up and add another 1/2 cup of frosting and salted caramel to layer. continue to assemble the cake until you get to the top layer, which you’ll want down side facing up.
  3. crumb coat your cake with a thin layer of the vanilla frosting without salted caramel and the help of a medium offset spatula. this layer doesn’t have to be perfect. place cake in the fridge for about 20 to 30 minutes to help it set.
  4. coat cake with the remainder of the vanilla frosting without salted caramel until smooth.
  5. pour remainder salted caramel on top of the cake. pour in the middle so the caramel spreads on its own and drips over the edges.
  6. serve immediately or store at room temperature in an airtight container for up to 1 day. you can refrigerate the cake but serve at room temperature.

notes:

  1. double the recipe for each item to make a four-layer 8-inch cake.
  2. you can make the cake the morning of but make sure to wrap tightly in plastic paper after they’ve cooled down and store at room temperature. assemble and frost in the afternoon or evening of same day.
  3. you can make the caramel sauce the day before or even two days ahead by storing it in the refrigerator in an airtight container after it’s no longer hot. let the sauce come to room temperature before using or pop in the microwave in 30-second increments until normal thickness {not too liquidity}.
  4. make the frosting a day or two ahead by storing it in the refrigerator in an airtight container and letting it come to room temperature for at least 5 hours. whisk frosting by hand or mixer at low speed.
  5. pour the remainder of the salted caramel sauce on the top outer layer minutes before displaying and serving. if you like the caramel sauce on top really thick, put it in the refrigerator for about 30 minutes.

chocolate salted caramel layer cake by the baking cup

the baking cup’s staple brownies

oh, brownies! you have been one big challenge for the past few months and have been hovering over my head with a huge question mark for way too long.

but it’s all good, my quest for the baking cup’s staple brownies has come to an end: these are chewy but not gummy, fudgey and not cakey, perfect balance of sweetness and chocolate with every bite, and perfect thickness.

whew! those are a lot of qualities to look for in a brownie and like my husband says: i’m my hardest critic, so you can imagine how much effort and love i put into each recipe. and these brownies are no exception. they get the seal of approval from the baking cup and are optimal for a summer afternoon, party or at weddings. serve it with a scoop of vanilla bean ice cream for a wow-your-guests kind of presentation!

the recipe calls for coconut oil, which is the secret to moist and fudgey brownies like the ones you make from the box. give them a try and you’ll see that the coconut oil makes a difference. enjoy!

chop unsweetened chocolate and melt with semi-sweet chocolate chips and coconut oil.

IMG_9118

after the chocolate has melted, add sugar, eggs, vanilla, baking powder and flour.

IMG_9125

IMG_9126

all of that hard work paid off and i’m happy with the results. i can’t wait for you to make them!

the baking cup's staple brownies

the baking cup's staple brownies
pass the milk!

the baking cup's staple brownies

the baking cup's staple brownies
the baking cup’s staple brownies

ingredients:
1 stick unsalted butter
3 ounces unsweetened chocolate, chopped
2 teaspoons unsweetened cocoa powder
1 cup semi-sweet chocolate chips, divided
1 teaspoon coconut oil
1 and 1/2 cups granulated sugar
2 teaspoons vanilla extract
4 large eggs, room temperature {sitting on the kitchen counter for 30-50 minutes approximately}
1 cup all purpose flour
1 teaspoon baking powder

yields about 16 2-inch squares.

directions:

  1. preheat oven to 350F. butter a 9 x 13 inch pan throughout and line with parchment paper. grease parchment paper with butter. parchment paper should hang over the edges of the pan. set aside.
  2. in a large heat-proof bowl, melt butter with unsweetened chocolate, unsweetened cocoa powder, 1/2 cup of semi-sweet chocolate chips and coconut oil. melt in the microwave or over the double boiler method. if using the microwave, do 30 seconds at a time taking the bowl out to stir with a rubber spatula until all ingredients are melted and well incorporated.
  3. whisk in sugar until dissolved, 1 to 2 minutes.
  4. add eggs one at a time incorporating well after each addition and add vanilla with the last egg. do not over mix.
  5. with a rubber spatula fold in flour, baking powder and the remainder 1/2 cup of semi-sweet chocolate chips. do not over mix.
  6. pour batter into prepared pan and bake for 20 minutes or until an inserted toothpick comes out with a few crumbs.
  7. let brownies cool on a wire rack for 20 to 30 minutes and proceed to cut in 2-inch squares if desired. store in an airtight container at room temperature for up to two days.

the baking cup's staple brownies

exquisite brown butter oatmeal cookies

brown butter oatmeal cookies is where’s at! i don’t think i liked a cookie so much besides my chewy chocolate chip or nutella s’mores cookies

these oatmeal cookies absolutely take the cake :)

let’s talk about the key ingredient: brown butter.

brown butter makes this cookie chewy, chewy, chewy and so delicious. brown butter has a nutty flavor and enhances anything you put it in/on. this recipe also has a pinch of cinnamon, which goes amazingly well with the oatmeal and brown butter. hope you are making them right now as you read this!

enjoy the how-to pics below and how exquisite they look after you bake them!

make the brown butter by melting the butter over medium heat until it foams and changes to an amber color.

IMG_0080

make sure to whisk, whisk, whisk!

IMG_0081
if you follow me on instagram or facebook, you probably saw this picture of the state of ohio making an appearance in the brown butter, hahaha :)

IMG_0082

here’s the brown butter cooling down. see how the color changed?

IMG_0084
in a food processor, grind oats.

IMG_0074

and sift it through a mesh colander.

IMG_0075

add brown sugar and brown butter.

IMG_0077

IMG_0085

ready to go!

IMG_0087

IMG_0090
cooooookieeeesssss!

exquisite brown butter oatmeal cookies by the baking cup

exquisite brown butter oatmeal cookies by the baking cup

exquisite brown butter oatmeal cookies by the baking cup

exquisite brown butter oatmeal cookies

ingredients:
1 cup unbleached all purpose flour
1/4 cup cake flour
1 cup old fashion oats, divided
1/2 teaspoon cornstarch
1/2 teaspoon baking soda
1/2 teaspoon sea salt
1/4 teaspoon ground cinnamon
1/4 cup white granulated sugar
1/2 cup dark brown sugar, tightly packed
1 stick unsalted butter, sliced in 1 tablespoons
1 large egg, room temperature {sitting on the kitchen counter for 30 to 50 minutes approximately}
2 teaspoons pure vanilla extract

yields 9 to 10 medium cookies.

directions:

  1. make brown butter: in a saucepan melt butter over medium heat. whisk constantly until the butter has changed to an amber color {about 5 to 8 minutes}. you will smell it once it’s done. remove saucepan from heat and pour butter in a bowl to cool down. set aside.
  2. preheat oven to 375F. line two cookie sheets with parchment paper or silpat and set aside.
  3. in a large bowl, combine flours, salt, baking soda, cornstarch, cinnamon and 1/2 cup of the oats. whisk well and set aside.
  4. in a food processor grind the remainder 1/2 cup of the oats until crumb is very fine. sift through a mesh strainer. grind the remainder oats on the strainer in the food processor again. add crumbs to bowl.
  5. whisk in sugars and mix well with the flour/oats mixture.
  6. add cooled brown butter and egg to the bowl and mix with a wooden spoon or rubber spatula until combined. mix in vanilla.
  7. with a regular size ice cream scoop, fill it 3/4 full, and form cookie dough balls. if you fill the scoop all the way, cookies will be way too big. continue to do this step until dough is all gone.
  8. bake cookies for 10 minutes rotating them half way through. do not over bake. they will look pale and gooey, but once they are cooled off they are the perfect consistency.
  9. let cookies cool in the cookie sheet placed on a cooling rack for about 5 minutes or so and then transfer cookies to a cooling rack.
  10. store at room temperature in an airtight container for up to 3 days.

note: you can refrigerate dough for about 10 minutes if the dough is too soft. i did refrigerate the dough so they cookies were a little thicker, but if you like flat cookies, you don’t have to refrigerate the dough at all.

exquisite brown butter oatmeal cookies by the baking cup

coconut lovers cupcakes

coconut is one of those flavors that’s a hit or miss with people. you either love it or dislike it. there’s no in between or grey area with coconut for sure!

i personally love coconut because it reminds me of the weekends spent at the beach growing up. but i totally understand if you don’t love it – you aren’t alone! several of my friends and people i know despite coconut and i’m okay with that :)

the recipe calls for tons of coconut milk and coconut flakes in both the cake and frosting. the cake is light, fluffy and moist. seriously moist, and very flavorful. it’s a very white cake since i used cake flour and egg whites. so that’s why it has a lighter texture and a small crumb and can’t wait for you to try it!

cream butter and add sugar to the bowl.

IMG_9200

egg whites make this cake amazingly fluffy!

IMG_9201

scrape the bowl so all ingredients are incorporated.

IMG_9202

add coconut milk and finish with the coconut flakes.

IMG_9204

IMG_9206

scoop batter into paper liners.

IMG_9210

and voila! the cupcakes are ready to be eaten devoured.

IMG_9248

IMG_9272

IMG_9273

IMG_9278

IMG_9279

IMG_9297

IMG_9307

IMG_9318
look at that !

IMG_9341

coconut lovers cupcakes

ingredients:
2 and 1/4 cups cake flour
2 and 1/2 teaspoons baking powder
1 teaspoon sea salt
1 and 1/2 sticks unsalted butter, room temperature {still cold to the touch; sitting on the kitchen counter for 30 to 50 minutes}
1 and 1/2 cups white granulated sugar
5 large egg whites, room temperature {sitting on the kitchen counter for 30 to 50 minutes}
2 teaspoons vanilla extract
1 and 1/4 cups light unsweetened coconut milk, room temperature {sitting on the kitchen counter for 30 to 50 minutes}
1 cup sweetened coconut flakes, packed

coconut buttercream frosting ingredients:
3 sticks unsalted butter, room temperature but still cold to the touch
2 and 1/4 cups powdered sugar
3/4 teaspoon sea salt
1 and 1/2 teaspoons vanilla extract
1 and 1/2 tablespoons unsweetened coconut milk, room temperature
1 and 1/4 cups sweetened coconut flakes for garnish {optional but highly recommended}

yields 21 cupcakes

directions:

  1. preheat oven to 350F. line two standard cupcake pans with paper liners {21 cups in total} and set aside. in a large bowl, sift cake flour, baking powder and salt. mix with a whisk and set aside.
  2. cream butter in the bowl of a stand mixer fitted with the paddle attachment for 1 minute over medium speed {kitchenaid setting #5}.
  3. add sugar to butter and cream together for 3 minutes over medium speed until fluffy.
  4. set speed to medium low {kitchenaid setting #4} and add egg whites, two at a time, and mixing 20 seconds in between to incorporate well. add vanilla and mix for 30 more seconds.
  5. stop mixer to scrape the sides and bottom of the bowl and paddle attachment and mix on high for 30 second to mix all ingredients well. if batter curds beat for 30 seconds more.
  6. set speed to the lowest setting and alternate coconut milk with flour mixture in three additions.
  7. add coconut flakes and mix until incorporated, about 15 seconds. do not over mix batter. if needed, scrape the sides of the bowl and mix with a rubber spatula.
  8. scoop batter into paper lined cups with a standard ice cream scoop filling them 3/4 full.
  9. bake for 18 minutes or until an inserted toothpick comes out clean, rotating cupcakes half way through. let them cool in the pan on a wire rack for 2 minutes and out of the pan for about 30 minutes on the same wire rack.
  10. make the frosting: cream butter for 3 minutes over medium speed {setting #5 on kitchenaid} with the whisk attachment of a stand mixer. once done creaming, mix for 30 more seconds at high speed. stop mixer. add sugar and beat at the lowest speed setting possible for 1 to 2 minutes until combined. while mixing add vanilla, salt and milk. increase speed to setting #6 or medium high and beat for 3 more minutes until fluffy and creamy.
  11. frost cupcakes and store in an airtight container at room temperature for up to 3 days.

IMG_9326

error: Content is protected !!