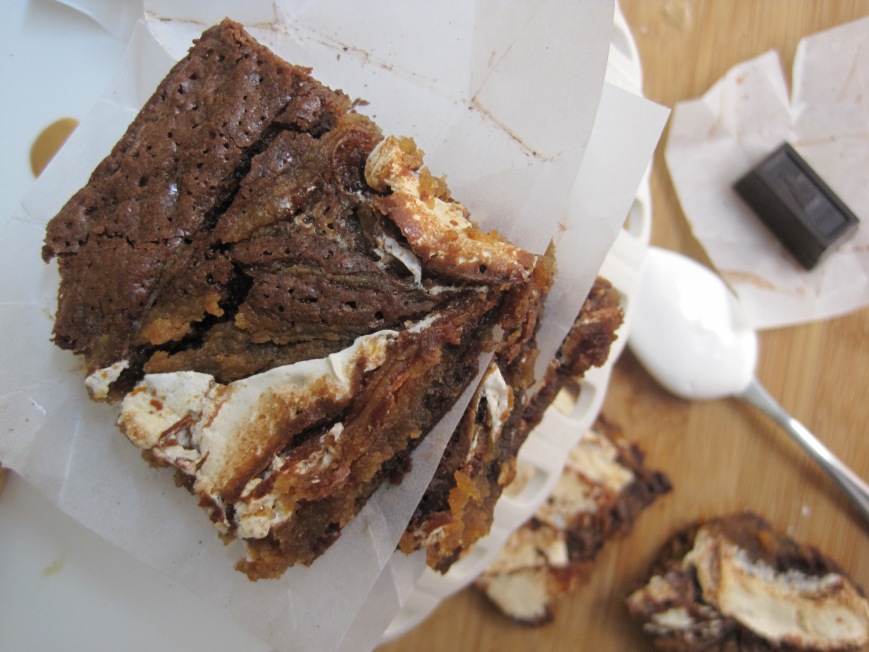
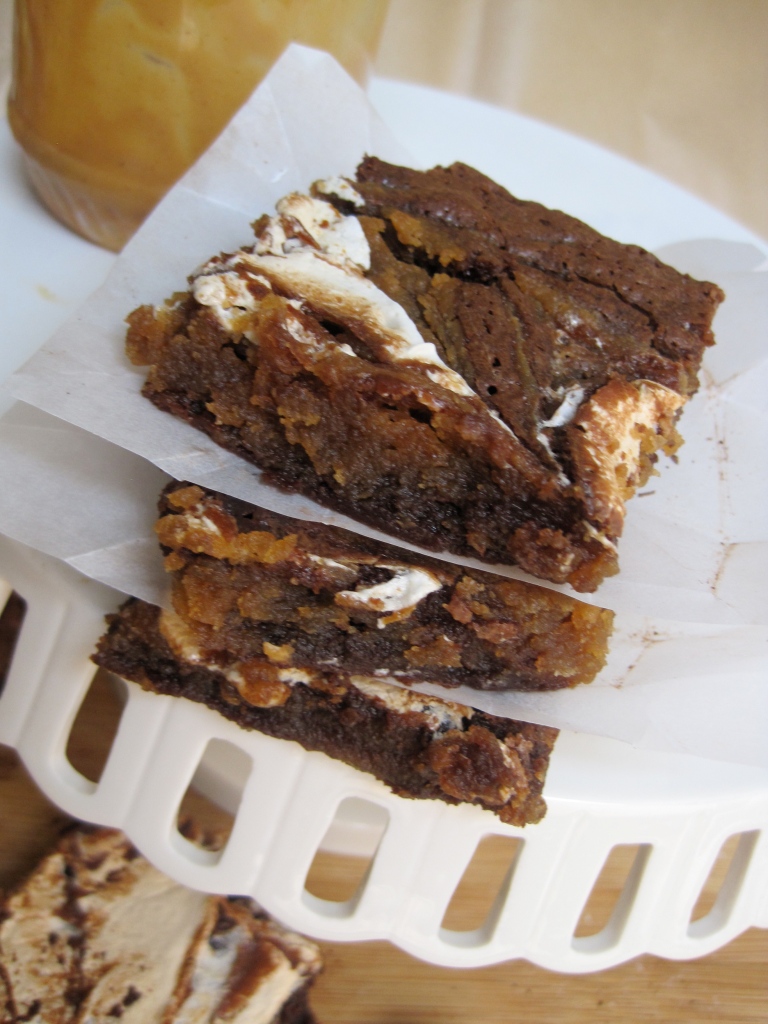
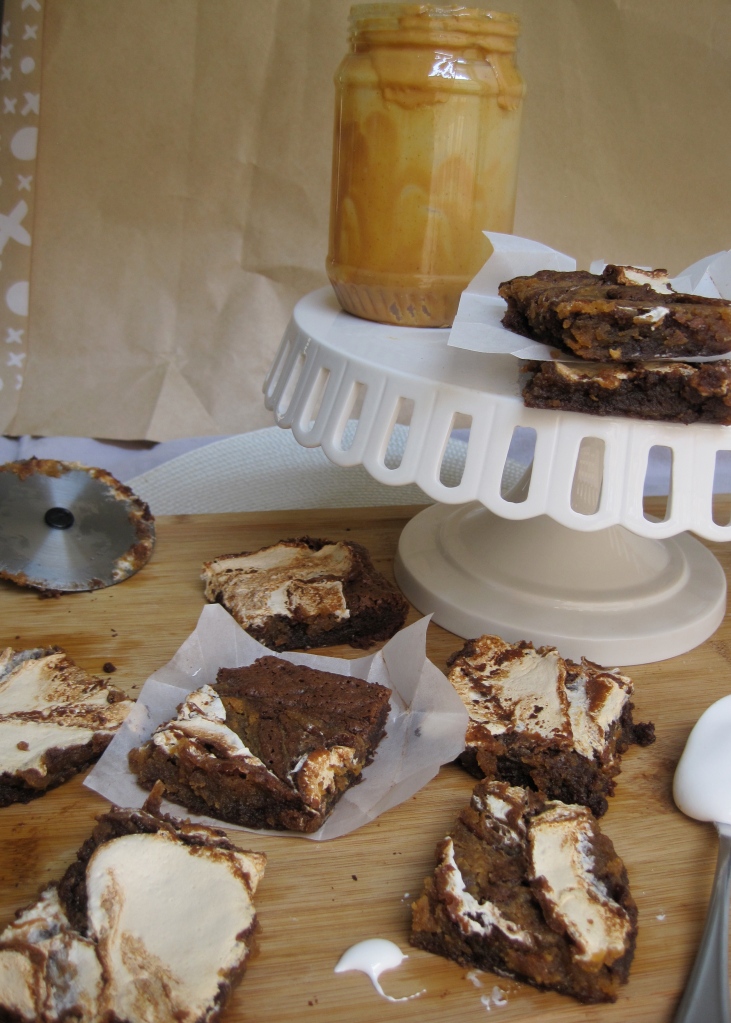
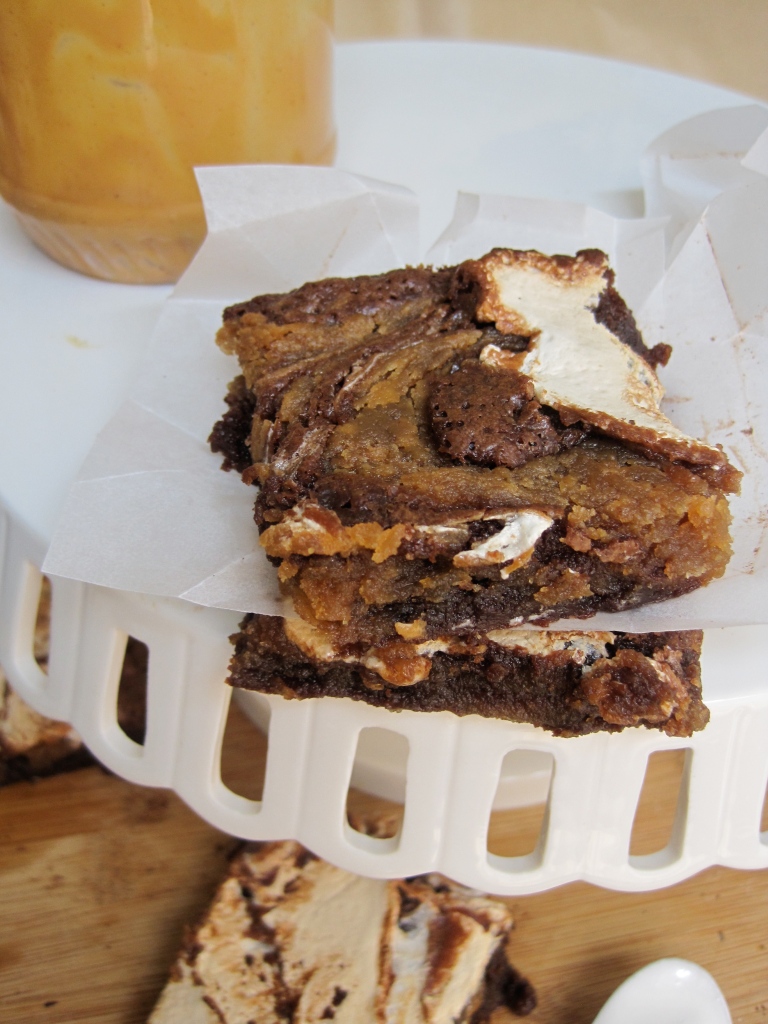
best ever peanut butter marshmallow brownies

do you know who’s best friends with peanut butter? if you said honey, you aren’t wrong :) who doesn’t like eating a peanut butter honey sandwich? ok, maybe just me.

if you said chocolate, you were right. chocolate is peanut butter’s best friend. but, i think chocolate goes beyond friendship and is peanut butter’s spouse. they go SO well together and are perfect for each other :)

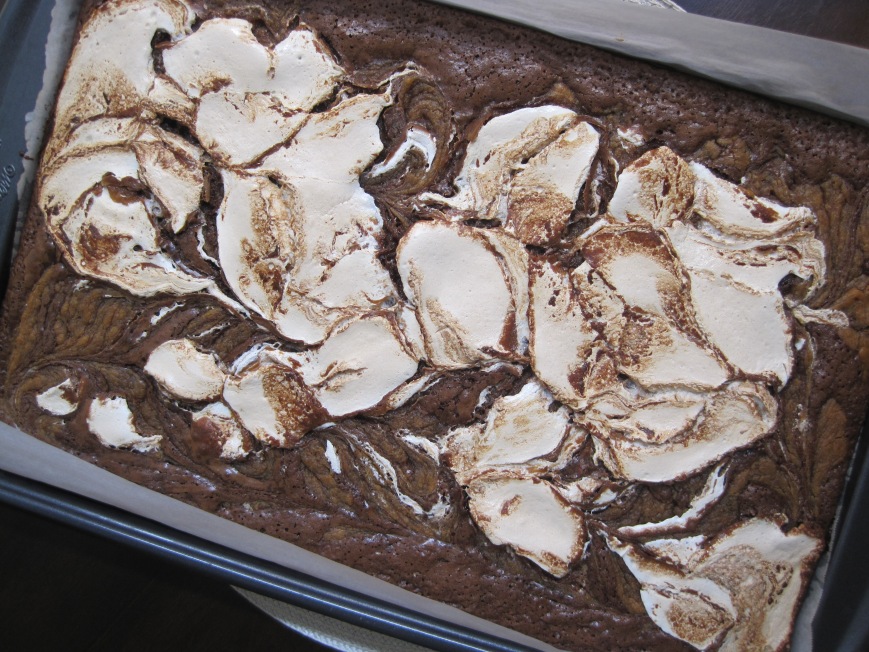
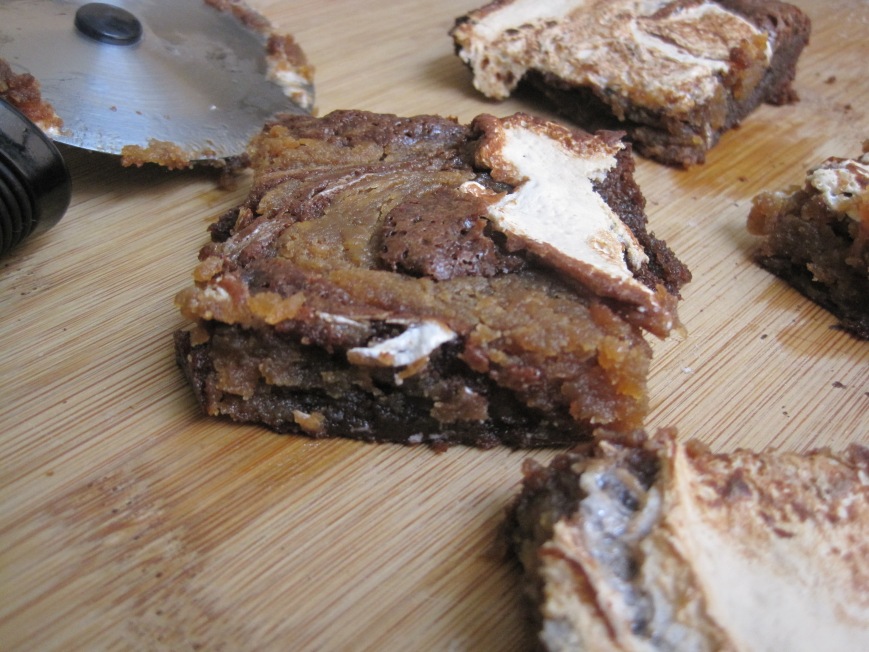
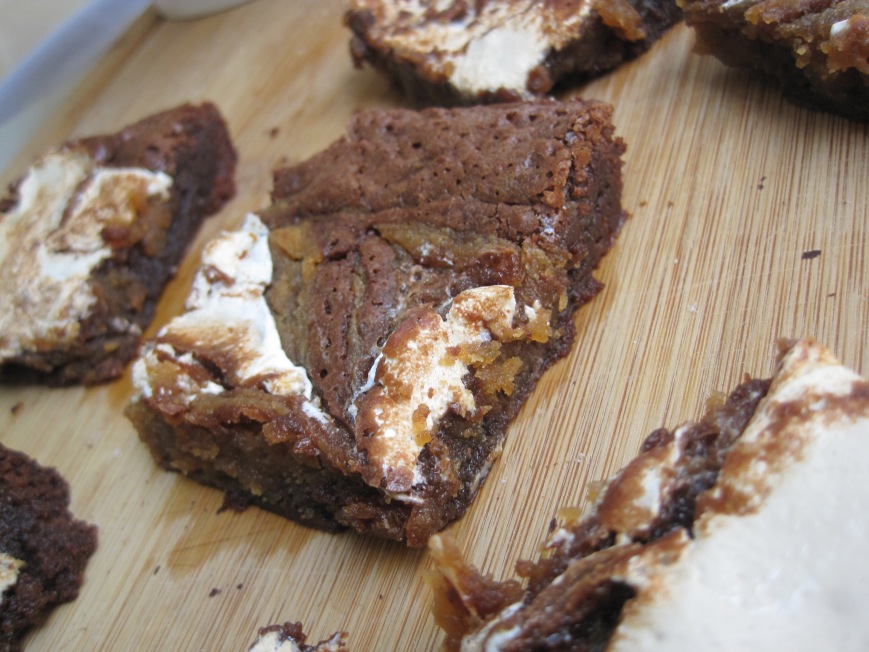
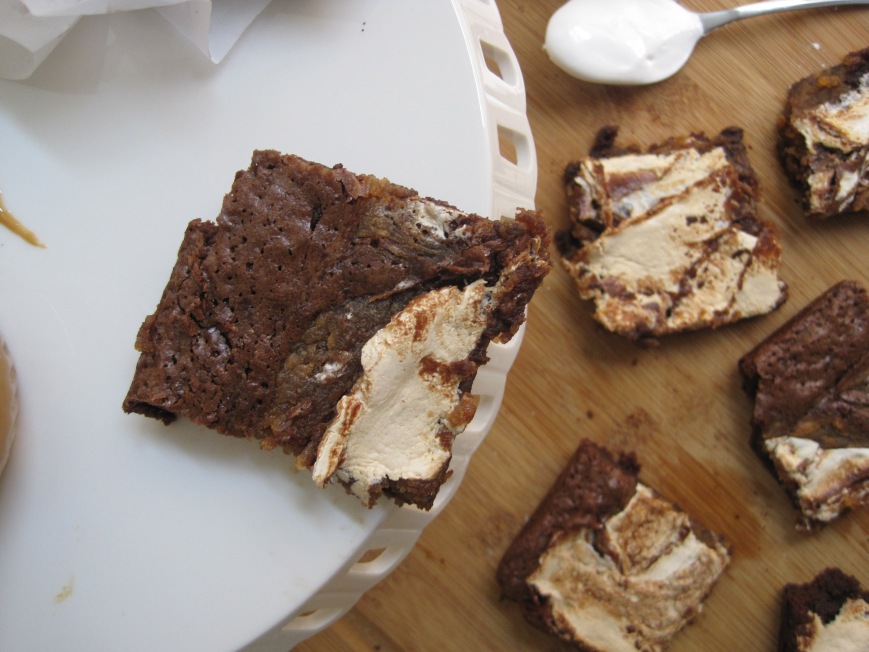
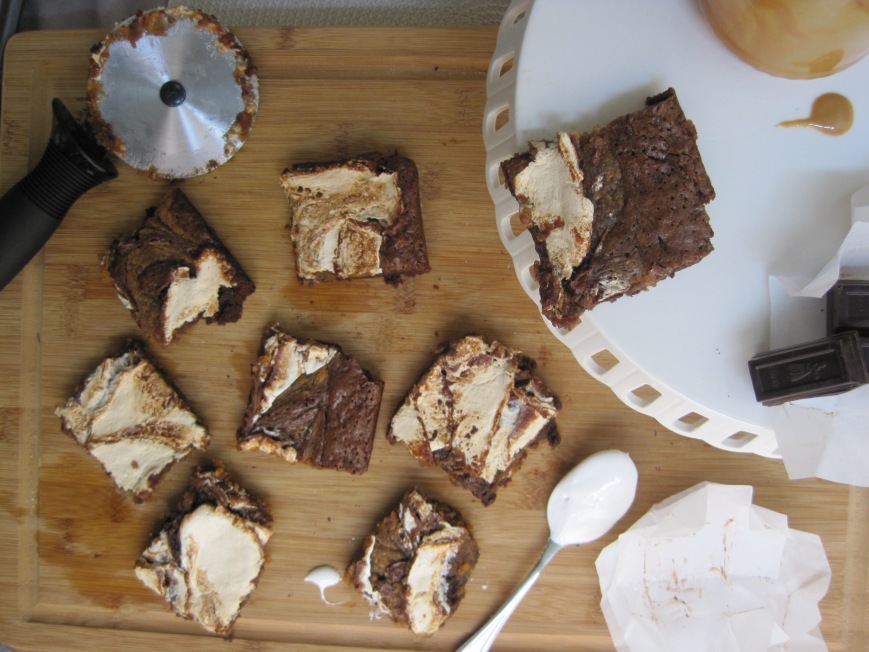
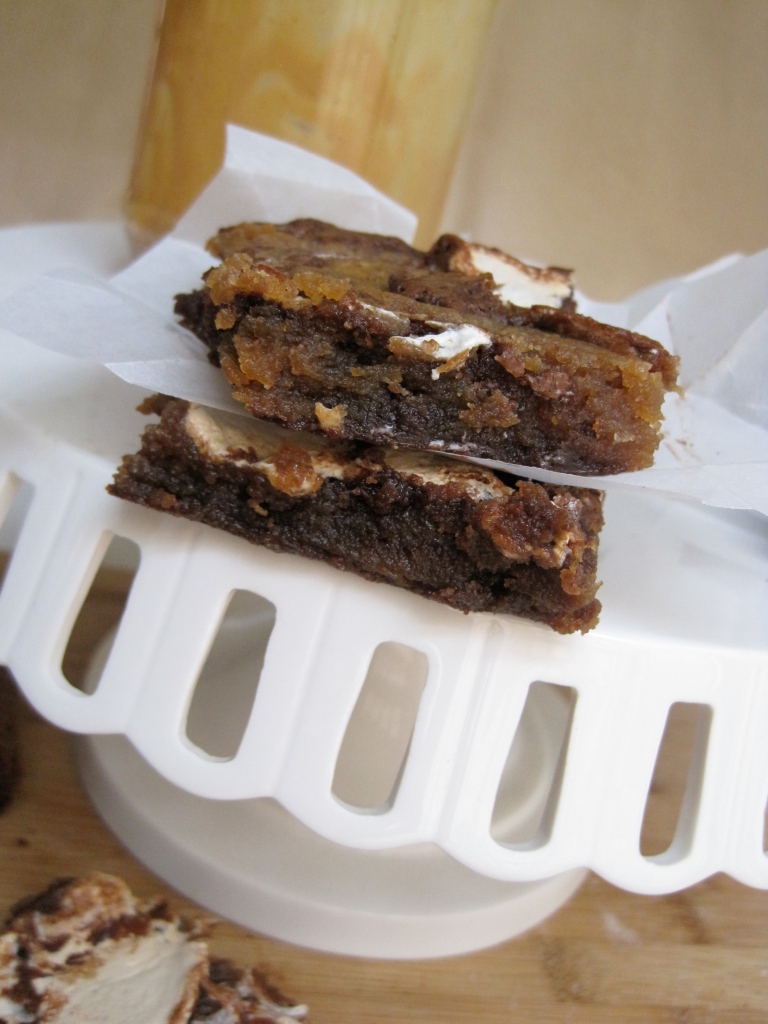
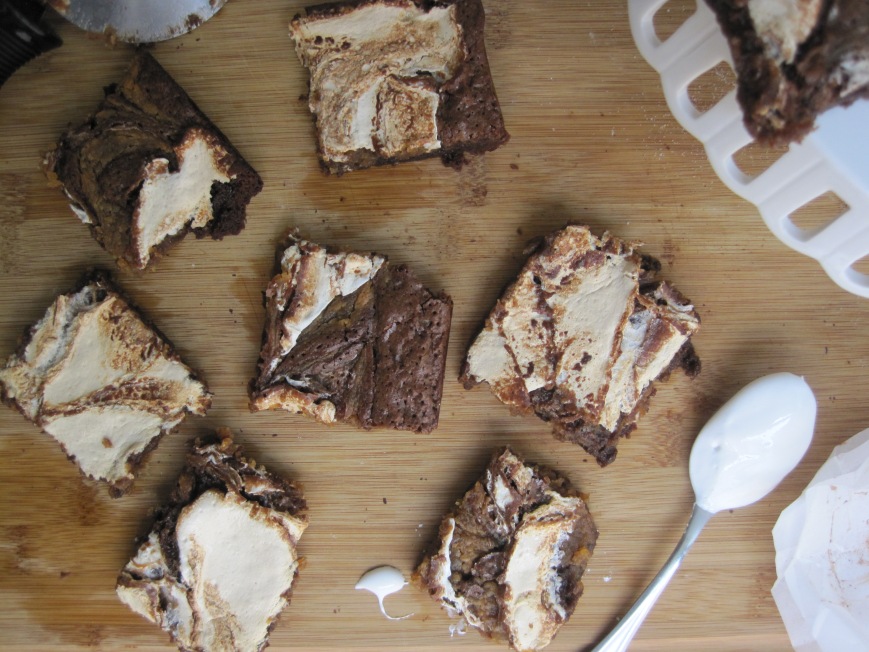
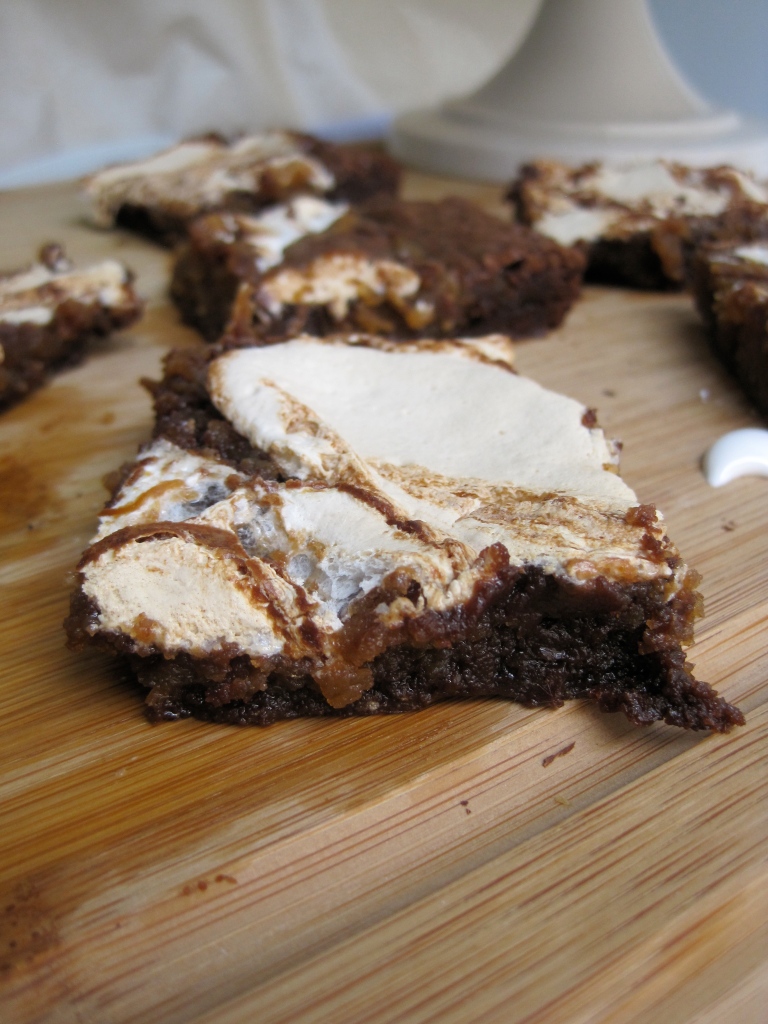
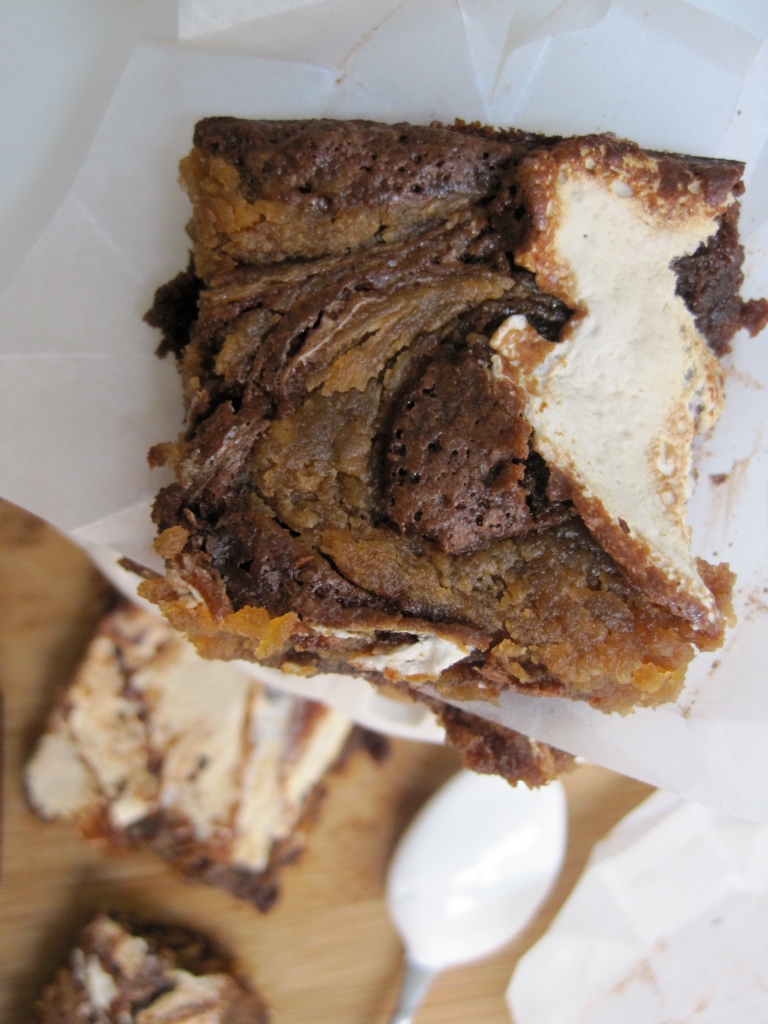
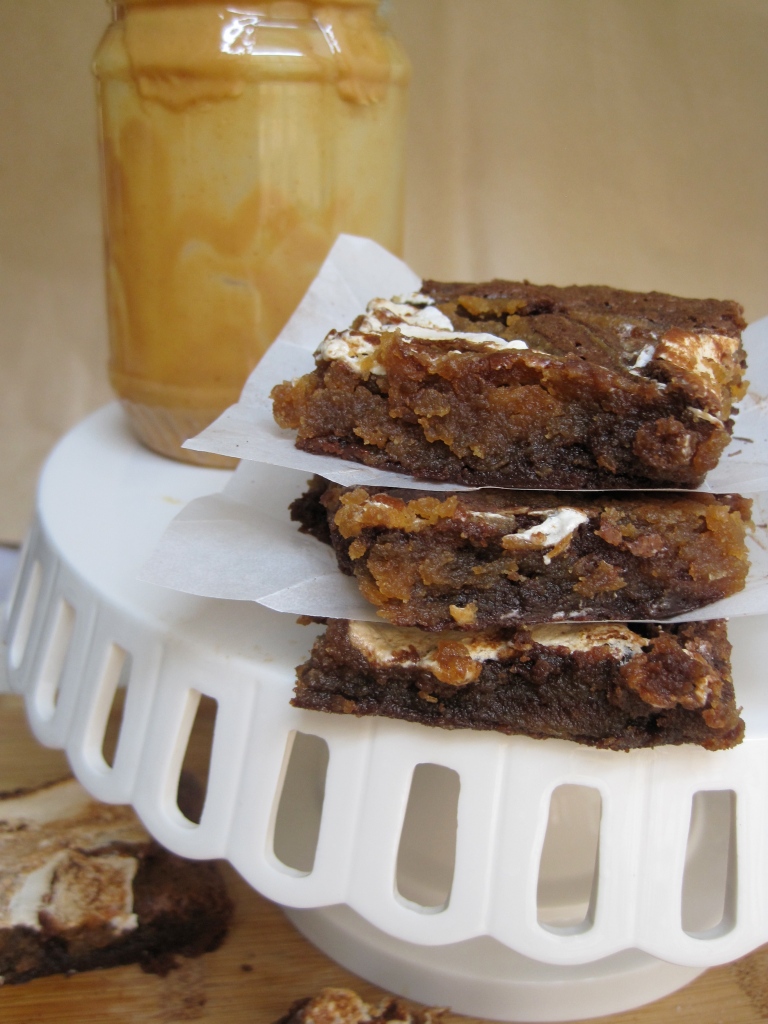
this recipe yields a rather thin brownie because of the size of the pan i used. i tested this recipe twice and is definitely better with the larger size pan due to the brownies’ richness, texture, and the addition of marshmallow creme and peanut butter. they are the perfect balance of sweetness because of the chocolate and marshmallow and saltiness because of the peanut butter. they are chewy and melt in your mouth. and if you are looking for the perfect peanut butter brownies, this is it!

i documented these amazing brownies and hope you make them. they will love you forever :)

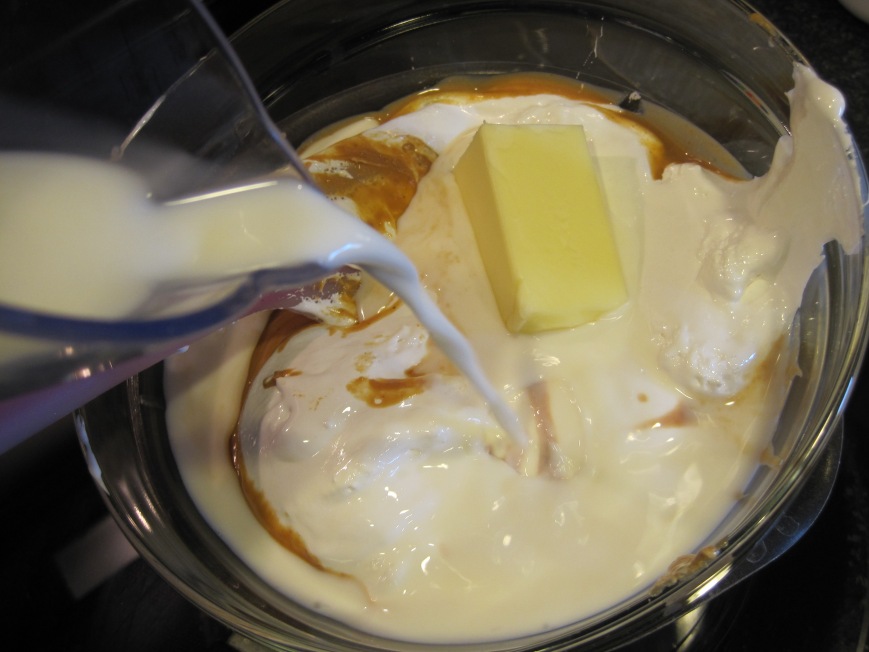
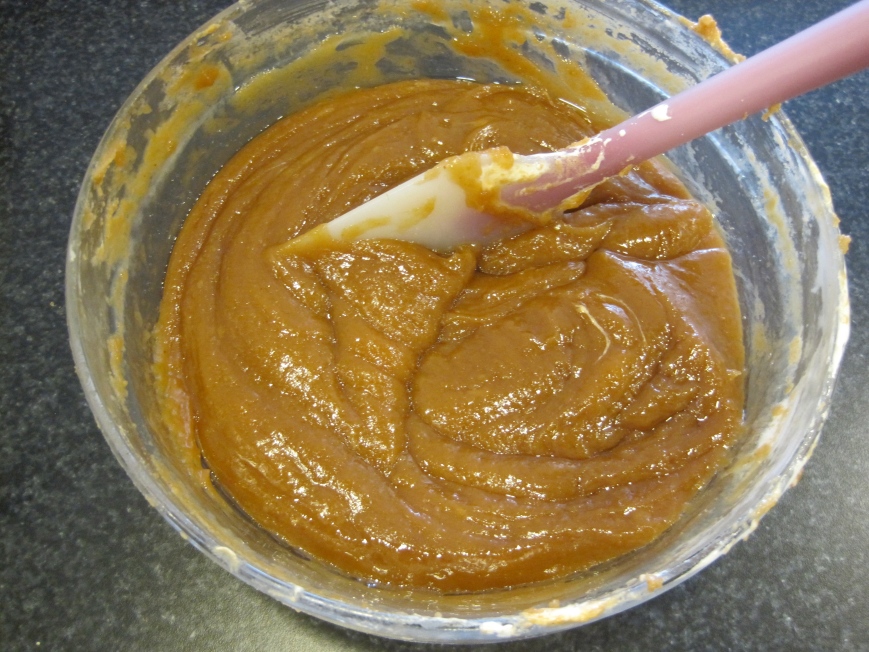
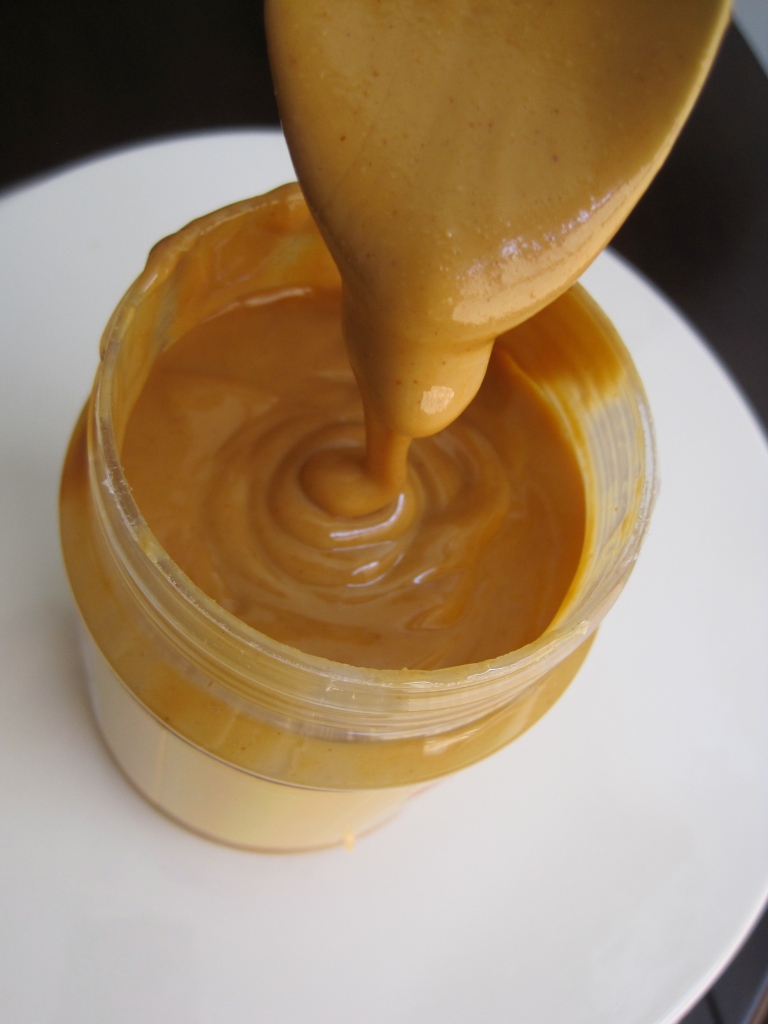
make the peanut butter mixture with the double boiler technique. add butter, milk, peanut butter, powder sugar and marshmallow creme to a bowl and stir occasionally until smooth!!

IMG_9115

IMG_9129

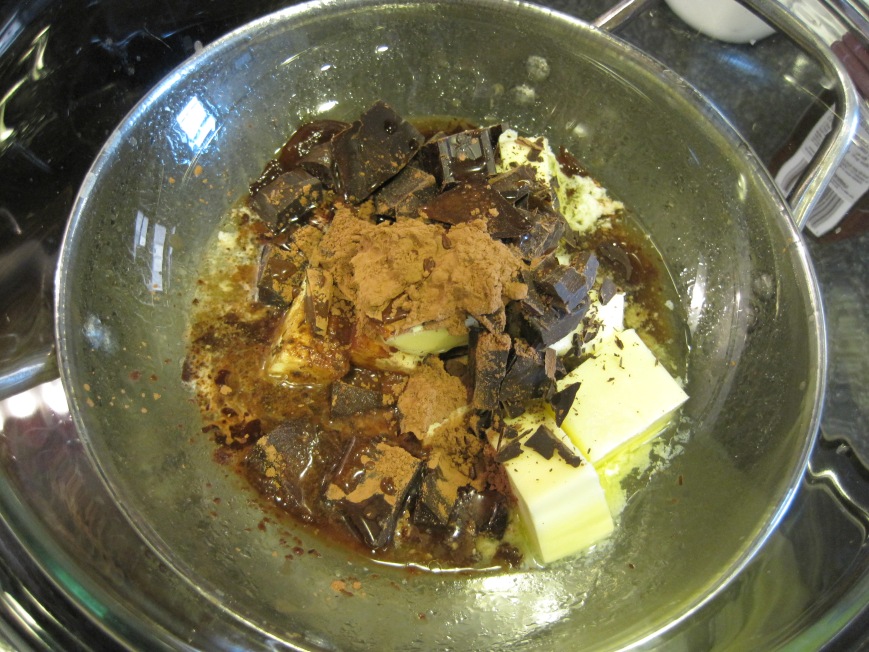
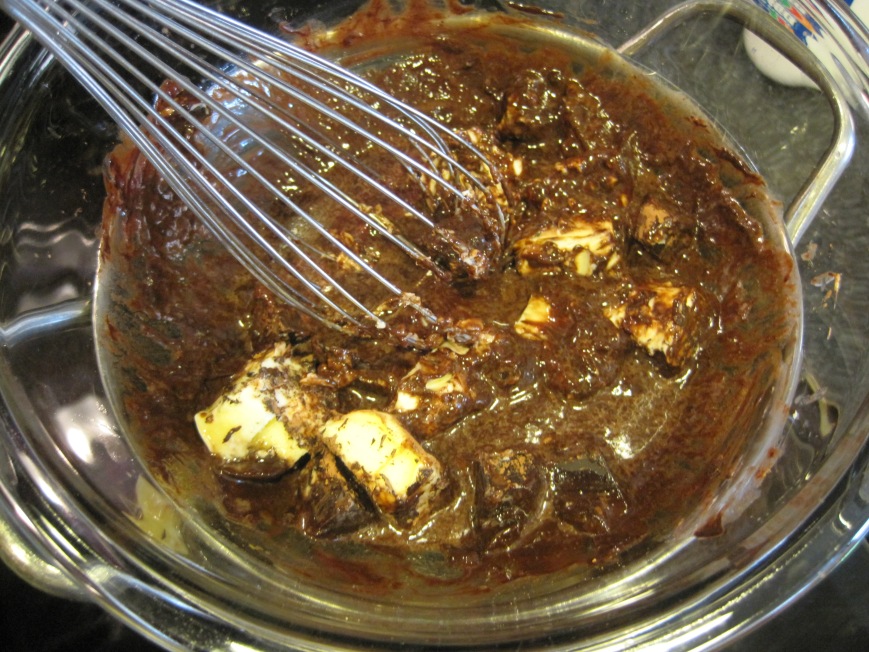
now onto the brownies :) this is a pretty easy and to the point method. over simmering water {double boiler technique} melt chocolate with butter, coffee and cocoa powder.

IMG_9120

IMG_9121

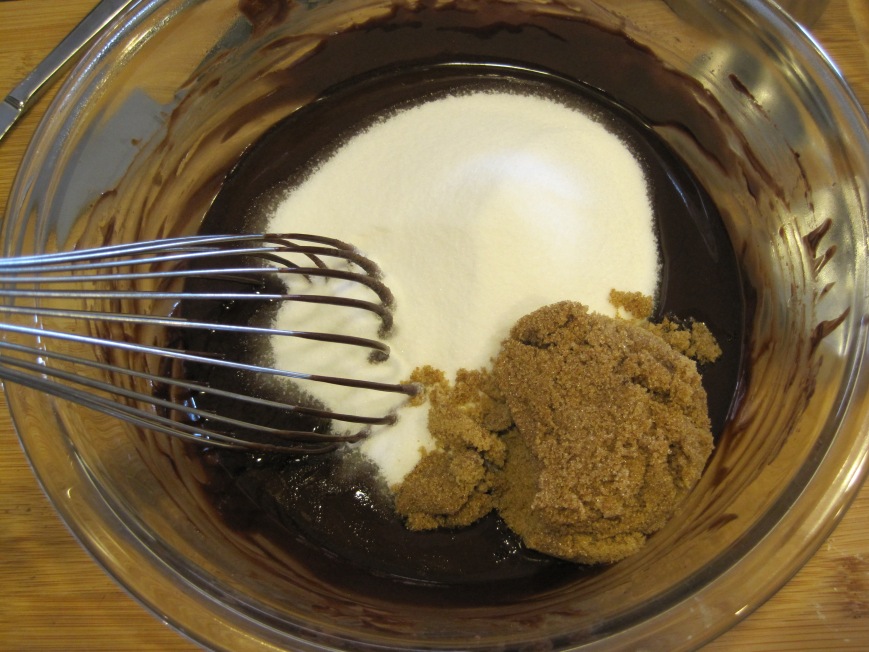
add sugars immediately after taking bowl off of the stove.

IMG_9123

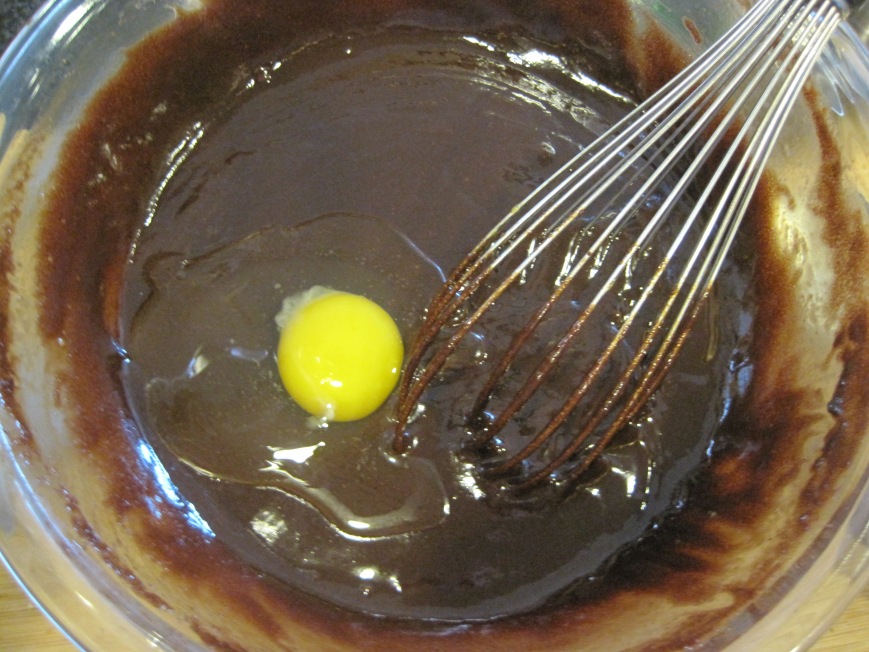
whisk in eggs and fold in flour. and you are almost done :)

IMG_9125

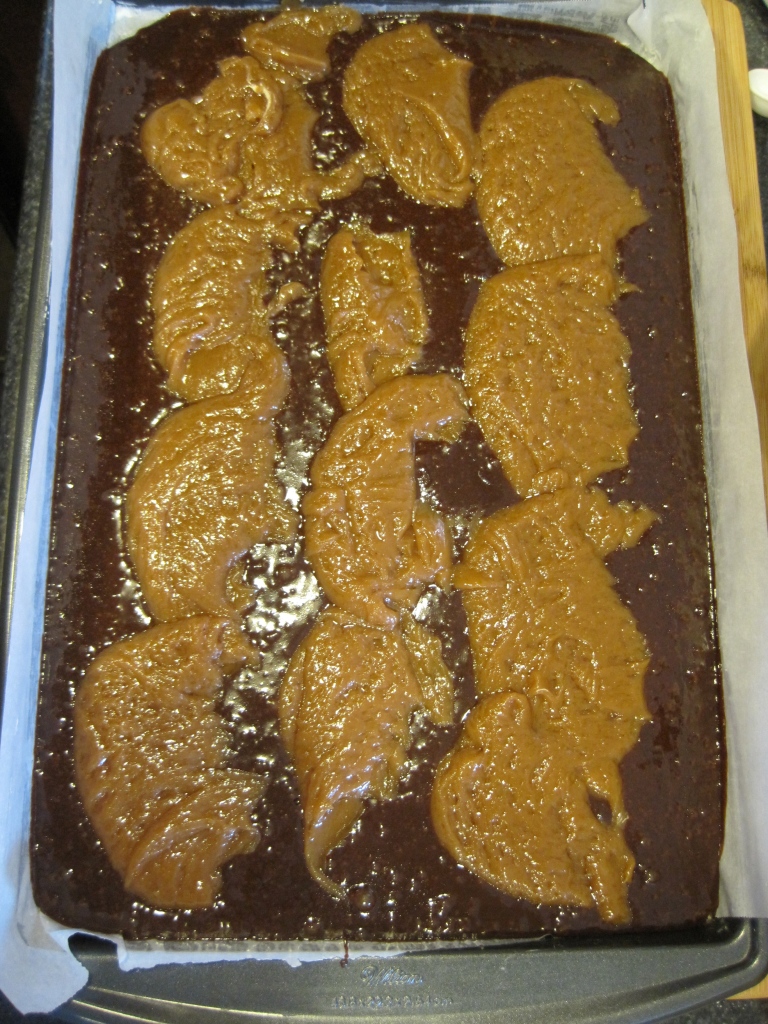
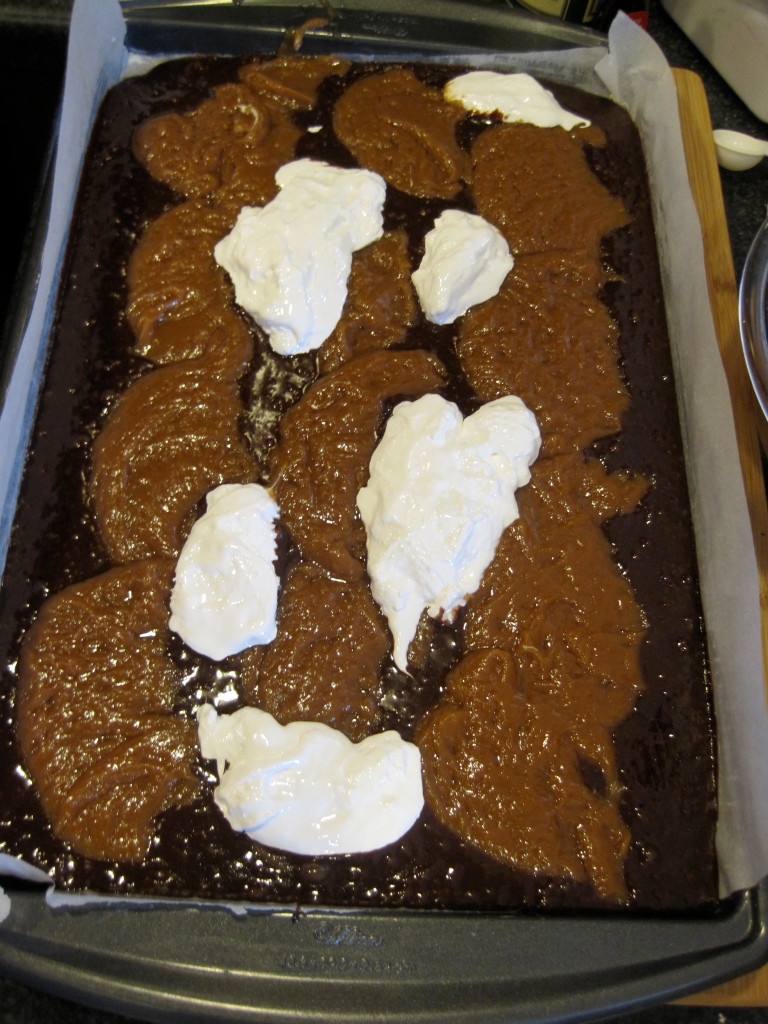
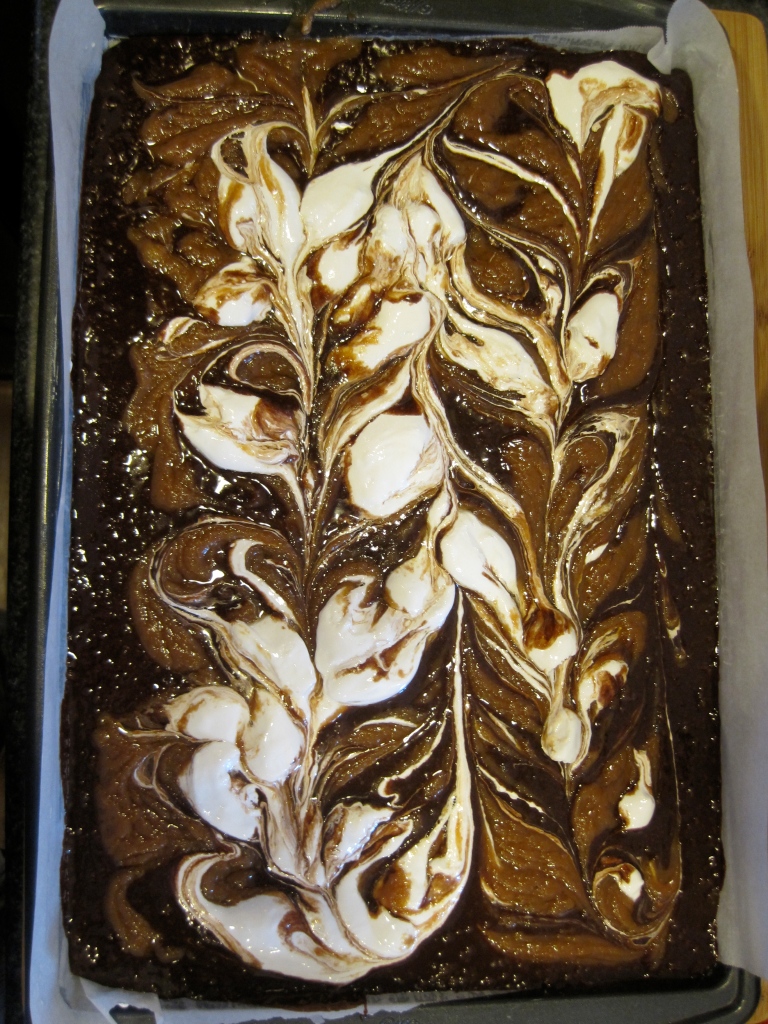
add peanut butter mixture followed by the marshmallow creme. there’s no right or wrong here. i added it in a line shape and filled the gaps with the marshmallow.

IMG_9130

IMG_9131

with a butter knife swirl the peanut butter and marshmallow in both directions, horizontally and vertically.

IMG_9134

can’t wait to dig in!!

IMG_9136

IMG_9139

IMG_9141

IMG_9150

IMG_9151

IMG_9160

IMG_9109

IMG_9154

IMG_9166

IMG_9170

IMG_9181

IMG_9185

IMG_9186

IMG_9190

best ever peanut butter marshmallow brownies

ingredients:
1 stick unsalted butter
3 and 1/2 ounces unsweetened chocolate, chopped
2 teaspoons unsweetened cocoa powder
2 tablespoons strong brewed decaf coffee {regular coffee works too}
1/2 cup dark brown sugar, packed
1 and 3/4 cups granulated sugar
2 teaspoons vanilla extract
3 large eggs, room temperature {sitting on the kitchen counter for 30-50 minutes approximately}
1/8 teaspoon sea salt
3/4 cup all purpose flour
6.5 ounces marshmallow creme {half of a 13 ounce jar approximately}

peanut butter-marshmallow creme swirl

ingredients:
One 16 ounce jar creamy peanut butter {i used all natural}
4 tablespoons unsalted butter
1 cup whole milk, room temperature {sitting on the kitchen counter for 30-50 minutes approximately}
1 teaspoon vanilla extract
6.5 ounces marshmallow creme {half of a 13 ounce jar approximately}
1/2 cup powder sugar

yields 32 2×2 inch squares.

directions:

  1. preheat oven to 350F.
  2. grease a 17.25 x 11.5 inch shallow baking pan {cookie sheet} throughout with butter and line with parchment paper. grease parchment paper with butter. parchment paper should hang over the edges of the pan. set aside.
  3. in a large {heat-proof} glass bowl over a pot of simmering, slightly boiling water over medium low heat, combine peanut butter, vanilla, marshmallow creme, butter, powder sugar and milk.
  4. mix constantly with a rubber spatula until all ingredients are well combined. peanut butter mixture is ready when smooth. turn heat to low and leave bowl on top of the pot with simmering water.
  5. in a large {heat-proof} glass bowl over a pot of simmering, slightly boiling water over medium low heat, melt unsweetened chocolate with butter, coffee and cocoa powder keeping an aye on it by stirring with a whisk constantly. this will avoid the chocolate to scorch.
  6. once chocolate mixture is melted, take bowl off of pot with simmering water with pot holders and place on a heat-proof surface such as a large trivet or cutting board. immediately add sugars and whisk by hand for one minute until dissolved. do not over mix since you don’t want the brownies to be caky once baked.
  7. whisk in vanilla and eggs, one at a time, mixing well after each one.
  8. add sea salt and mix well until incorporated.
  9. mix in flour just until incorporated. do not over mix.
  10.  add brownie batter to pan. add peanut butter-marshmallow creme swirl mixture to brownie batter in dollops forming 3 parallel lines.
  11. add marshmallow creme in dollops and use a knife to swirl brownie batter, peanut butter mixture and marshmallow creme together in both vertical and horizontal directions.
  12.  bake for 25-30 minutes. they are ready when a toothpick comes out with a few crumbs. start checking brownies at the 25th minute mark.
  13.  cool on a wire rack for at least 2 hours before cutting. or you can cool brownies in the fridge for at least 1 hour before cutting. with a pizza cutter or sharp knife cut into 2-inch squares.
  14.  store at room temperature in an airtight container for up to 3 days.

Notes:
I used this wilton pan for the brownies. You can certainly bake these brownies in a smaller pan but make sure to increase the baking time by 10 minutes or so because they will be thicker, so you’ll need to bake them longer.

IMG_9188

FacebookTwitterGoogle+

Share This Post

salsalicious

i had the urge to post this salsa recipe for you to enjoy on cinco de mayo.

or if you are like me, you can enjoy this easy-to-make, lime-bursting salsa every week. yes, i make it pretty much on a weekly basis. it’s so delicious and healthy. it must be my love for tomatoes and cilantro. this salsa has layer after layer of flavors and it is salsalicious.

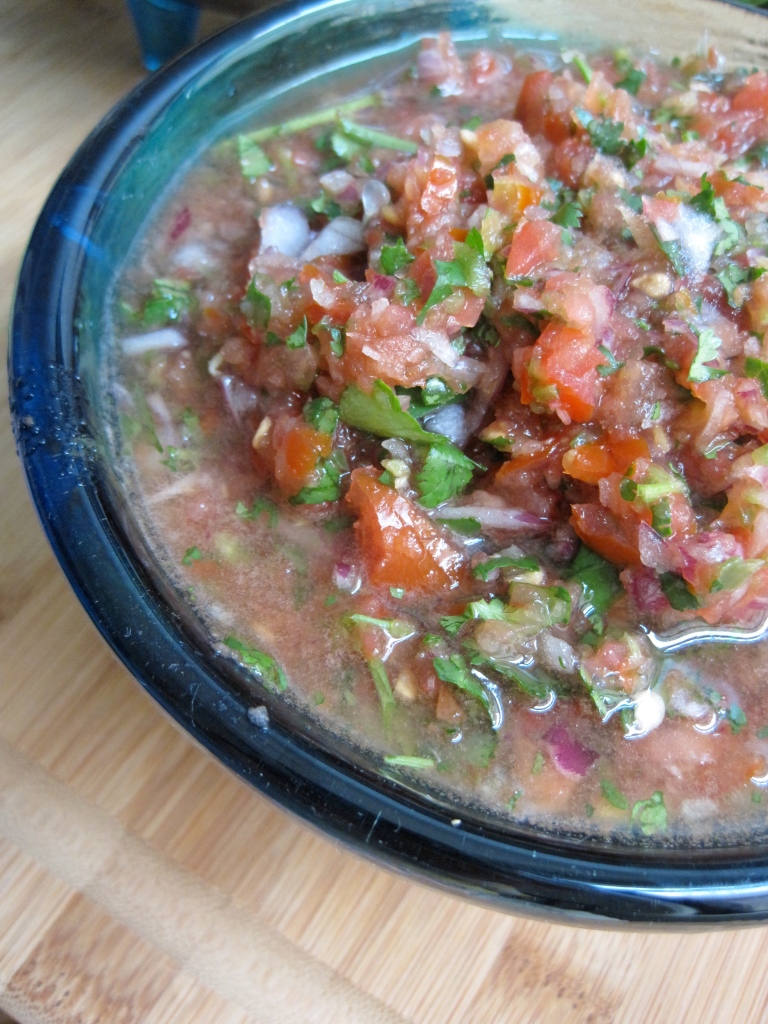
chop everything separately in a food processor or blender, or by hand. mix ingredients in a bowl. season with lime and sea salt. and you are on your way to a mind blowing, yet simple mexican salsa.

i LOVE lime. i grew up in south america, and lime is actually our lemon. so i overuse it in this recipe. but, there’s no such thing. try it and you’ll see that this salsa has the most balanced lime ratio than most of them out there. at least i like justifying my love for lime and how good it tastes in this salsa :)

you can check out my guacamole recipe here. my husband asked me to tell you that he highly recommends it ;)

here’s the how-to and recipe. enjoy!

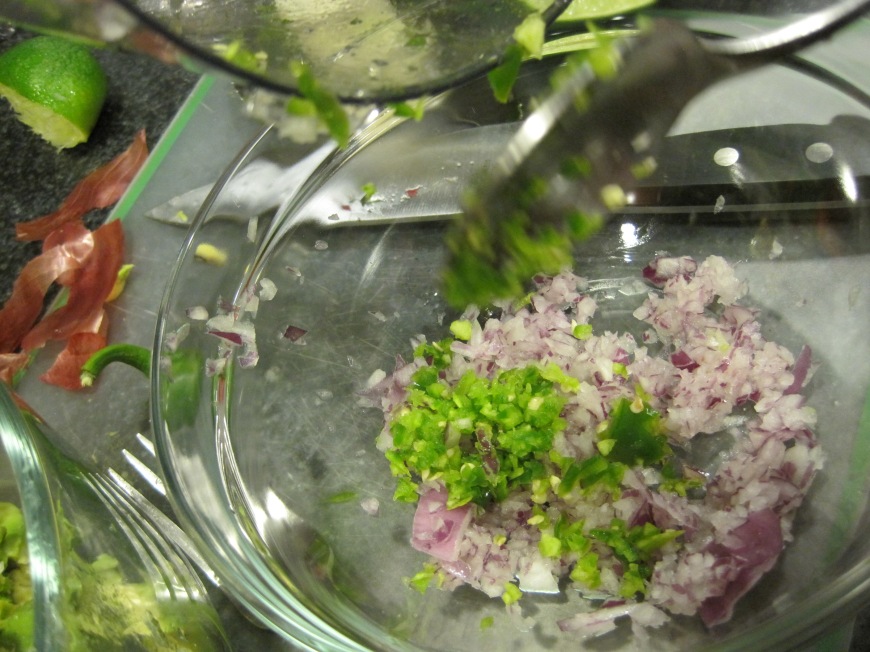
finely chop onions and jalapeño.

IMG_5817

proceed to chop tomatoes in a food processor or with a knife.

IMG_5822

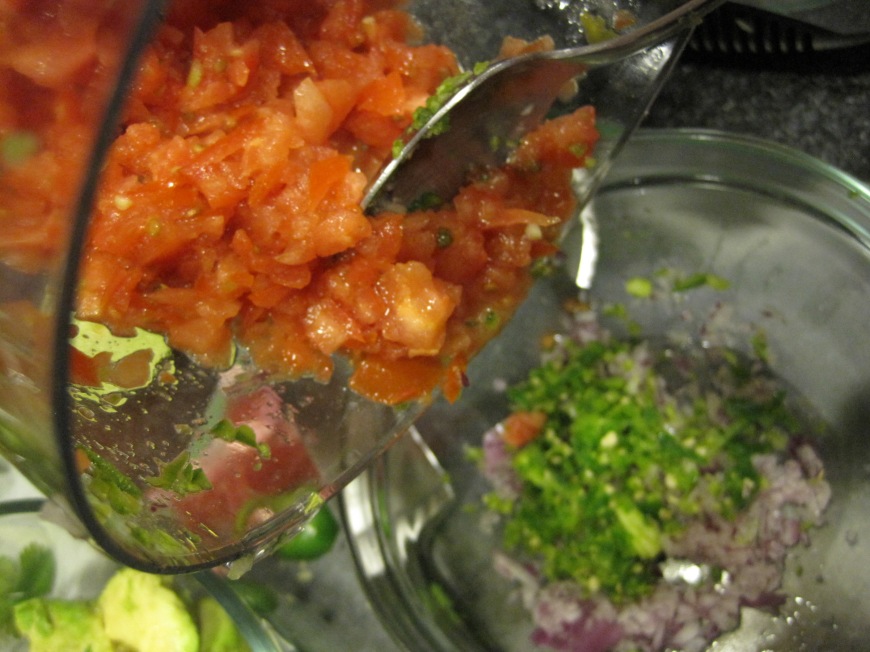
add the tomatoes to onions and jalapeño.

IMG_5828

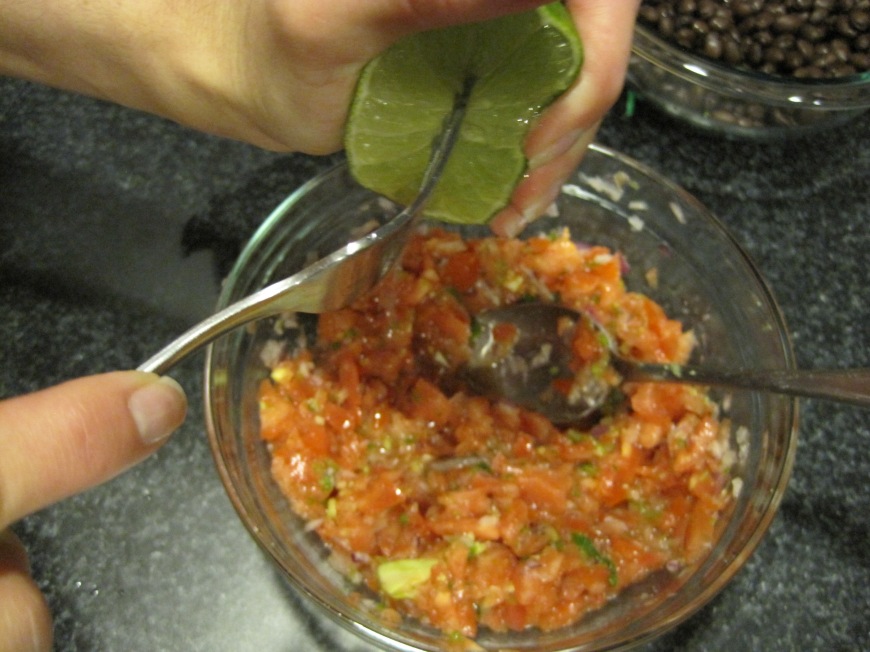
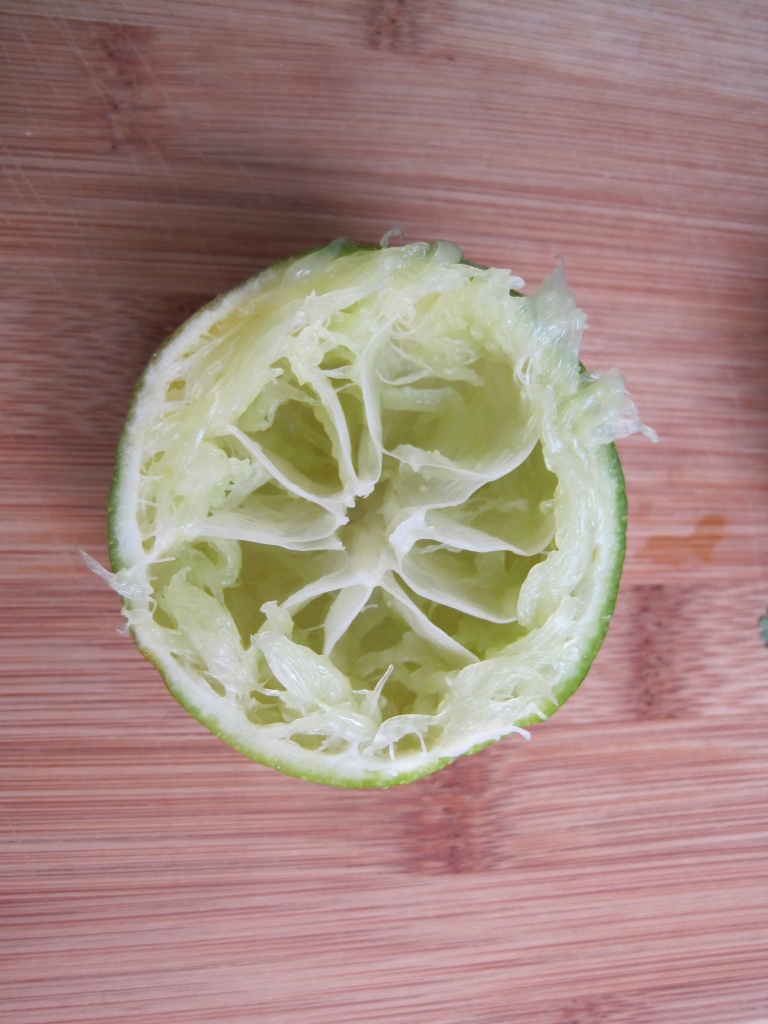
salsa is nothing without the lime. it definitely enhances all the layers in this appetizer.

IMG_5832

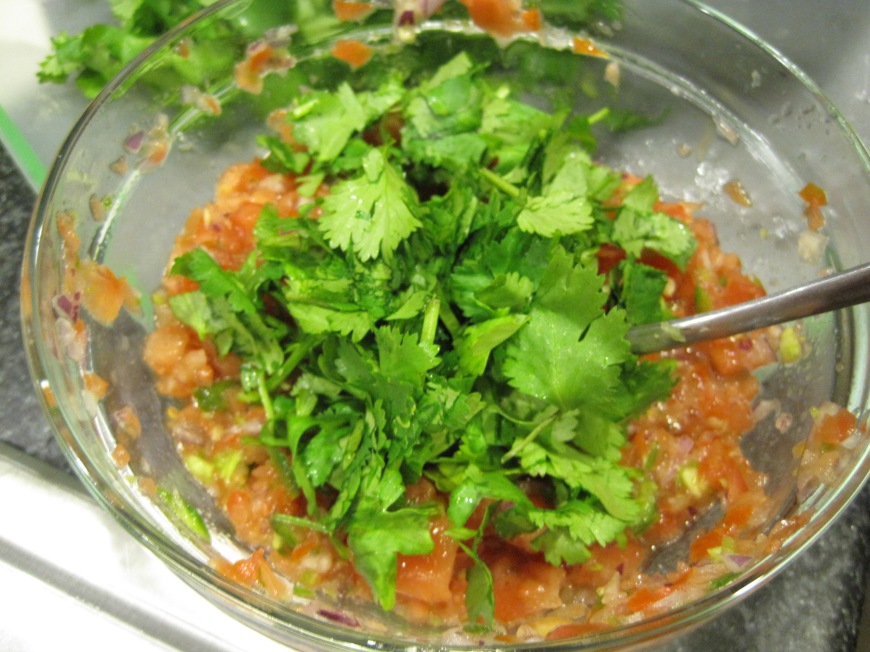
i barely chop the cilantro as you can see :)

IMG_5845

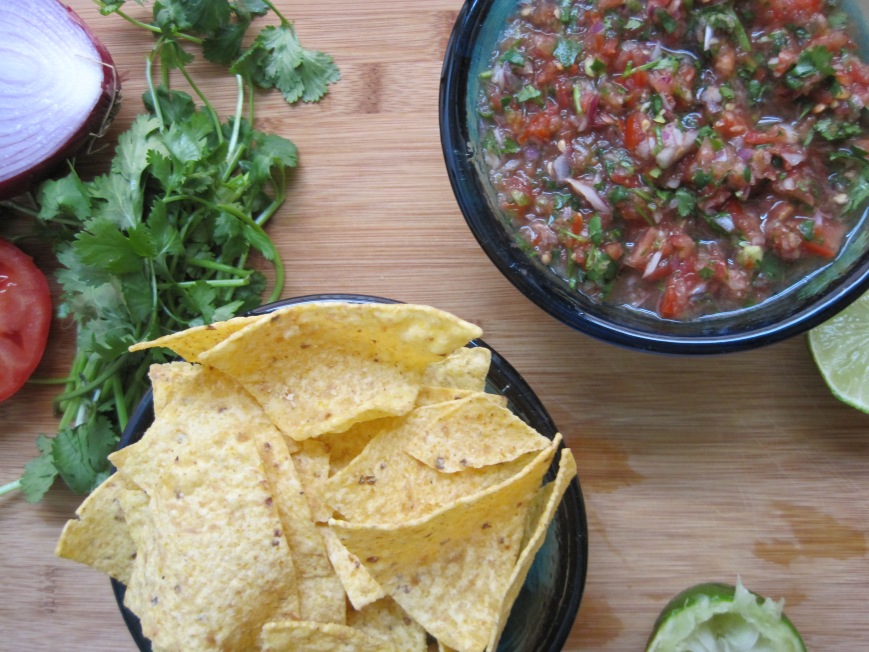
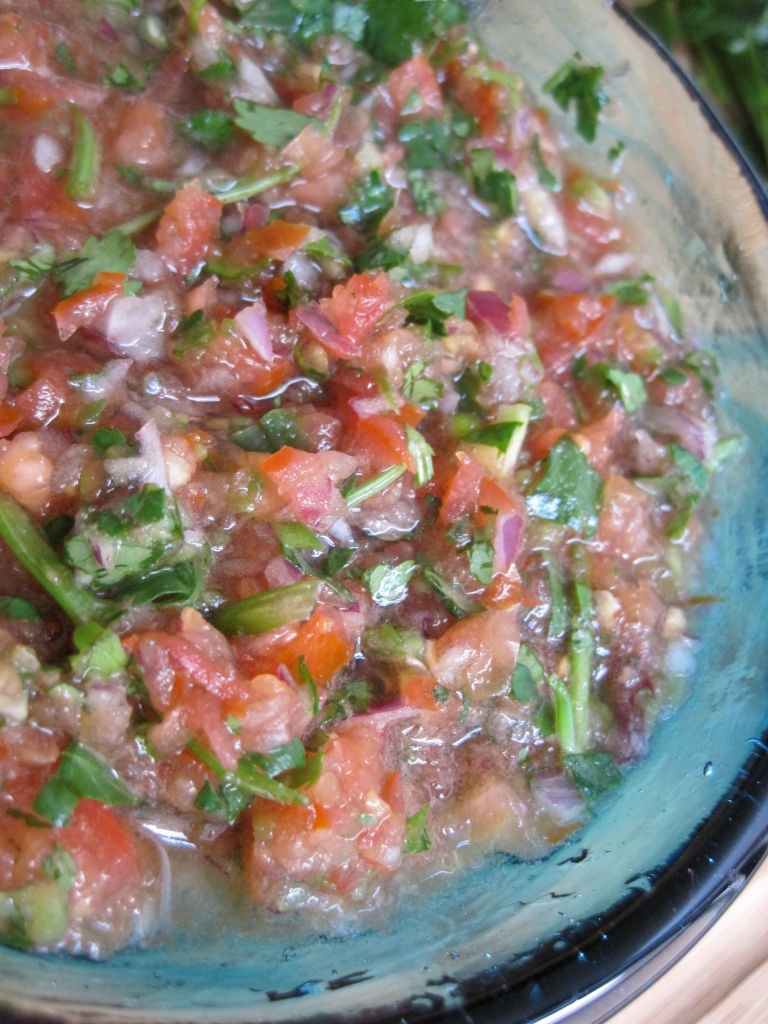
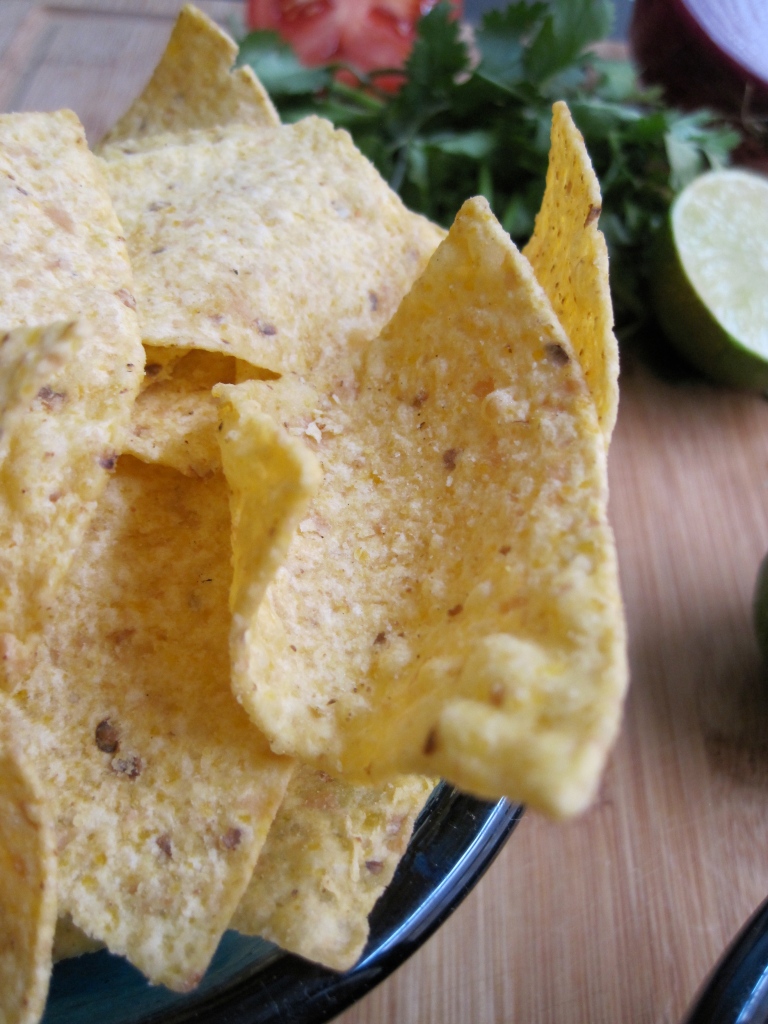
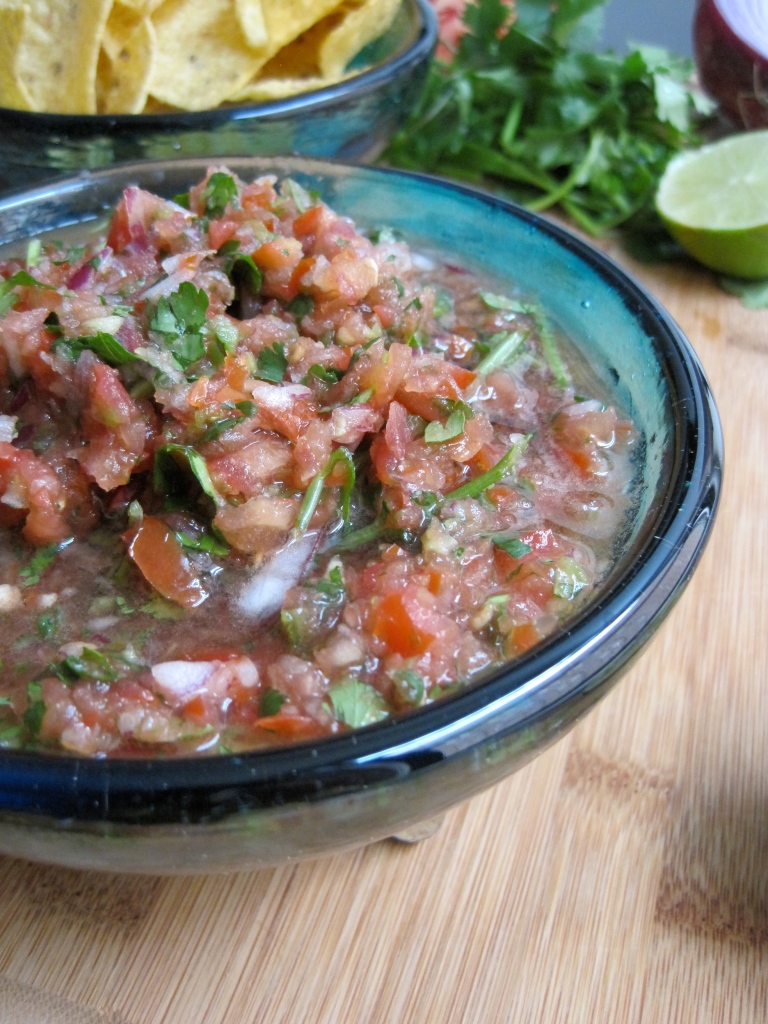
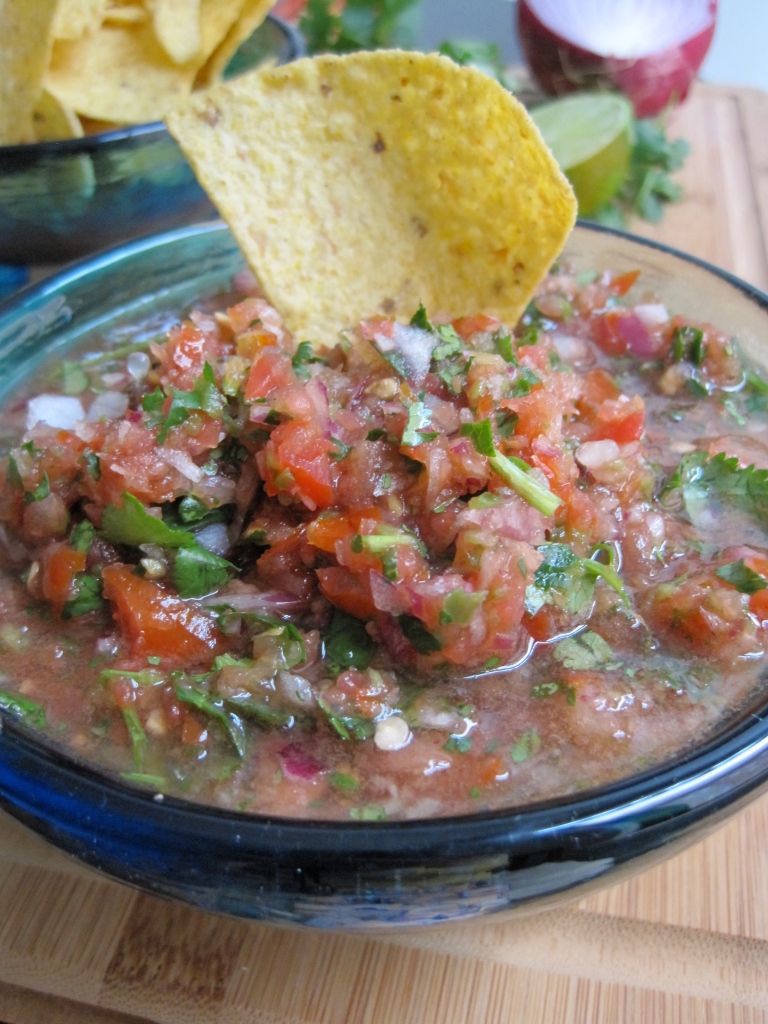
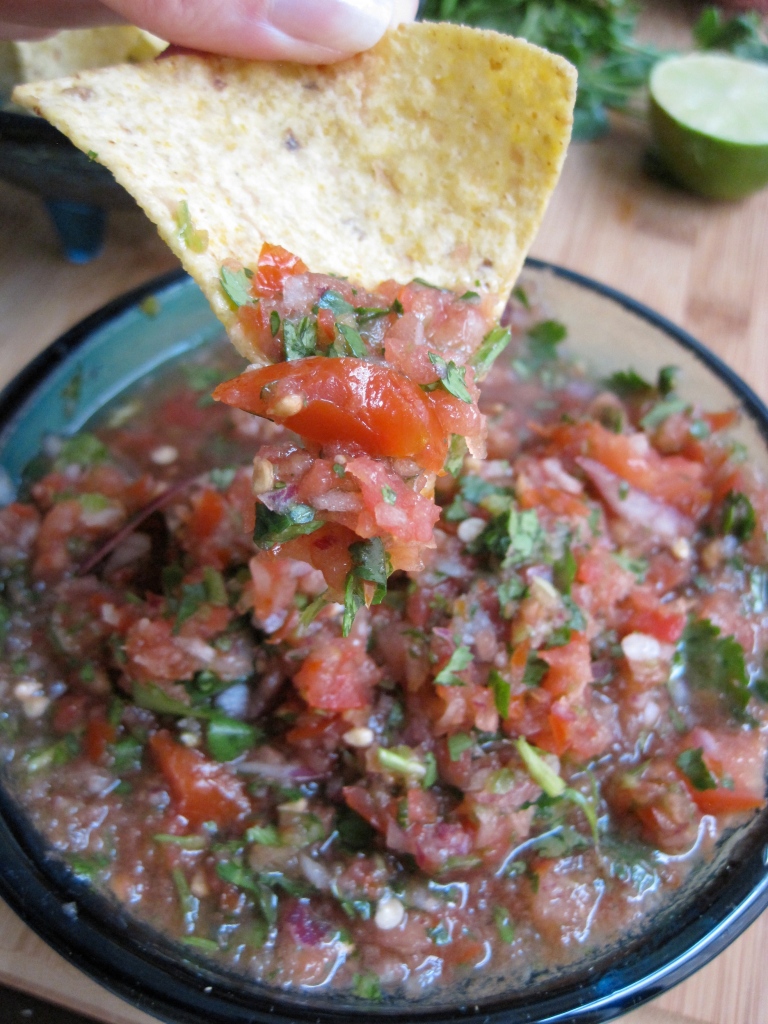
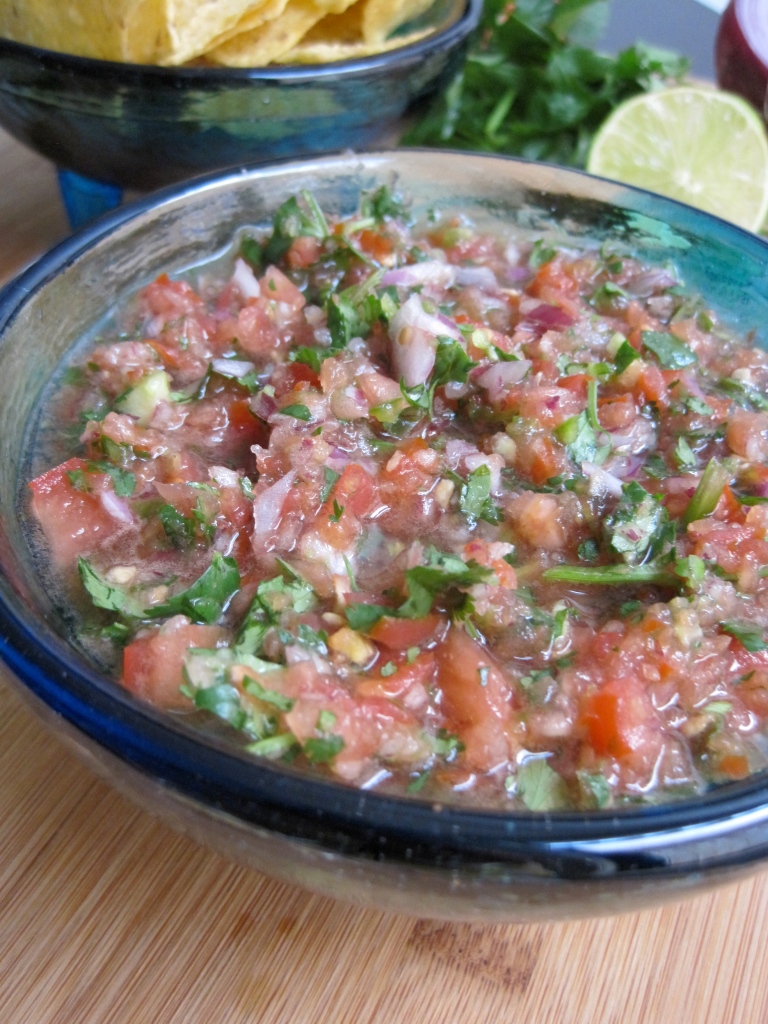
serve with chips or with mexican dishes!

IMG_9361

IMG_9362

IMG_9381

IMG_9389

IMG_9391

IMG_9399

IMG_9402

IMG_9406

salsalicious {salsa}

ingredients:

3 ripe plum tomatoes, or any other kind
1/2 jalapeño pepper, finely chopped {more or less, depending how spicy you like it}
1/2 small red onion, finely chopped
1/2 bush cilantro, roughly chopped
2 limes, juiced {more if needed}
sea salt to taste {i add about 1/2 teaspoon}

serves 8 people.

directions:

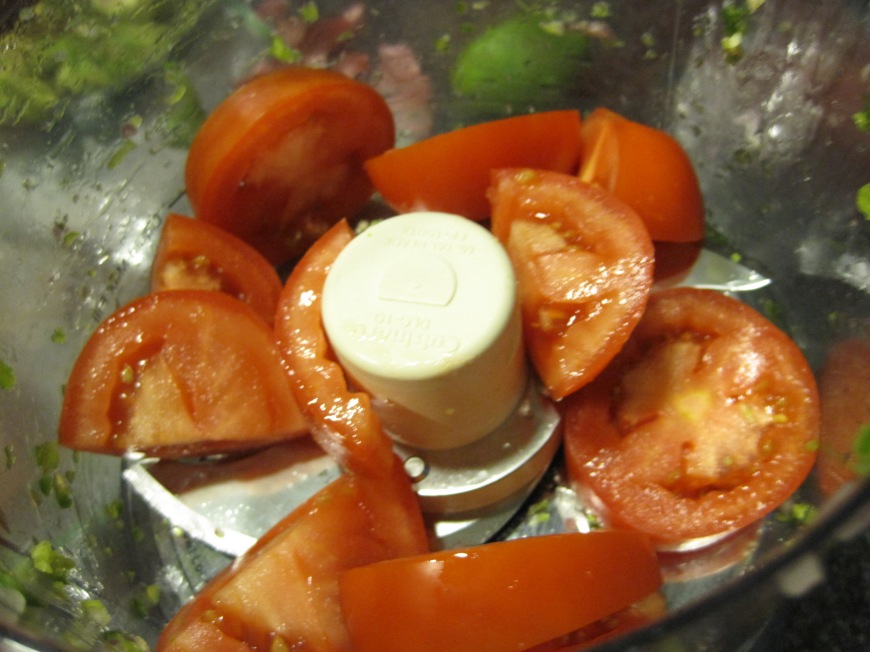
  1. cube tomatoes and add to food processor. pulse several times until you get small chunks but also some liquid from the tomatoes.
  2. if you like your salsa pico de gallo style, pulse about 3 to 5 times. You can also chop the tomatoes with a knife in small cubes.
  3. in a medium bowl, add chopped tomatoes, cilantro, onions, jalapeño, lime and sea salt. stir all ingredients. taste and add more lime or salt if needed.
  4. serve with chips, pita chips, Mexican dishes and more.
  5. refrigerate in an airtight container for up to three days.

IMG_9413

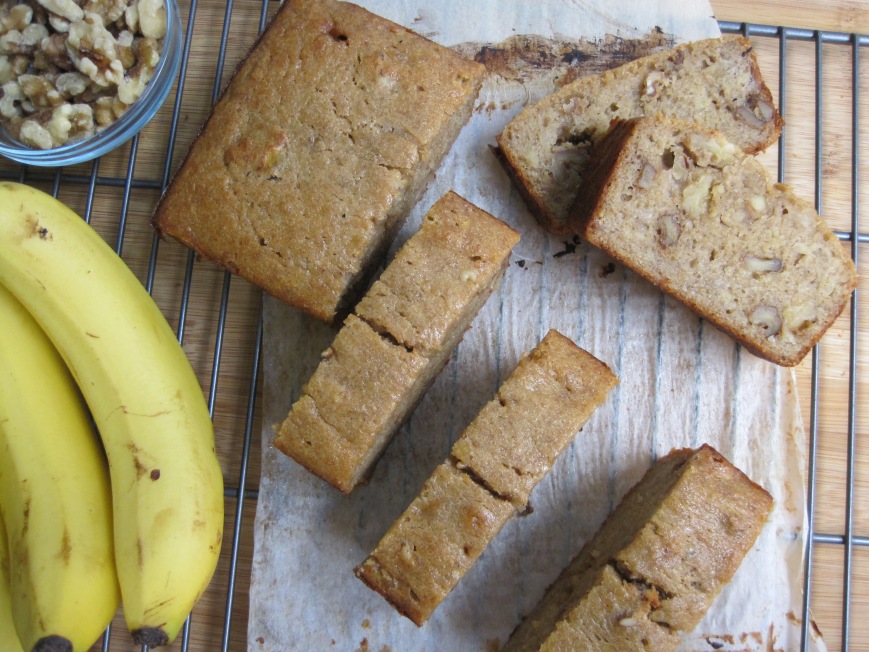
went bananas for this healthy banana nut bread

after making the “not your average nutella s’mores chocolate chip cookies” i needed something with fruit in it. i absolutely loved the cookies and you should try making them right now! they are that good :) but, it was time to change it up with a new recipe and also time {more like an excuse} to use my new loaf pan ;)

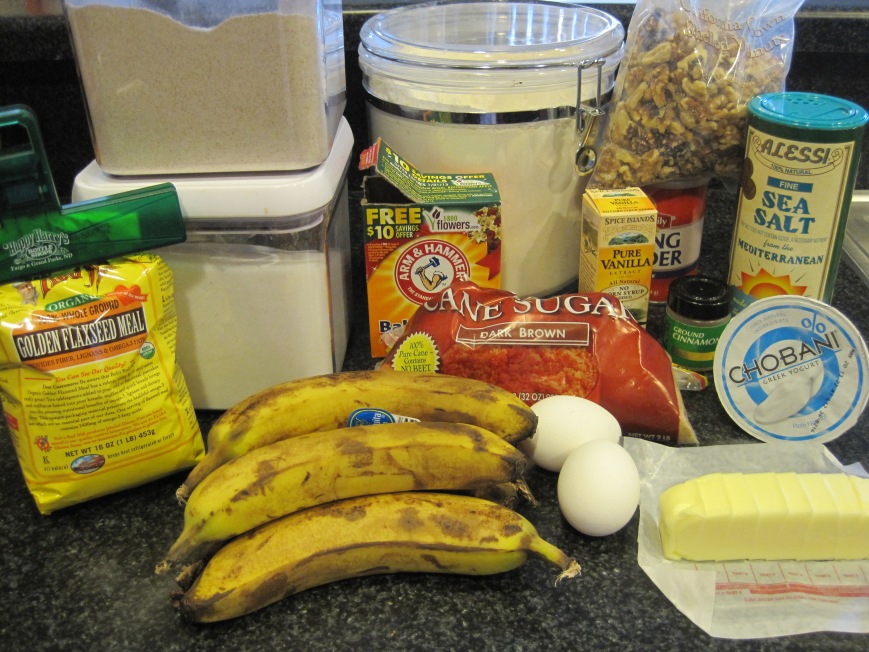
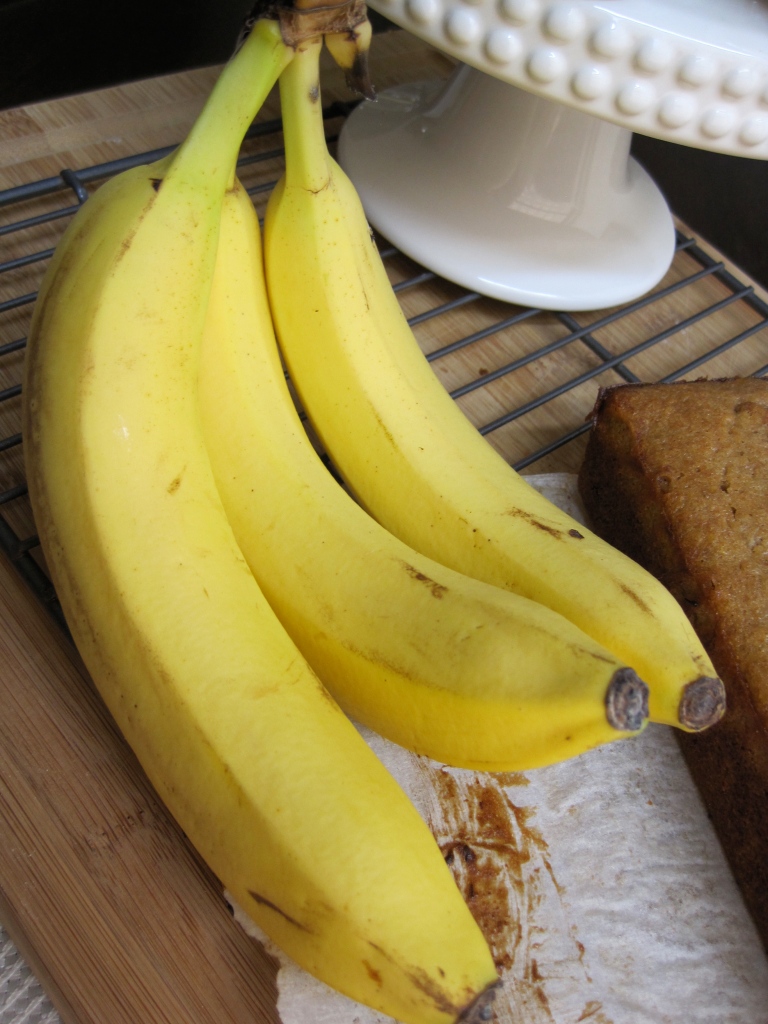
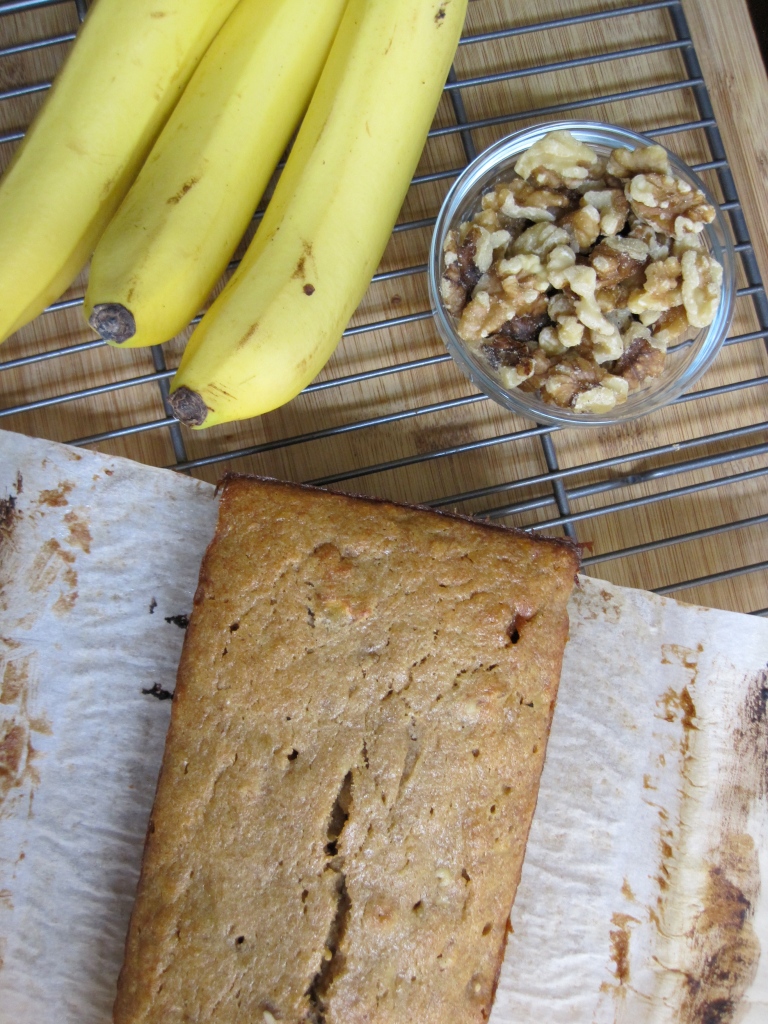
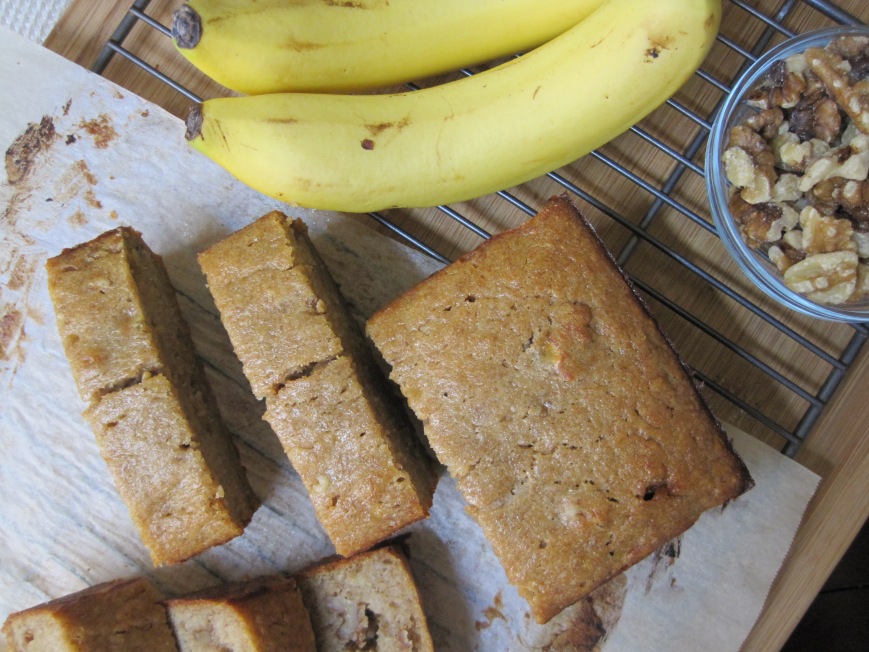
i had bananas in my fruit shelf and they were at the perfect stage for banana bread. ripe bananas with brown spots but not too many, and in overall good shape {see tip to ripen bananas below}. walnuts were also in my pantry so it was a sign for banana nut bread!

a trick my husband told me, yes, my husband {insert awww here} is to put the bananas right from the grocery store in a brown bag in the fridge for about 4 days and they will ripe perfectly. so let me know if you try it out! it worked for me. you can also leave the bag with the bananas at room temperature but check every day since they’ll ripen faster.

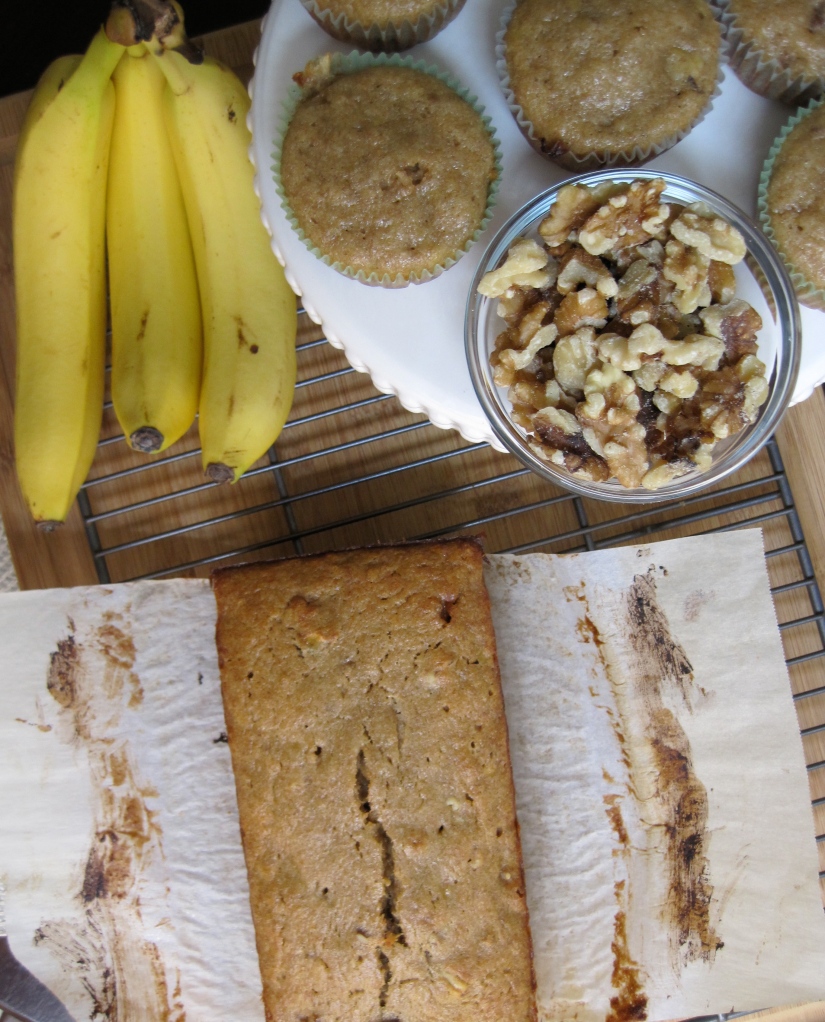
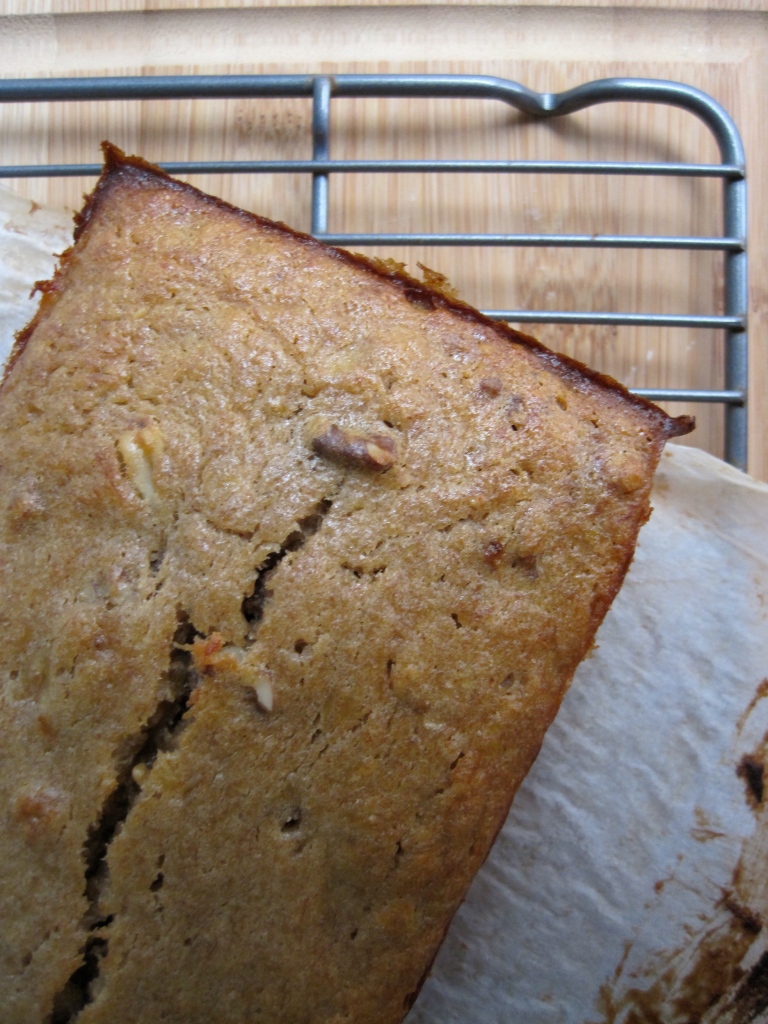
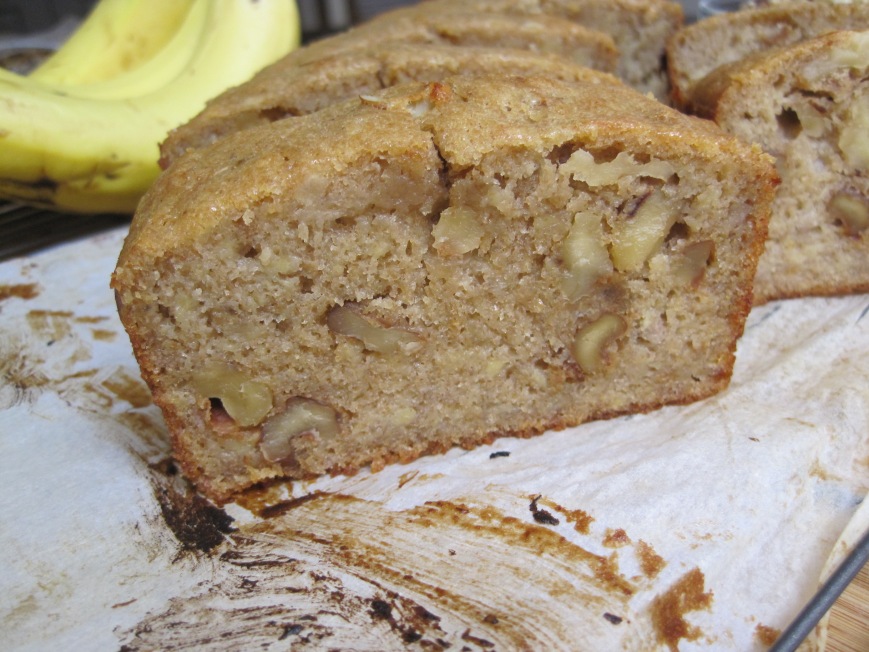
this banana nut bread recipe has healthy ingredients such as flaxseed, whole wheat flour and greek yogurt, as well as your regular butter and sugar. you can definitely make this gluten free or substitute the sugar with apple sauce. once the banana bread is done baking, you’ll see it has a crusty layer on the outside but it’s very moist, soft and dense on the inside. mmm!! like i like to say: business on the outside and party on the inside, hahaha.

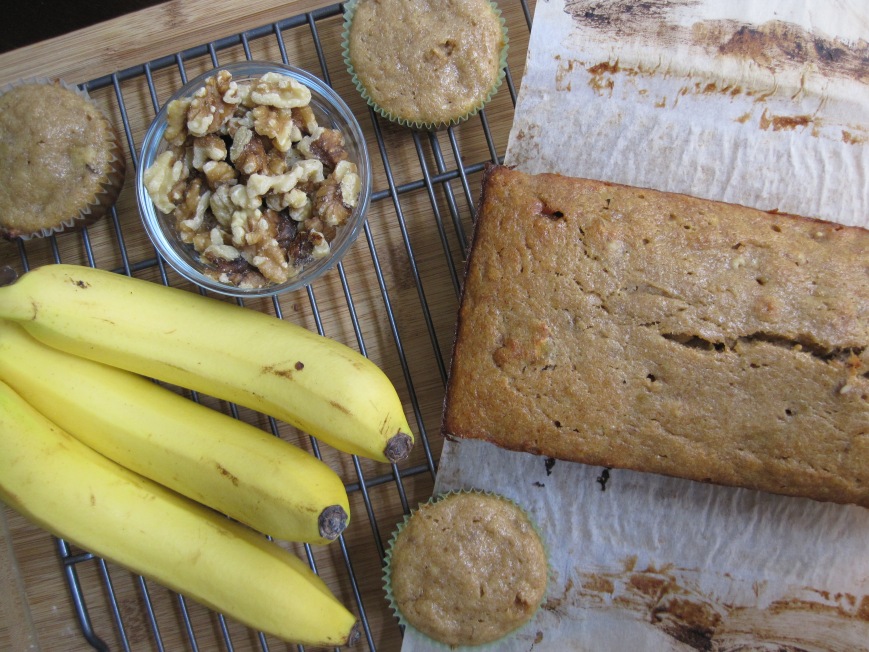
one thing i should mention is that i had a small loaf pan and i had to bake an additional 6 standard size muffins because it was too much batter for my little pan. i will tell you the exact size within the recipe.

follow these directions and you’ll be able to enjoy this very banana-y bread for a snack or as a complement to your breakfast!! if you like bananas and bread, then you are winning with this recipe.

IMG_8846

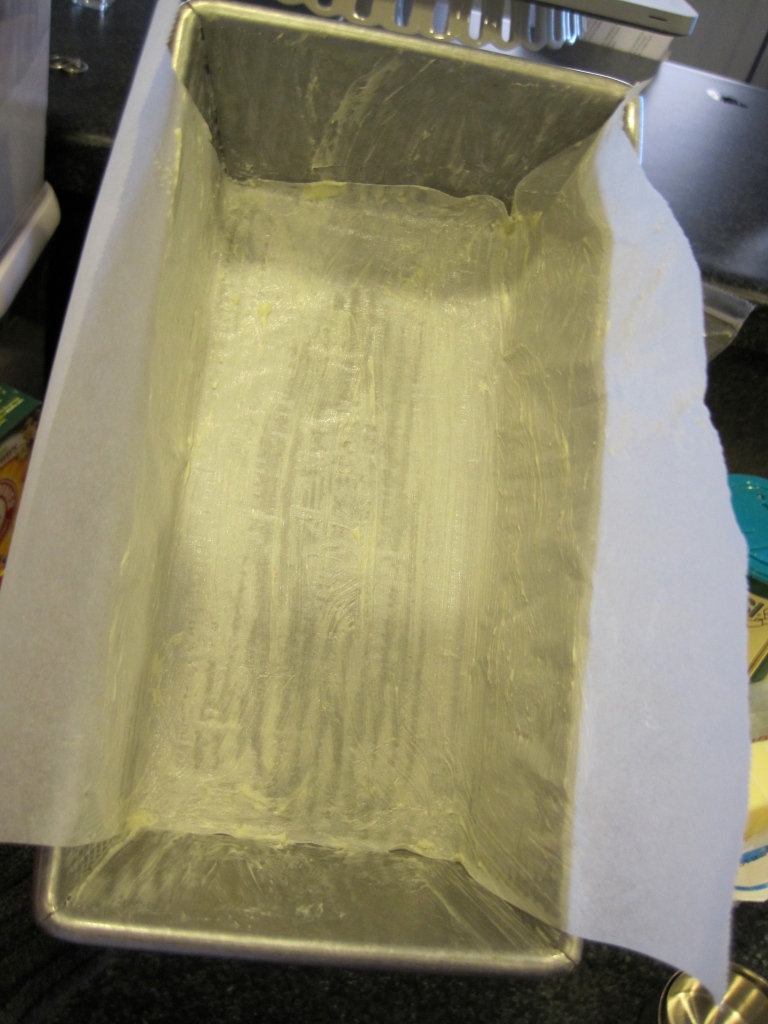
butter loaf pan and line with parchment paper.

IMG_8848

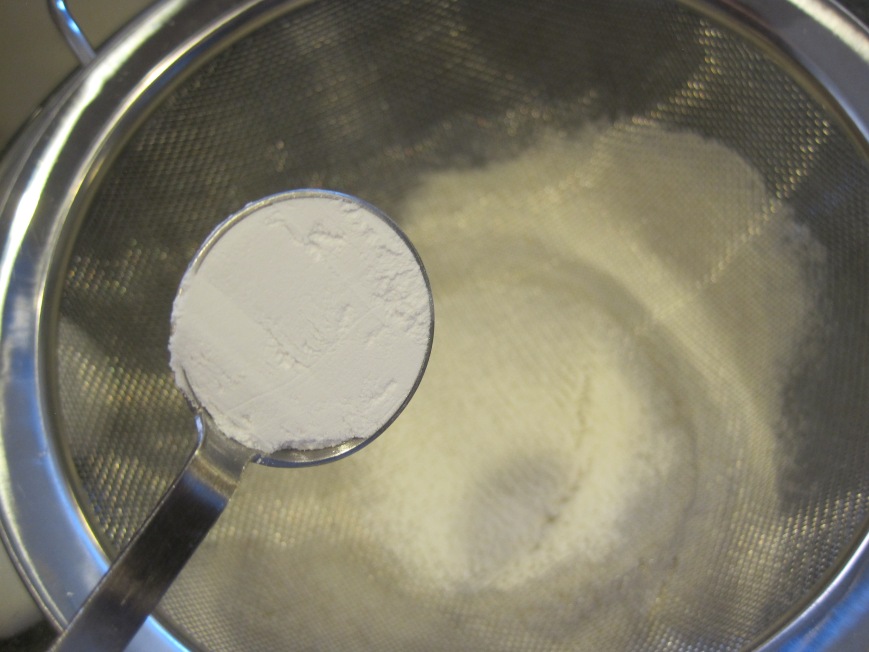
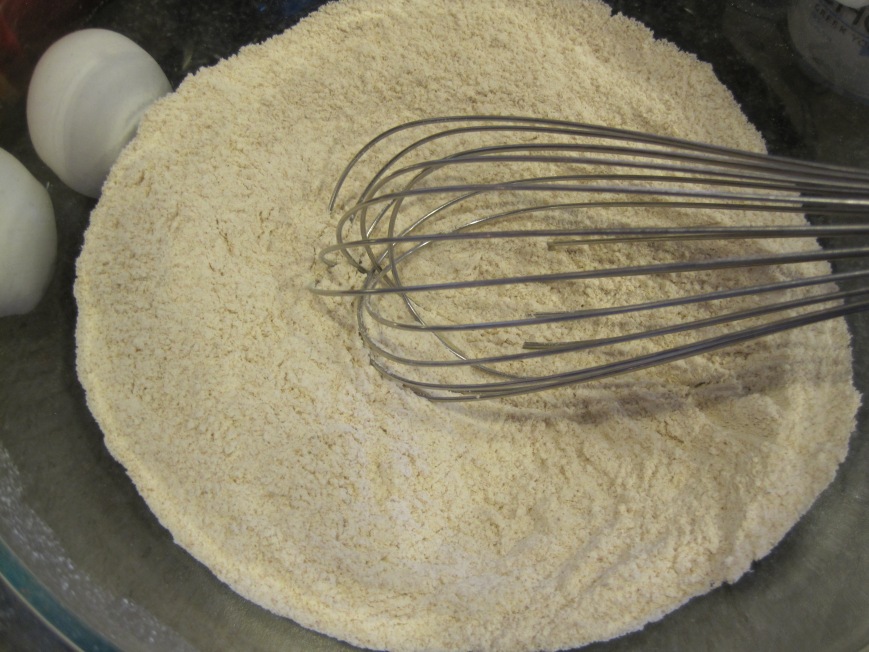
sift flours and whisk all dry ingredients together.

IMG_8854

IMG_8859

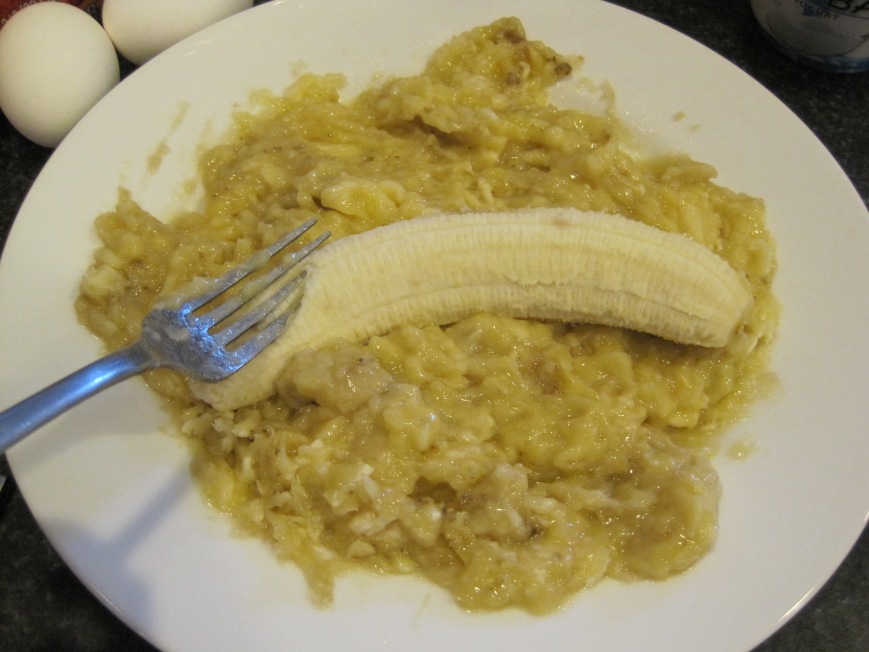
mash your bananas!

IMG_8861

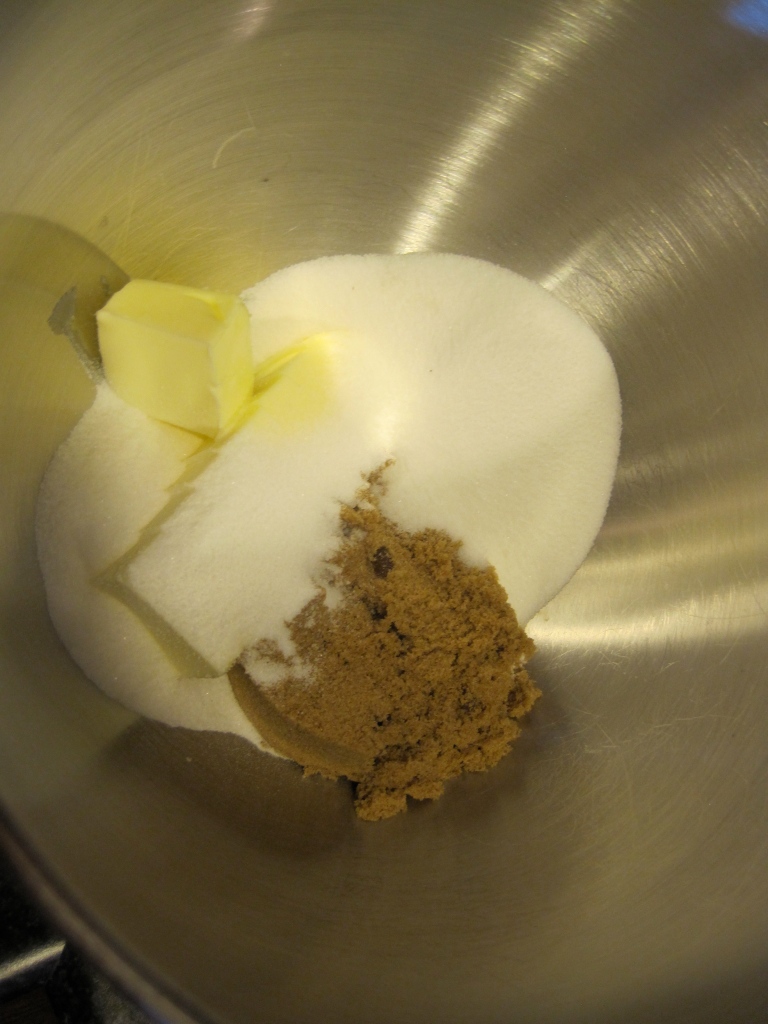
cream butter with sugars until fluffy.

IMG_8865

IMG_8867

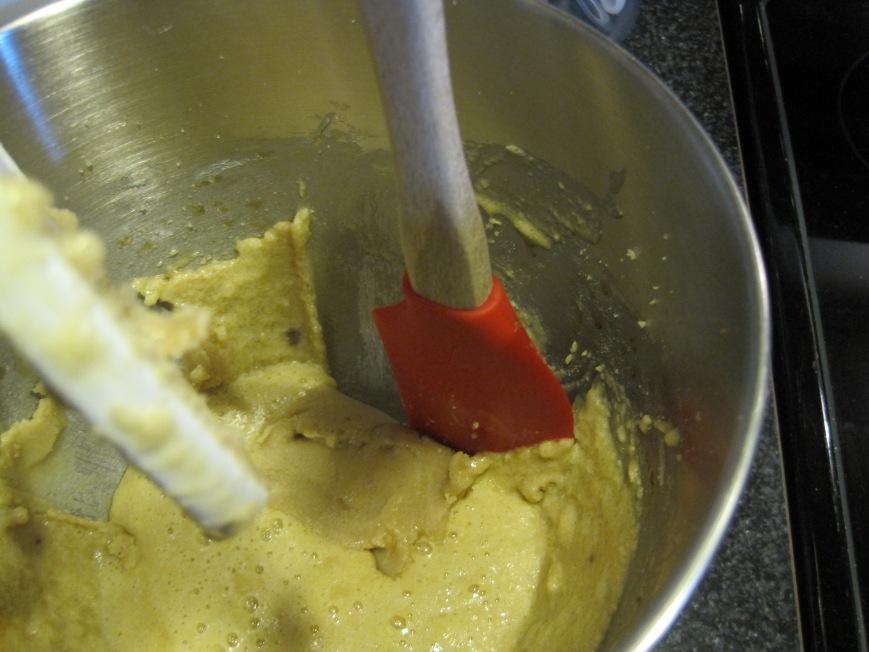
scrape bowl and mix on high for a little bit to combine all ingredients.

IMG_8870

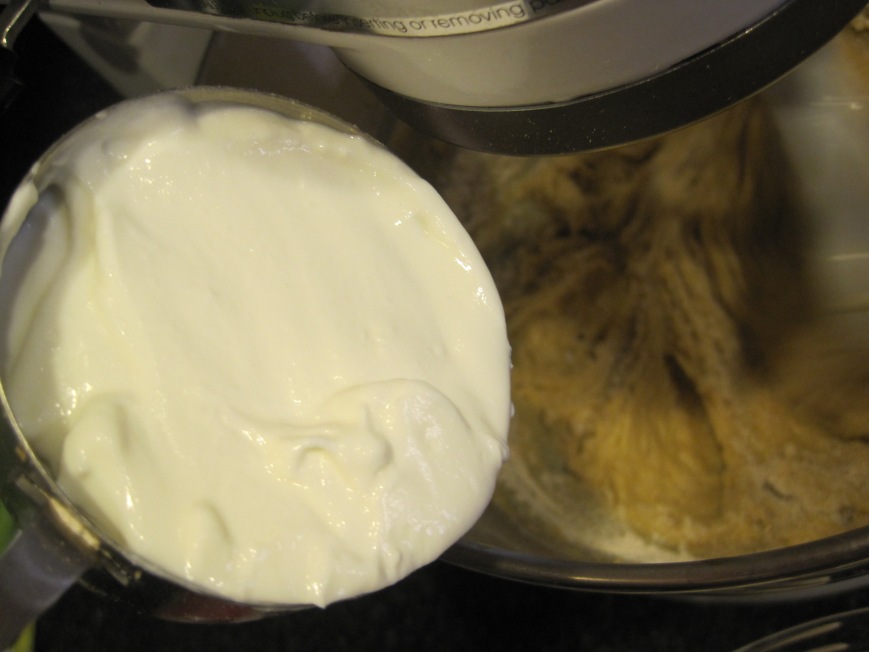
alternate flour mixture with yogurt and bananas.

IMG_8872

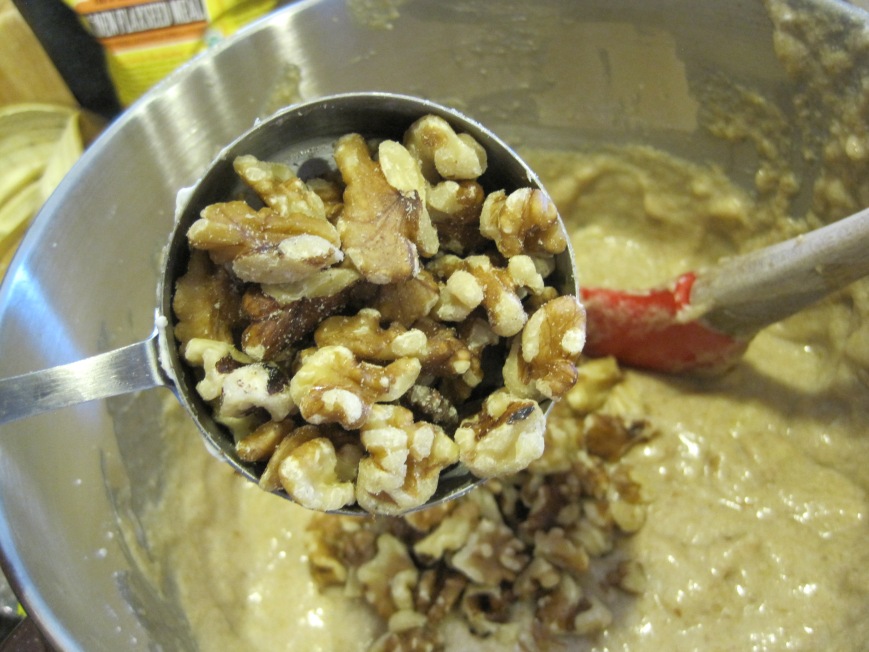
fold in walnuts.

IMG_8875

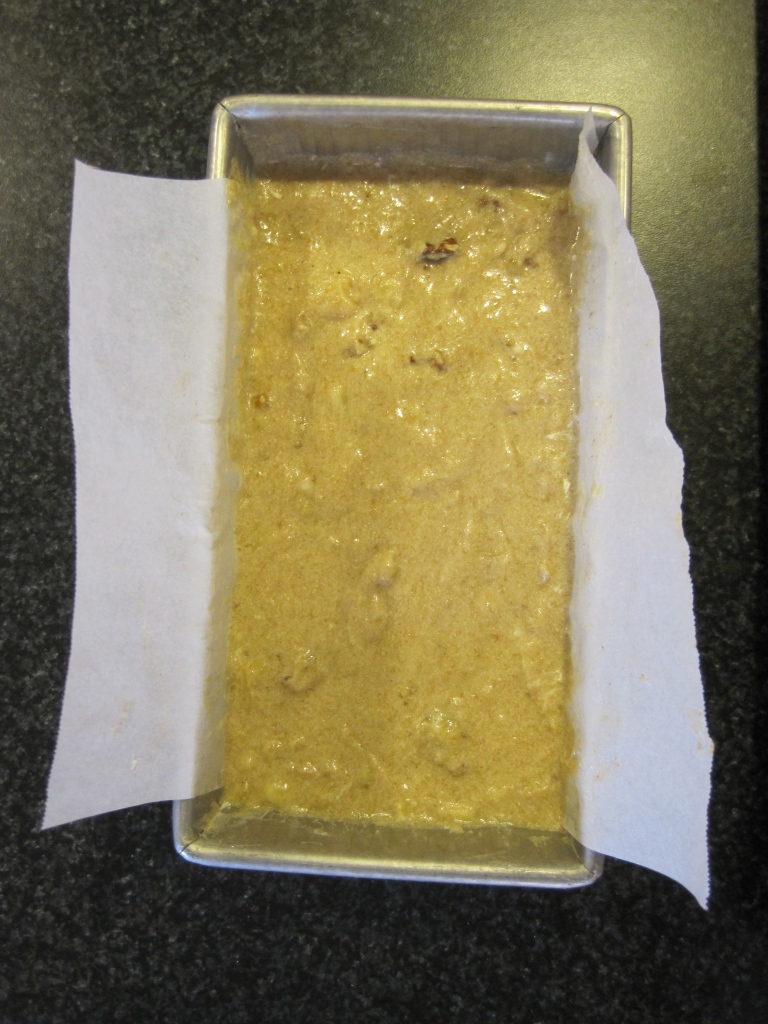
ready to go into the oven :)

IMG_8877

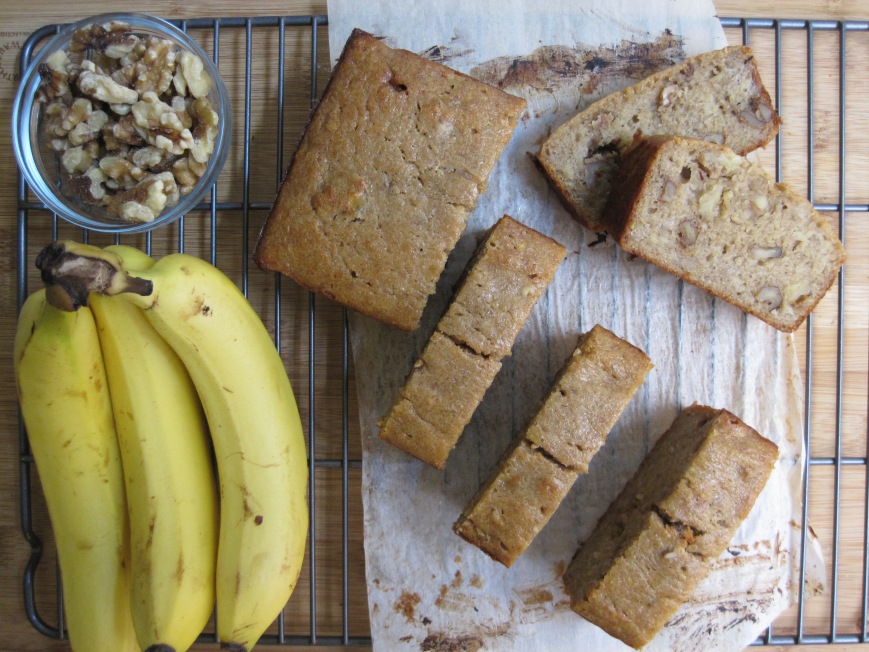
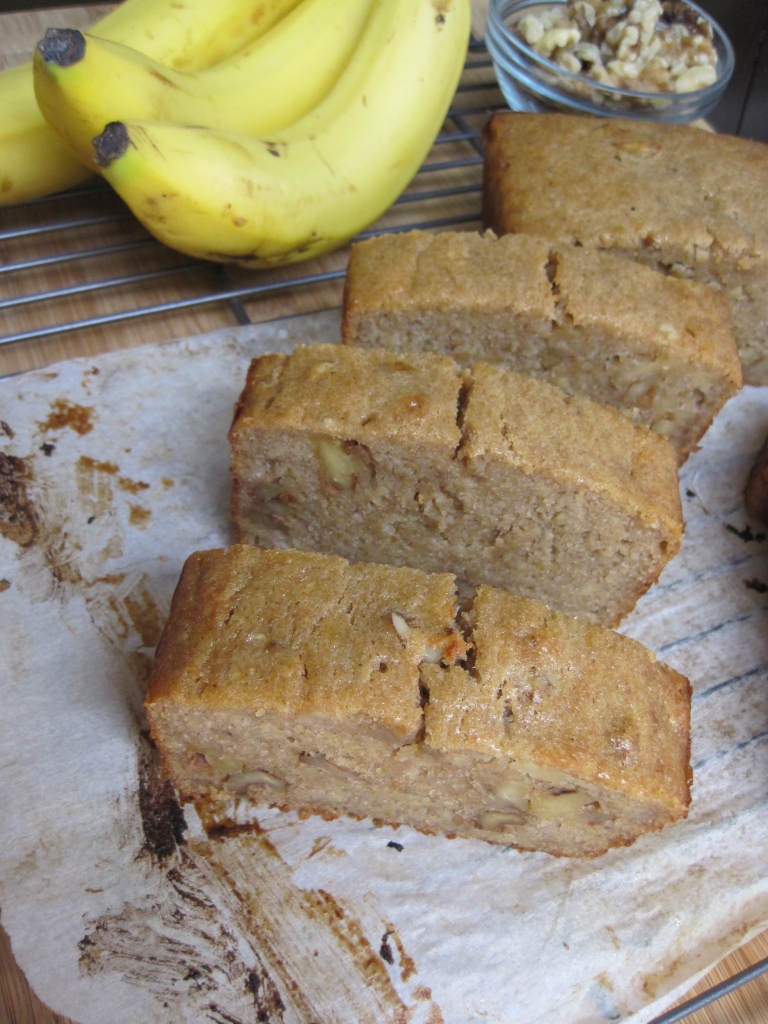
time to cut through this banana nut bread and go bananas, haha. cheesy, i know.

IMG_8884

IMG_8887

IMG_8899

IMG_8900

IMG_8923

IMG_8933

IMG_8942

IMG_8944

IMG_8956

healthy banana {nut} bread

ingredients:
5 very ripe bananas, mashed
1 cup whole wheat flour
1 cup unbleached all purpose flour
1/2 teaspoon sea salt
2 teaspoons baking powder
1/4 teaspoon baking soda
1 teaspoon ground cinnamon
1 tablespoon ground flaxseed {optional}
1 stick unsalted butter, room temperature {sitting on the kitchen counter for 30 to 50 minutes approximately}
3/4 cup granulated sugar
1/4 cup dark brown sugar, tightly packed
2 large eggs, room temperature {sitting on the kitchen counter for 30 to 50 minutes approximately}
2 teaspoons vanilla extract
1/2 cup non-fat greek yogurt, room temperature {sitting on the kitchen counter for 30 to 50 minutes approximately}
1 1/2 cups chopped walnuts or pecans, roughly chopped {optional}
8.5 x 4.5 inch loaf pan – i used this one {you can use a bigger pan – 9 x 5 inches – and you won’t have to make the muffins}

yields 1 small loaf and 6 standard size muffins.

directions:

  1. preheat oven to 350F. butter a 8.5 x 4.5 inch loaf pan, add parchment paper and butter parchment as well. parchment paper should hang over the sides of the pan. set aside. butter muffin tin {only 6 muffin cups} or you can use paper liners. set aside.
  2. in a bowl, sift flours, baking soda, baking powder, flaxseed and cinnamon. add salt and whisk well.
  3. cream butter and sugars with the paddle attachment of a stand mixer until fluffy and light in color, about 3 minutes at medium speed.
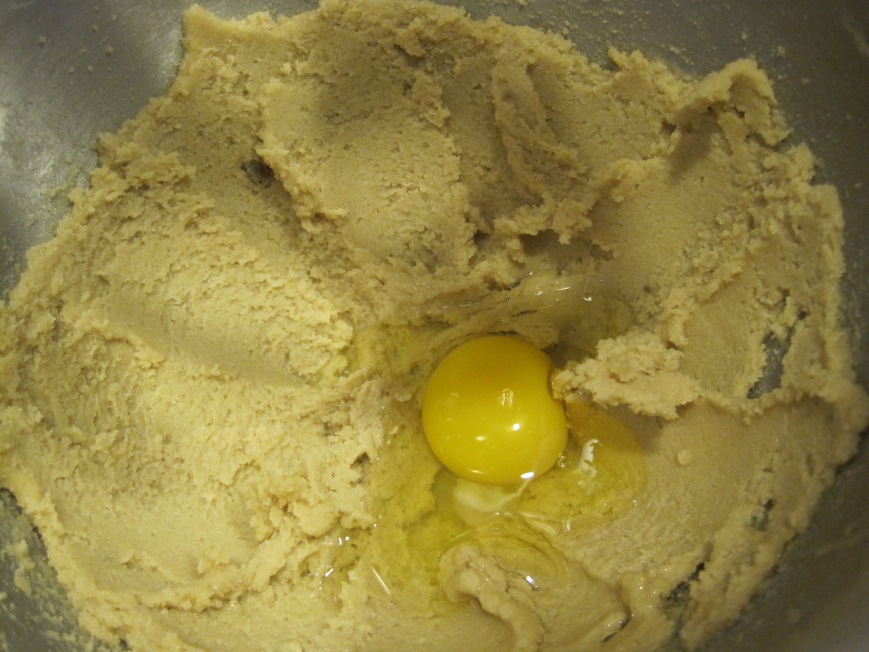
  4. add eggs, one at a time and mixing well after each addition over medium speed. add vanilla and mix until incorporated. make sure to scrape the bowl {sides and bottom} and mix on high for 30 seconds to mix well. do not over mix batter.
  5. set speed to the lowest setting. alternate a third of the flour mixture, with a third of the greek yogurt and a third of the mashed bananas. repeat until all ingredients are incorporated. do not over mix.
  6. fold in walnuts with a rubber spatula gently.
  7. fill 6 muffin cups 3/4 full. pour the rest of the batter into prepared loaf pan.
  8. bake banana bread for 60 to 70 minutes or until an inserted knife comes out with a few crumbs. start checking at 60 minutes though. bake muffins for 25-30 minutes or until toothpick comes out with a few crumbs.
  9. let muffins cool in the pan on a wire rack for 3 minutes. take out of the pan and cool completely on cooling rack. let banana bread cool in the pan on a wire rack for 10-15 minutes. cool banana bread out of the pan for 30 minutes more on a cooling rack.
  10. store banana bread and muffins in an airtight container at room temperature for up to 3 days.

IMG_8952

succulent mandocas

i know you are wondering what mandocas are. mando what?!? weird name, succulent snack.

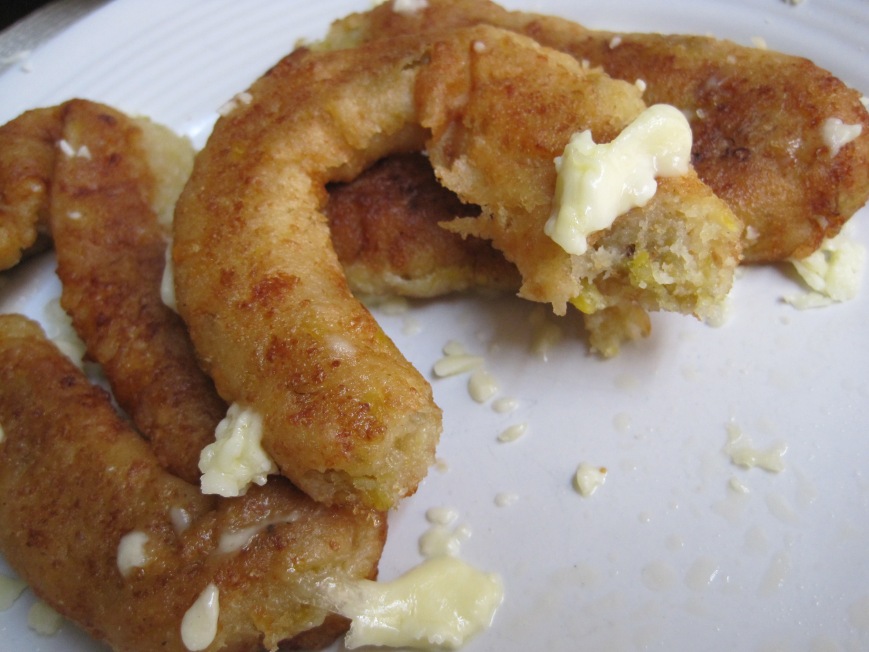
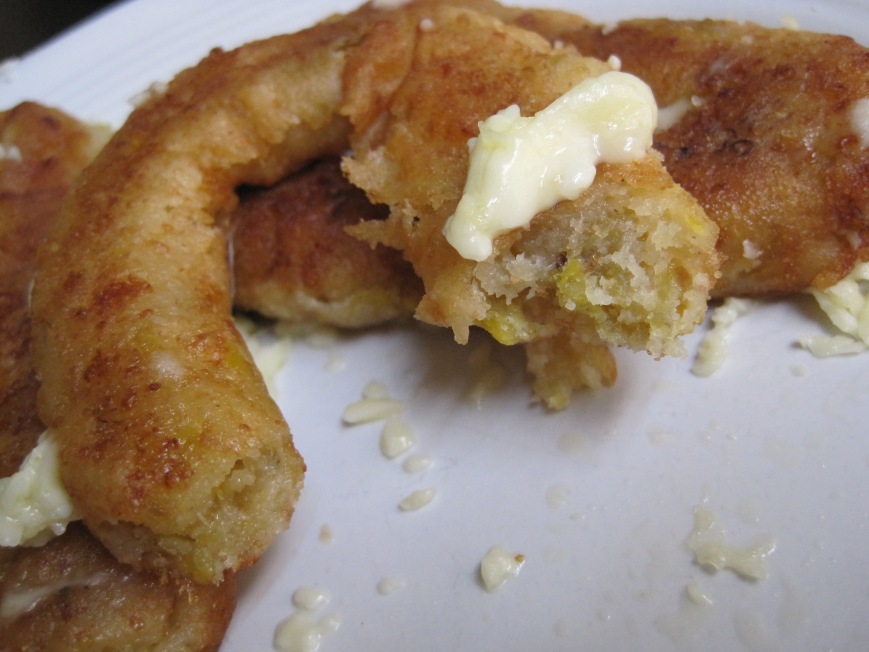
mandocas are originally and typical of maracaibo, venezuela. they are consumed at anytime as a snack, breakfast, dinner and even lunch. like pancakes, i can eat mandocas all day long. give me some butter and cheese, and oh sweet mother of food, i can just eat 20 in a row.

one of the main ingredients to make the mandocas is harina pan, venezuelan cornmeal. easy to find in local hispanic supermarkets or order from amazon. either works. i know there are other cornmeal brands out there but to be honest, i’m loyal to my country’s :) besides, i grew up on harina pan and don’t know any other way to make mandocas with!

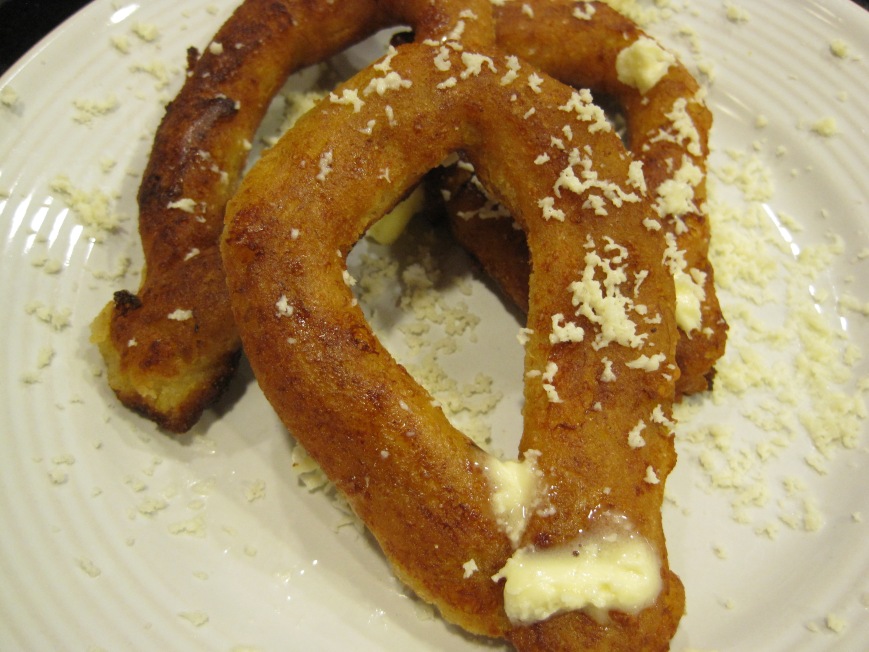
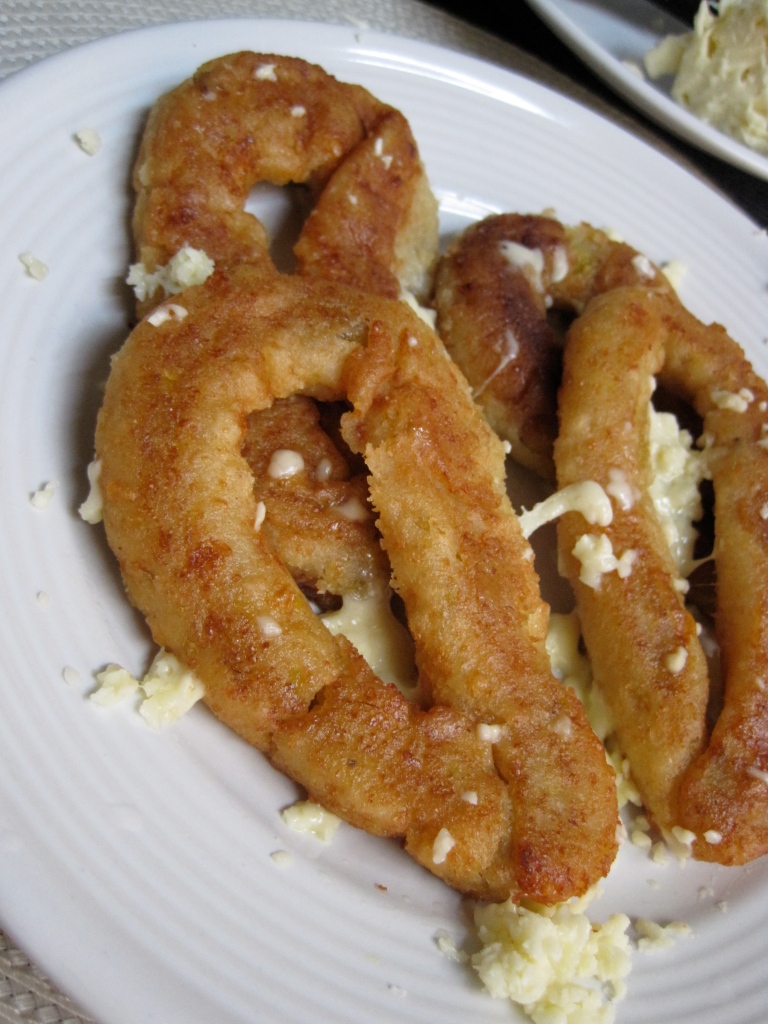
so. what are mandocas, you wonder? they are fried cornmeal drop-shaped pure deliciousness part of maracaibo’s culinary scene. the ingredients are simple and somewhat easy to find: ripe plantain, queso blanco {queso fresco or queso cotija} and panela or as known in mexico, piloncillo. in plain english: unrefined whole cane sugar in block form. trust me if i can make them, you can, too. and i live in the midwest. {you can buy panela online at amazon, if you want}.

if you like flavor combinations that explode in your mouth, then mandocas are for you. they have the perfect balance of sweet and salty for sure.

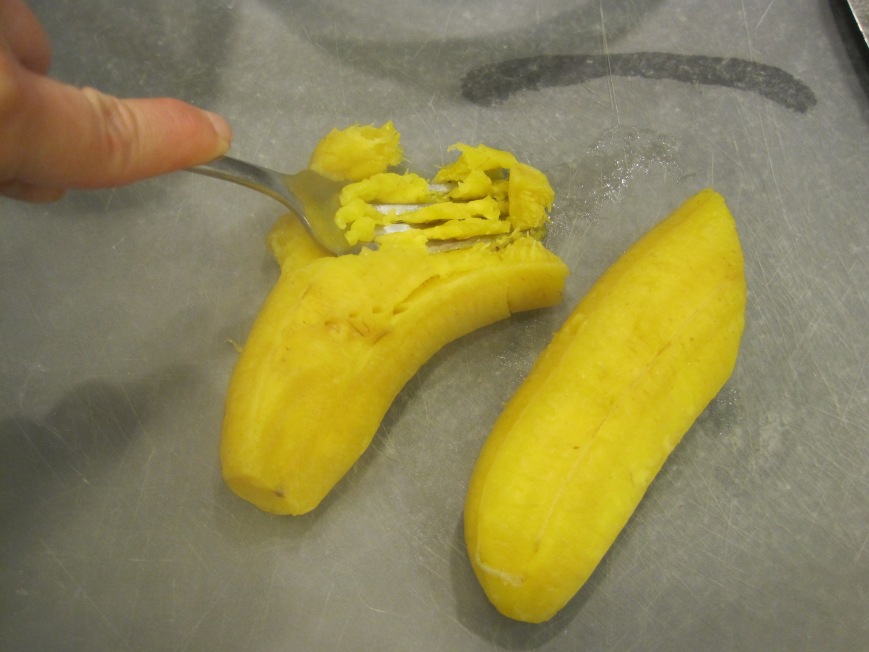
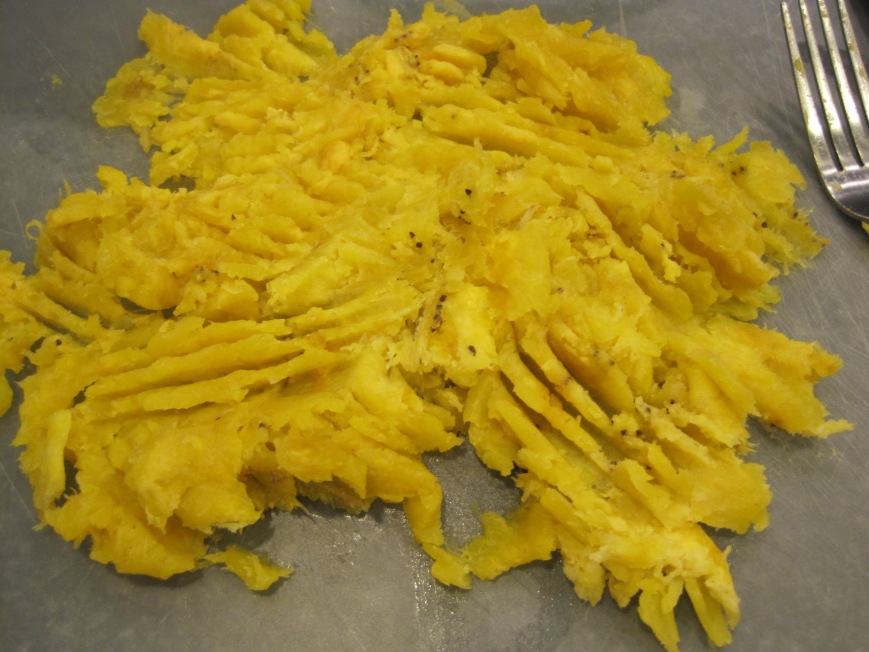
boil and mash ripe plantain.

IMG_7589

IMG_7594

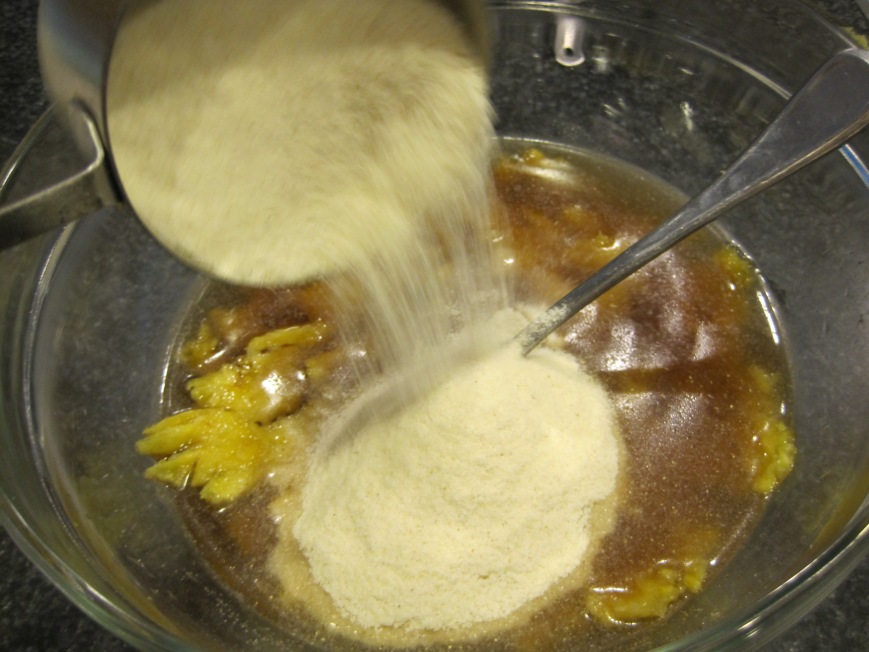
add harina pan to panela/water mixture and plantain.

IMG_7597

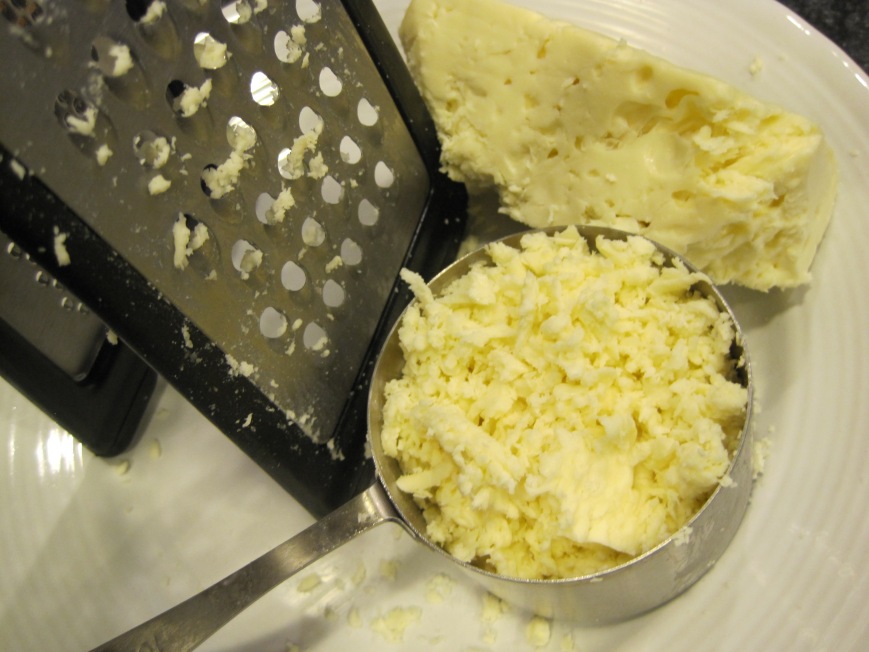
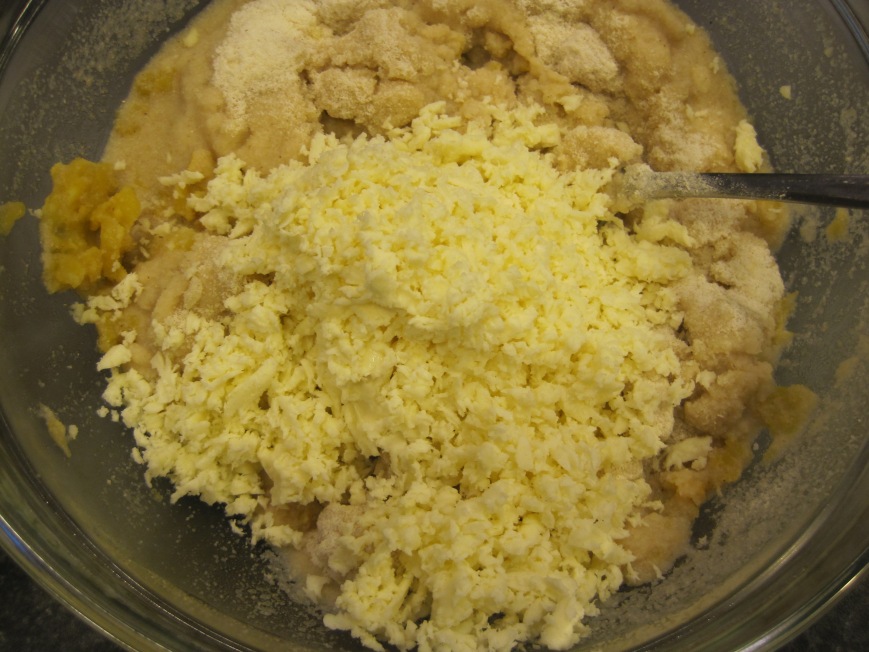
shredded cheese going in.

IMG_7601

IMG_7604

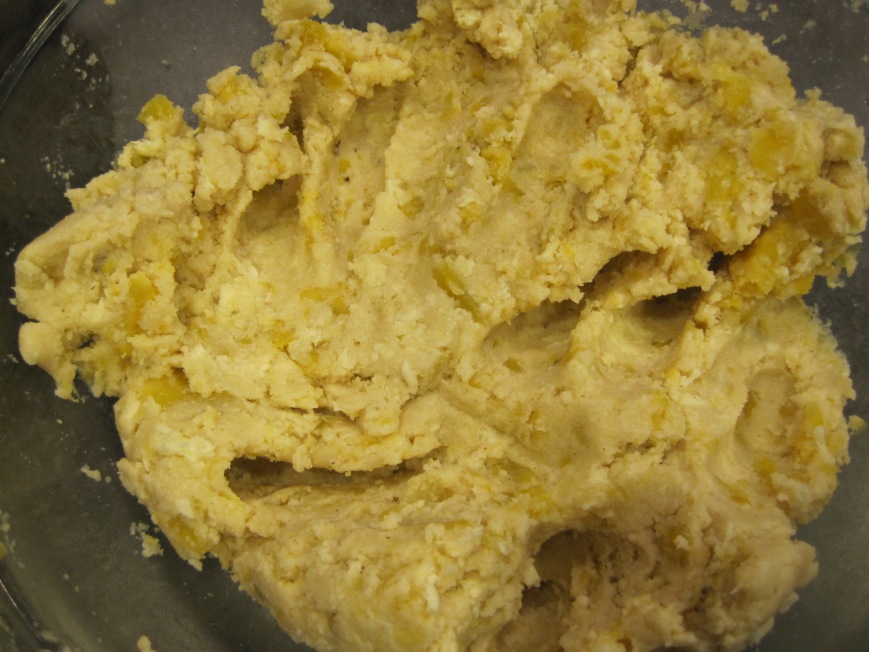
combine all ingredients with your hands.

IMG_7605

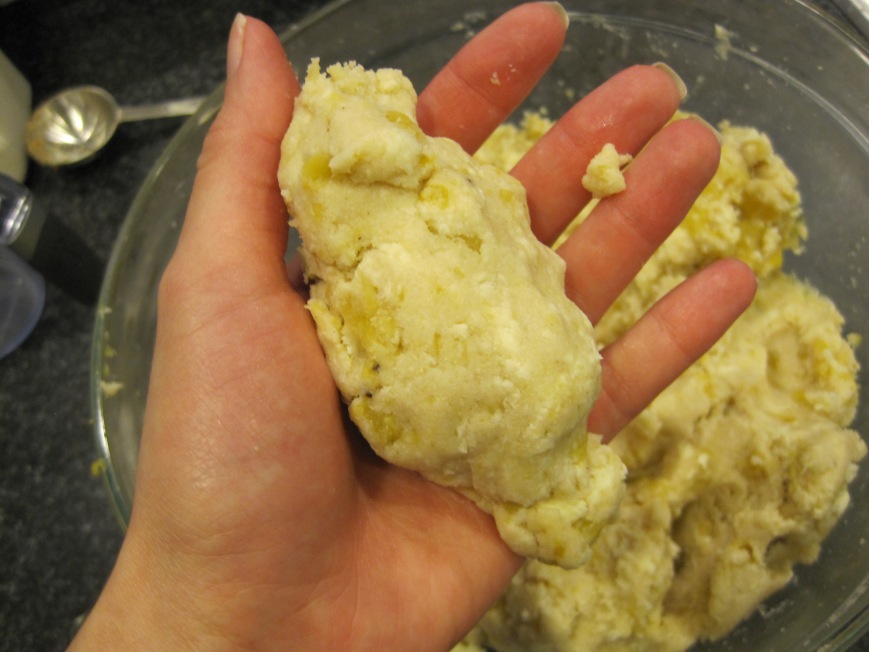
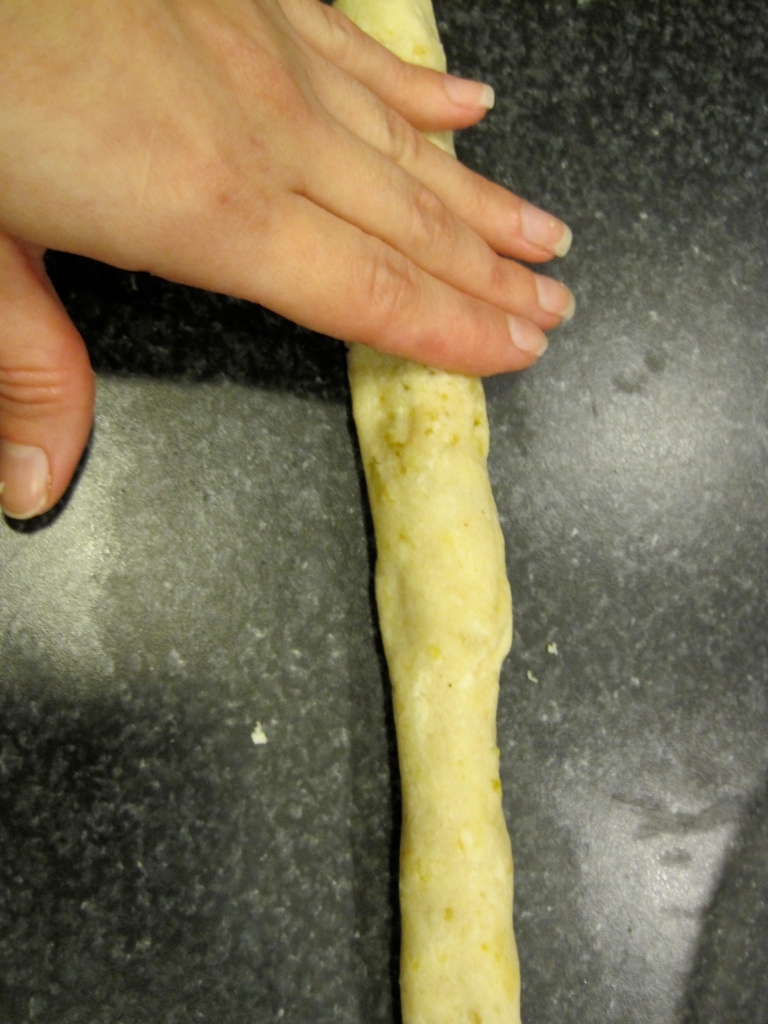
grab the quantity desired and form a cylinder with your hands.

IMG_7607

IMG_7609

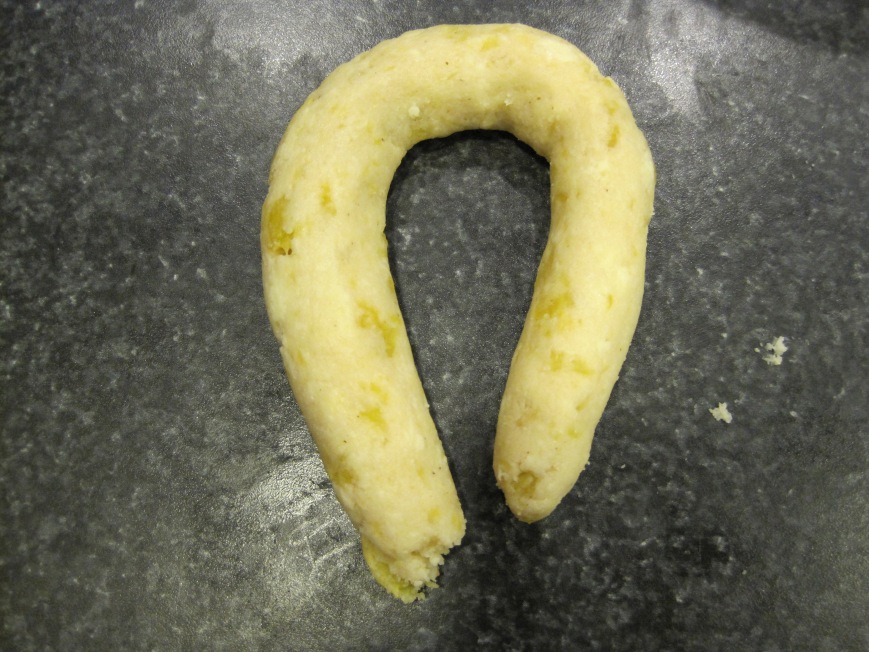
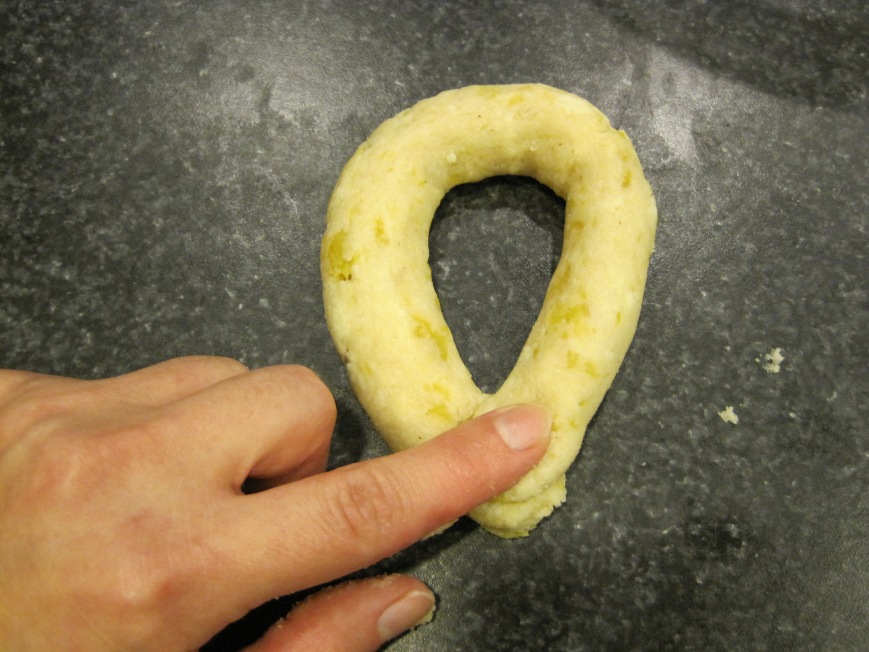
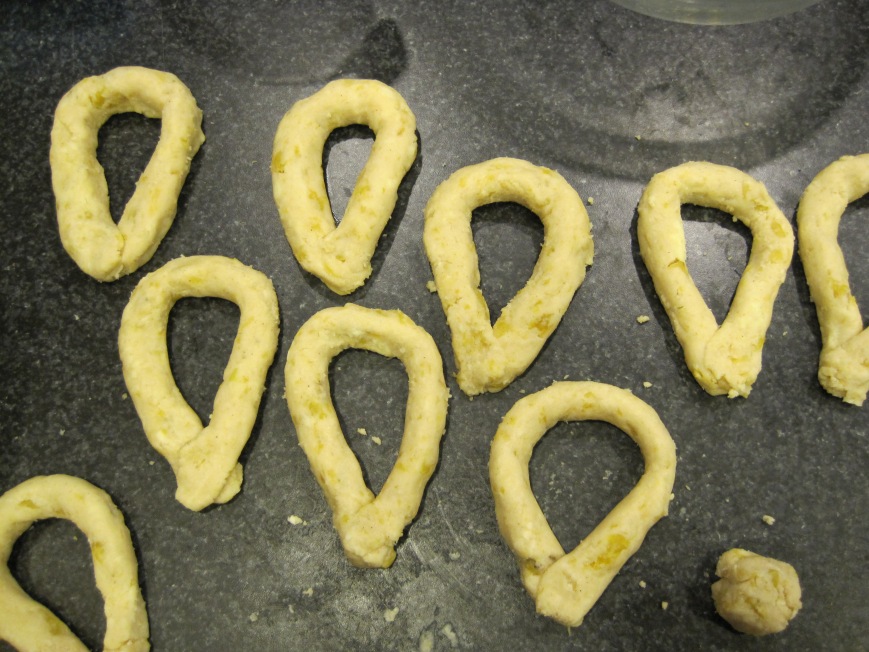
make a drop shape by pressing both ends together gently.

IMG_7616

IMG_7617

IMG_7623

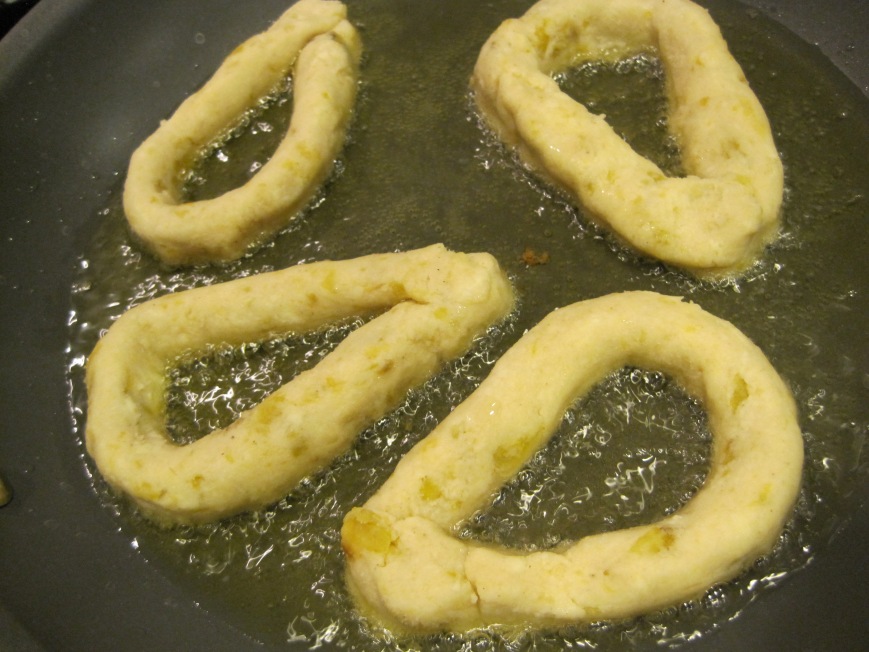
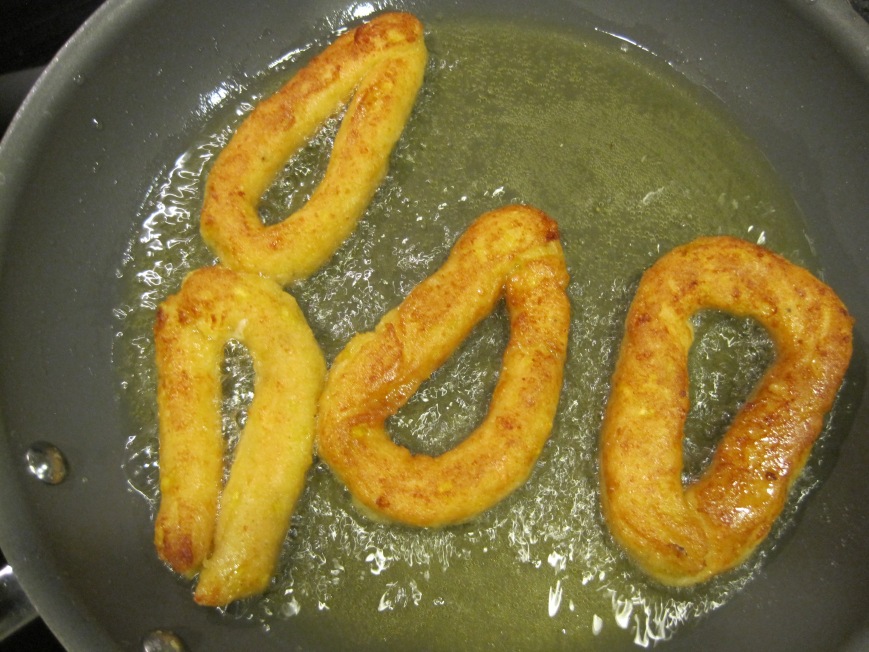
fry until golden brown.

IMG_7631

IMG_7632

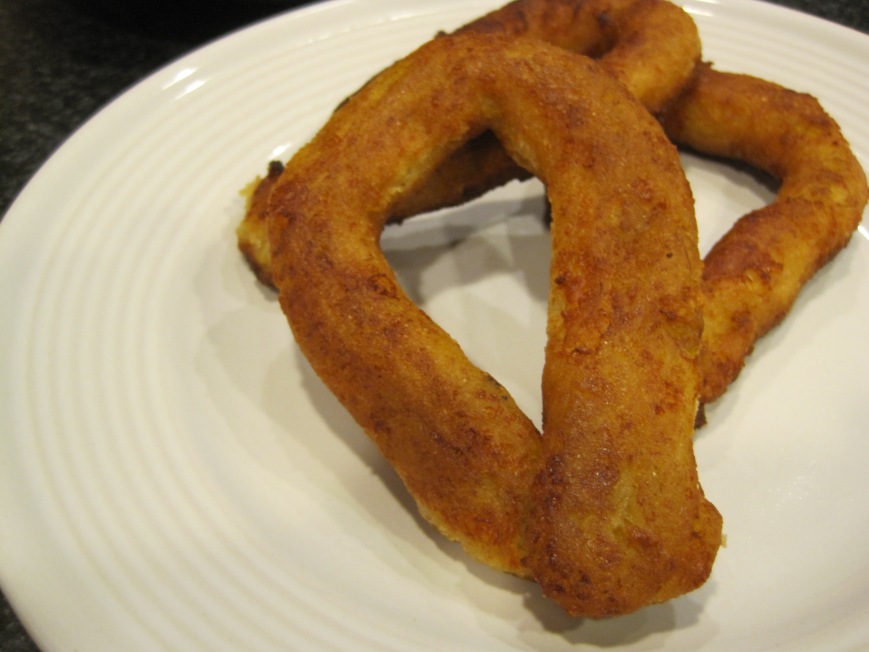
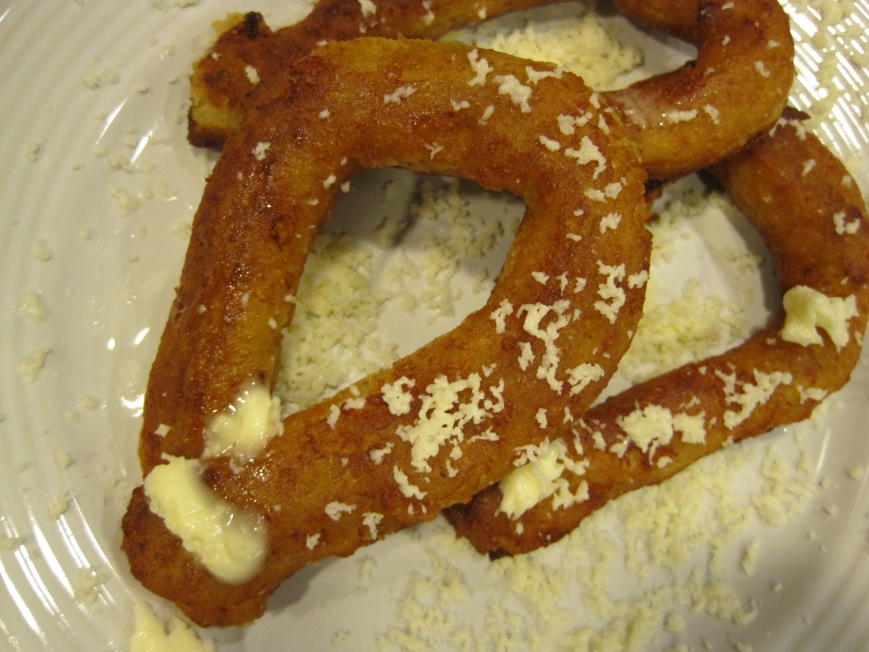
serve hot with butter and cheese.

IMG_7635

IMG_7642

IMG_7643

IMG_7791

IMG_7806

succulent mandocas

ingredients:
1 cup harina pan
1 1/4 cups hot water
1 tsp sea salt
1/2 papelon block
1 ripe plantain
1 cup shredded queso blanco (semiduro) 
or queso cotija or queso fresco (mexican cheeses)
canola, vegetable or peanut oil for frying
cheese and margarine for serving

yields 10 to 12 large mandocas

directions:

  1. in a pot with boiling water over medium high heat, cook plantain until soft. about 12-15 minutes.
  2. in a large glass bowl, add hot water and papelon. dissolve papelon in water with a fork. if it’s not completely dissolved, pop in the microwave for a few seconds to help melt the papelon.
  3. once dissolved, season with sea salt and mix well.
  4. mash plantain with a fork once soft and add to papelon mixture and mix until incorporated.
  5. add harina pan to bowl followed by cheese. mix well with hands until incorporated. don’t over mix.
  6. if dough it’s too hard and not manageable add a little bit of water to loosing it up.
  7. grab a handful of dough and form a ball. then with your hands shape ball into a cylinder. put cylinder on counter top and roll back and forth with your hands until it has a medium size – not too thick – not too thin. bend one side of the cylinder followed by the other one. press both ends against each other gently. the ends are supposed to meet and hold together.
  8. fry over medium high heat until golden brown.
  9. serve hot with butter/margarine and more cheese! eat immediately since they are not the type of food you can refrigerate and heat the next day.

IMG_7807

orange soy pork tenderloin with roasted veggies

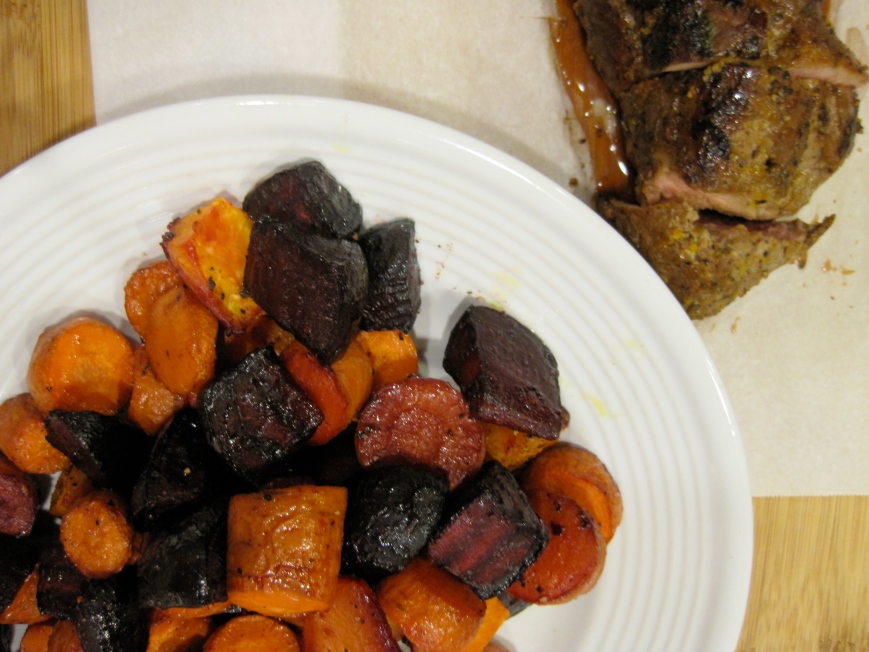
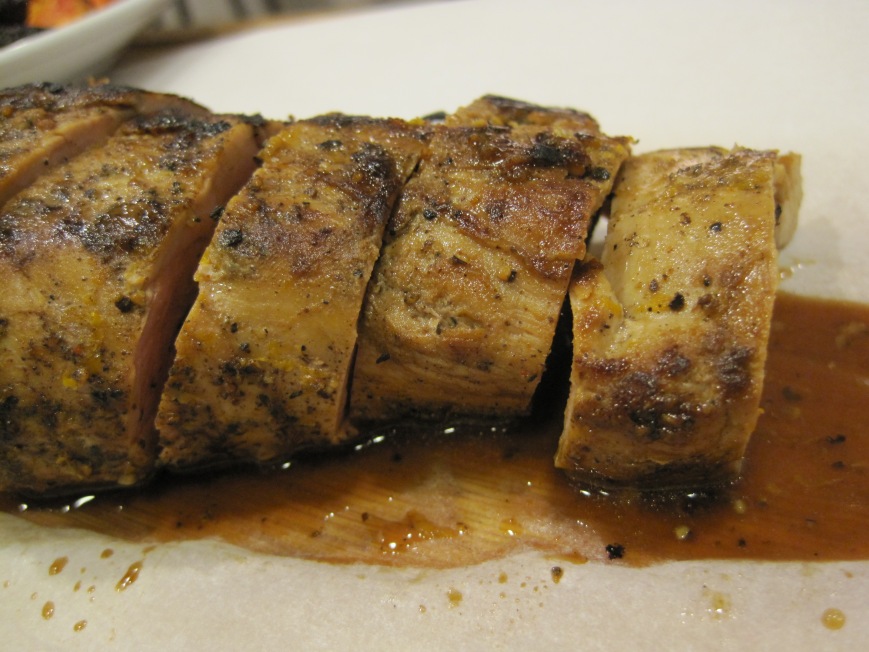
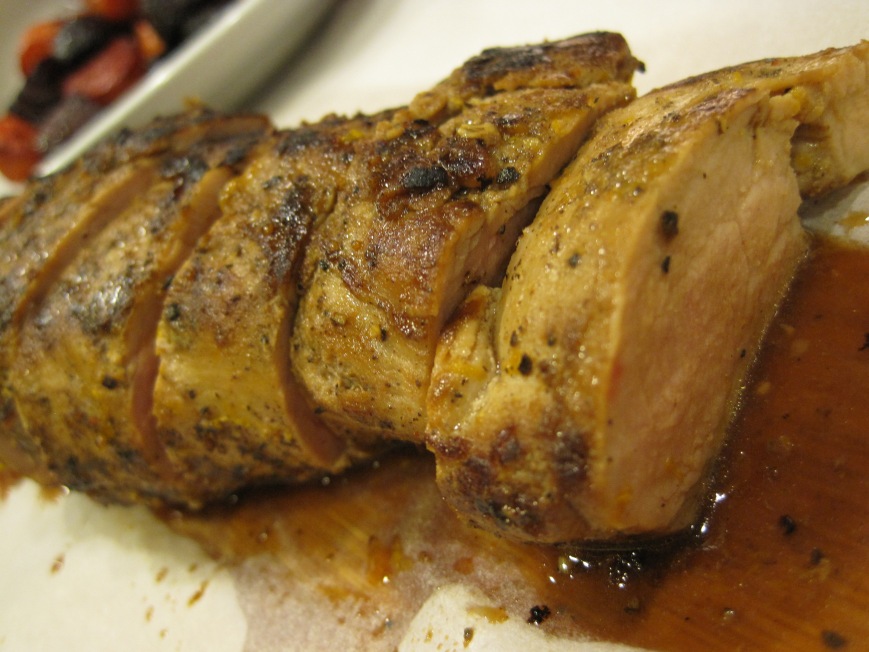
welcome to one of the most flavorful posts yet! this pork tenderloin is juicy, has a variety of flavors that go well together and is really easy to prepare. okay, yes, there’s some waiting time. but, it’s well worth it.

when i decided to make this dish, i was inspired by the sweet and salty dishes of the world. however, i didn’t see any pork tenderloin/orange combos and since i had oranges in my kitchen, i went ahead and made orange the main star of the dish :)

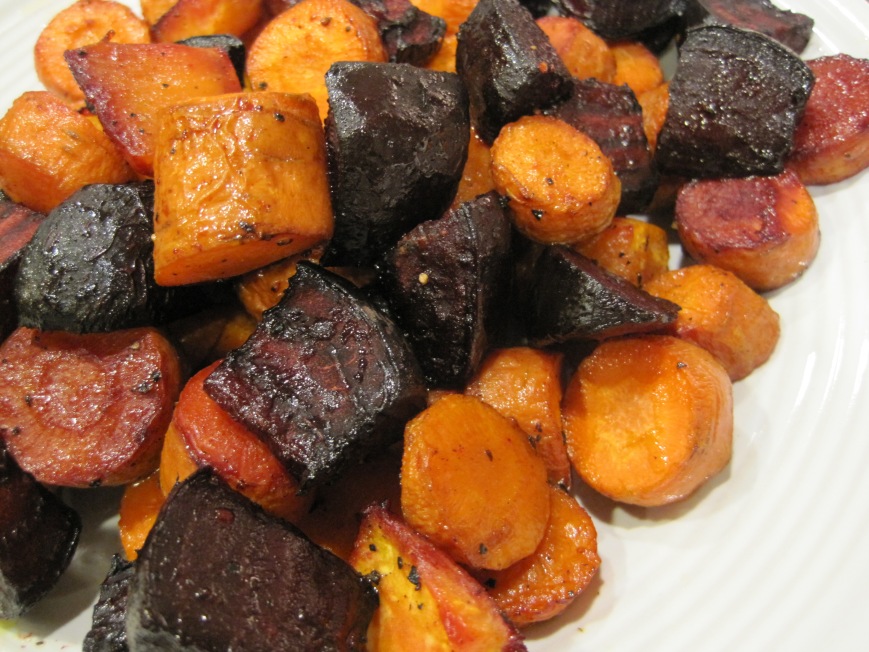
the roasted veggies are a nice touch and you can cook them in the same pan as the pork tenderloin. you are making dinner pretty much in one roasting pan, which is nice and convenient.

here’s the how-to pictures and below you’ll find the recipe and directions. enjoy!

IMG_7228

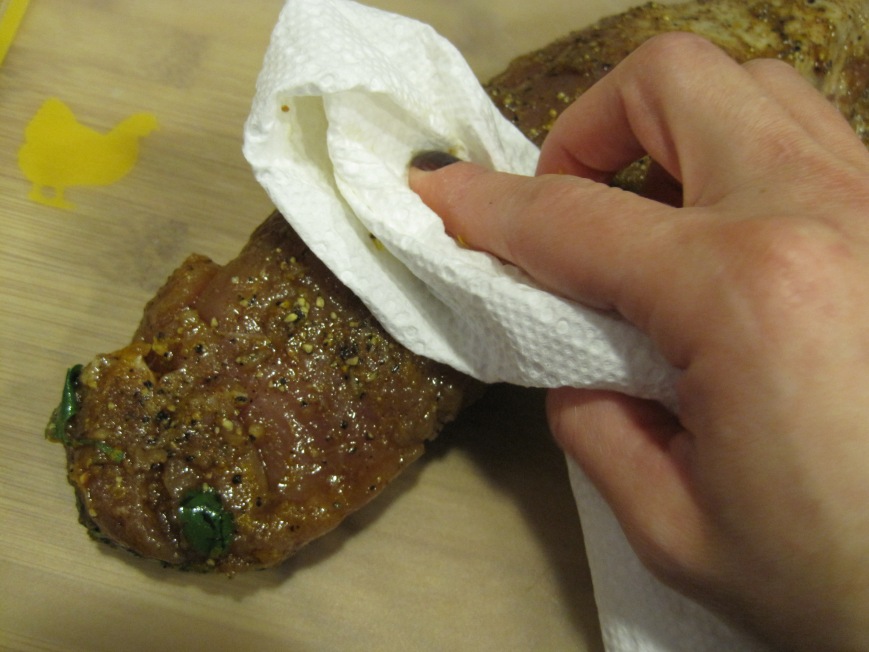
make sure to dry tenderloin with a paper towel before pan searing.

IMG_7275

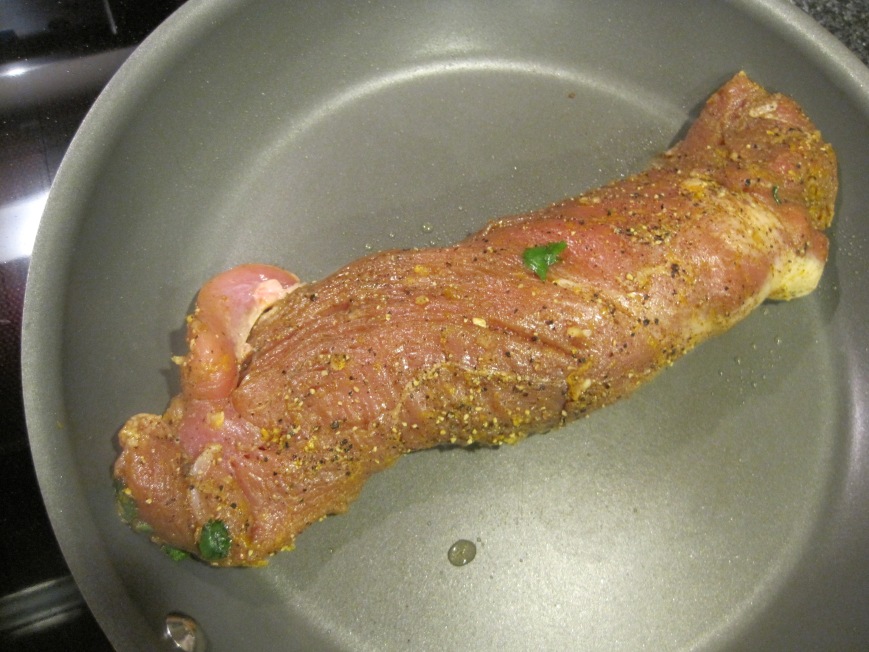
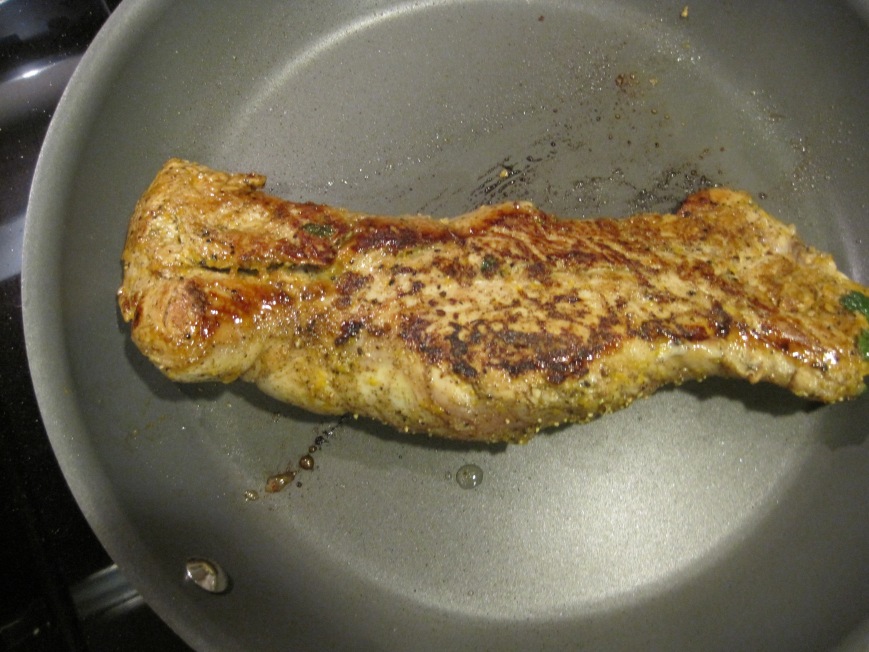
sear tenderloin over medium high heat.

IMG_7280

IMG_7281

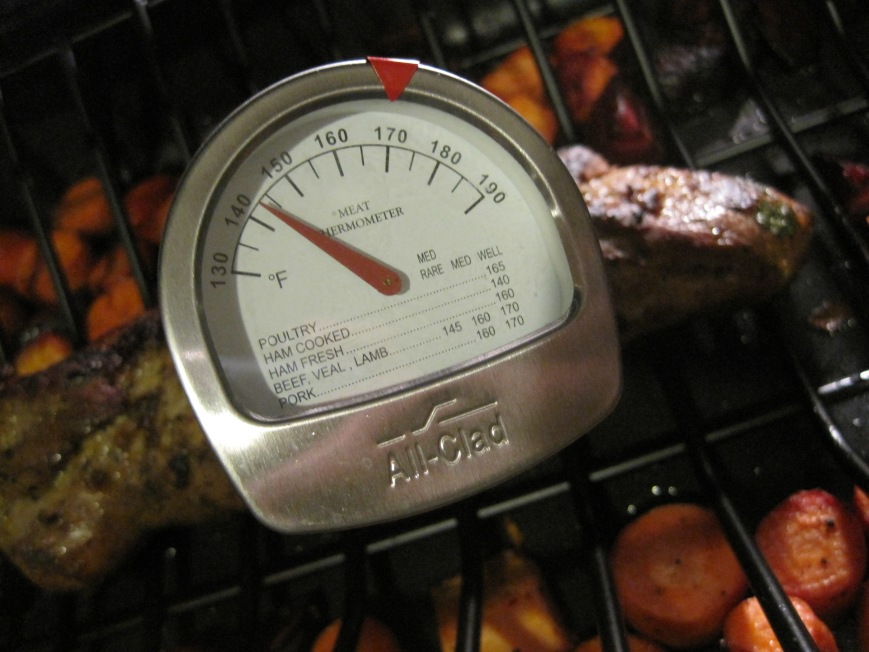
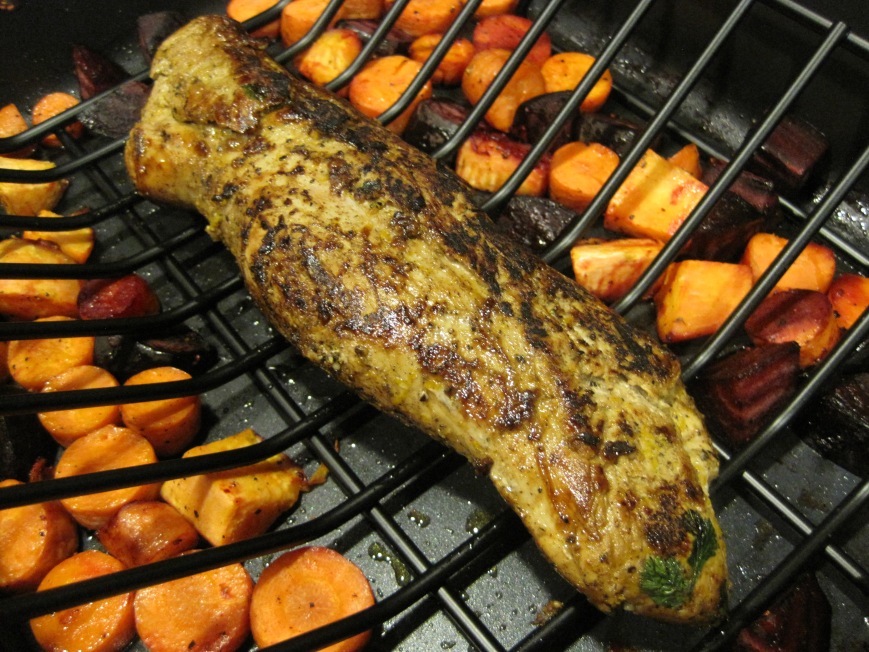
roast until internal temperature reaches 145F. or if you like it well done 160F. however, the roast will be dry if well done.

IMG_7286

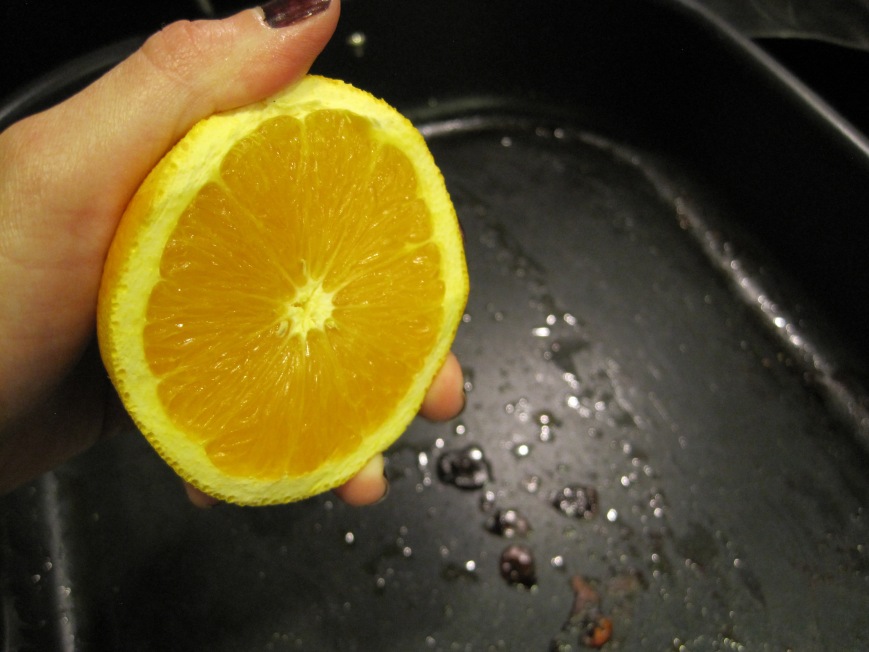
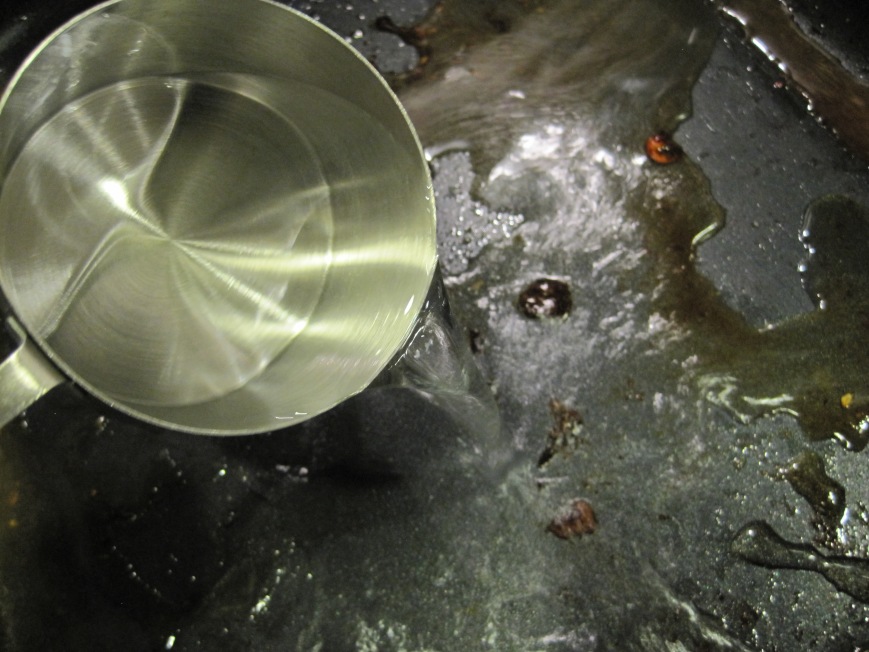
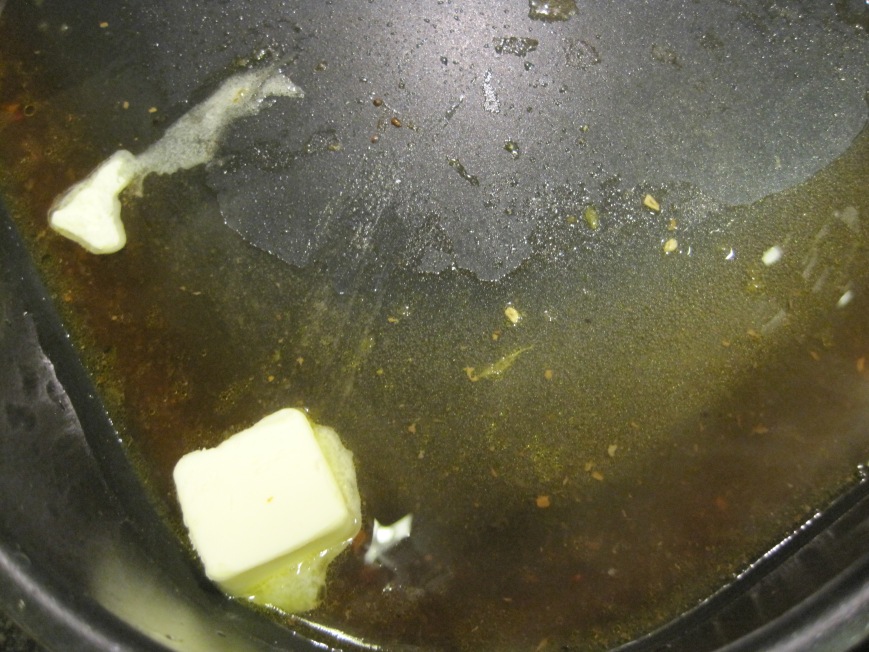
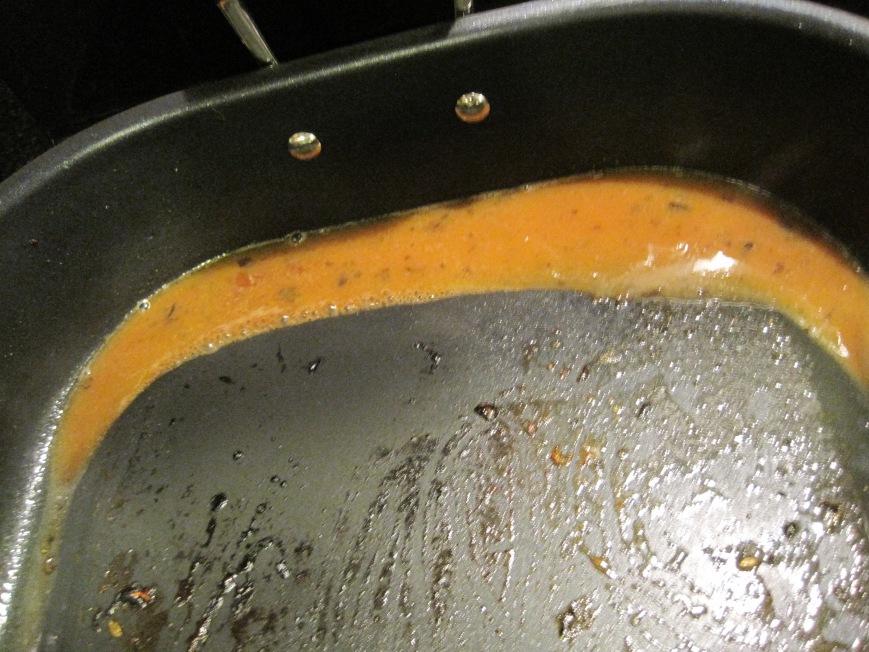
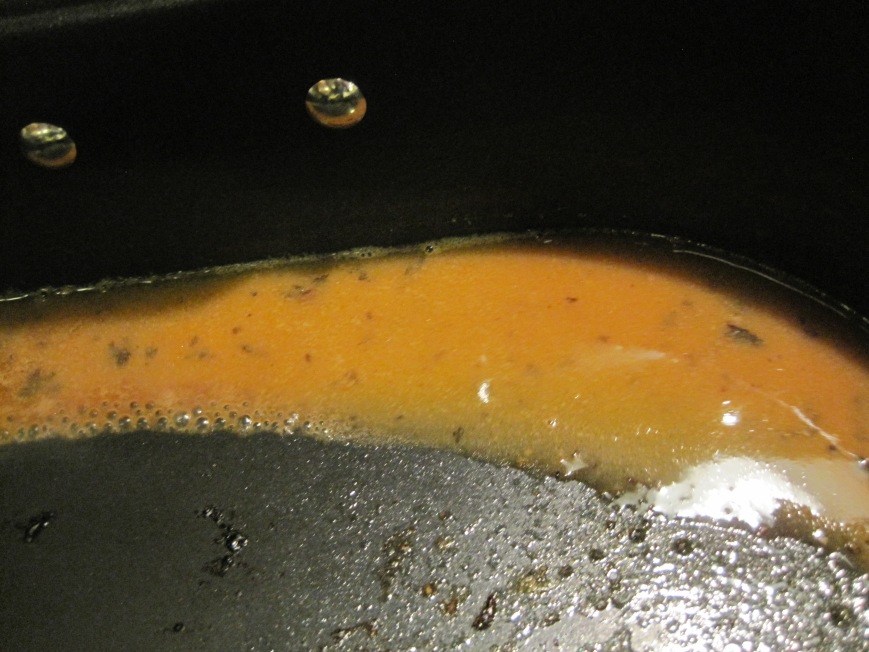
to make the sauce, deglaze roasting pan with orange juice, water, honey {not shown}, butter, sea salt and pepper.

IMG_7293

IMG_7294

IMG_7295

mix well and reduce 1/4 of the liquid by cooking for about 3 minutes until thickens.

IMG_7298

IMG_7299

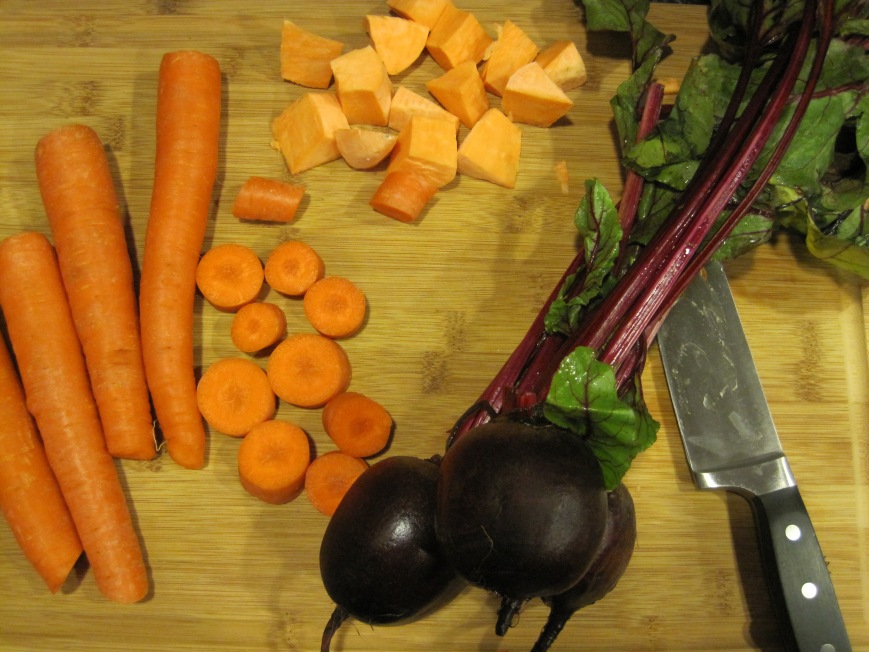
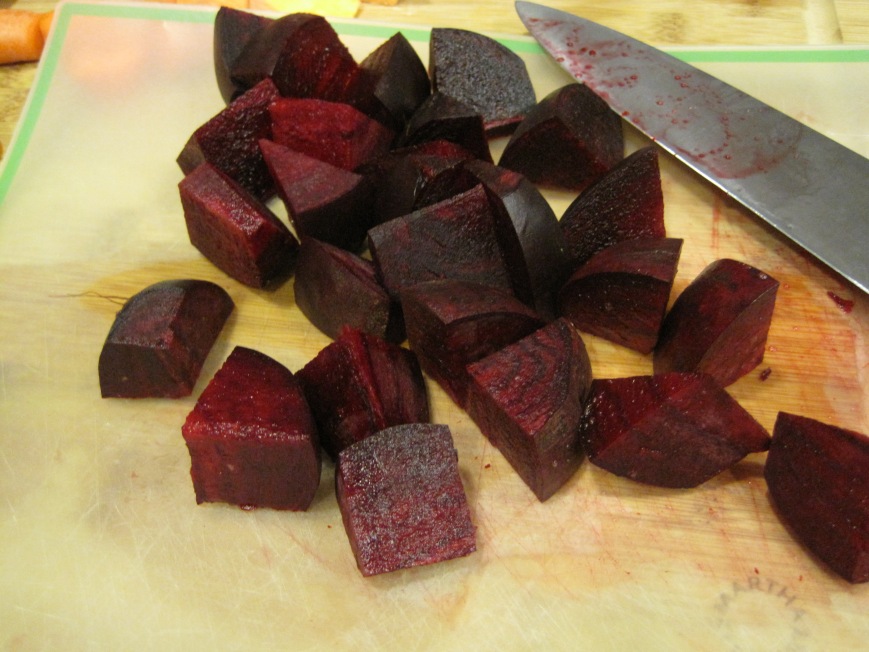
while oven is preheating and tenderloin has been dried with a paper towel, cube your vegetables.

IMG_7265

IMG_7266

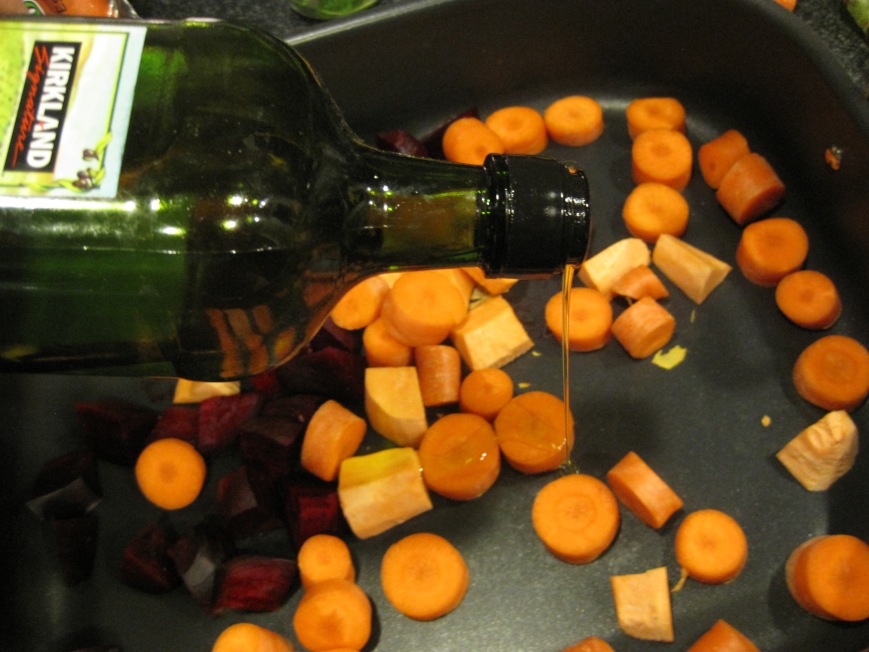
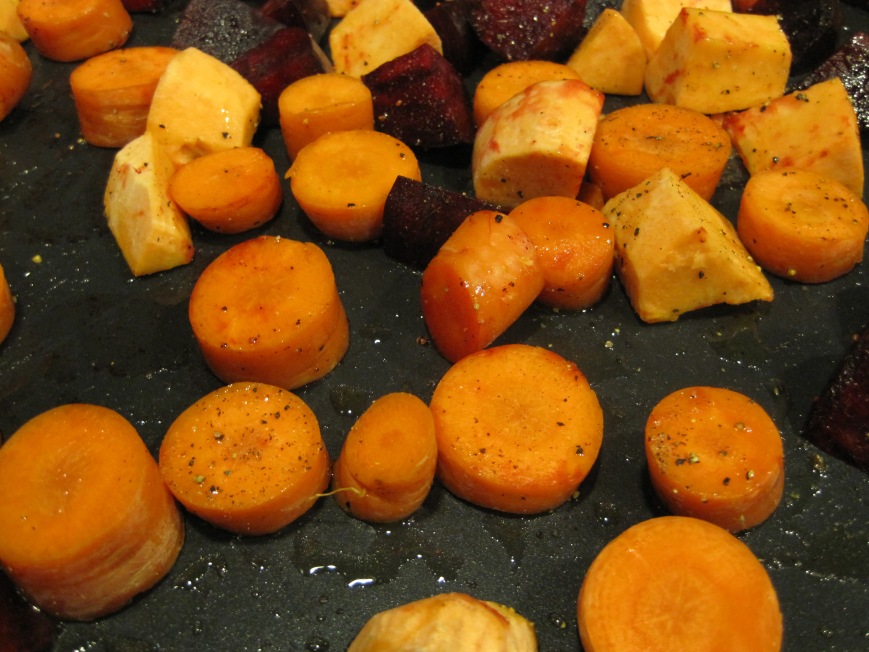
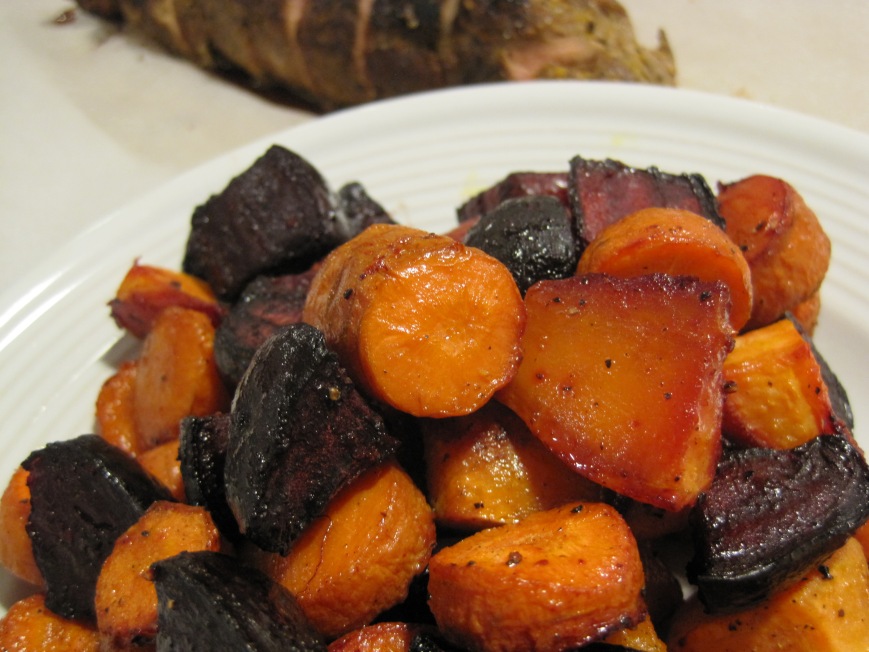
before putting the tenderloin in the roasting pan, season veggies with olive oil, sea salt and fresh ground pepper.

IMG_7268

IMG_7269

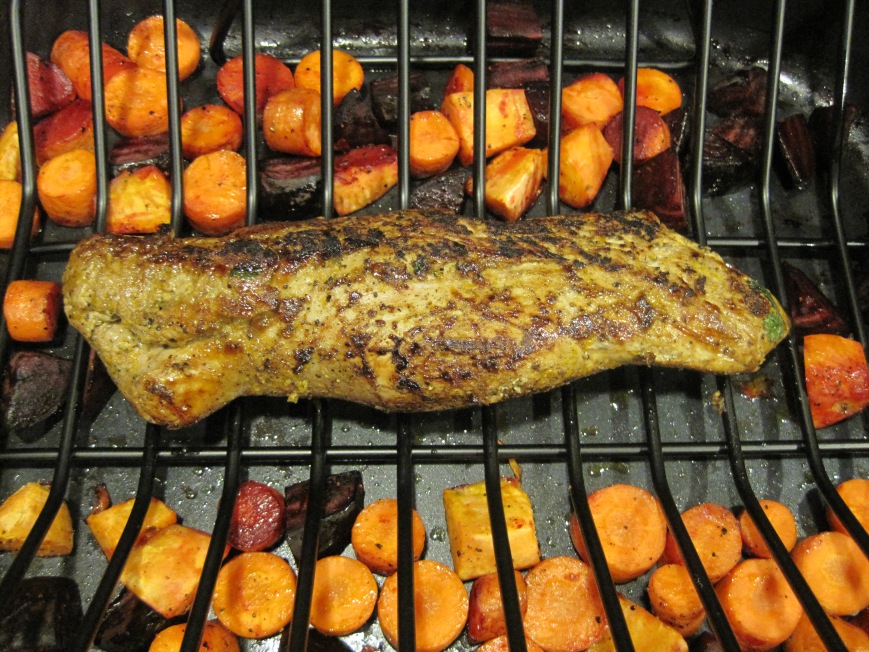
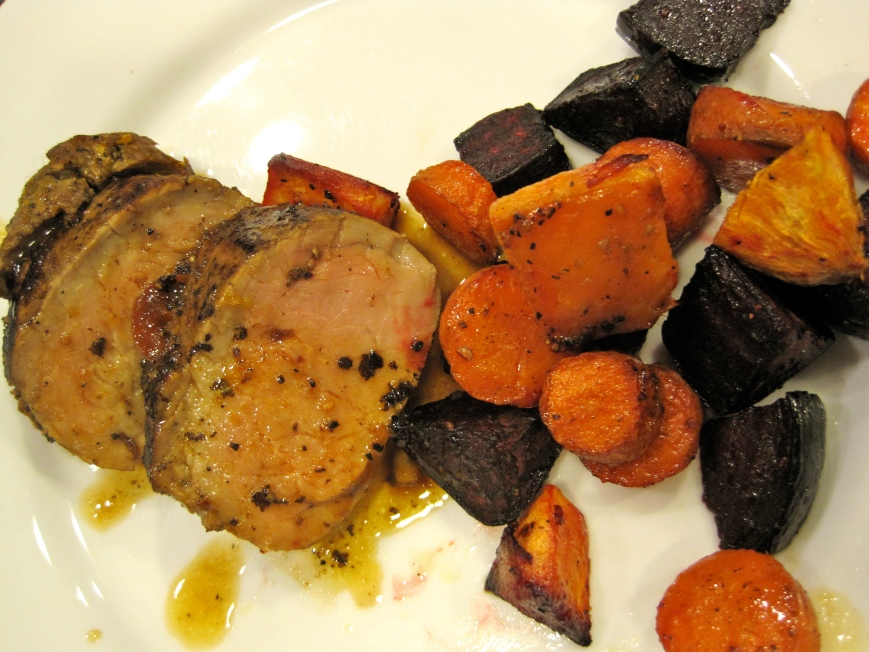
mmm! just out of the oven.

IMG_7285

IMG_7282

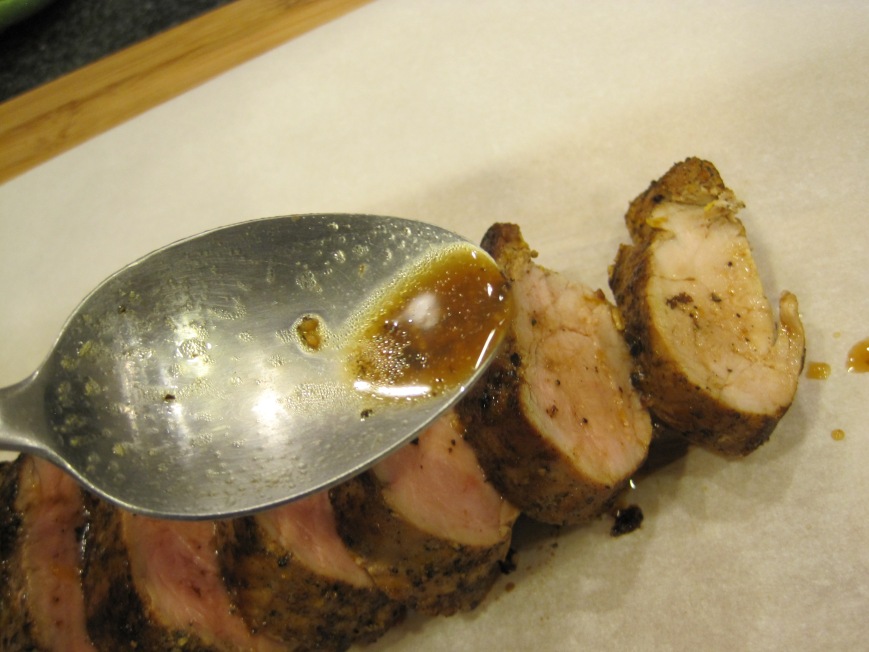
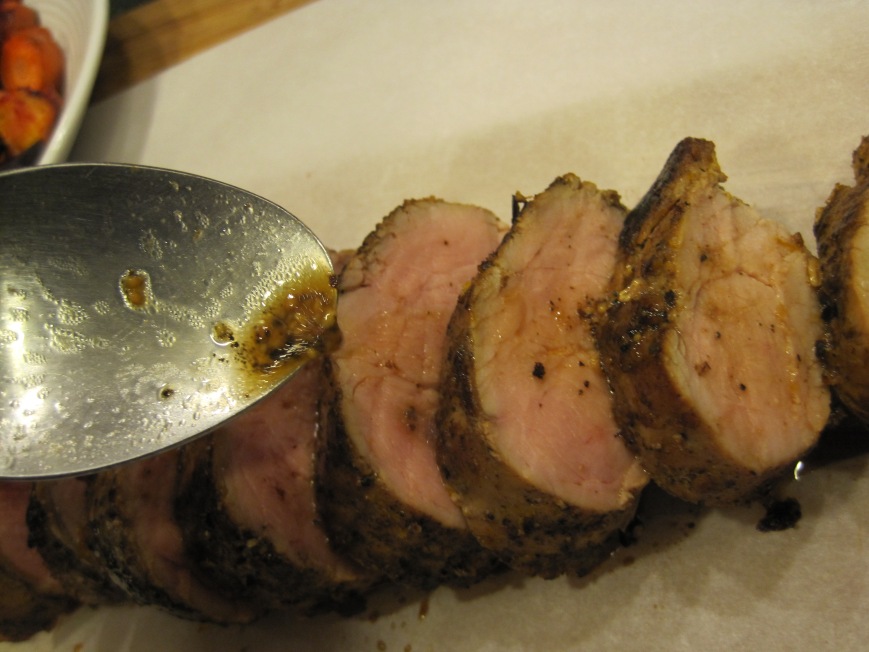
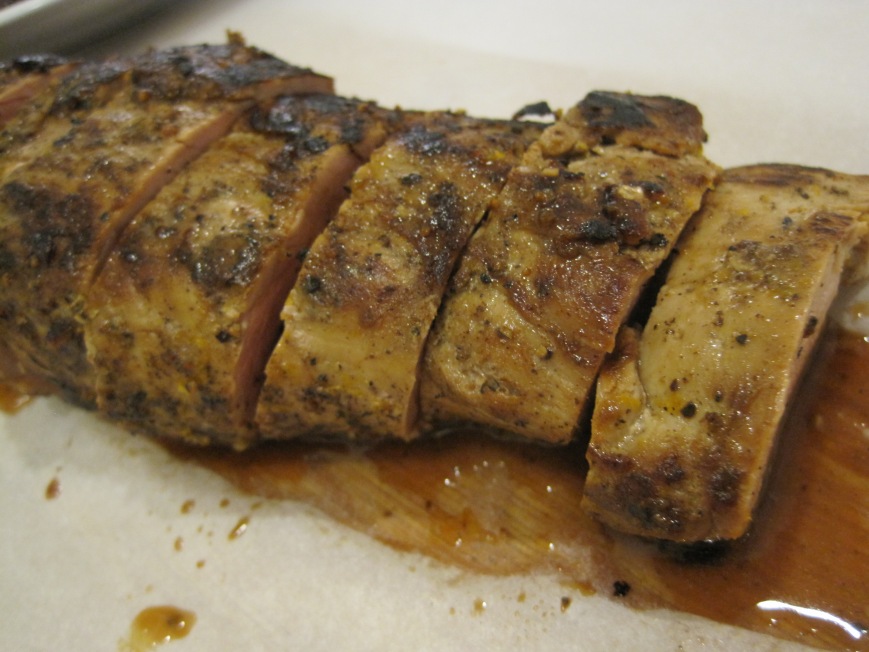
spoon sauce over roast and leave some aside. you want to use it when you serve the tenderloin.

IMG_7301

IMG_7302

IMG_7310

IMG_7314

IMG_7329

IMG_7325

IMG_7327

IMG_7330

IMG_7337

orange soy pork tenderloin with roasted veggies

ingredients:

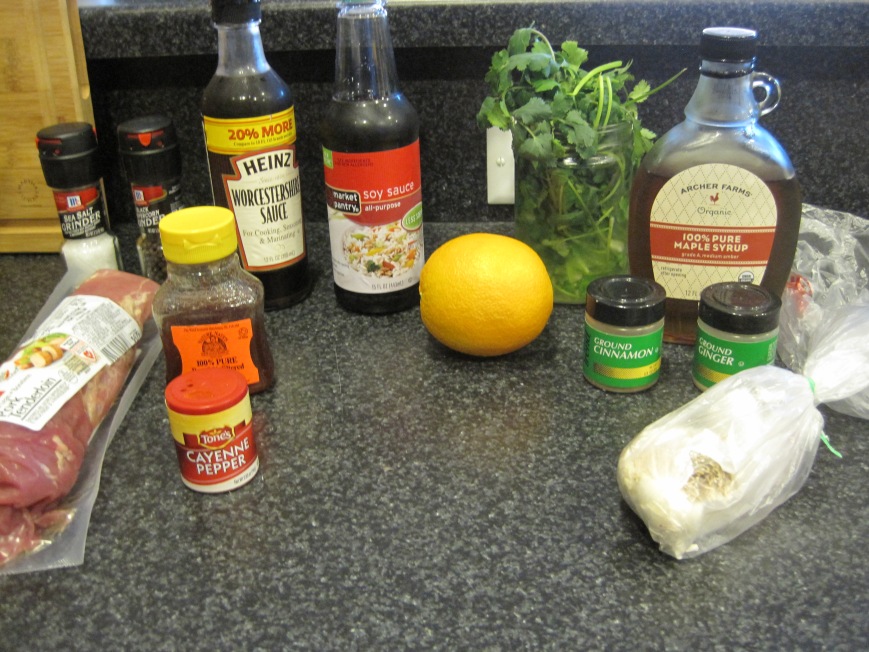
1 to 1 1/2 lbs boneless pork tenderloin, organic or all natural preferably.

marinade:
4 tbsp low sodium soy sauce
2 tbsp worcestaire sauce
2 tbsps organic maple syrup
1 tsp raw honey
1/2 tsp fresh ground black pepper
1/4 tsp ground ginger
1/4 tsp cayenne pepper
1/4 tsp cinnamon
1 tbsp cilantro, chopped
1 clove garlic, minced
1 tbsp olive oil
zest of 1 orange
juice of 1 orange or 1/4 cup orange juice

sauce:
juice of 1 orange or 1/4 cup orange juice
1 tbsp unsalted butter
1 tsp raw honey
1 cup hot water or veggie or chicken stock
sea salt and fresh ground pepper to taste

serves 4 people.

directions:
1. mix all marinade ingredients in a shallow baking dish or gallon-sized ziploc bag.
2. poke pork tenderloin with a fork throughout so it soaks in all the juices and flavors from the marinade.
3. marinate for 4 hours or up to overnight. if using a baking dish, cover with plastic paper.
4. bring pork tenderloin to room temperature before roasting. you can bring it to room temperature by setting aside on the counter for 30 minutes if marinated for 4 hours or 1 hour if marinated longer.
5. preheat oven to 415F.
6. dry tenderloin well with a paper towel.
7. in a skillet, pan sear first side for 2 minutes over medium-high heat. flip and sear for 1:30 minutes. sear the sides for 30 seconds each. you want a nice, crisp layer on the outside.
8. bake in a roasting pan with a rack {if you don’t have one, it’s totally okay} and roast for 25-30 minutes or until the internal temperature of the thickest part reaches 145F. if you like it well done, the internal temperature should be 160F. it will be on the dryer side, which i personally don’t recommend.
9. take pork tenderloin out from roasting pan and set aside on a cutting board or large plate. cover with tin foil.
10. make sauce in roasting pan. deglaze the pan with orange juice, butter, honey, water, salt and pepper cooking on the stove over medium high heat mixing well. cook for 3 minutes or until sauce has been reduced by a quarter and thickened.

**note** after step 7, i went ahead and added the cubed veggies to roasting pan and seasoned with a drizzle of olive oil, sea salt and fresh ground pepper. recipe follows.
roasted veggies
half a sweet potato, cubed in 1” pieces
2 beets, cubed in 1” pieces
4 carrots, cubed in 1” pieces
sea salt and fresh ground black pepper to taste
olive oil, drizzle

preheat oven to 415F.

put veggies in baking dish, sheet or roasting pan (with pork tenderloin). drizzle olive oil and season with sea salt and pepper. toss well so they are well coated and bake for 35 minutes. stir a few times through baking time.