do you know who’s best friends with peanut butter? if you said honey, you aren’t wrong :) who doesn’t like eating a peanut butter honey sandwich? ok, maybe just me.
if you said chocolate, you were right. chocolate is peanut butter’s best friend. but, i think chocolate goes beyond friendship and is peanut butter’s spouse. they go SO well together and are perfect for each other :)
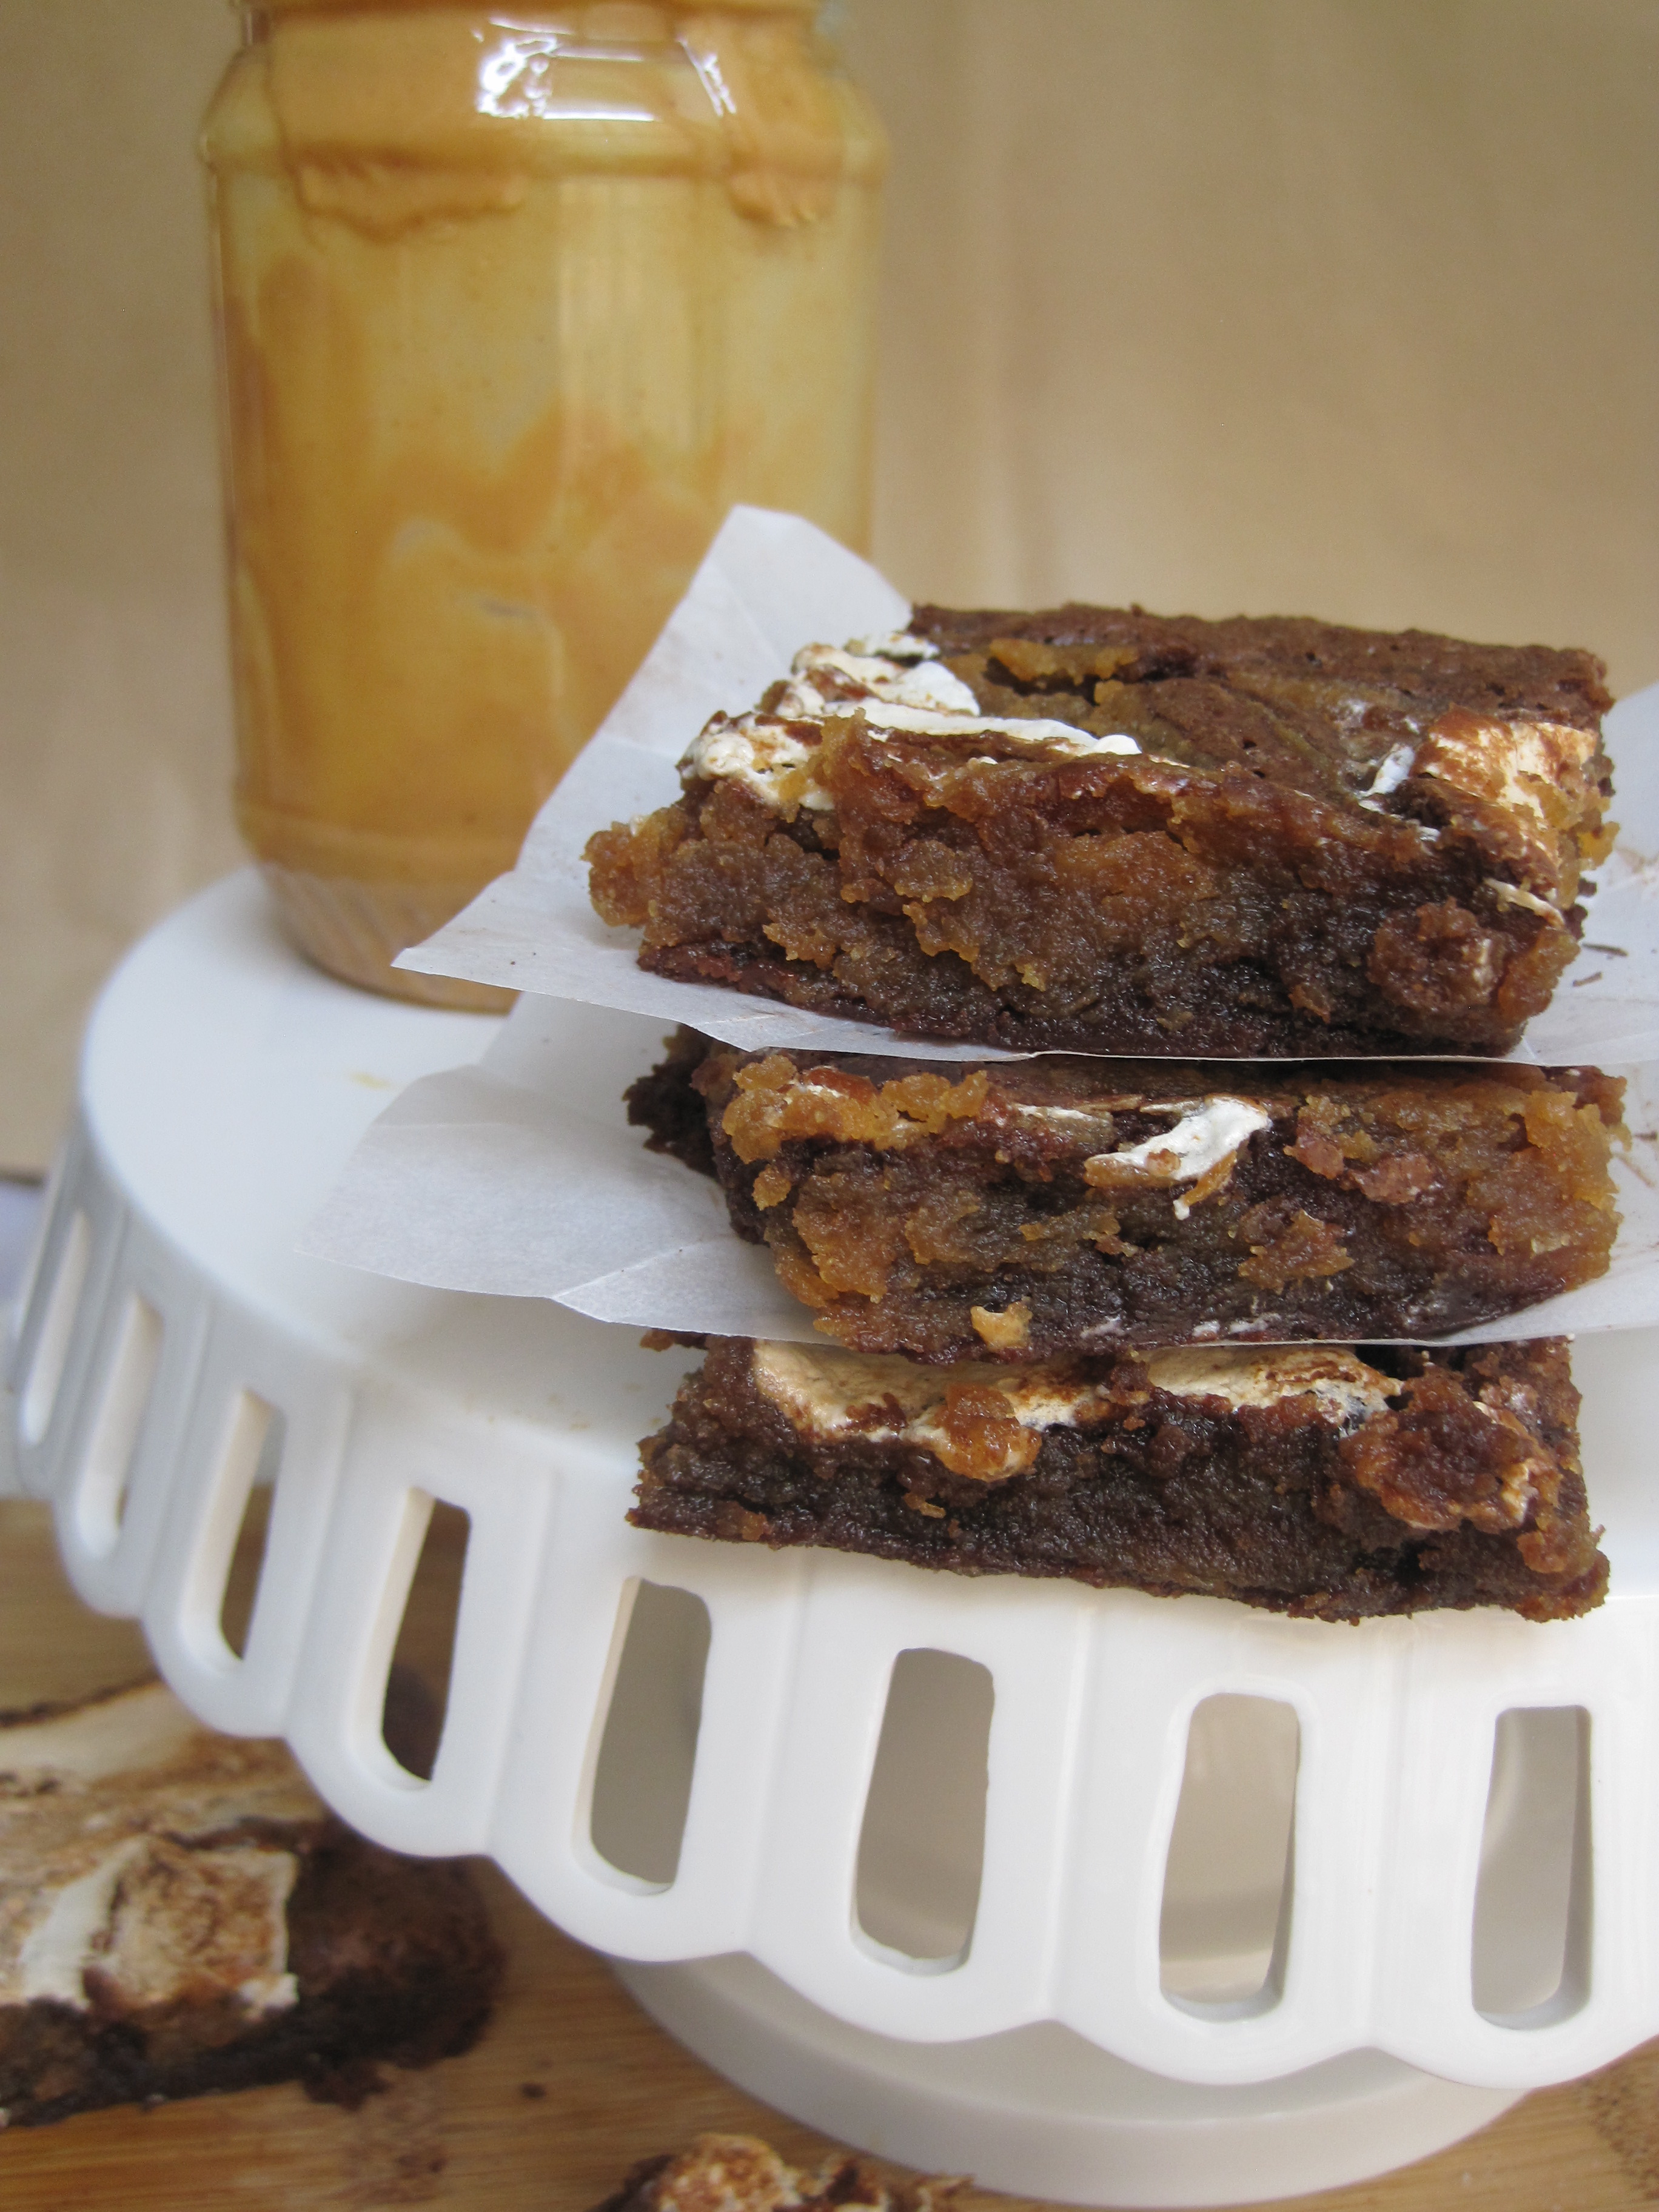
this recipe yields a rather thin brownie because of the size of the pan i used. i tested this recipe twice and is definitely better with the larger size pan due to the brownies’ richness, texture, and the addition of marshmallow creme and peanut butter. they are the perfect balance of sweetness because of the chocolate and marshmallow and saltiness because of the peanut butter. they are chewy and melt in your mouth. and if you are looking for the perfect peanut butter brownies, this is it!
i documented these amazing brownies and hope you make them. they will love you forever :)
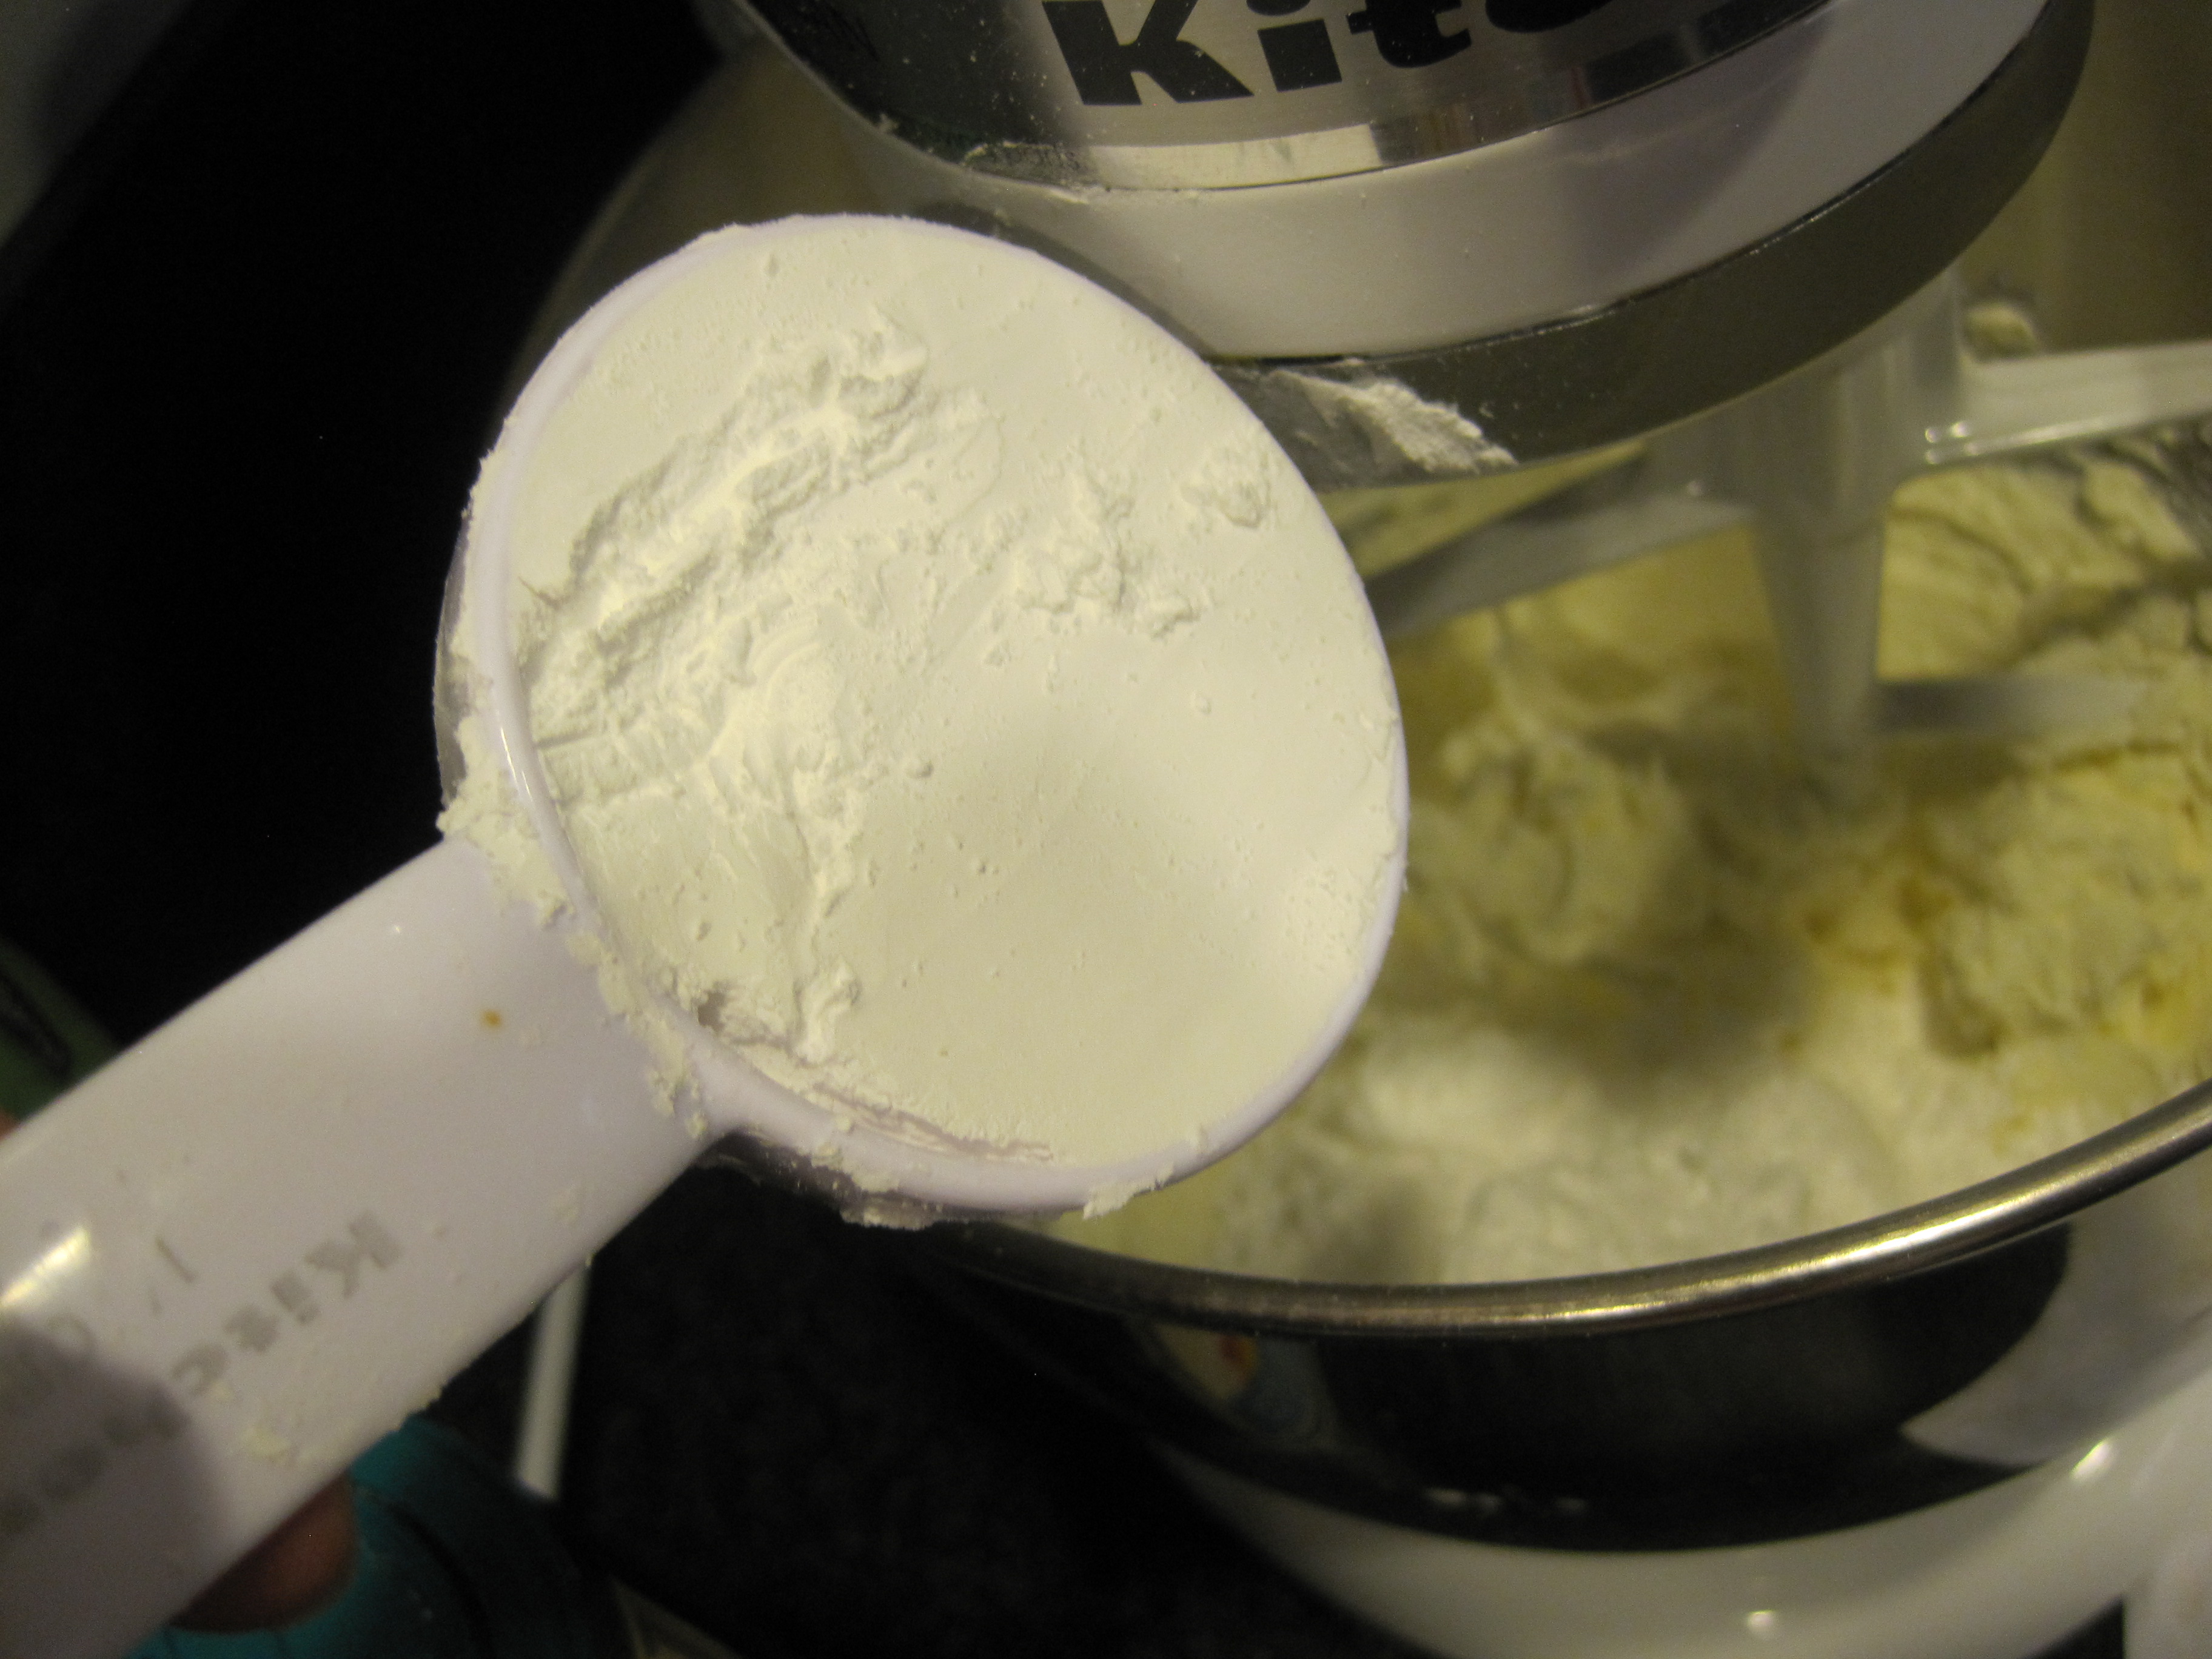
make the peanut butter mixture with the double boiler technique. add butter, milk, peanut butter, powder sugar and marshmallow creme to a bowl and stir occasionally until smooth!!


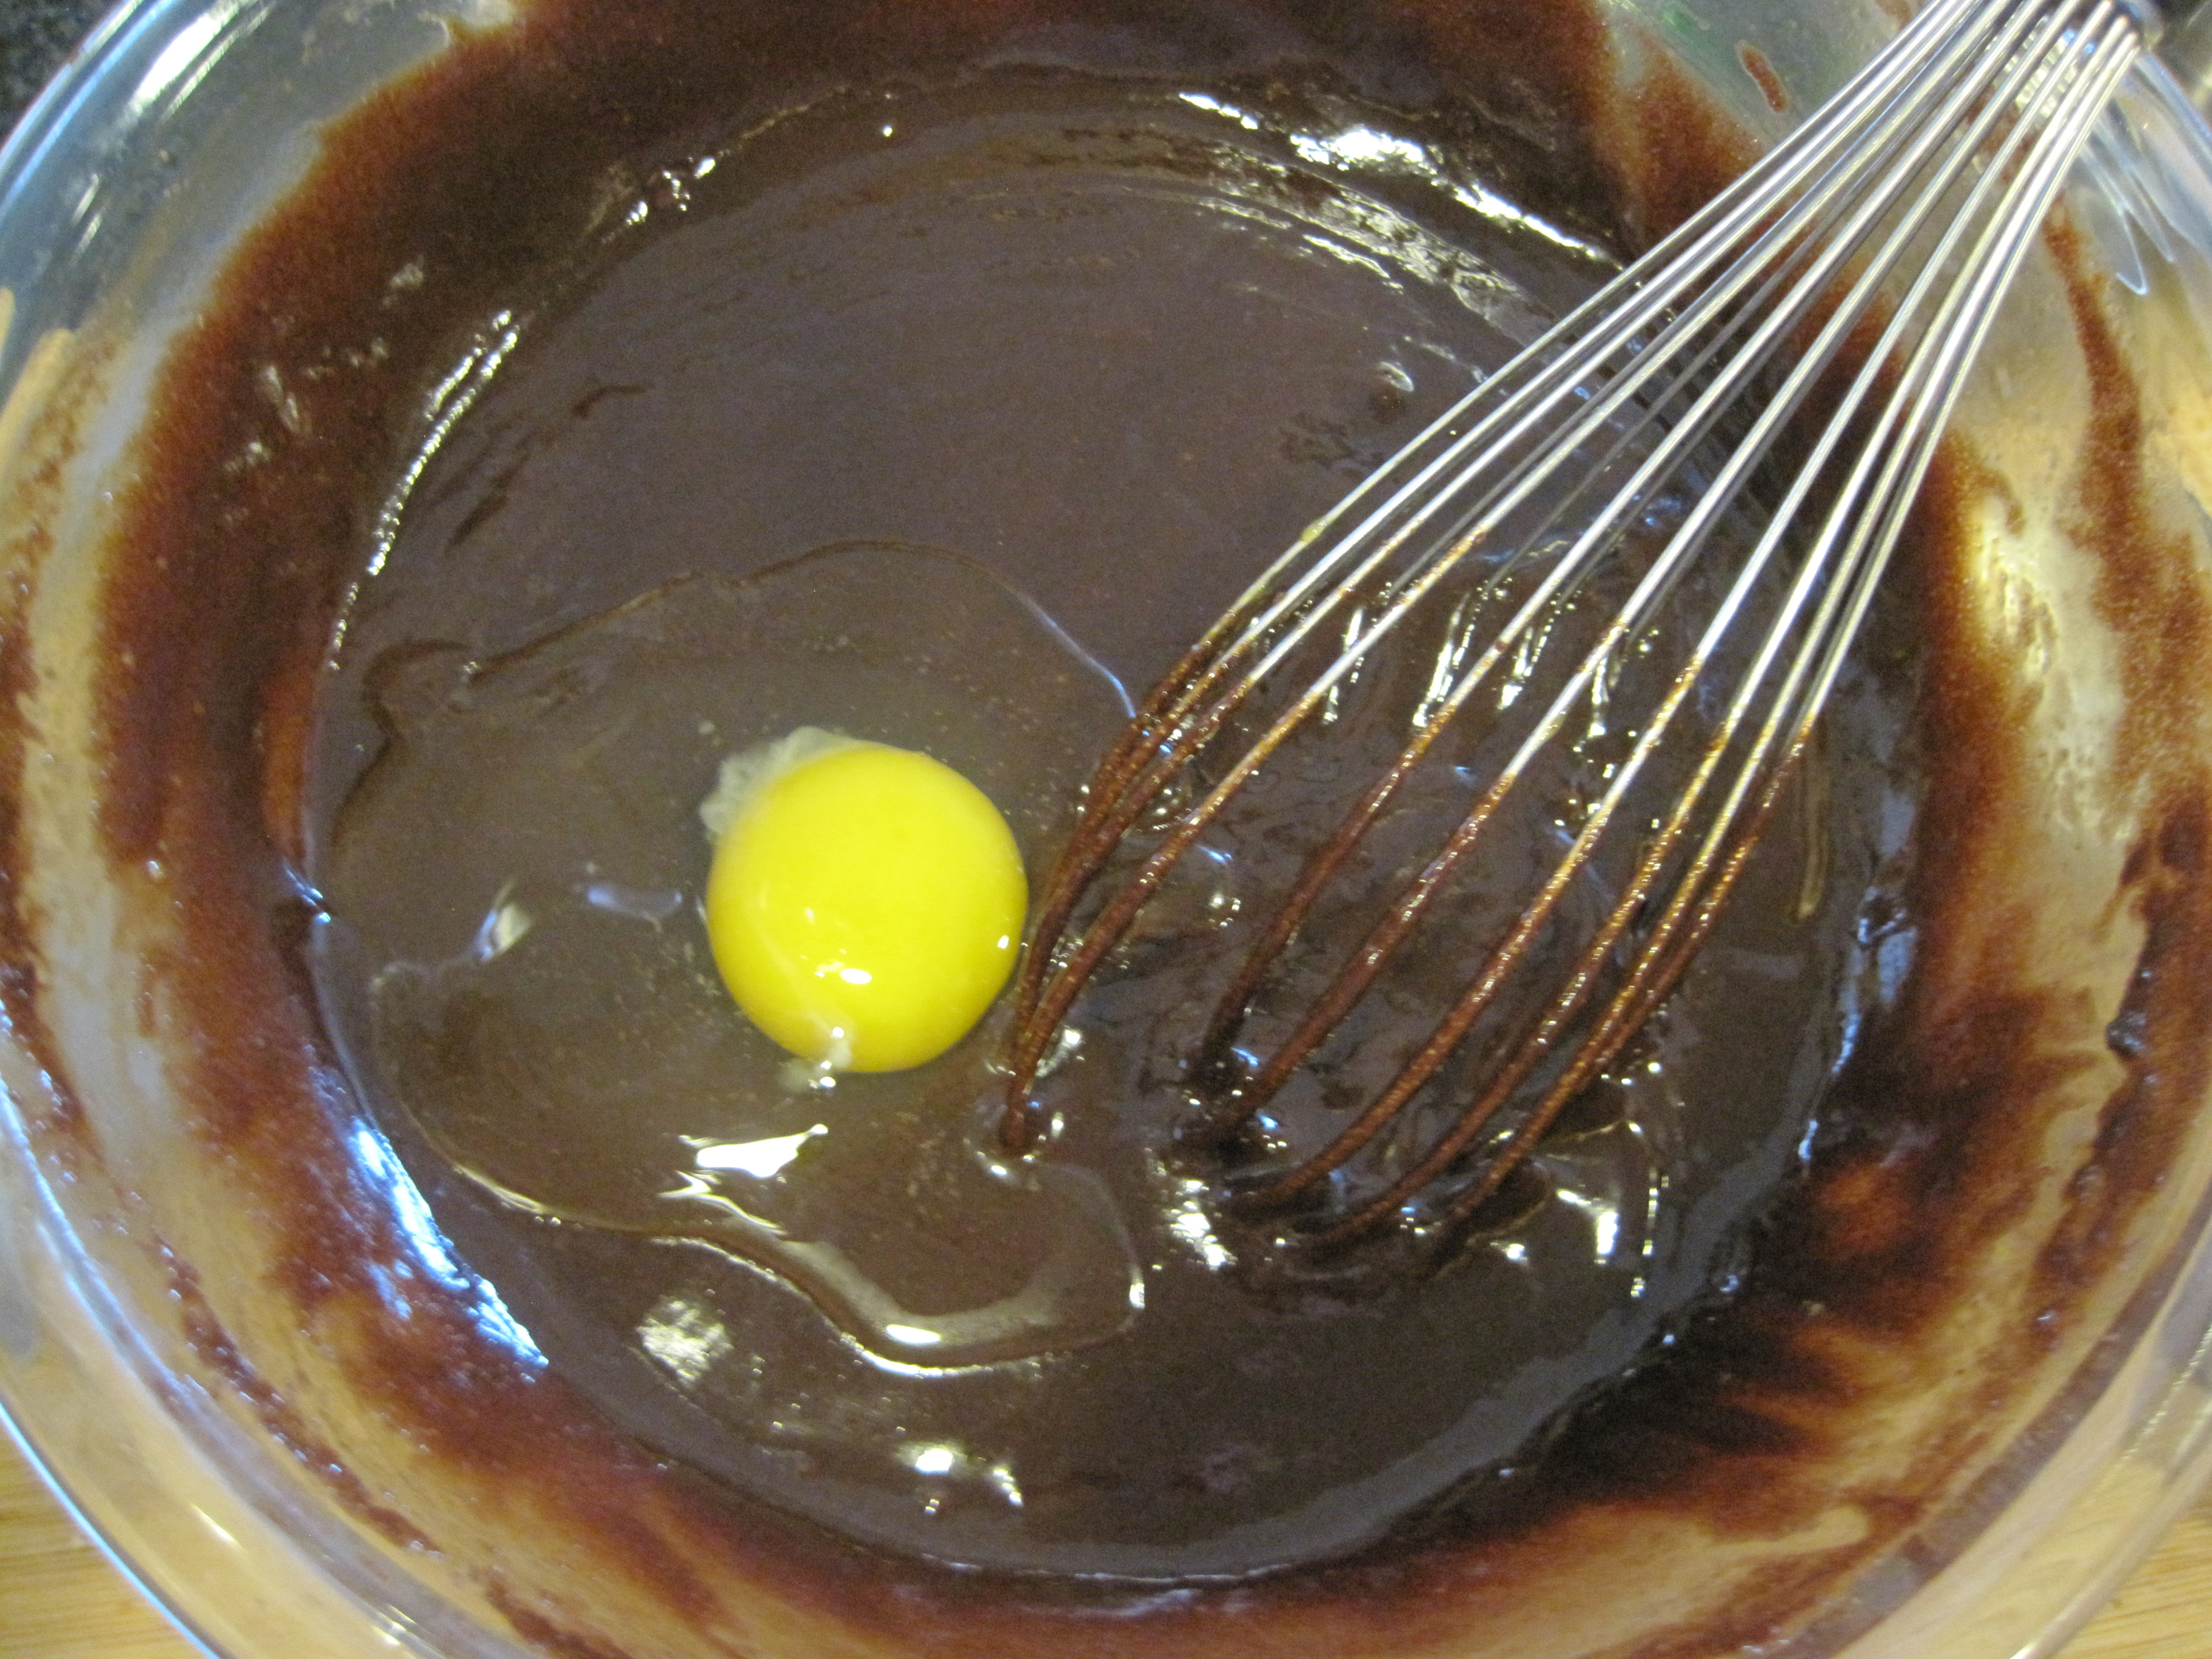
now onto the brownies :) this is a pretty easy and to the point method. over simmering water {double boiler technique} melt chocolate with butter, coffee and cocoa powder.


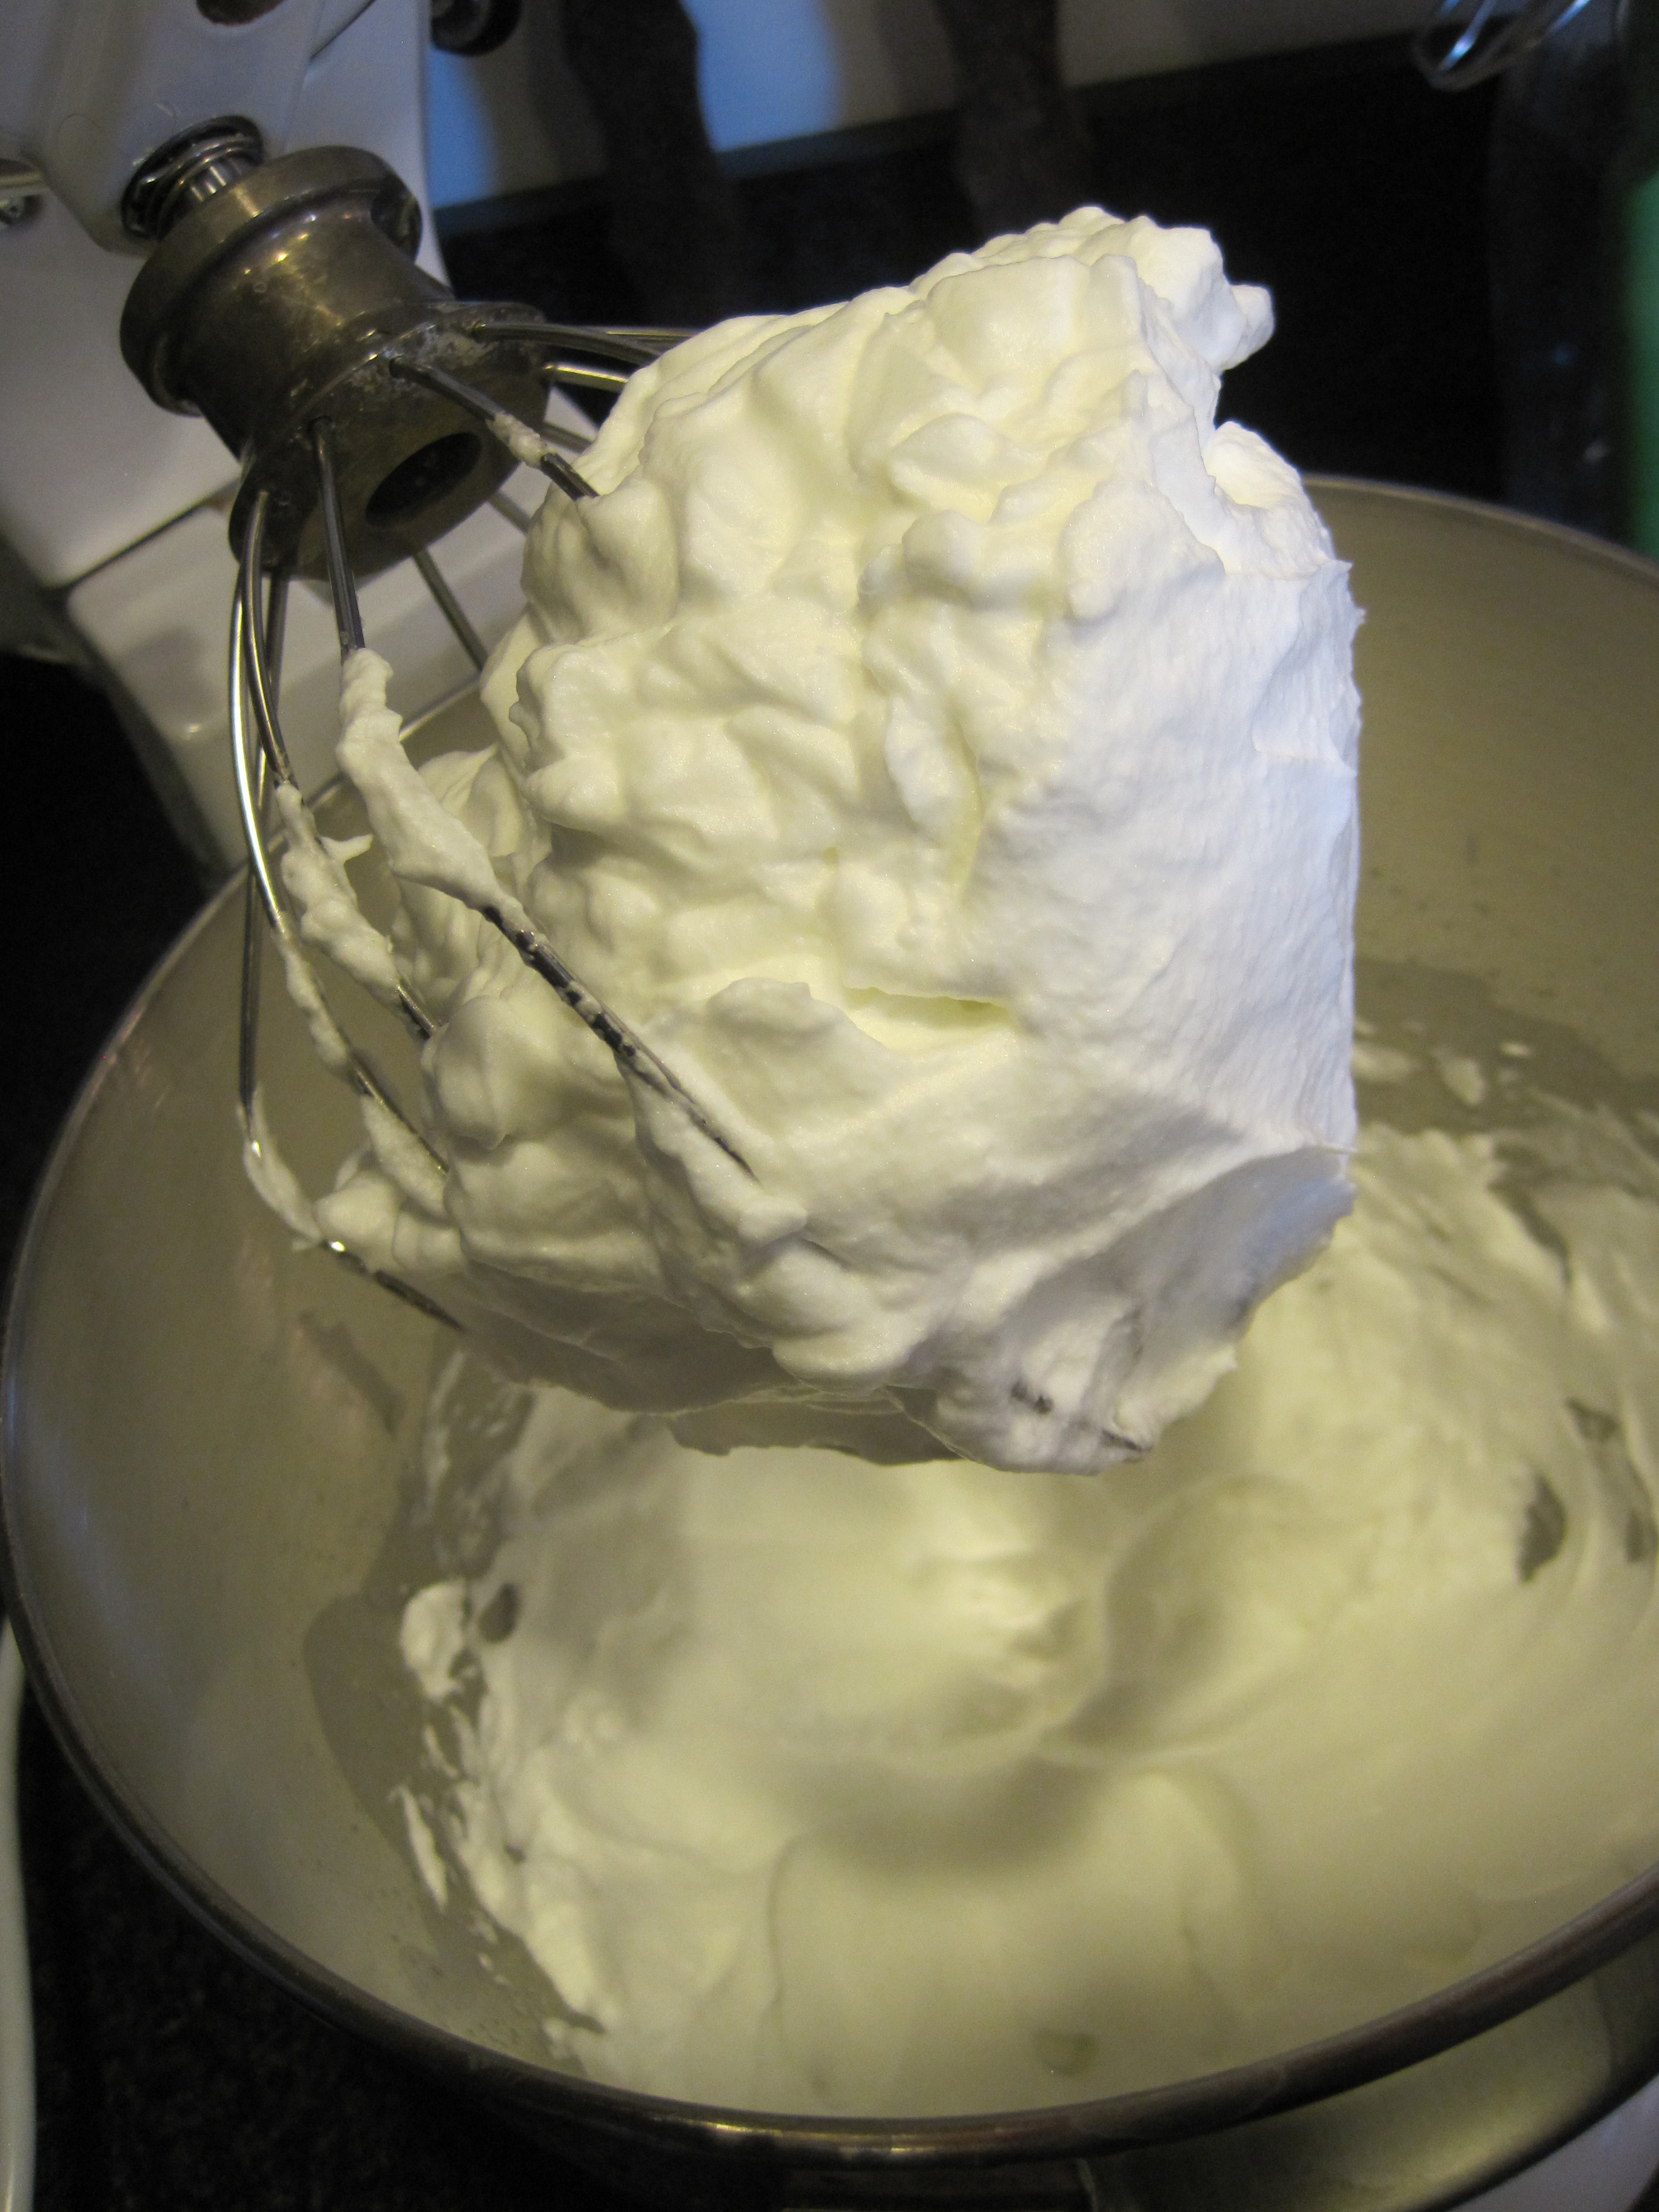
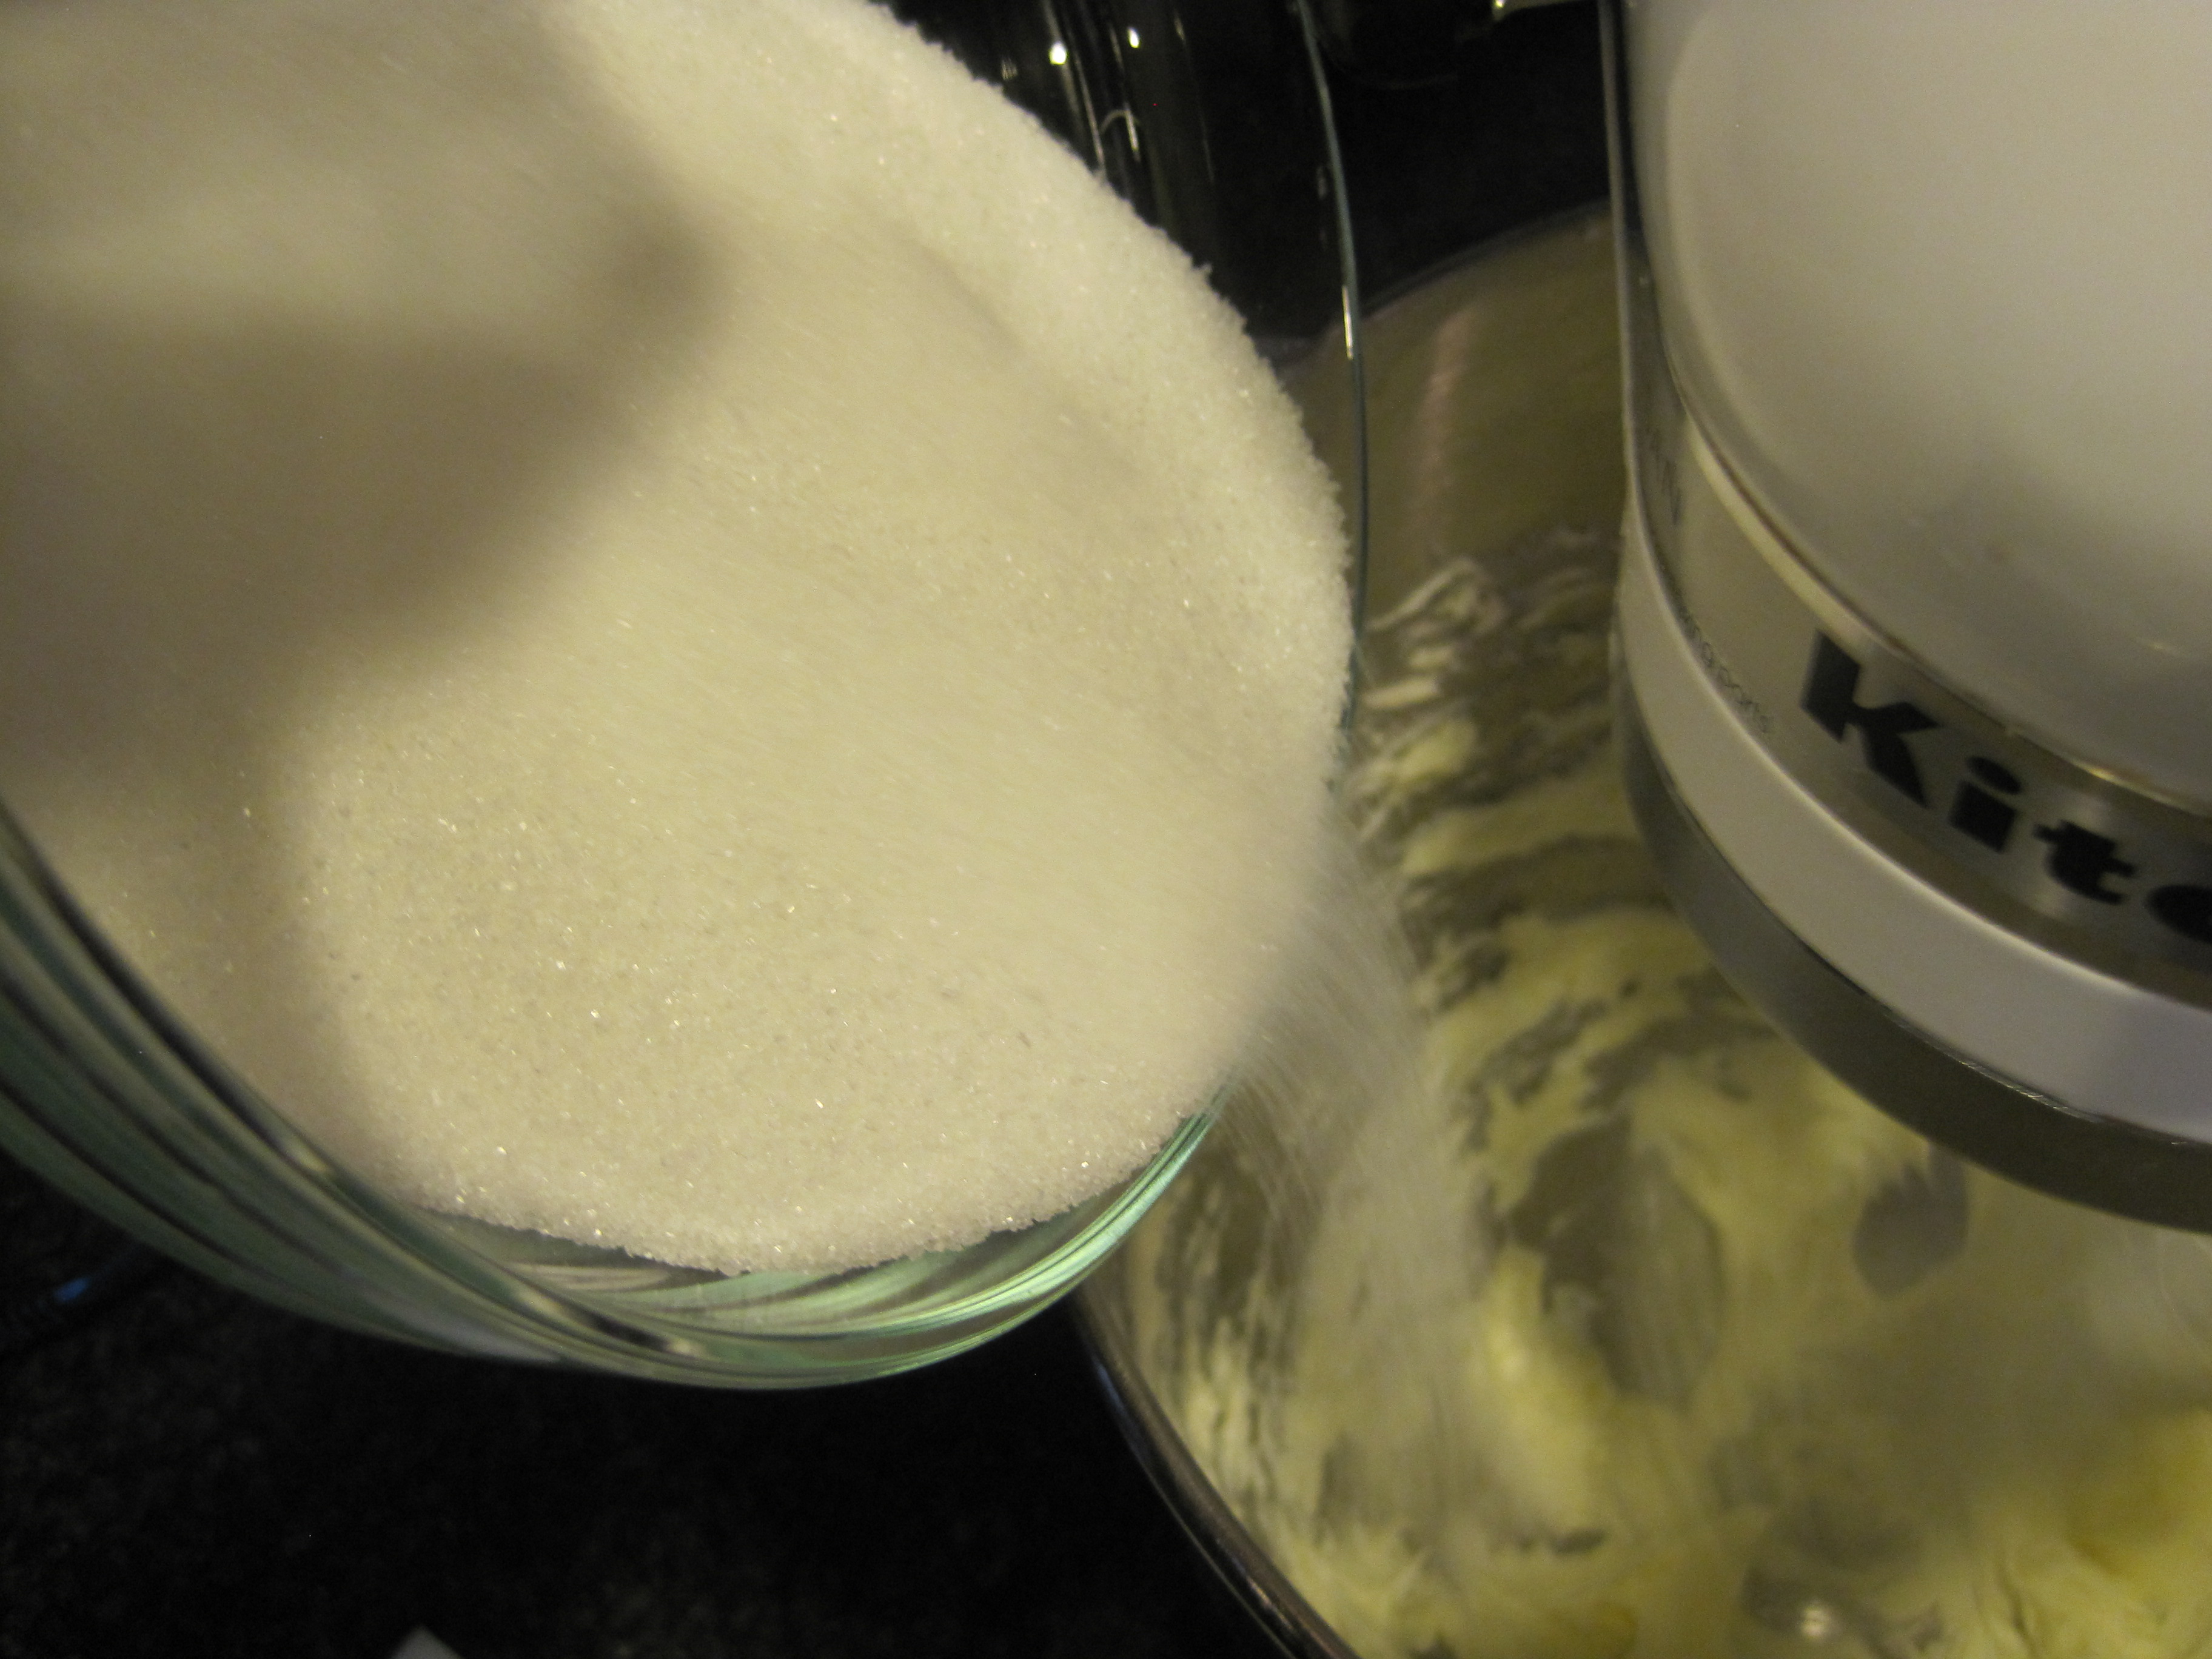
add sugars immediately after taking bowl off of the stove.

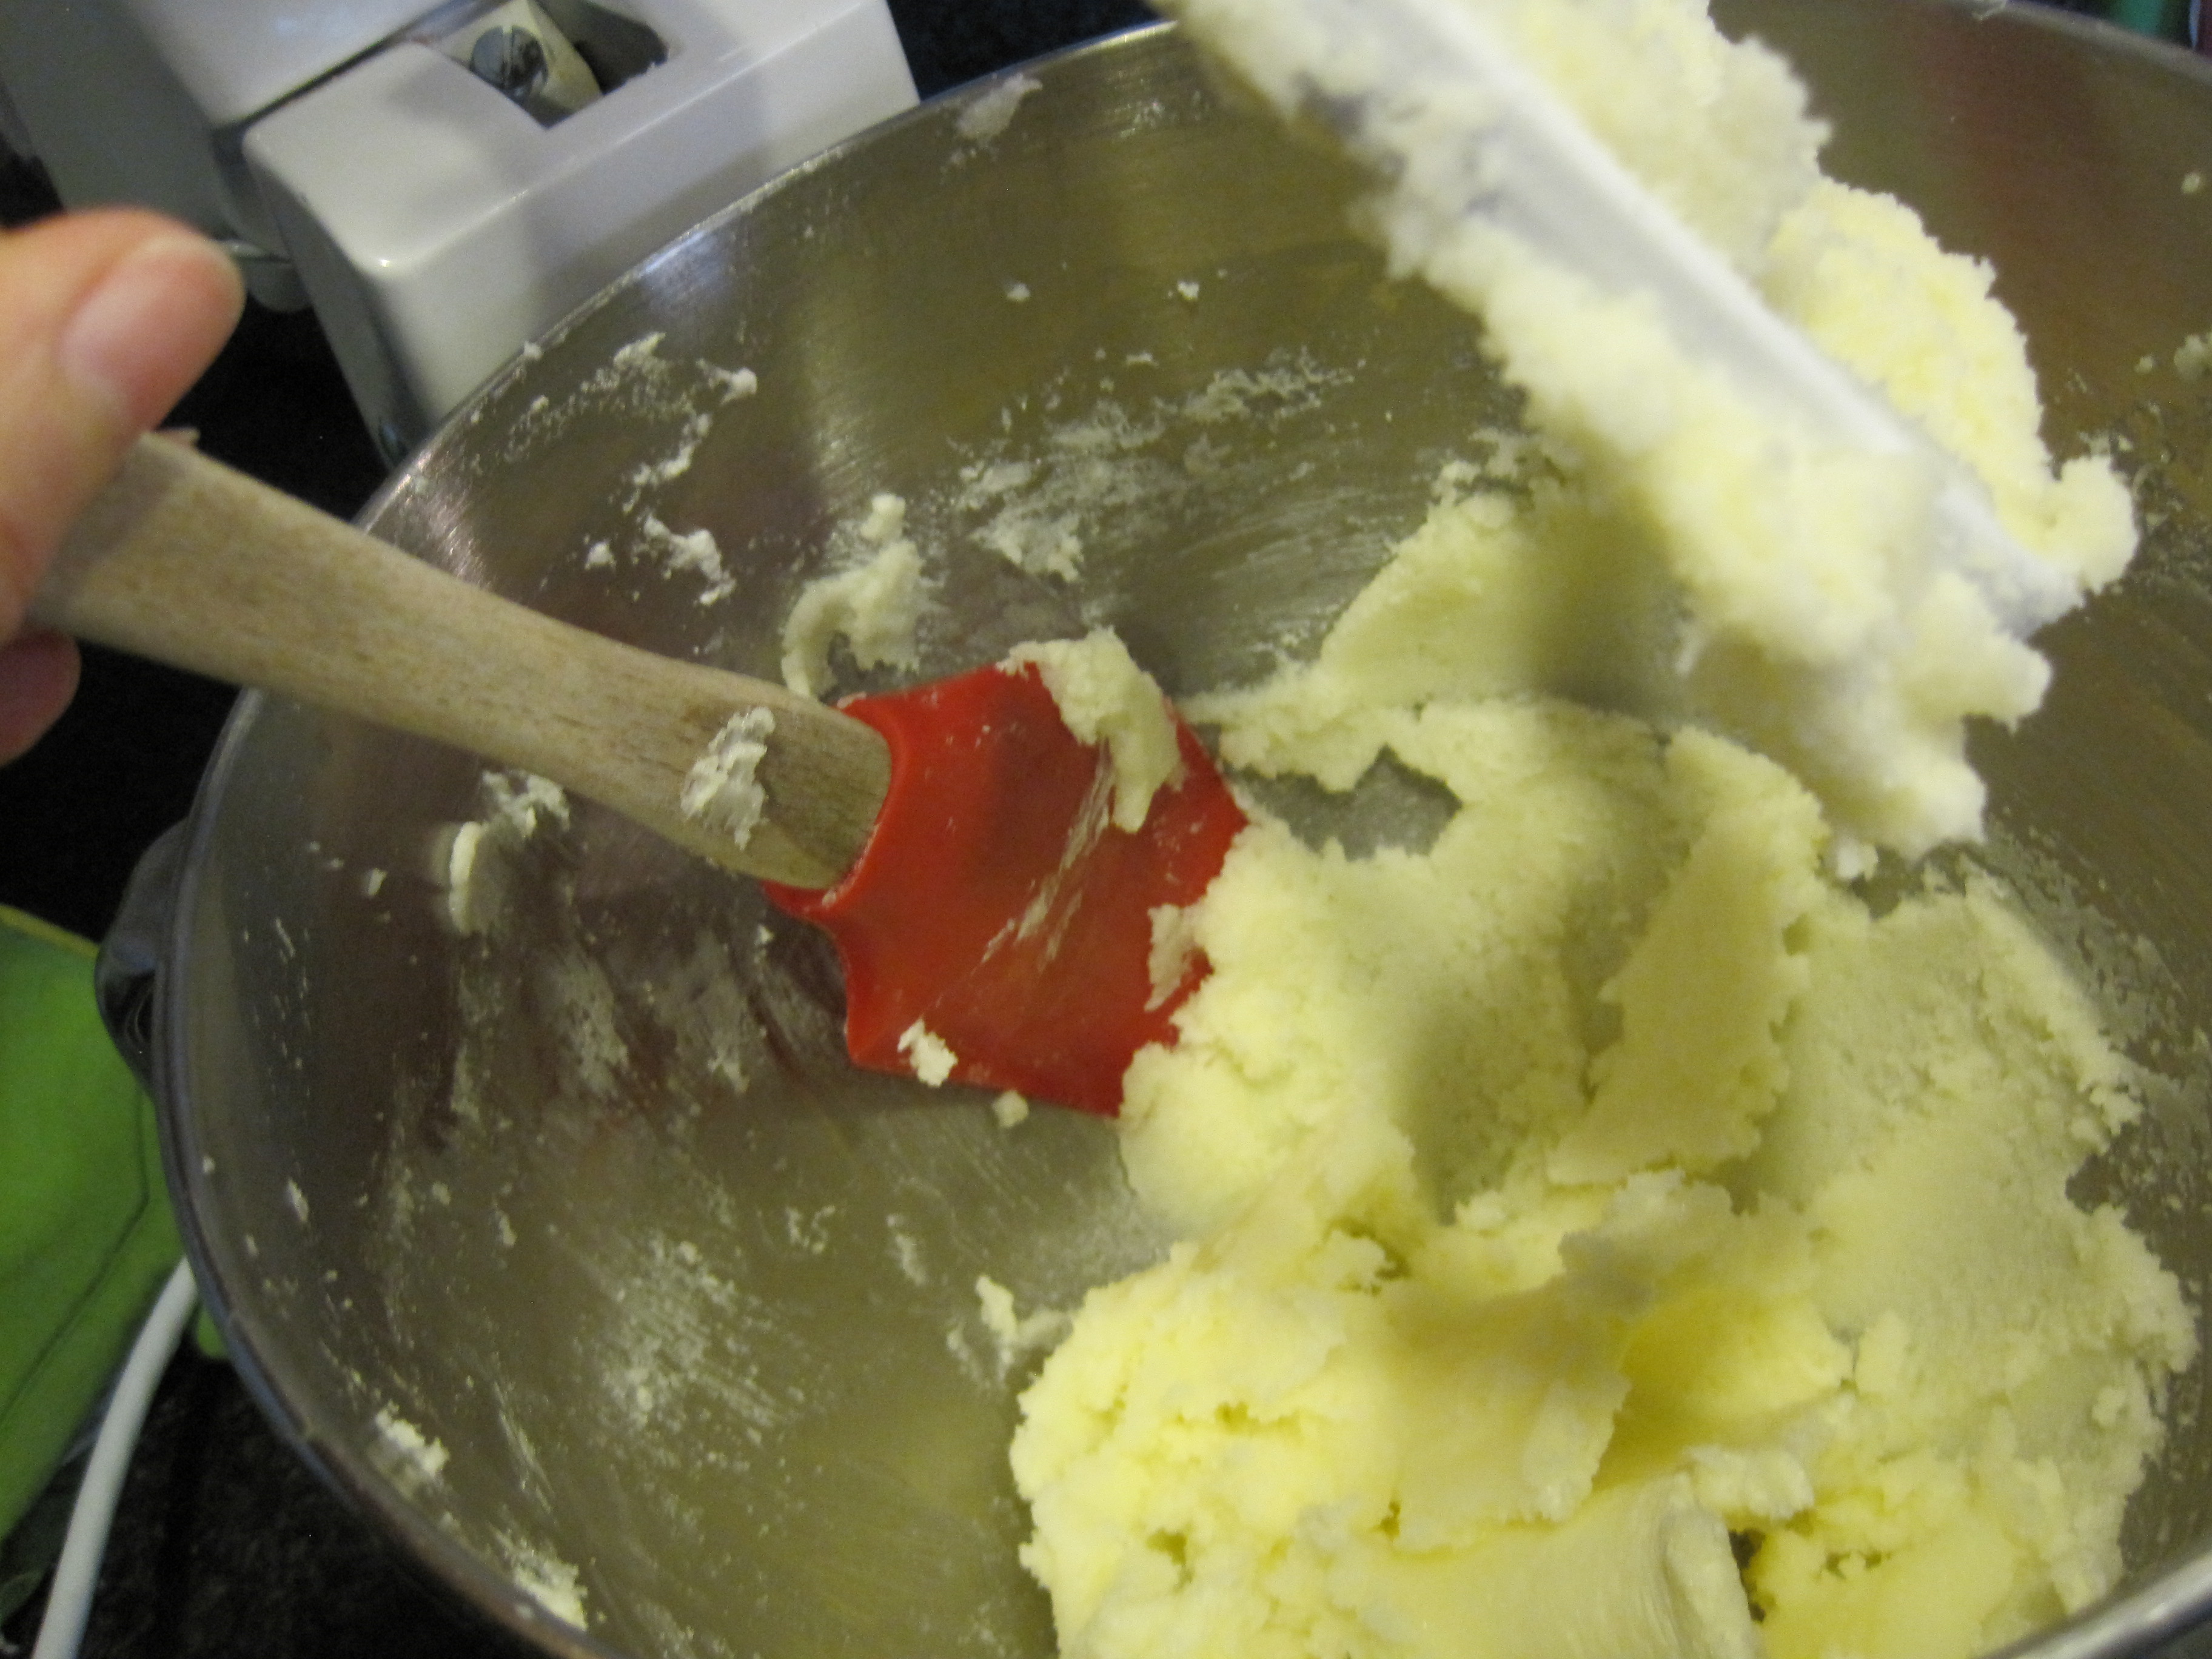
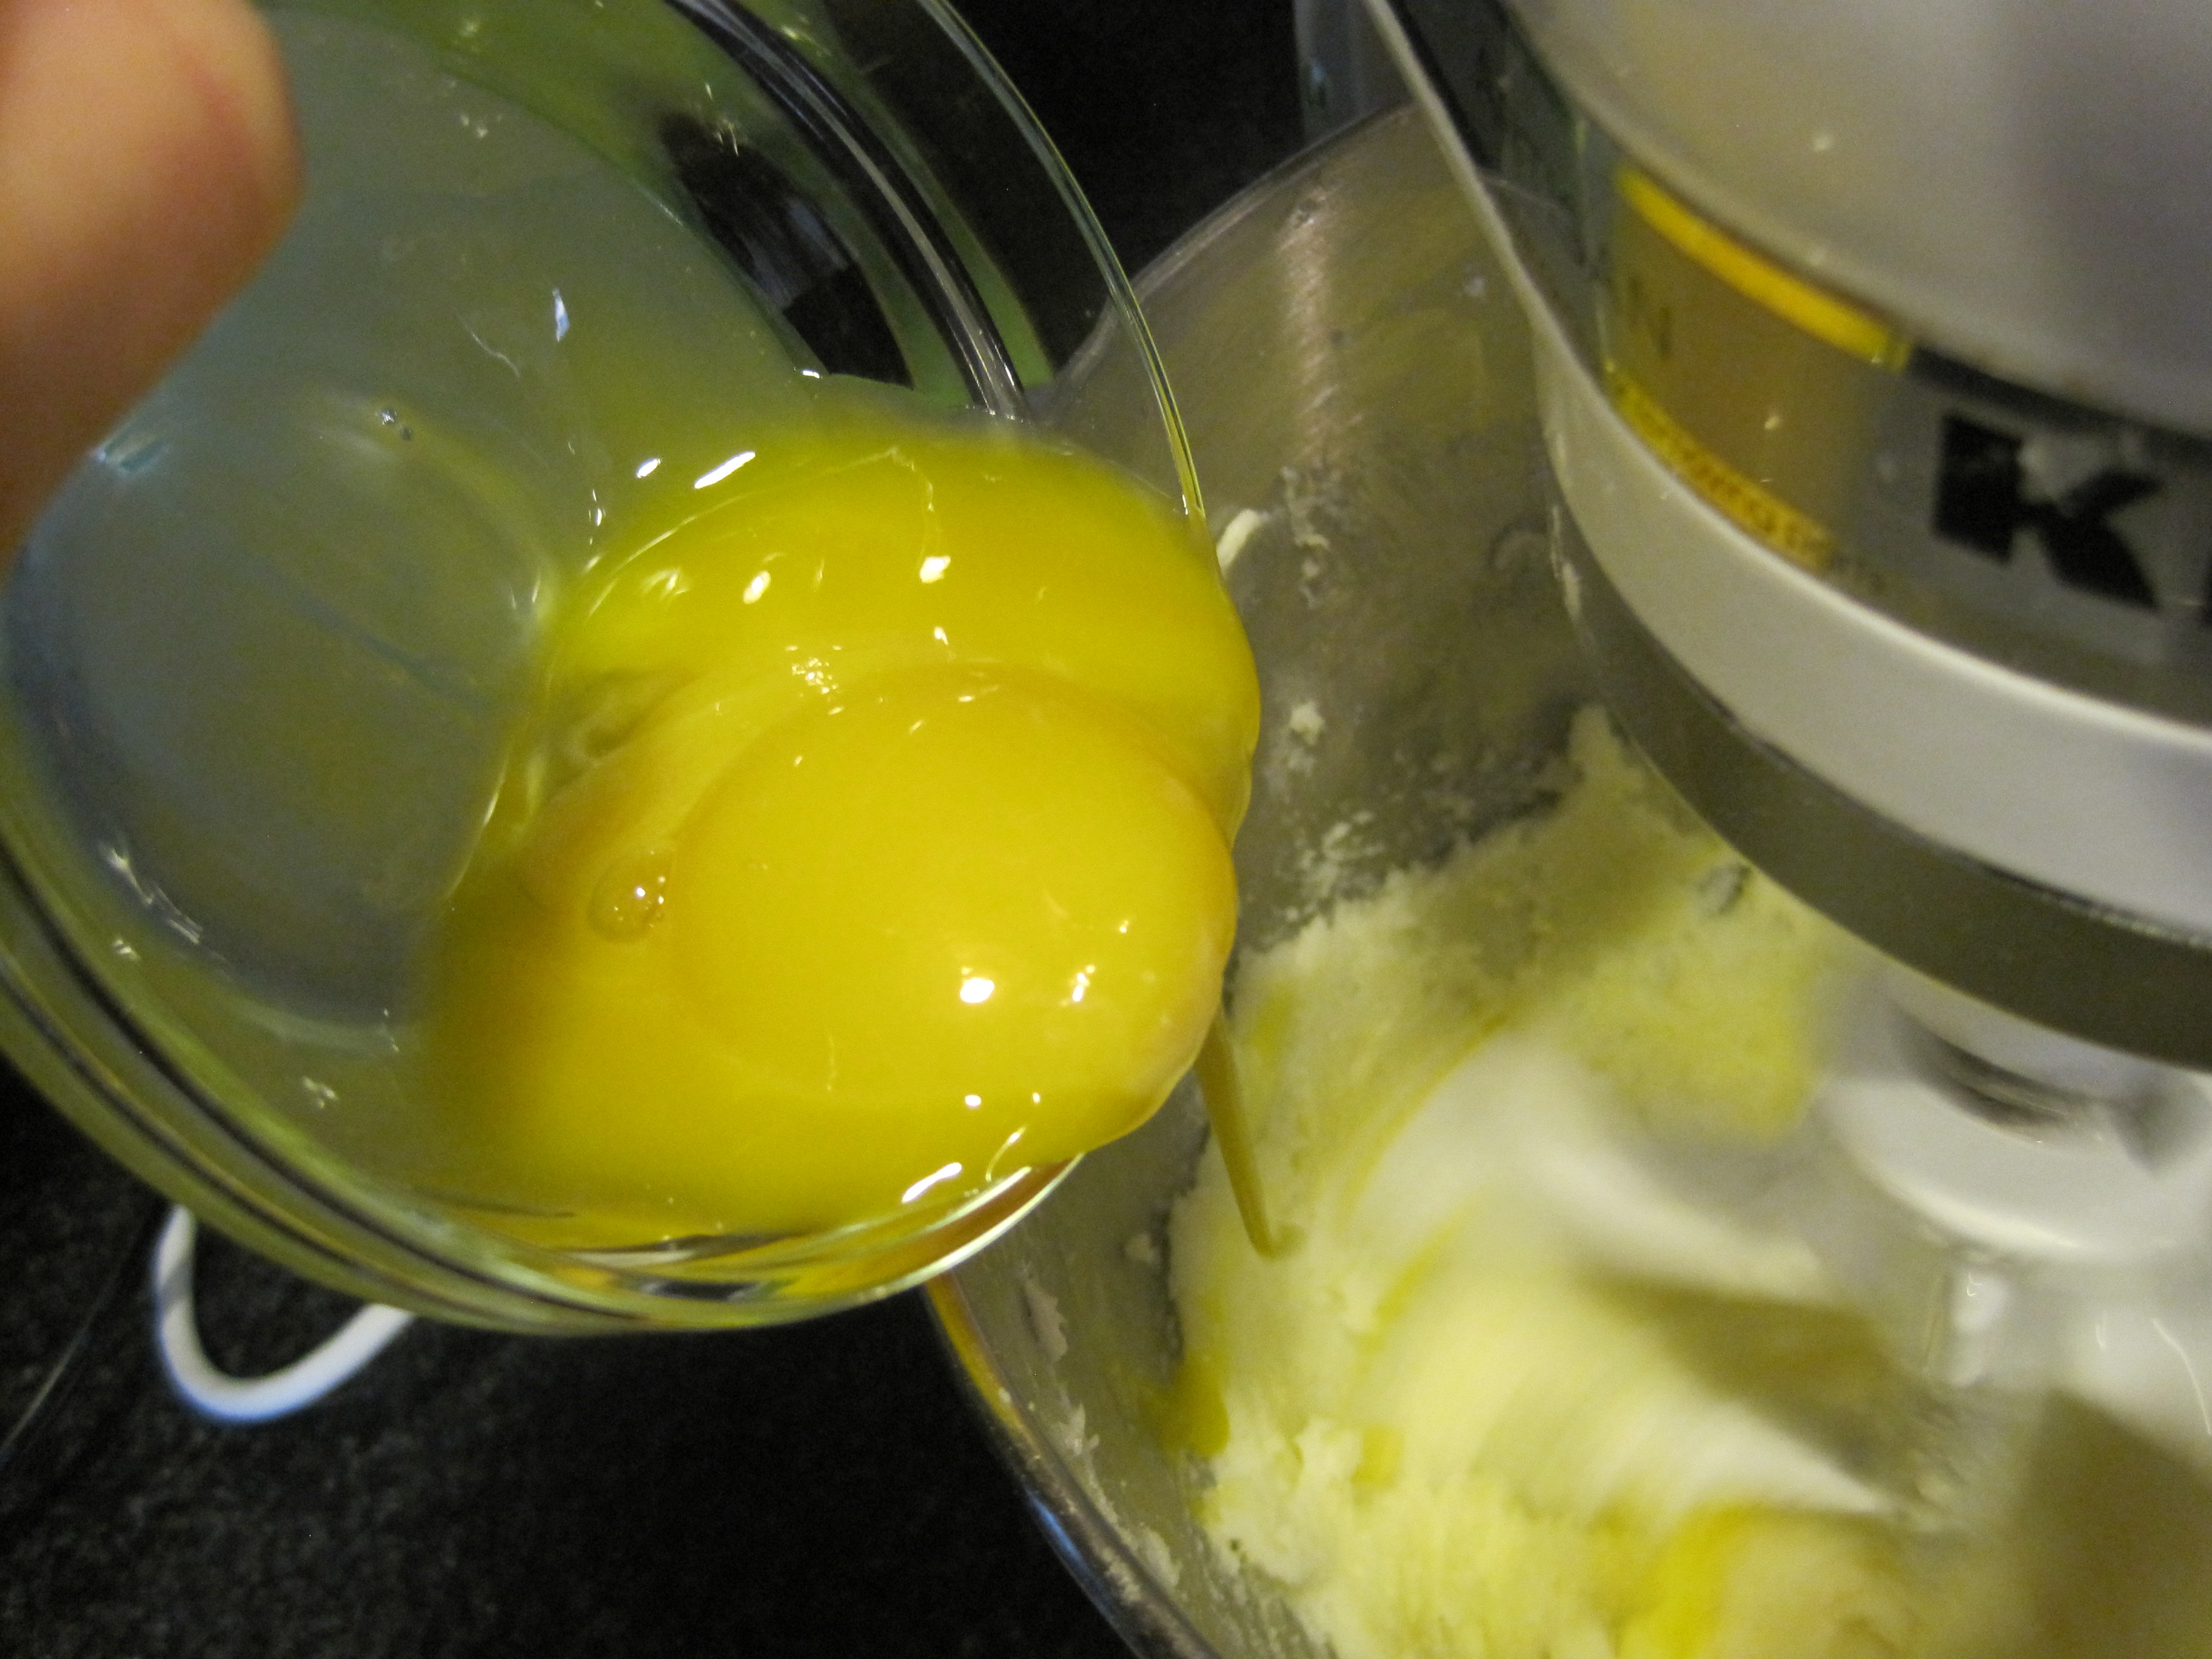
whisk in eggs and fold in flour. and you are almost done :)
add peanut butter mixture followed by the marshmallow creme. there’s no right or wrong here. i added it in a line shape and filled the gaps with the marshmallow.
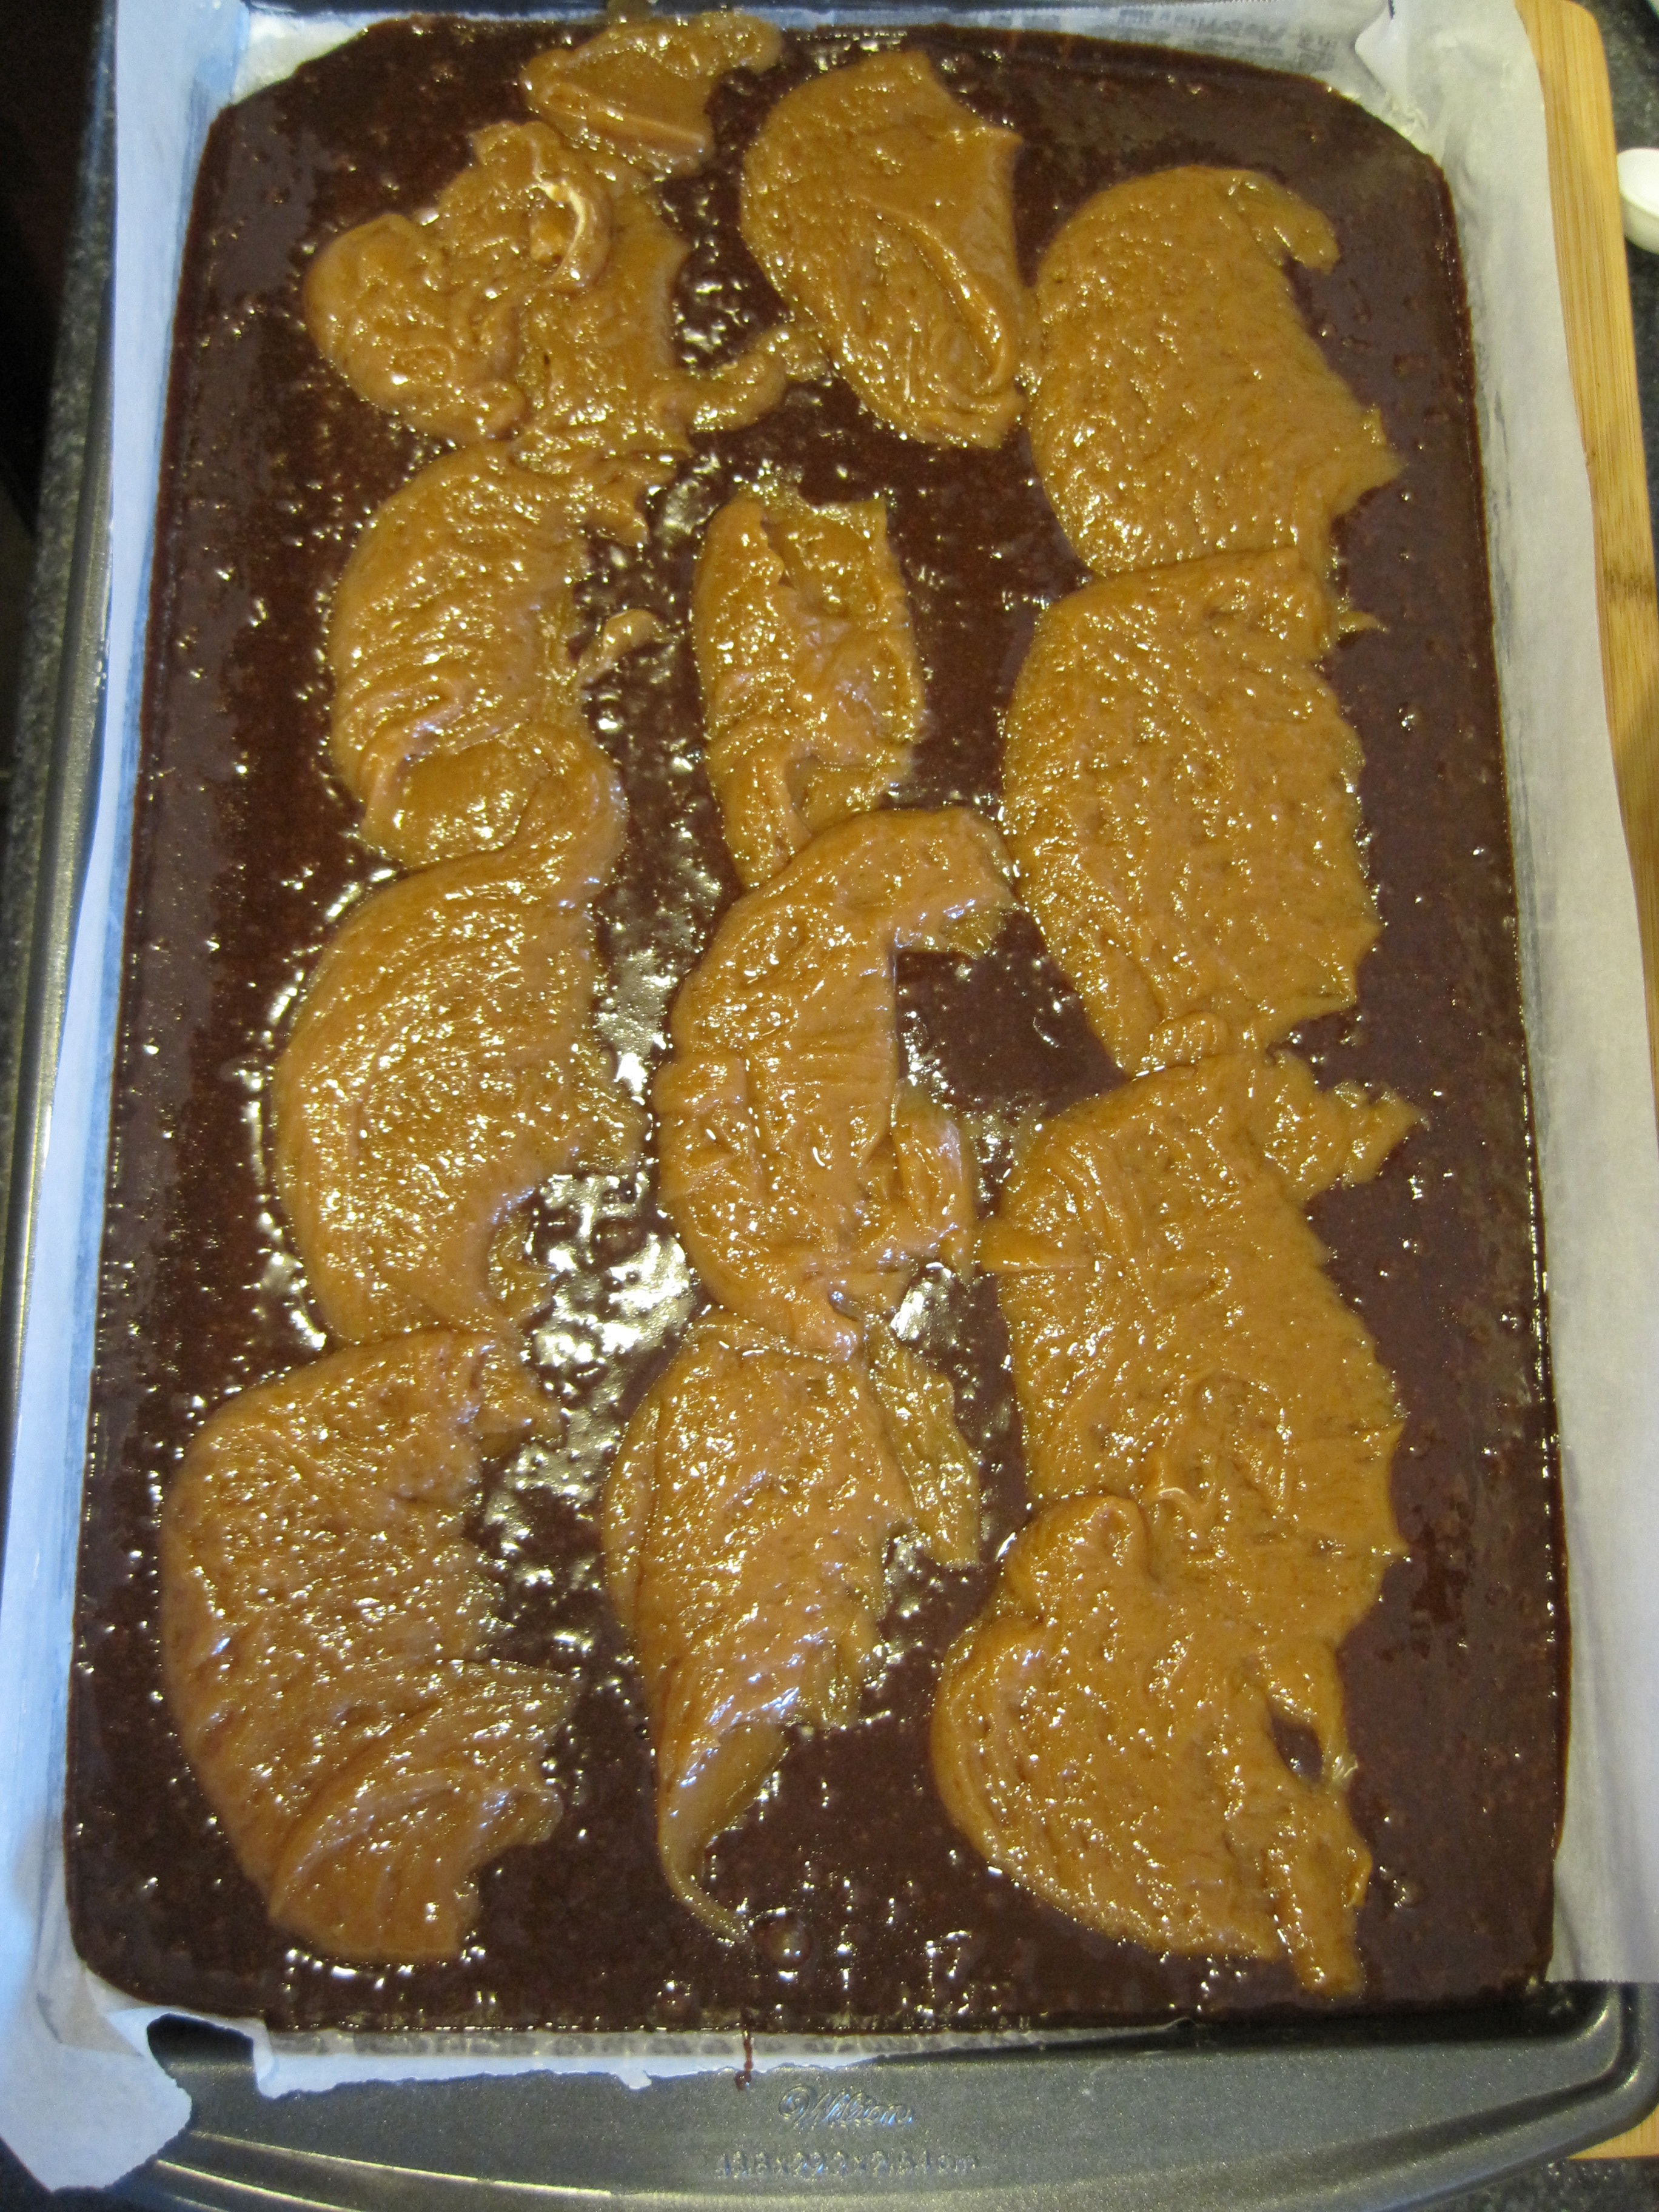

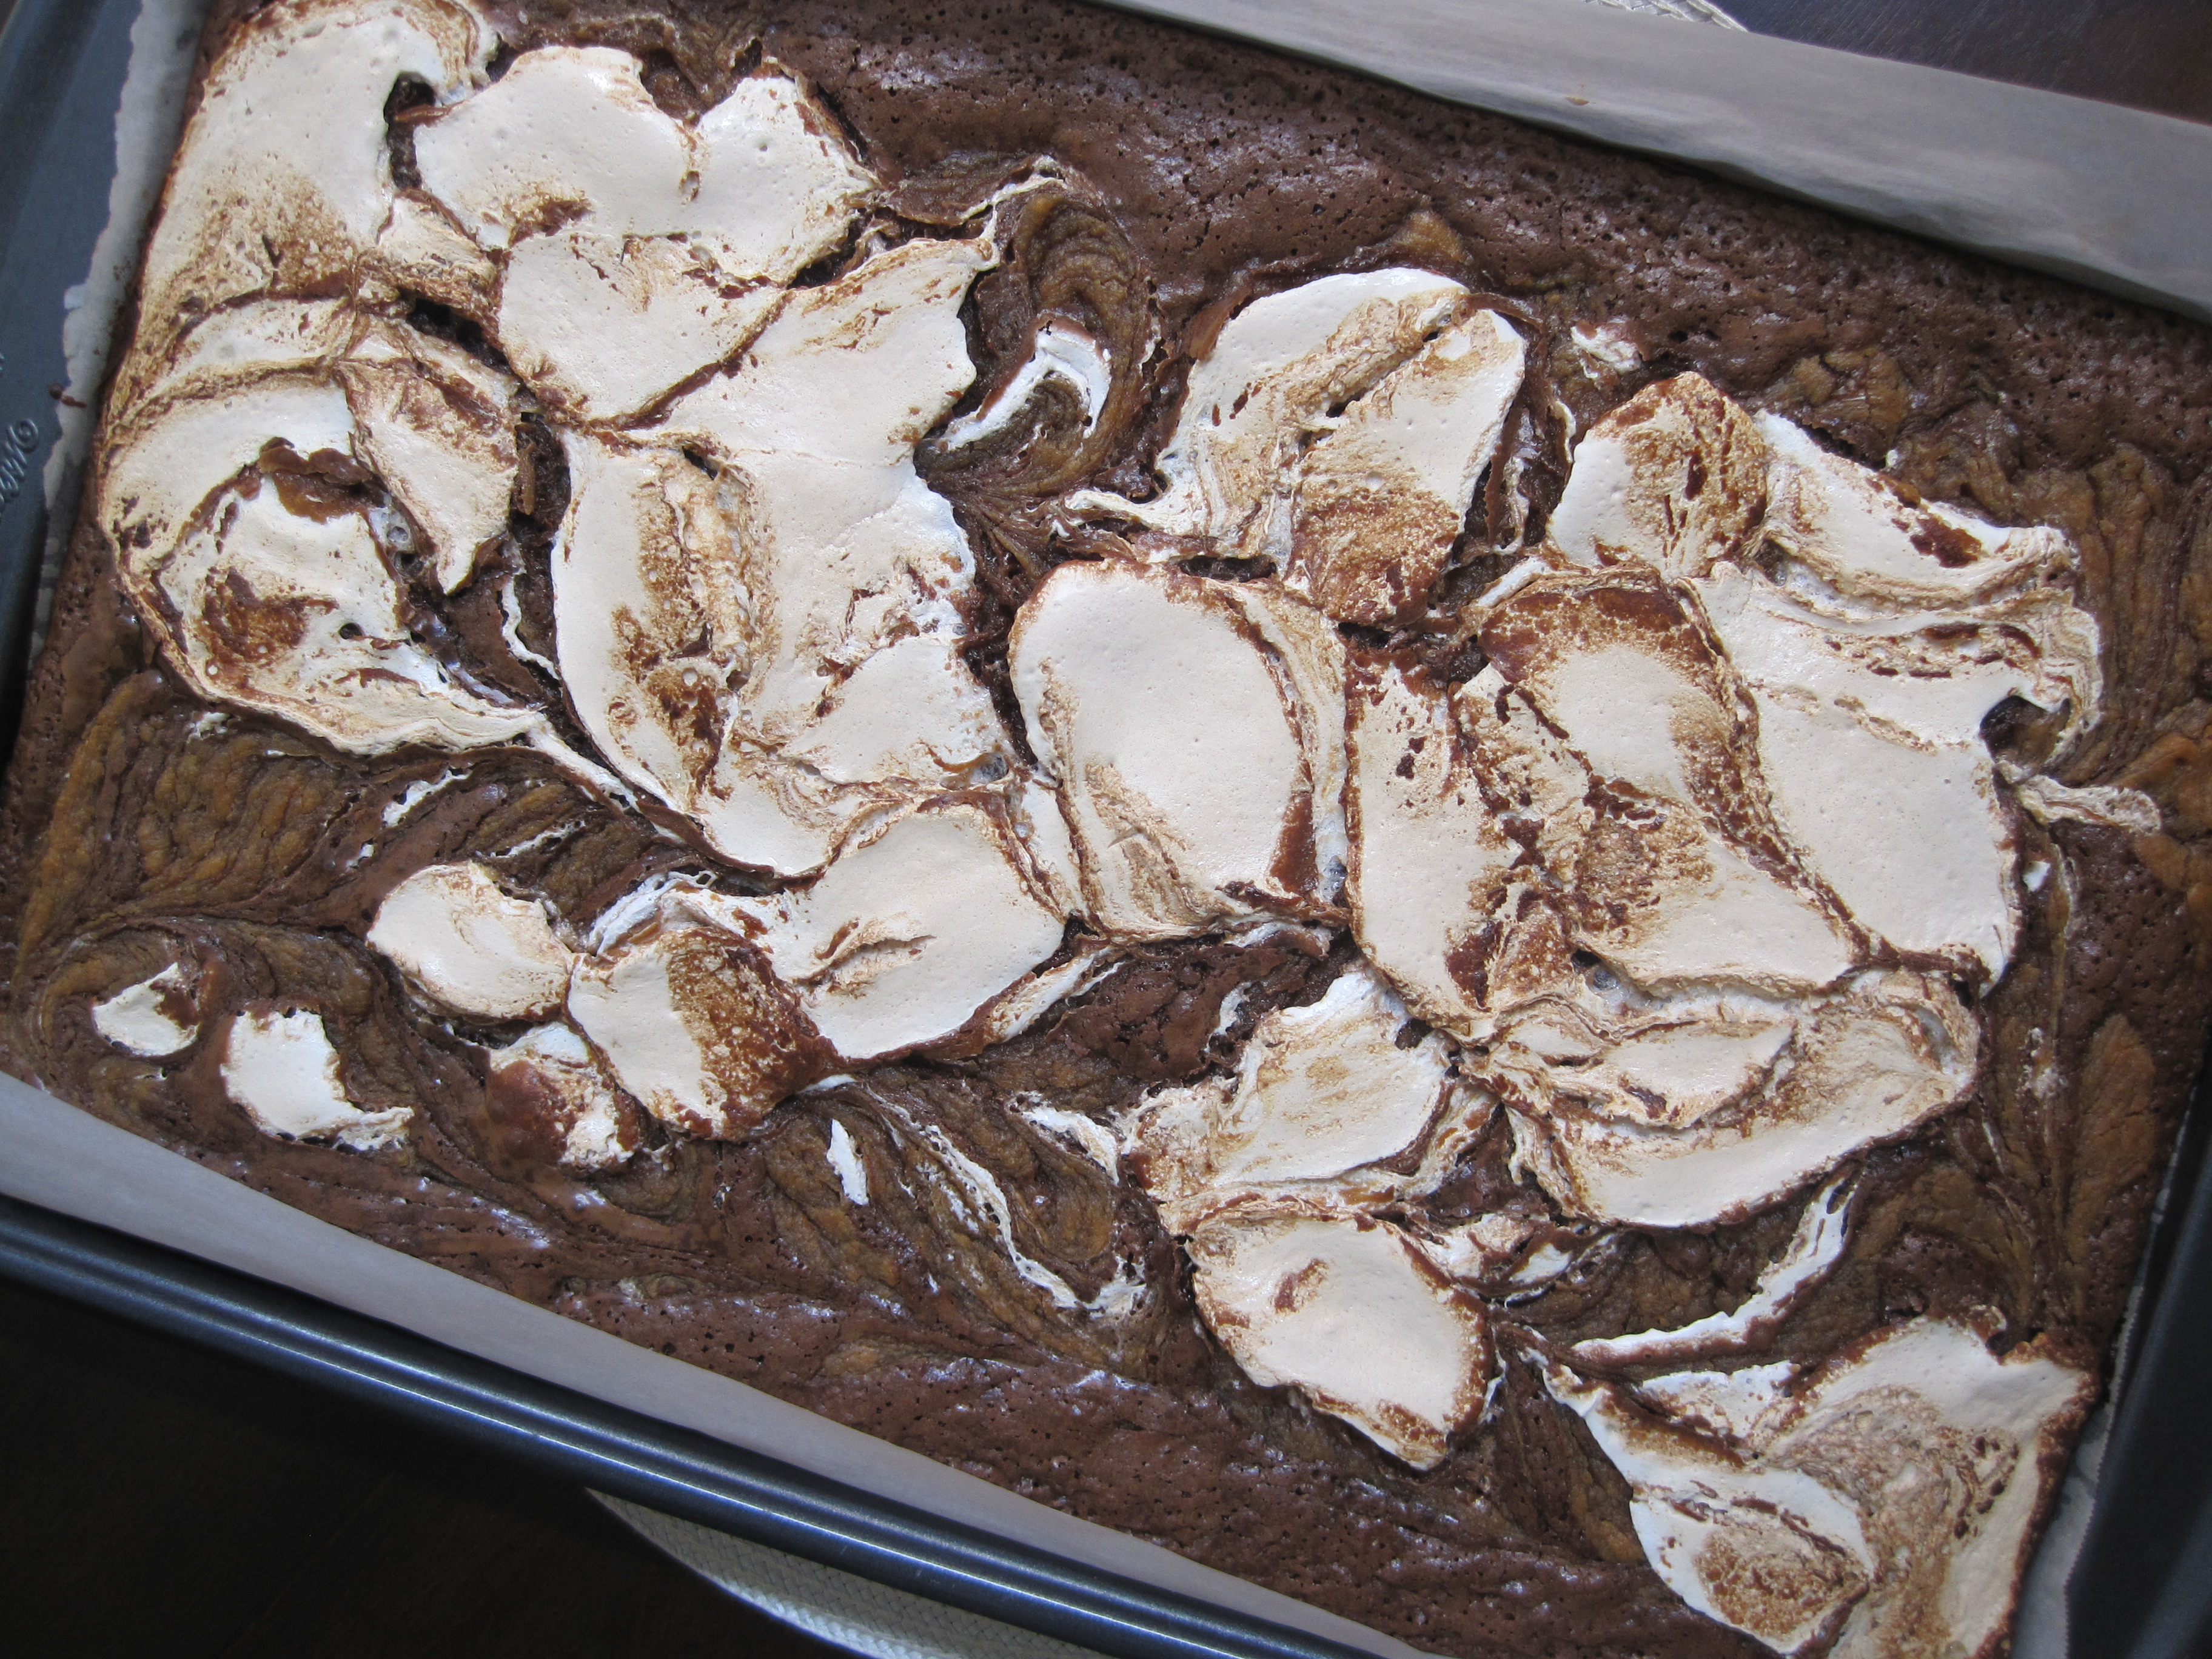
with a butter knife swirl the peanut butter and marshmallow in both directions, horizontally and vertically.

can’t wait to dig in!!


best ever peanut butter marshmallow brownies
ingredients:
1 stick unsalted butter
3 and 1/2 ounces unsweetened chocolate, chopped
2 teaspoons unsweetened cocoa powder
2 tablespoons strong brewed decaf coffee {regular coffee works too}
1/2 cup dark brown sugar, packed
1 and 3/4 cups granulated sugar
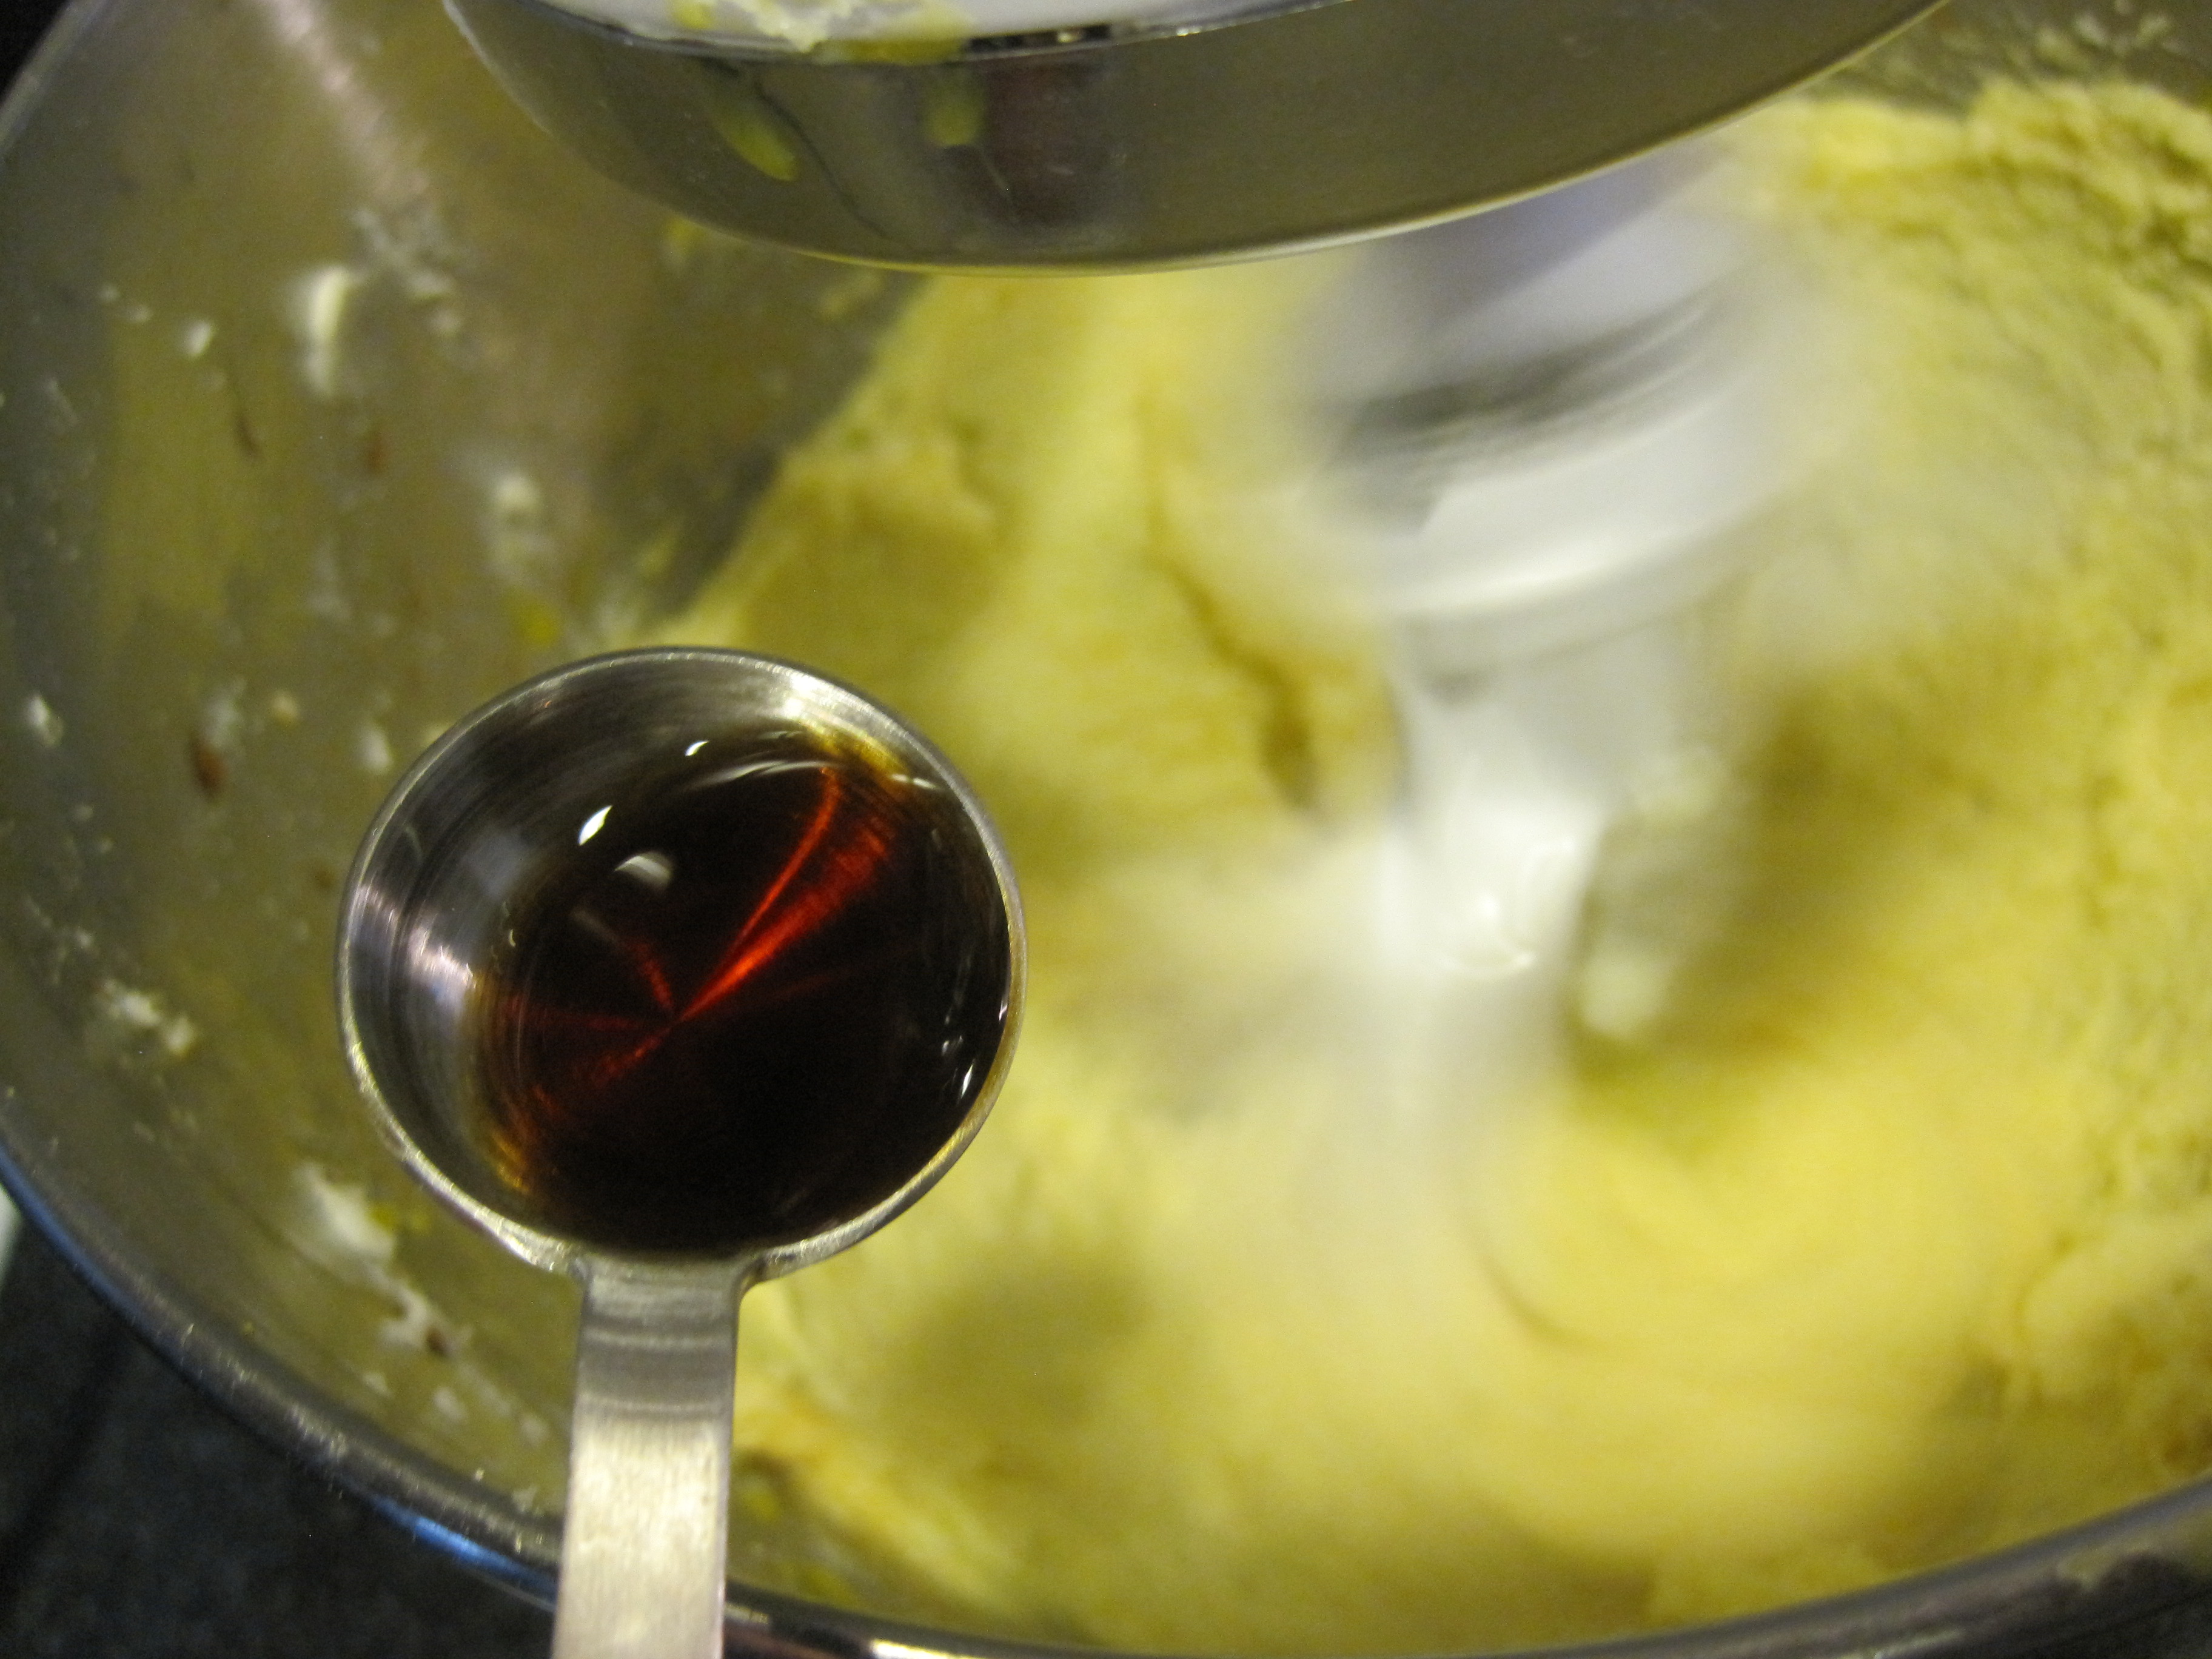
2 teaspoons vanilla extract
3 large eggs, room temperature {sitting on the kitchen counter for 30-50 minutes approximately}
1/8 teaspoon sea salt
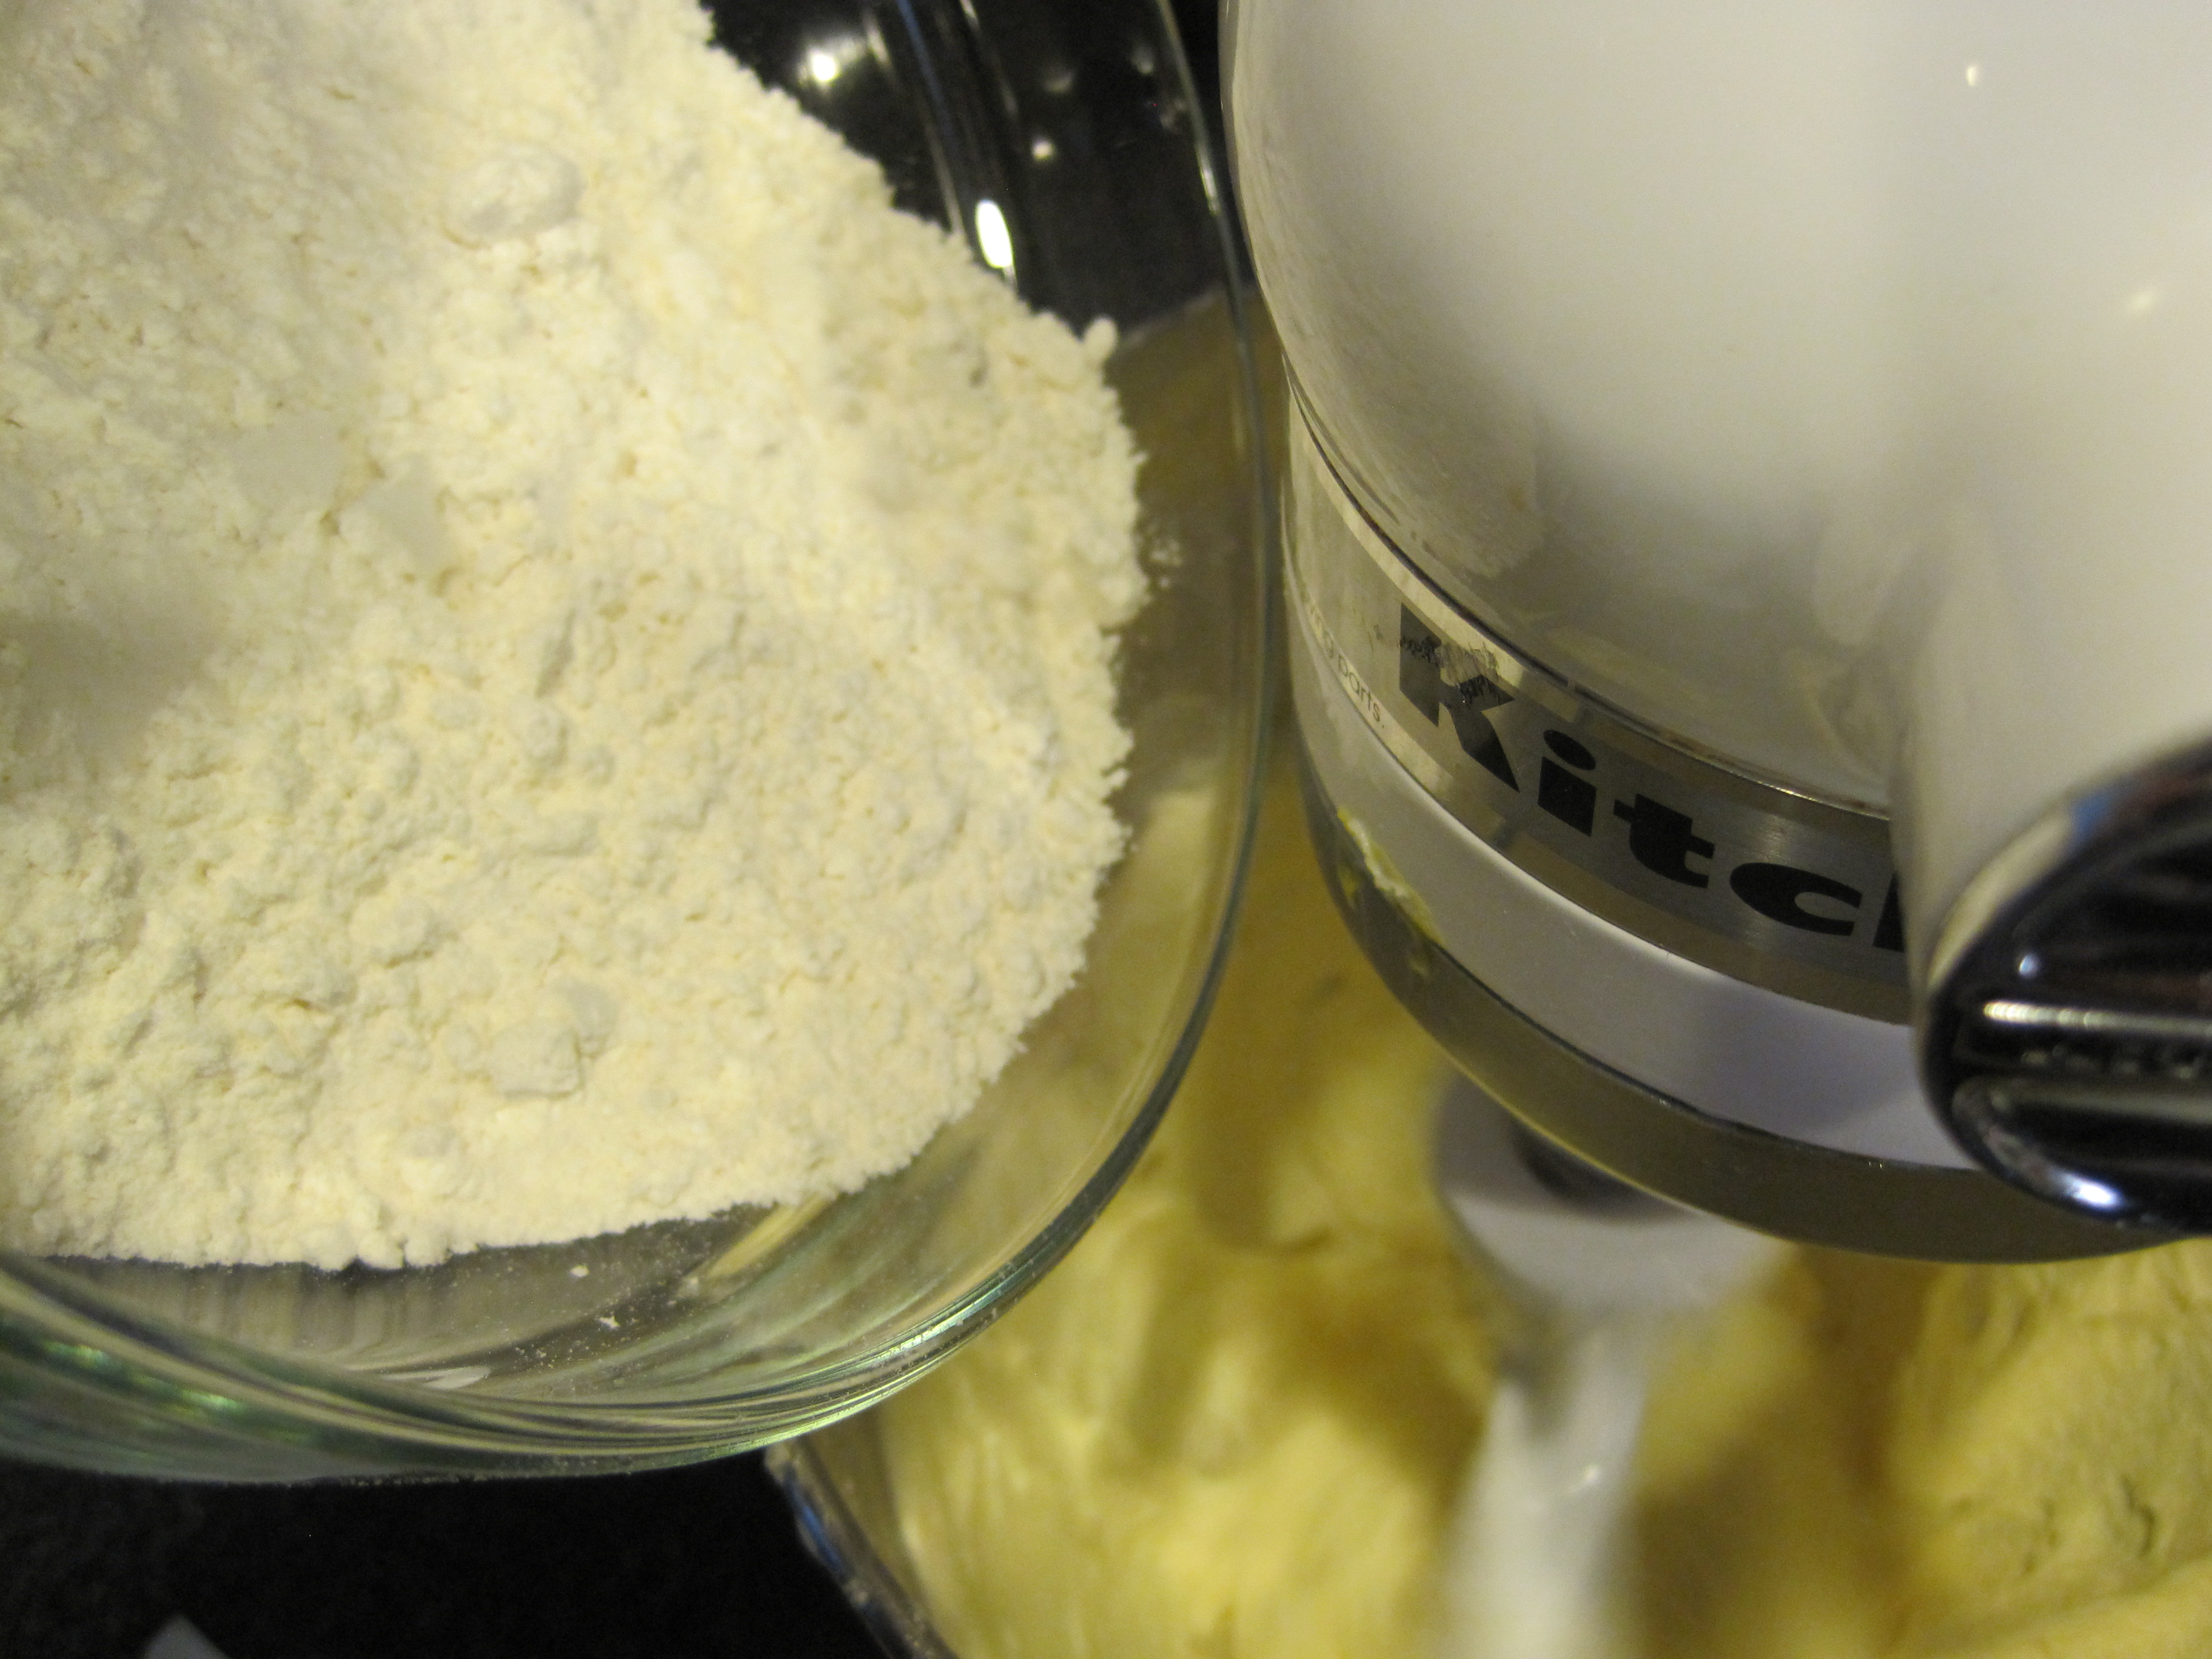
3/4 cup all purpose flour
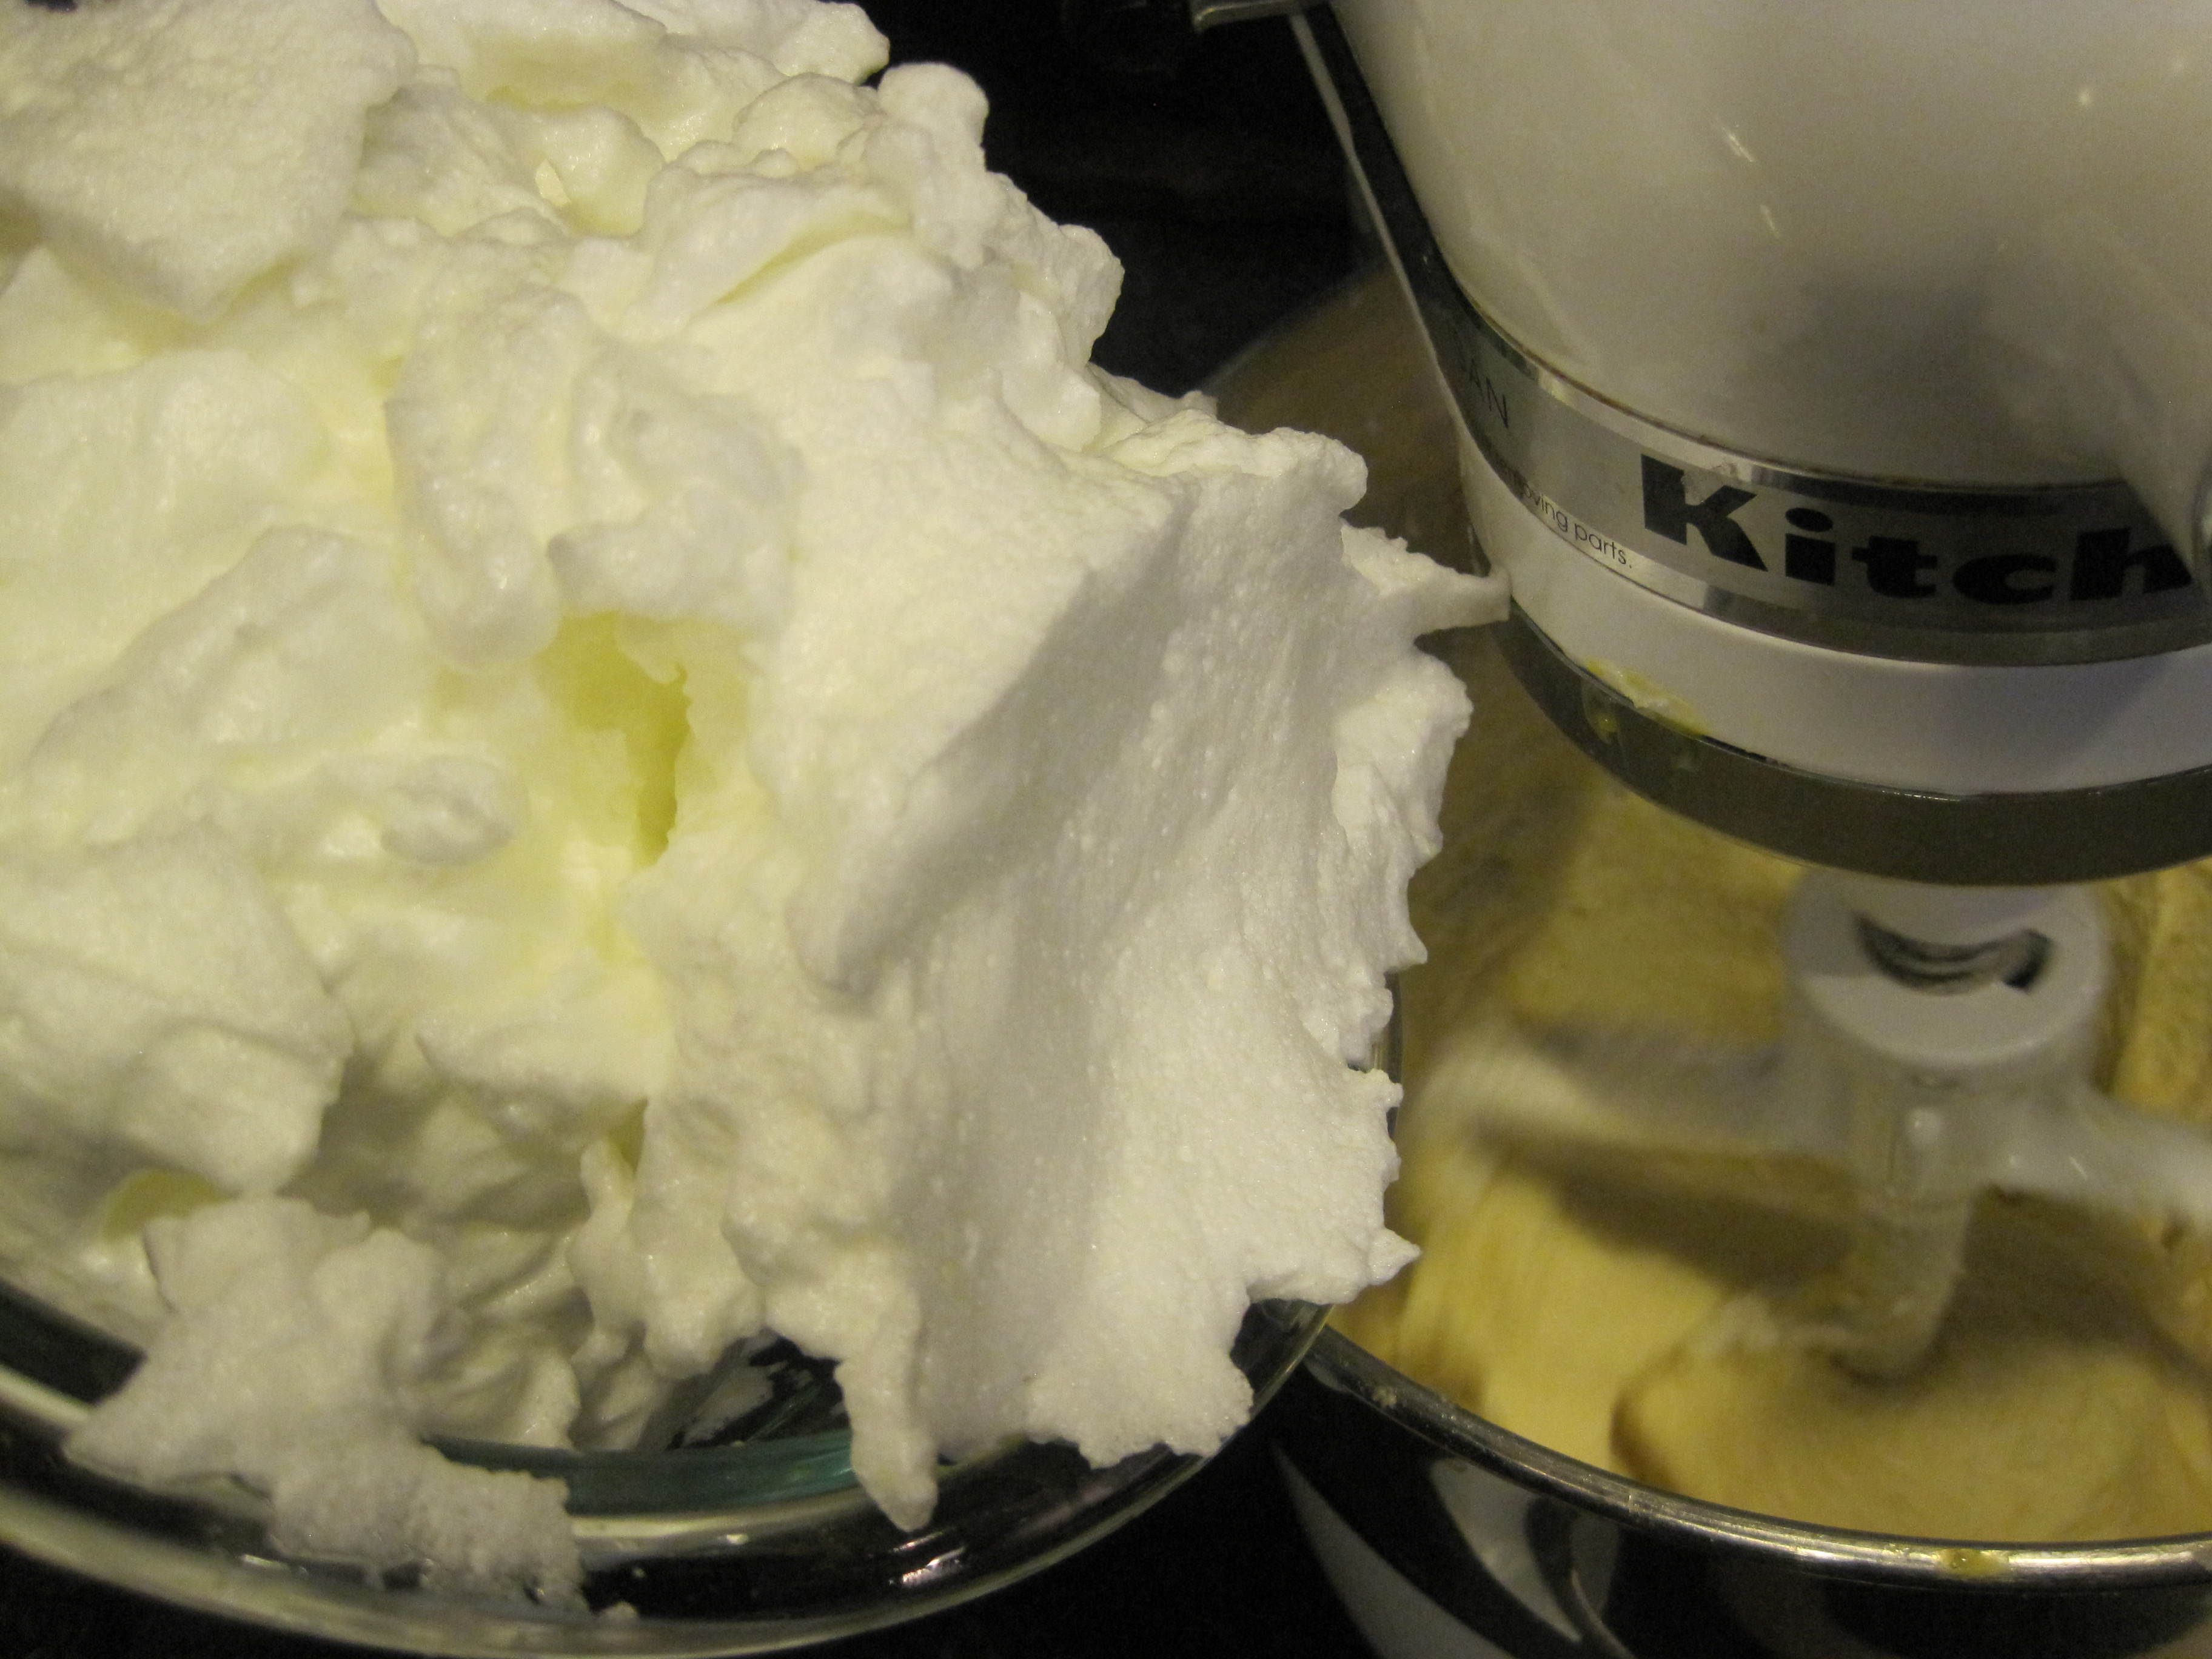
6.5 ounces marshmallow creme {half of a 13 ounce jar approximately}
peanut butter-marshmallow creme swirl
ingredients:
One 16 ounce jar creamy peanut butter {i used all natural}
4 tablespoons unsalted butter
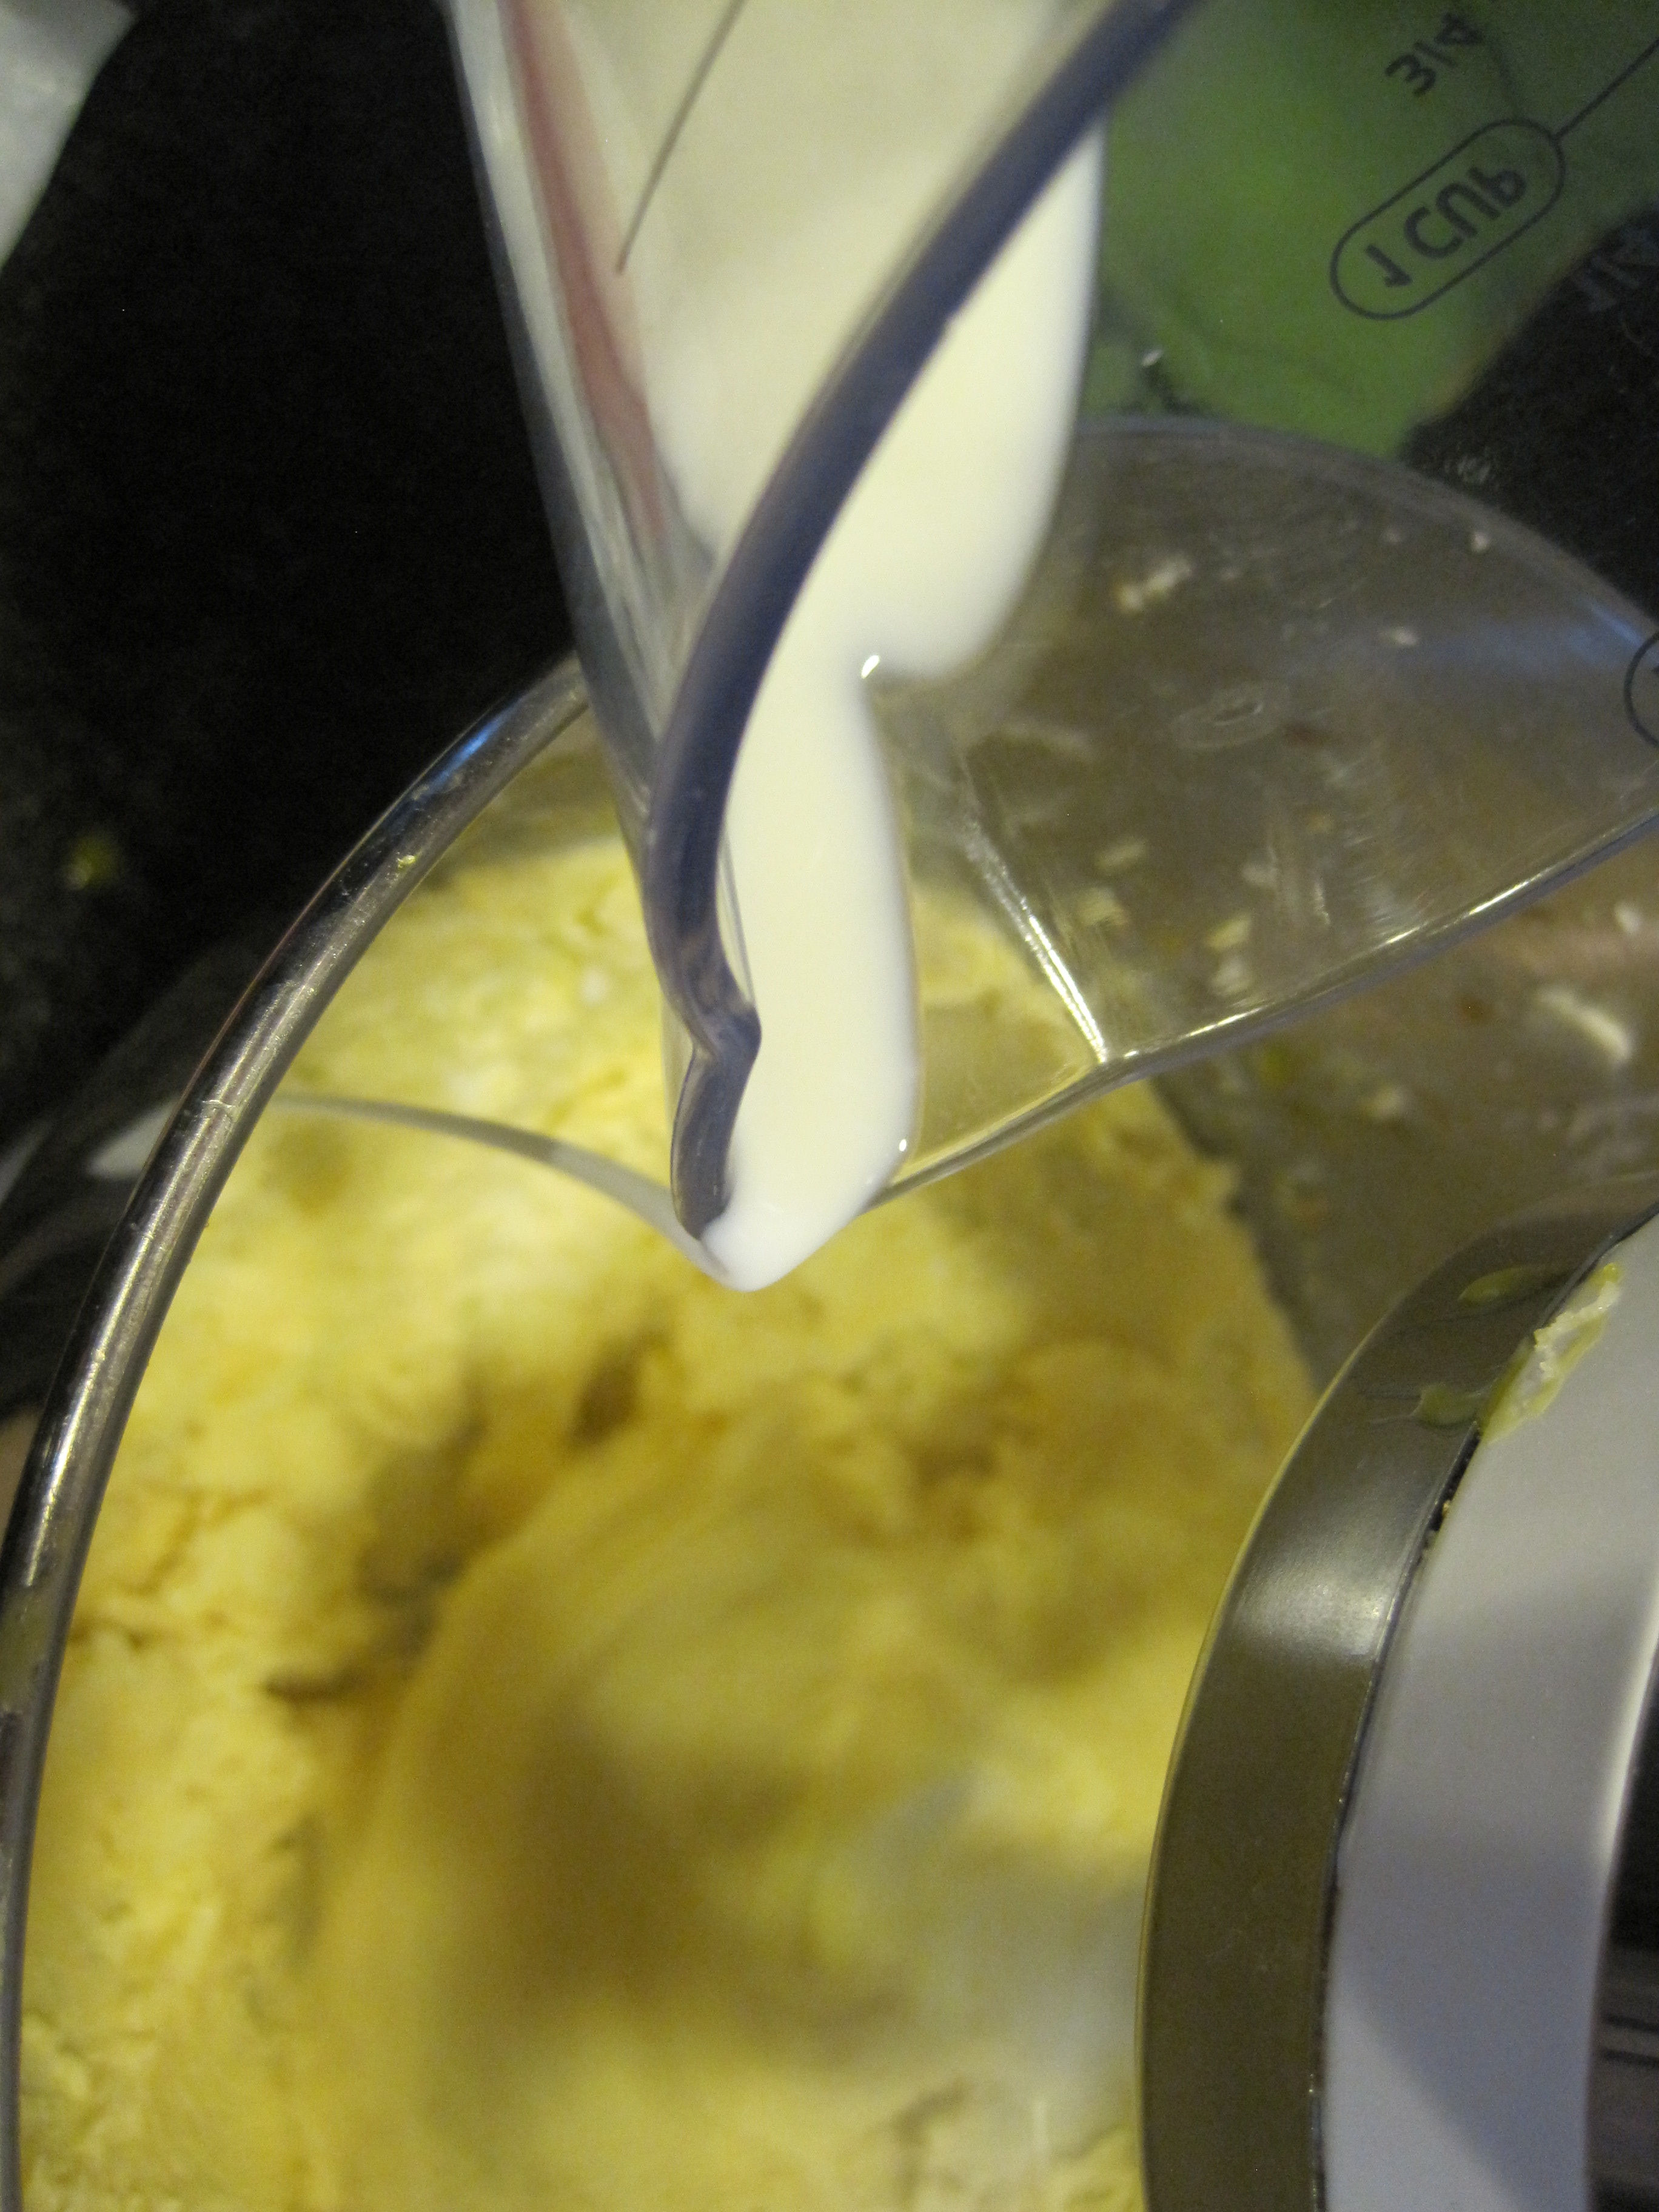
1 cup whole milk, room temperature {sitting on the kitchen counter for 30-50 minutes approximately}
1 teaspoon vanilla extract
6.5 ounces marshmallow creme {half of a 13 ounce jar approximately}
1/2 cup powder sugar
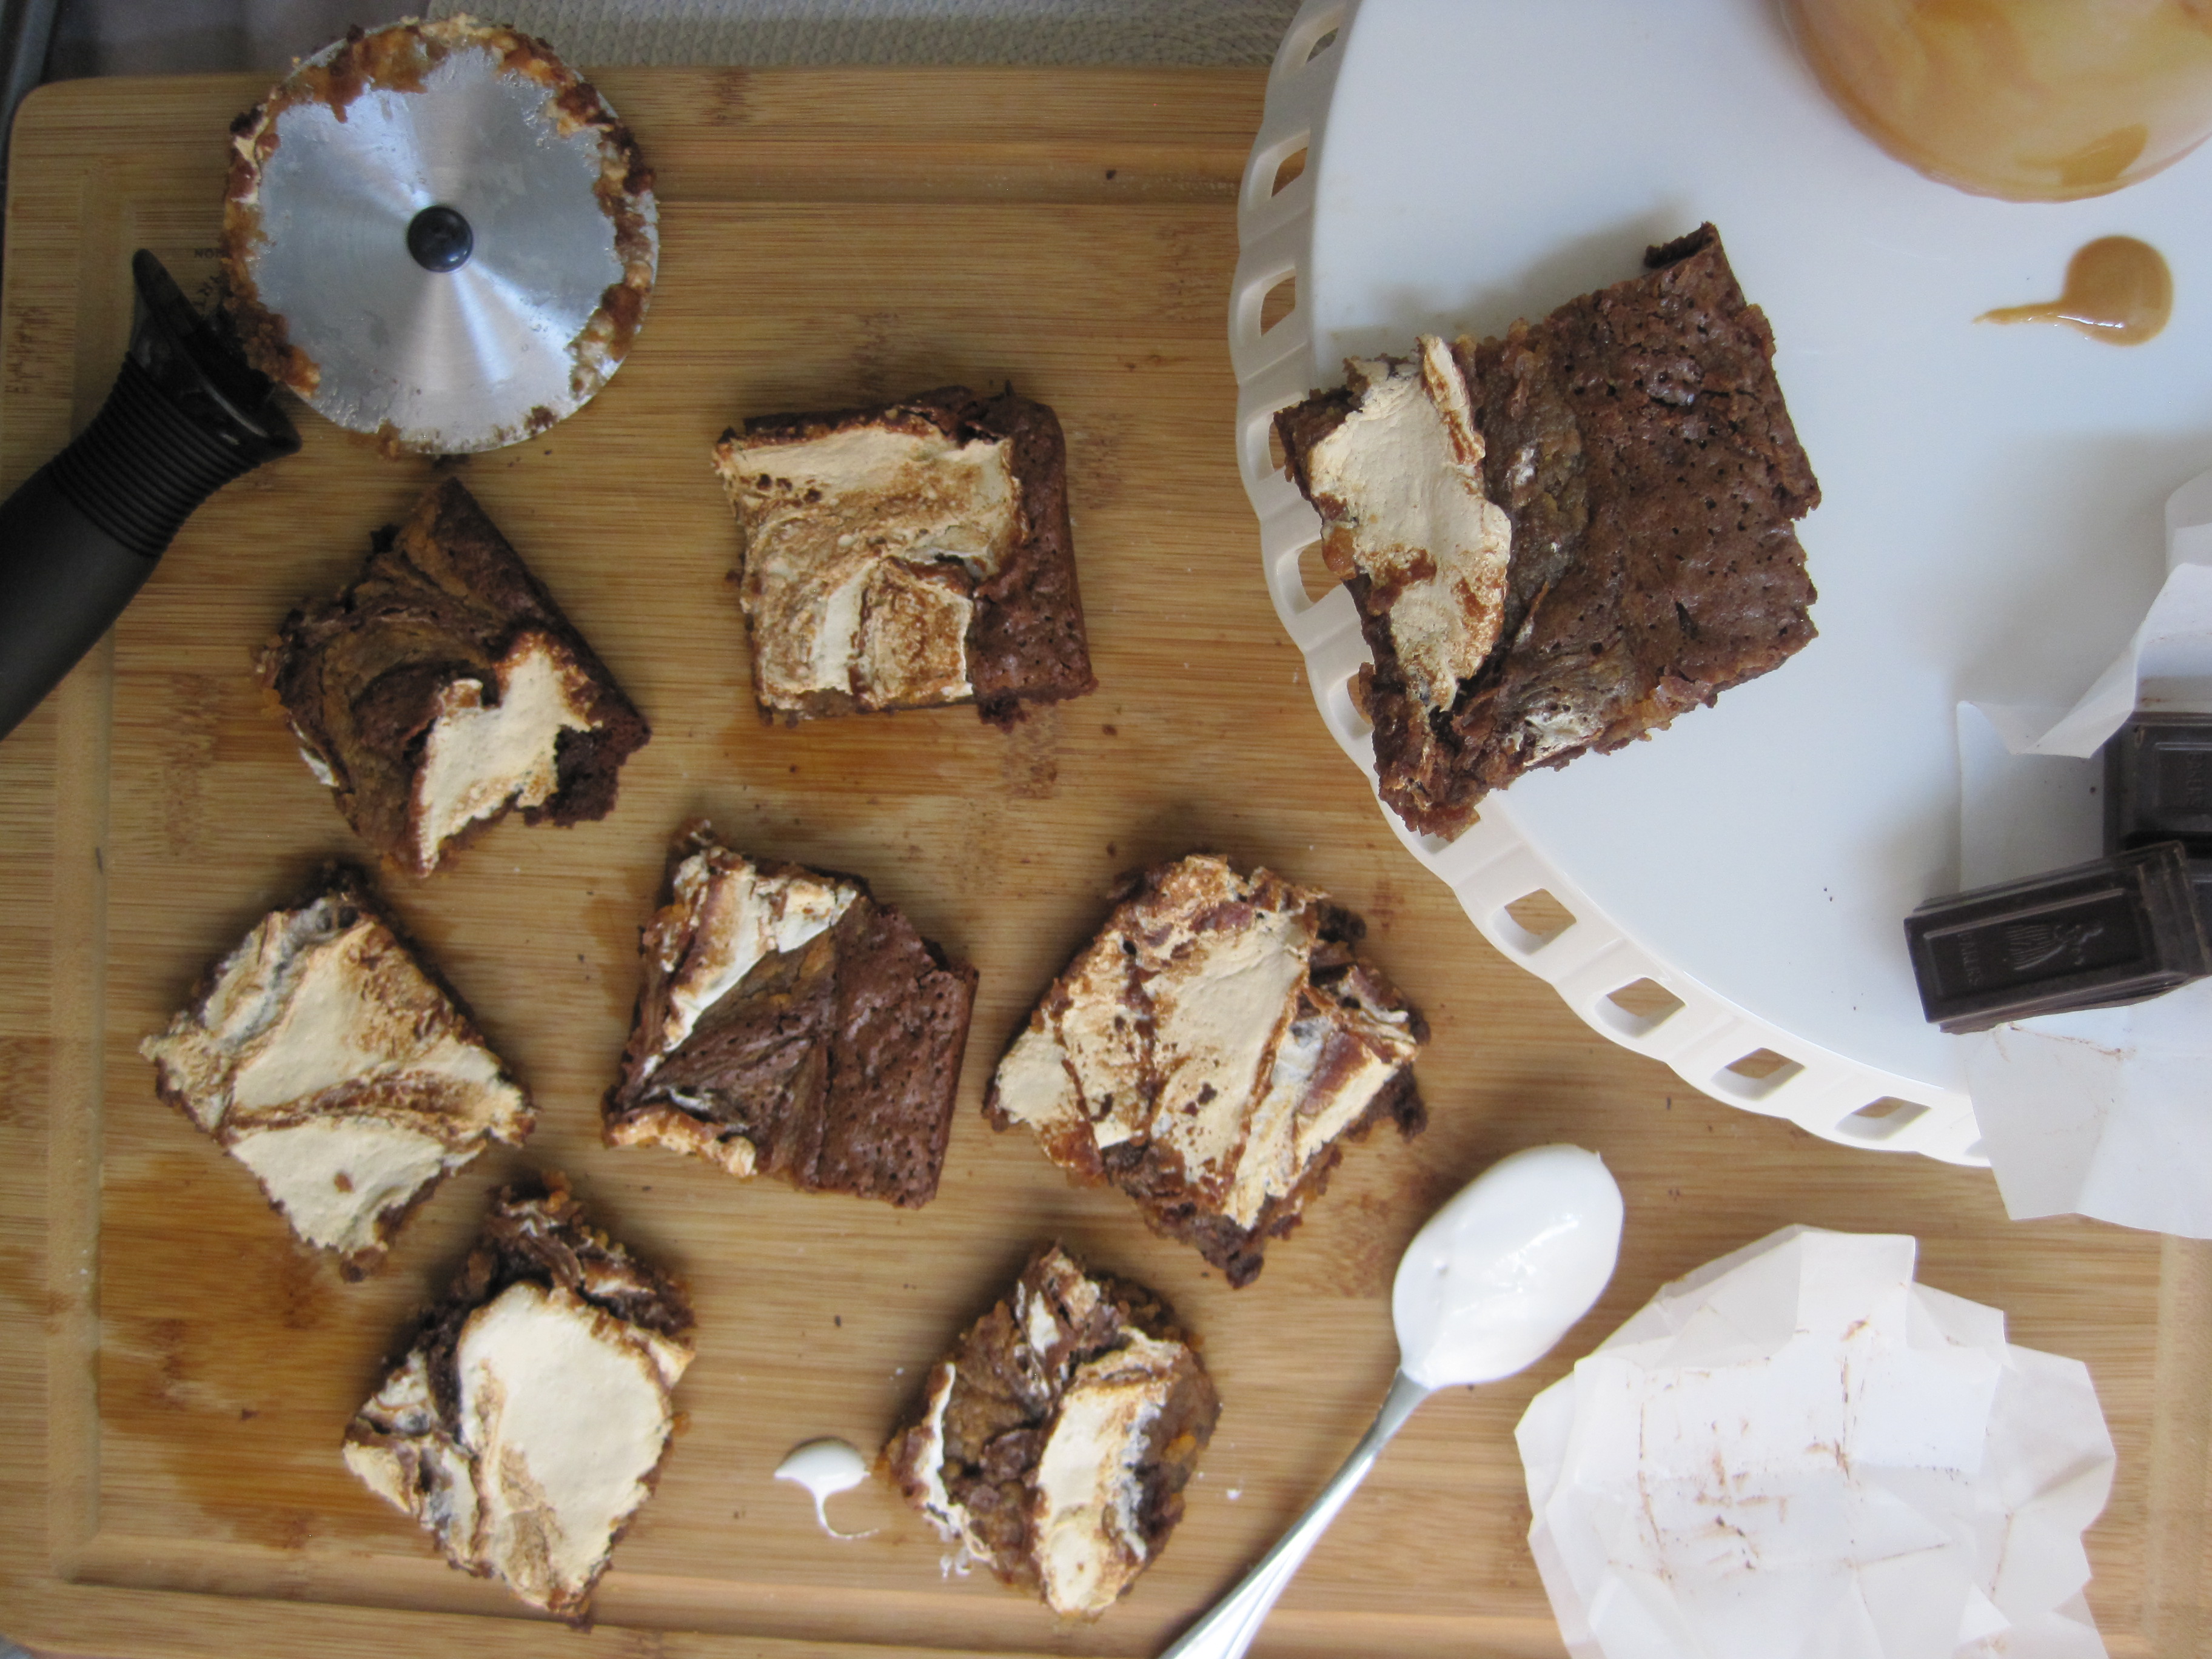
yields 32 2×2 inch squares.
directions:
- preheat oven to 350F.
- grease a 17.25 x 11.5 inch shallow baking pan {cookie sheet} throughout with butter and line with parchment paper. grease parchment paper with butter. parchment paper should hang over the edges of the pan. set aside.
- in a large {heat-proof} glass bowl over a pot of simmering, slightly boiling water over medium low heat, combine peanut butter, vanilla, marshmallow creme, butter, powder sugar and milk.
- mix constantly with a rubber spatula until all ingredients are well combined. peanut butter mixture is ready when smooth. turn heat to low and leave bowl on top of the pot with simmering water.
- in a large {heat-proof} glass bowl over a pot of simmering, slightly boiling water over medium low heat, melt unsweetened chocolate with butter, coffee and cocoa powder keeping an aye on it by stirring with a whisk constantly. this will avoid the chocolate to scorch.
- once chocolate mixture is melted, take bowl off of pot with simmering water with pot holders and place on a heat-proof surface such as a large trivet or cutting board. immediately add sugars and whisk by hand for one minute until dissolved. do not over mix since you don’t want the brownies to be caky once baked.
- whisk in vanilla and eggs, one at a time, mixing well after each one.
- add sea salt and mix well until incorporated.
- mix in flour just until incorporated. do not over mix.
- add brownie batter to pan. add peanut butter-marshmallow creme swirl mixture to brownie batter in dollops forming 3 parallel lines.
- add marshmallow creme in dollops and use a knife to swirl brownie batter, peanut butter mixture and marshmallow creme together in both vertical and horizontal directions.
- bake for 25-30 minutes. they are ready when a toothpick comes out with a few crumbs. start checking brownies at the 25th minute mark.
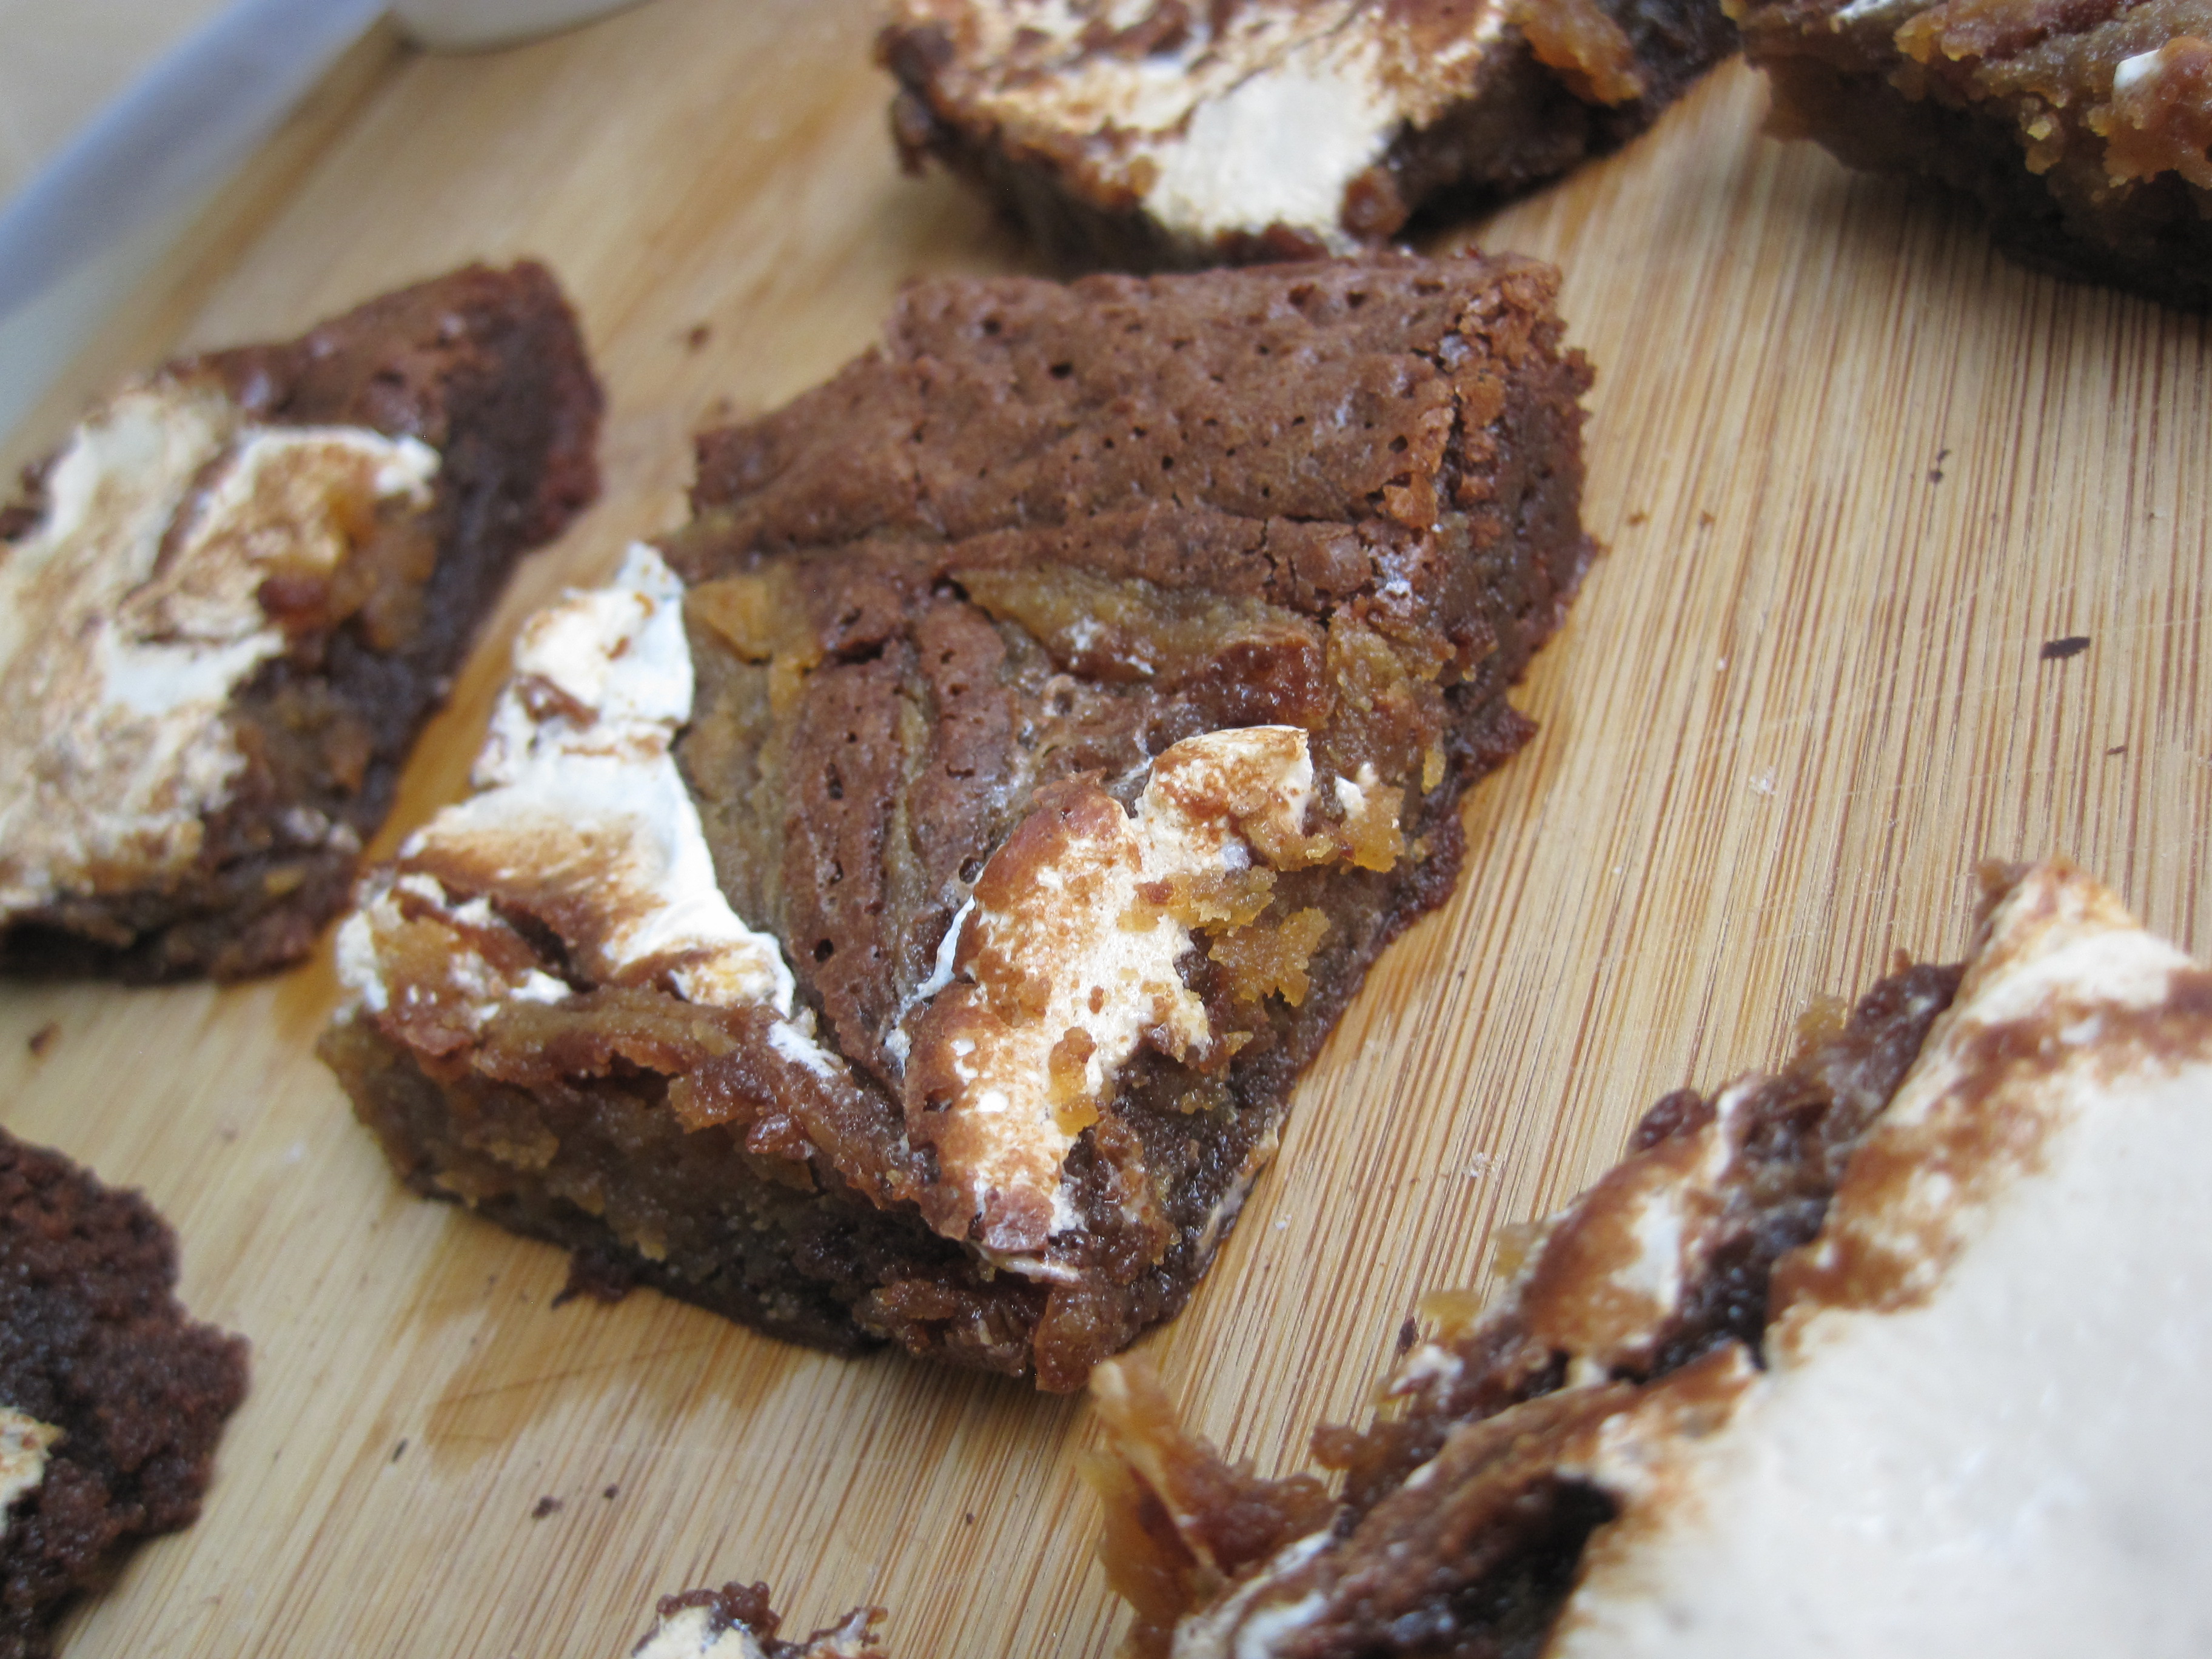
- cool on a wire rack for at least 2 hours before cutting. or you can cool brownies in the fridge for at least 1 hour before cutting. with a pizza cutter or sharp knife cut into 2-inch squares.
- store at room temperature in an airtight container for up to 3 days.
Notes:
I used this wilton pan for the brownies. You can certainly bake these brownies in a smaller pan but make sure to increase the baking time by 10 minutes or so because they will be thicker, so you’ll need to bake them longer.