oh, brownies! you have been one big challenge for the past few months and have been hovering over my head with a huge question mark for way too long.
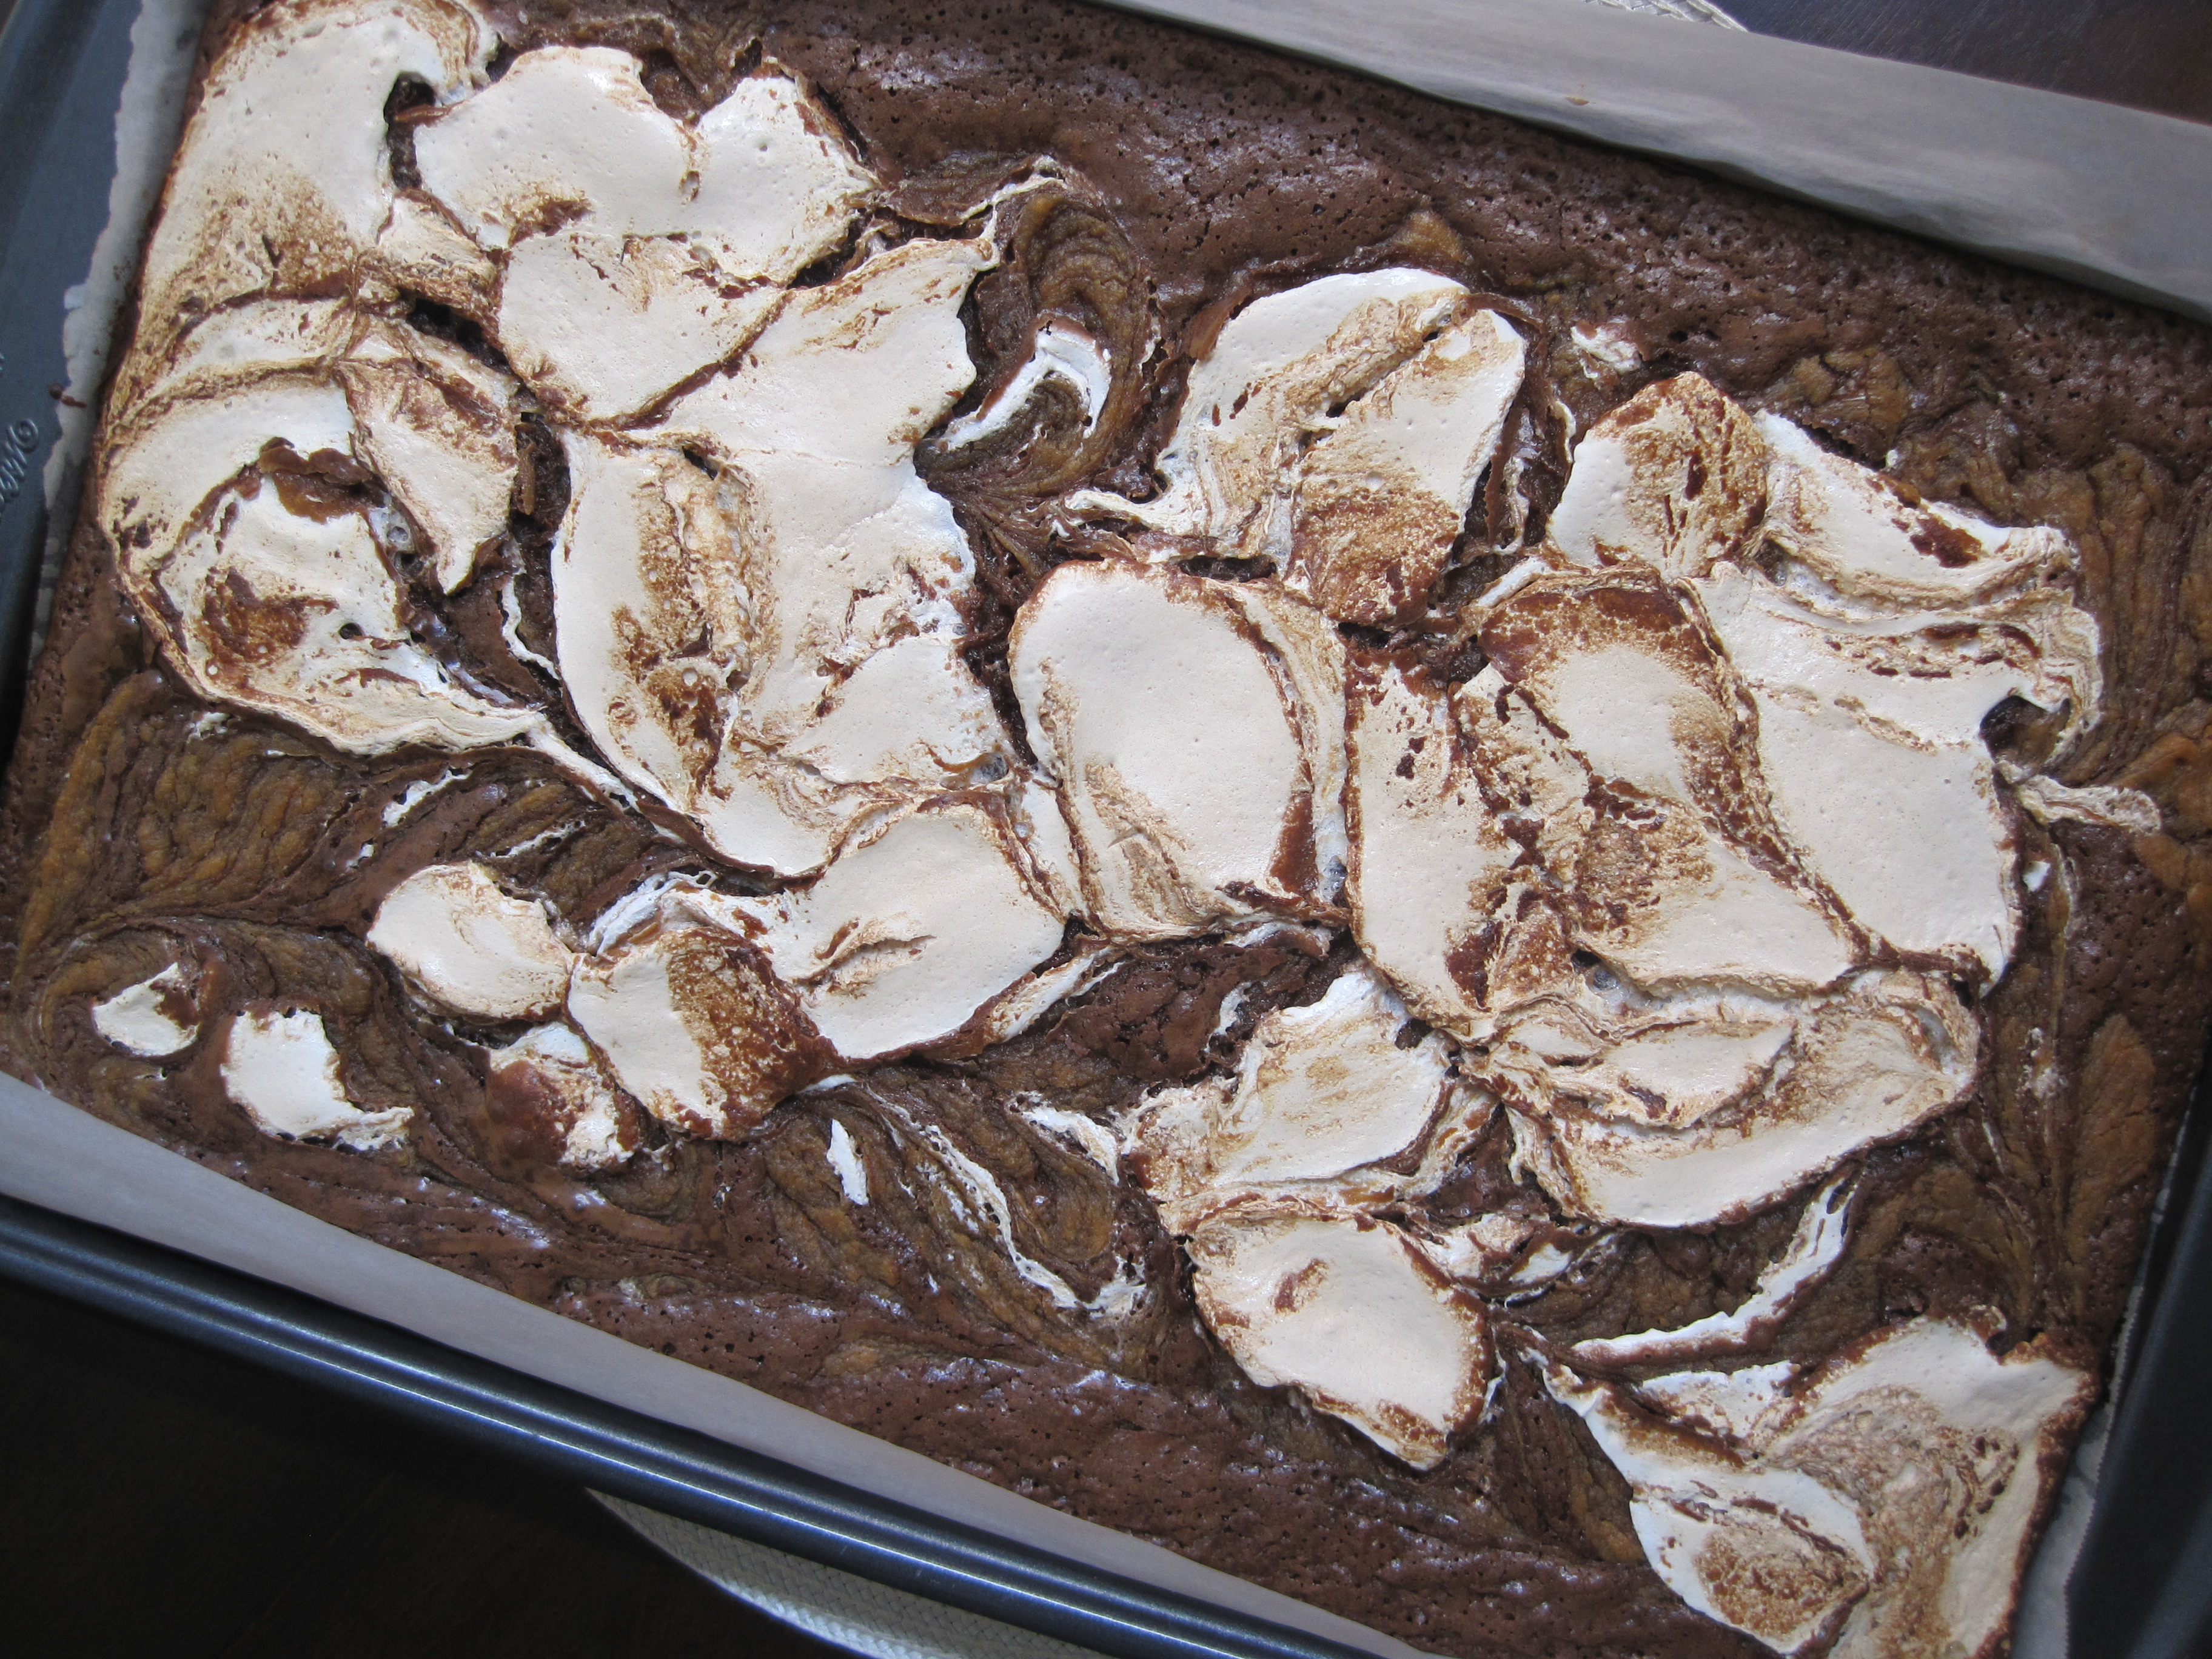
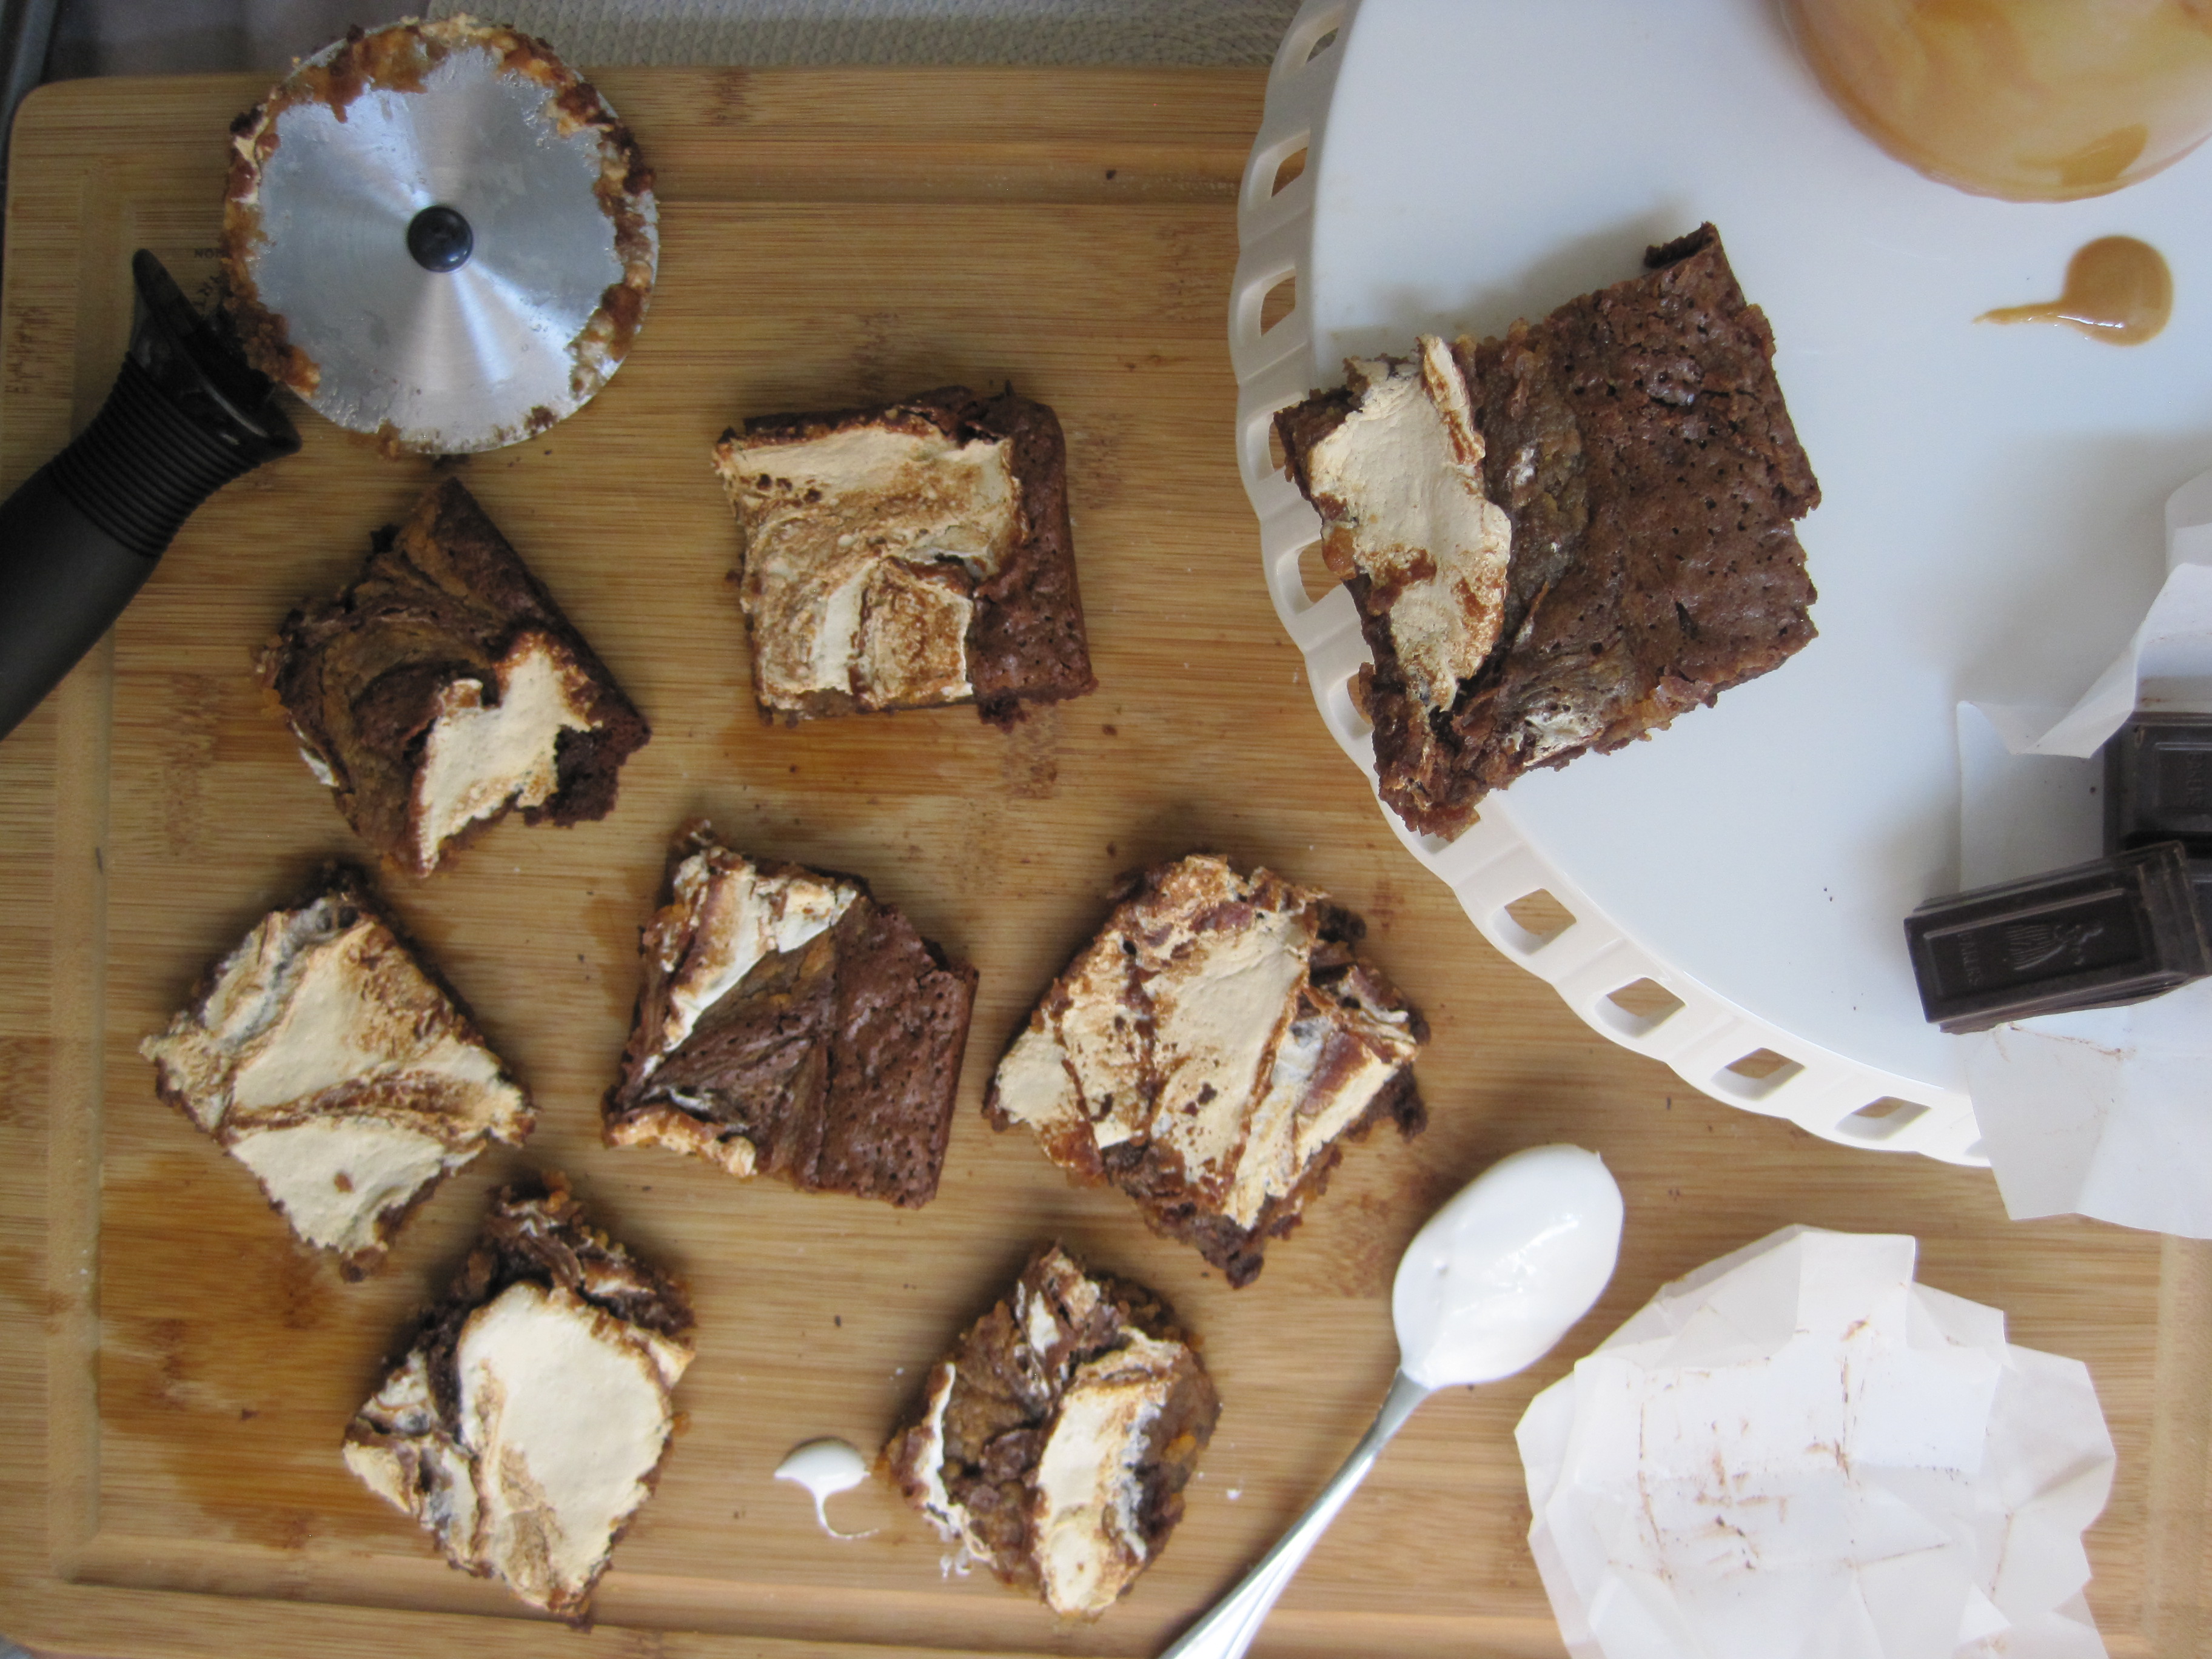
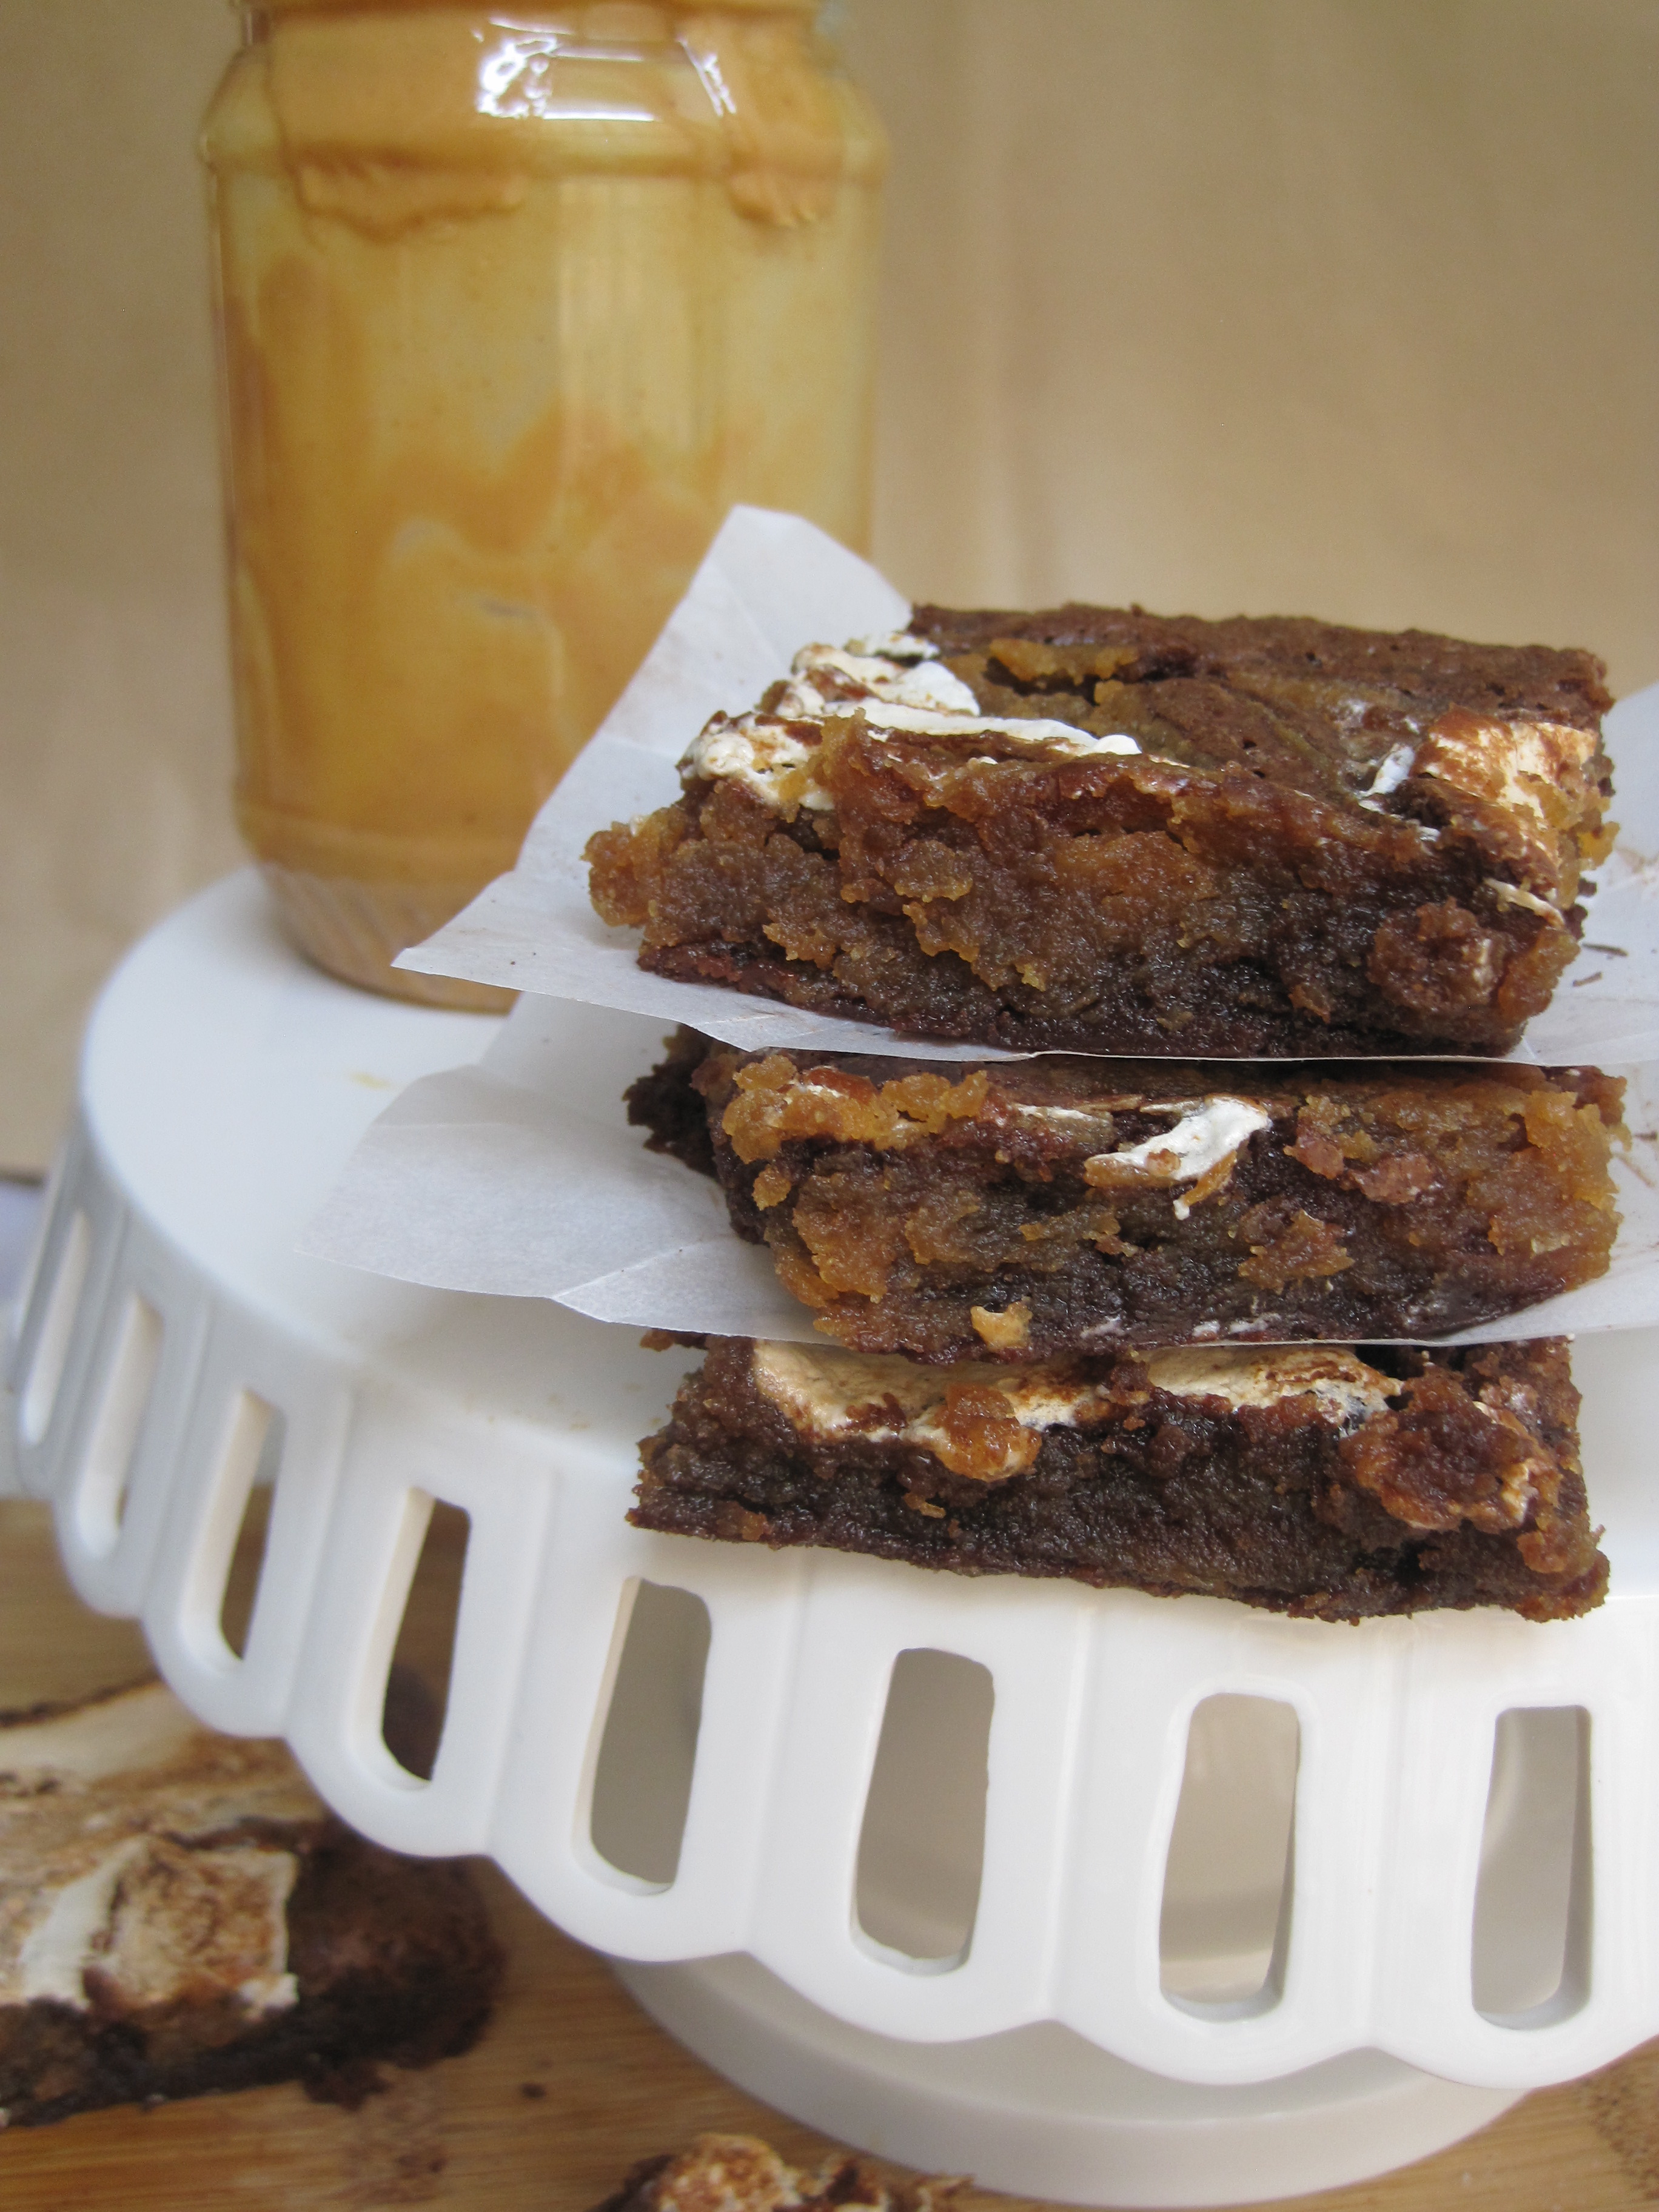
but it’s all good, my quest for the baking cup’s staple brownies has come to an end: these are chewy but not gummy, fudgey and not cakey, perfect balance of sweetness and chocolate with every bite, and perfect thickness.
whew! those are a lot of qualities to look for in a brownie and like my husband says: i’m my hardest critic, so you can imagine how much effort and love i put into each recipe. and these brownies are no exception. they get the seal of approval from the baking cup and are optimal for a summer afternoon, party or at weddings. serve it with a scoop of vanilla bean ice cream for a wow-your-guests kind of presentation!
the recipe calls for coconut oil, which is the secret to moist and fudgey brownies like the ones you make from the box. give them a try and you’ll see that the coconut oil makes a difference. enjoy!
chop unsweetened chocolate and melt with semi-sweet chocolate chips and coconut oil.

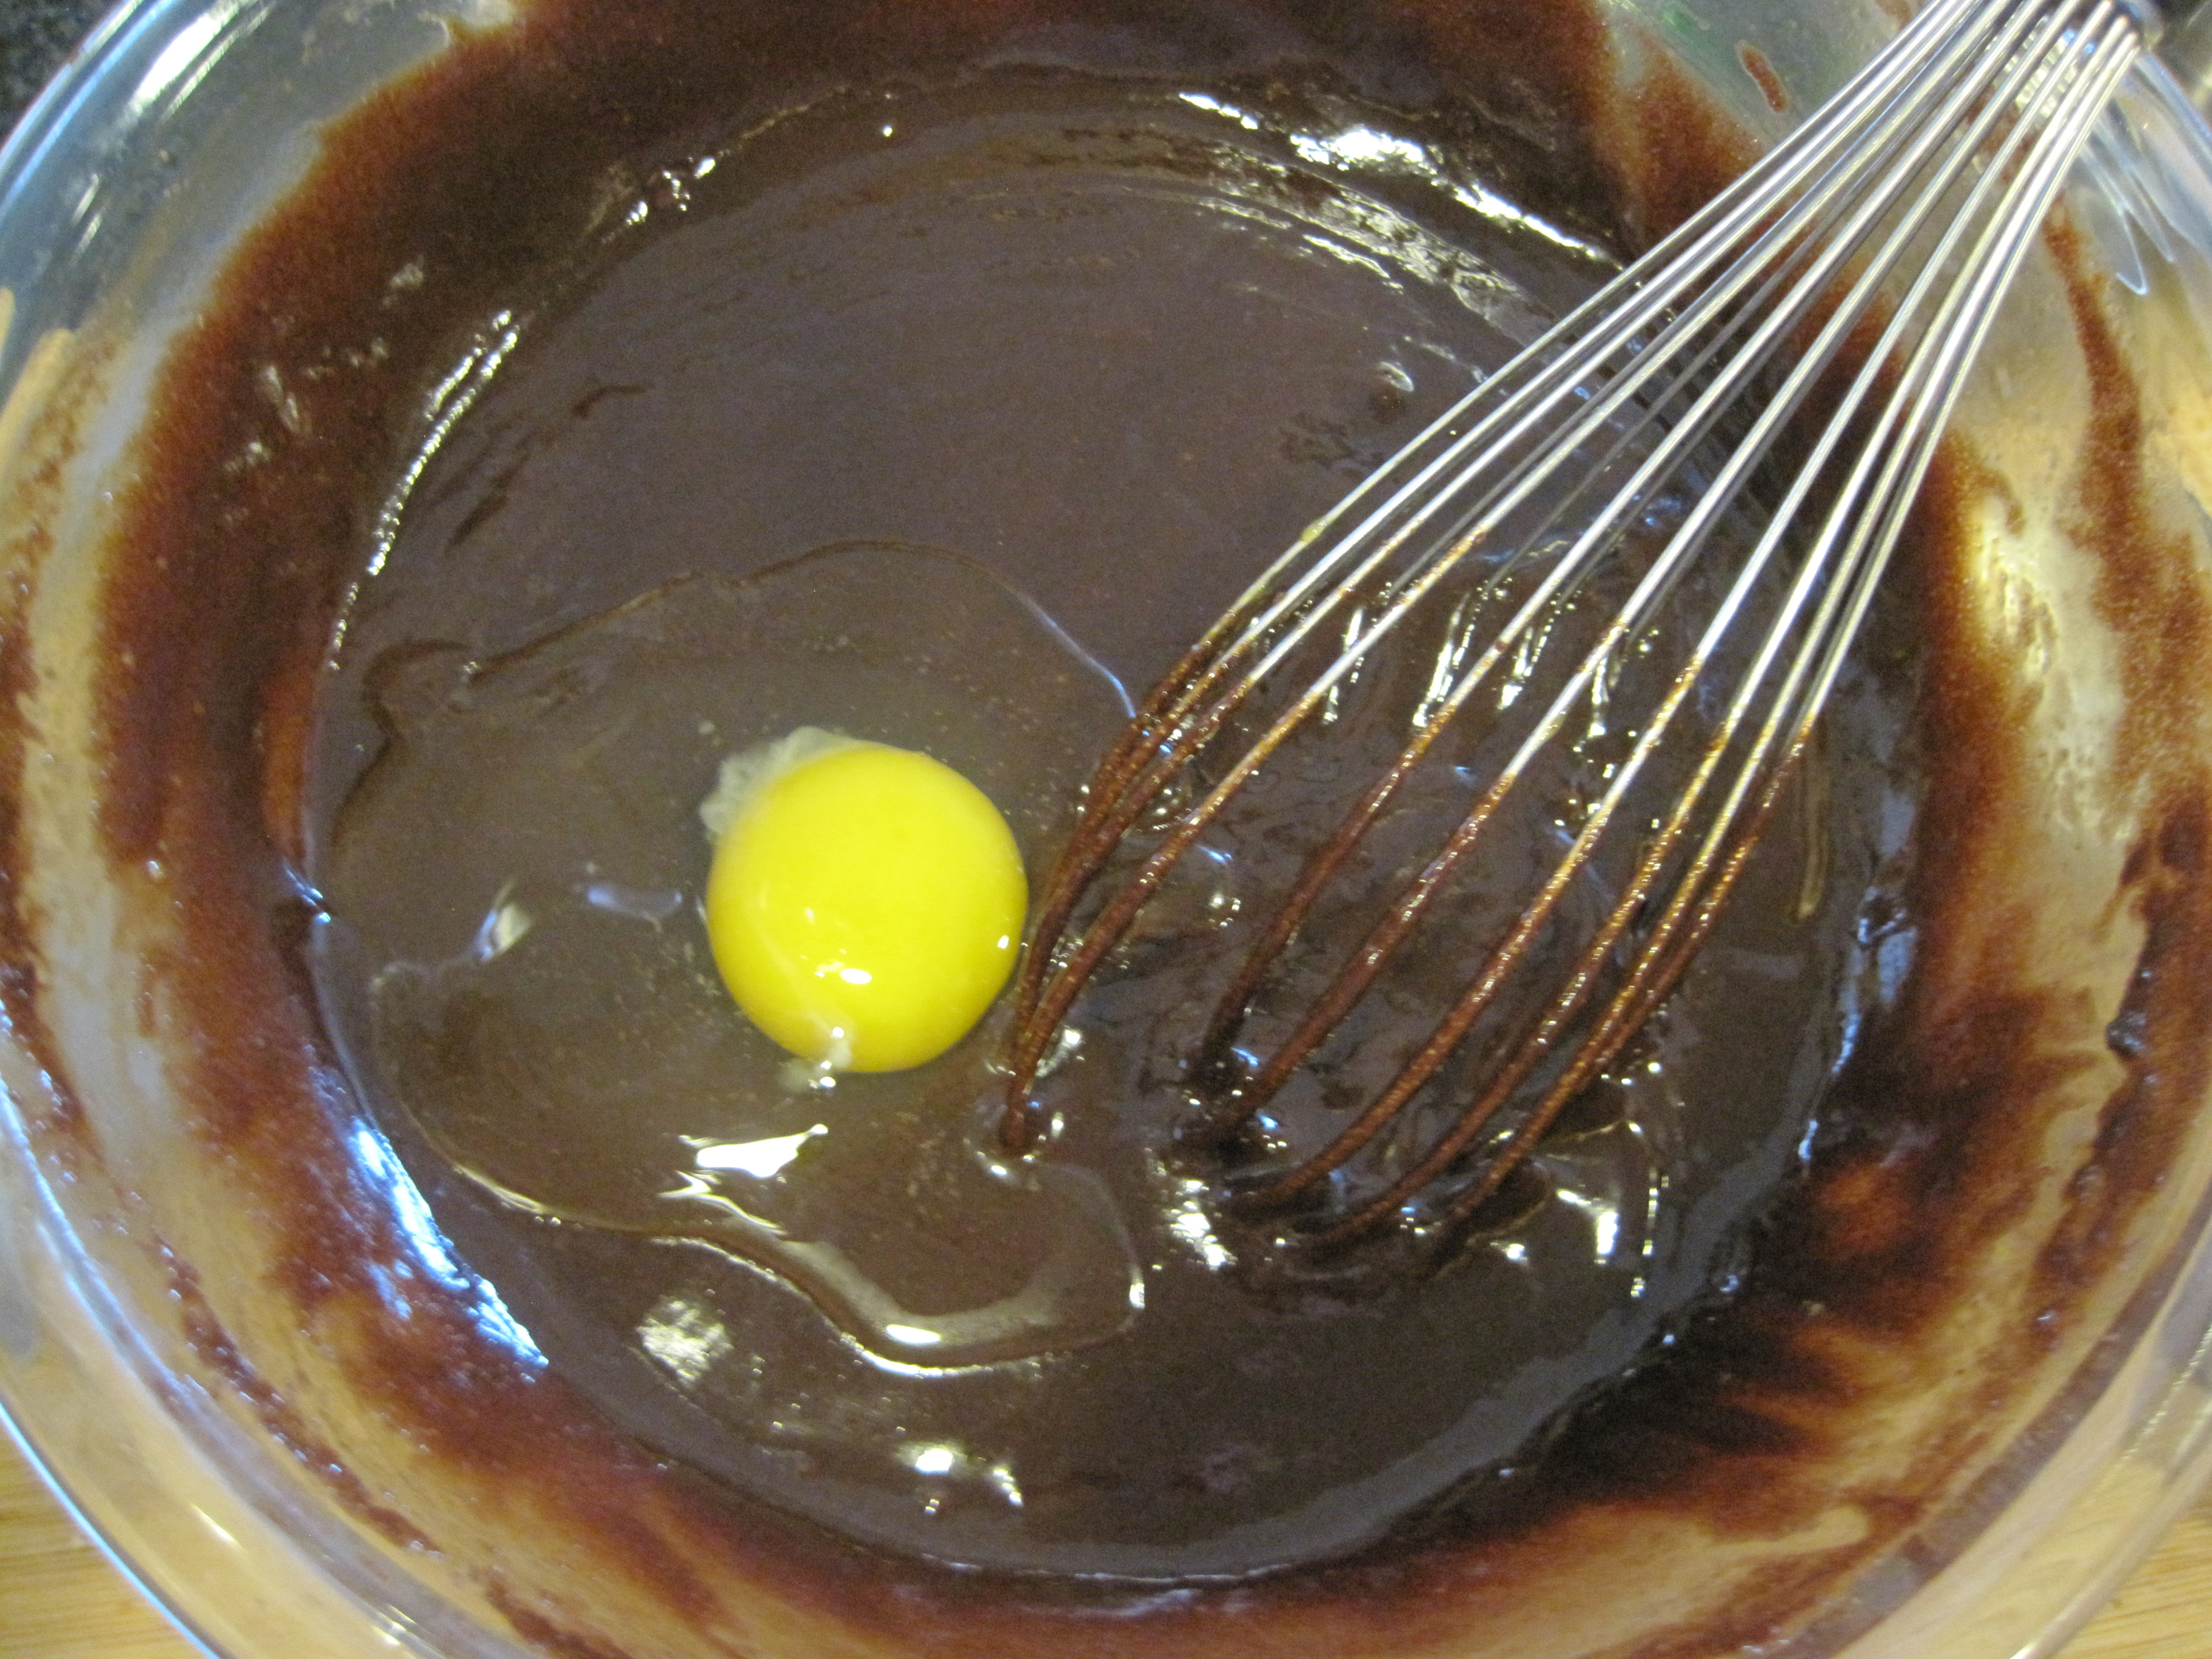
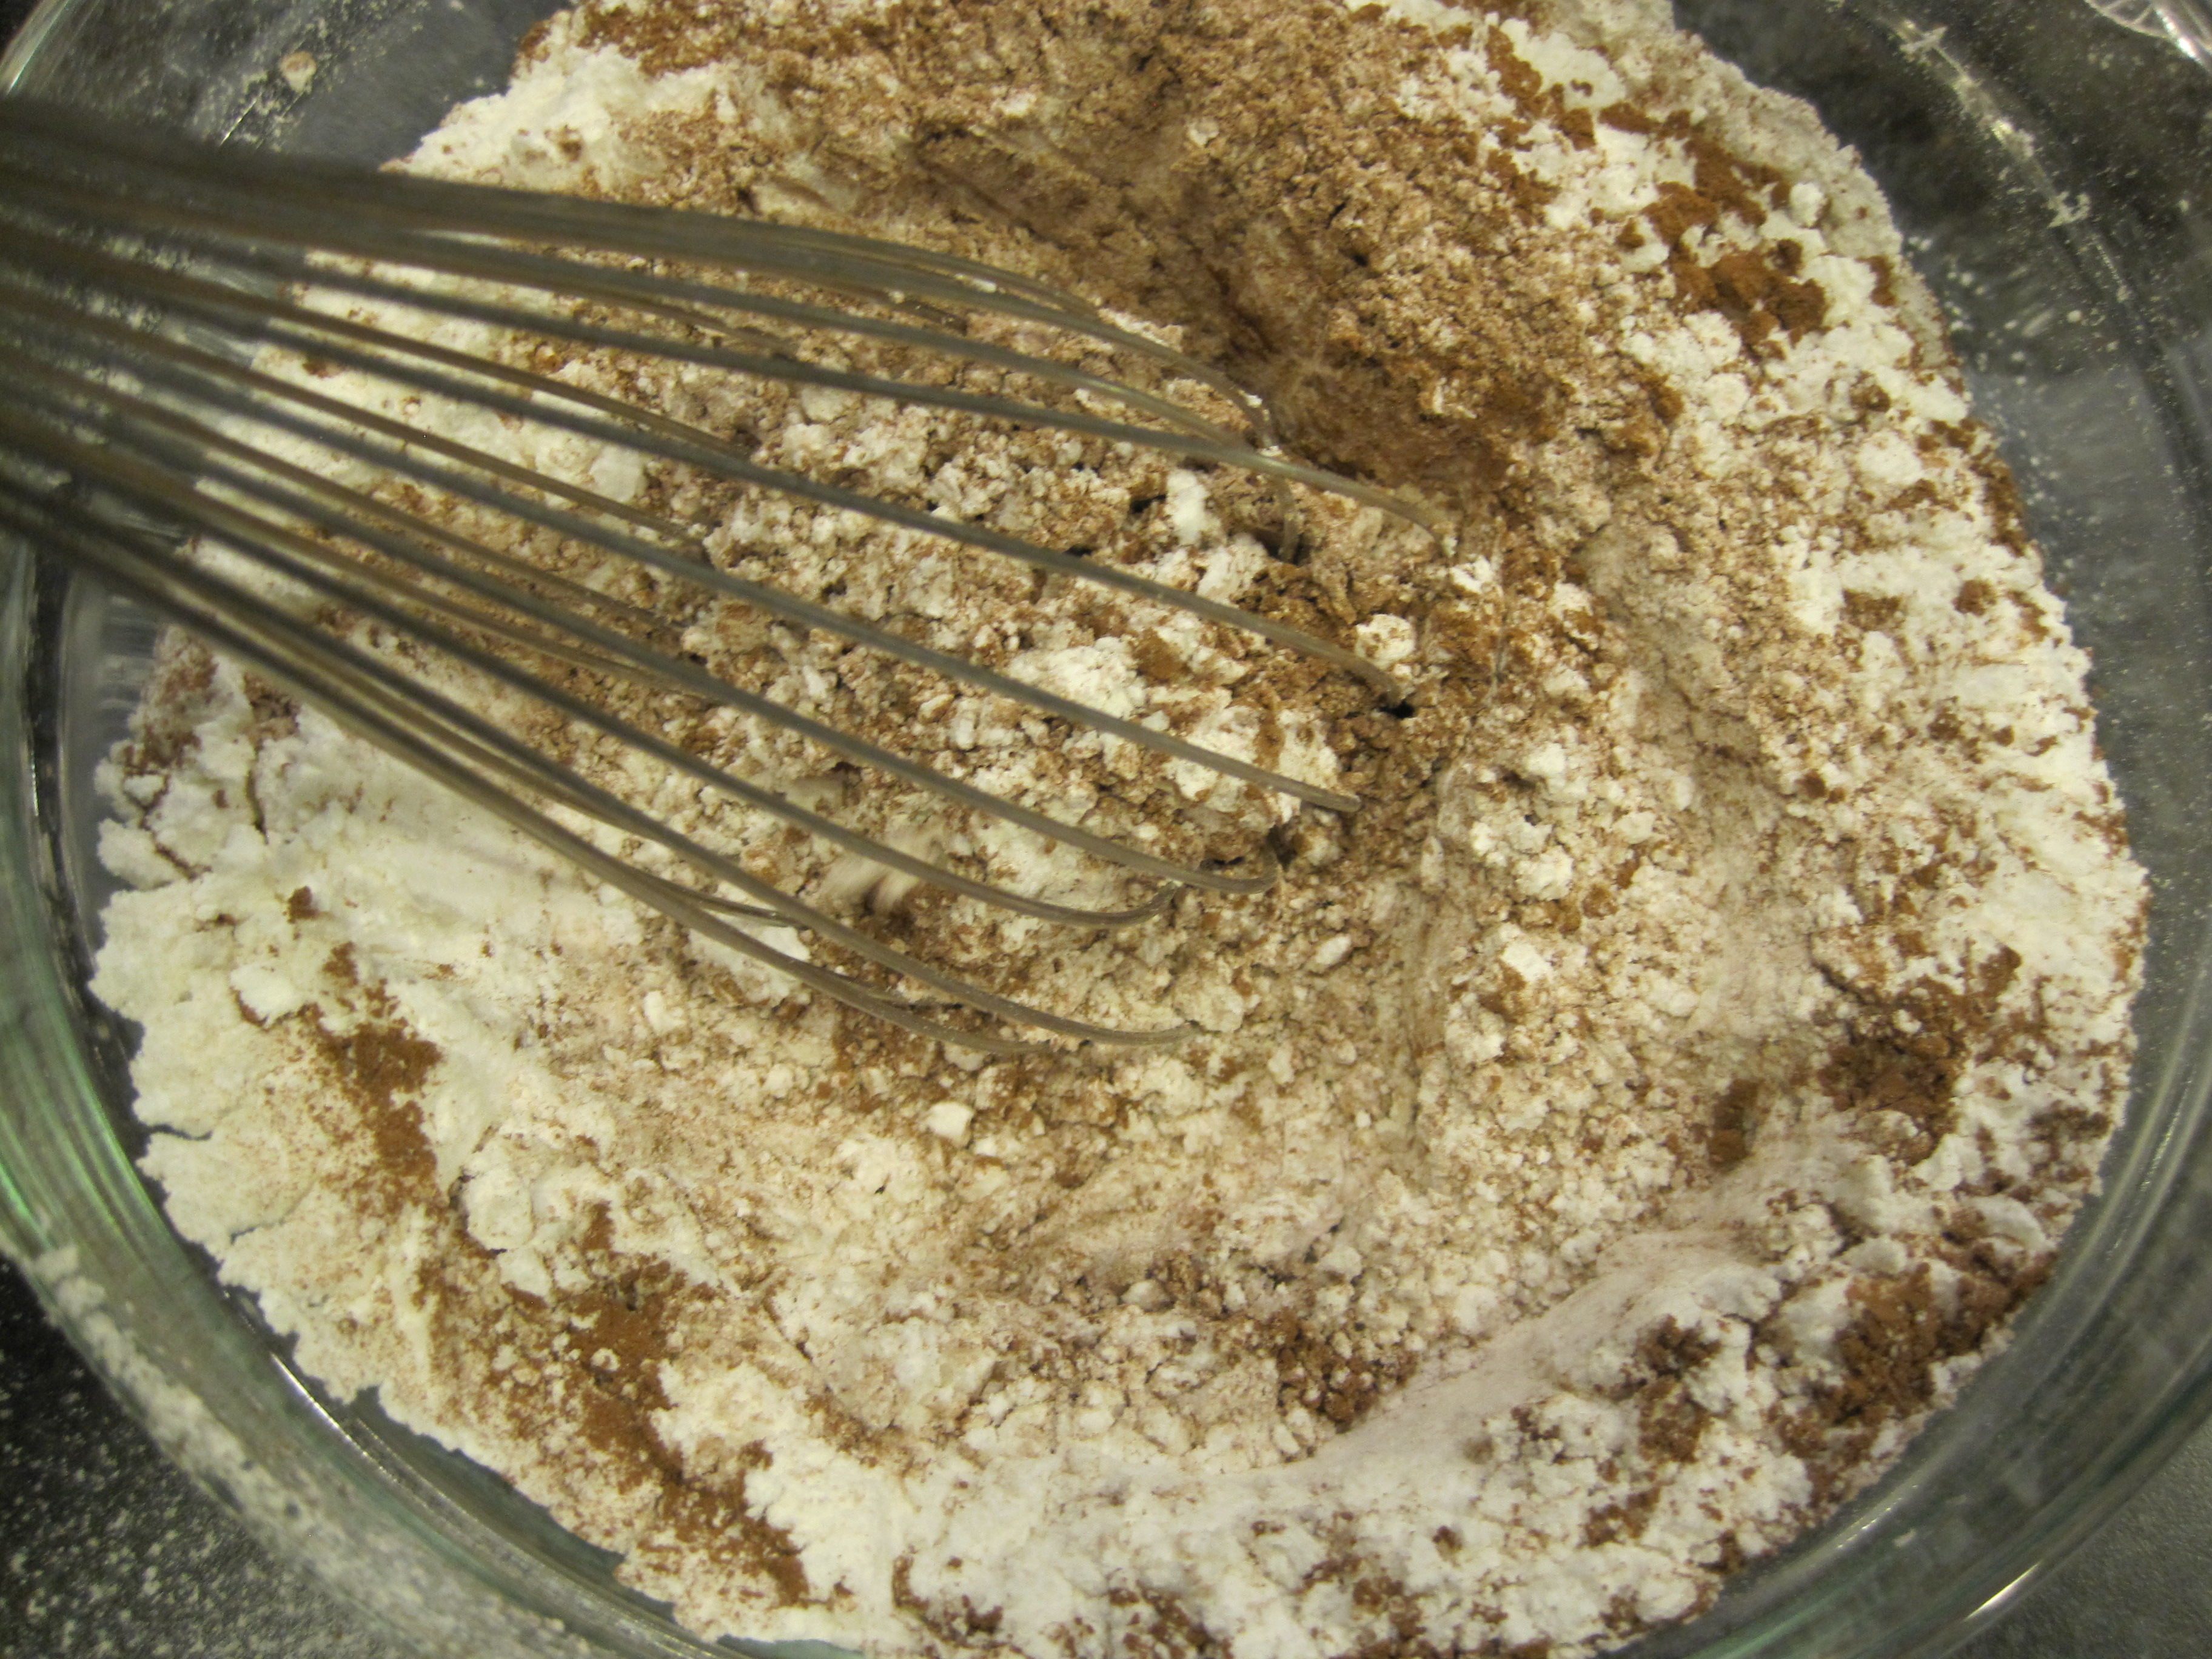
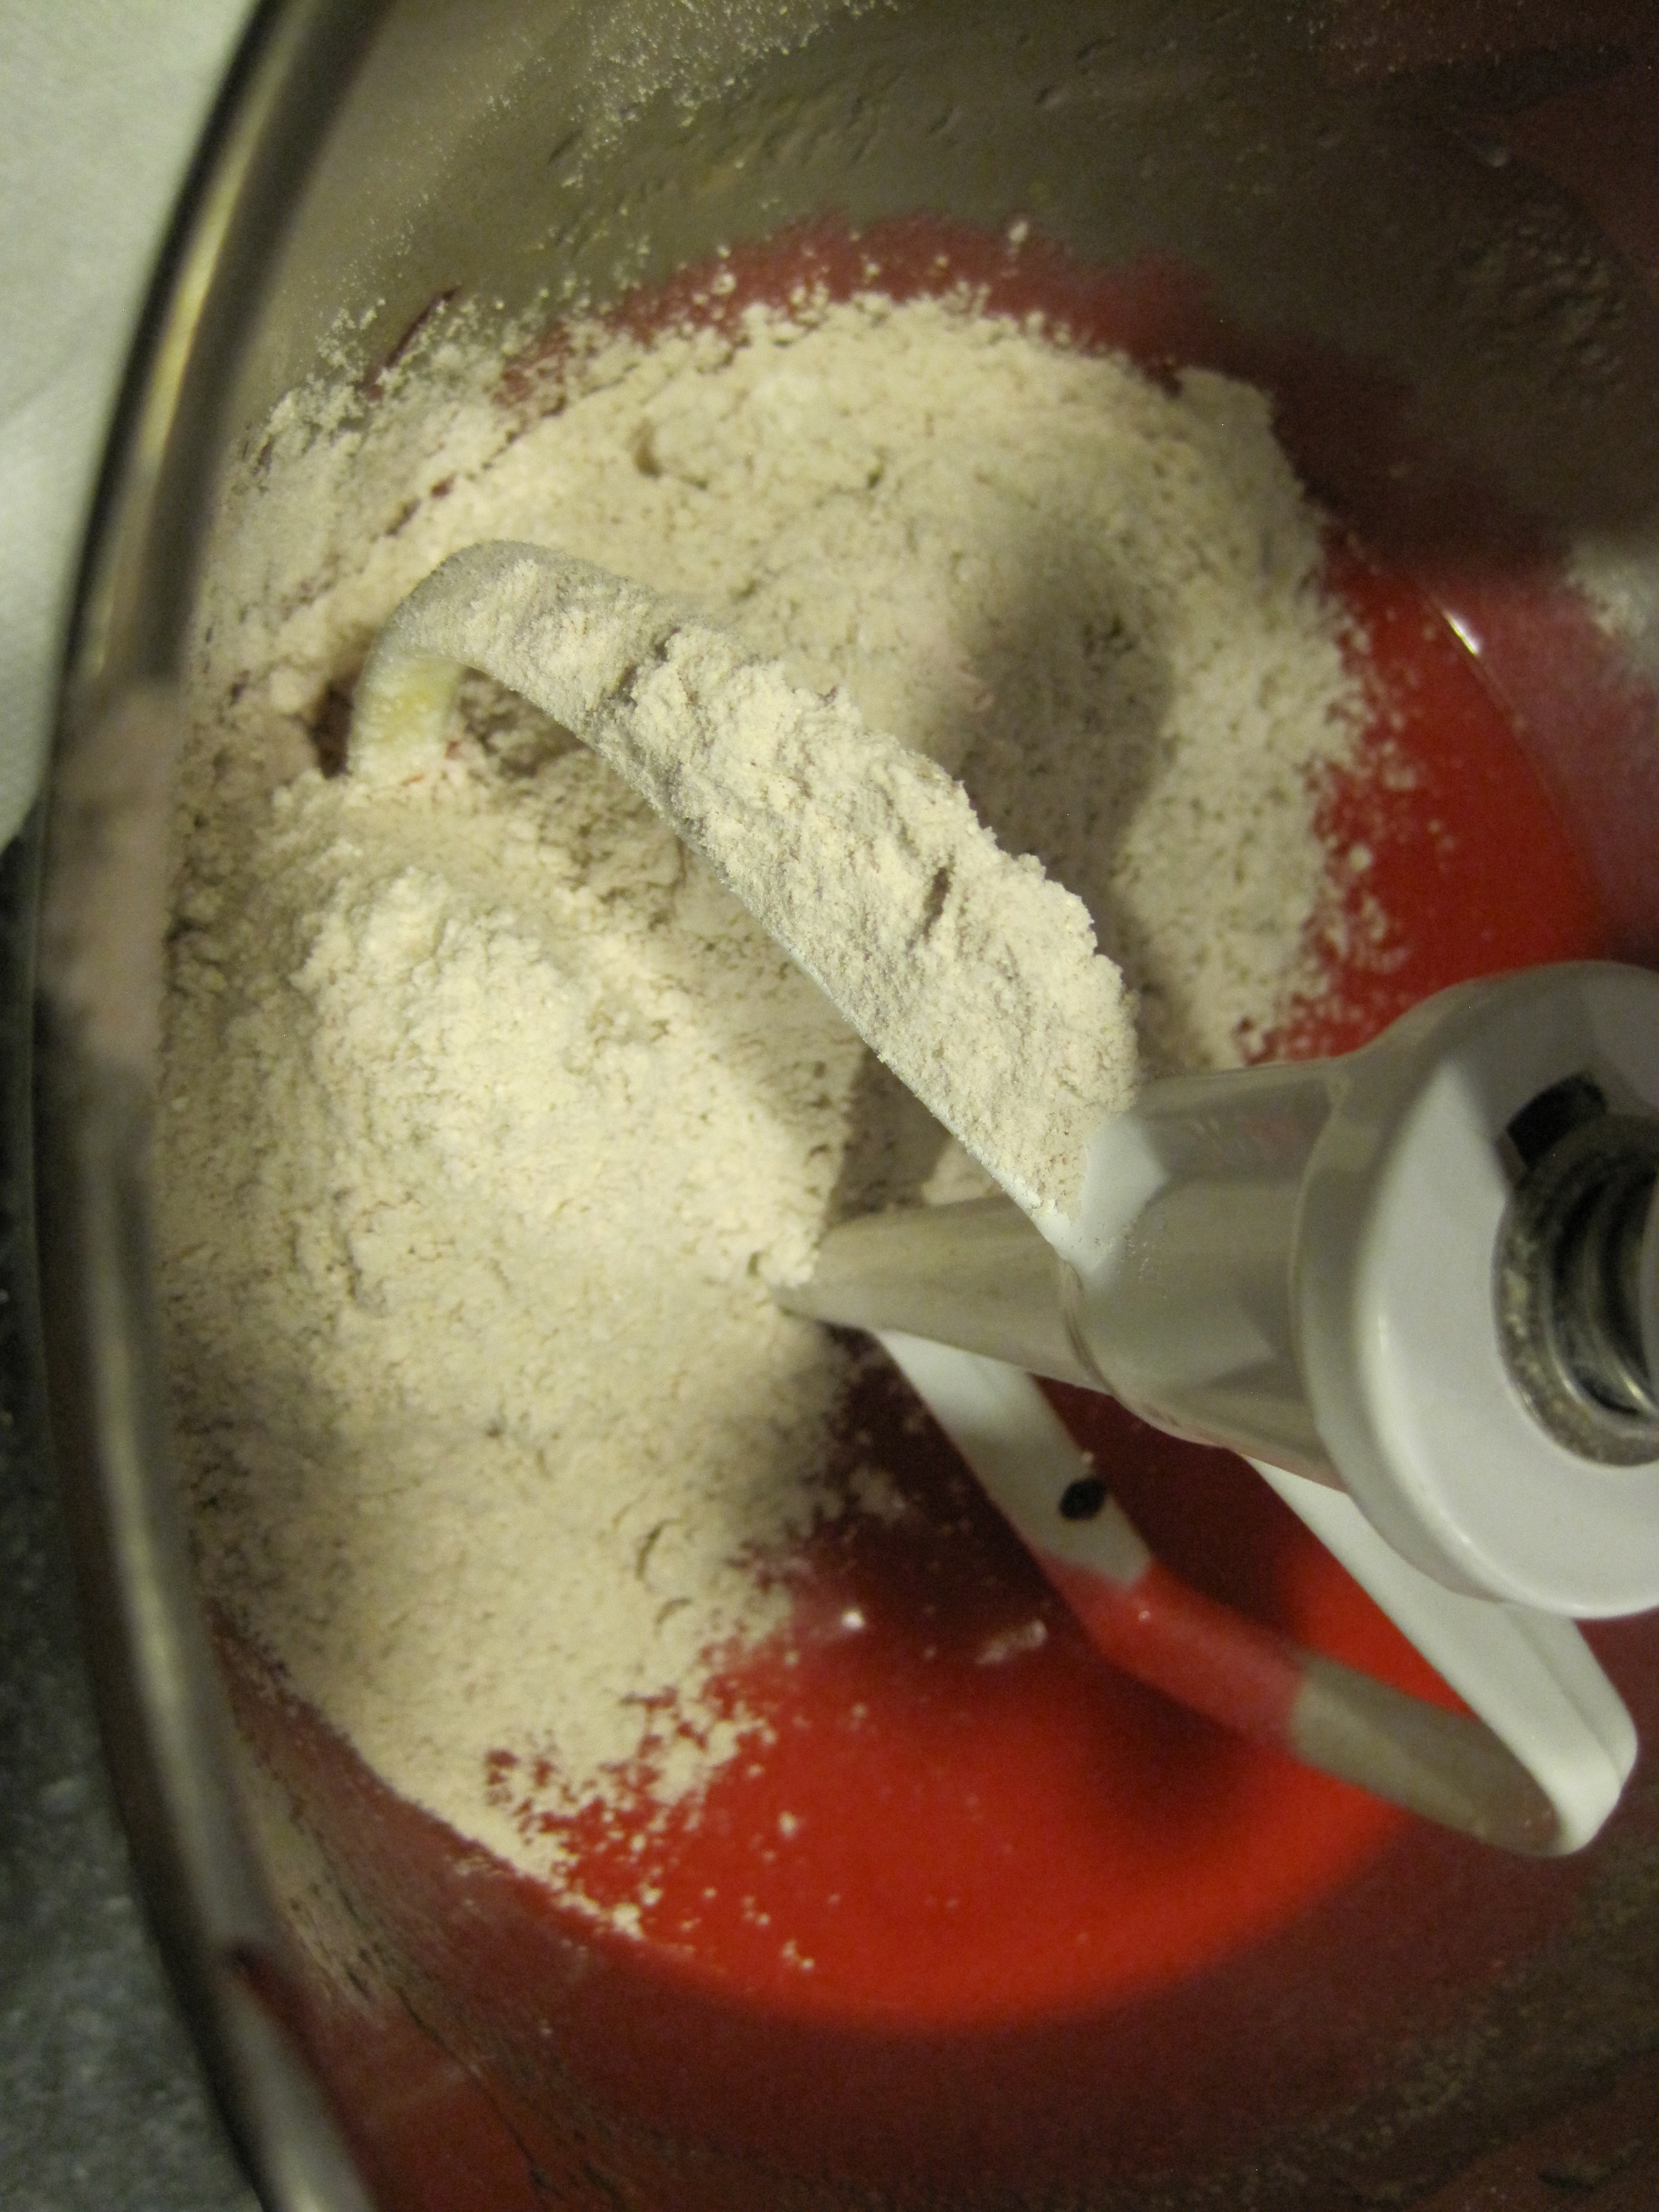
after the chocolate has melted, add sugar, eggs, vanilla, baking powder and flour.


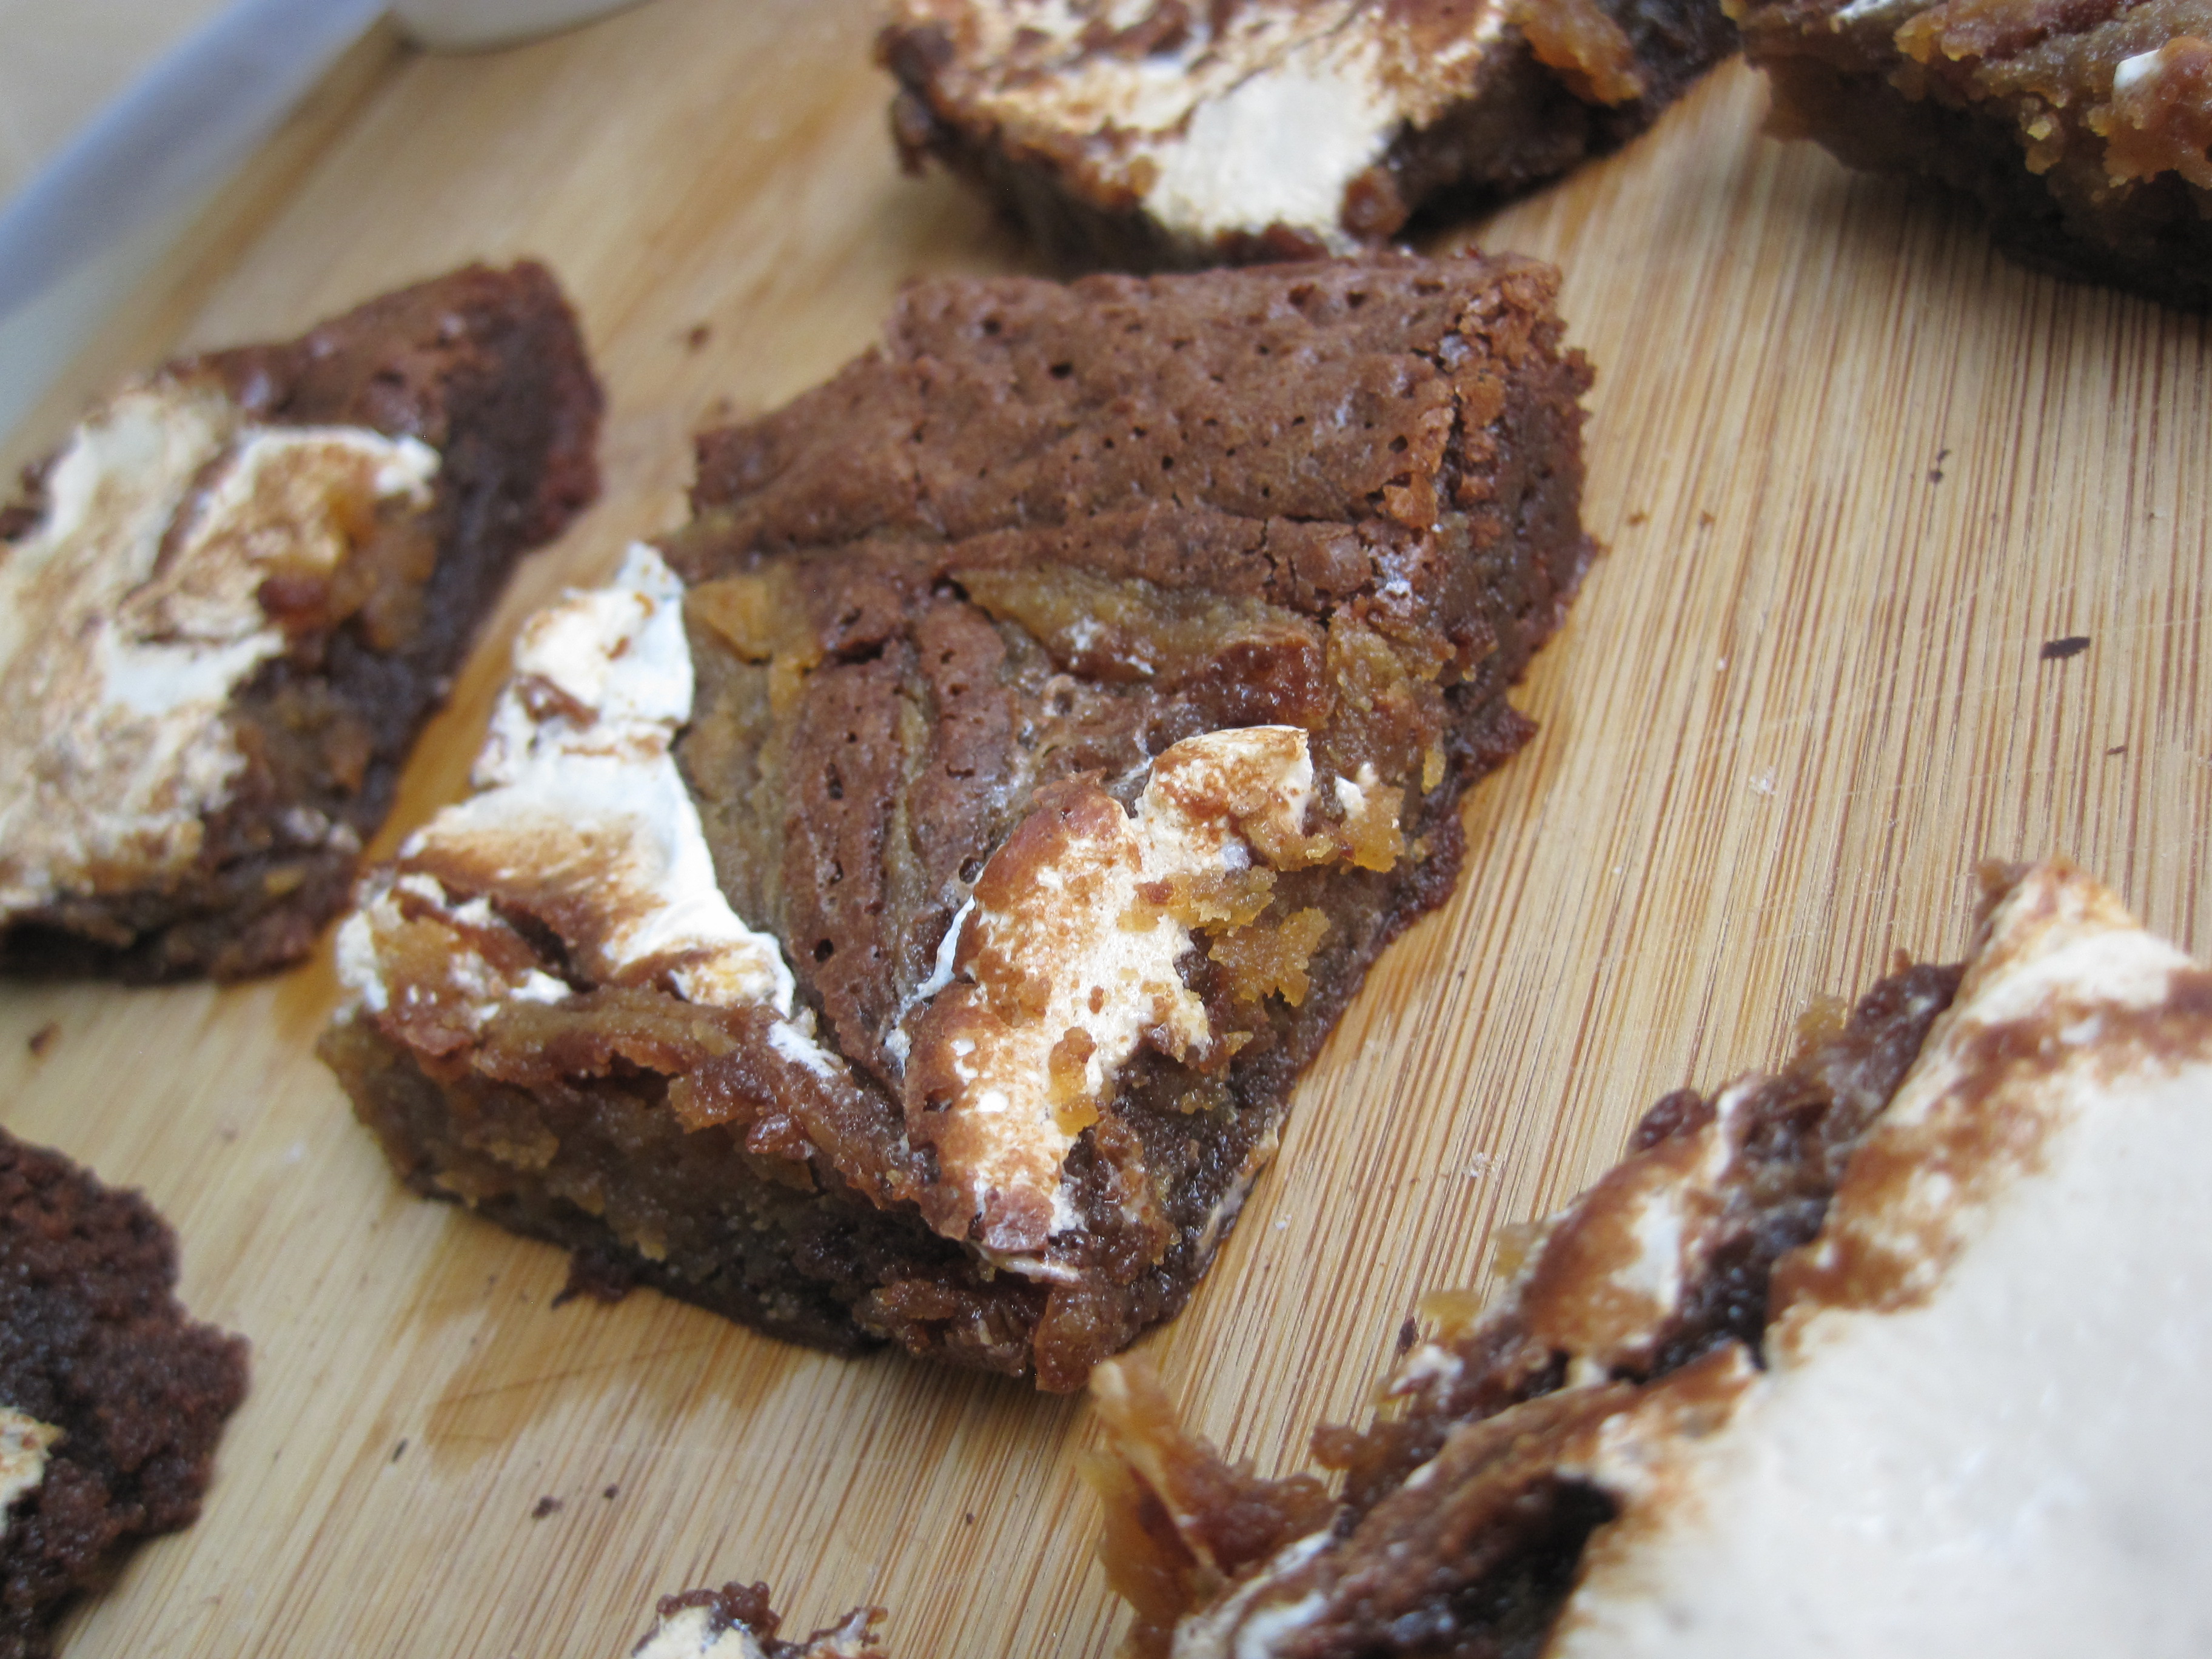
all of that hard work paid off and i’m happy with the results. i can’t wait for you to make them!


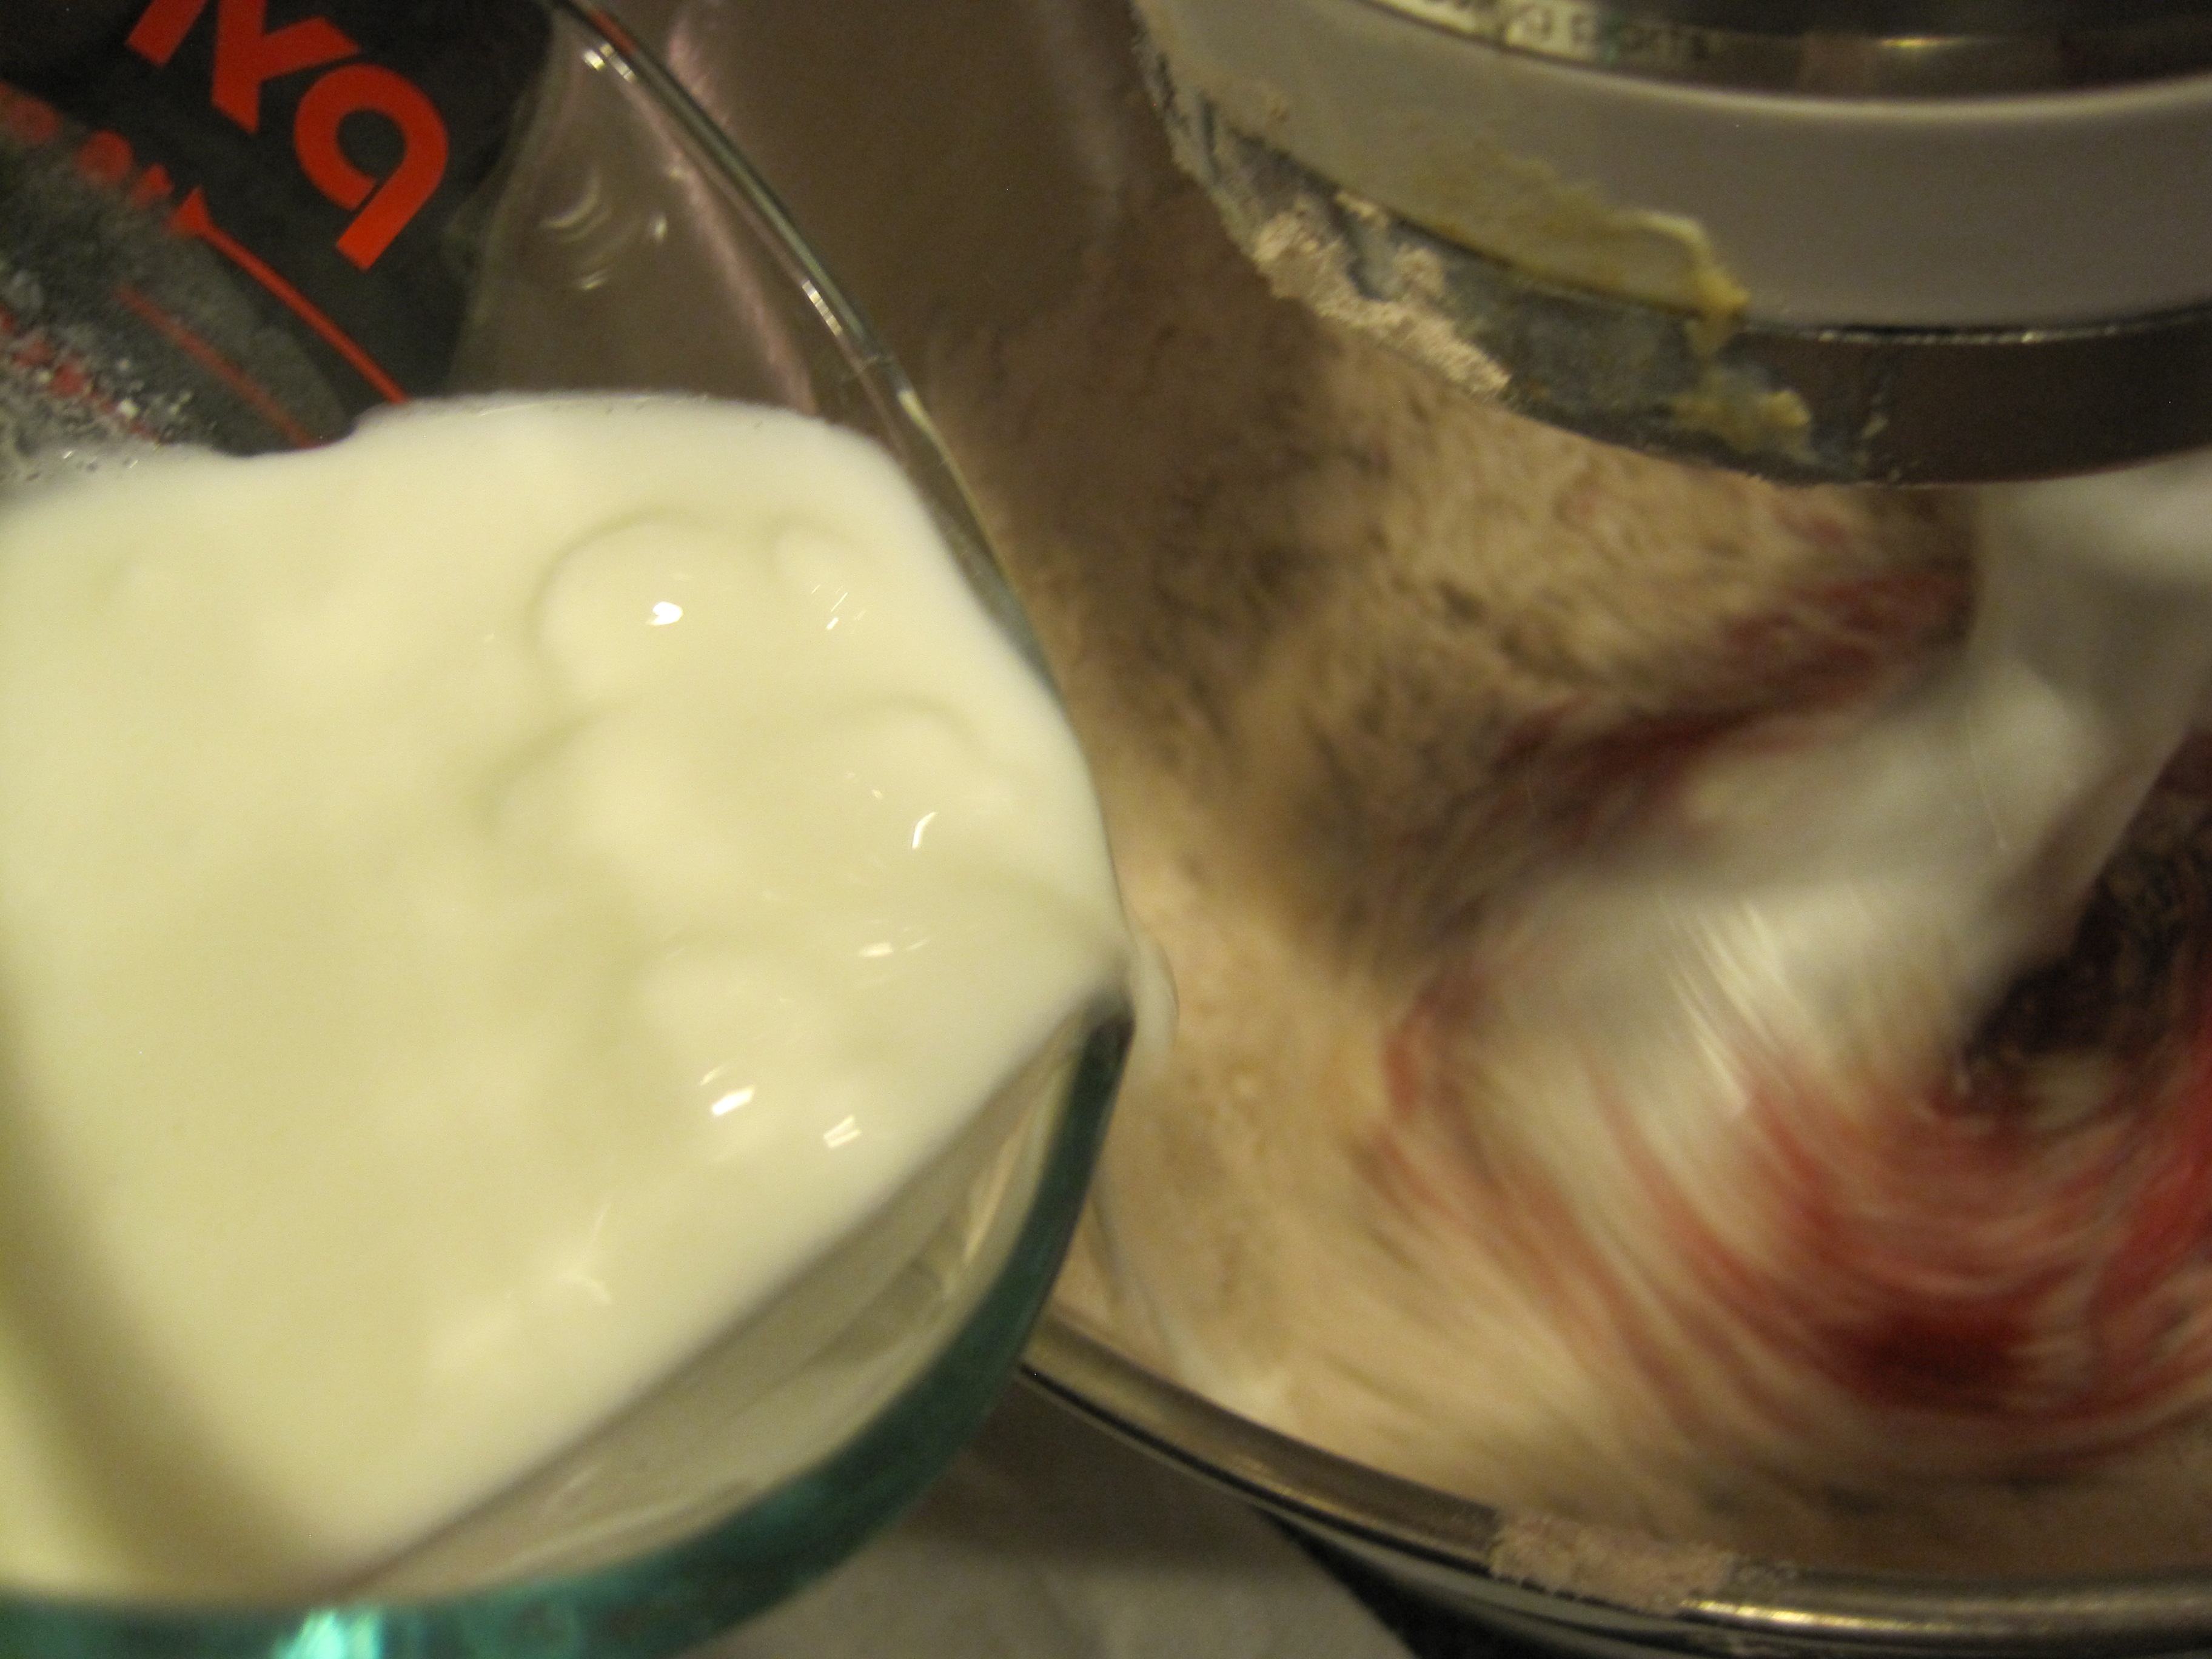
pass the milk!


the baking cup’s staple brownies
ingredients:
1 stick unsalted butter
3 ounces unsweetened chocolate, chopped
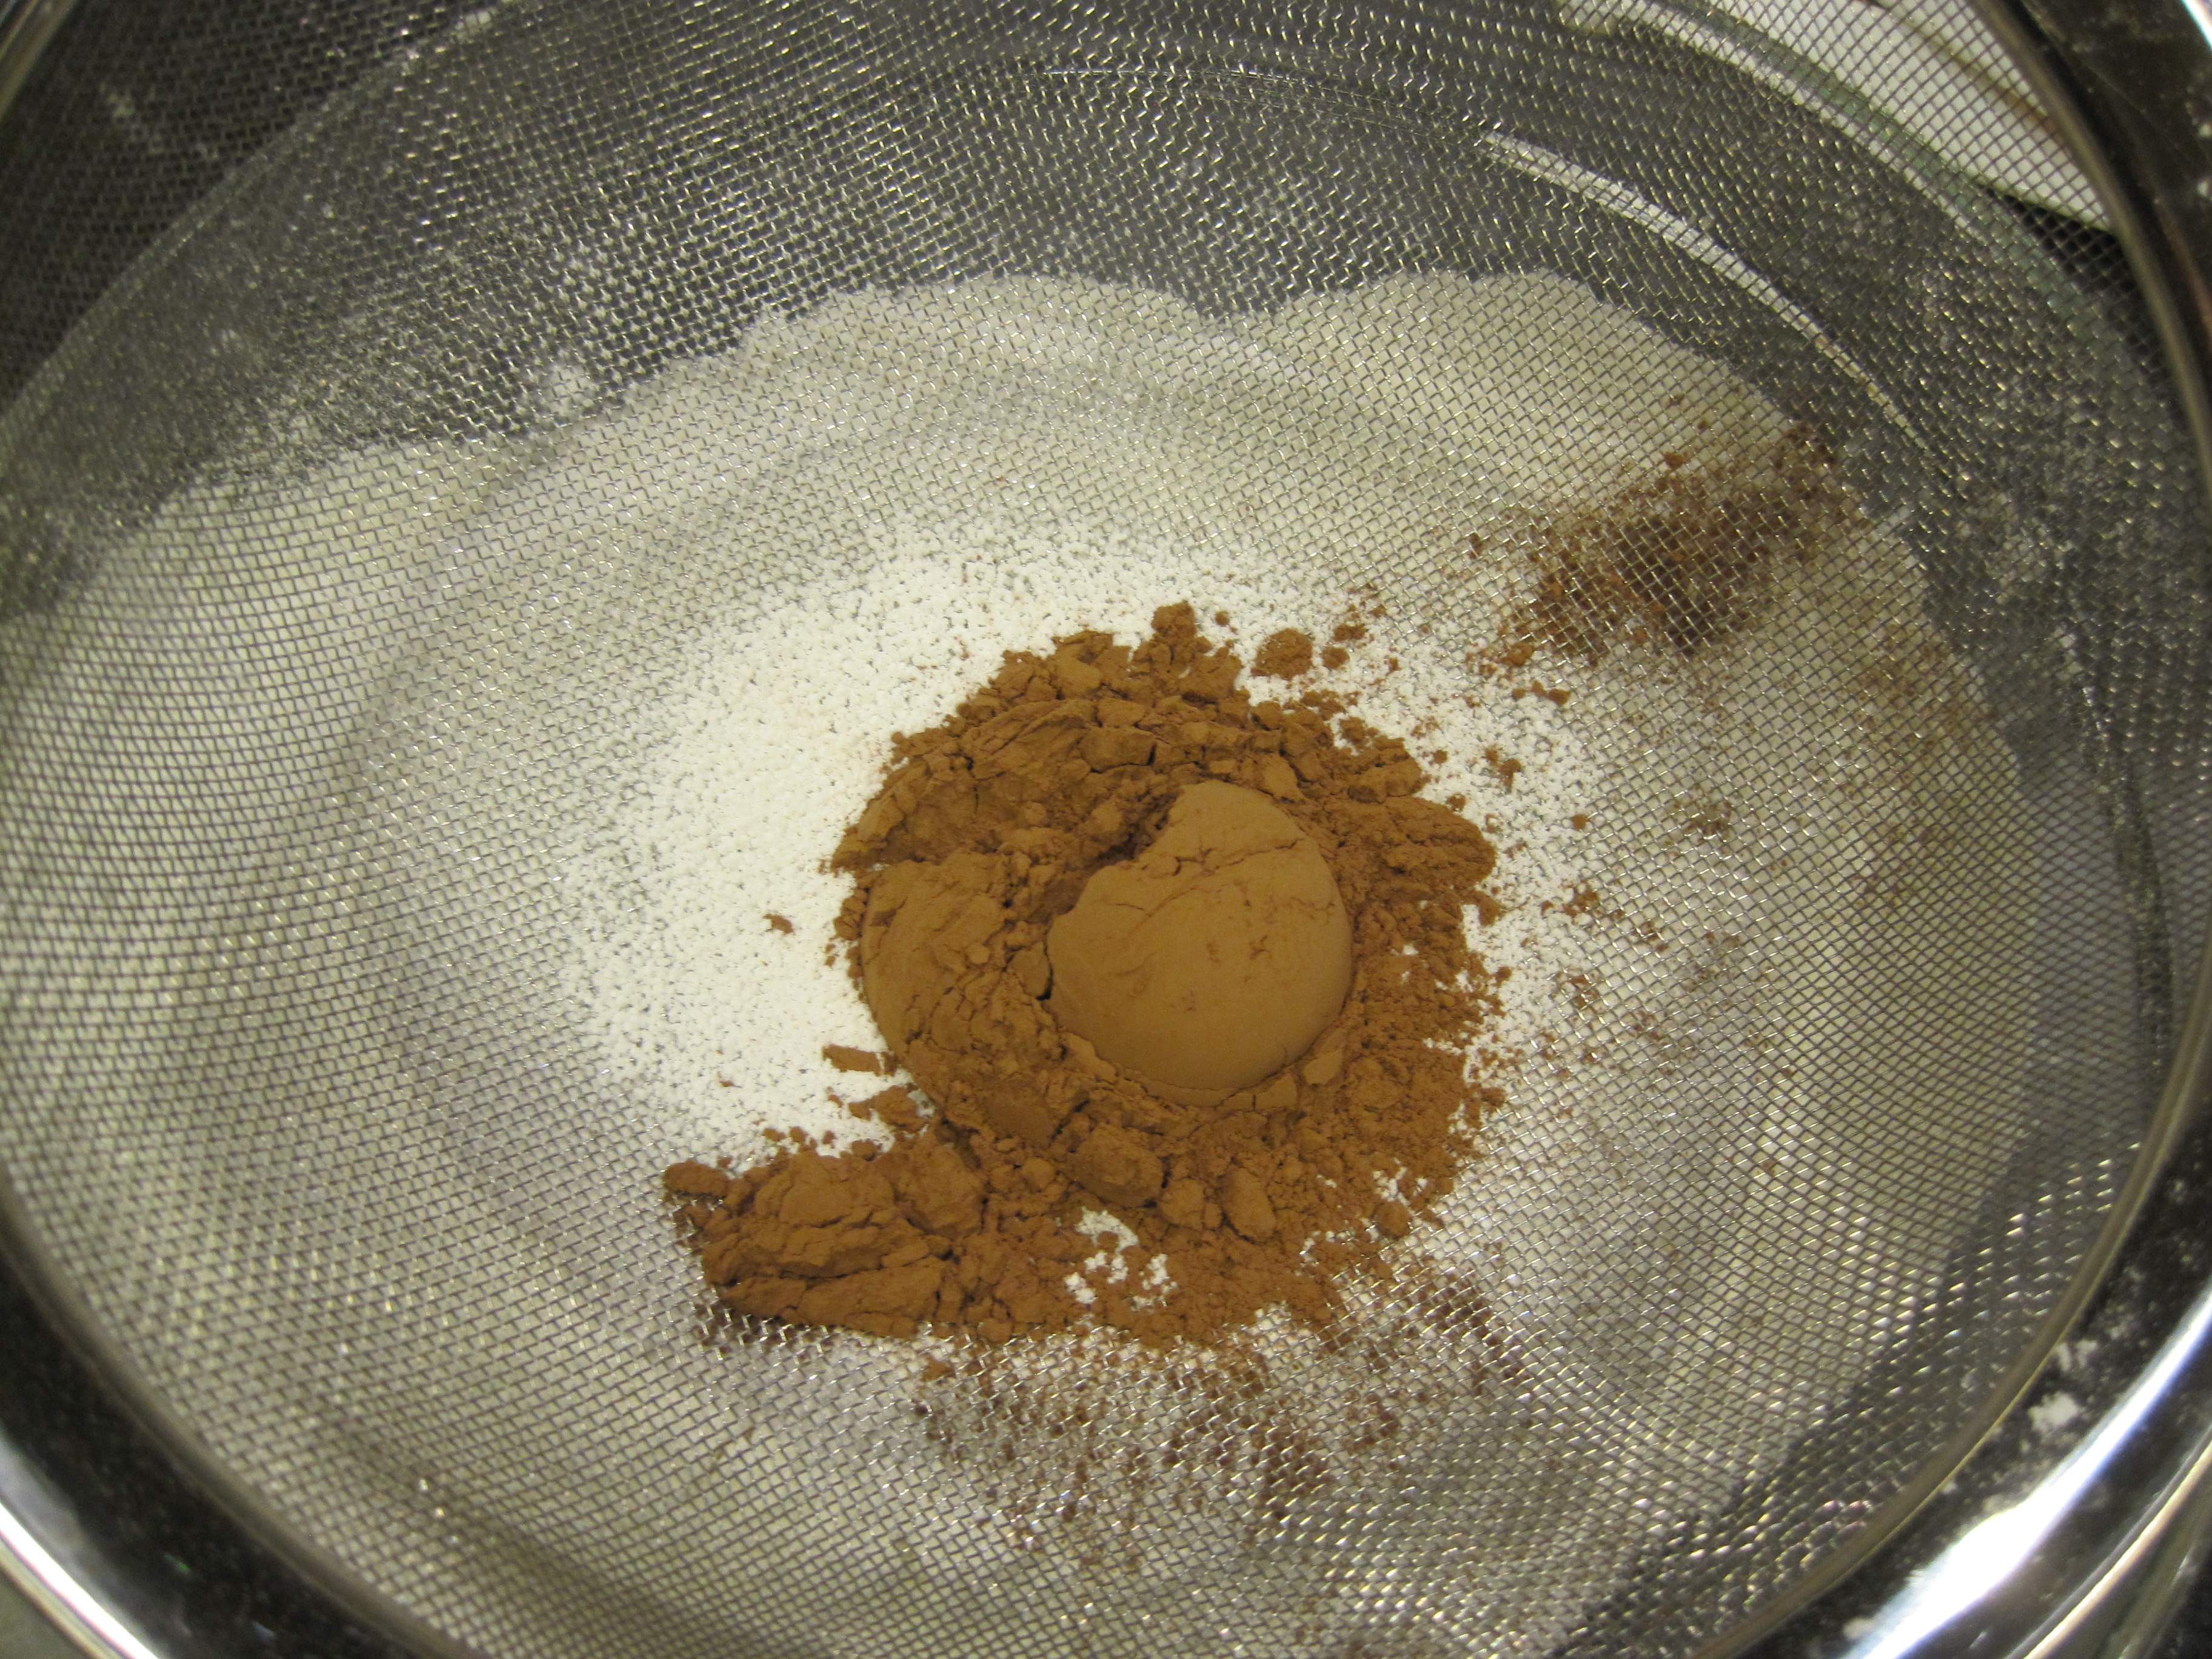
2 teaspoons unsweetened cocoa powder
1 cup semi-sweet chocolate chips, divided
1 teaspoon coconut oil
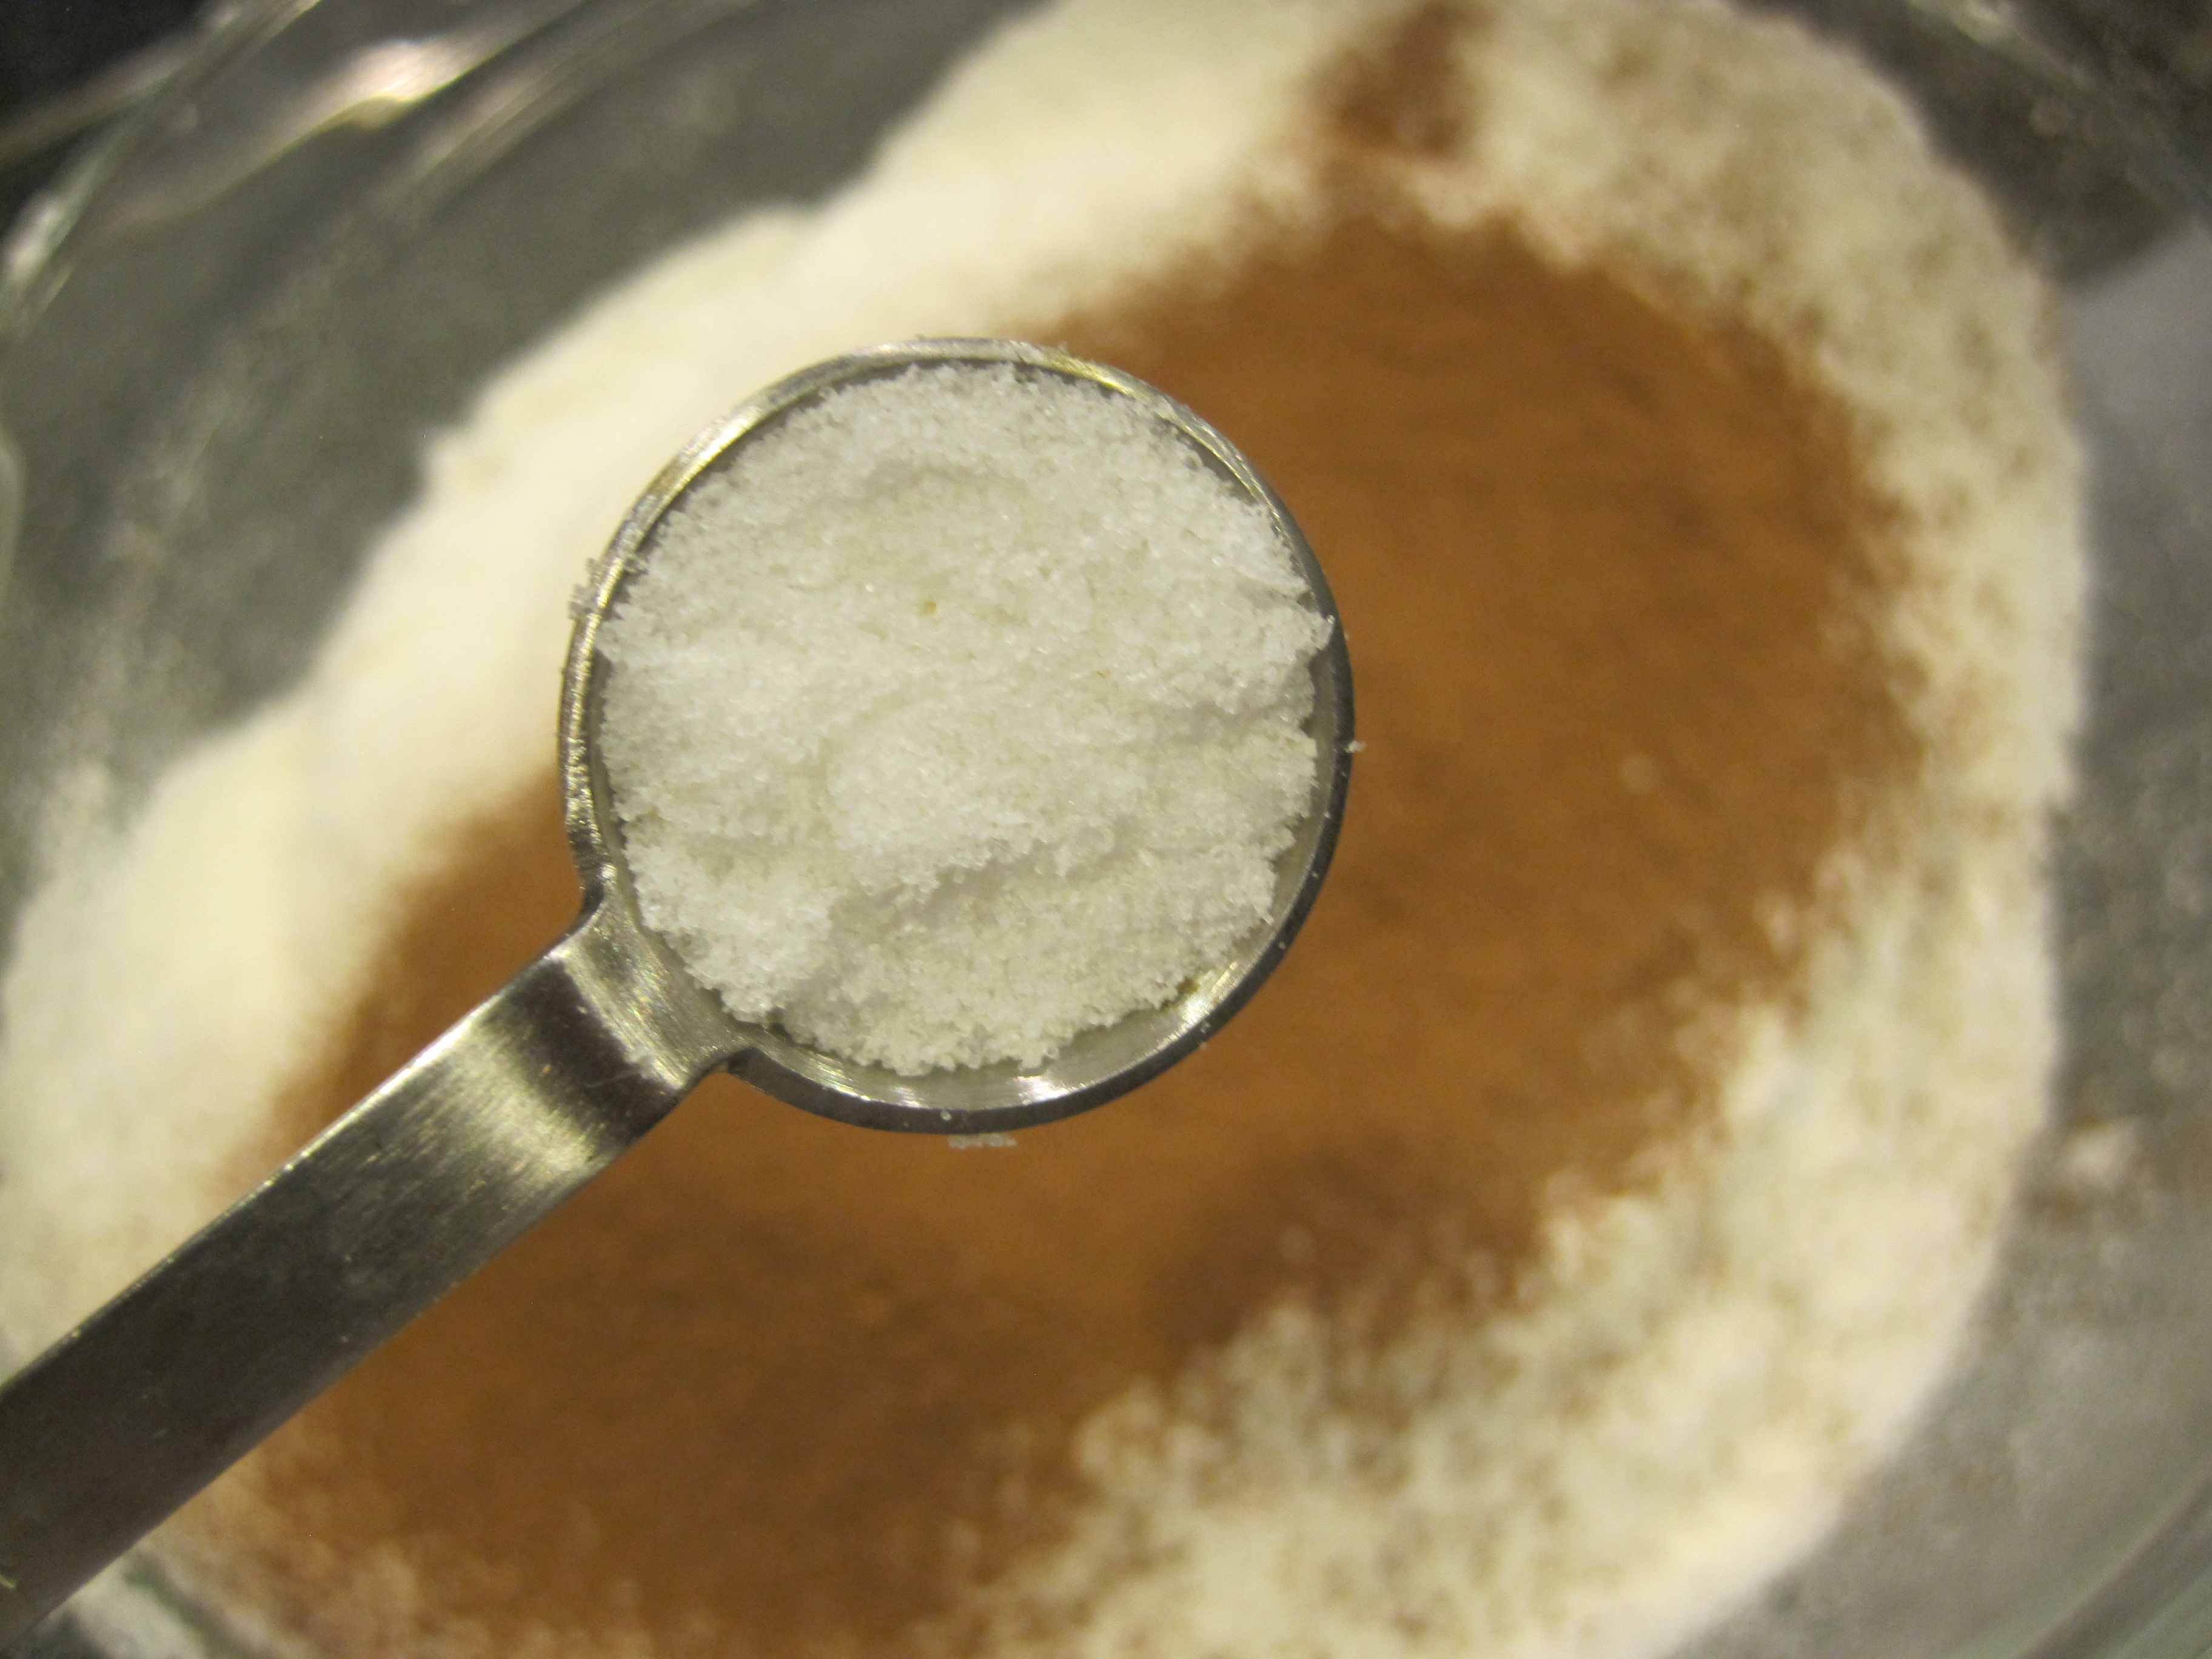
1 and 1/2 cups granulated sugar
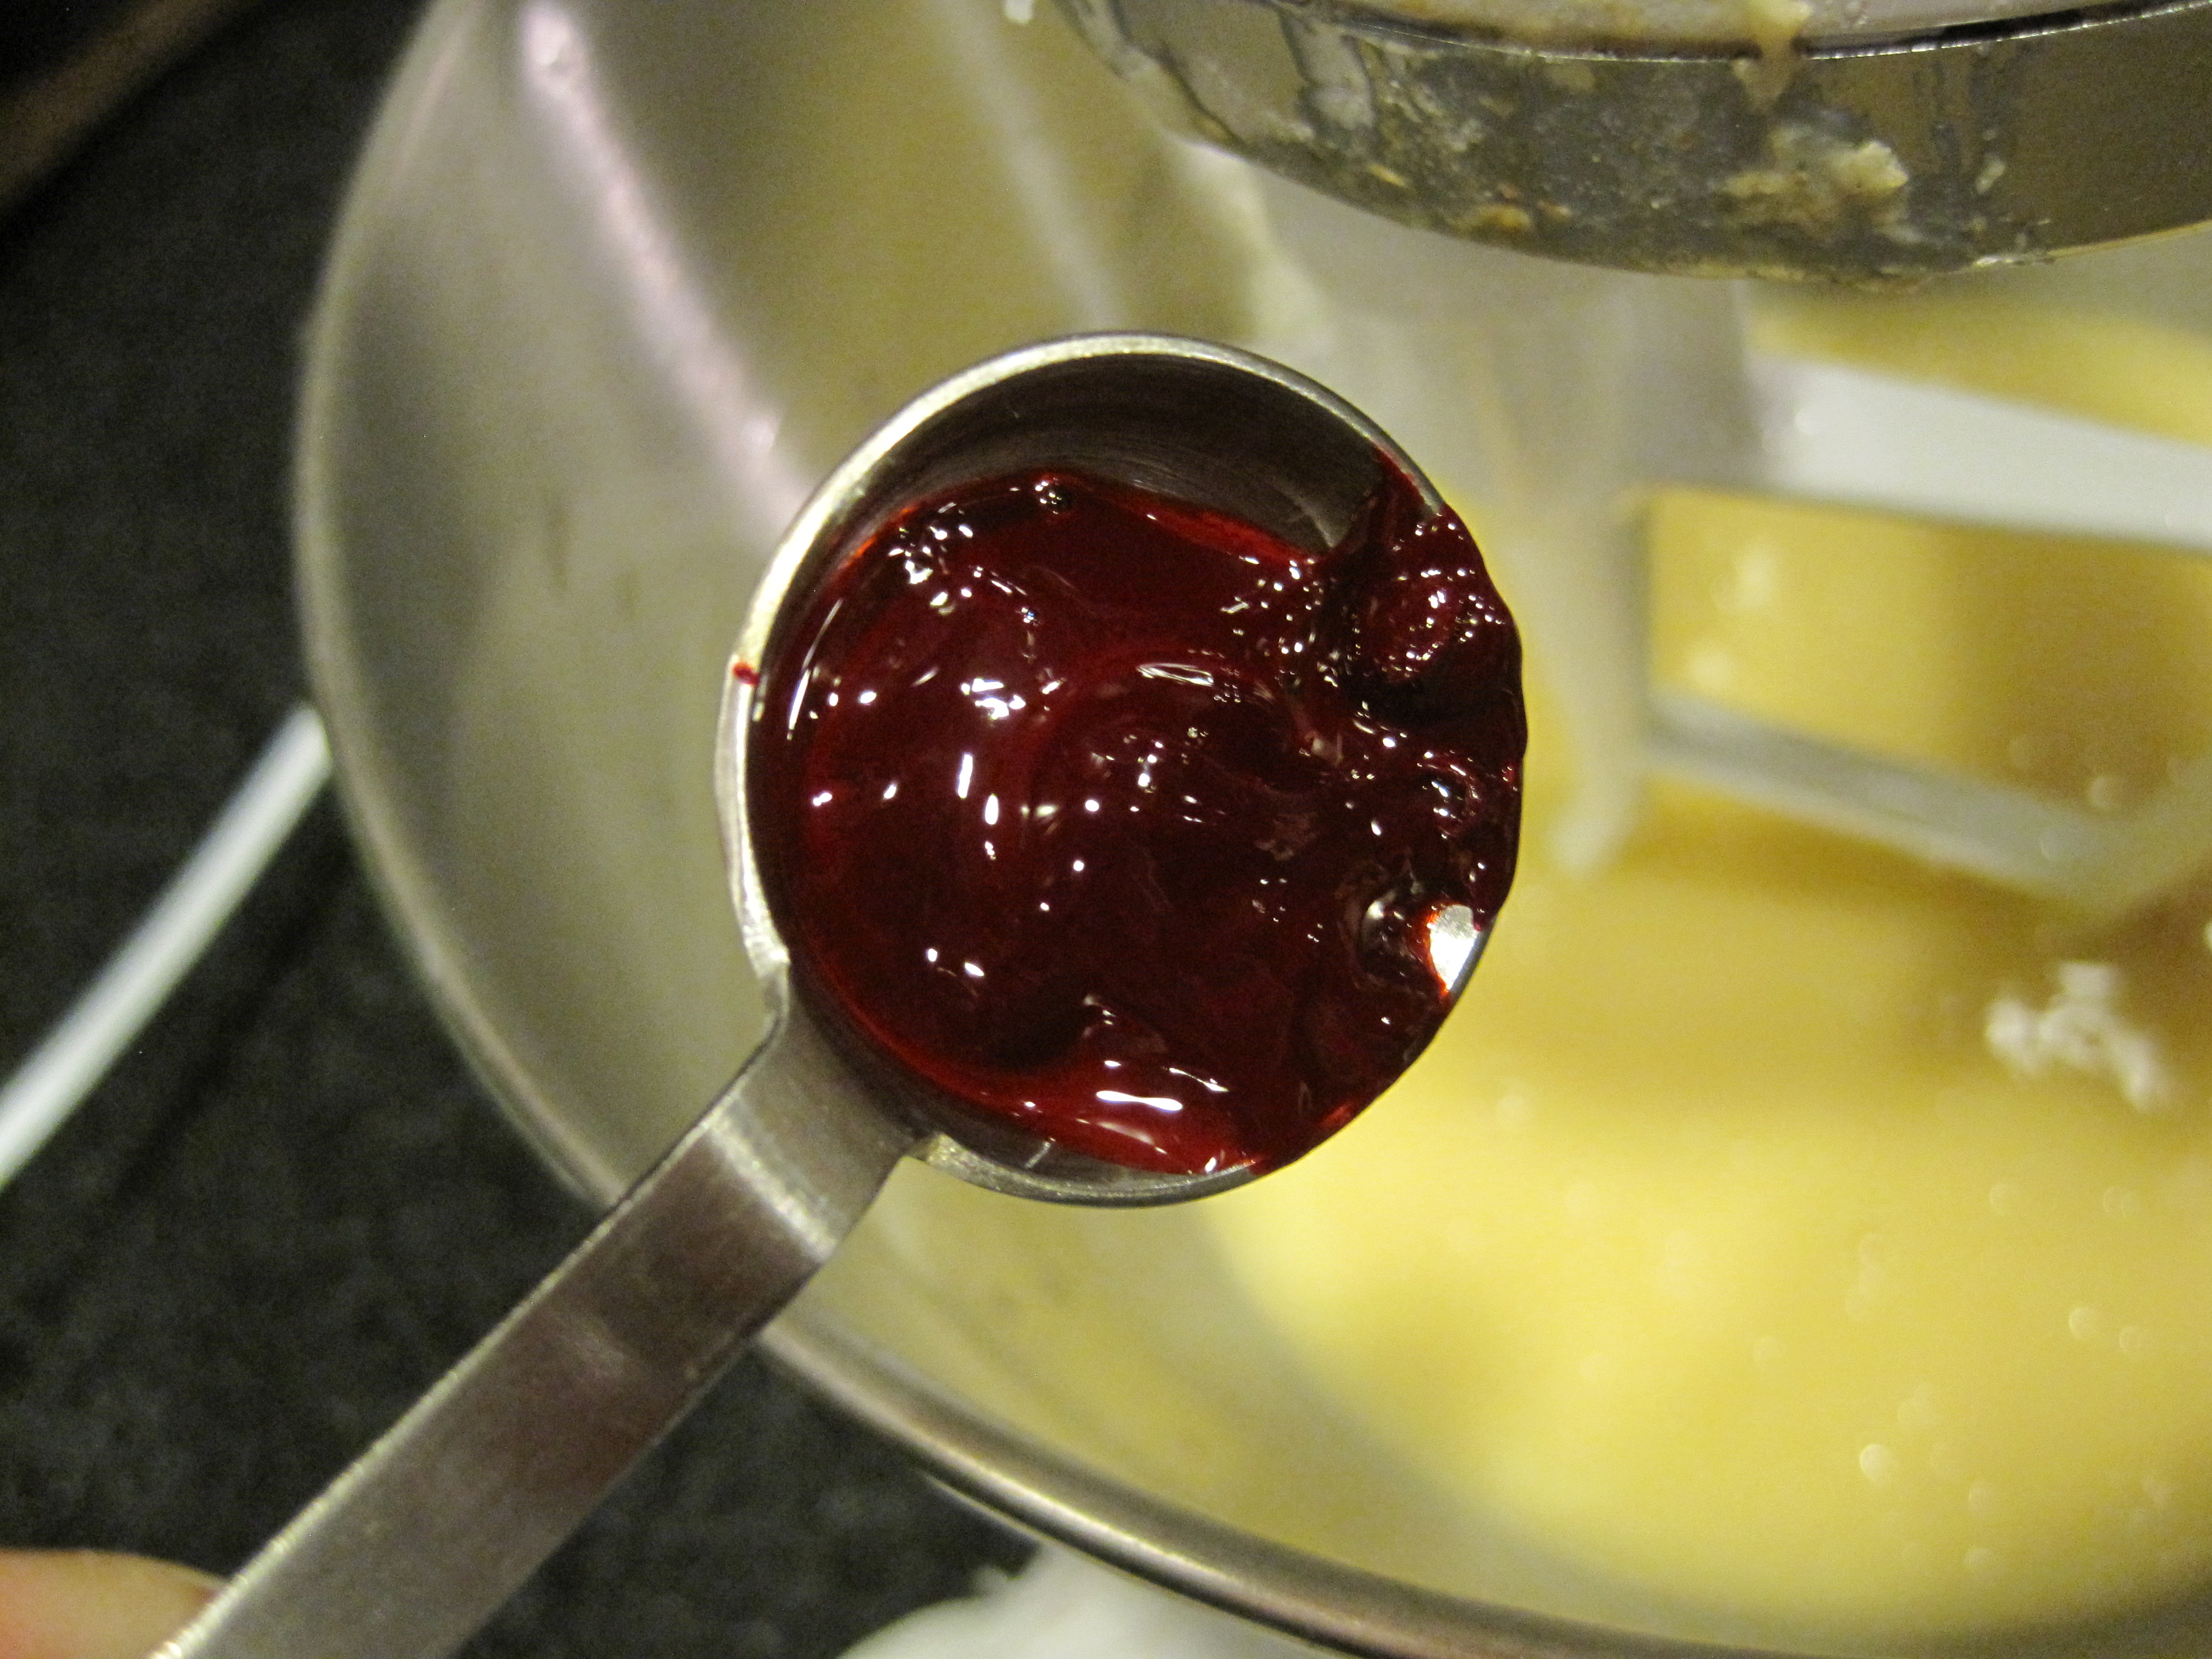
2 teaspoons vanilla extract
4 large eggs, room temperature {sitting on the kitchen counter for 30-50 minutes approximately}
1 cup all purpose flour
1 teaspoon baking powder
yields about 16 2-inch squares.
directions:
- preheat oven to 350F. butter a 9 x 13 inch pan throughout and line with parchment paper. grease parchment paper with butter. parchment paper should hang over the edges of the pan. set aside.
- in a large heat-proof bowl, melt butter with unsweetened chocolate, unsweetened cocoa powder, 1/2 cup of semi-sweet chocolate chips and coconut oil. melt in the microwave or over the double boiler method. if using the microwave, do 30 seconds at a time taking the bowl out to stir with a rubber spatula until all ingredients are melted and well incorporated.
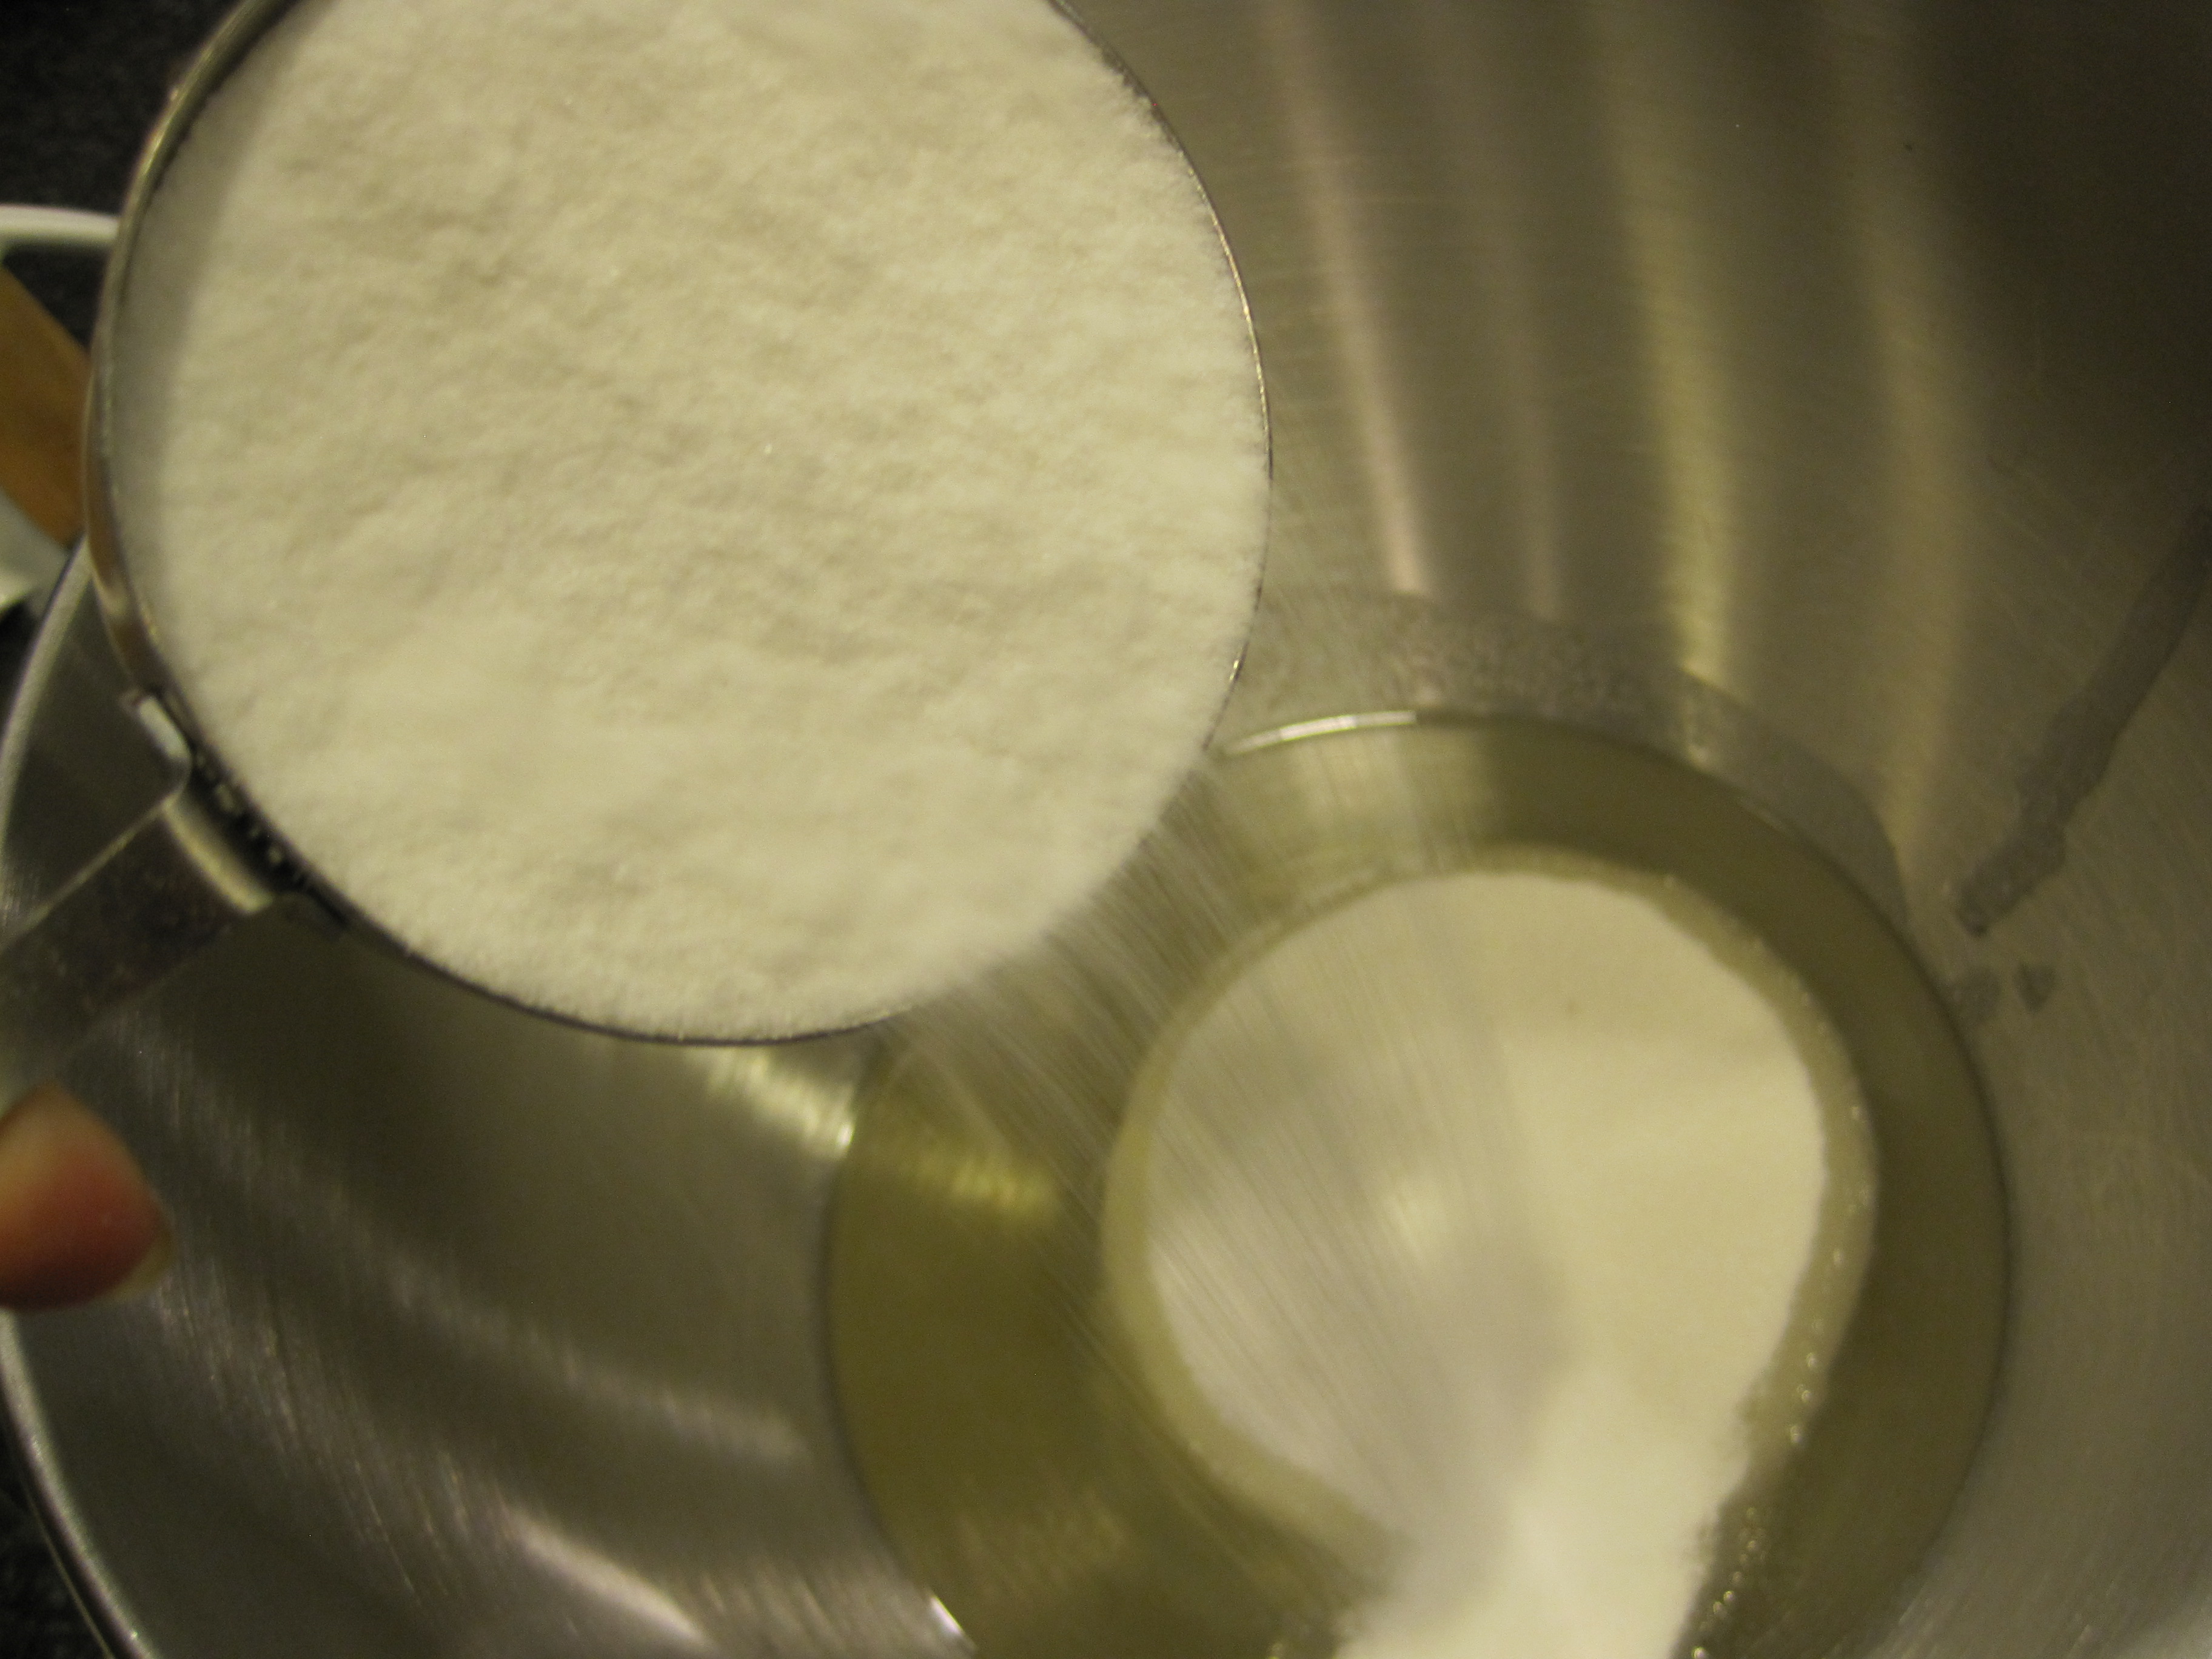
- whisk in sugar until dissolved, 1 to 2 minutes.
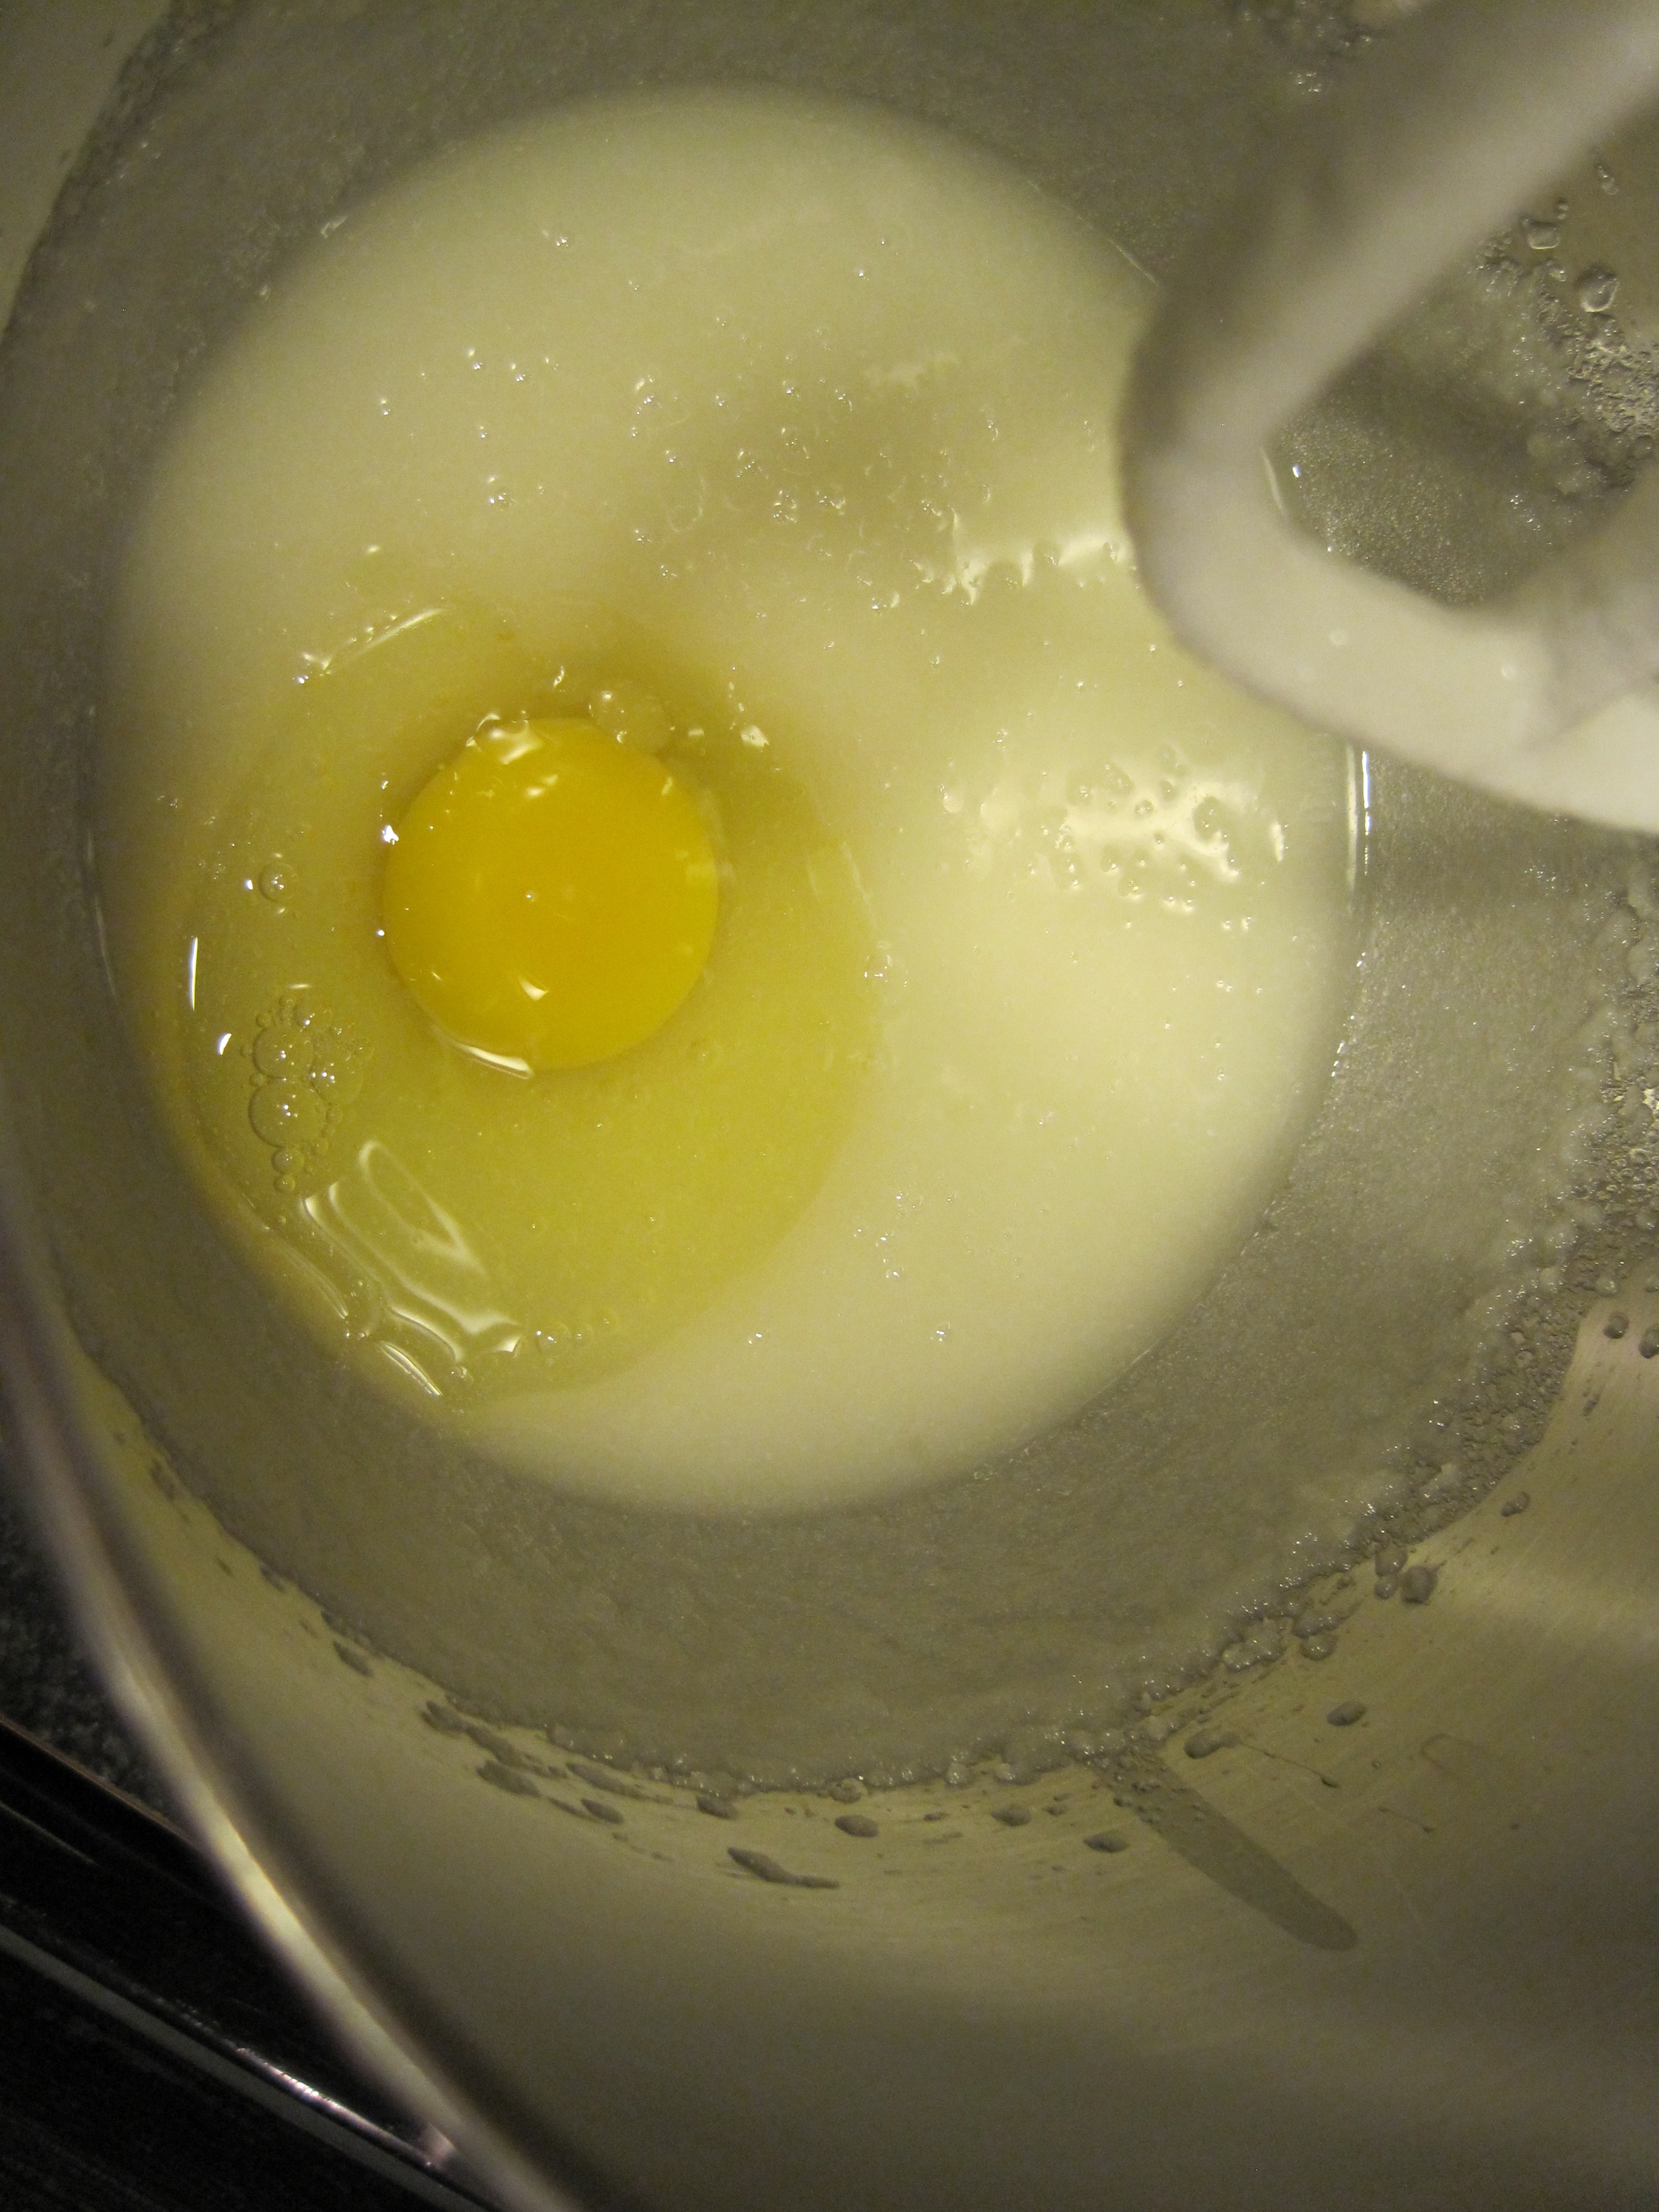
- add eggs one at a time incorporating well after each addition and add vanilla with the last egg. do not over mix.
- with a rubber spatula fold in flour, baking powder and the remainder 1/2 cup of semi-sweet chocolate chips. do not over mix.
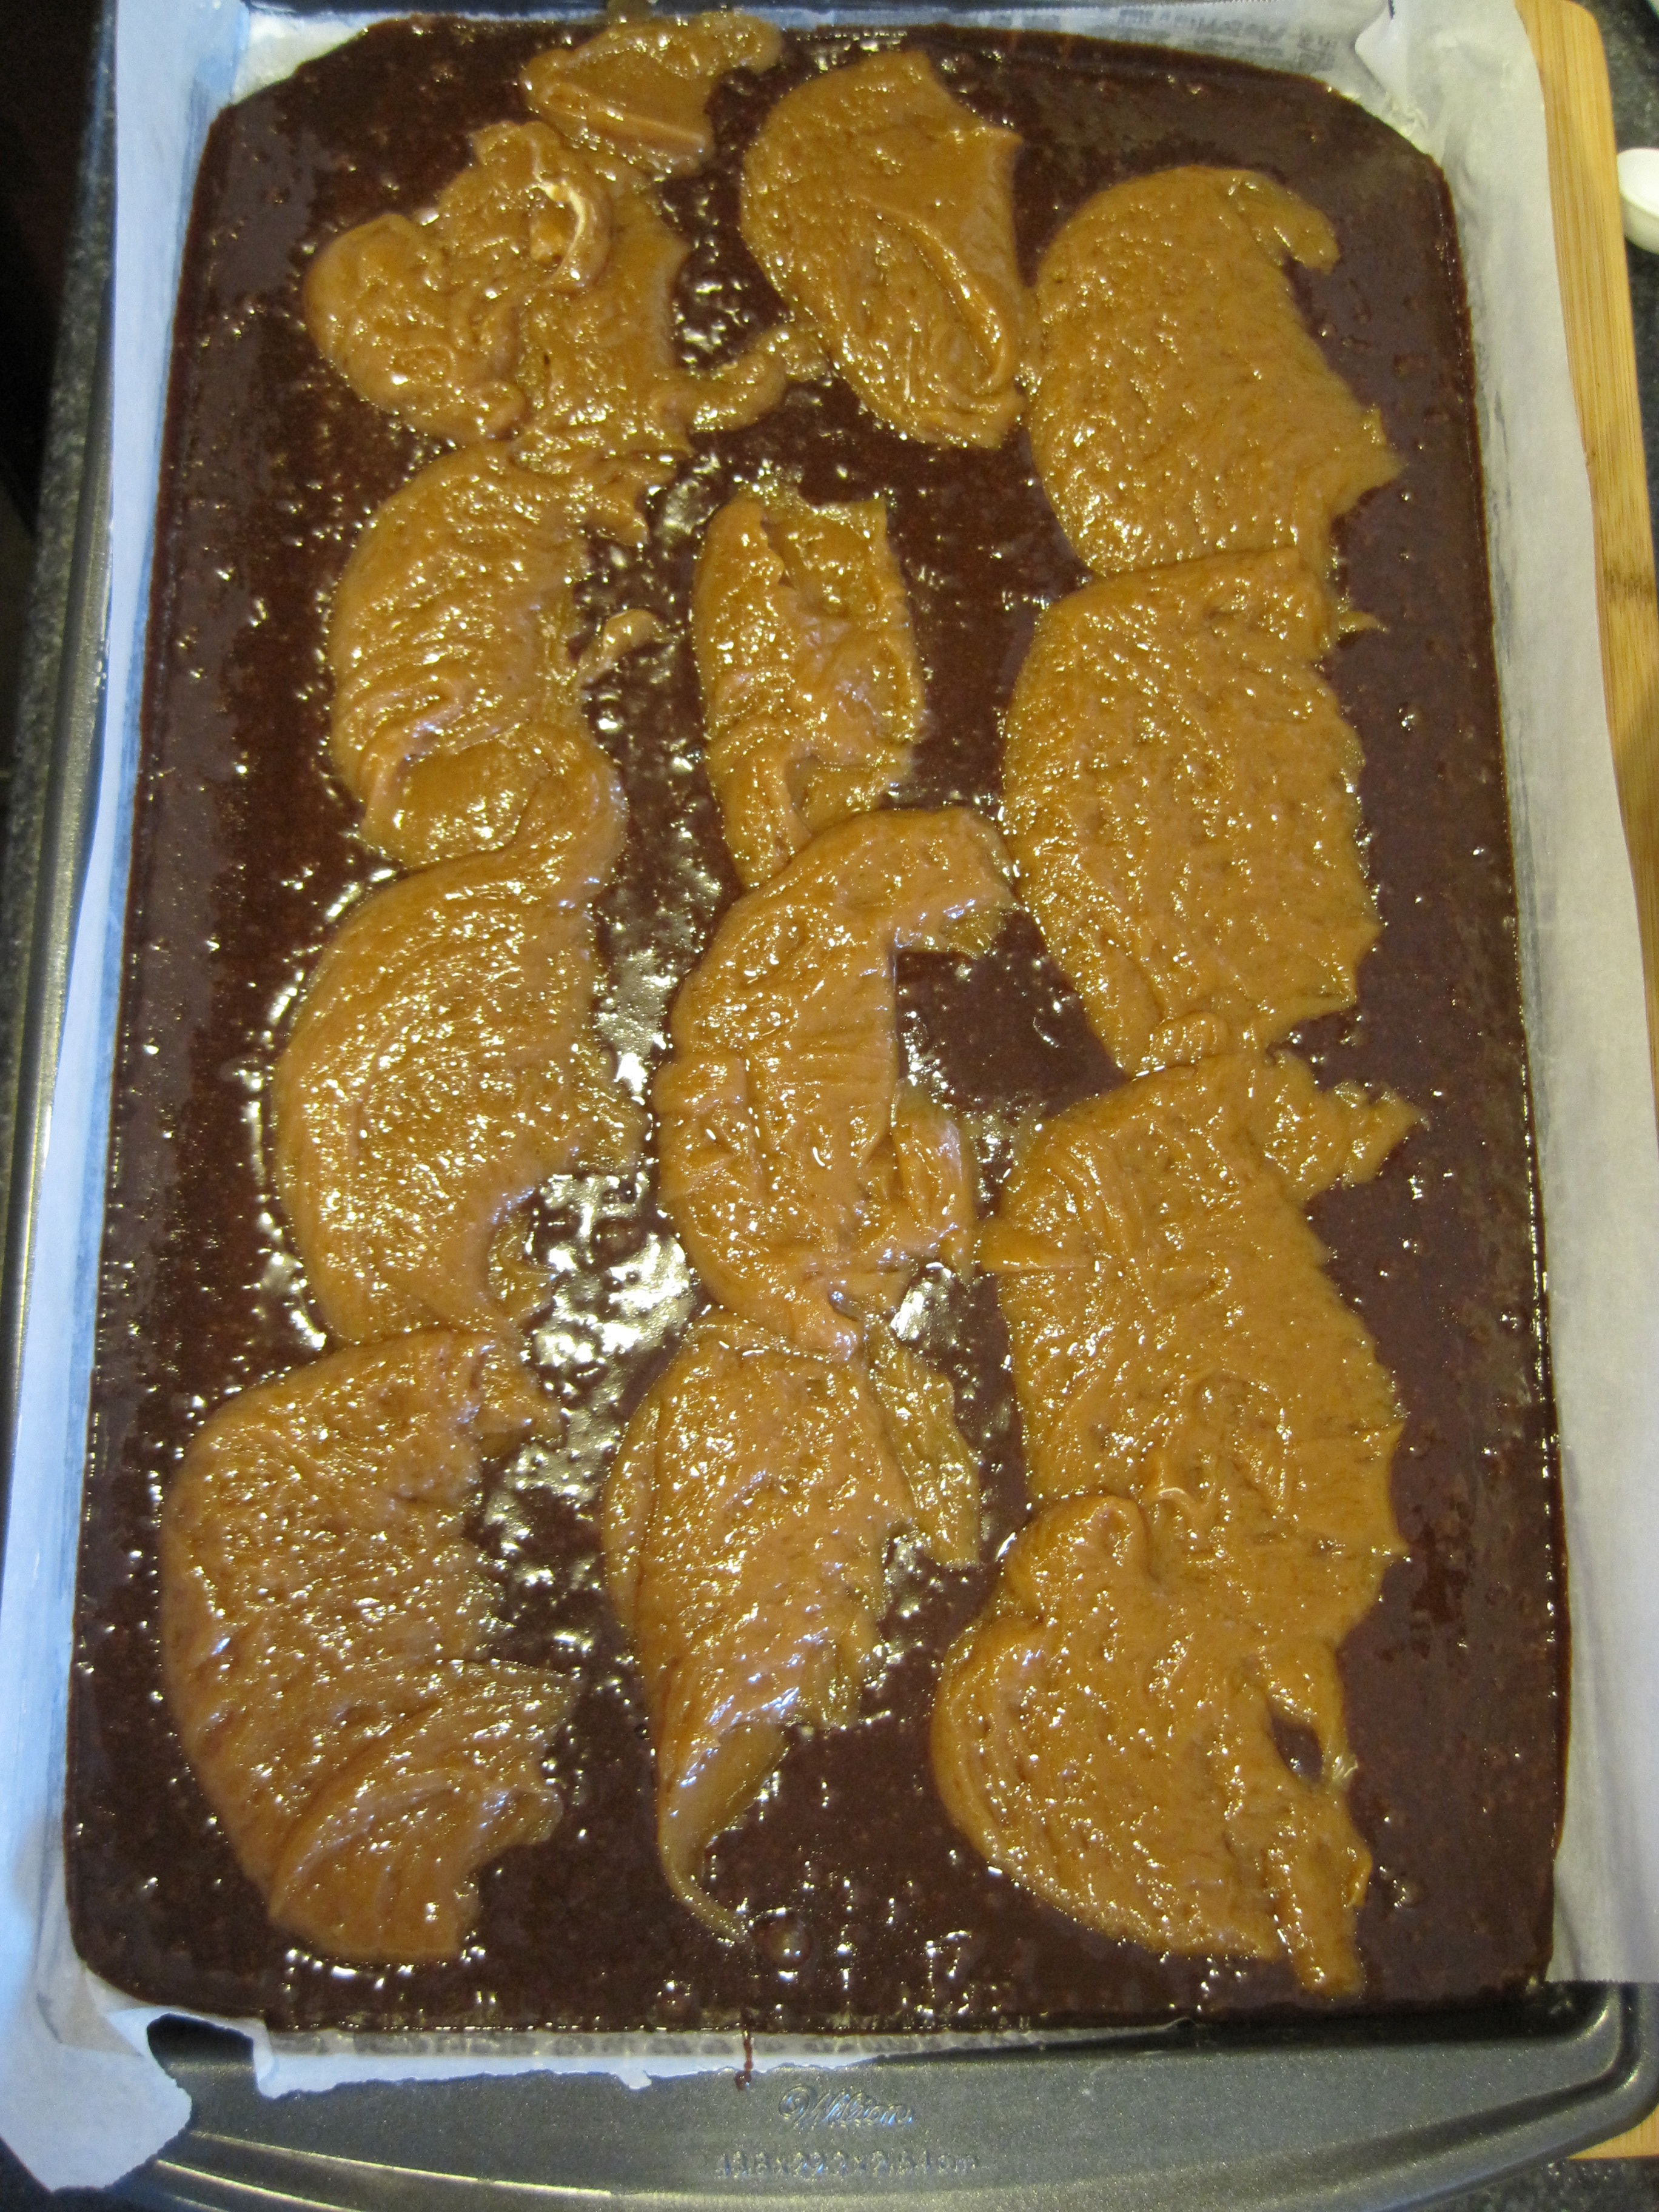
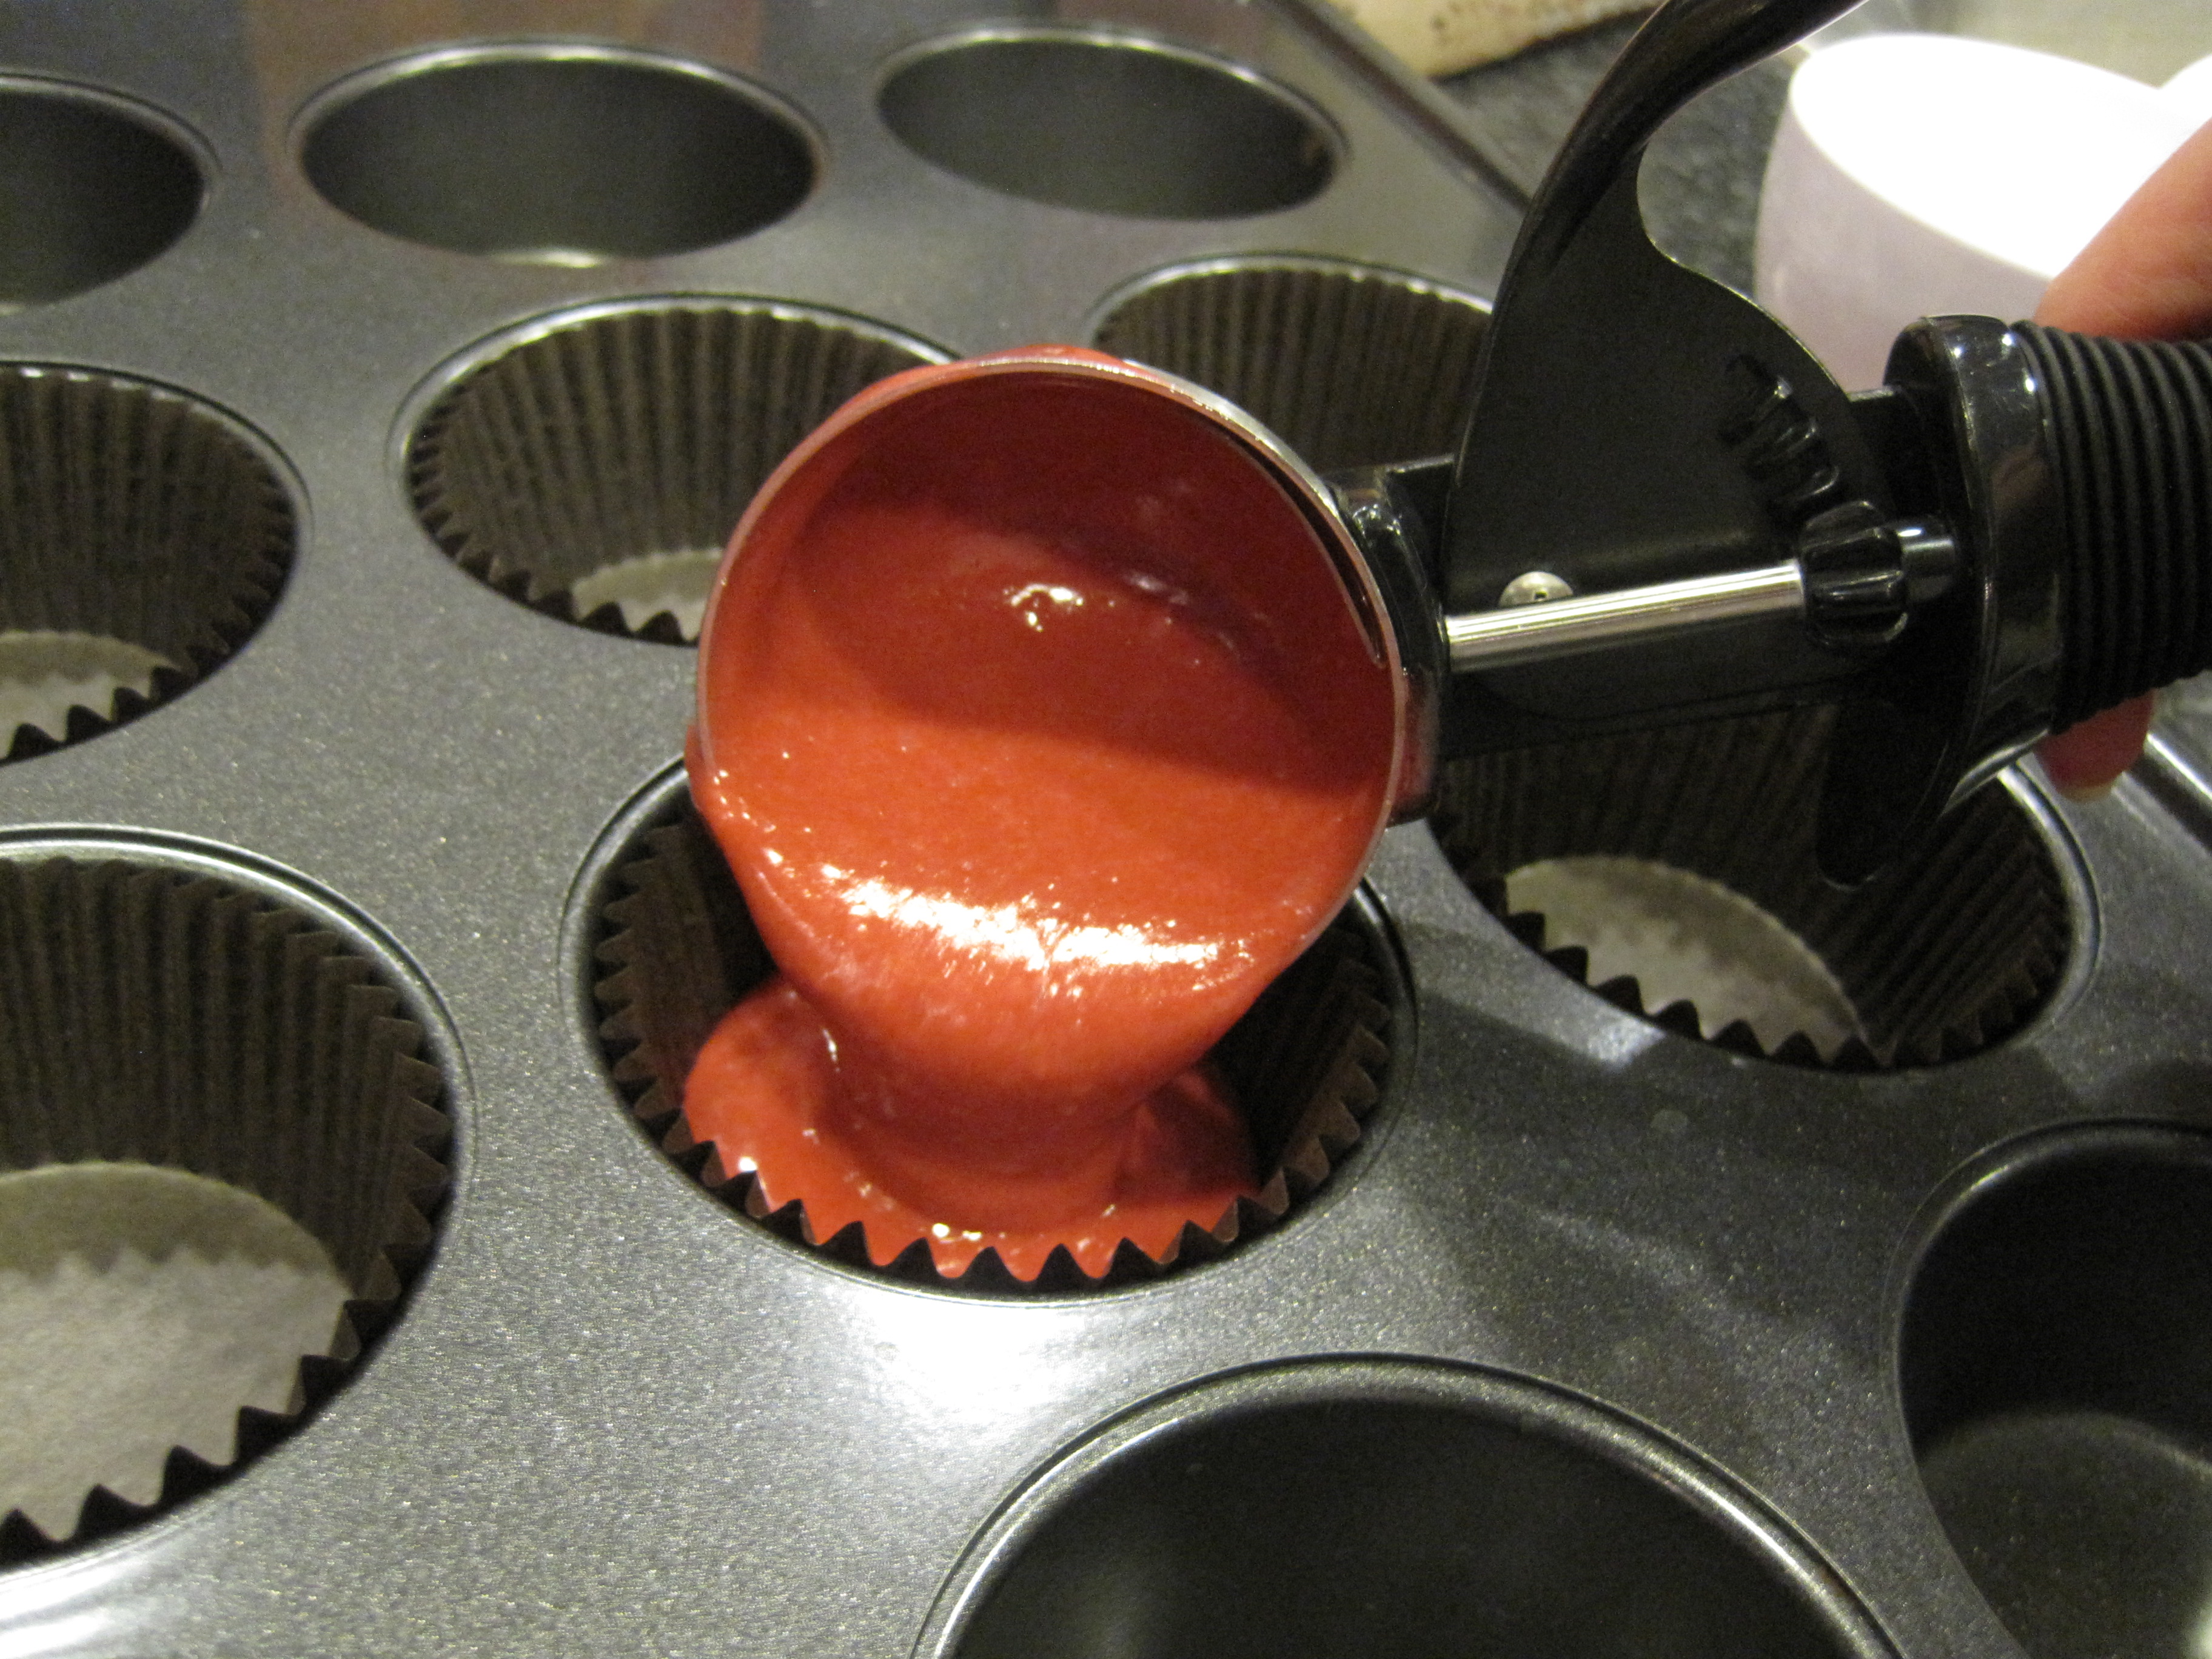
- pour batter into prepared pan and bake for 20 minutes or until an inserted toothpick comes out with a few crumbs.
- let brownies cool on a wire rack for 20 to 30 minutes and proceed to cut in 2-inch squares if desired. store in an airtight container at room temperature for up to two days.