what a great post i have for you!!! a little long but worth the time because it includes cupcakes and an awesome giveaway.
Betsy from Java Cupcake and Carrie from Bella Cupcake Couture are the organizers of this cupcake blog party, and includes 23 other bloggers with different cupcake recipes. pretty much 2 recipes a month for you to bake for an entire year!
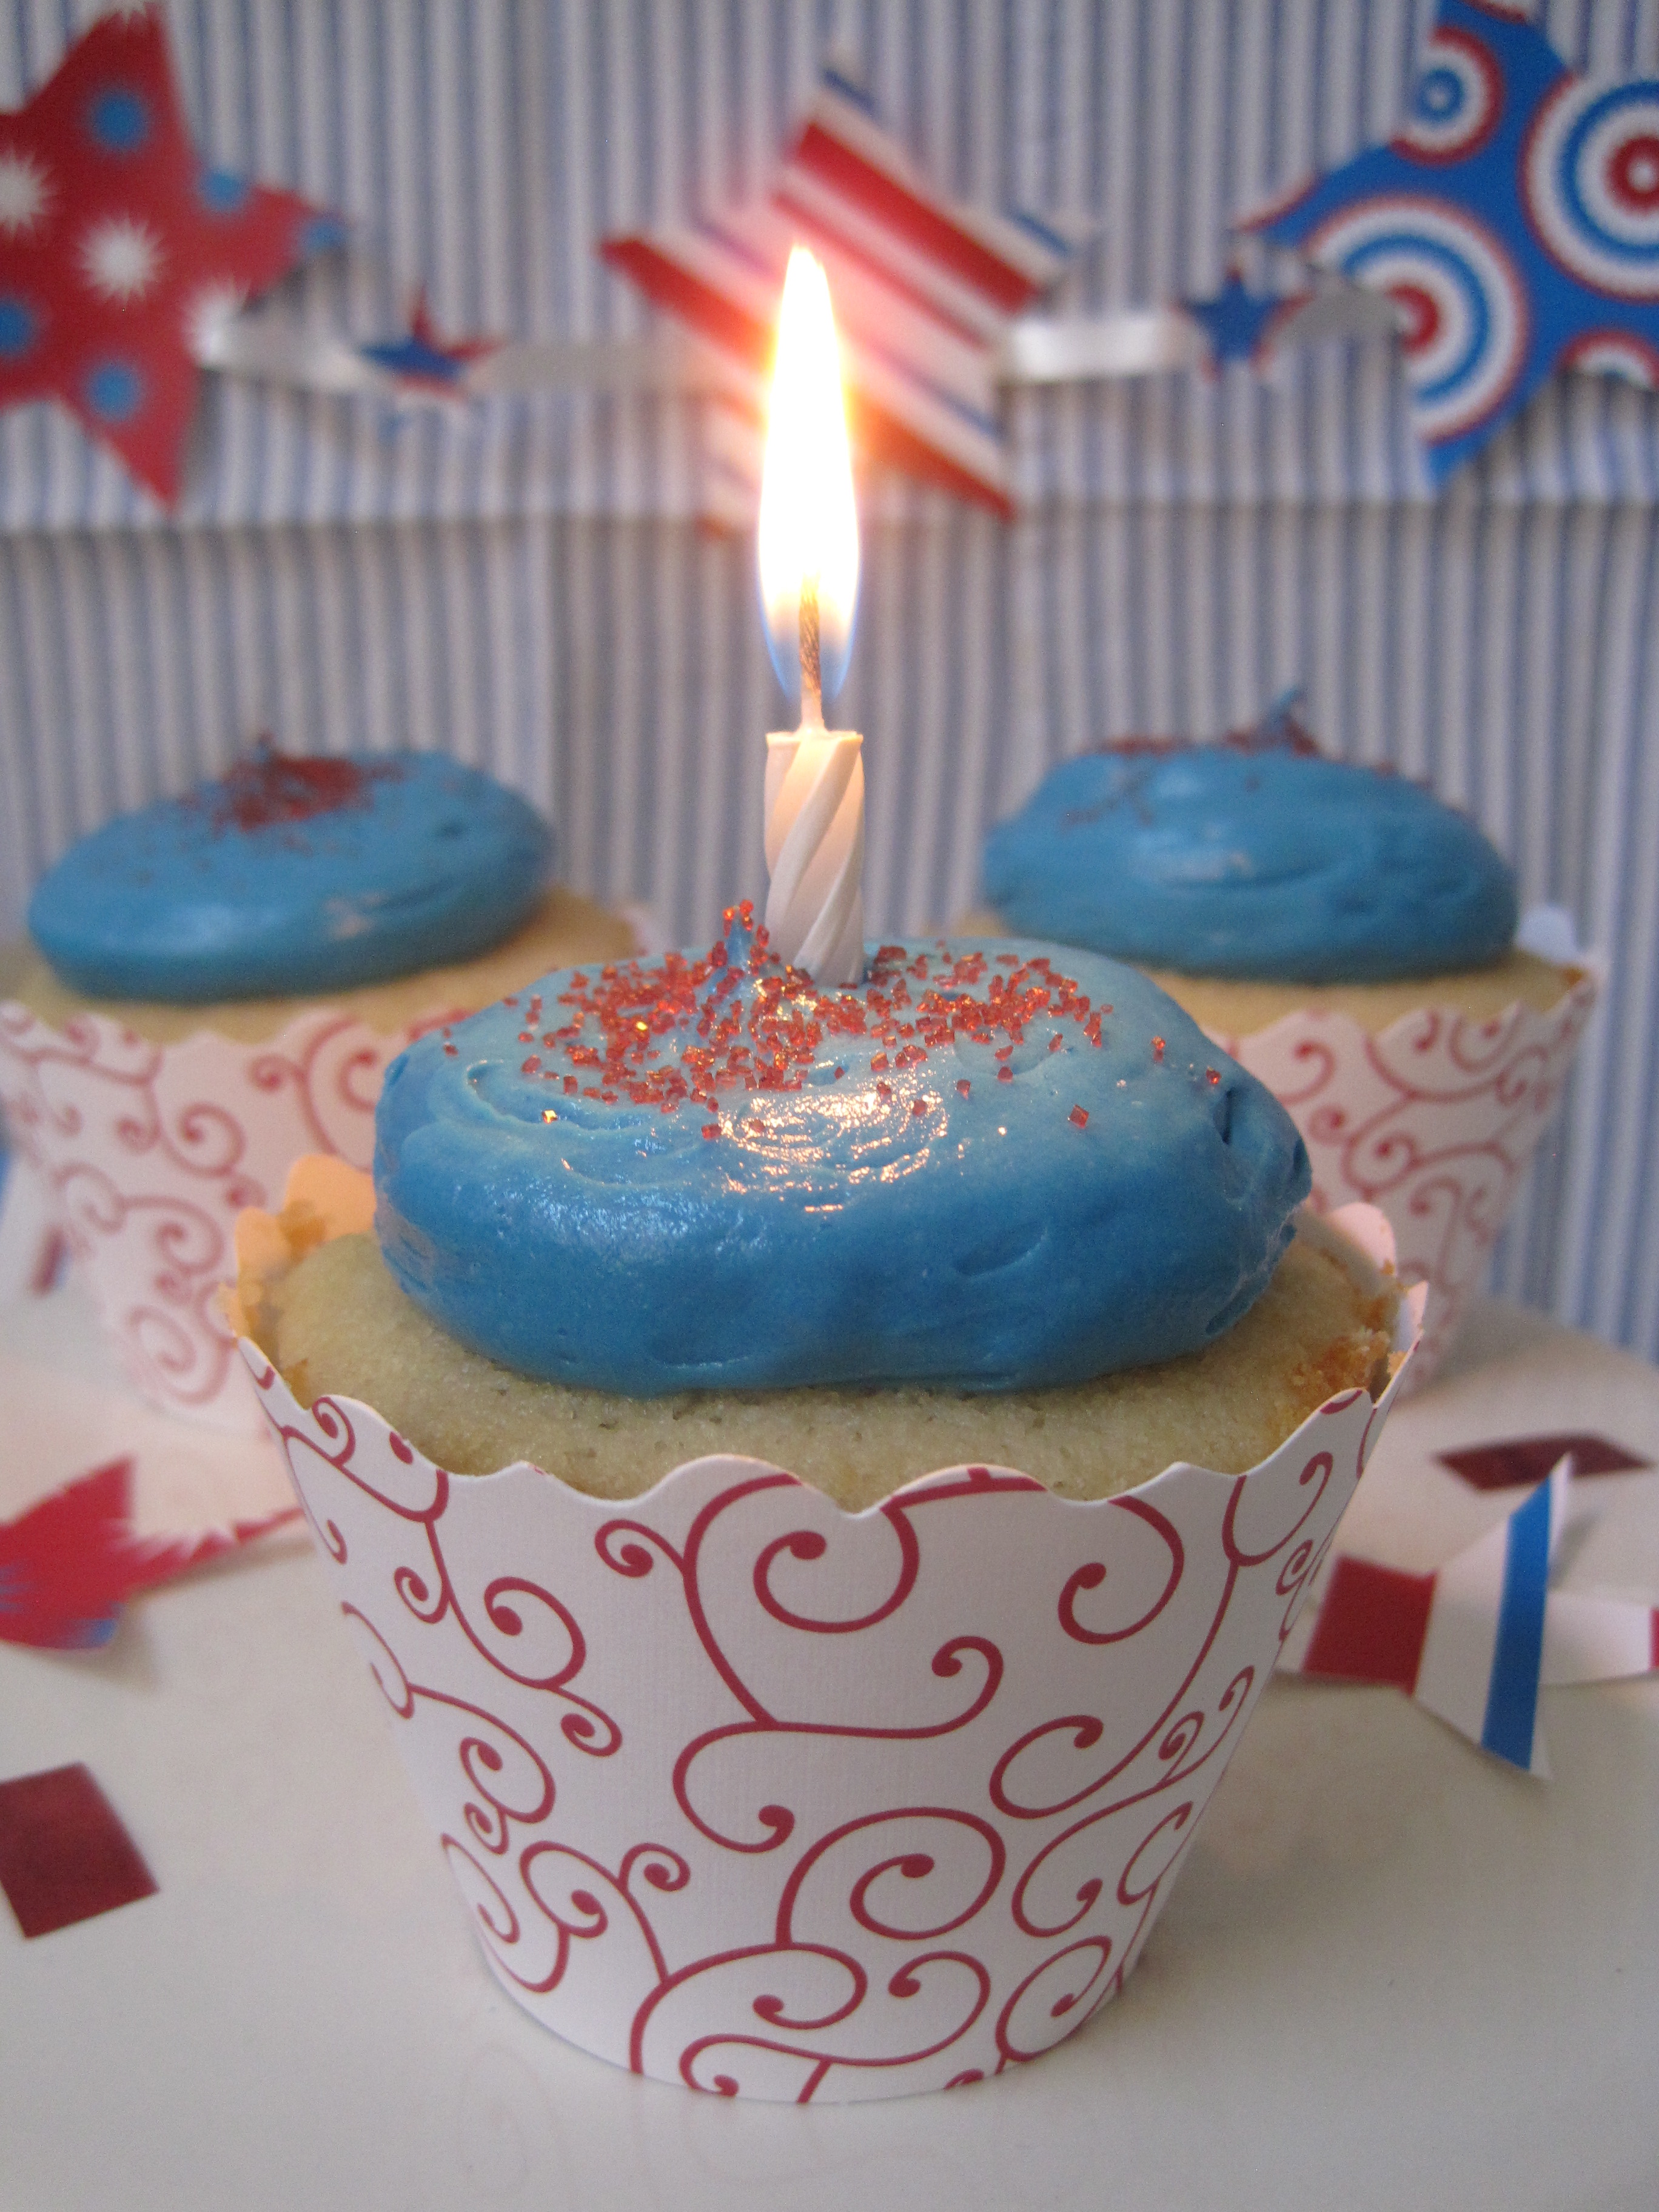
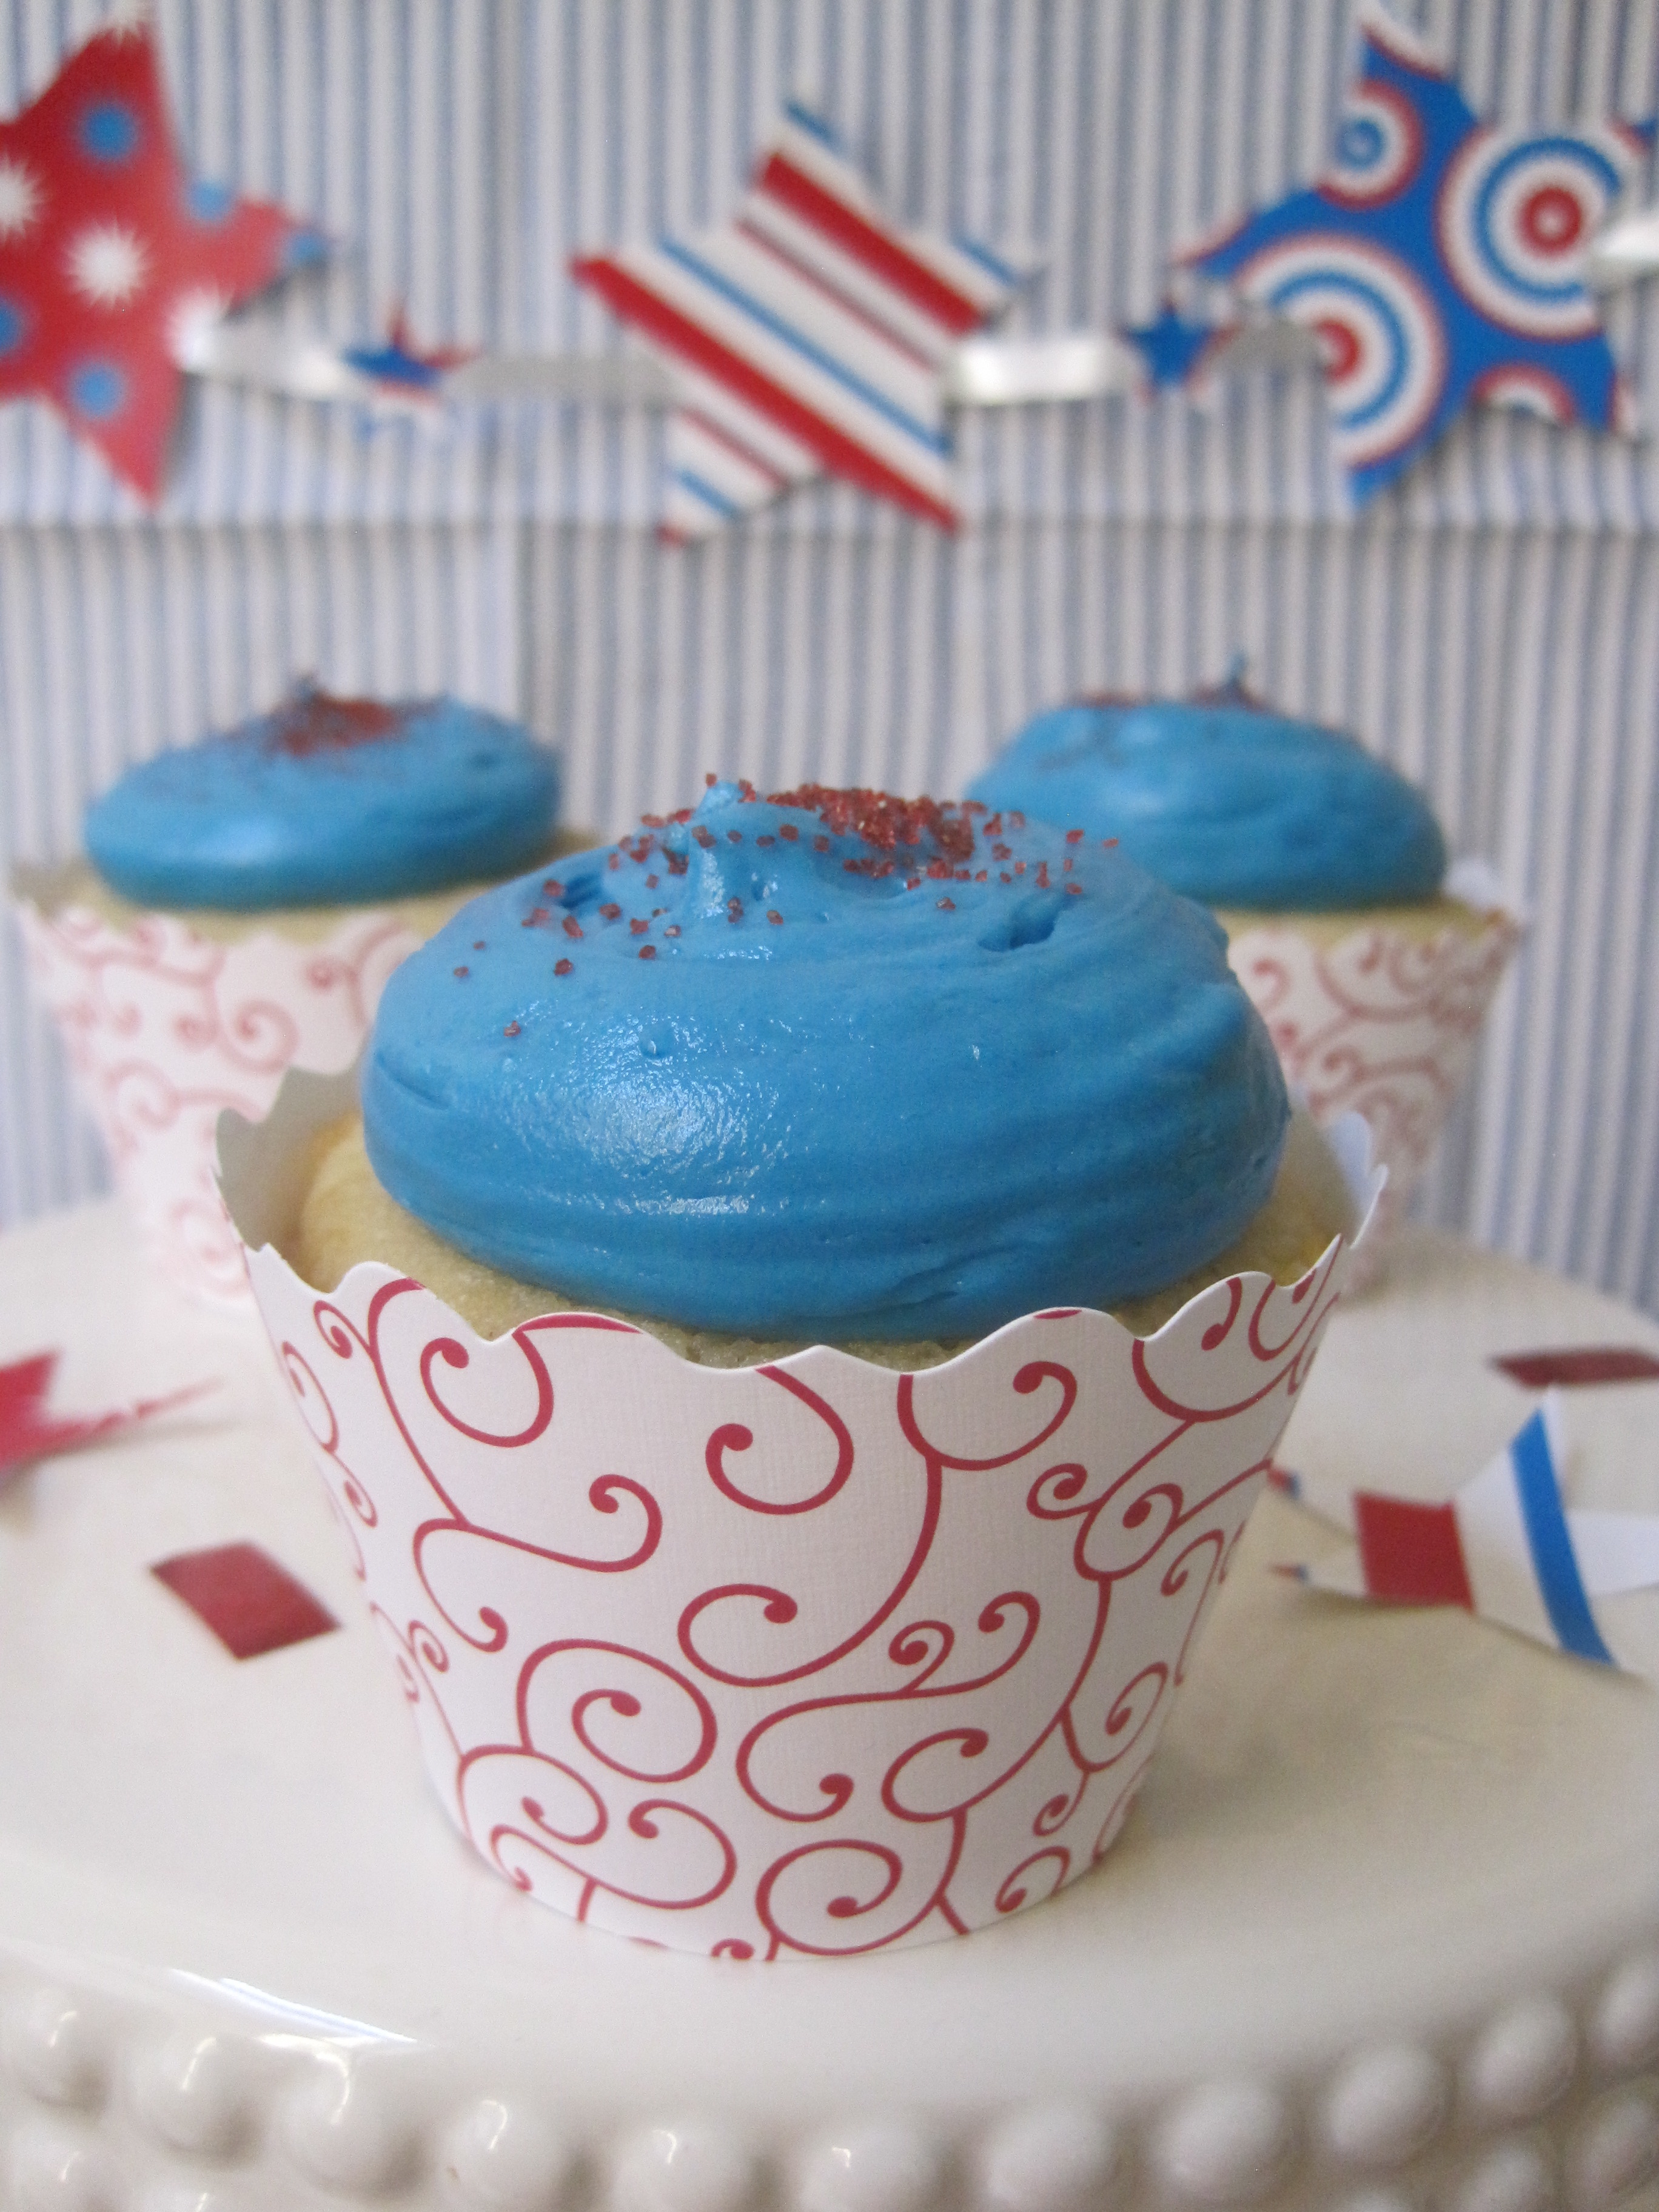
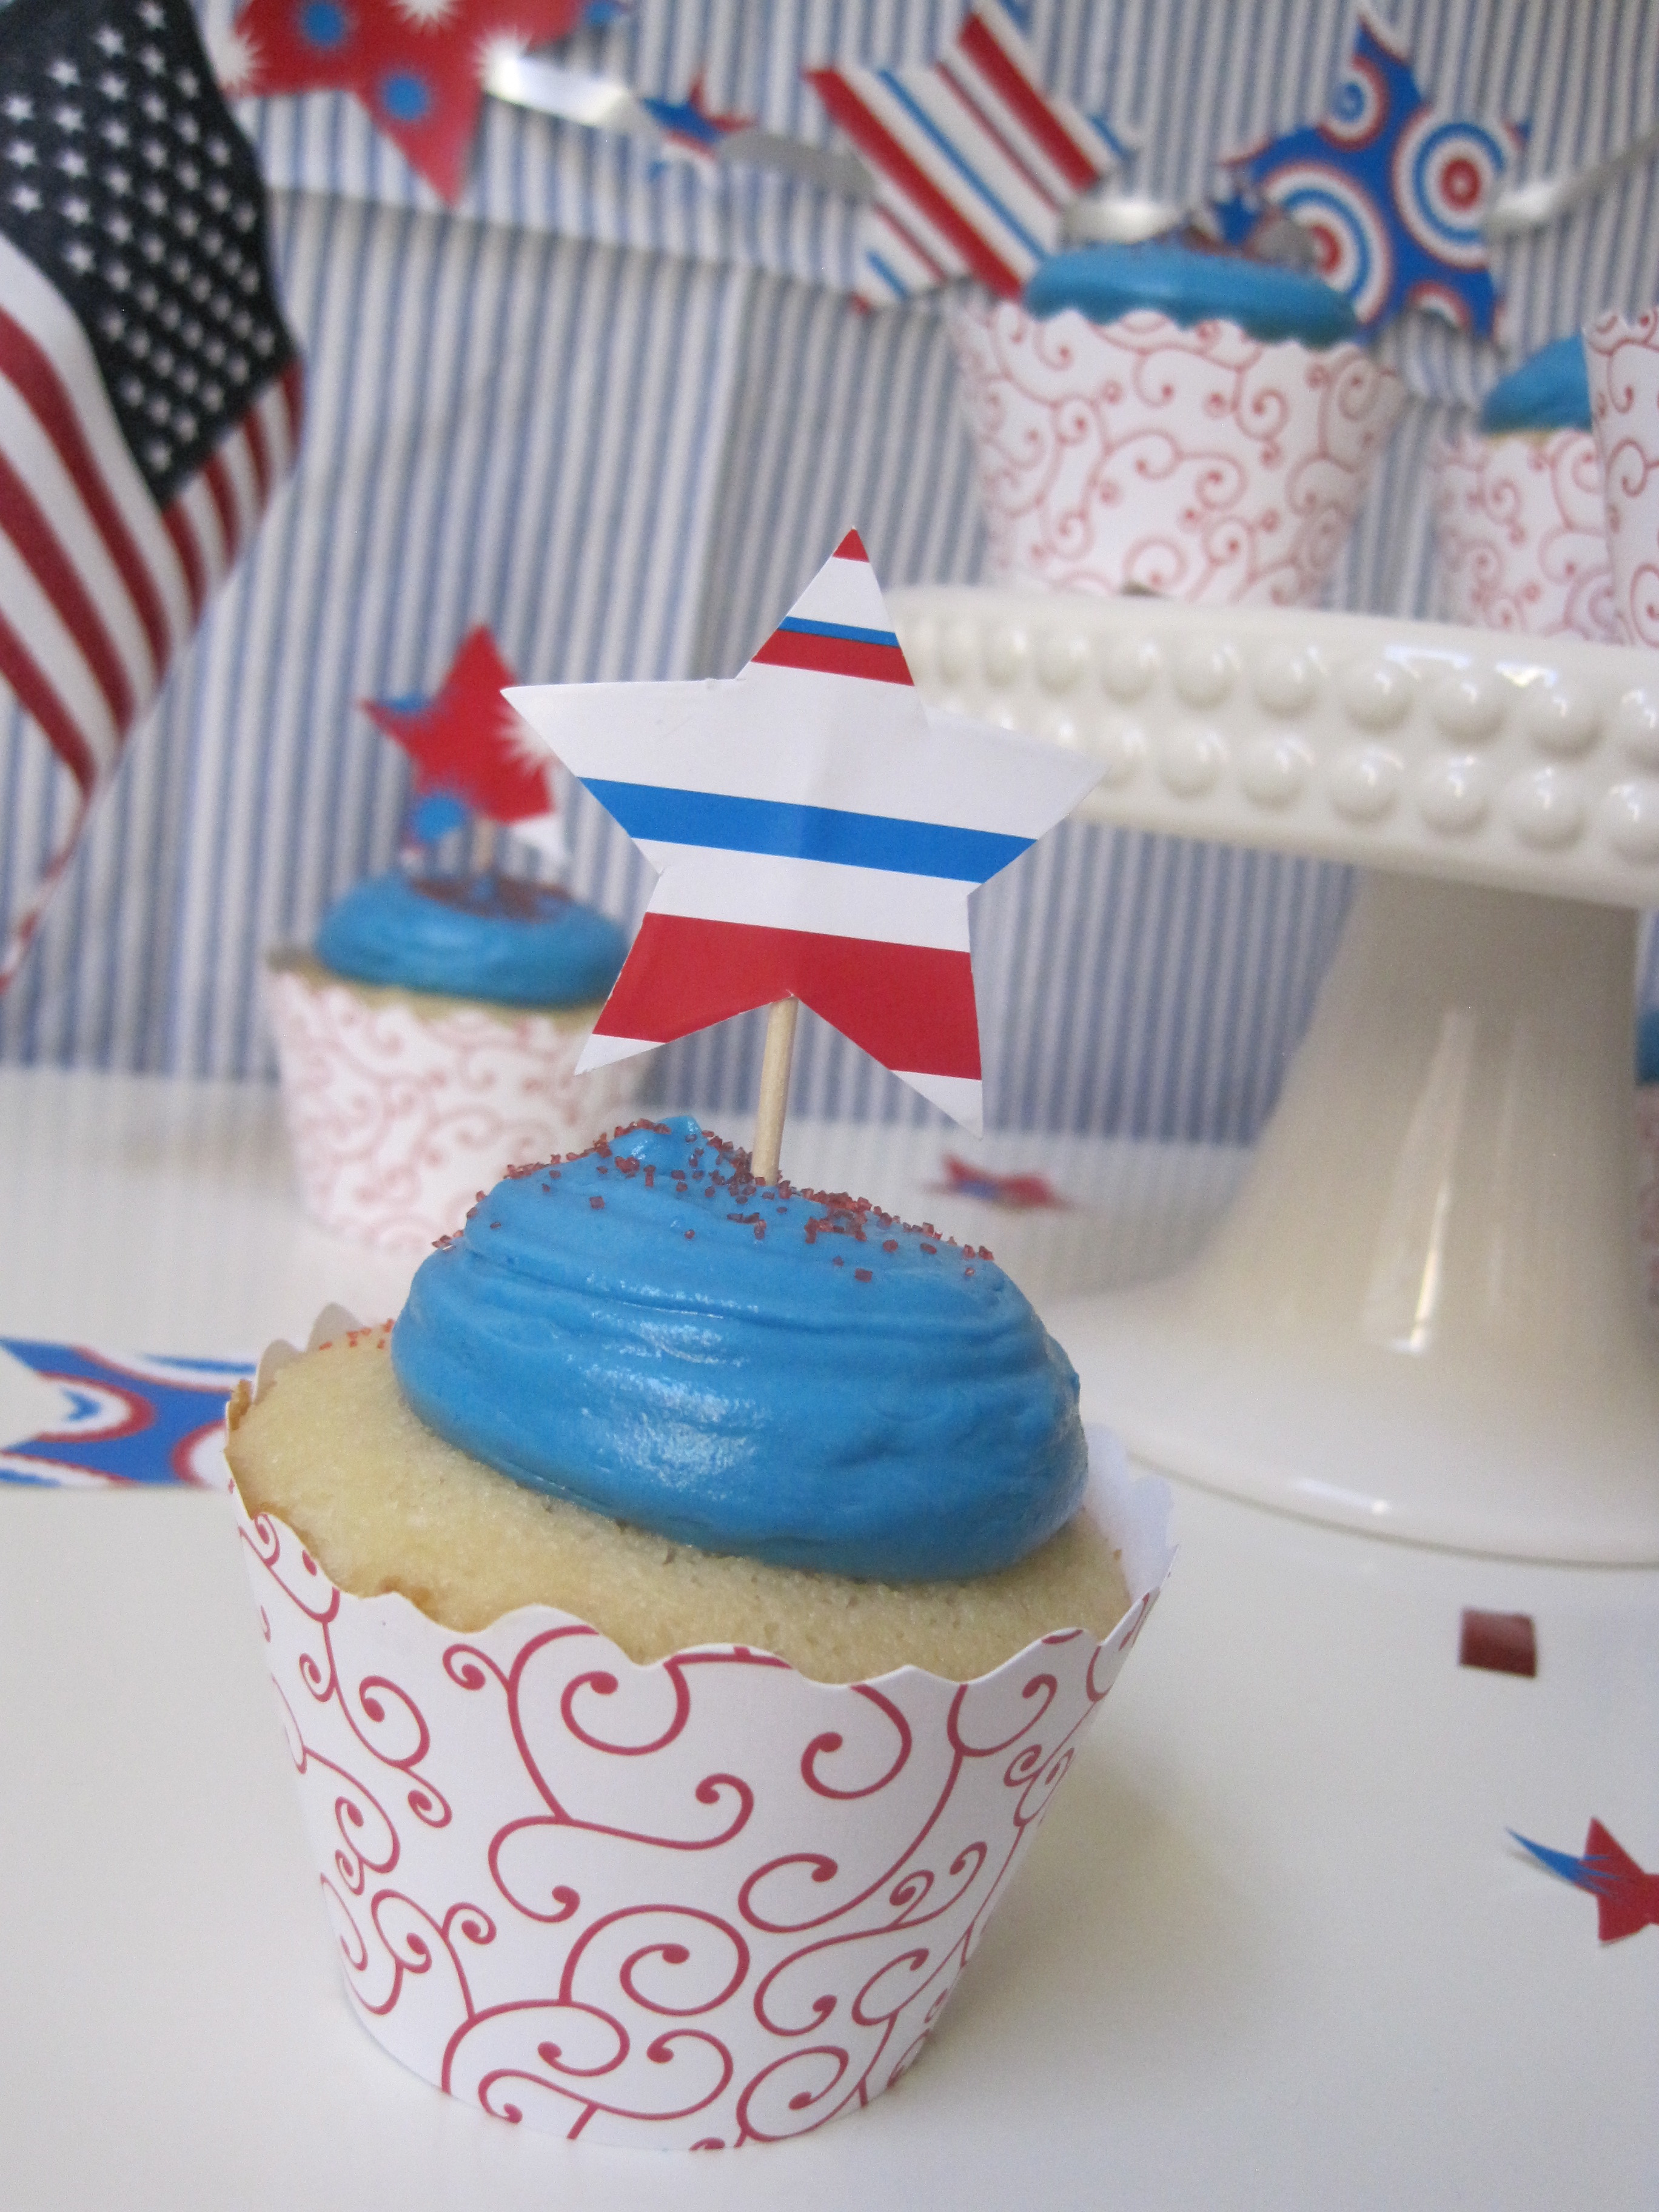
the assignment: to display simple and delicious cupcakes in bella cupcake couture cupcake wrappers with props laying around the house to show you how to create a good looking cupcake table with little effort.
the theme for the cupcake blog party? 4th of july, of course. which i think is a perfect fit since the holiday is almost upon us. it came by really fast, didn’t it?

if you have a get together planned for 4th of july, you need must get these cupcake wrappers {or enter for your chance to win it} and display your cupcakes effortlessly because these {cute wrappers} basically do the job for you. and that’s one less thing you have to do.
isn’t that nice?

and if you don’t have a party, it’s time you start planning one. you still got a week or so to go!
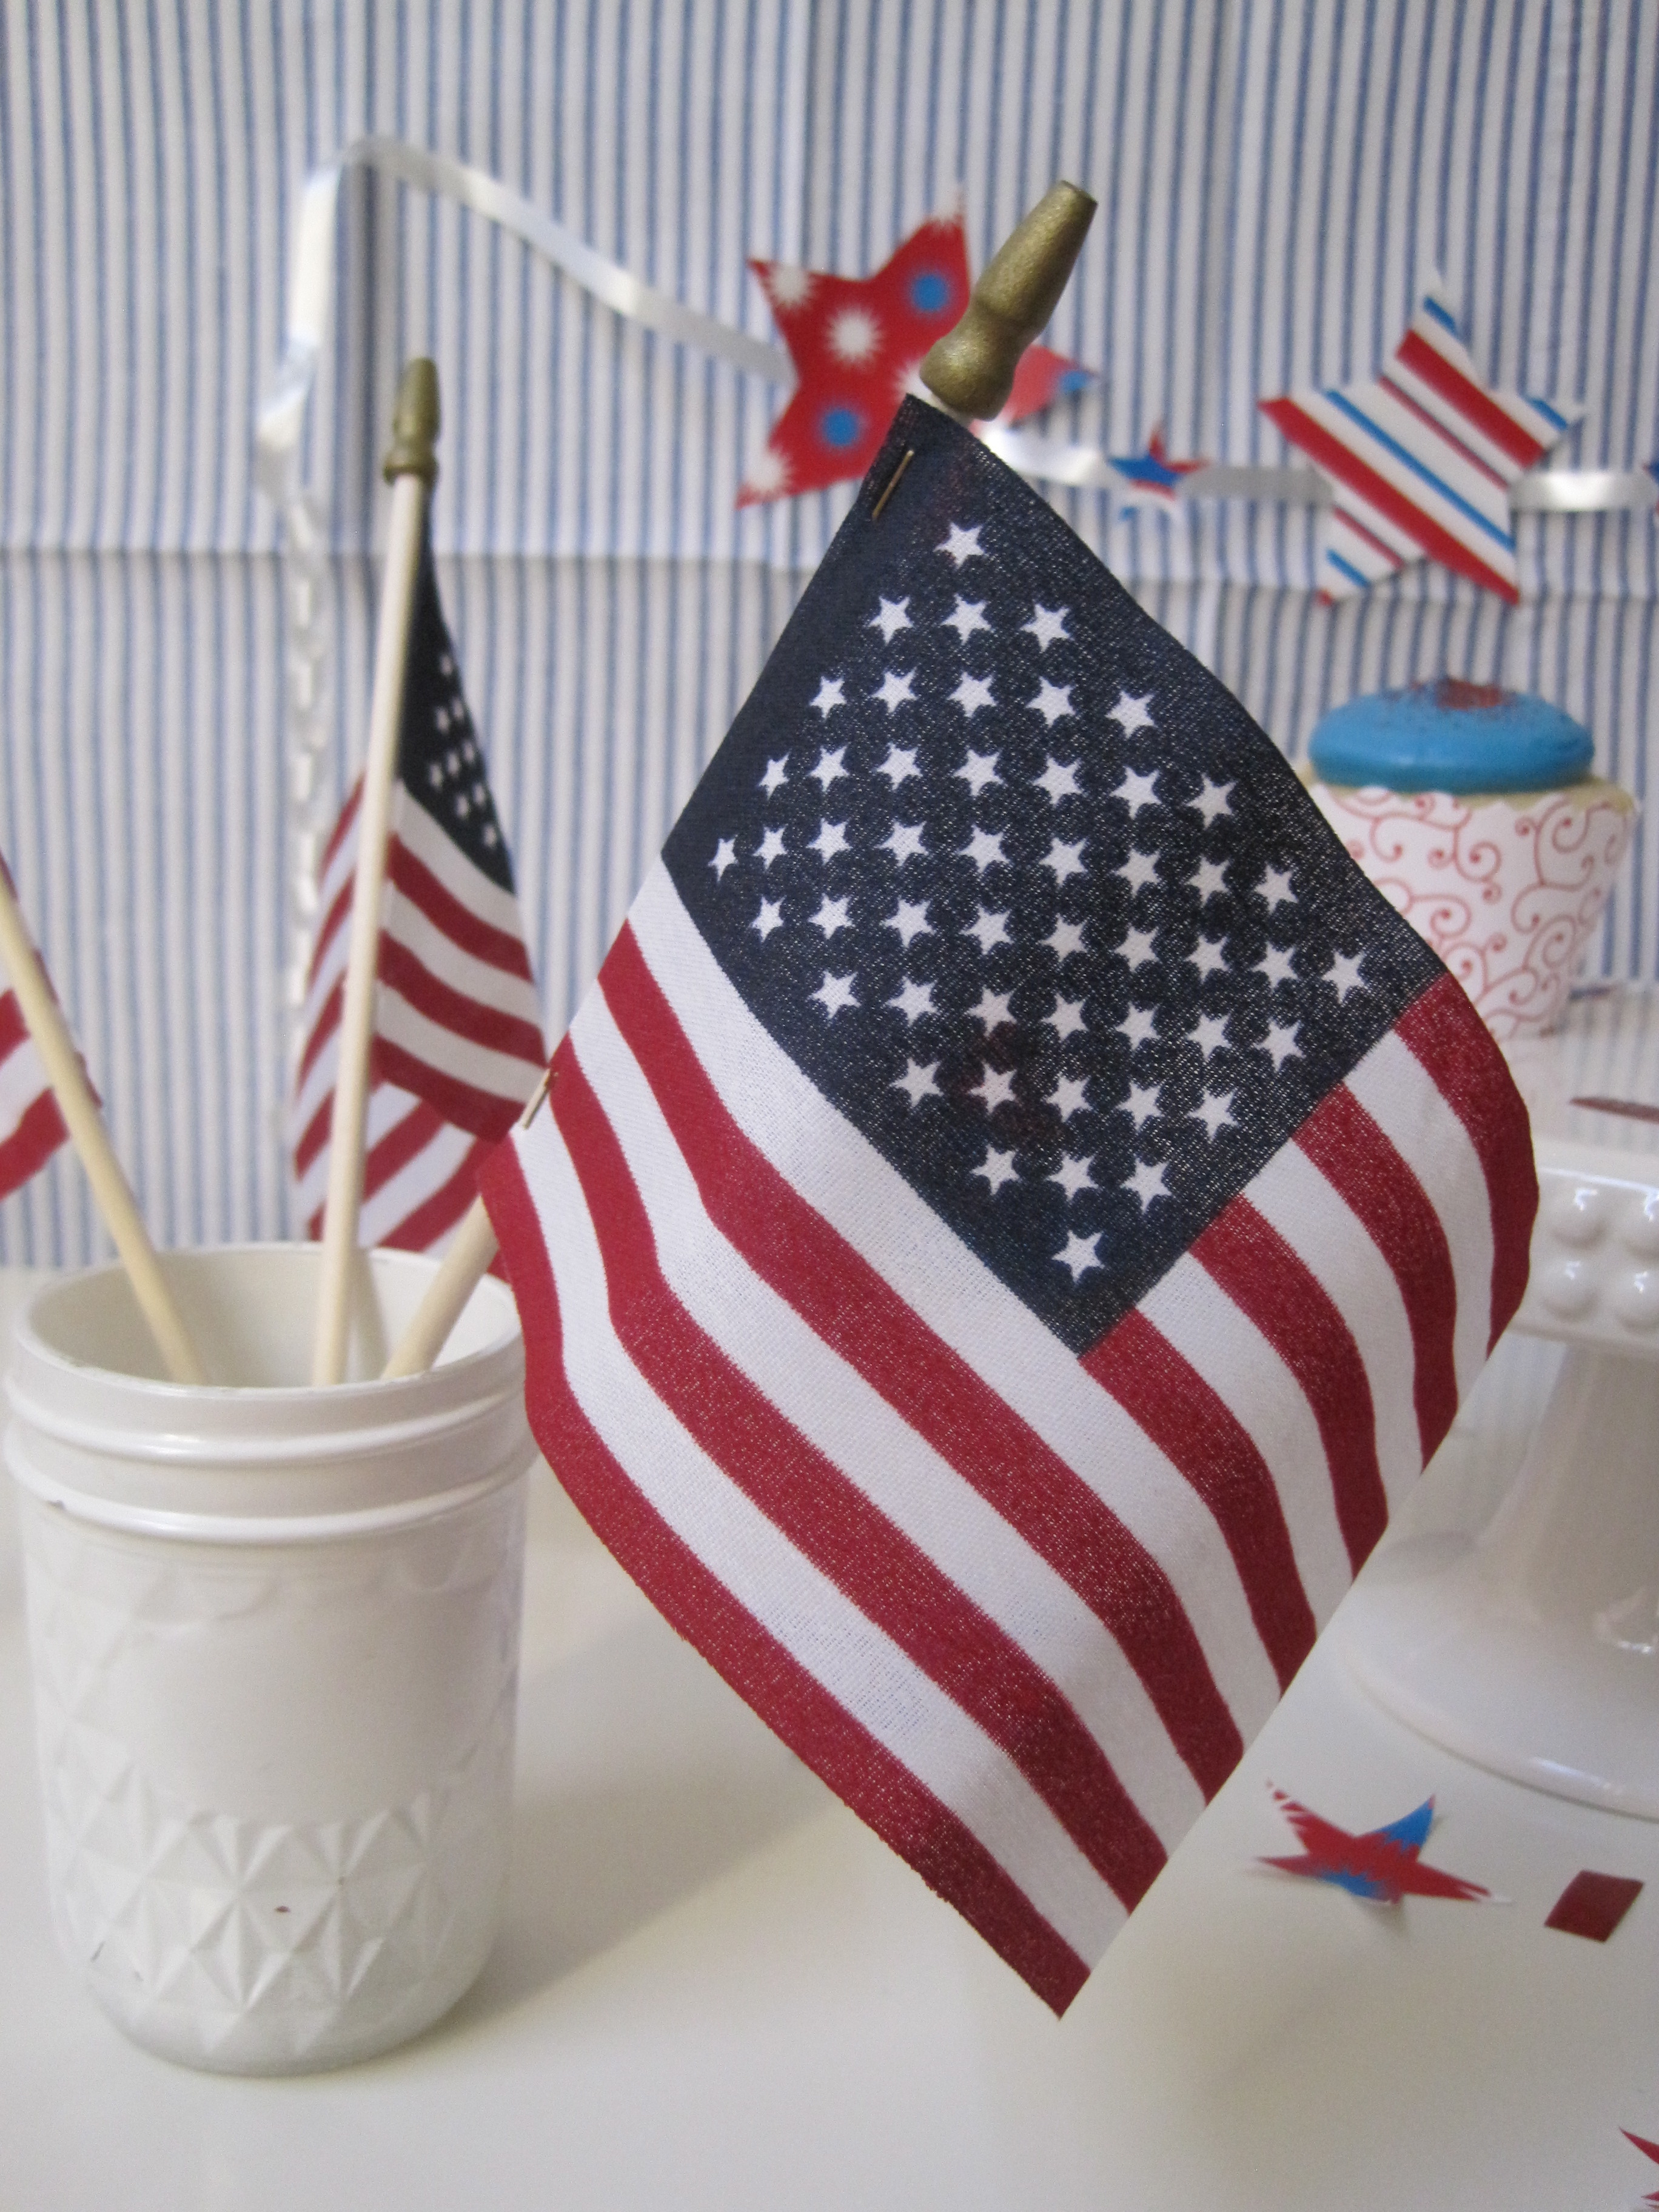
let me tell you about the props. they look kind of fancy but in reality they are far from it. well, some do have sentimental value, which is nice but i promise they aren’t fancy at all.
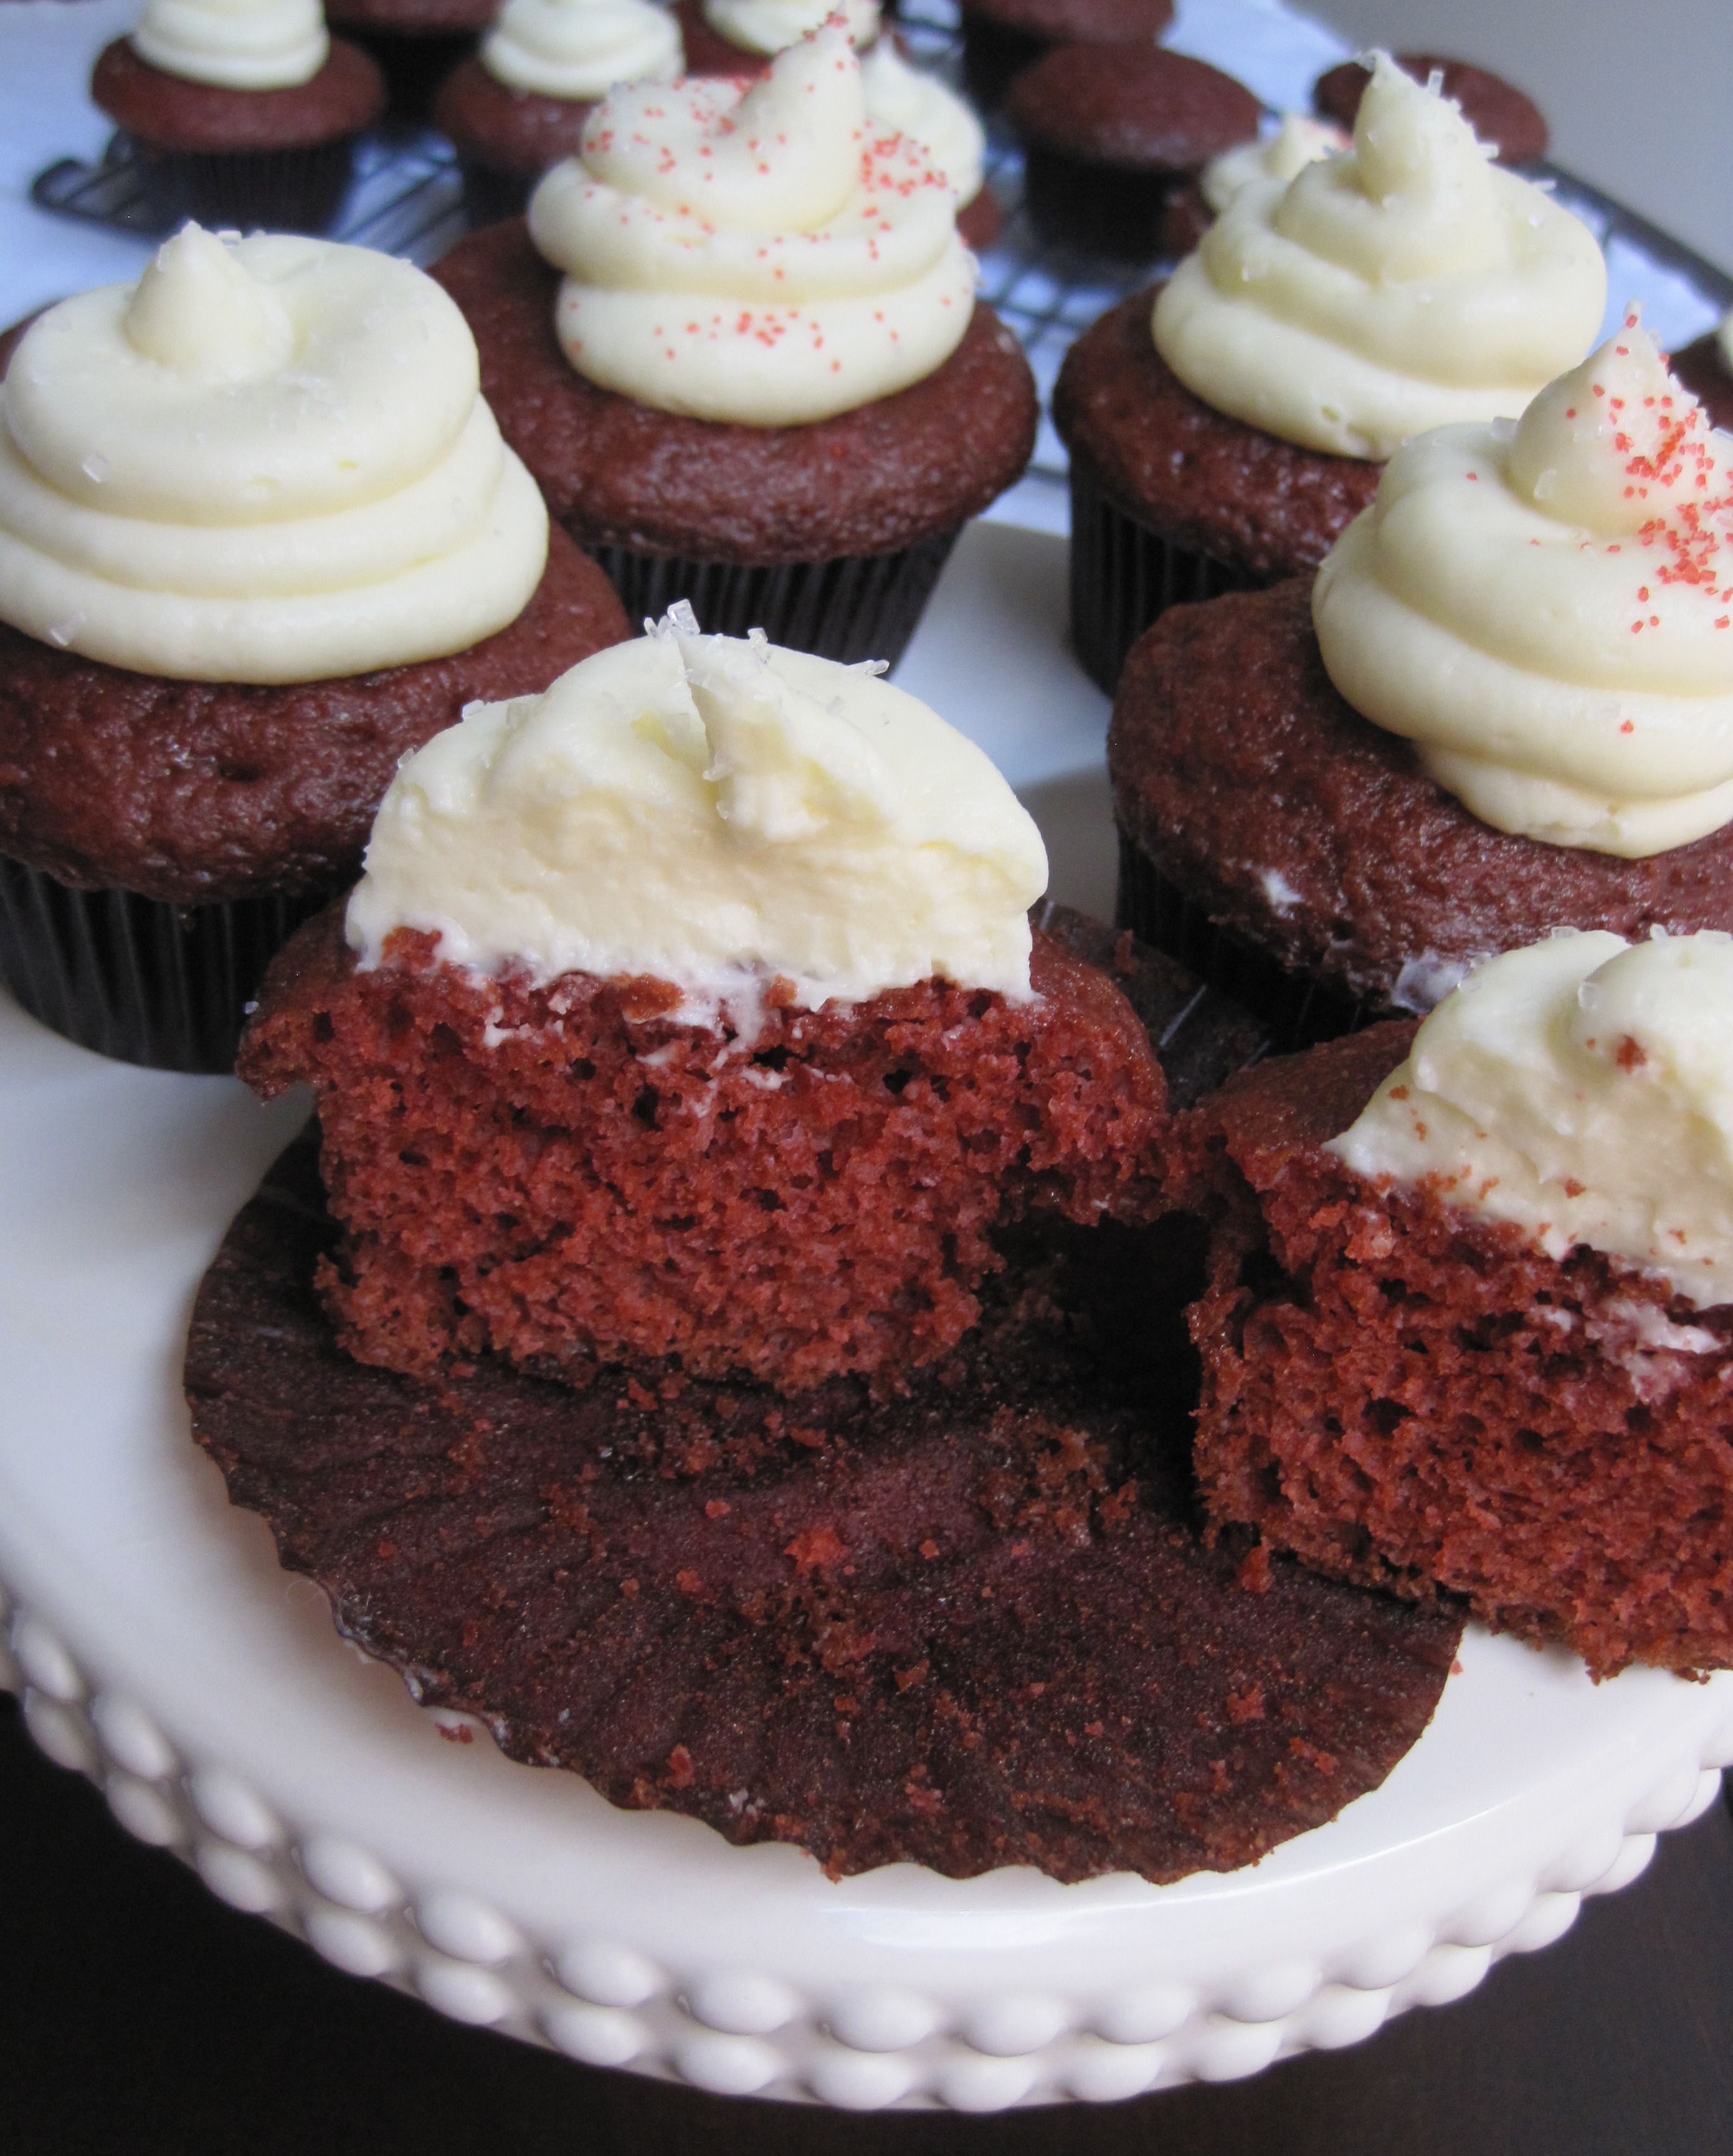
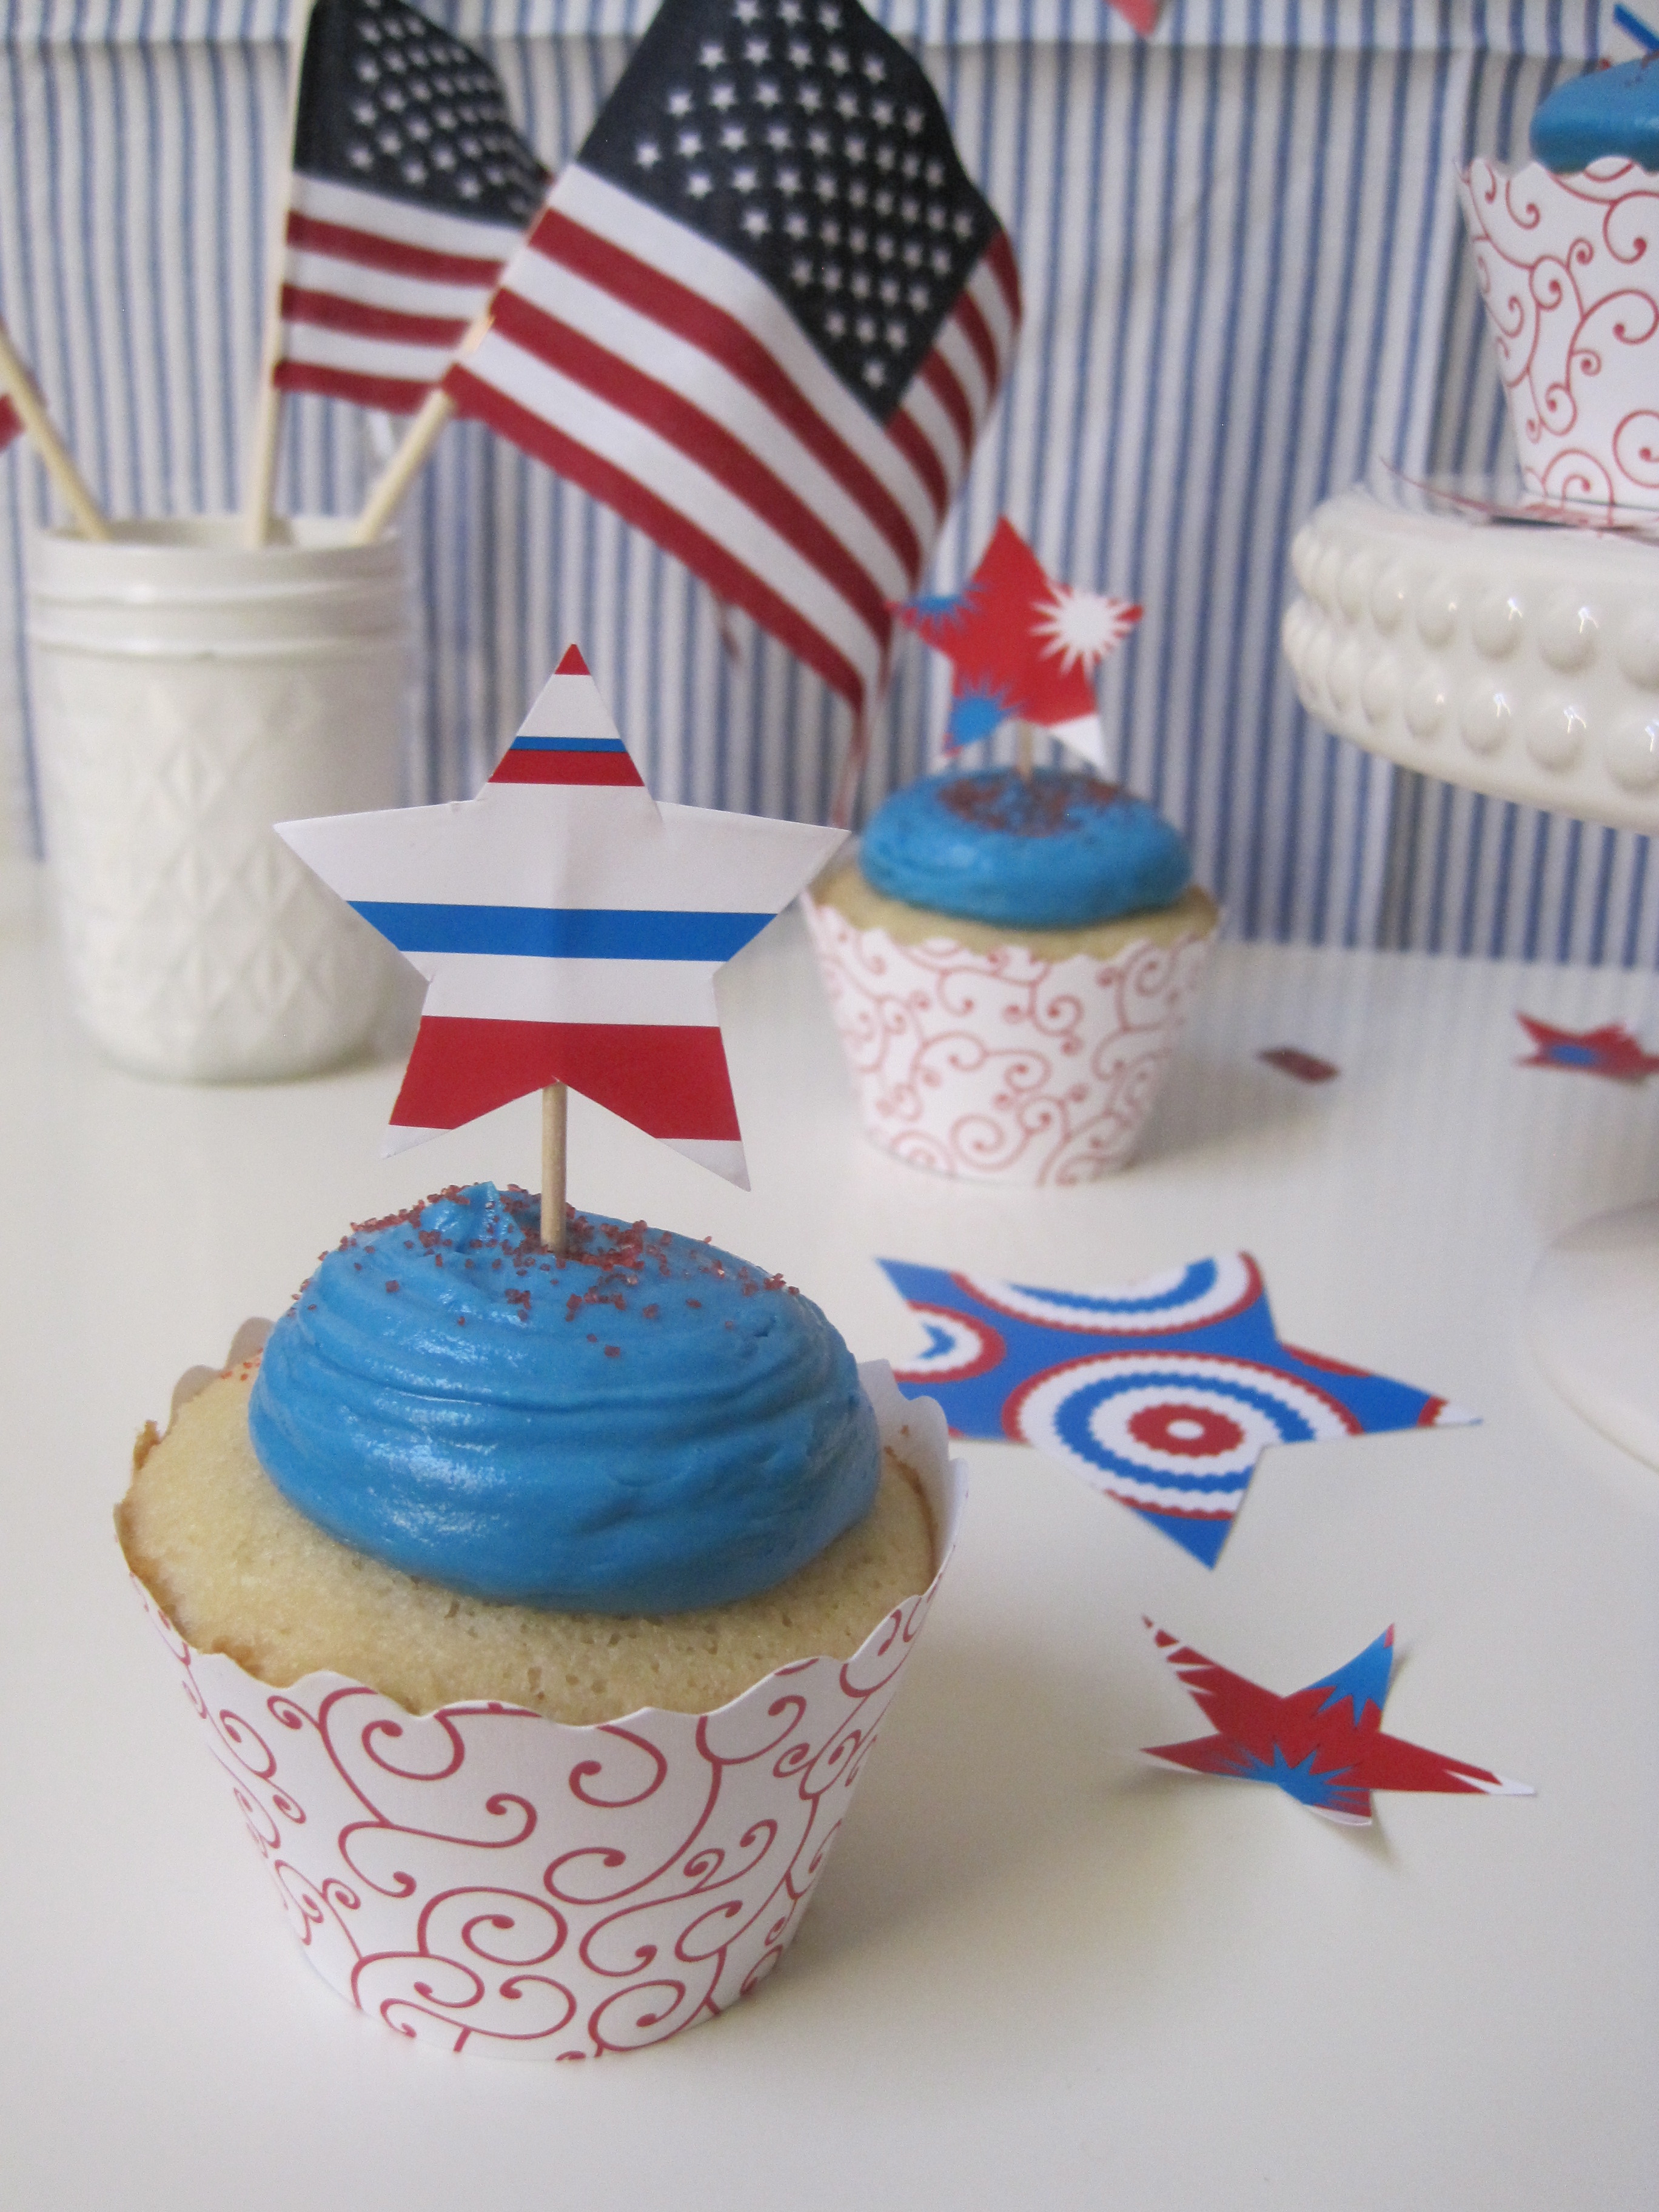
the backdrop are napkins my husband’s late grandma gifted us at our wedding shower. the cake stand i had it before we got married and actually used it at our wedding.

the stars are made from paper i downloaded from martha stewart’s website for free. i got the stars template from the internet for free as well. just google “free star template” and you’ll find tons.
and i taped some of the paper stars to toothpicks to create the cupcake toppers.


cupcake wrappers + cupcake toppers = good looking cupcakes!
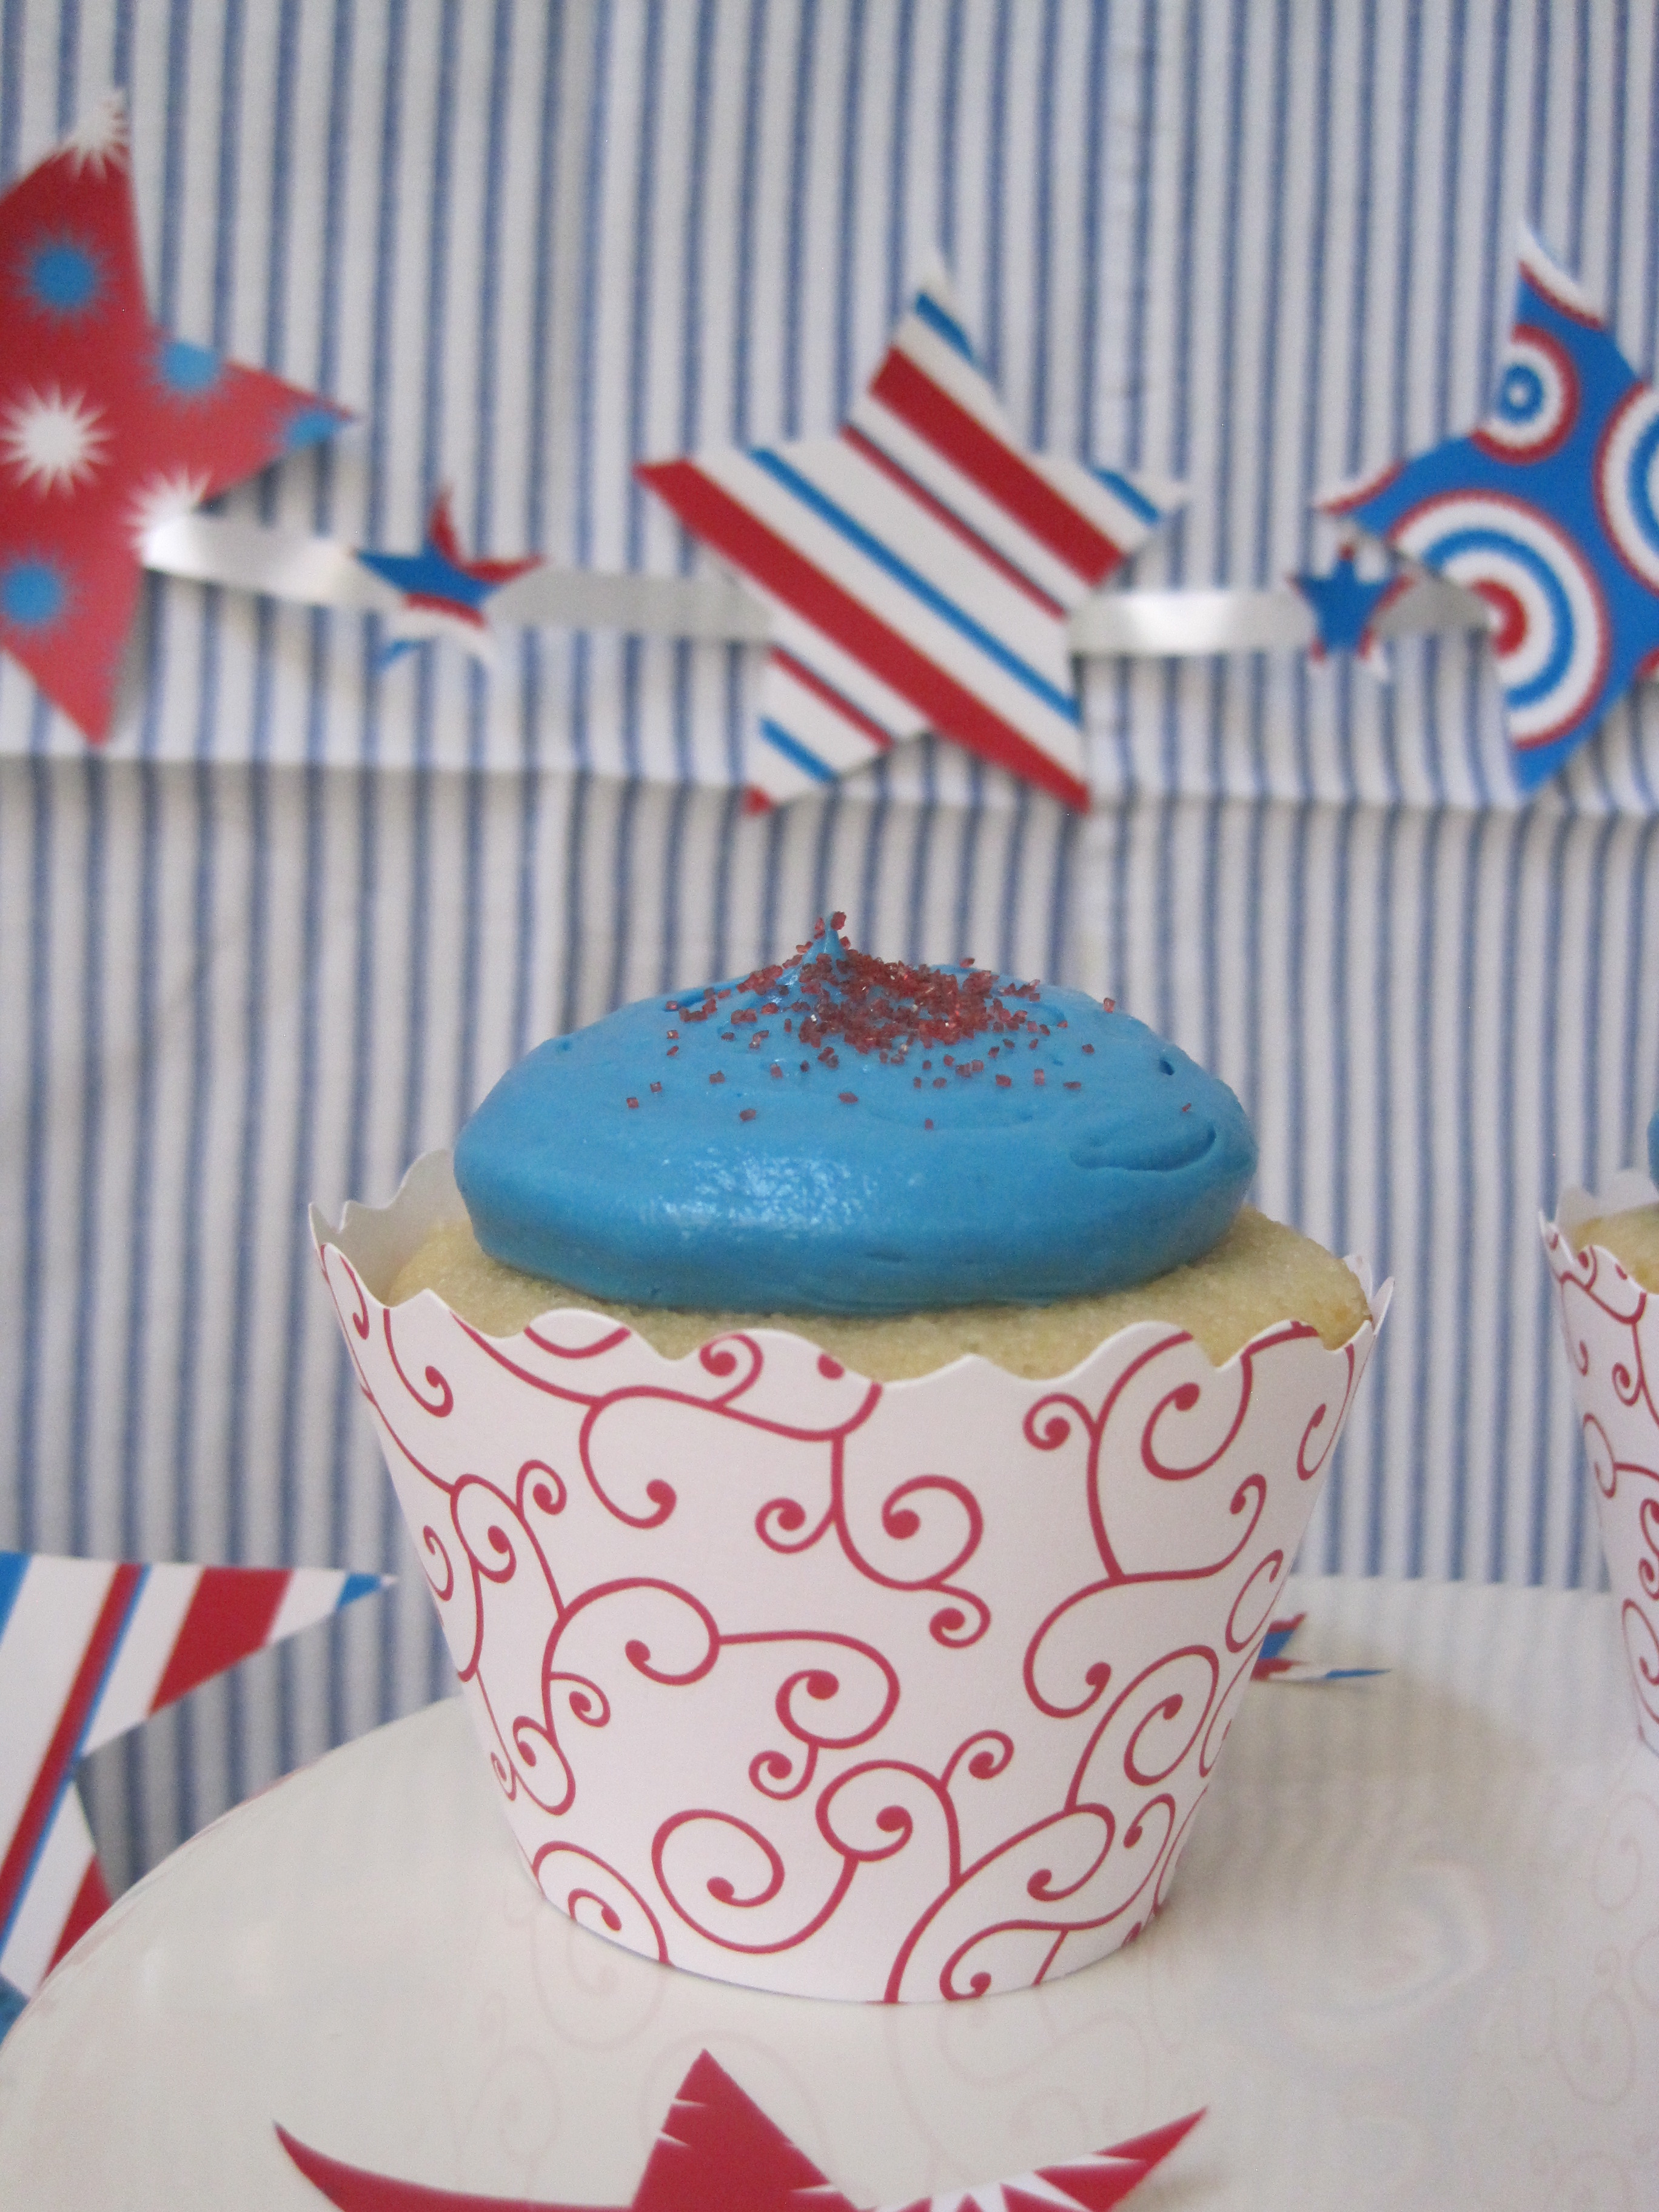
the ribbon/star backdrop was pretty easy. scotch taped the ribbon to the napkins and glued the paper stars to the ribbon. i also had red ribbon laying around so i cut it in 1-inch pieces for a “festive” 4th of july confetti.


see? something you can easily accomplish for any party, actually. they look great and there was no hard work involved at all!
happy birthday america!

below are the details on how to enter the giveaway.
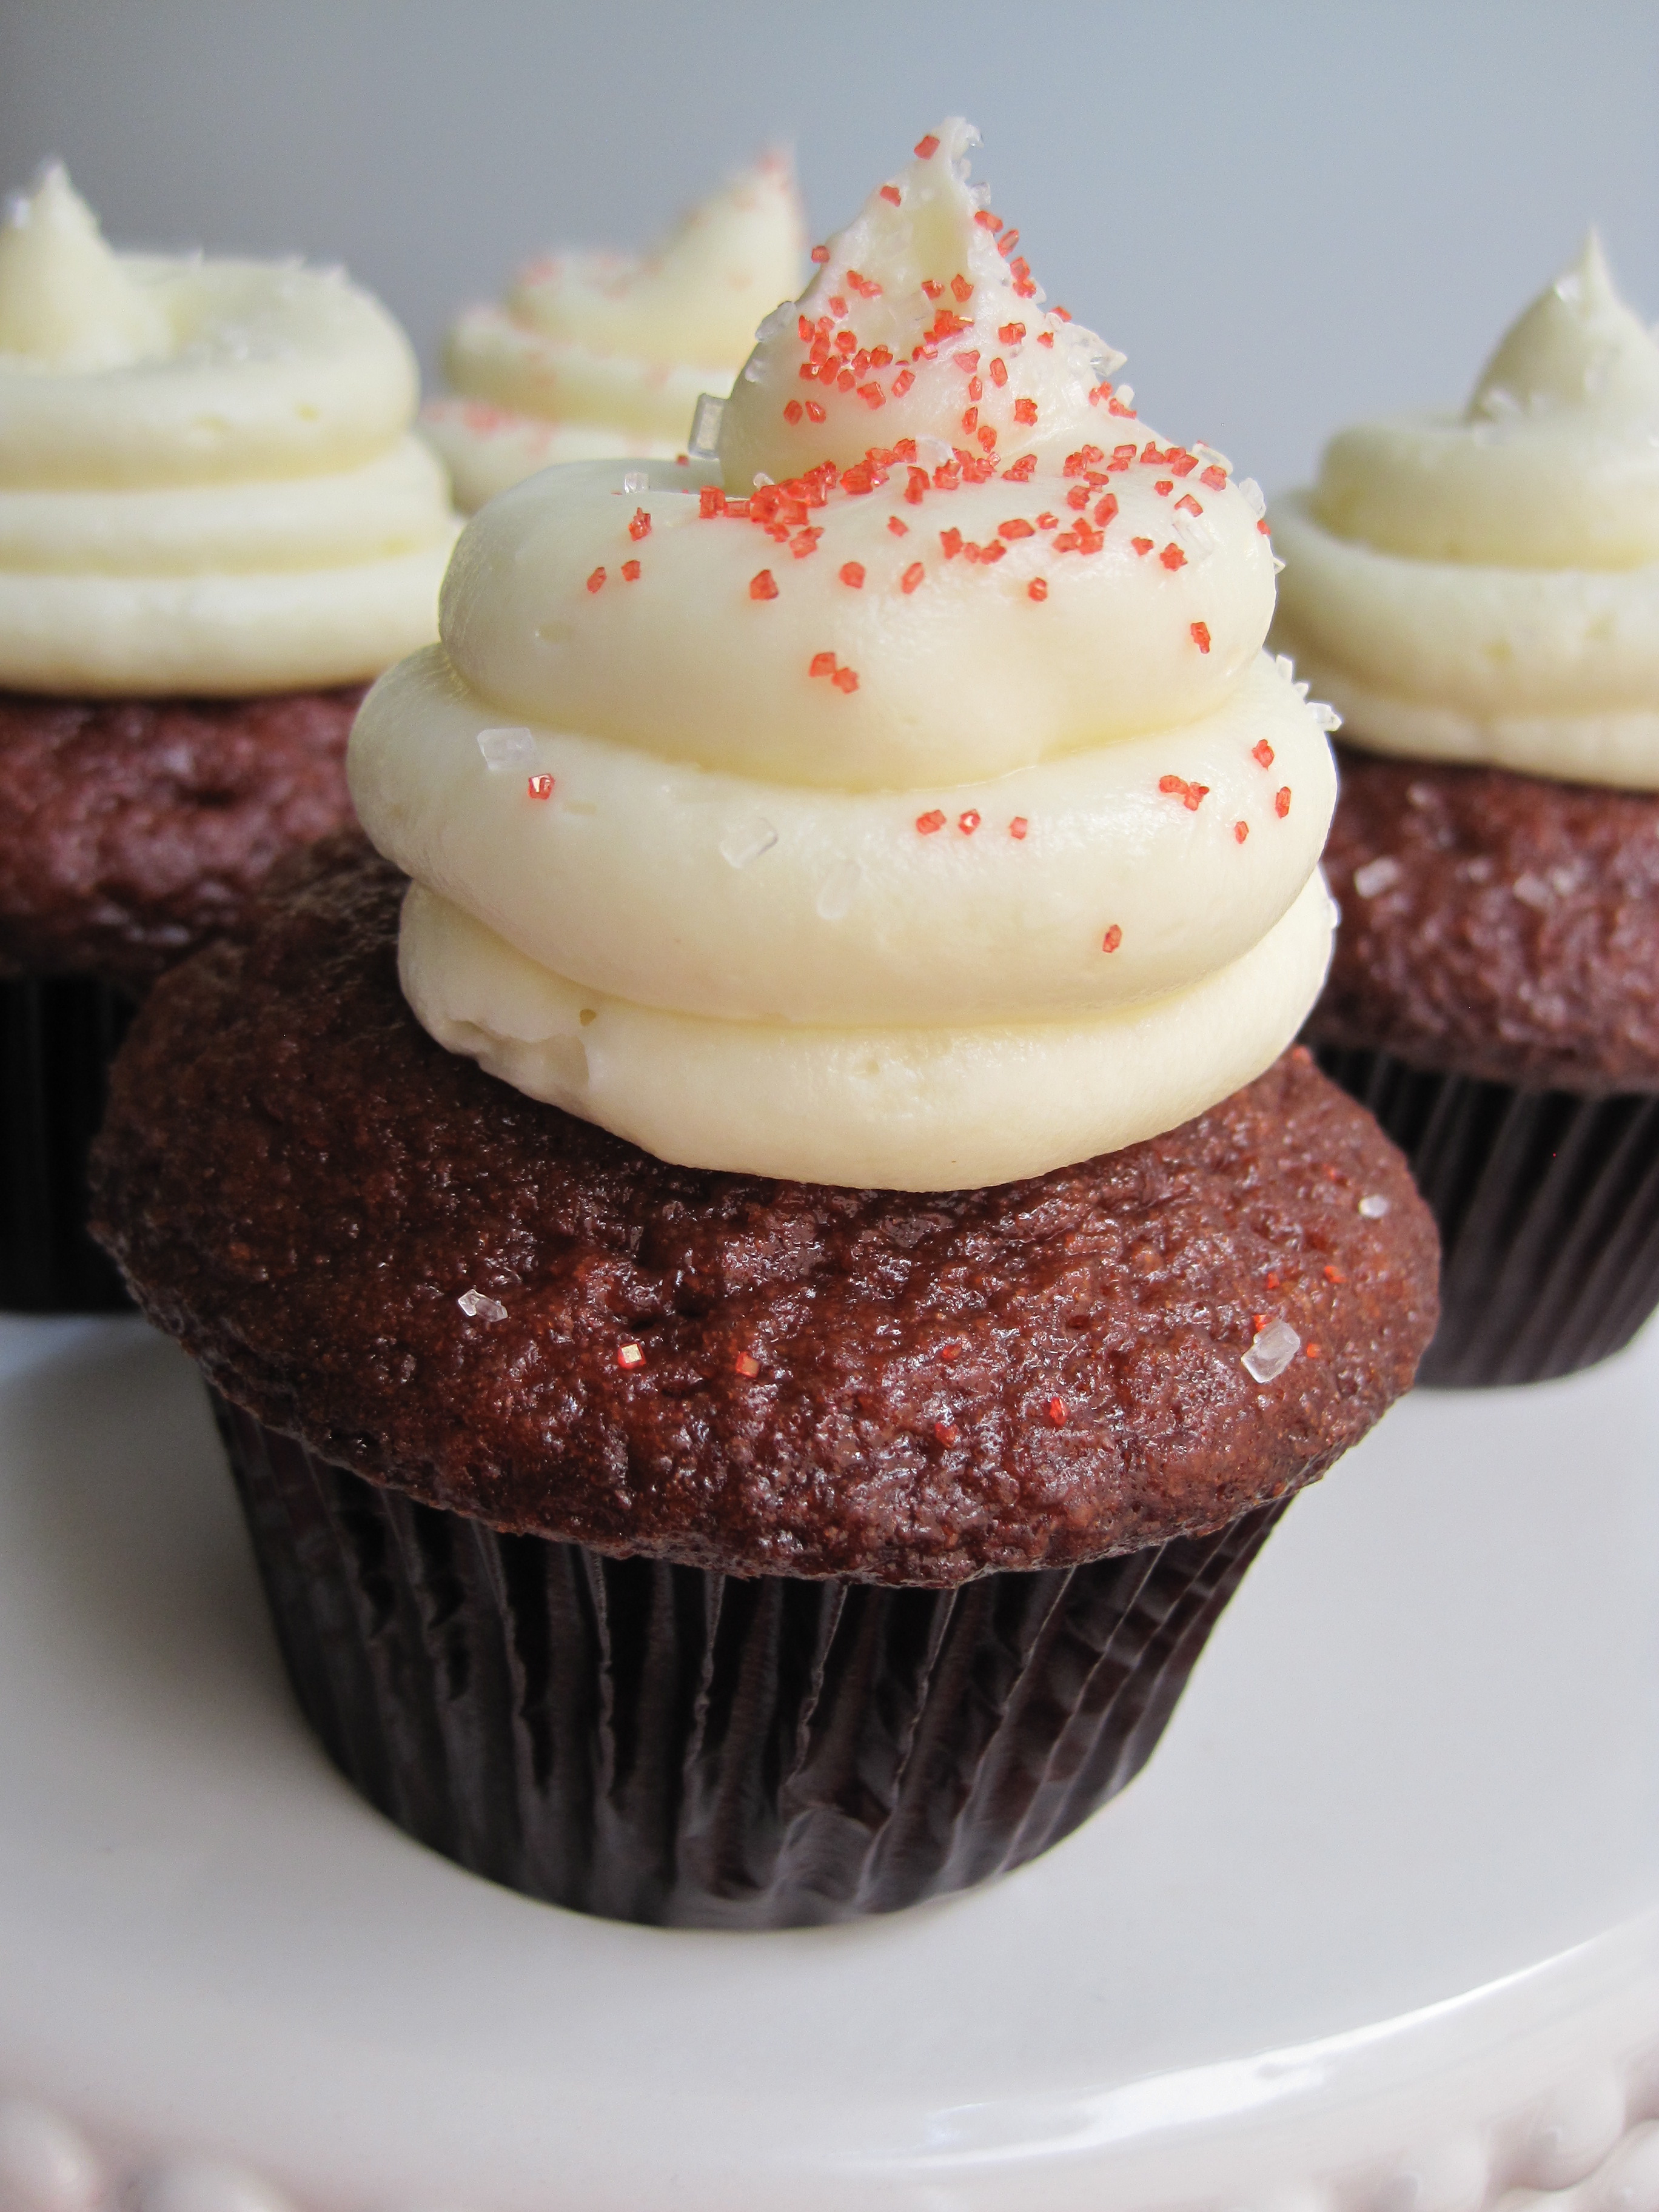
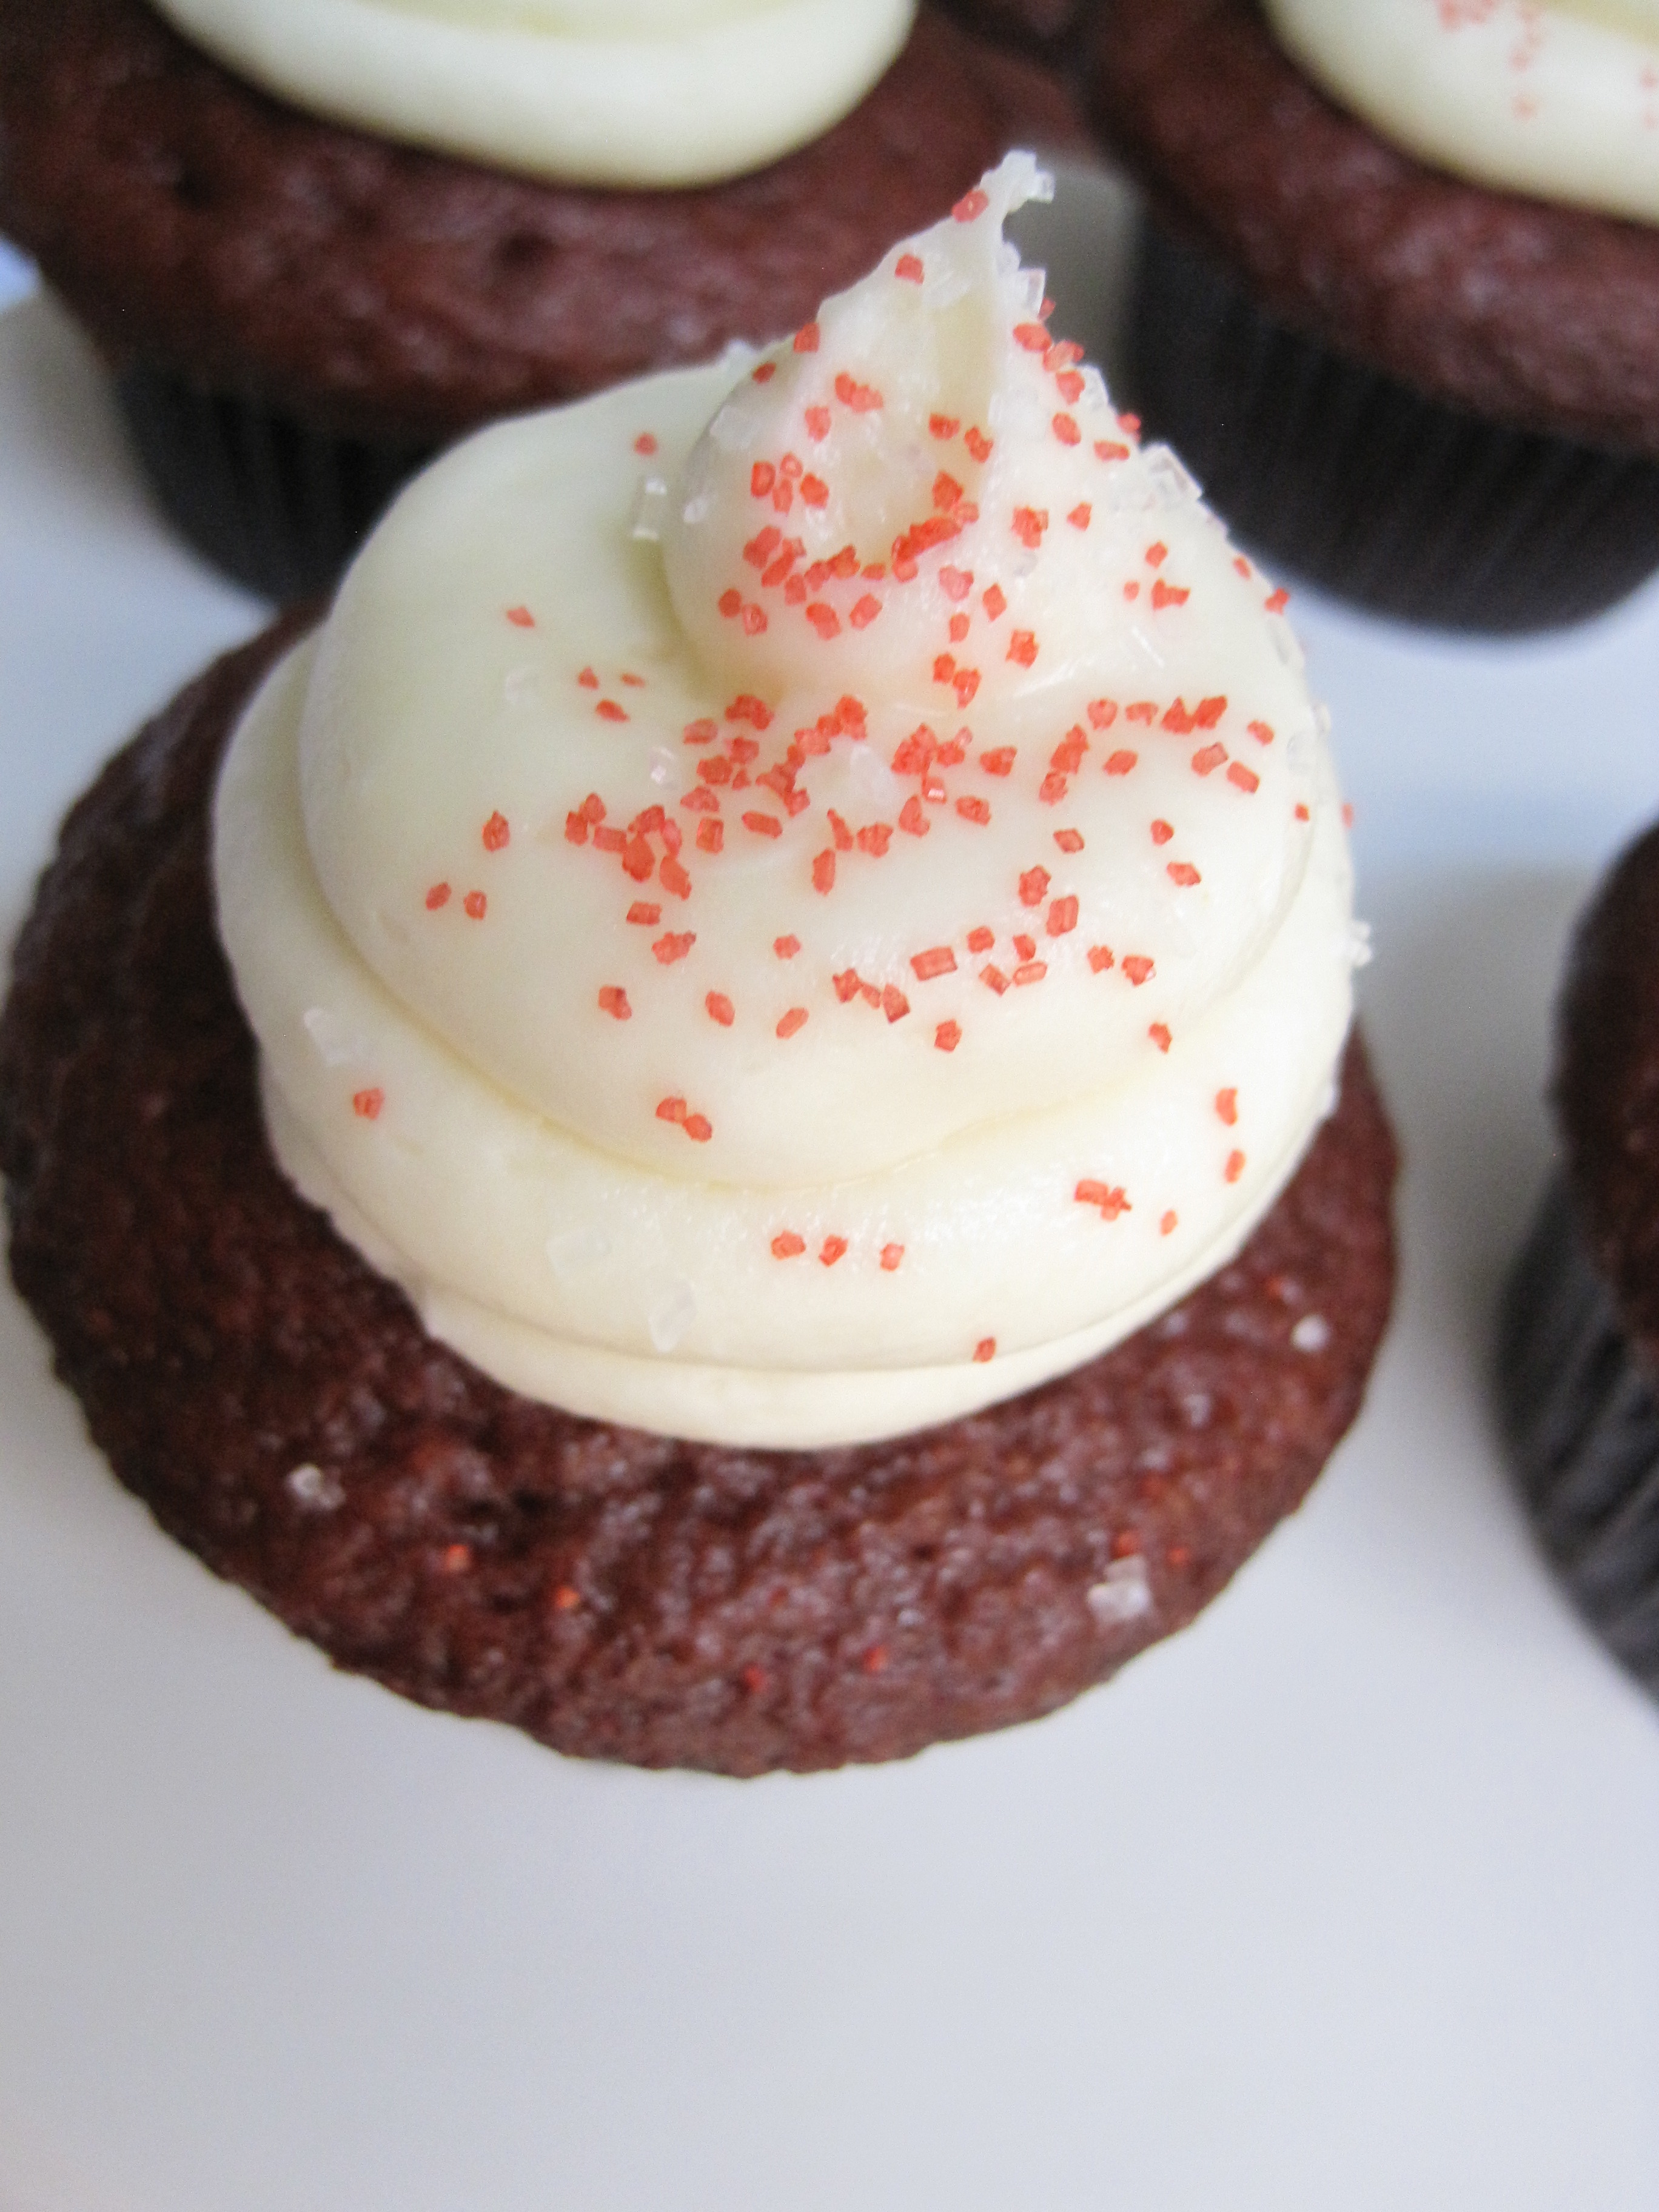
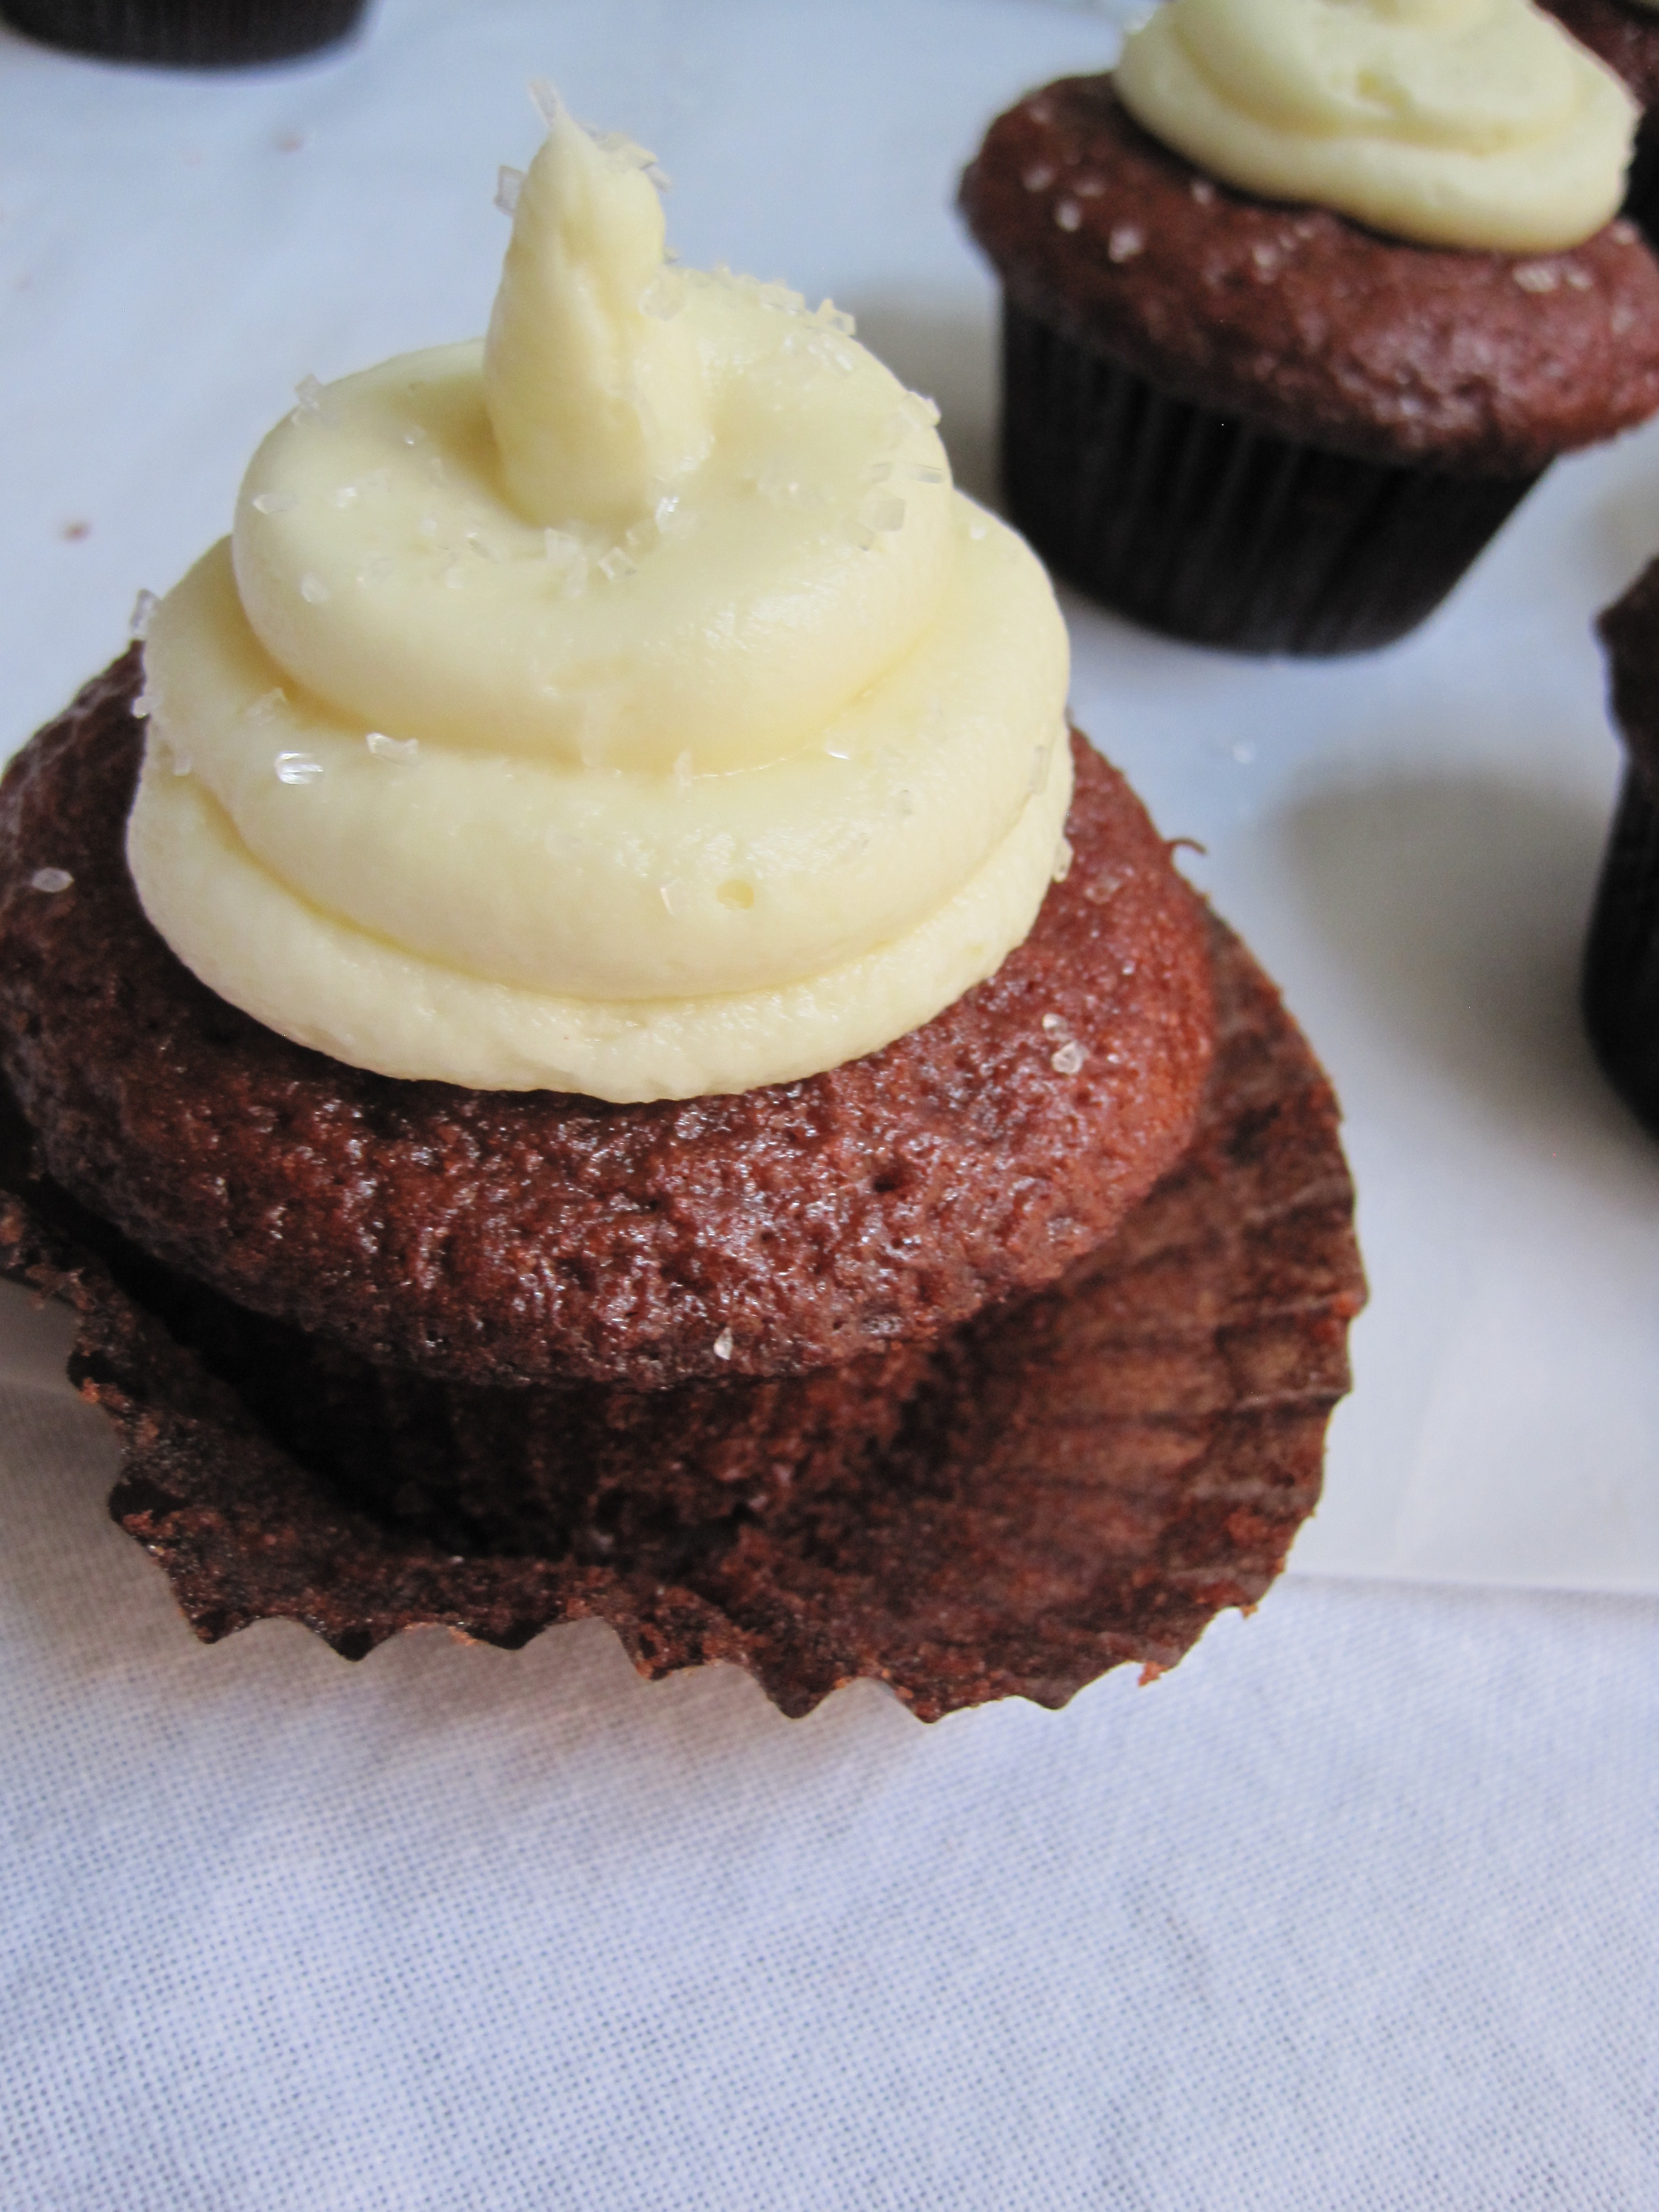
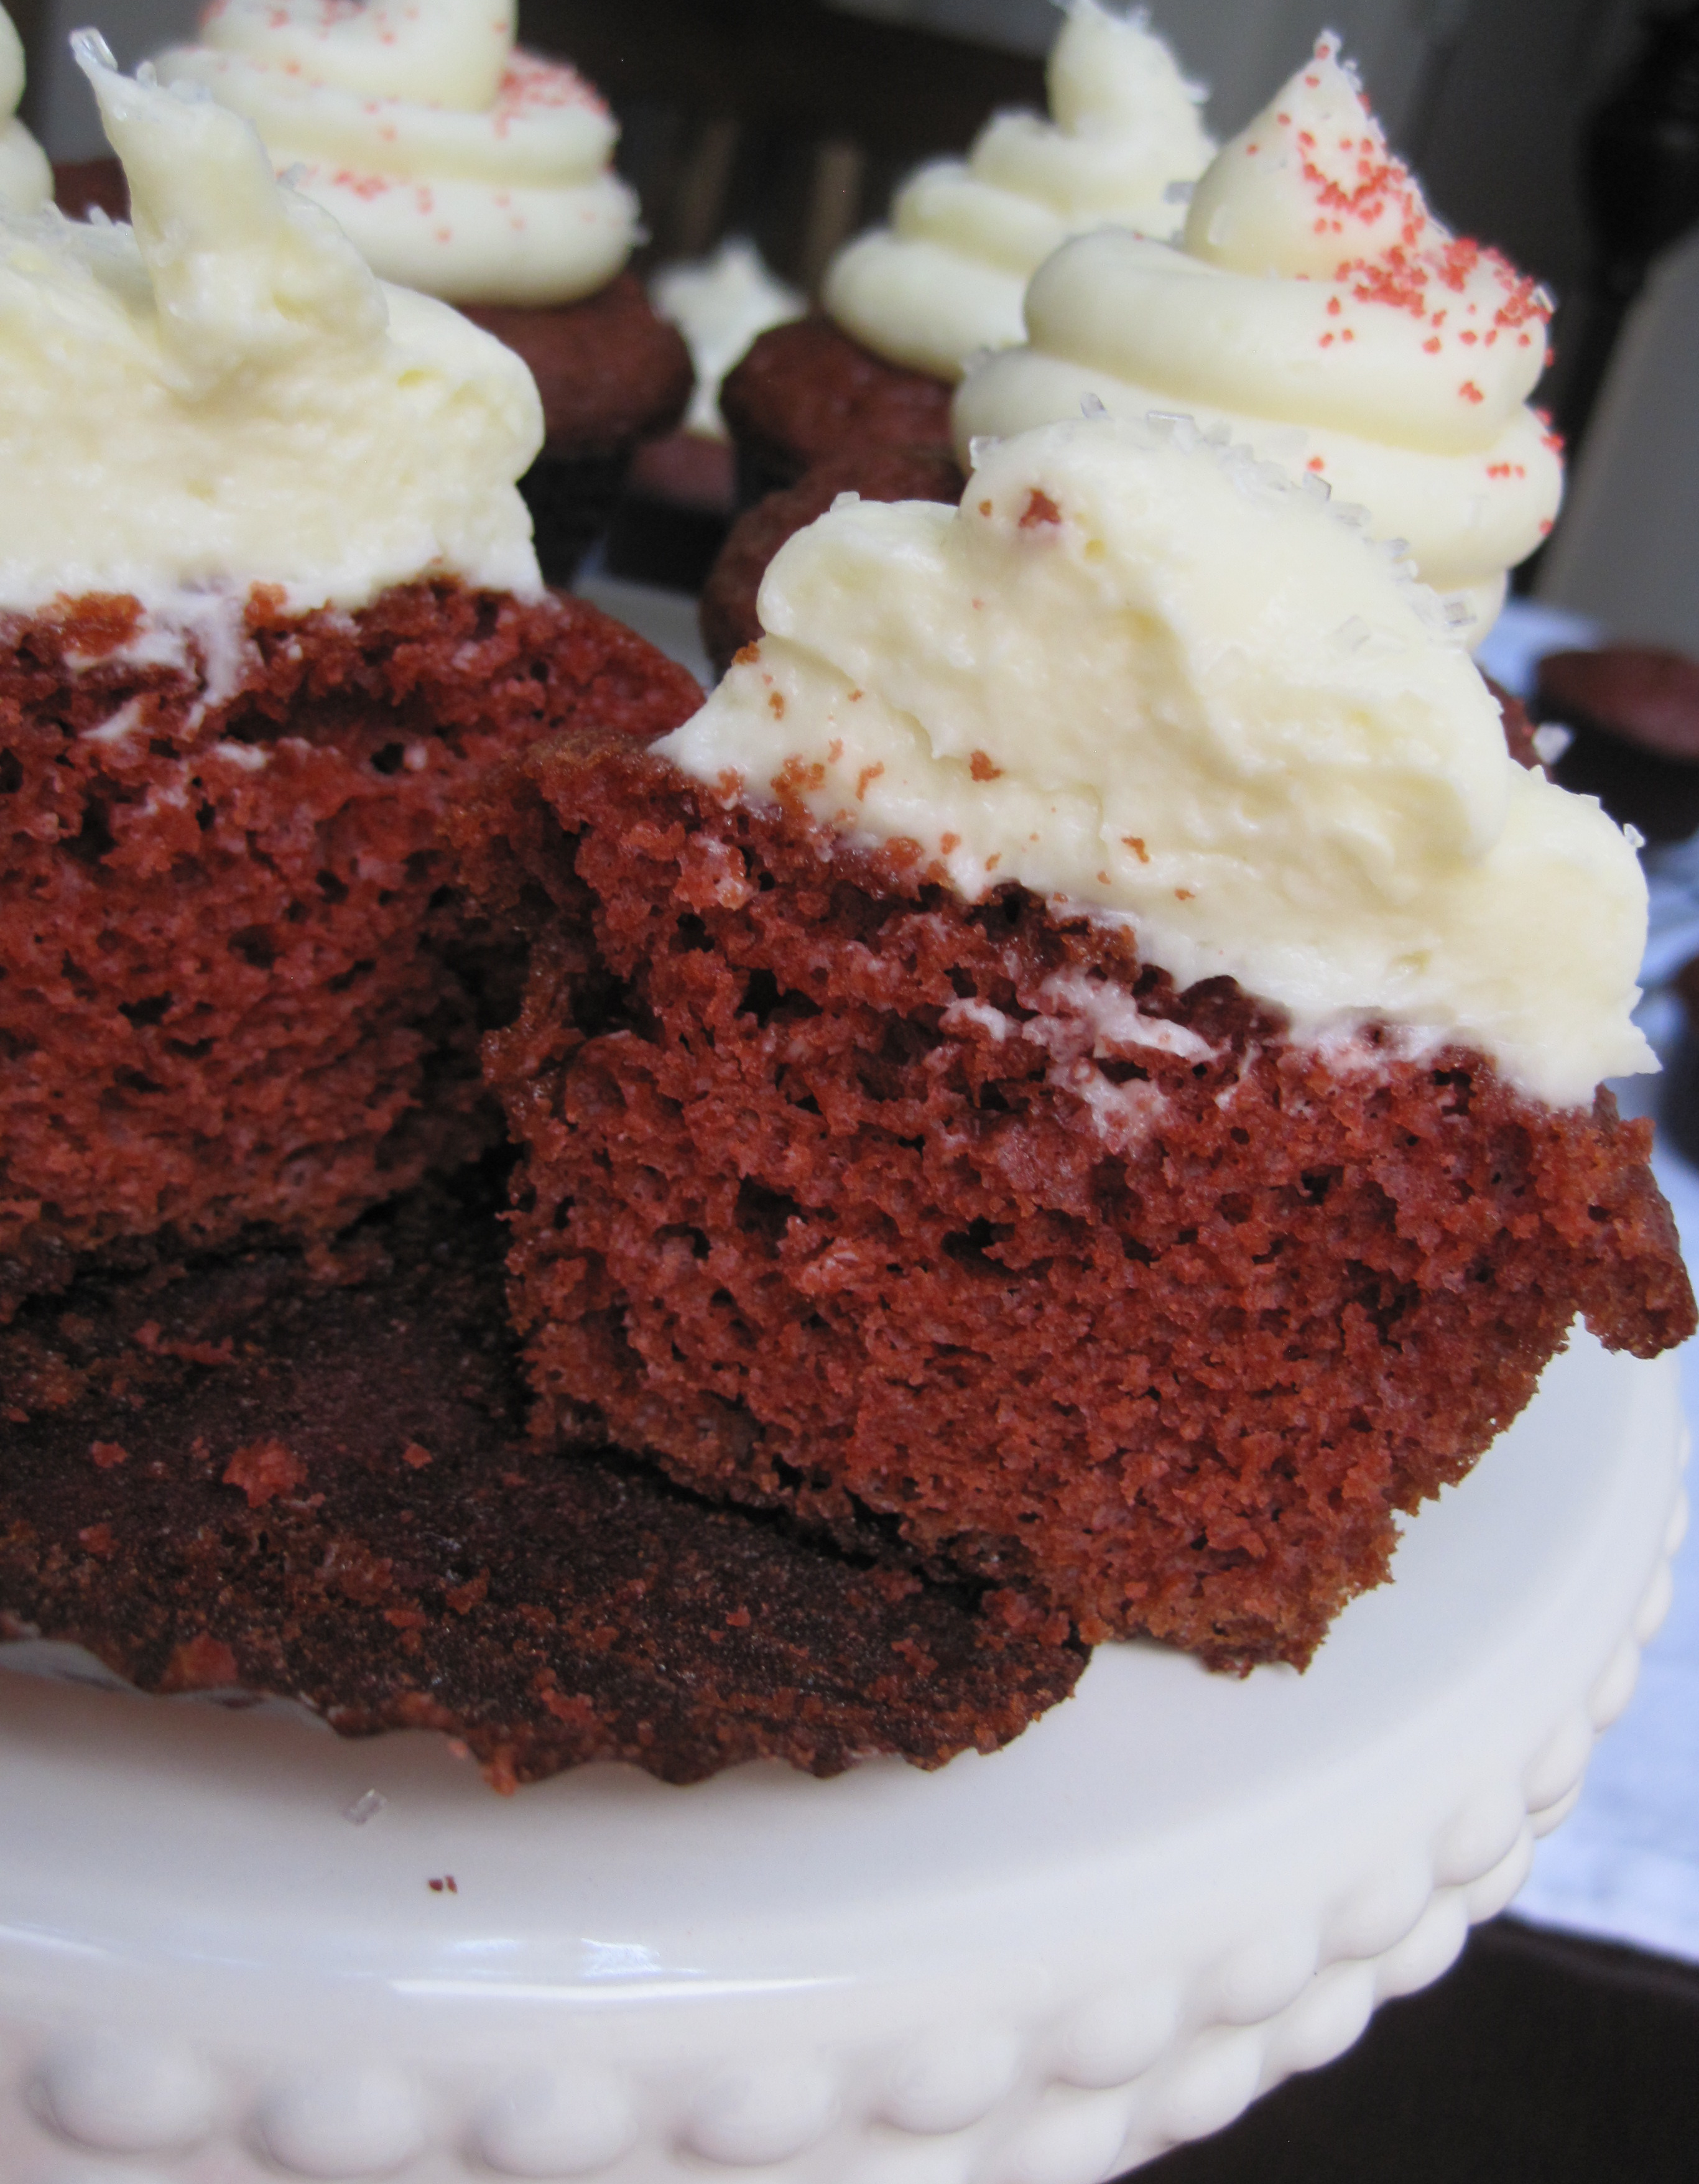
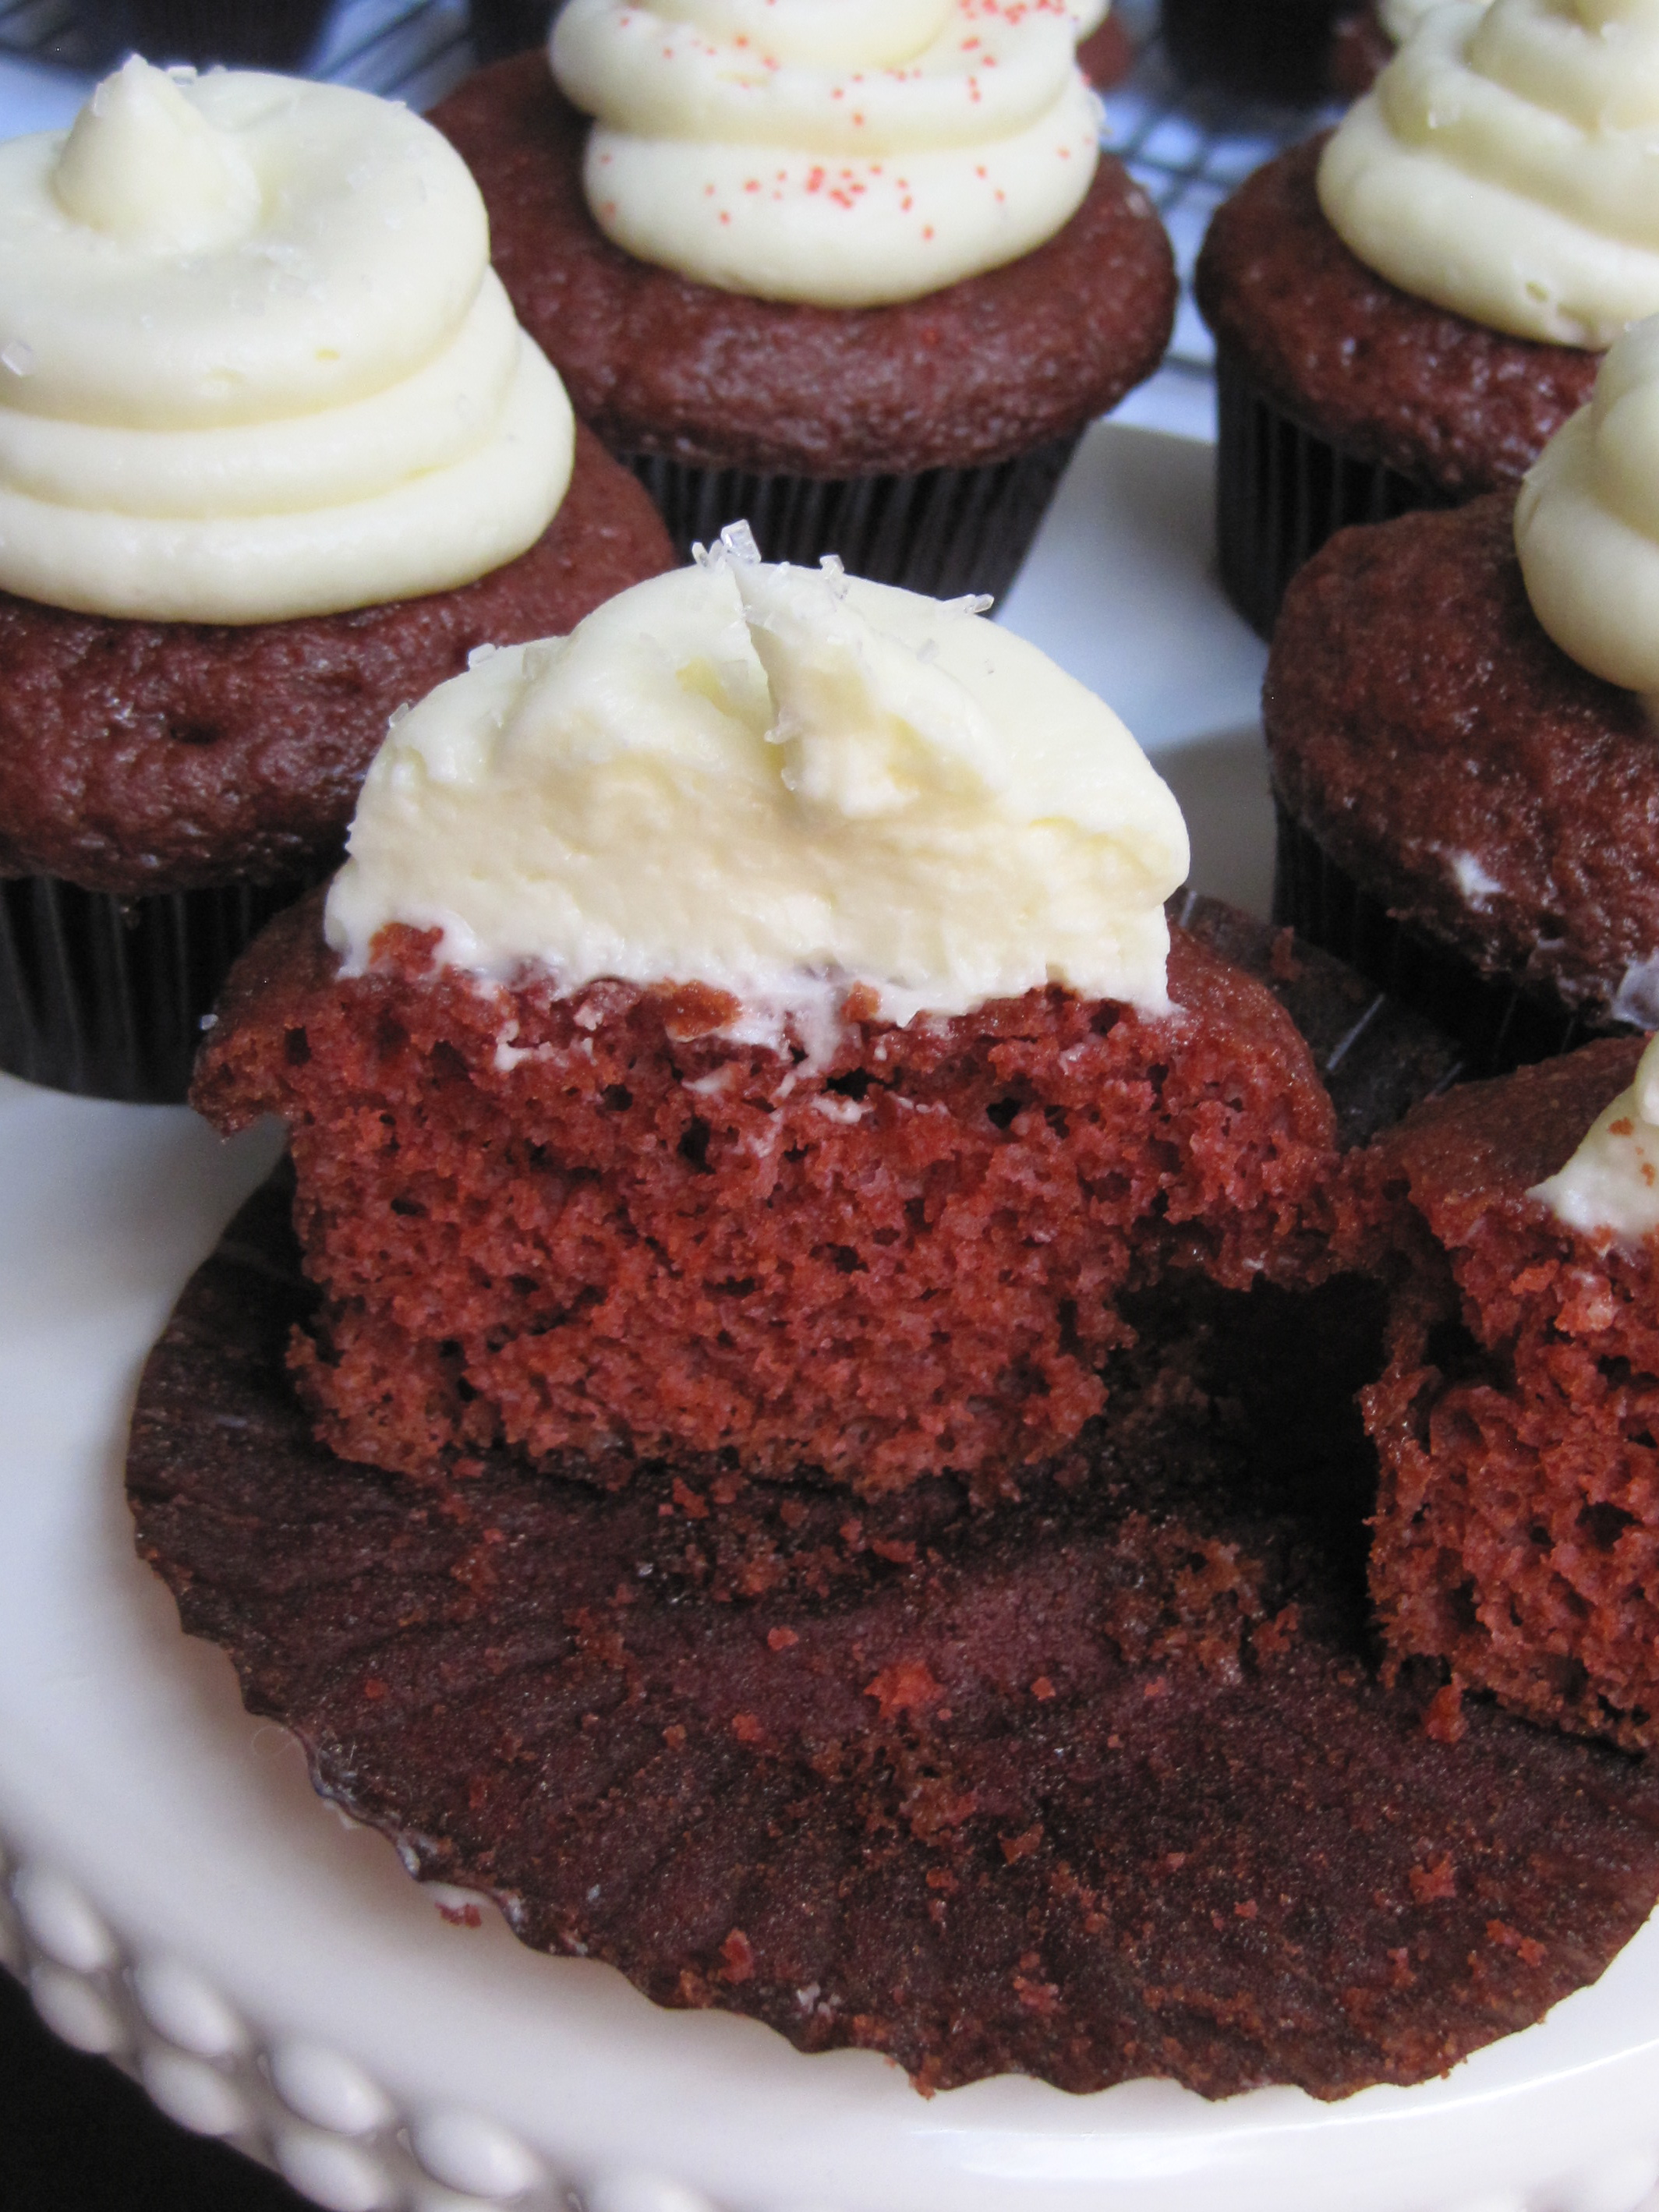
and here’s a recipe for my favorite vanilla cupcakes with vanilla buttercream frosting.
vanilla cupcakes ingredients:
1 and 1/8 cups cake flour
1 and 1/4 teaspoons baking powder
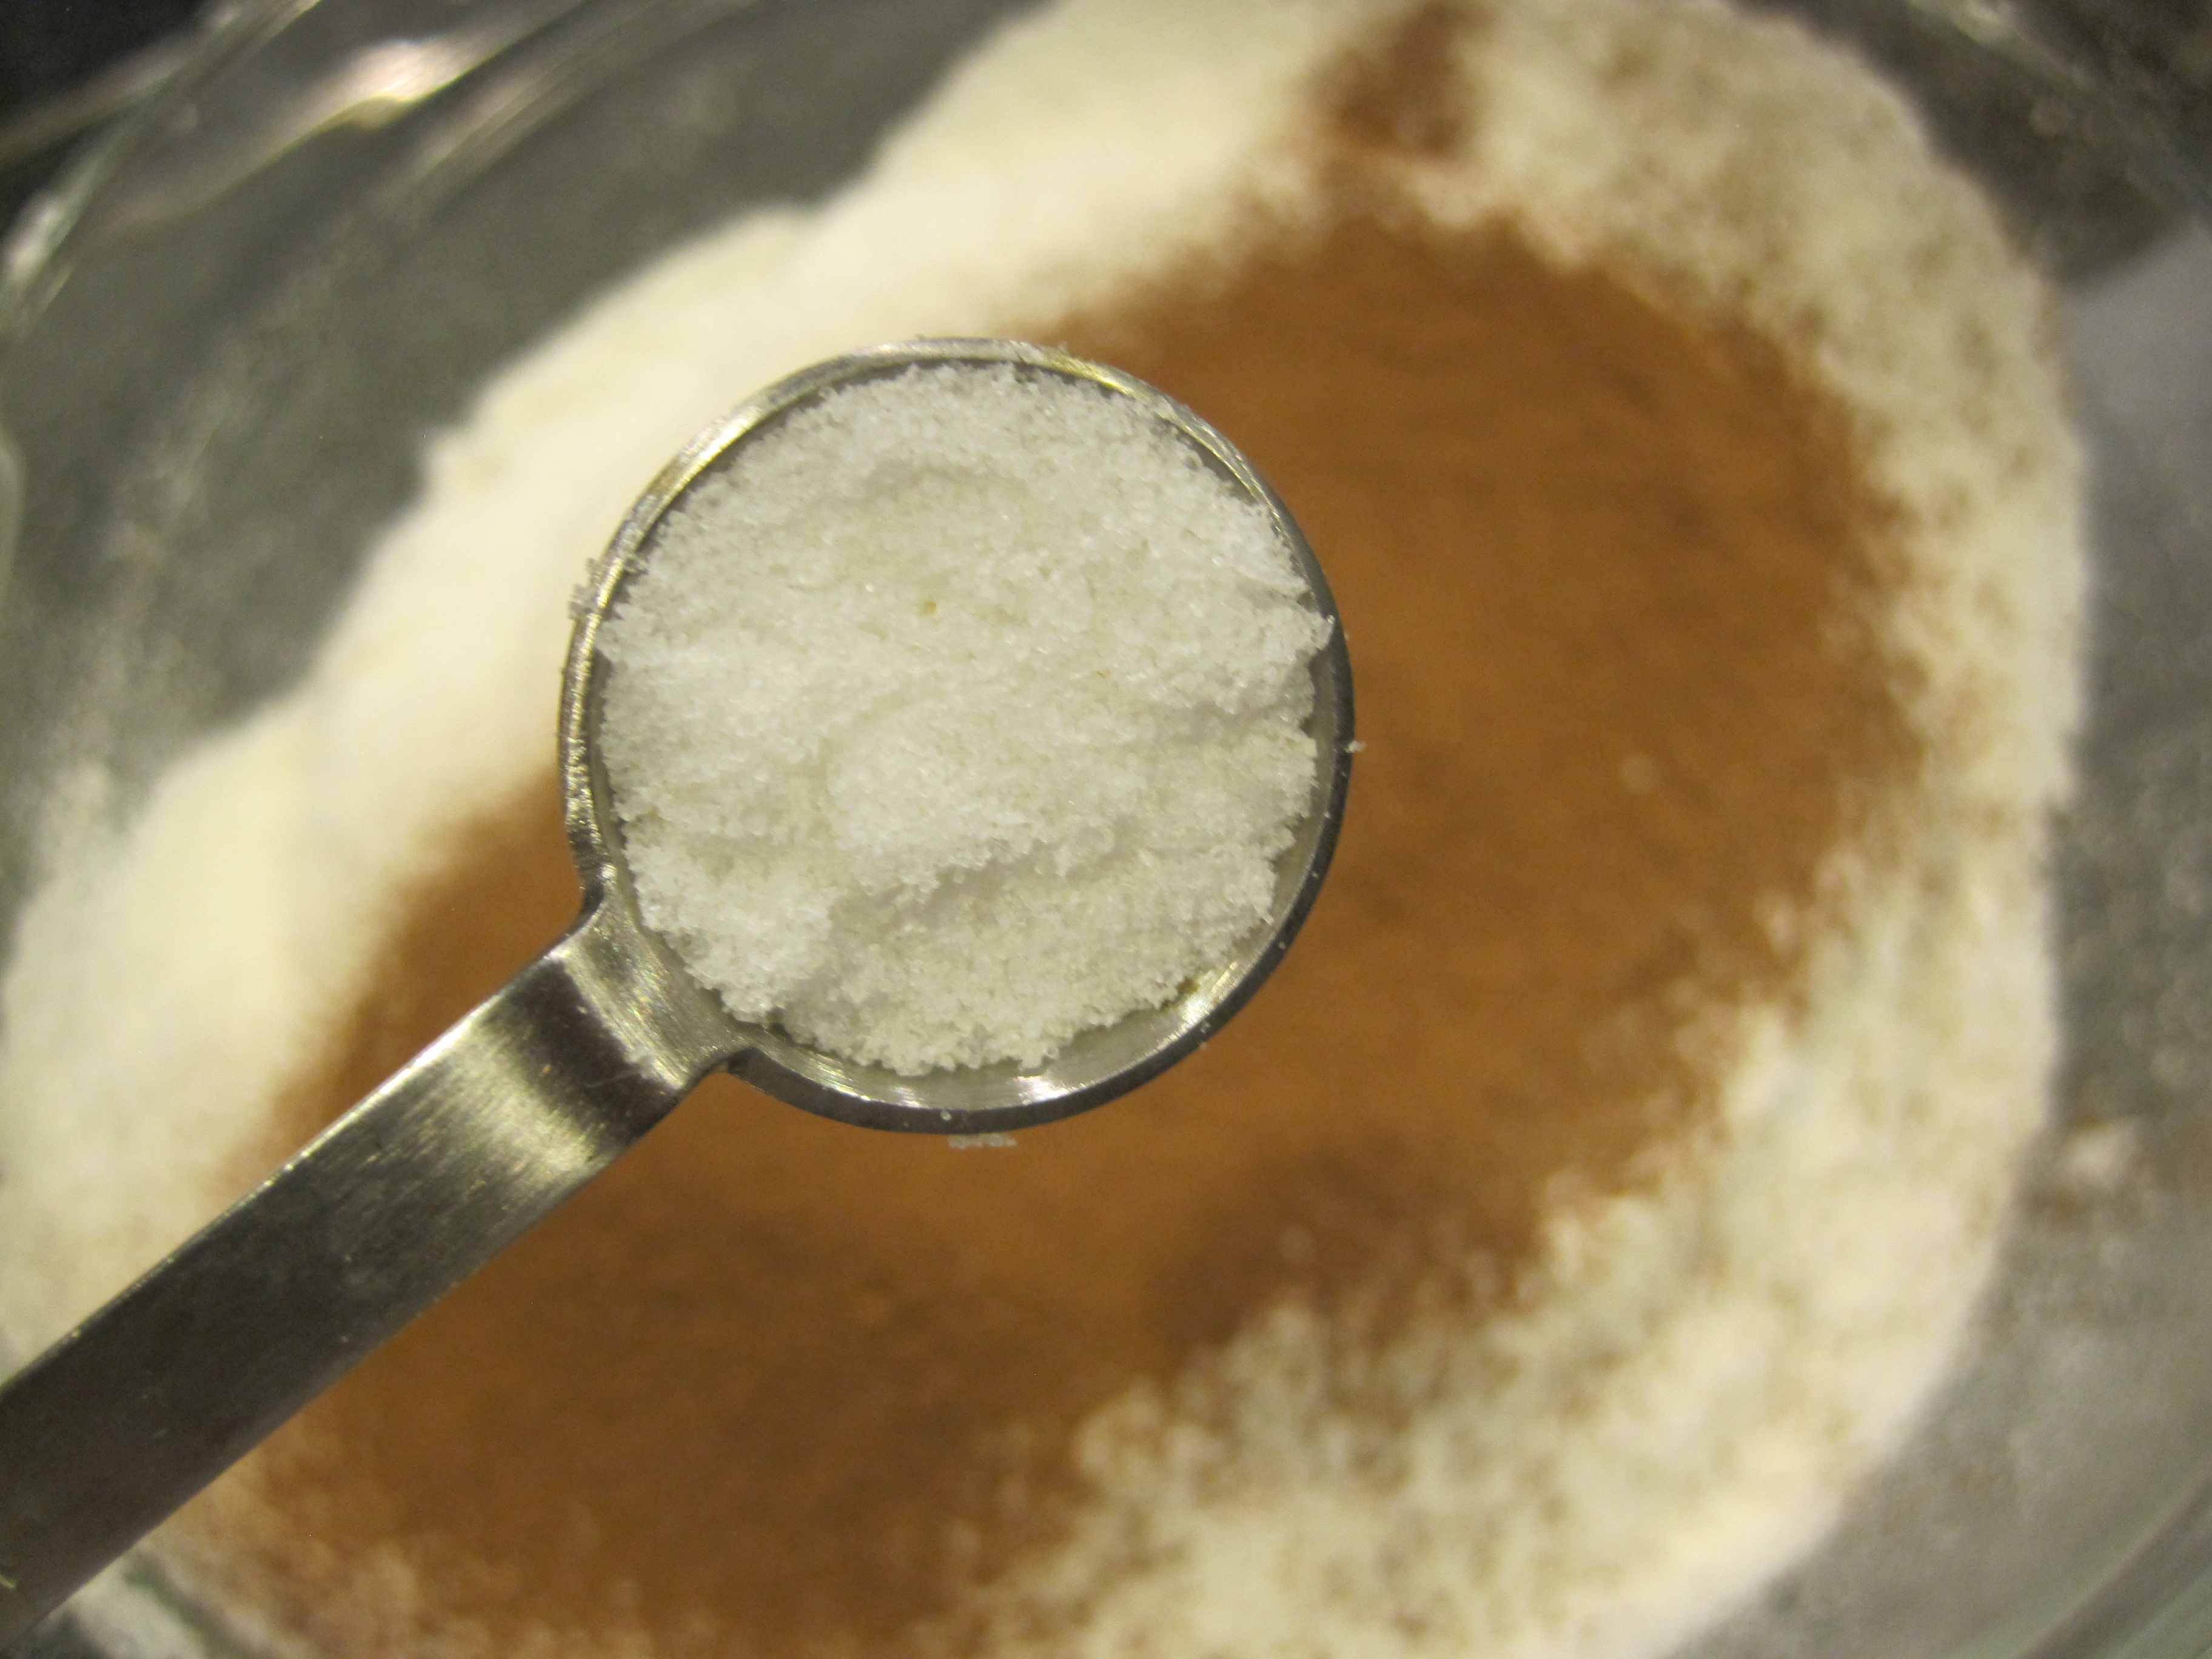
1/2 teaspoon sea salt
6 tablespoons unsalted butter, room temperature {still cold to the touch; sitting on kitchen counter for 30 to 50 minutes}
3/4 cup white granulated sugar
3 large eggs, room temperature {sitting on kitchen counter for 30 to 50 minutes}
1 tablespoon vanilla extract
1/2 cup whole milk, room temperature {sitting on kitchen counter for 30 to 50 minutes}
yields 10 cupcakes
4th of July vanilla buttercream ingredients
2 sticks unsalted butter {still cold to the touch; sitting on kitchen counter for 30 to 50 minutes}
1 and 1/2 cups powdered sugar
1/4 teaspoon sea salt
1 teaspoon vanilla extract
1/4 teaspoon blue gel paste food coloring
yields a generous amount for 10 cupcakes
directions:
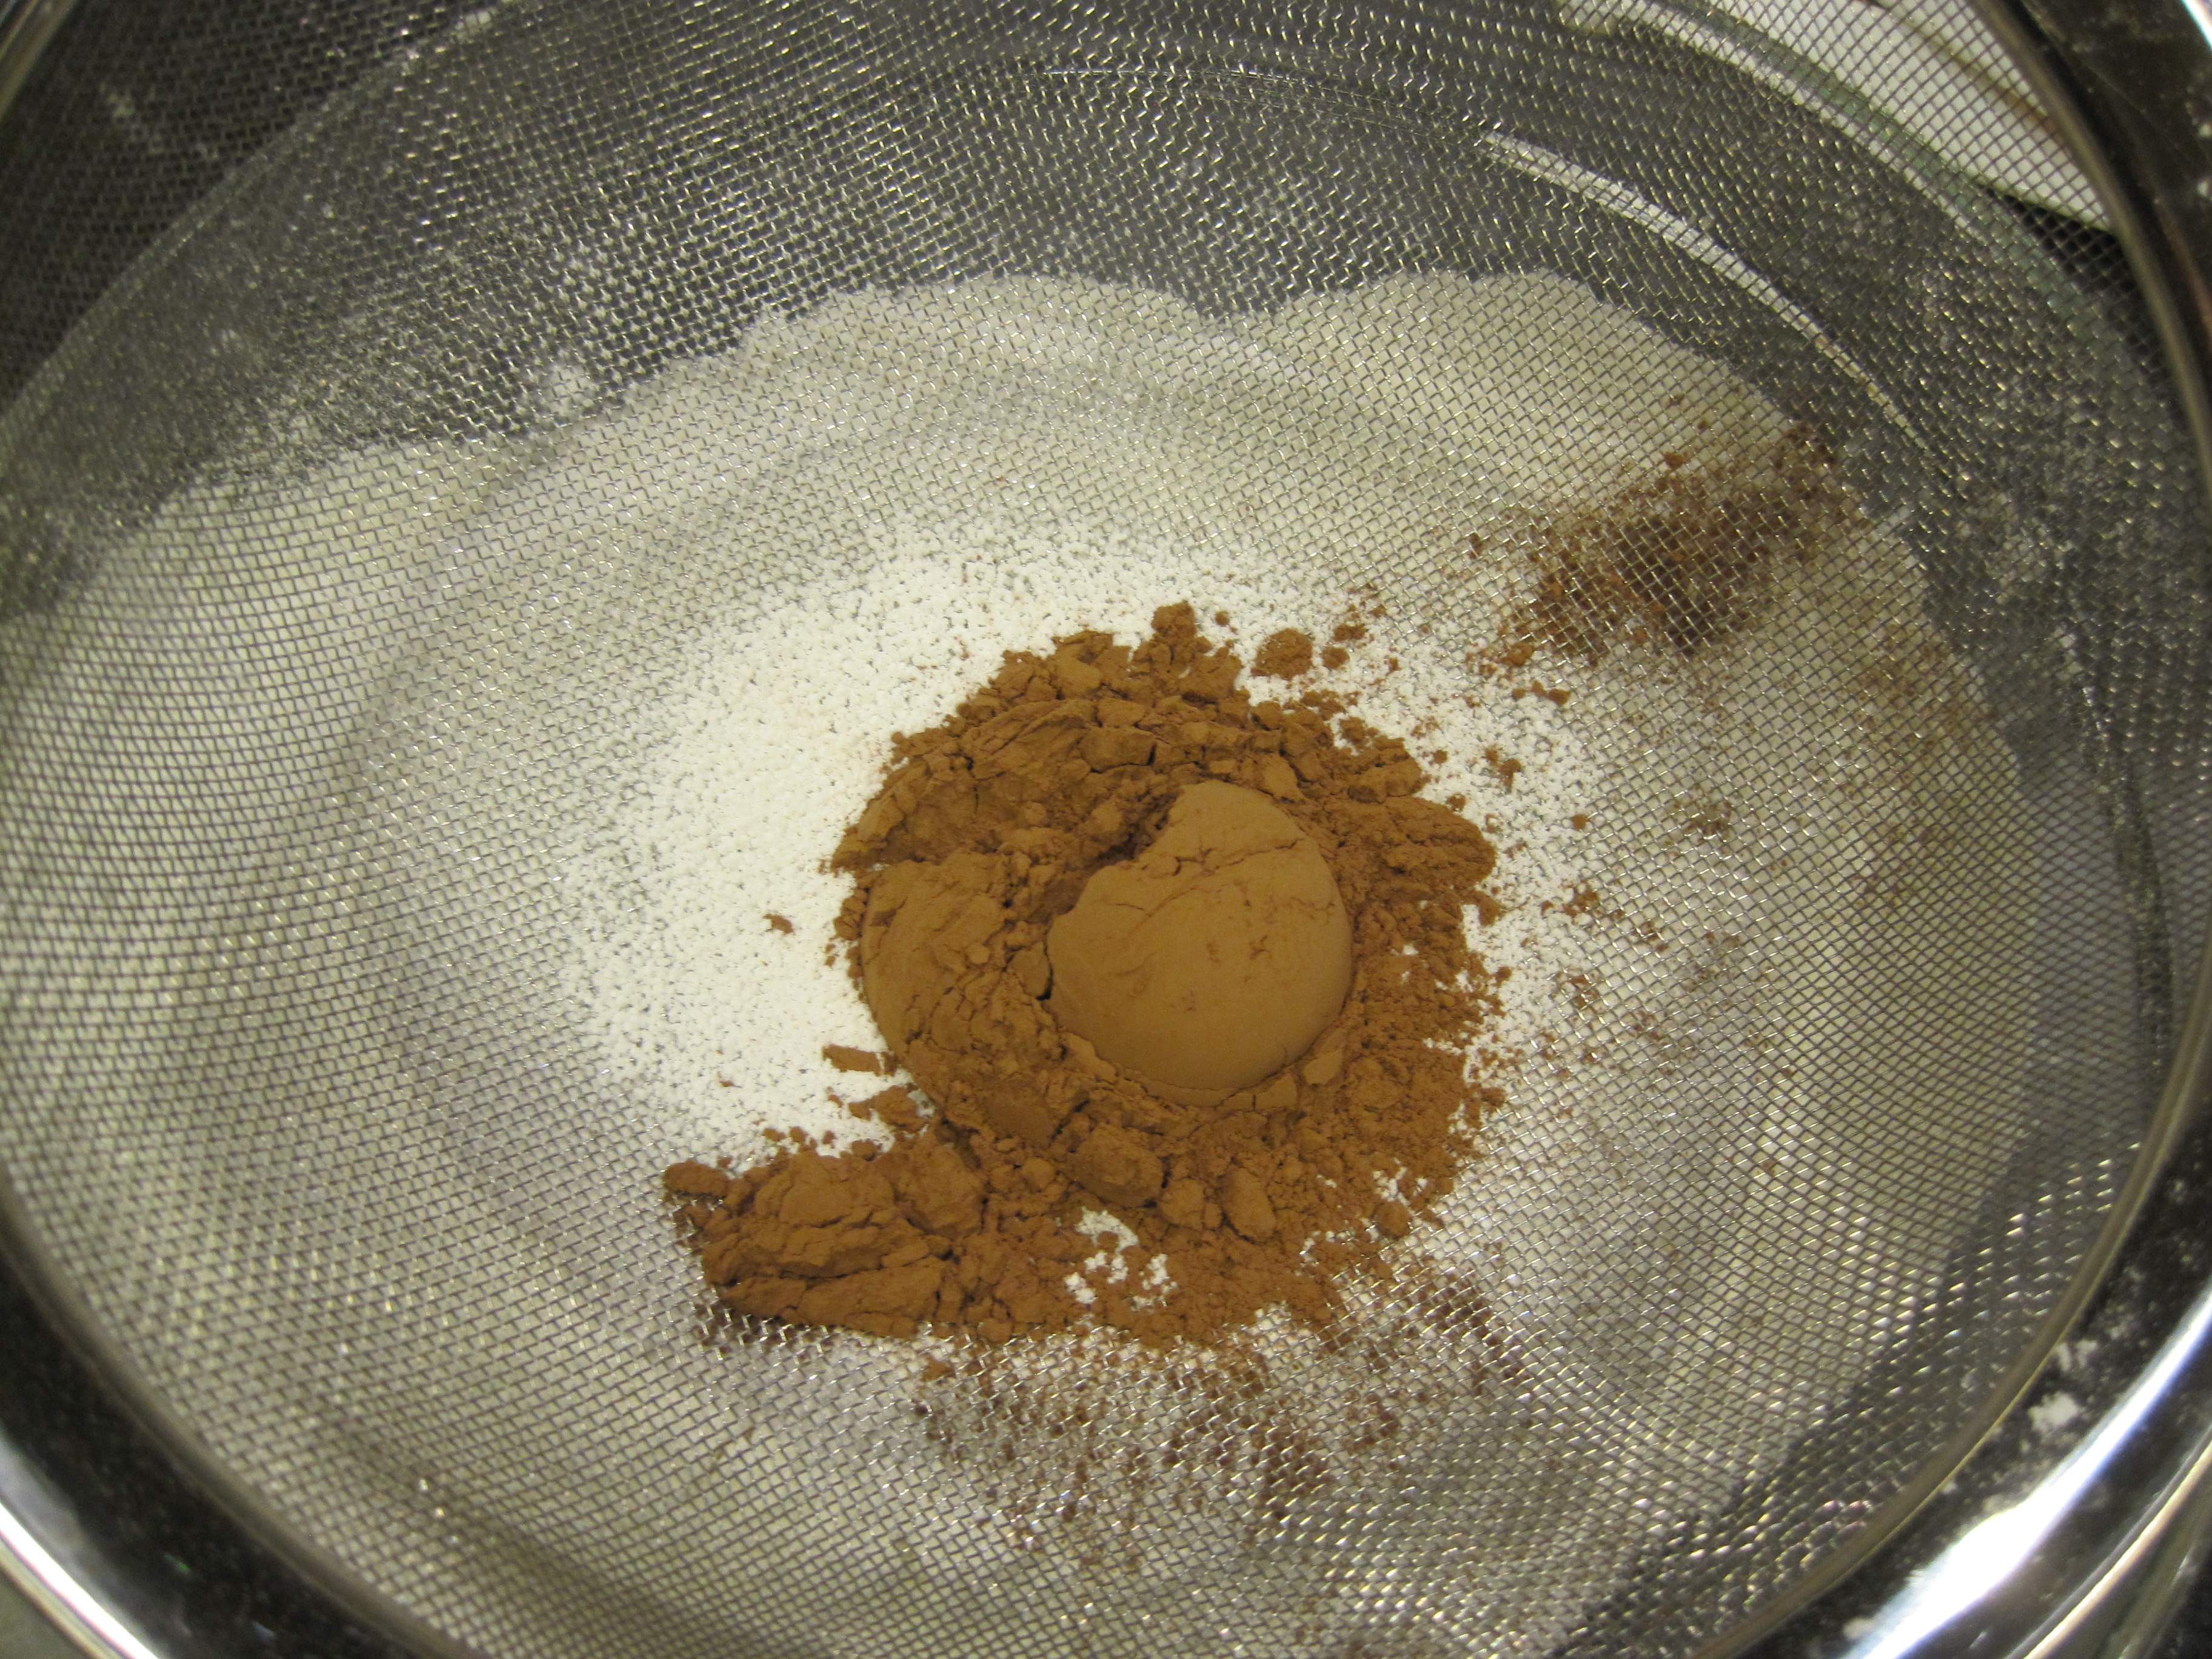
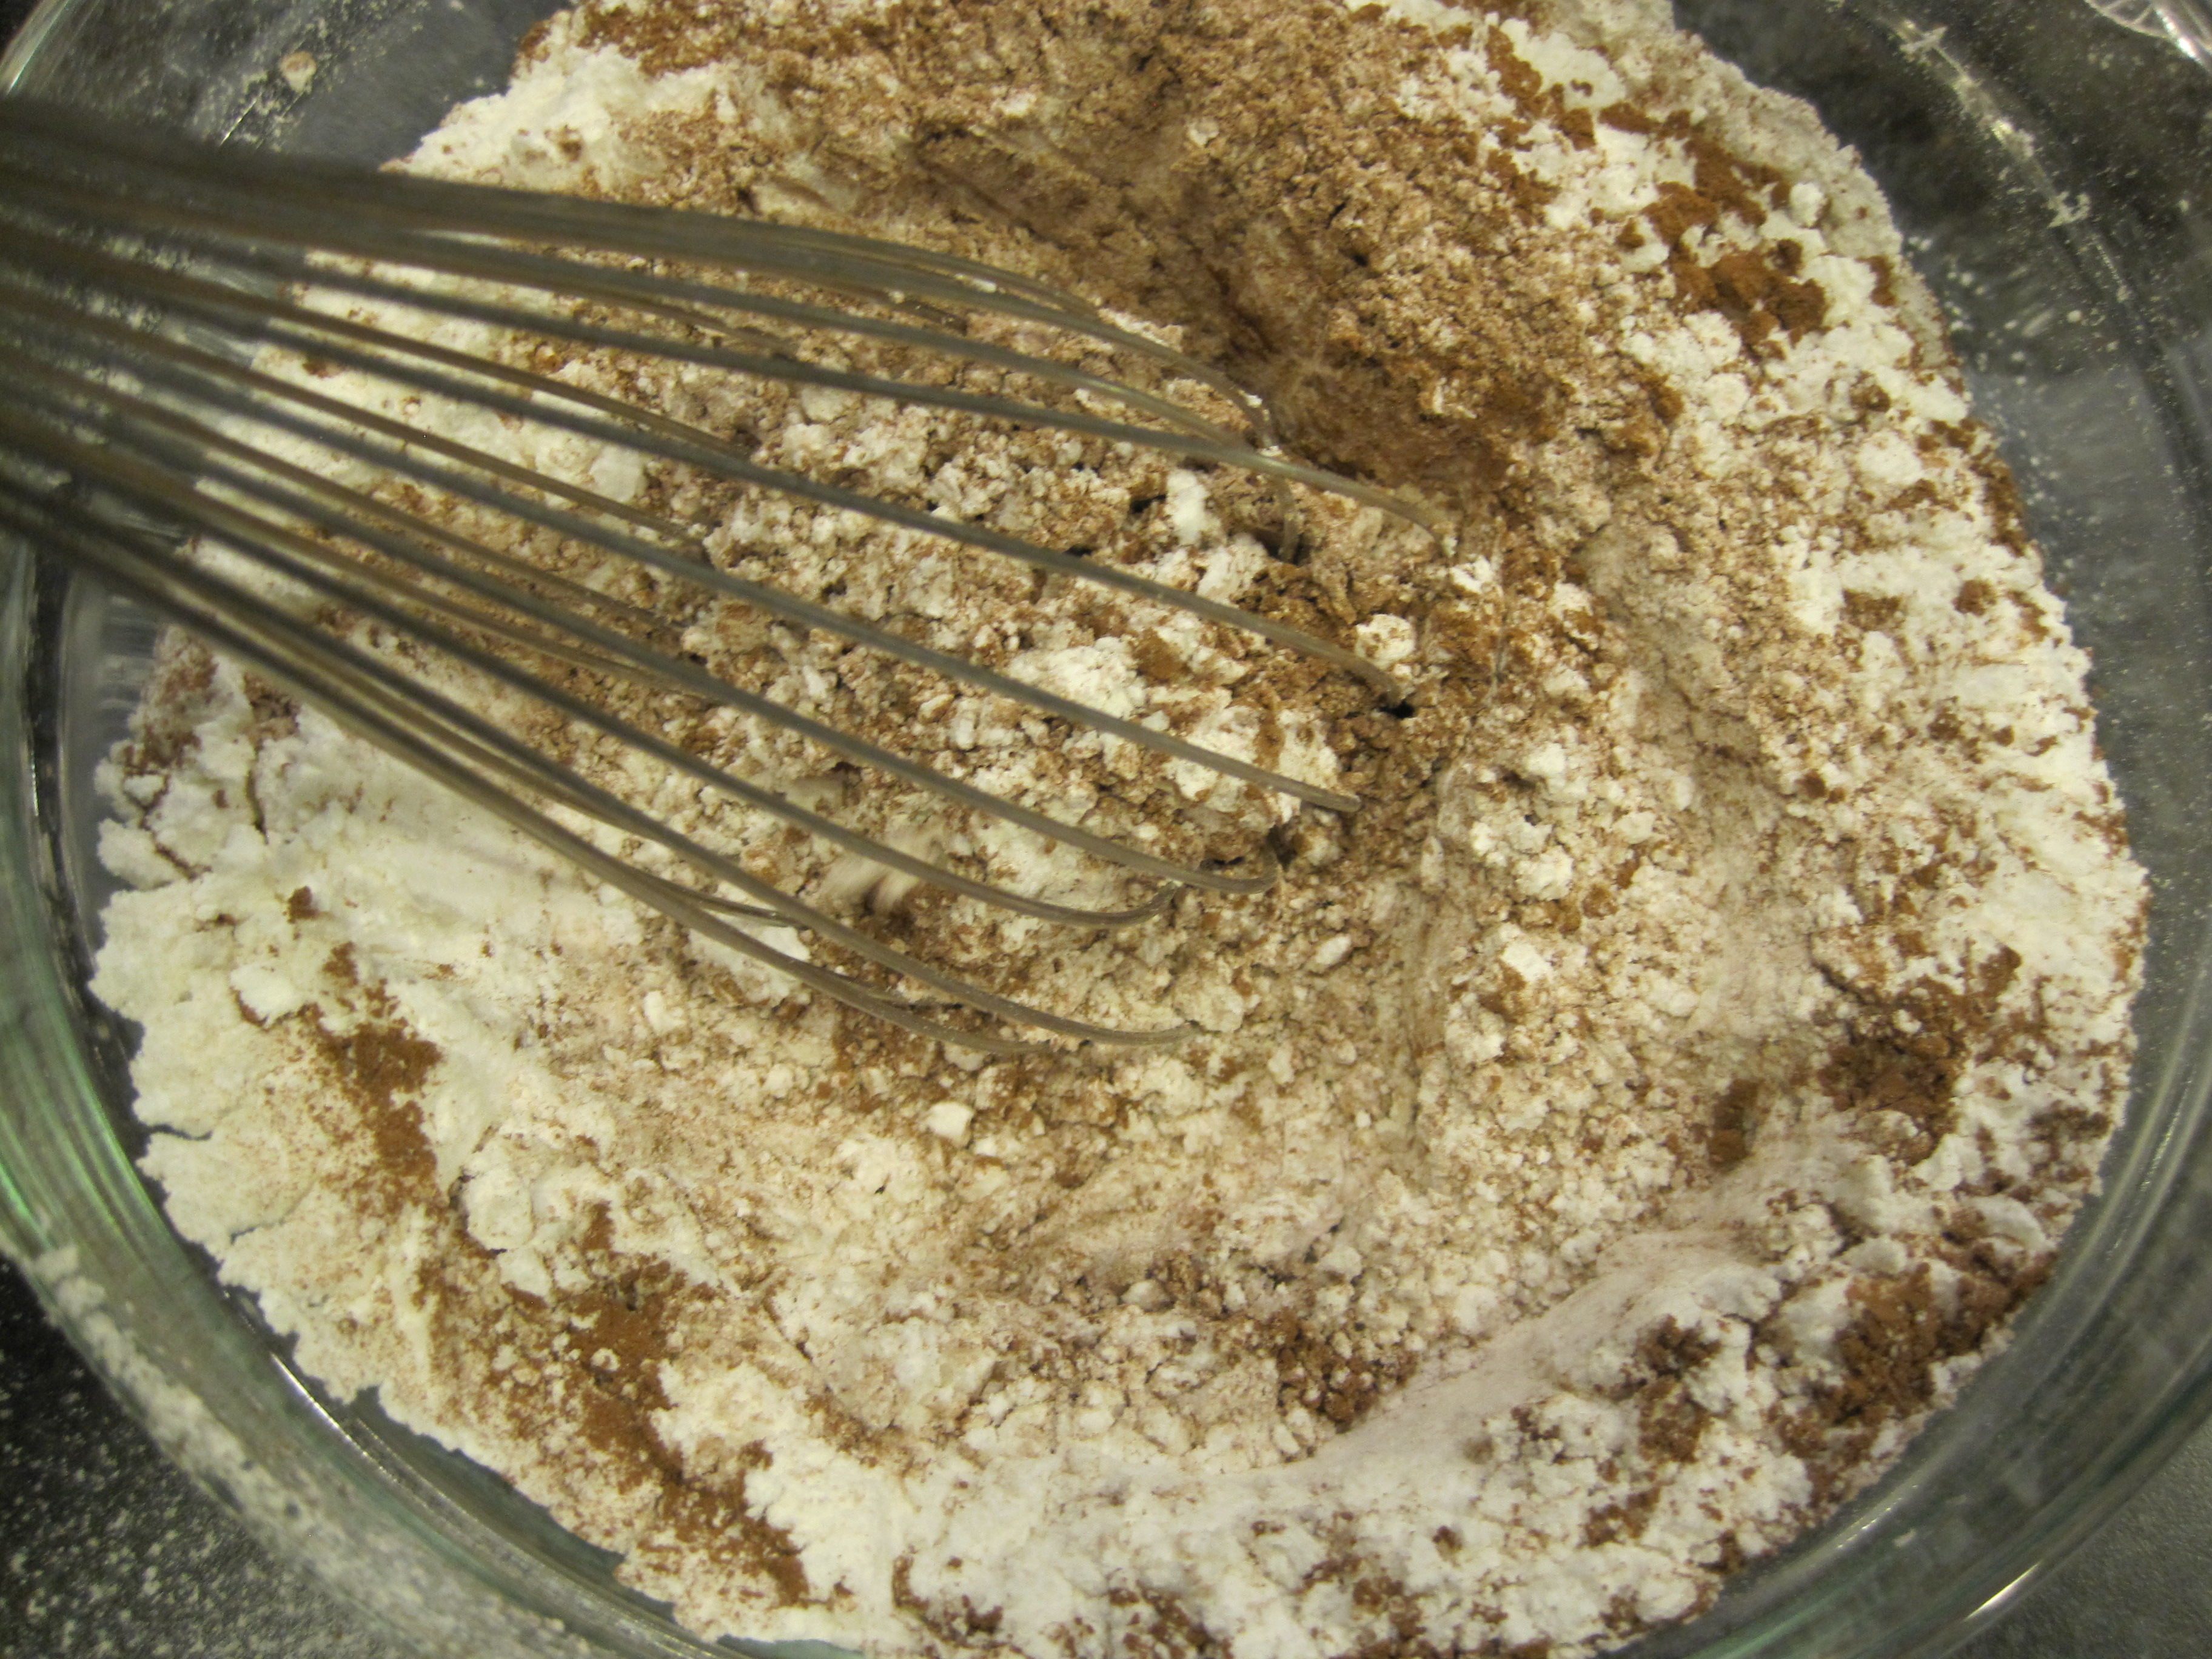
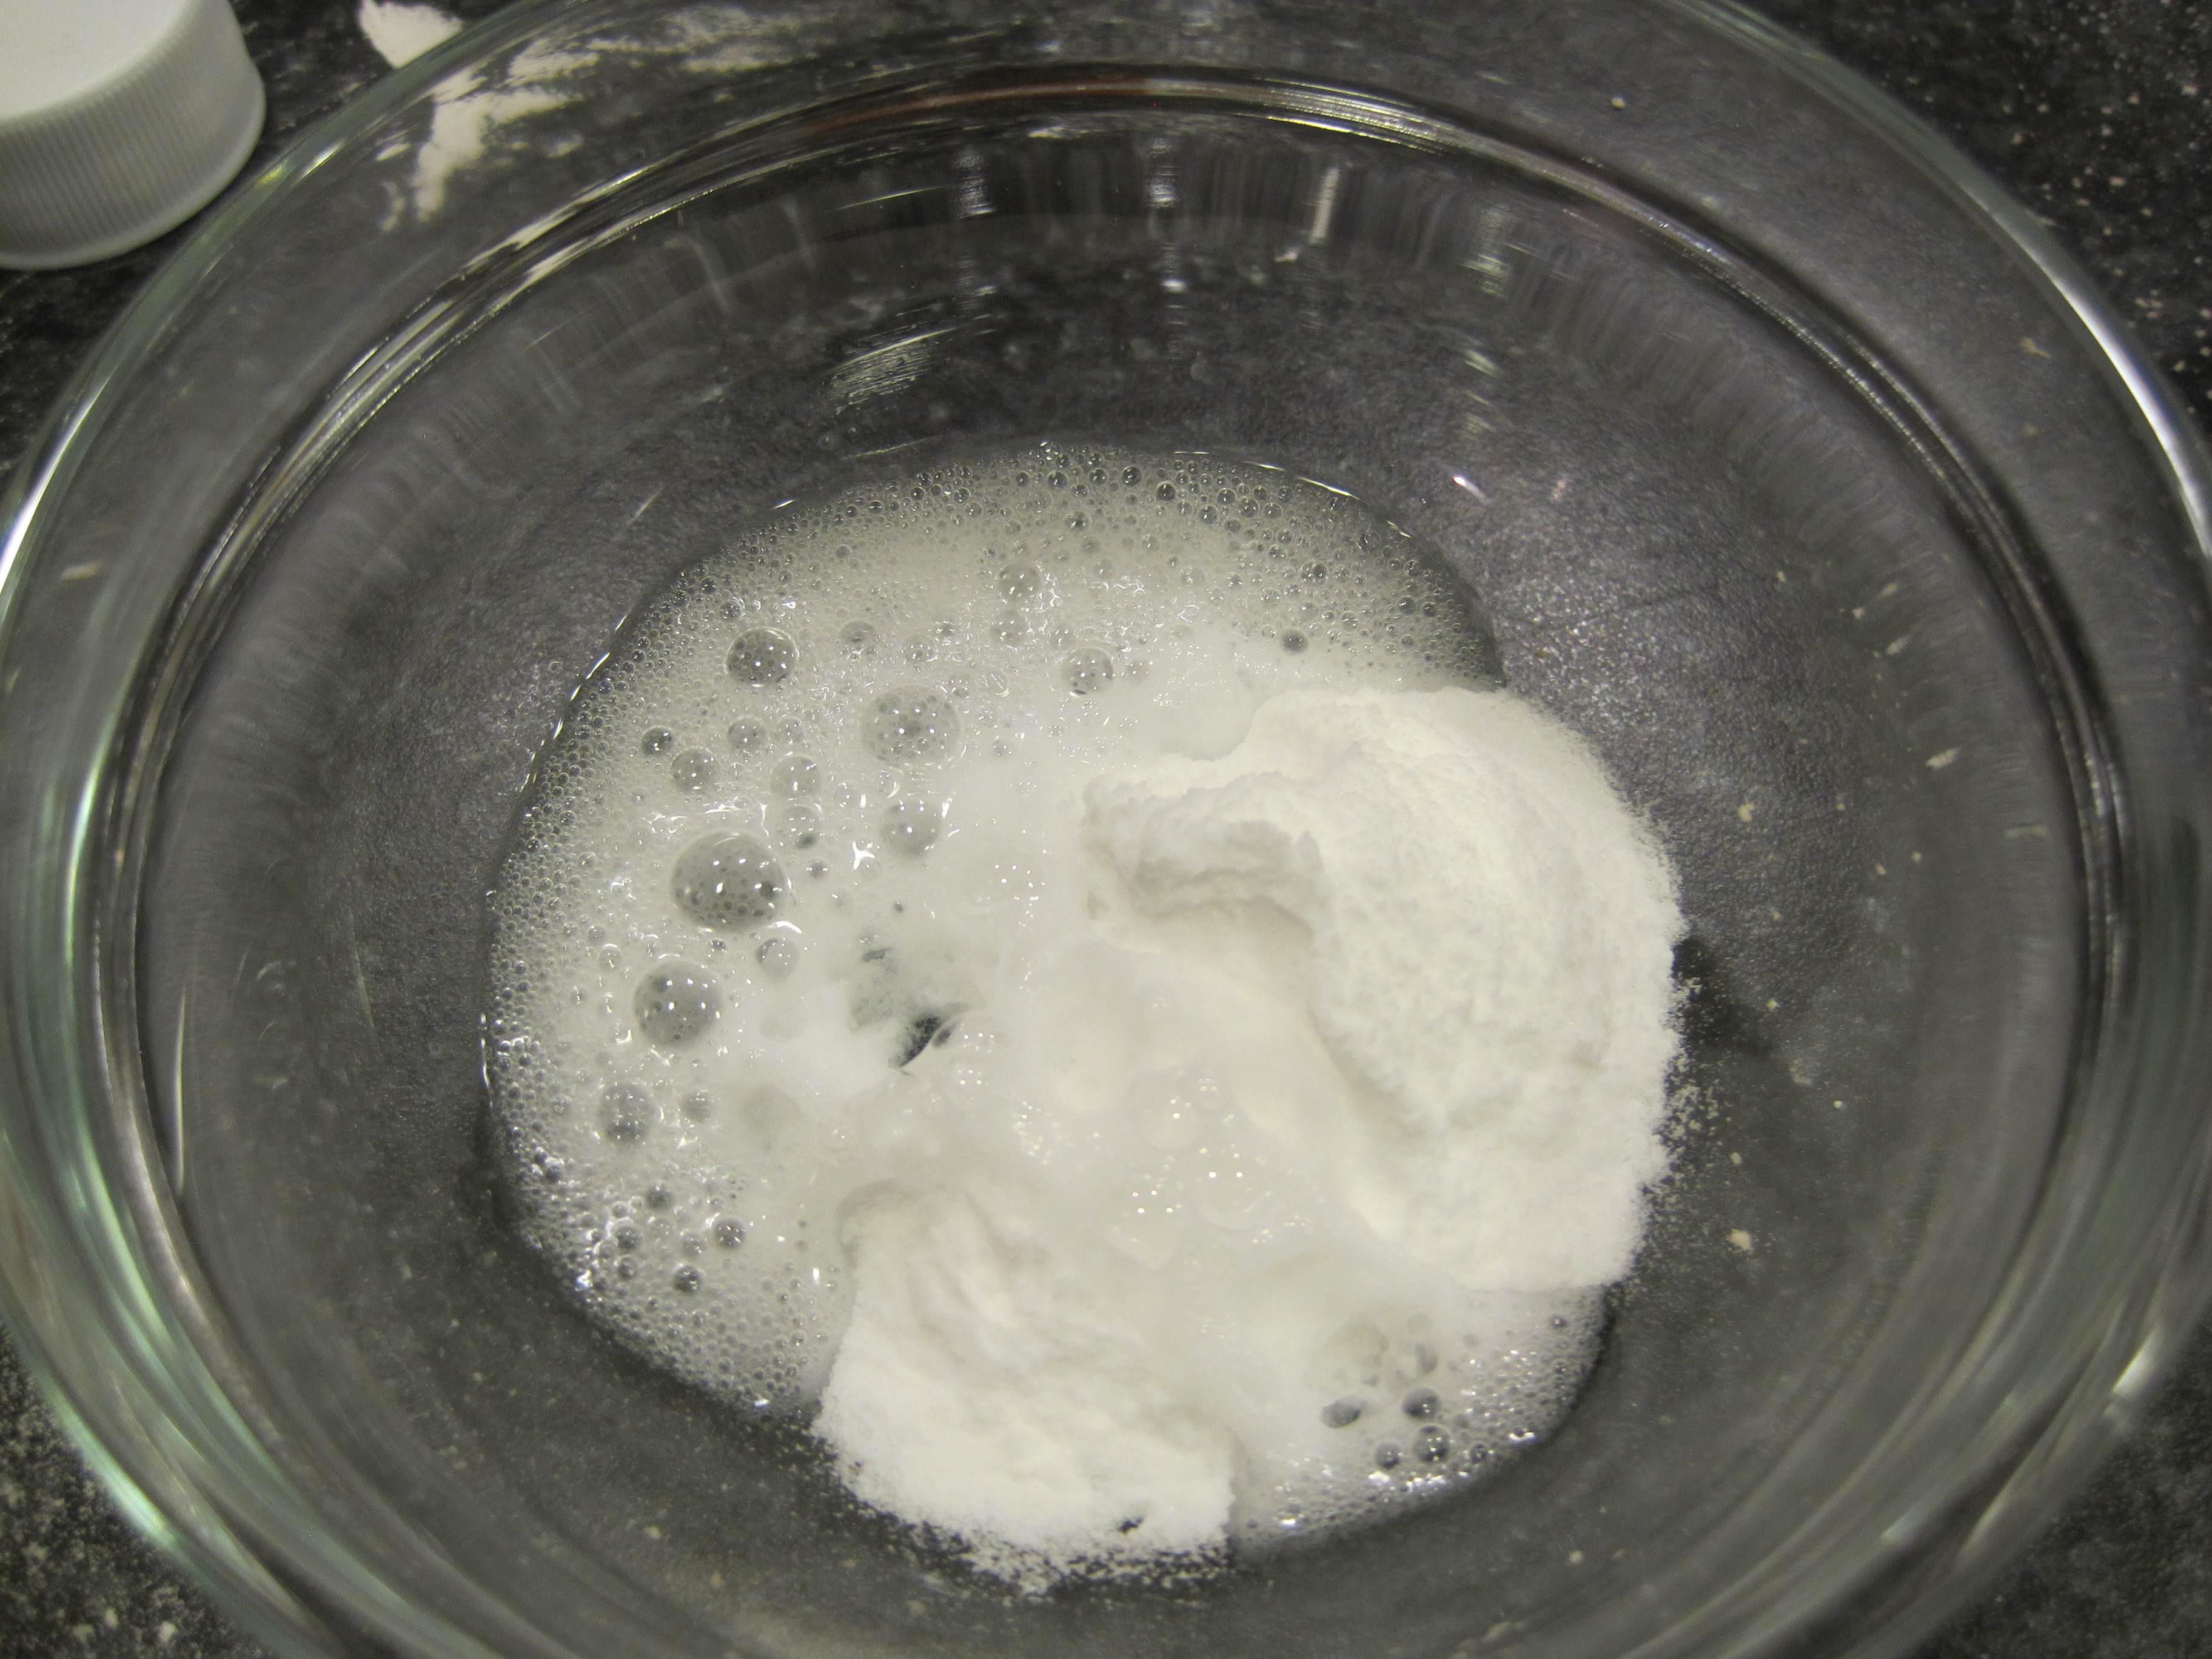
- preheat oven to 350F. line one standard cupcake pan with paper liners {10 cups in total} and set aside. in a medium bowl, sift cake flour with baking powder and salt. mix with a whisk and set aside.
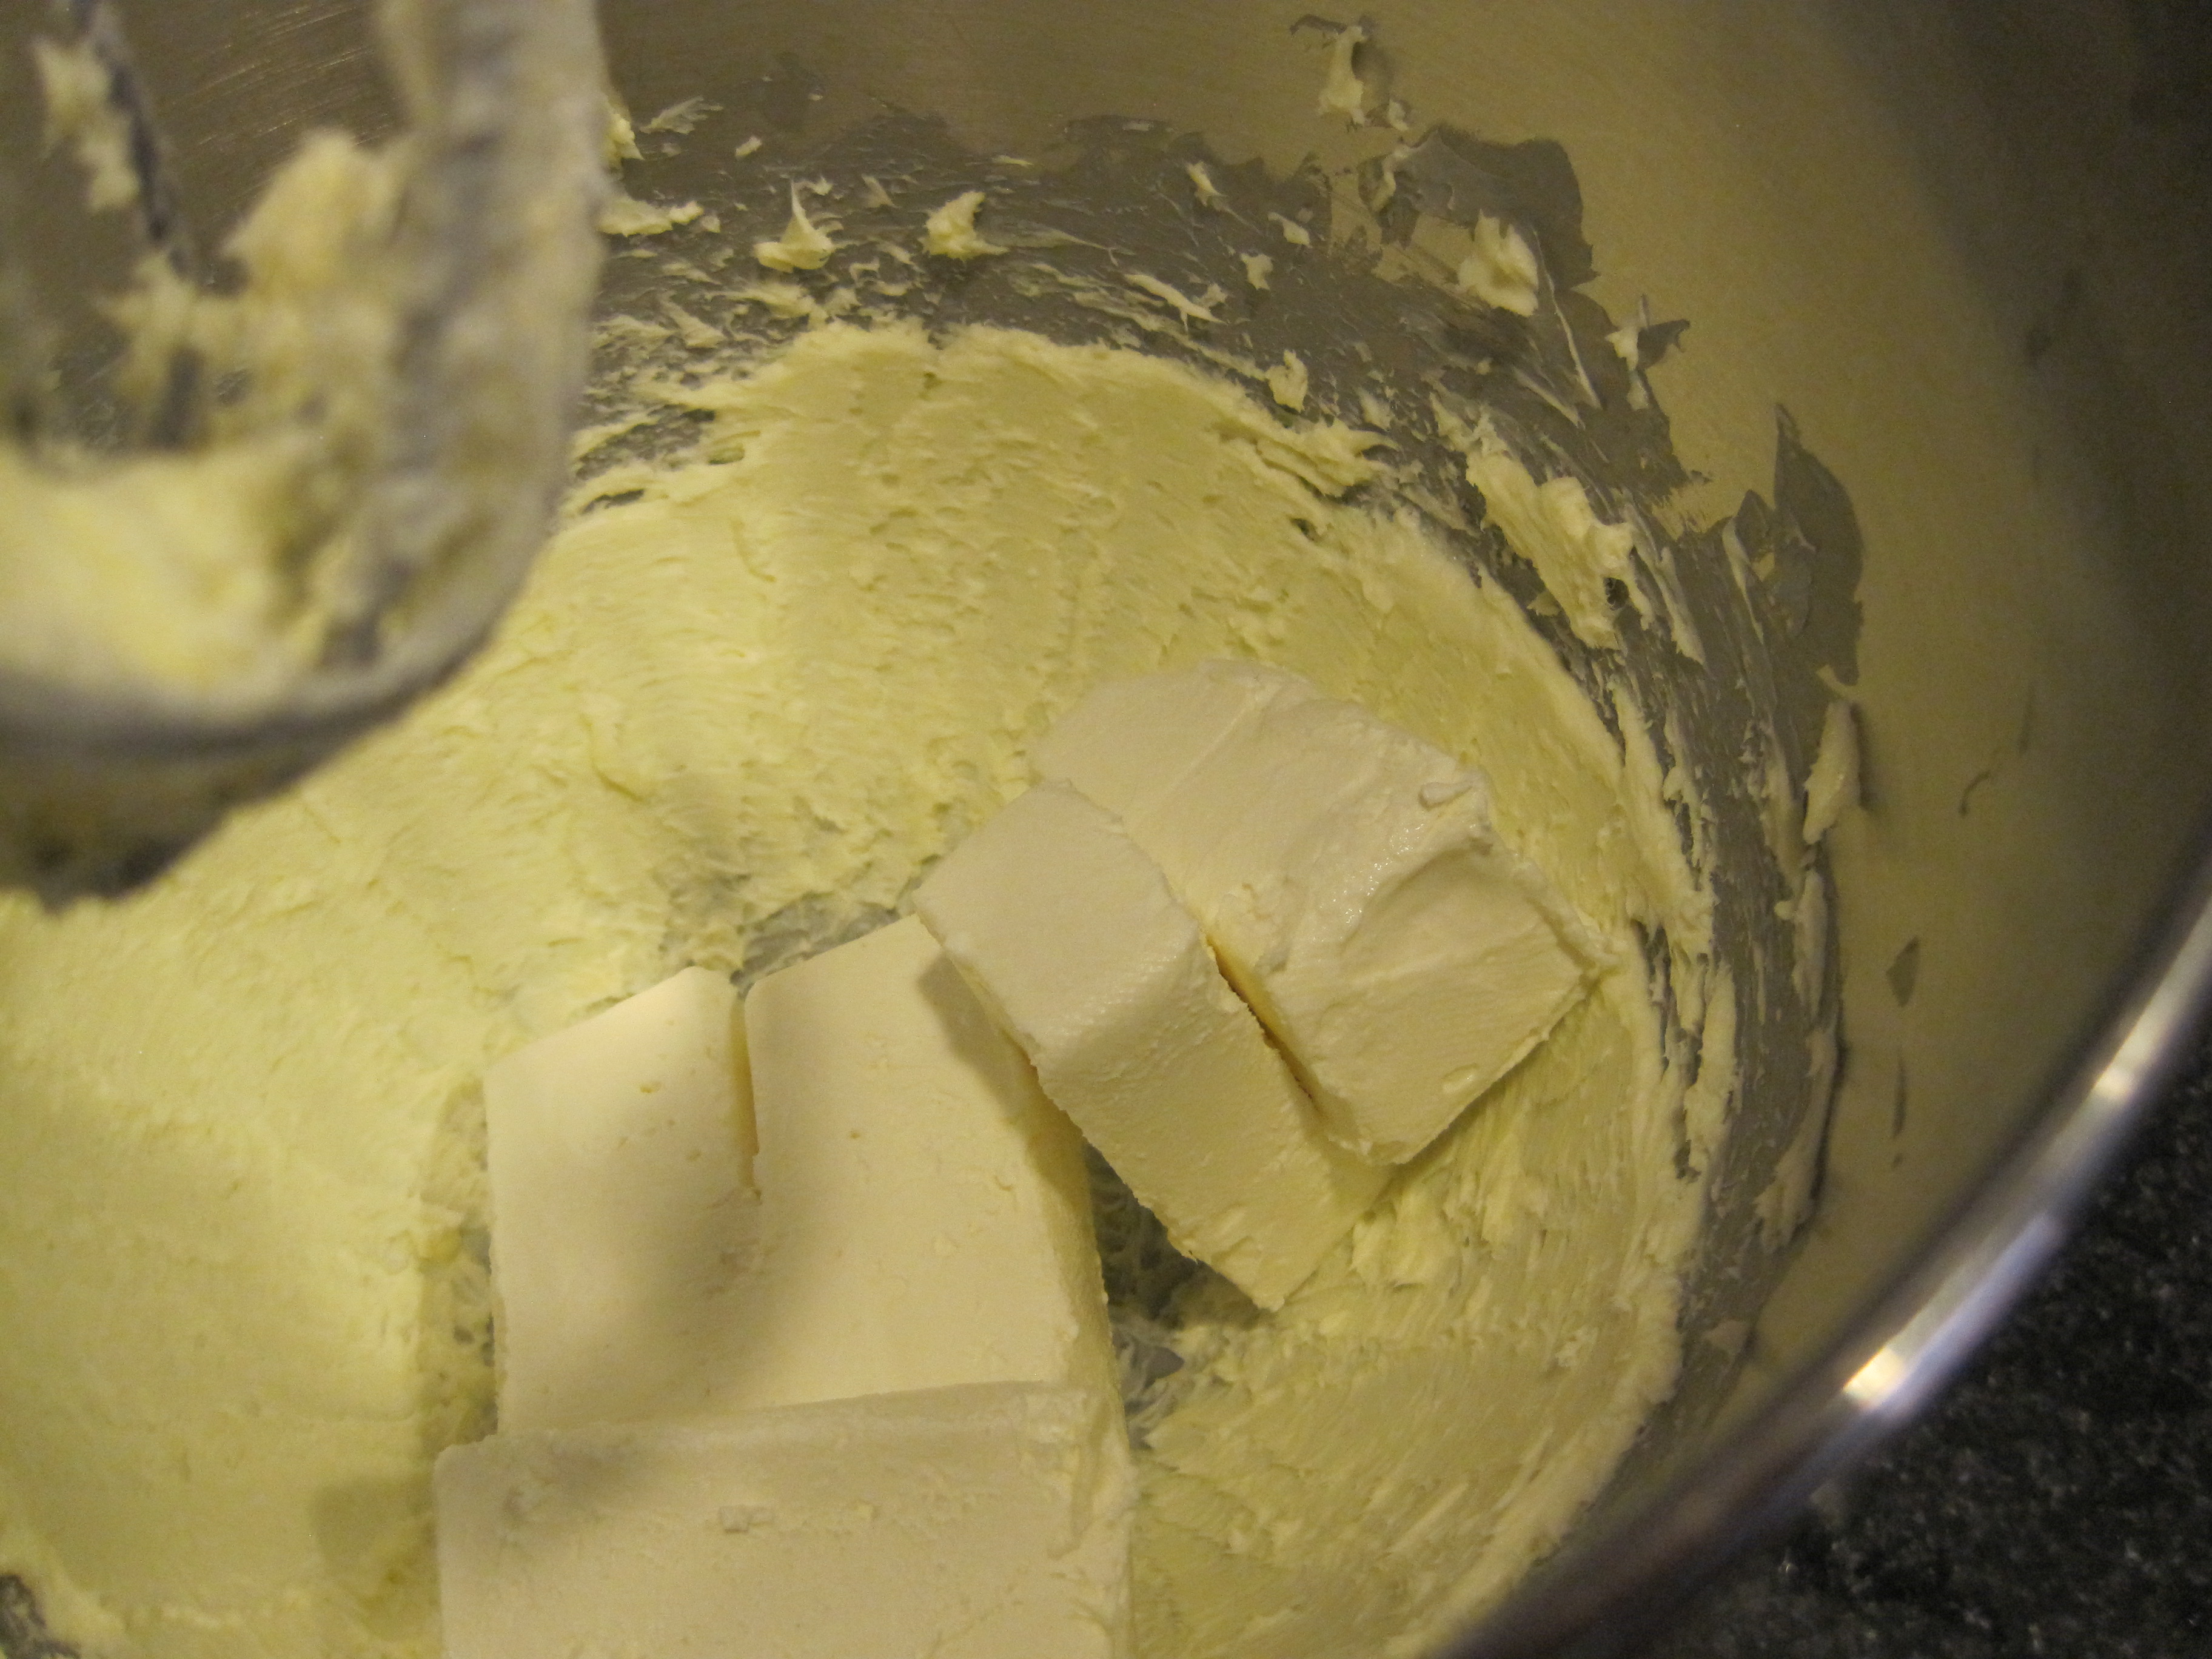
- cream butter in the bowl of a stand mixer fitted with the paddle attachment for 1 minute over medium speed {kitchenaid setting #5}.
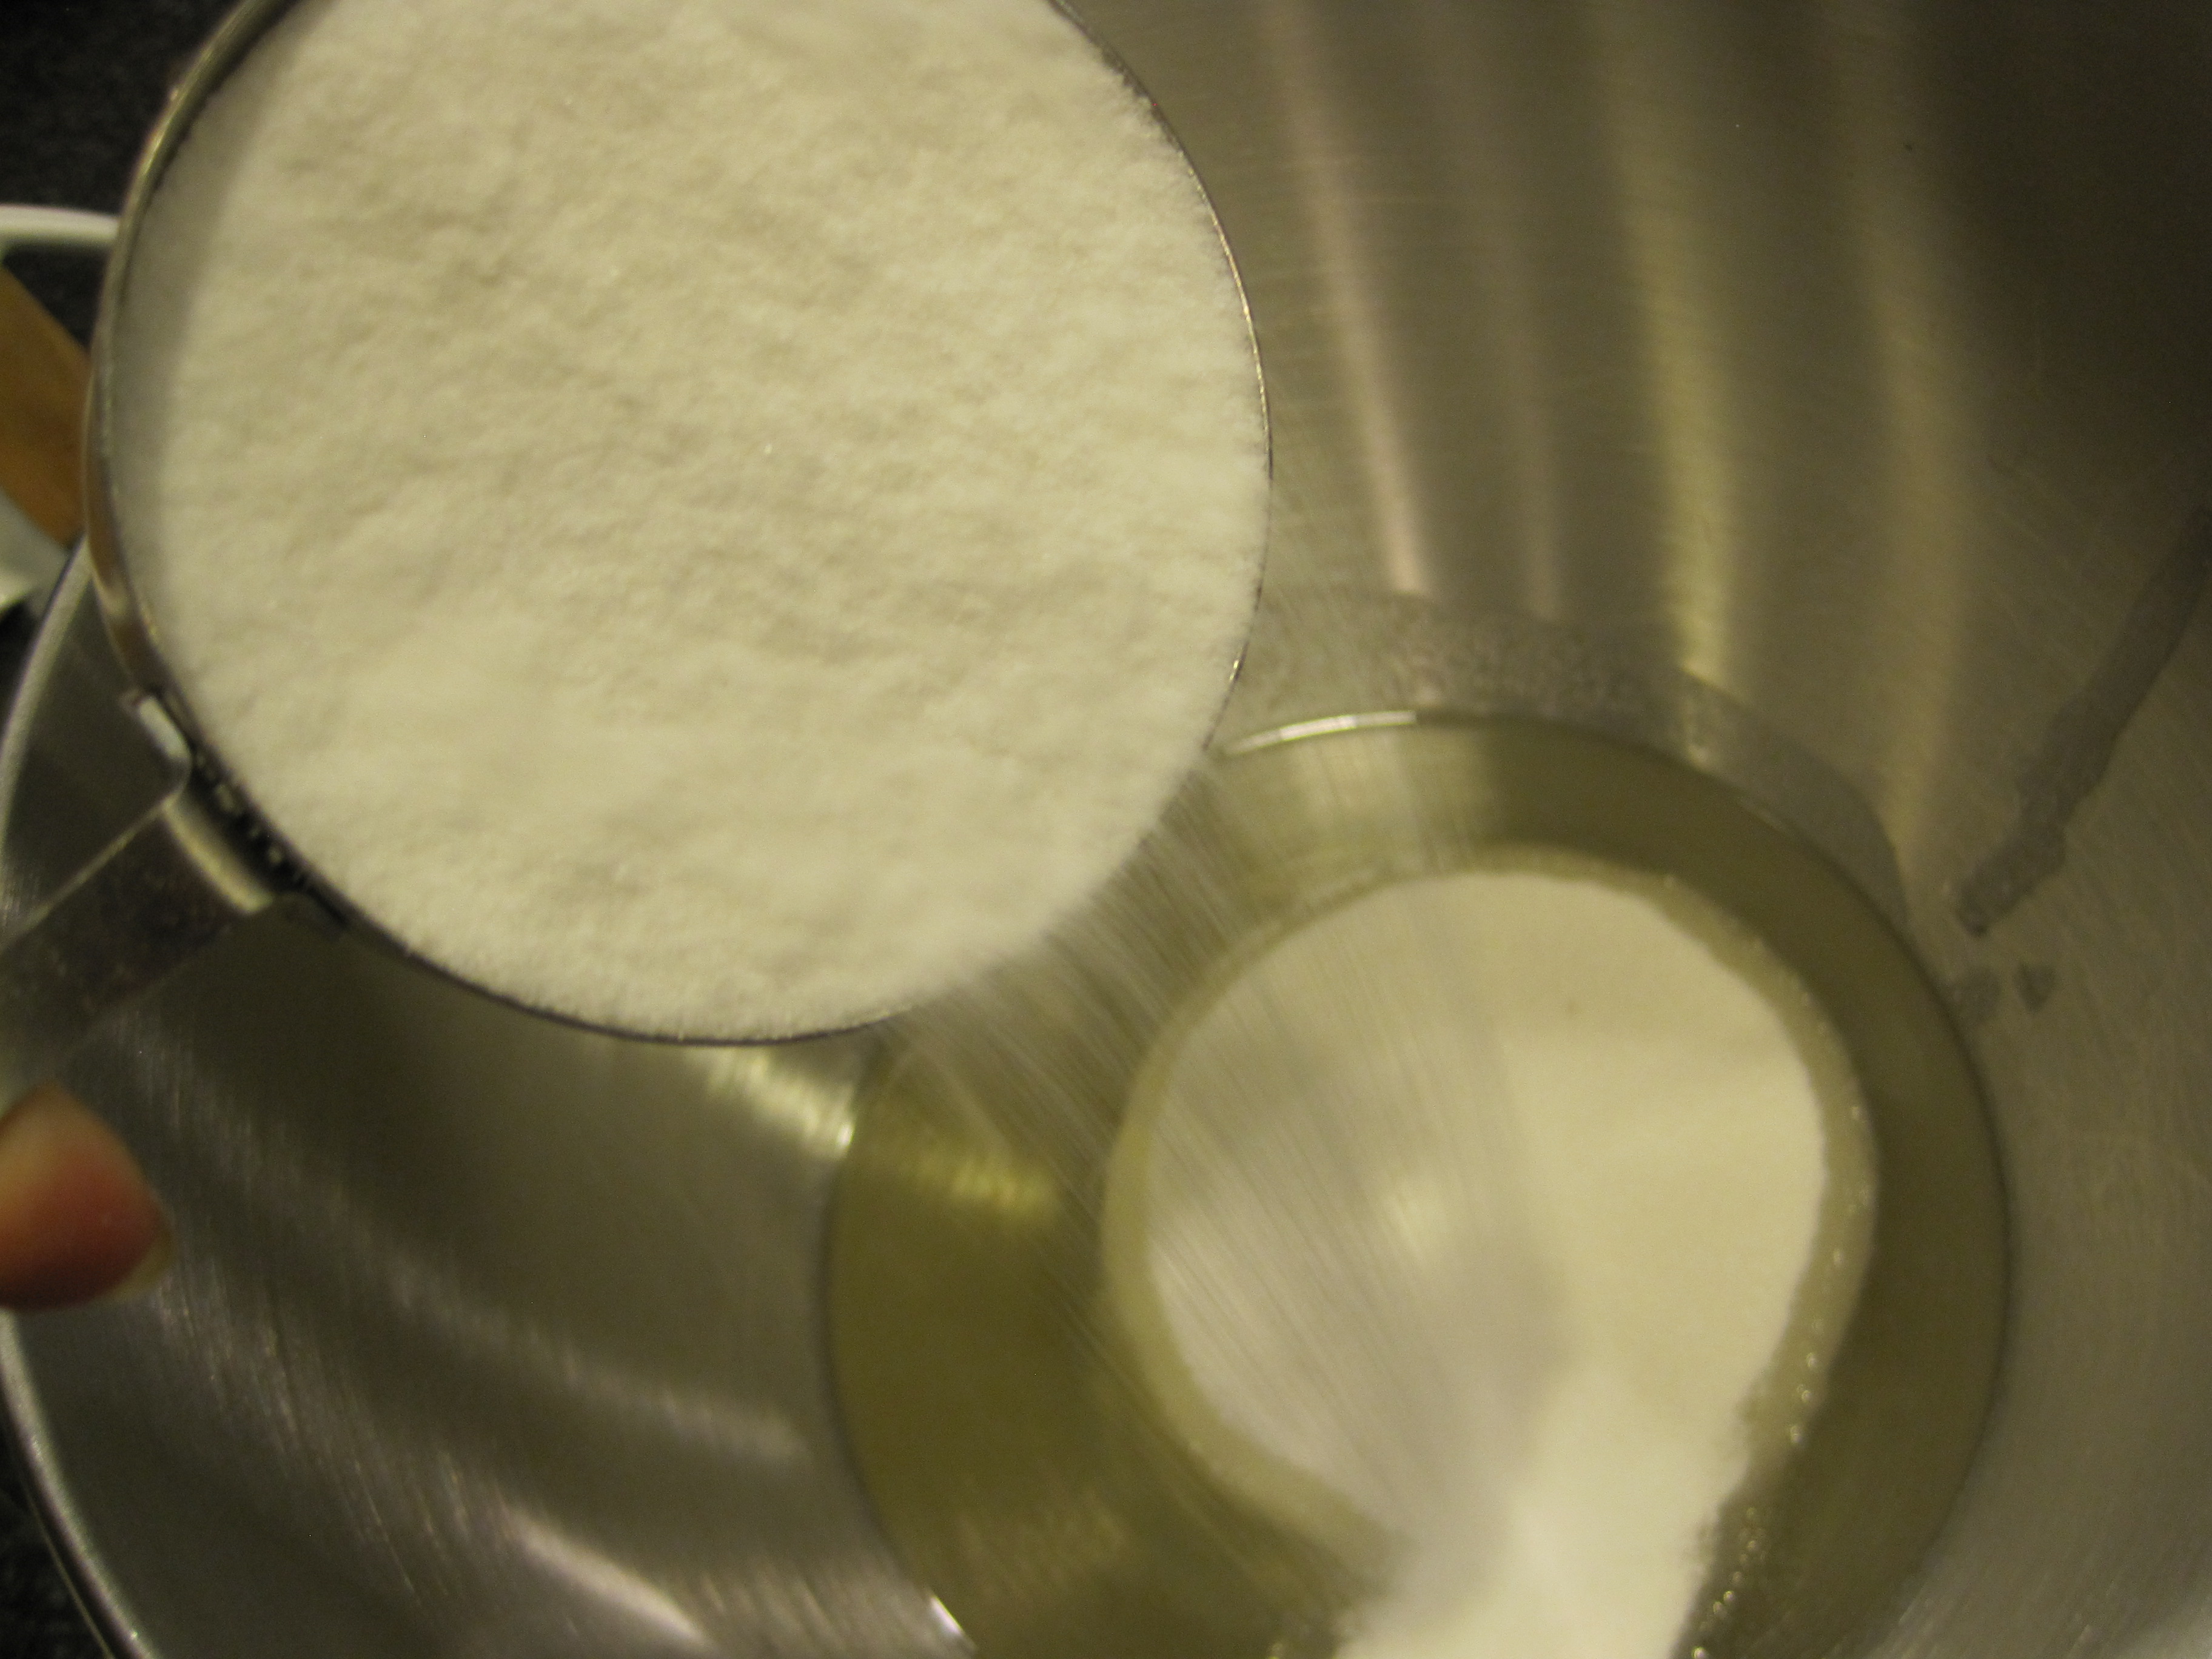
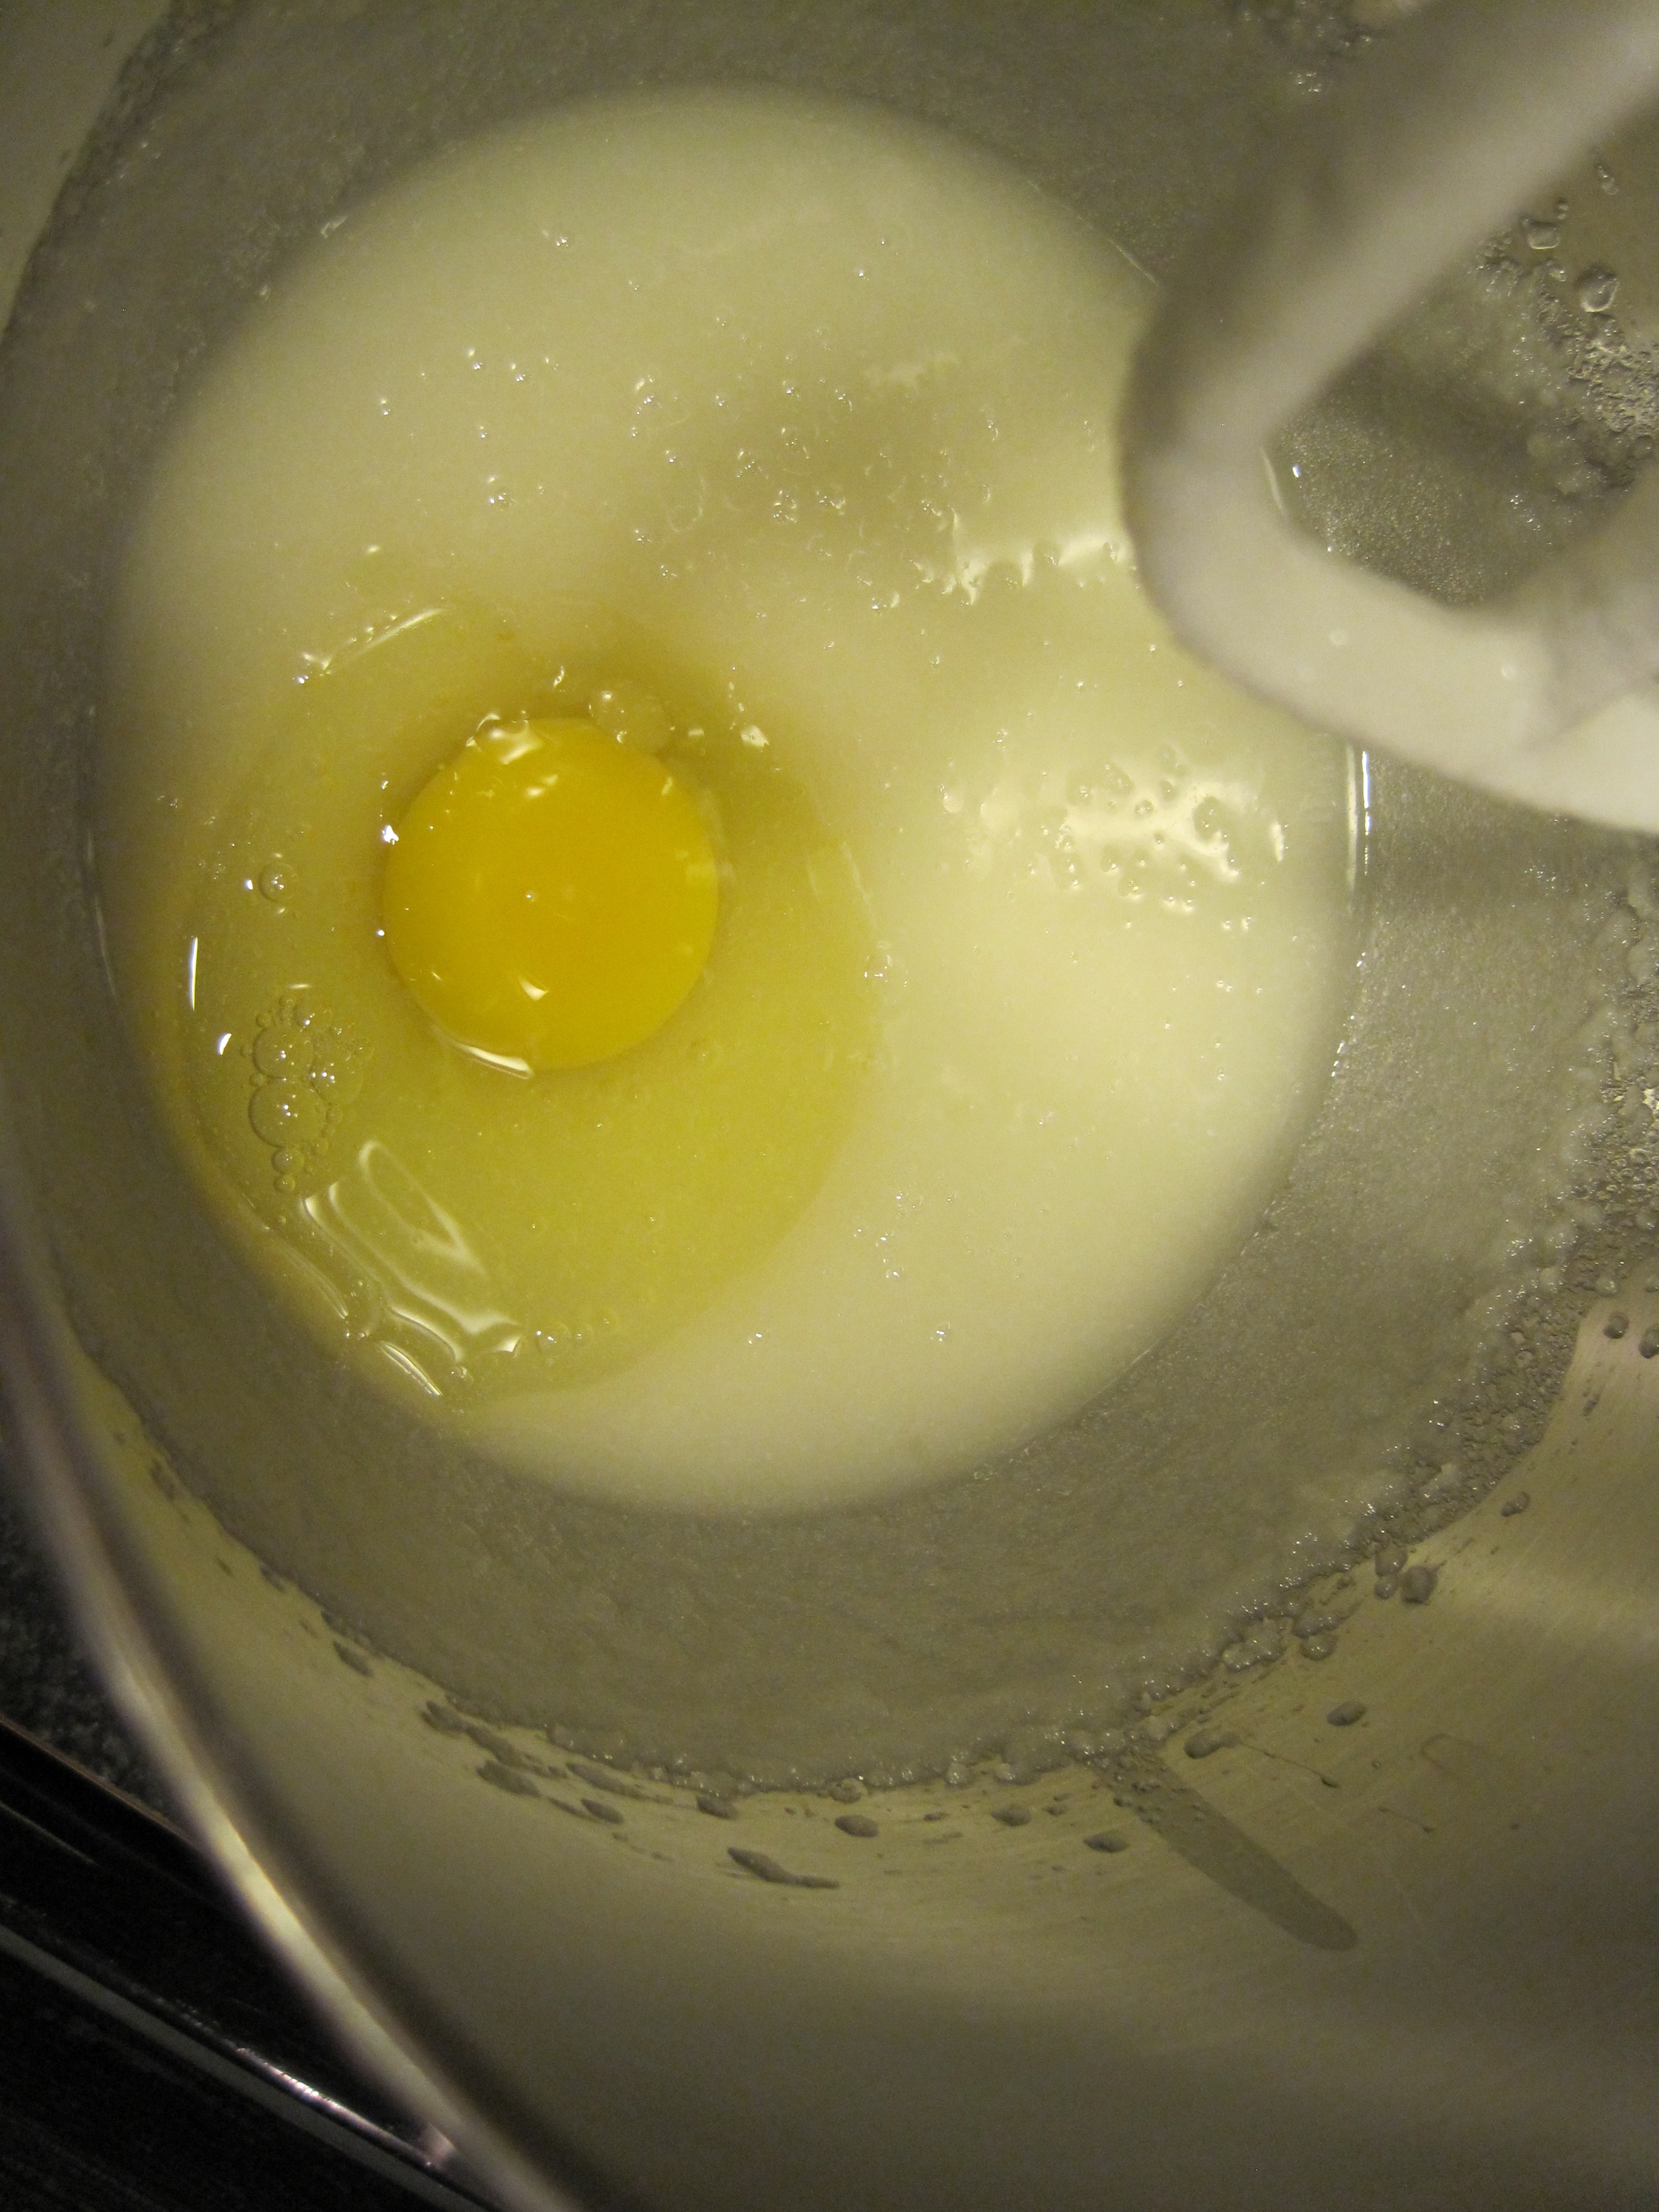
- add sugar to butter and cream together for 3 minutes over medium speed until fluffy.
- set speed to medium low {kitchenaid setting #4} and add eggs one at a time and mixing 20 seconds in between to incorporate well. add vanilla and mix for 30 more seconds.
- stop mixer to scrape the sides and bottom of the bowl and paddle attachment and mix on high for 30 seconds to mix all ingredients well. if batter curdles beat for 30 seconds more.
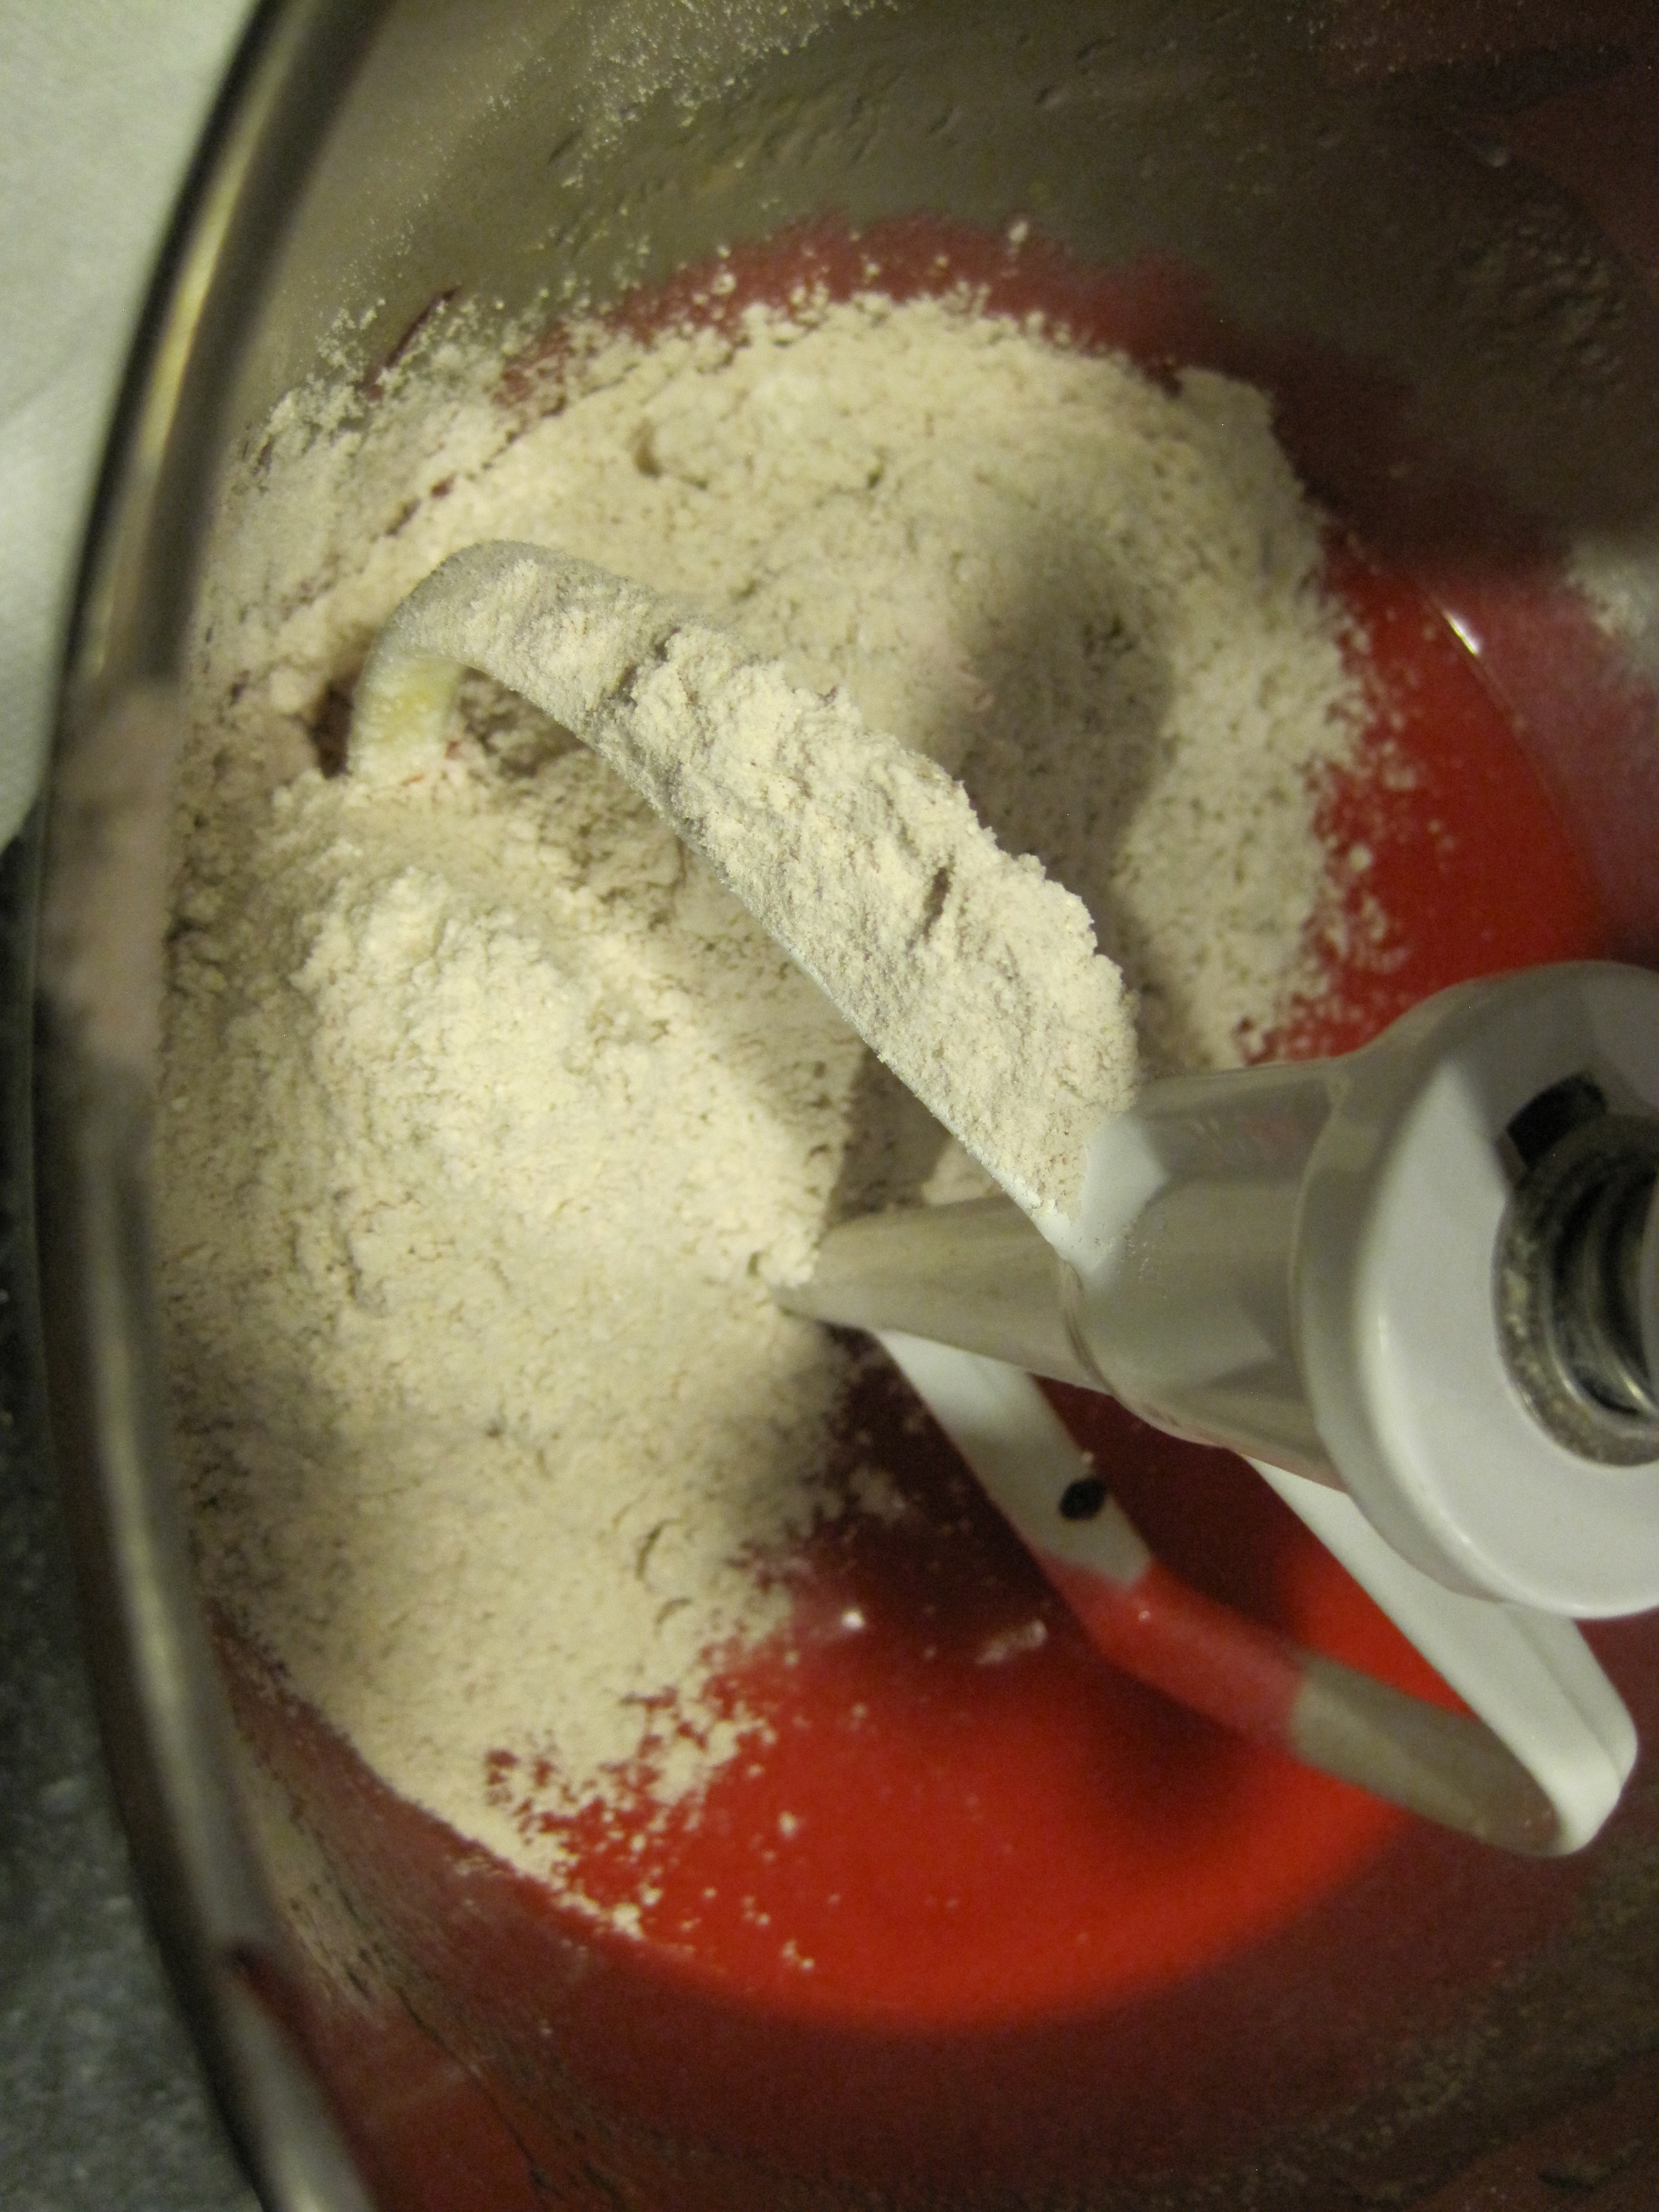
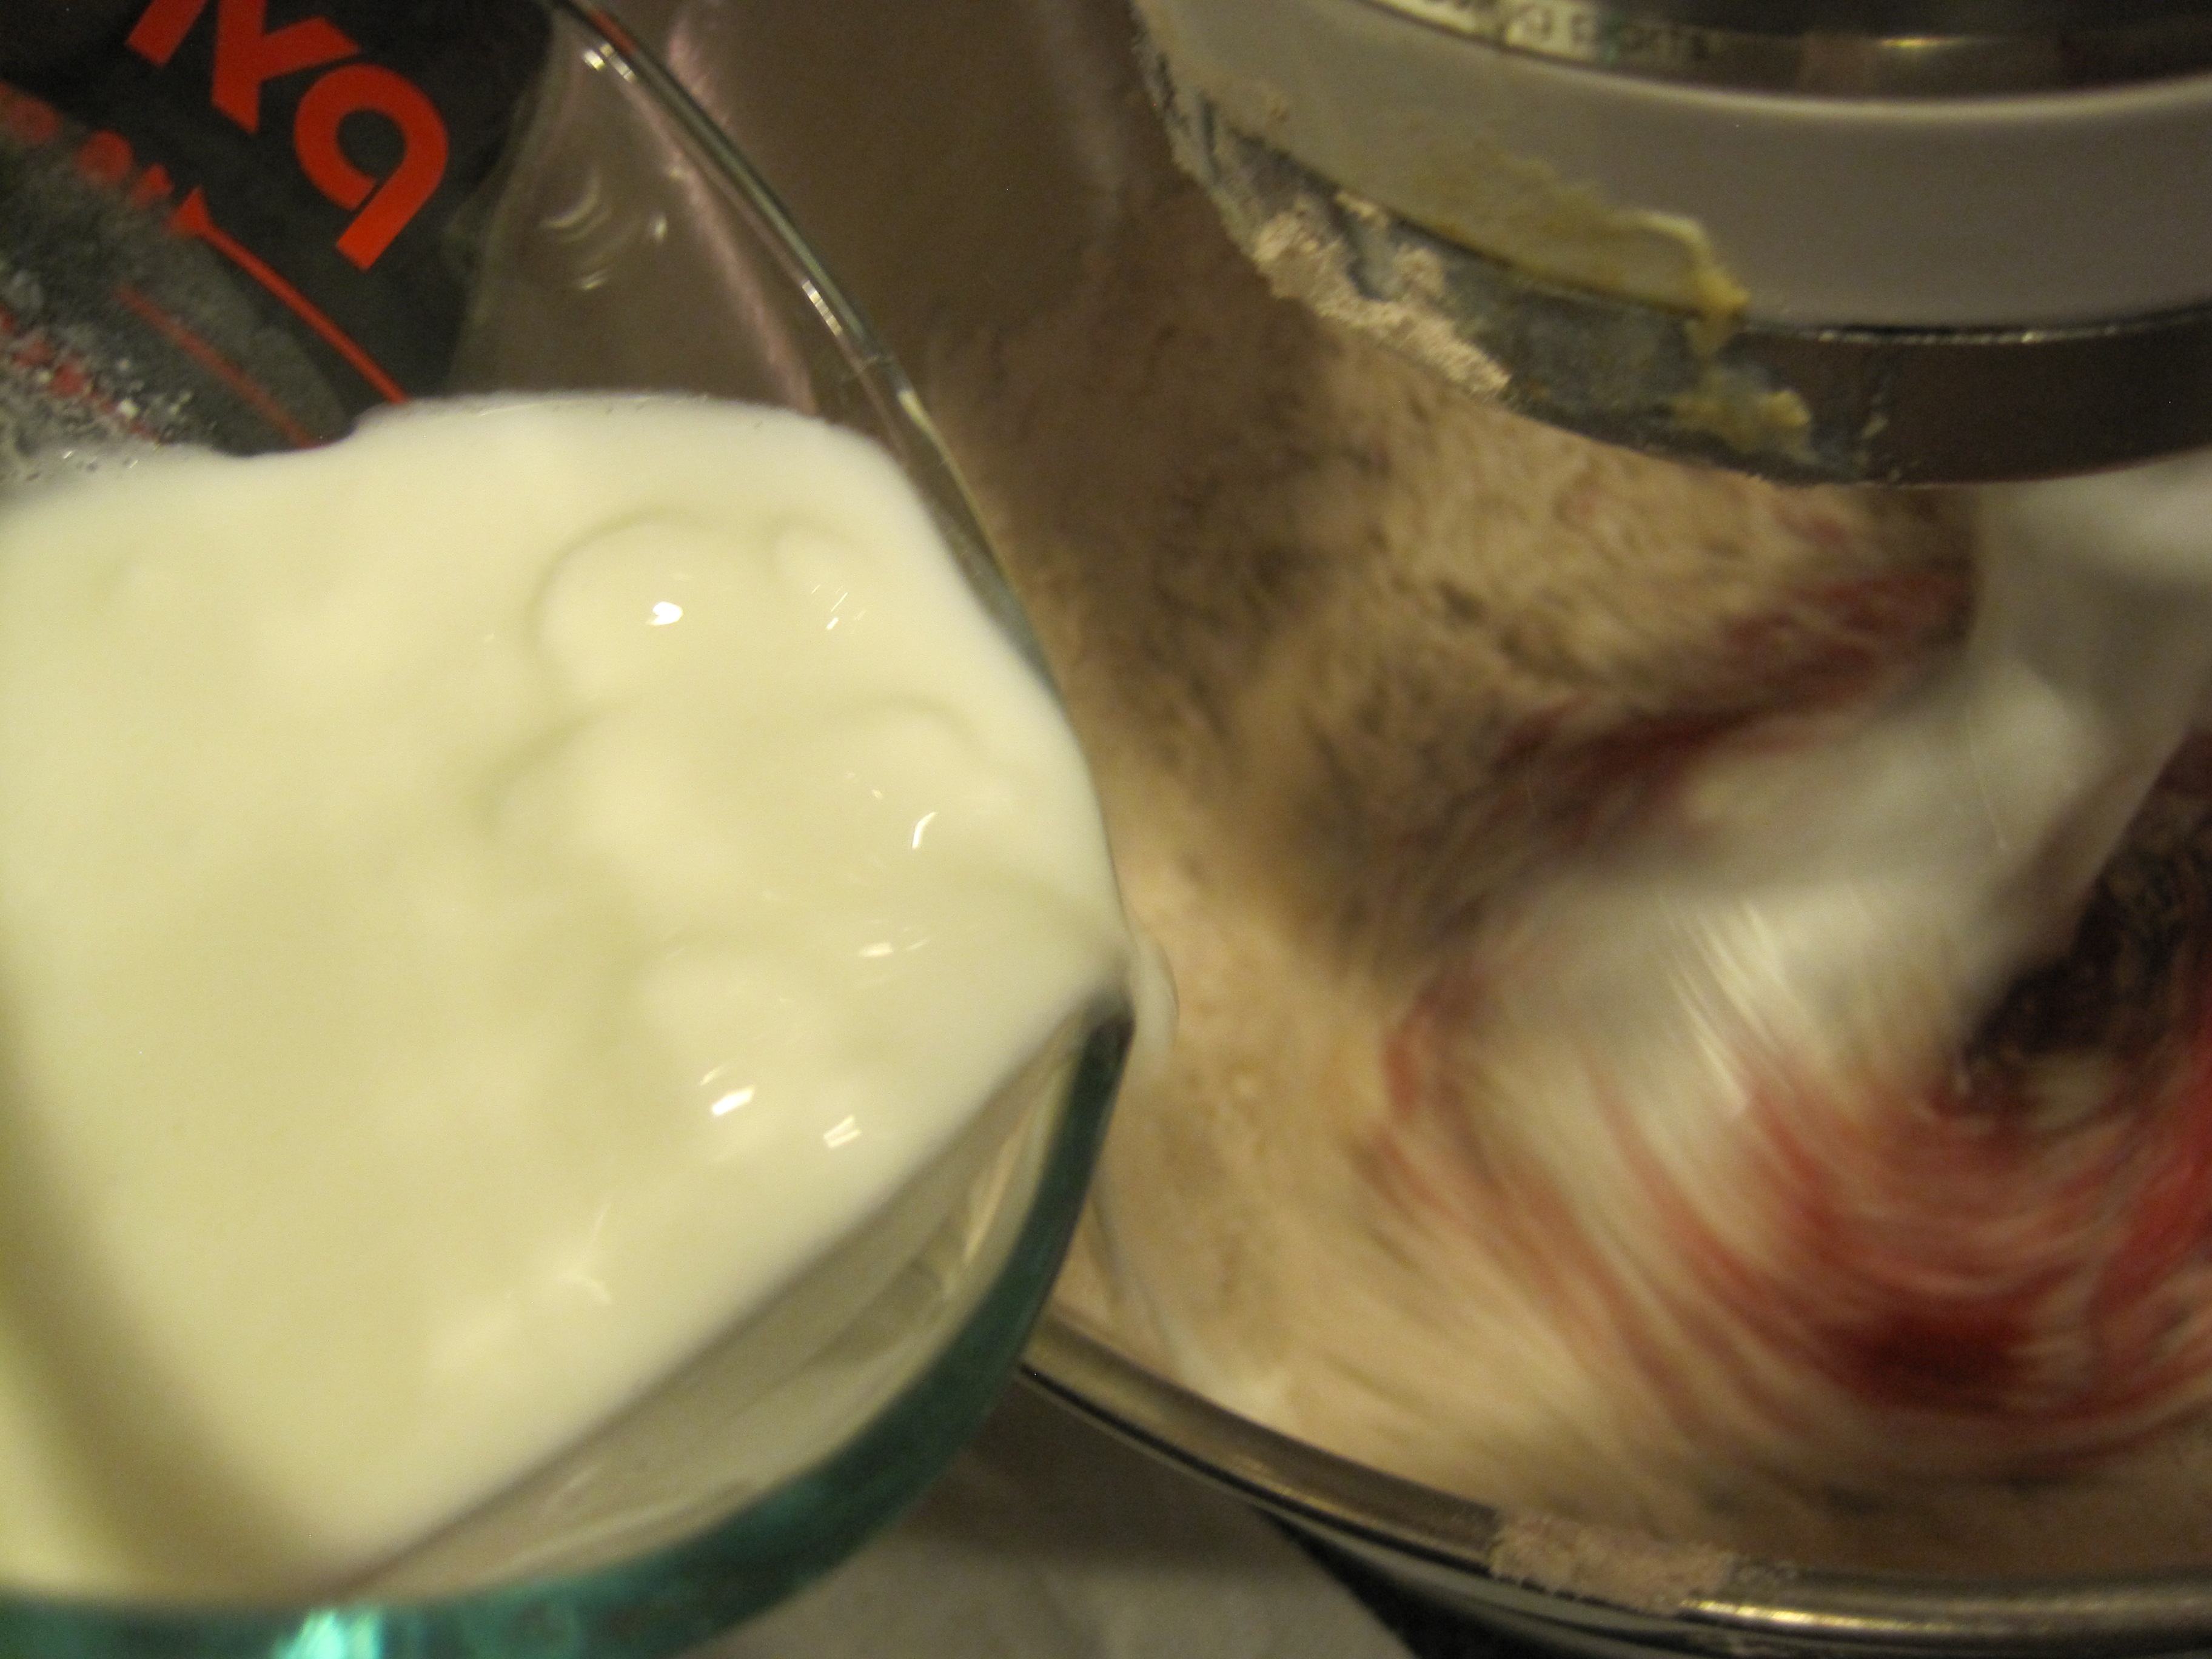
- set speed to the lowest setting and alternate flour mixture with milk in three additions. do not over mix.
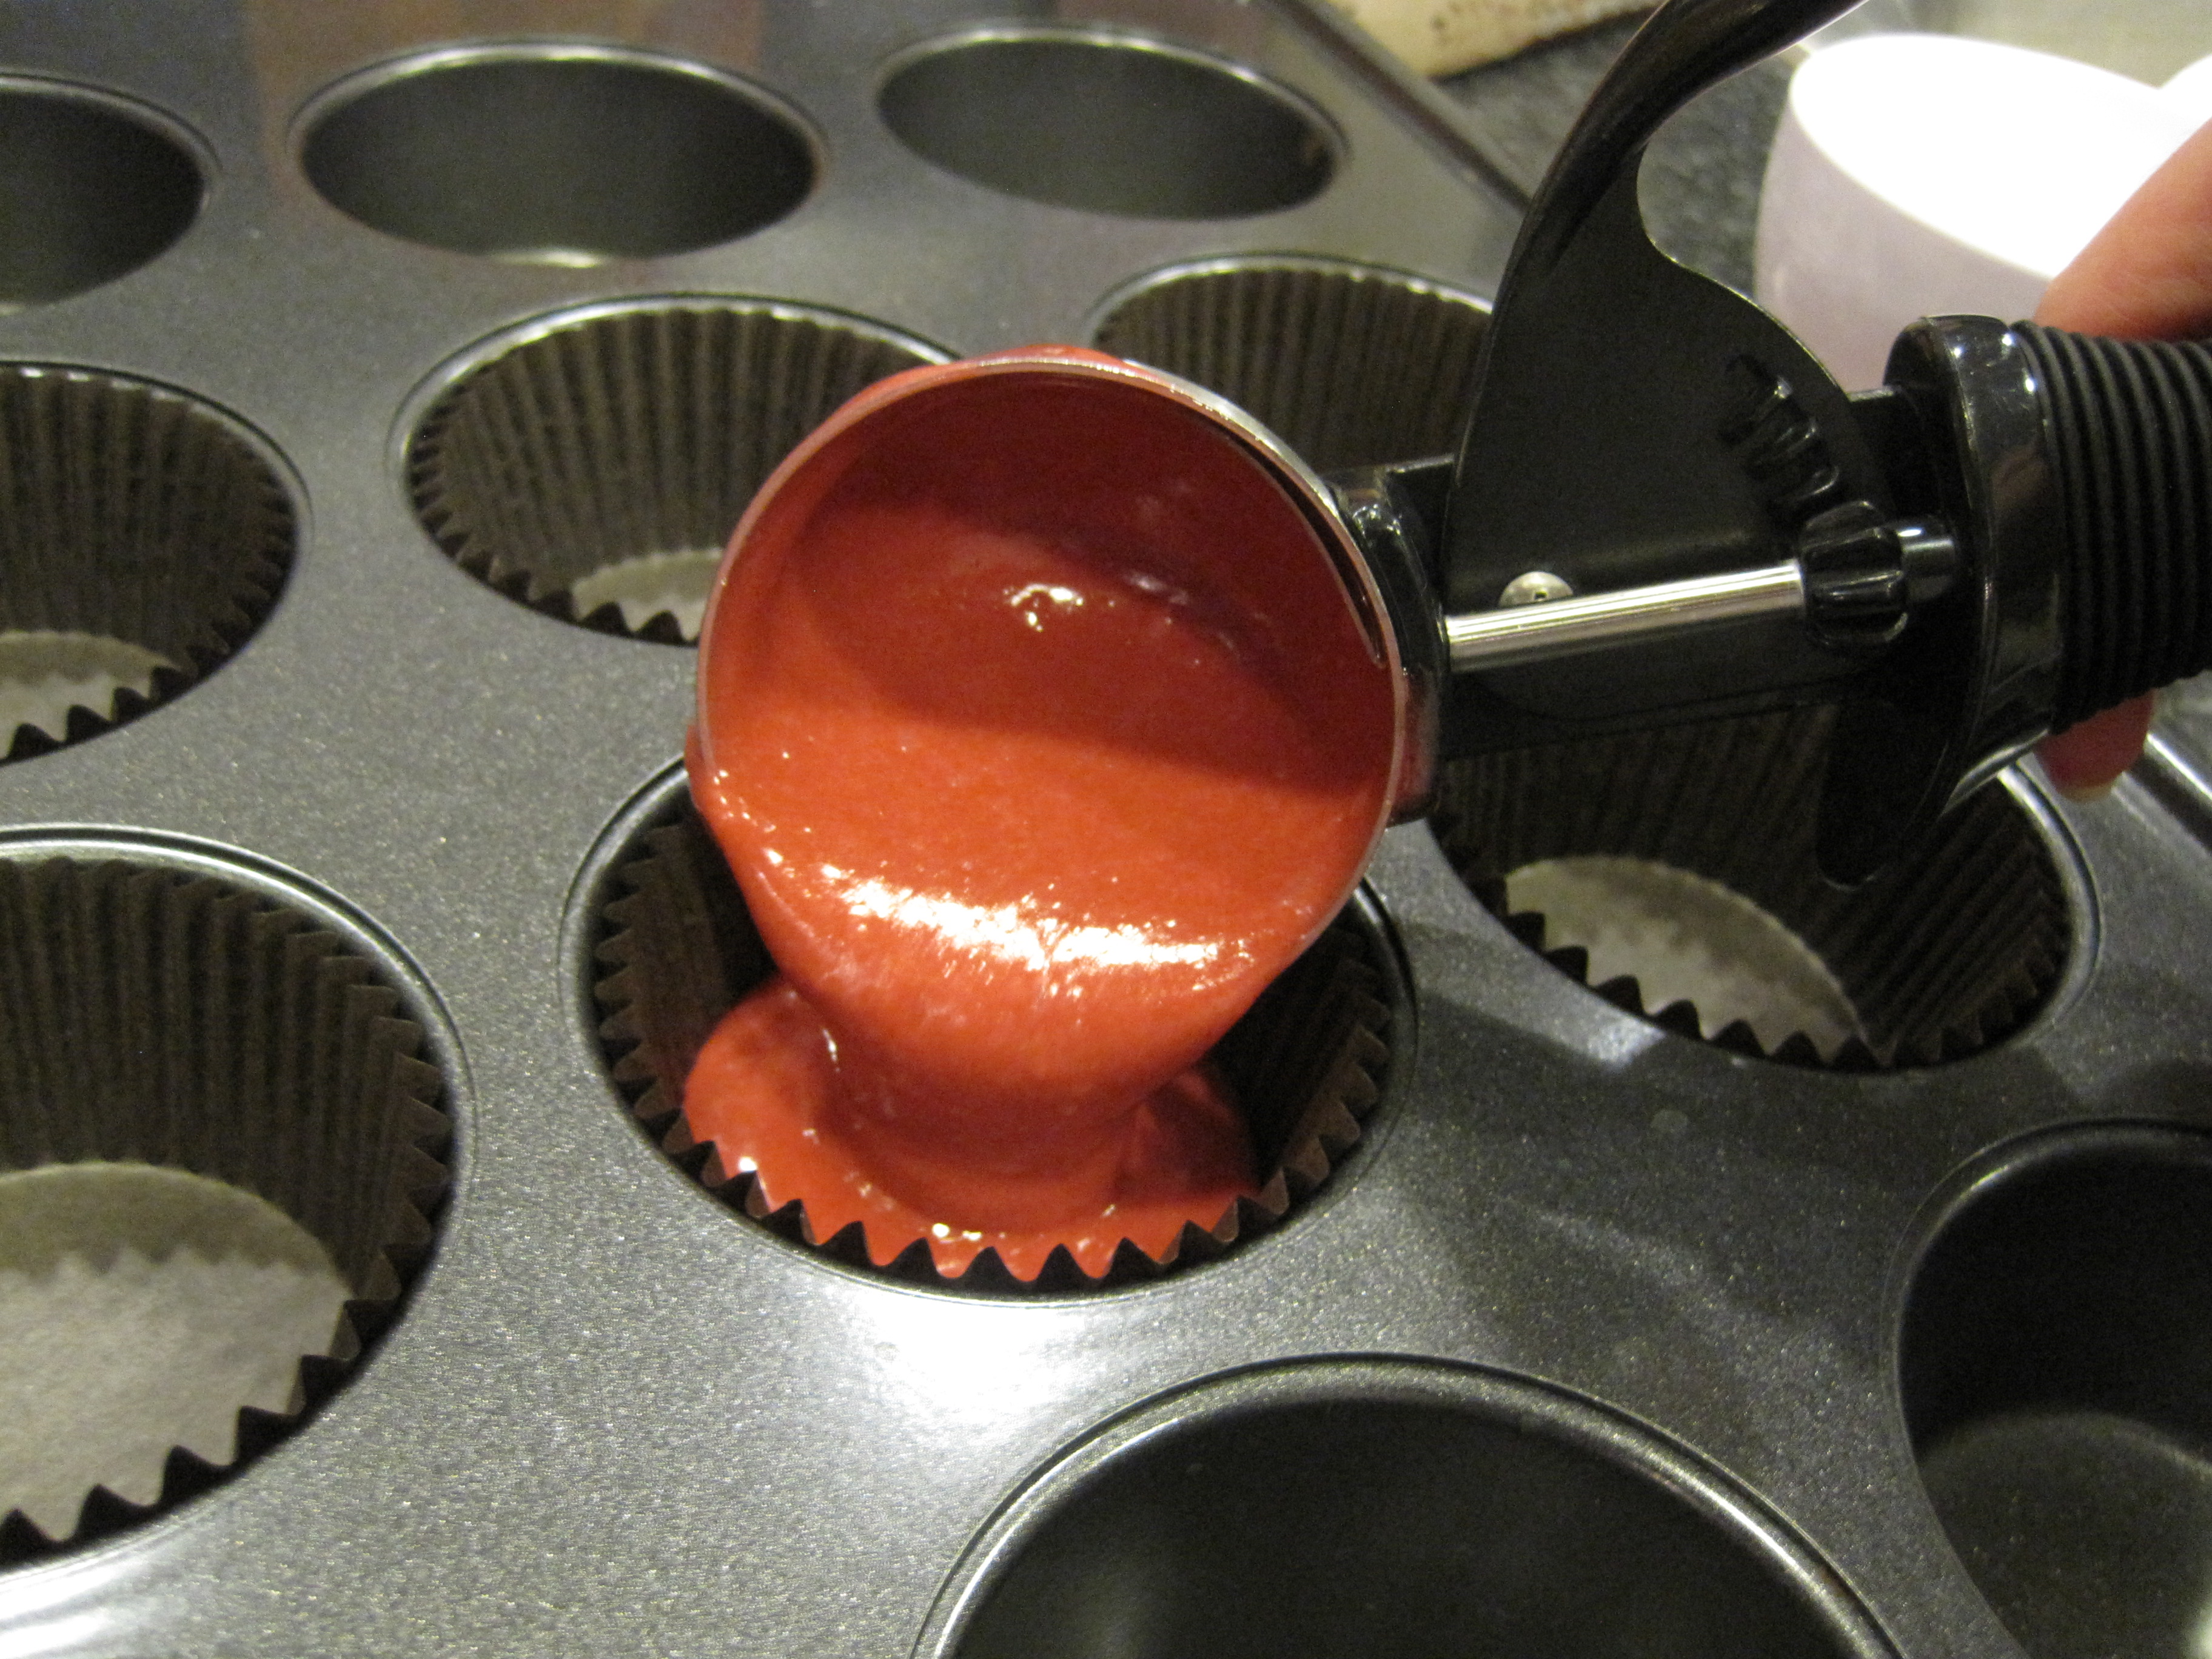
- scoop batter into cups with an ice cream scoop filling them 3/4 full.
- bake for 18 minutes or until an inserted toothpick comes out clean, rotating cupcakes half way through. let them cool in the pan on a wire rack for 2 minutes and out of the pan for about 30 minute on the same wire rack.
- make the frosting: cream butter for 3 minutes over medium speed {setting #5 on kitchenaid} with the whisk attachment of a stand mixer. once done creaming mix for 30 more seconds at high speed.
stop mixer. add sugar and beat at the lowest speed setting possible for 1 to 2 minutes until combined. while mixing add vanilla, salt, milk and gel paste food coloring. increase speed to setting #6 or medium high and beat for 3 more minutes until fluffy and creamy. frost cupcakes with round tip or with an offset spatula. - store cupcakes in an airtight container at room temperature for up to 3 days.
now we talk giveaway! the participating bloggers and their recipes include:

A Pumpkin & A Princess An American Cupcake in London Bella Cupcake Couture
Chronicles of a Foodie Creative Food Cupcakes Take the Cake
Diary of a Mad Hausfrau Haniela’s Healthful Pursuit Hoosier Homemade
Hungry Happenings In Katrina’s Kitchen Inside BruCrew Life
Java Cupcake Kitchen Fun with My 3 Sons Love From the Oven Make Bake Celebrate
Not Just a Mommy Not Your Mommas Cookie Pint Sized Baker
Sugar Swings! Serve Some The Baking Cup Cupcake Project The Decorated Cookie
and let’s not forget the cool prizes!

thanks to our amazing Prize Pack sponsors for their generous donations! please, visit their websites to see more of their fabulous products!
to enter to WIN this Prize Pack, simply fill out the entry form by clicking here. you have to like my facebook page, leave me a comment below and fill out the form in order to be entered for a chance to win.
contest opens 25 June 2013 at 07:00 PST and closes 1 Jul 2013 at 23:59 PST. one winner will be chosen and announced within 48 hours of the contest ending. winner will be contacted via email by betsy@javacupcake.com and will have 48 hours to claim their prize. if they do not respond within 48 hours, another winner will be chosen.
this contest is open to residents worldwide.