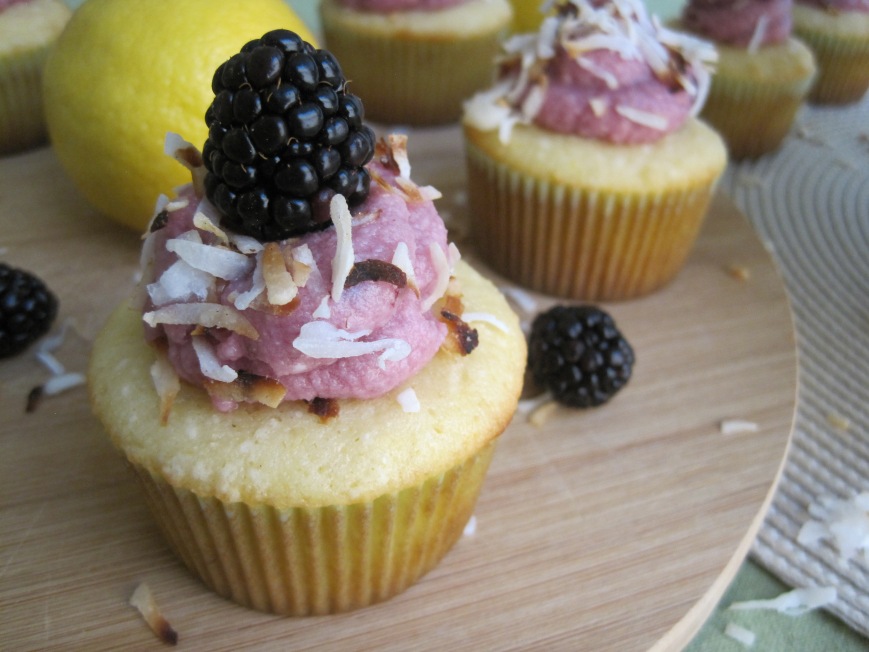
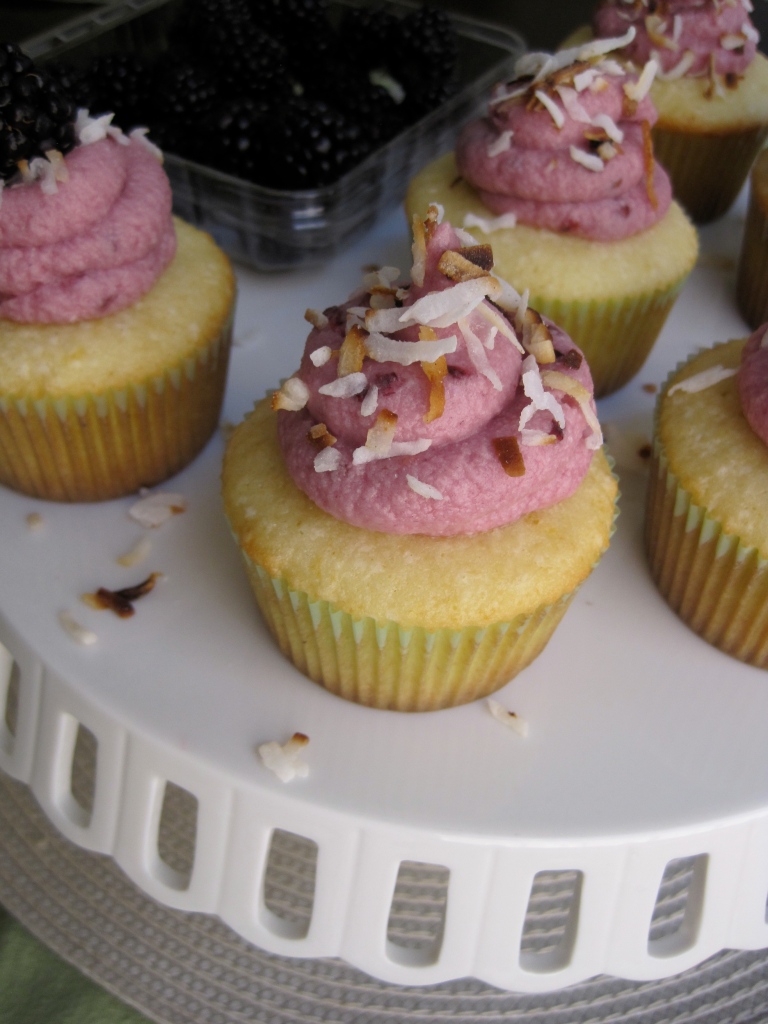
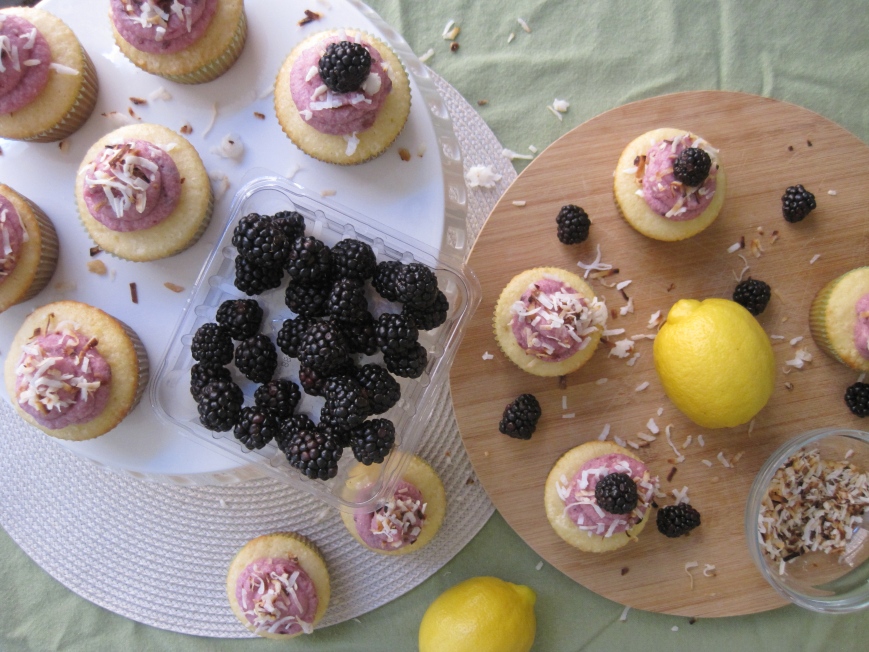
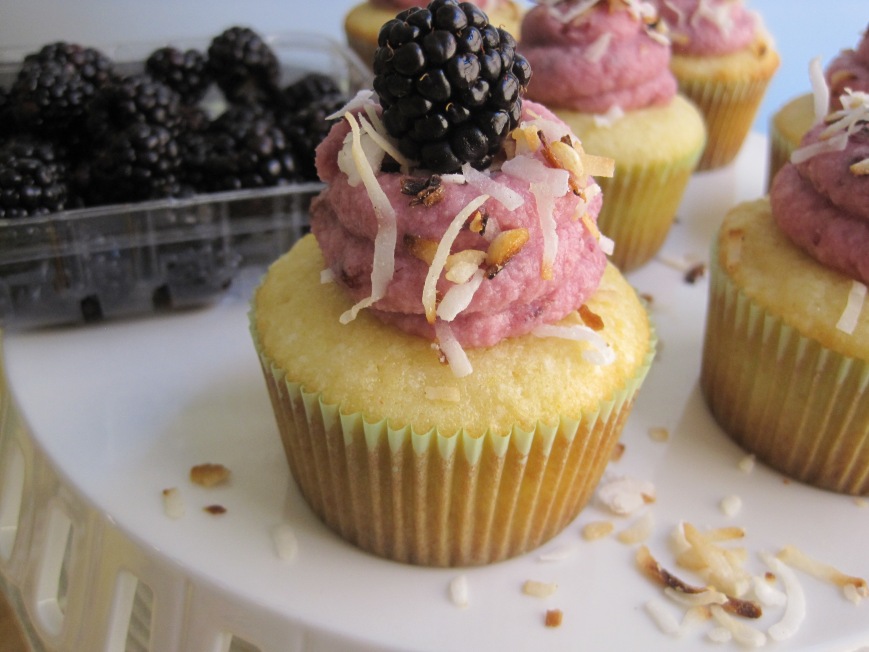
spring lemon blackberry cupcakes

so i’ve been inspired to bake more lately. i don’t like the clean up aftermath that comes with it, though. but, it’s worth it because i get to share my recipes with you :)

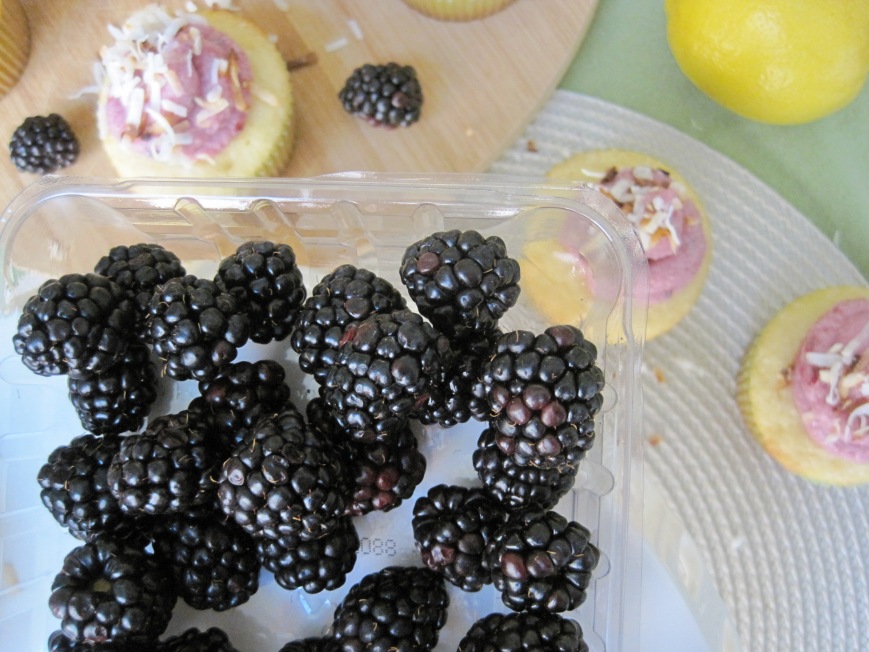
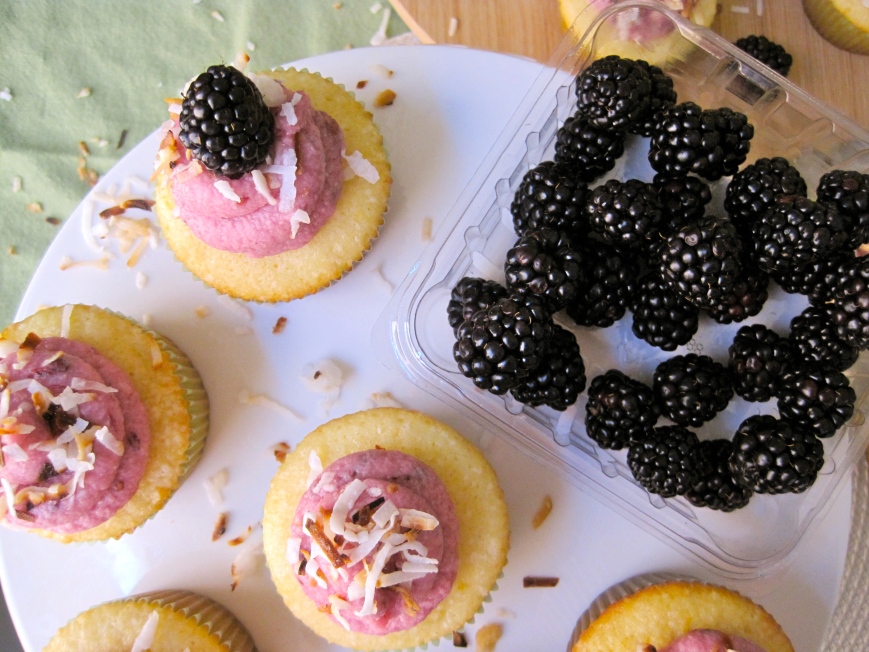
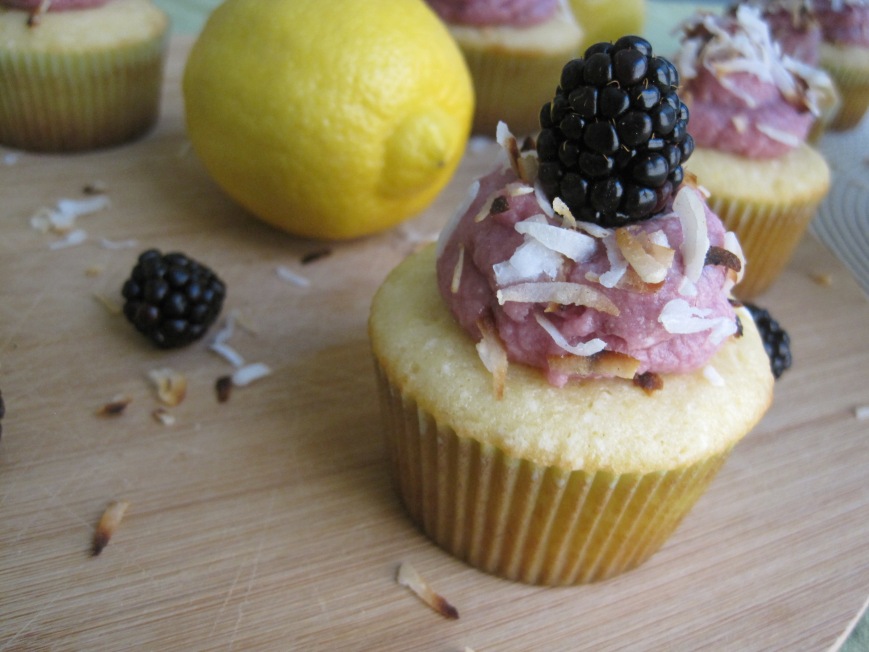
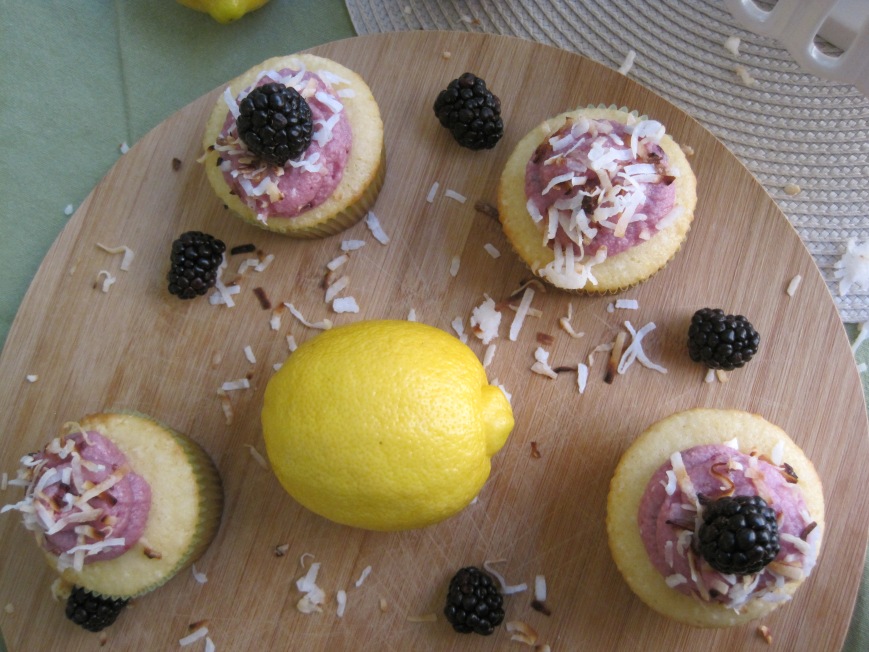
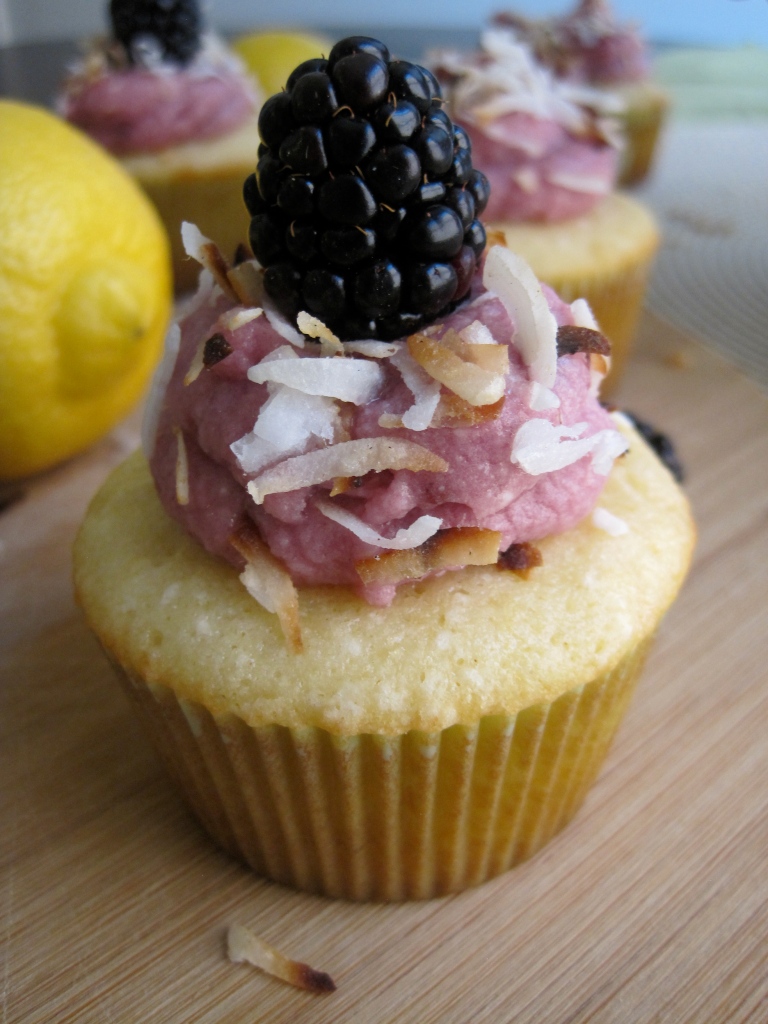
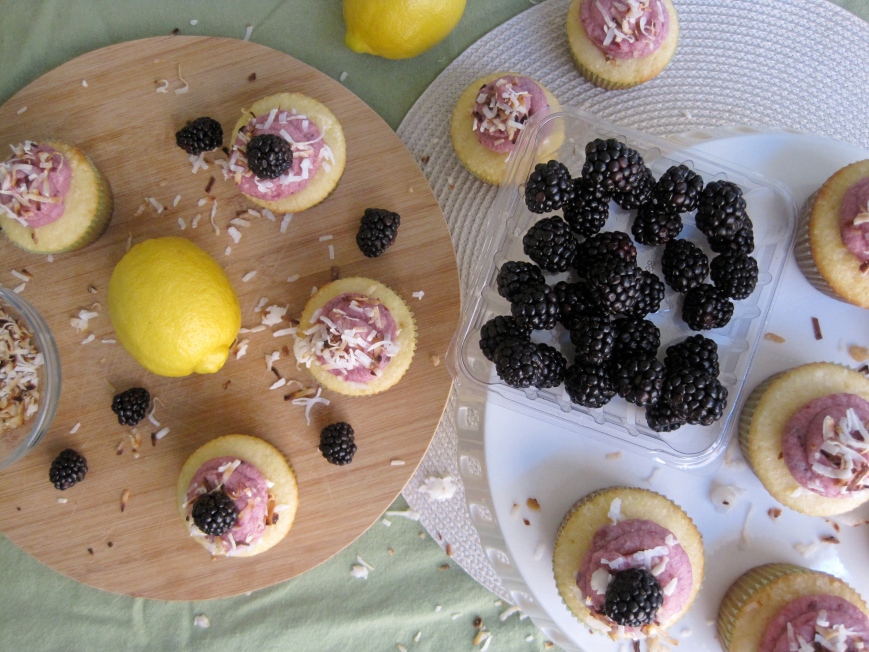
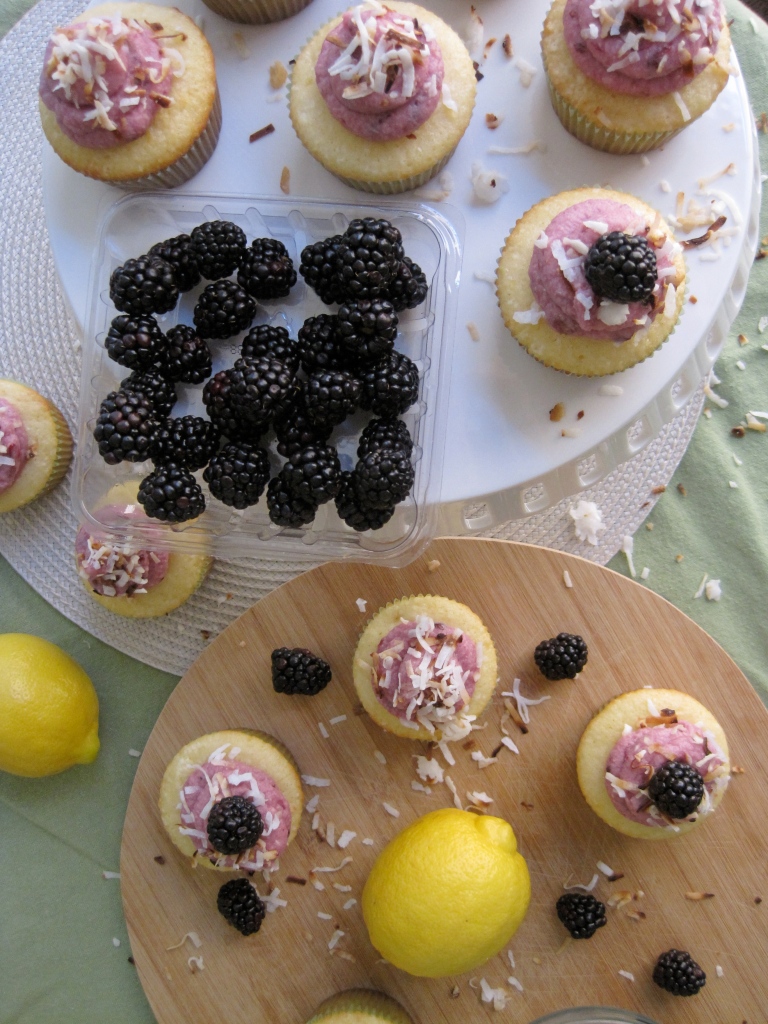
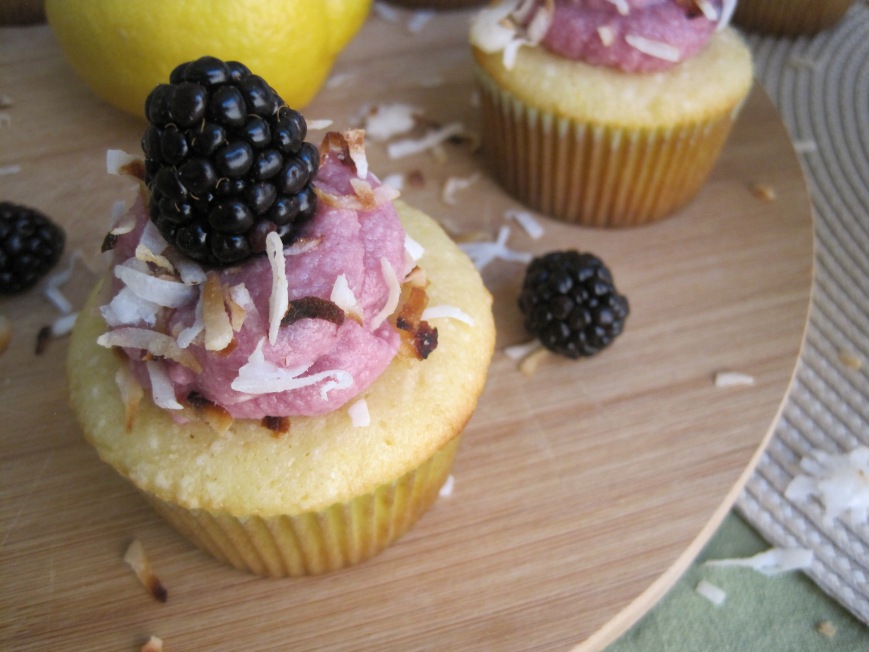
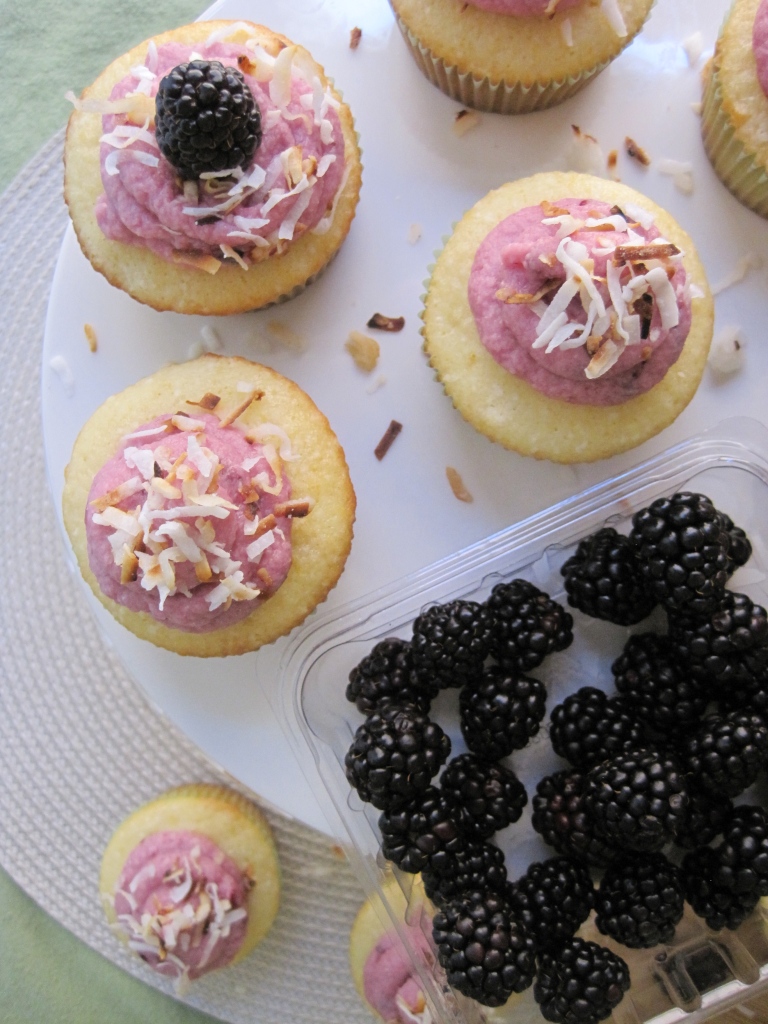
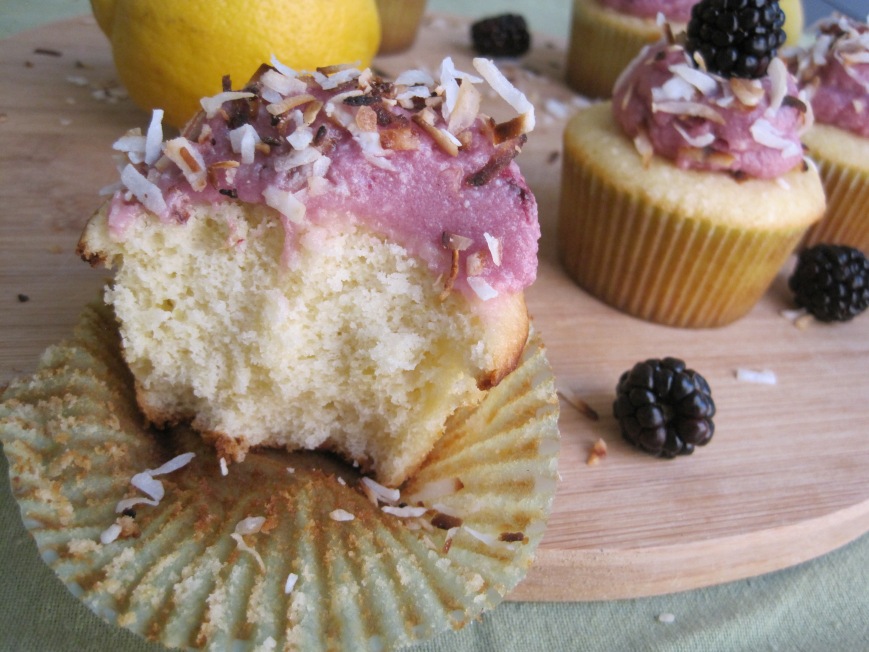
i made these cupcakes because they are fragrant, light and fresh {lemon is such a great spring flavor!}, paired with blackberry cream cheese frosting, which is just the perfect weekend or week-day dessert for spring and even summer. and to top it off, i used toasted coconut. you can certainly use regular coconut, lemon zest or any other topping of your preference. amazing spring flavors for sure :)

they are also perfect for a rainy day or any kids or adults party you have marked in your calendar.

try these fluffy lemon cupcakes with a tangy blackberry cream cheese frosting, made with real blackberries. 40 to be exact! let me know when you make them and make sure to share pictures with me on facebook, instagram or twitter.

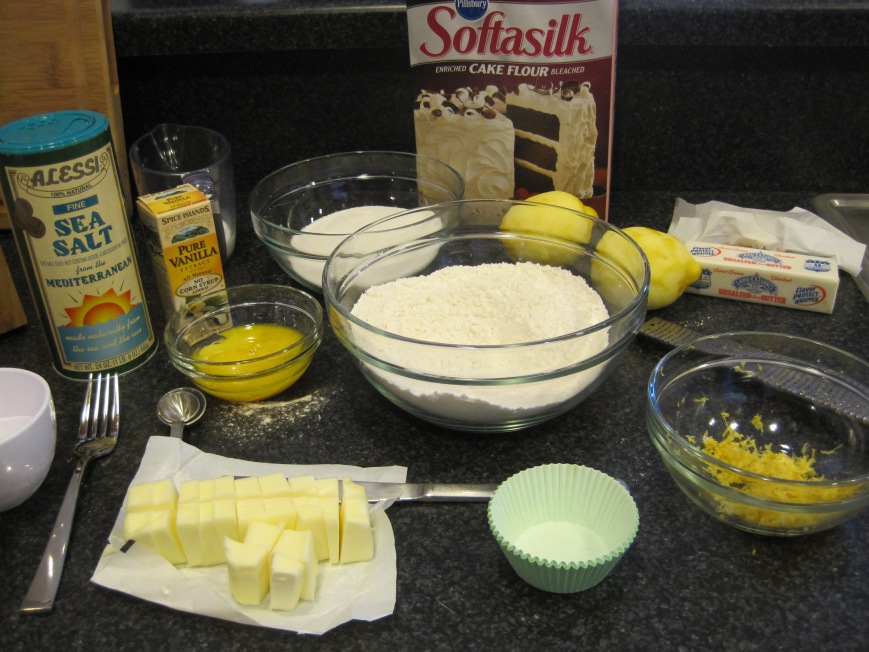
set all ingredients out so they are right there when you need them.

IMG_8399

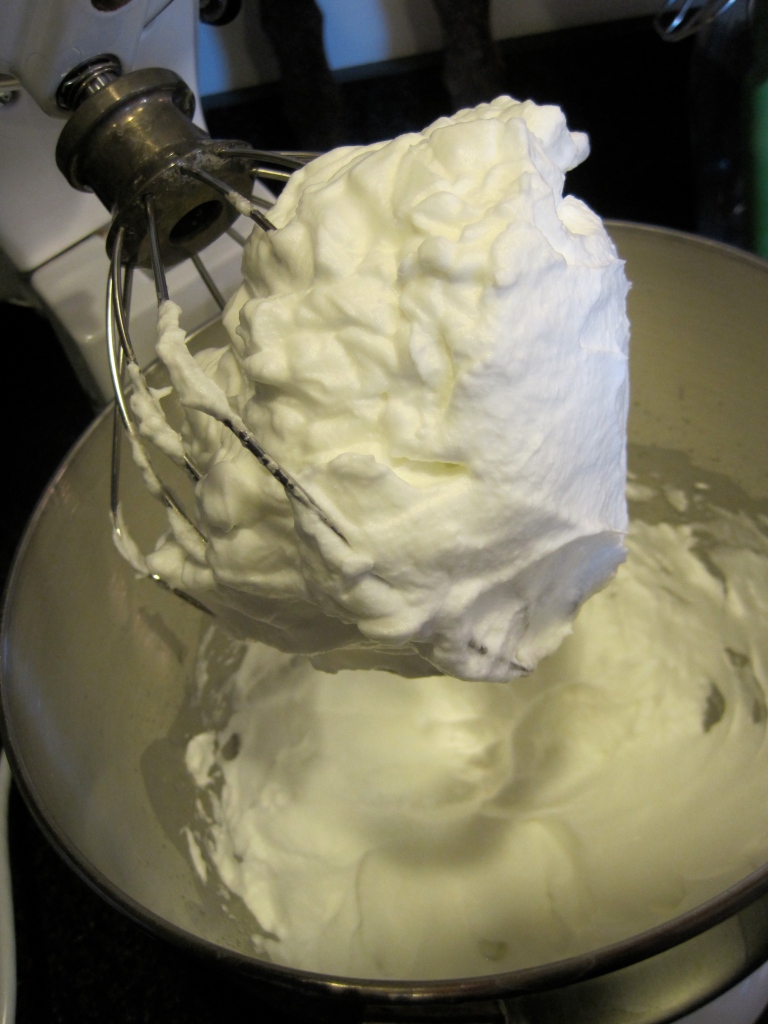
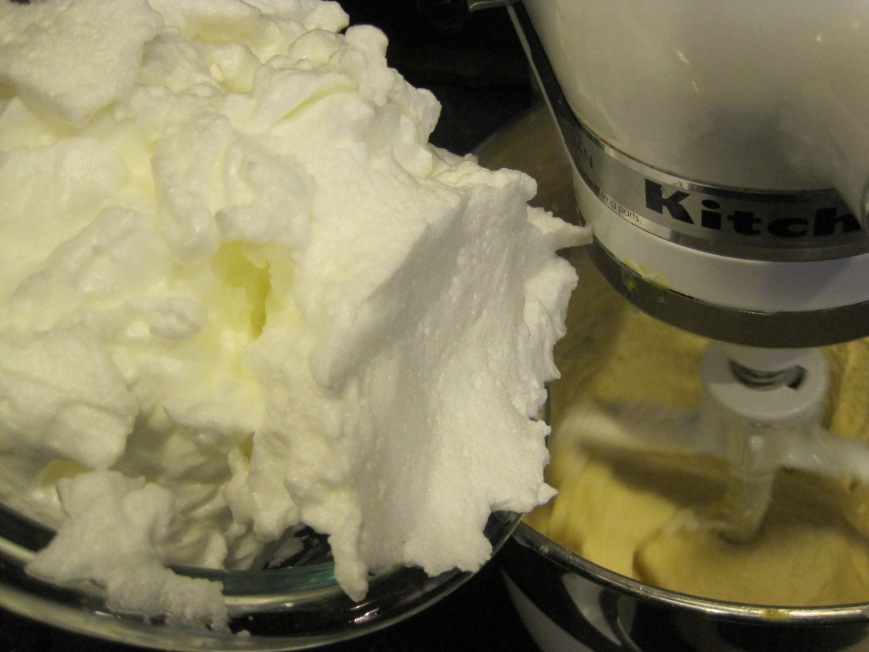
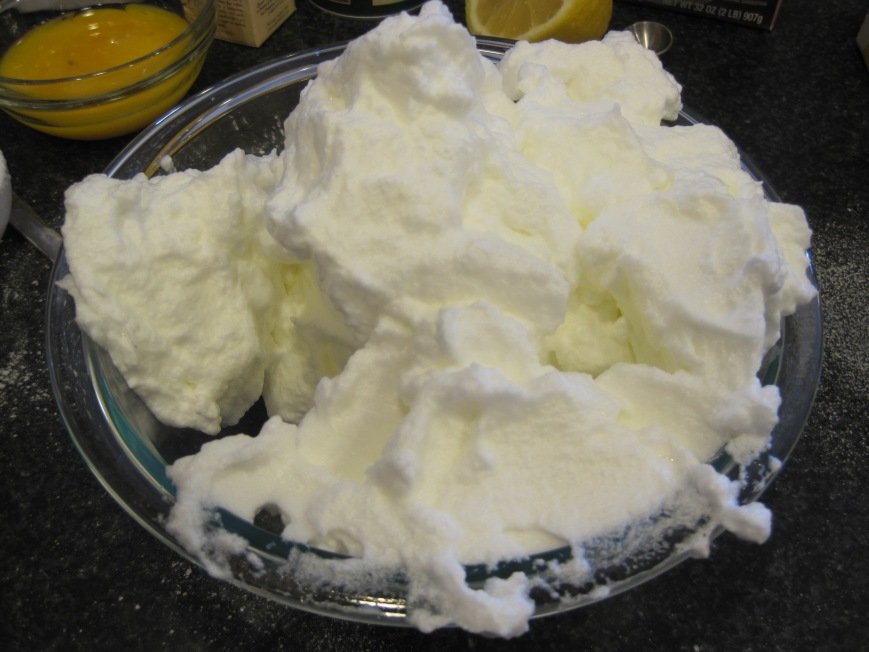
beat egg whites until soft peaks form.

IMG_8403

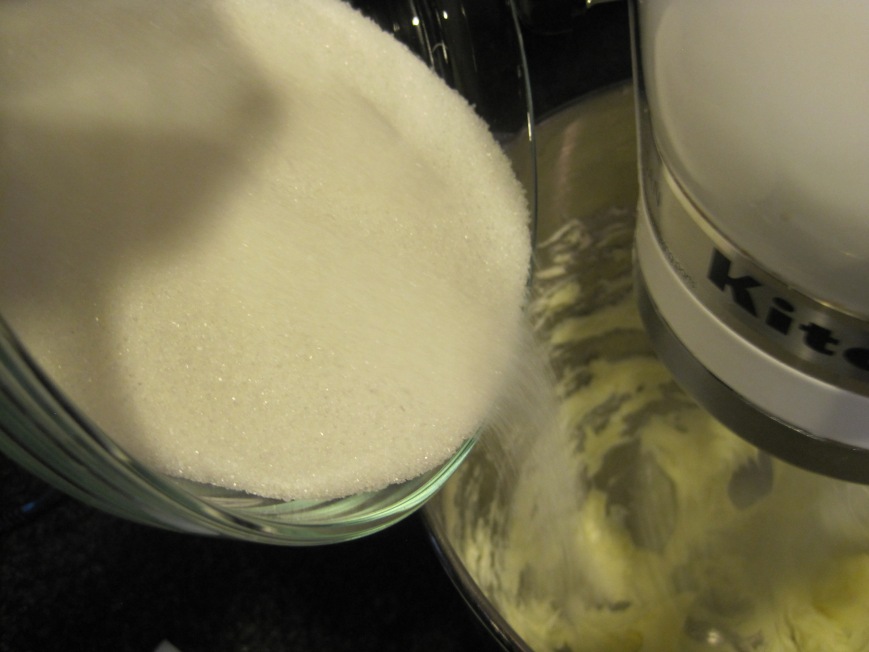
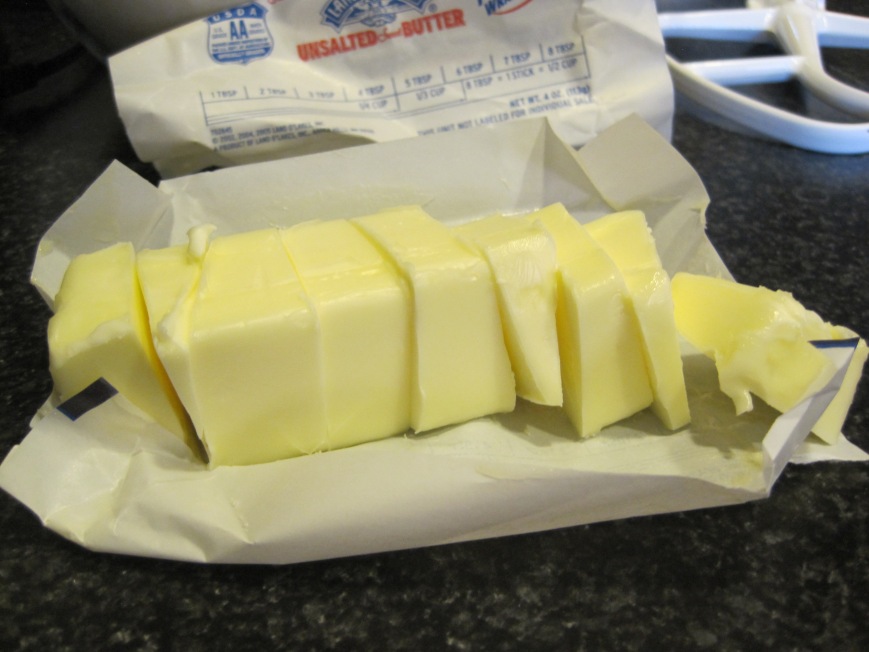
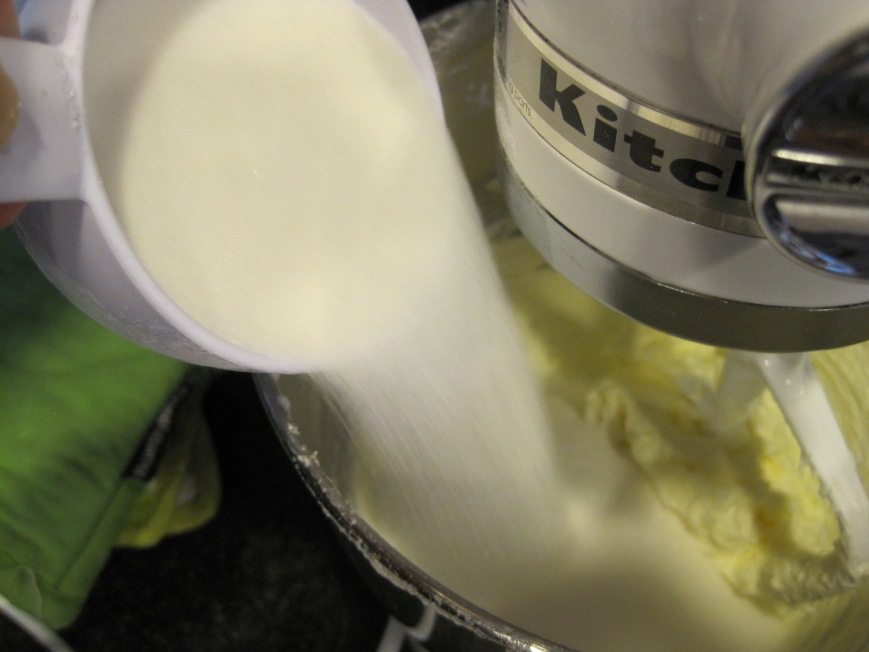
cream butter and sugar together.

IMG_8408

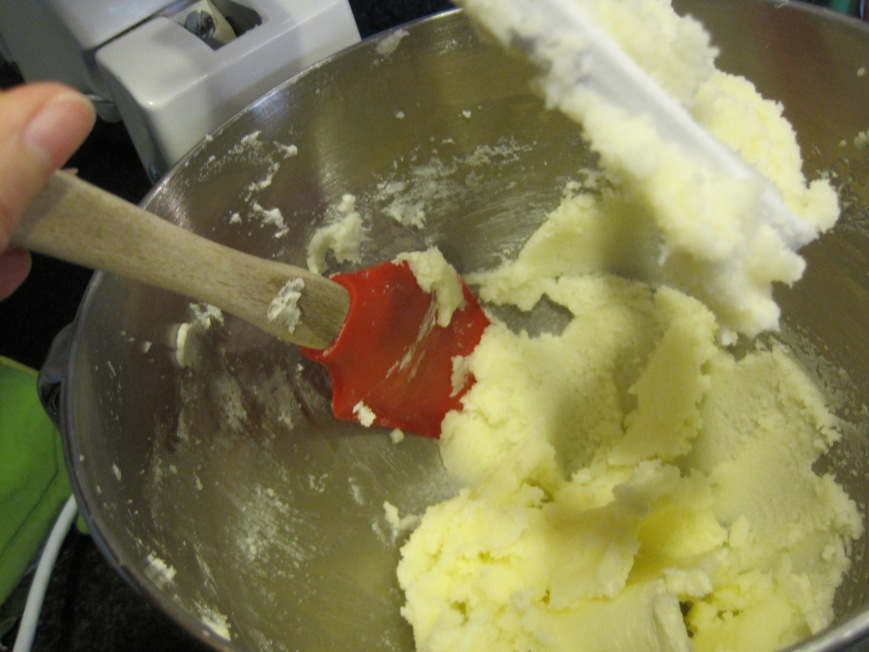
scrape the bowl so the ingredients are well incorporated.

IMG_8410

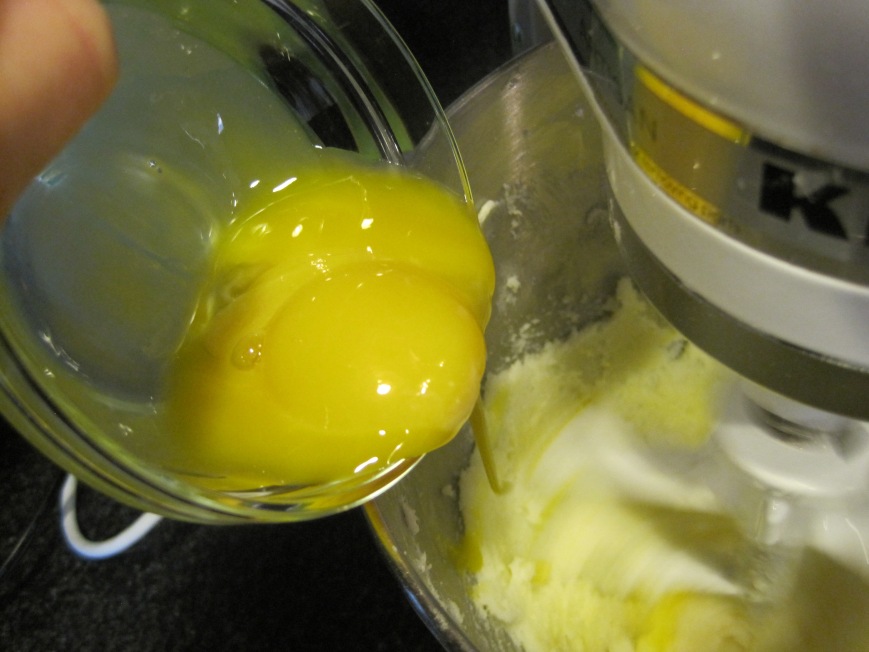
add egg yolks one at a time.

IMG_8412

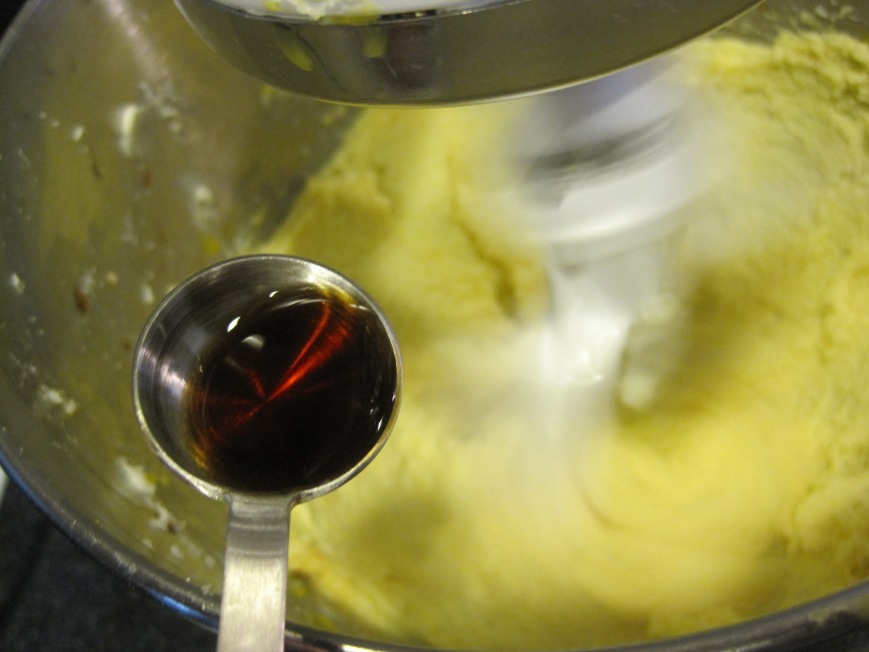
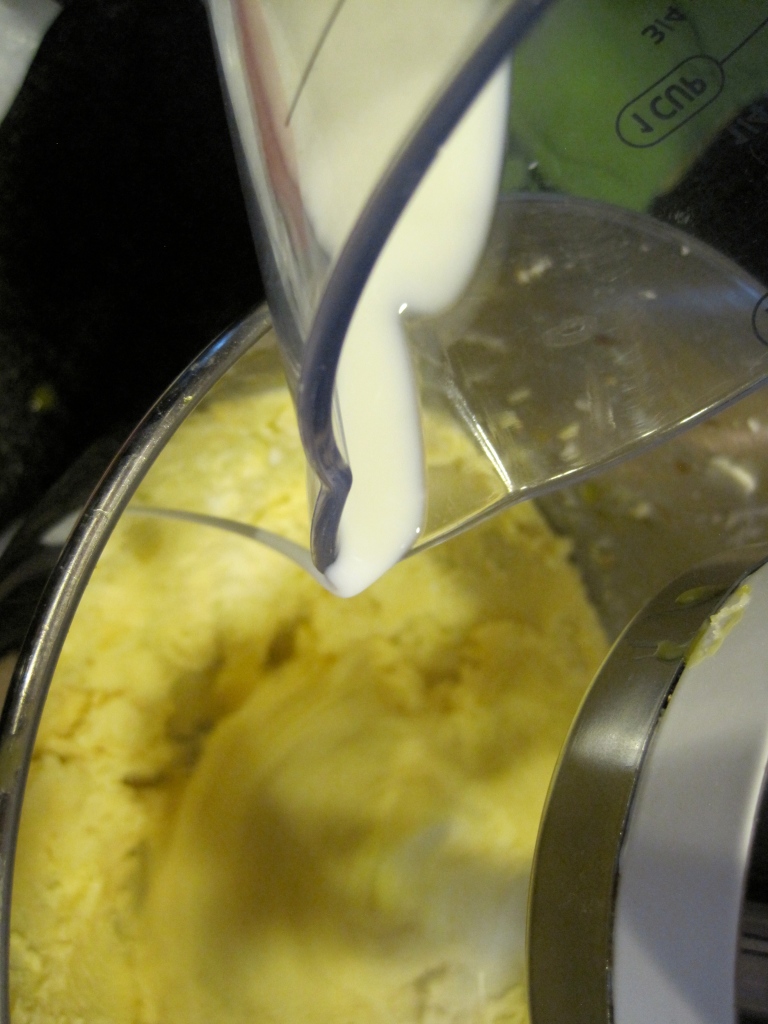
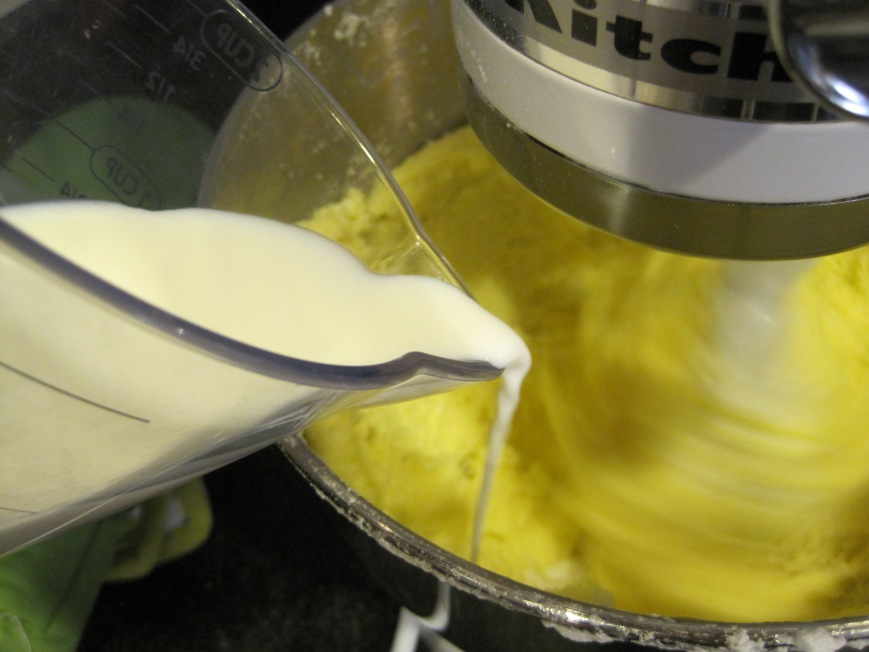
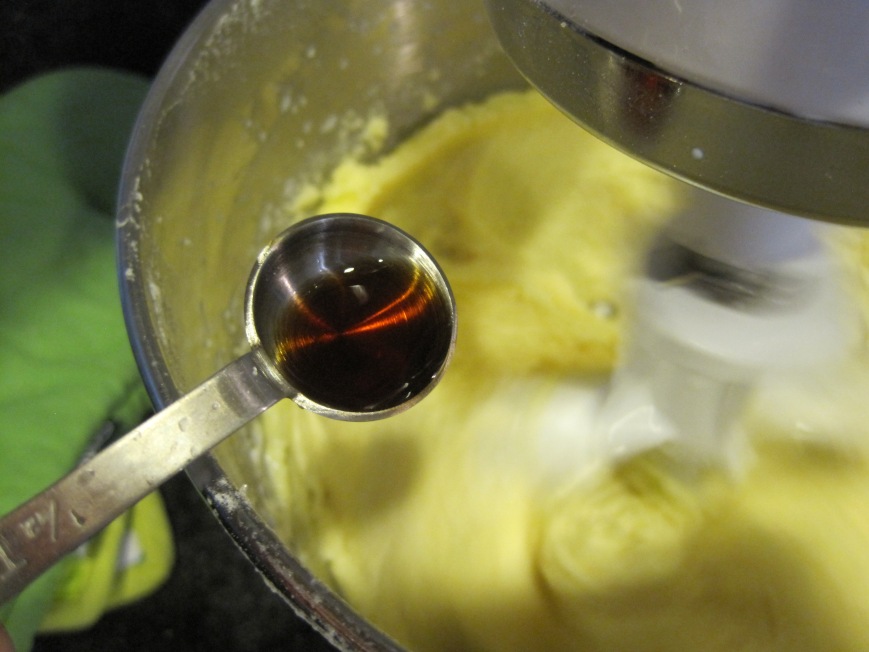
vanilla and milk are next!

IMG_8413

IMG_8415

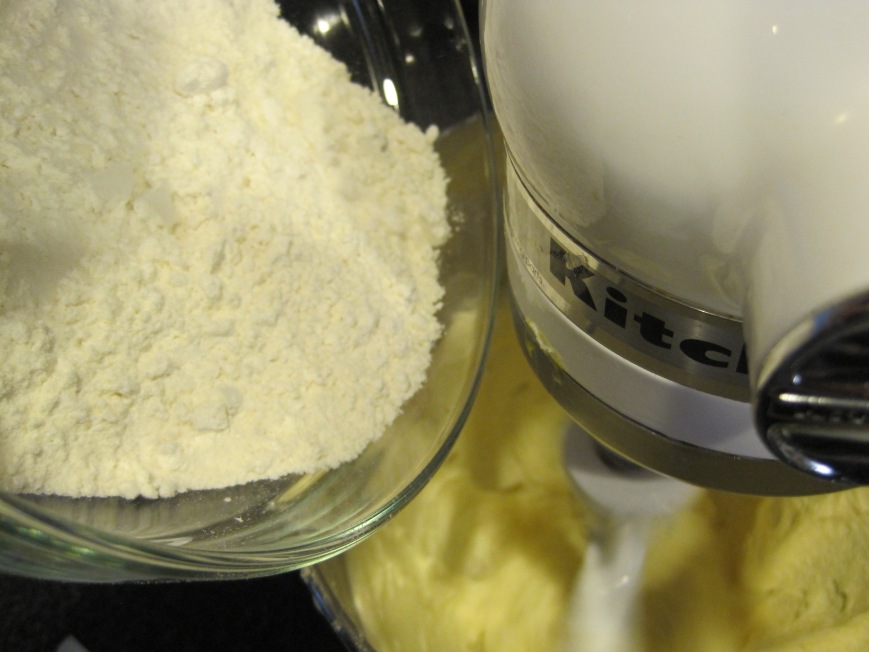
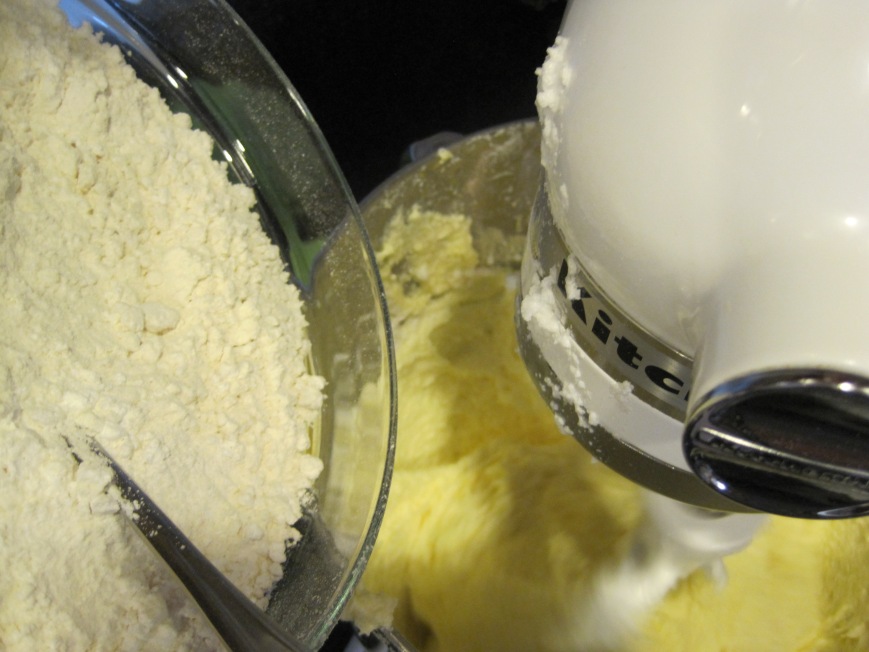
alternate flour and egg whites.

IMG_8416

IMG_8417

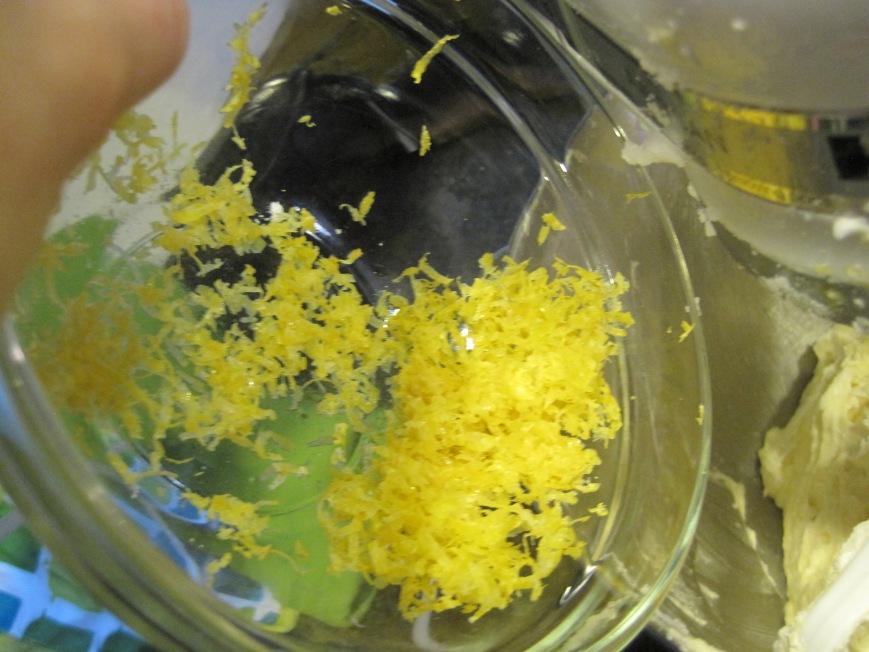
finish with lemon zest and juice.

IMG_8419

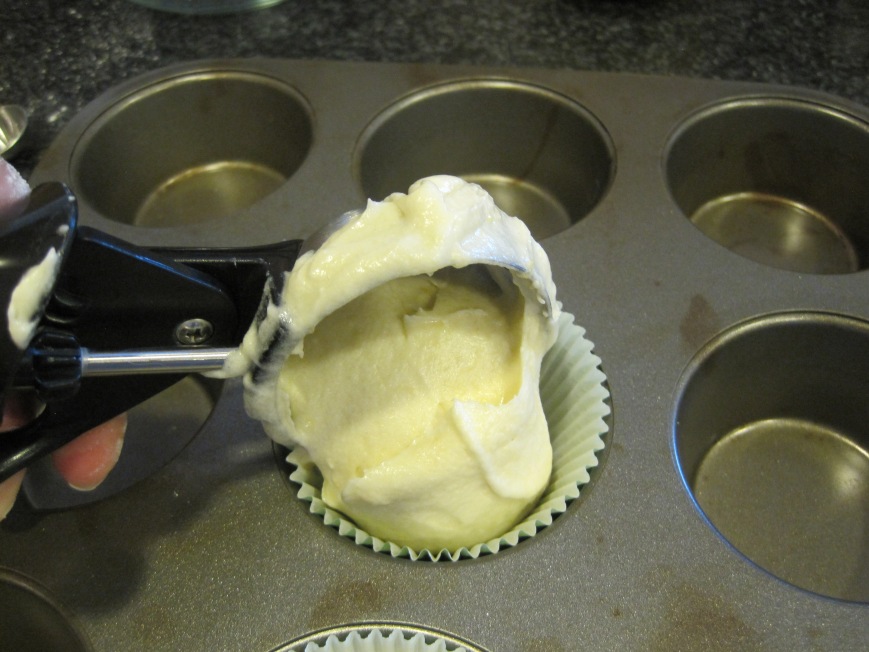
scoop batter in individual cups.

IMG_8422

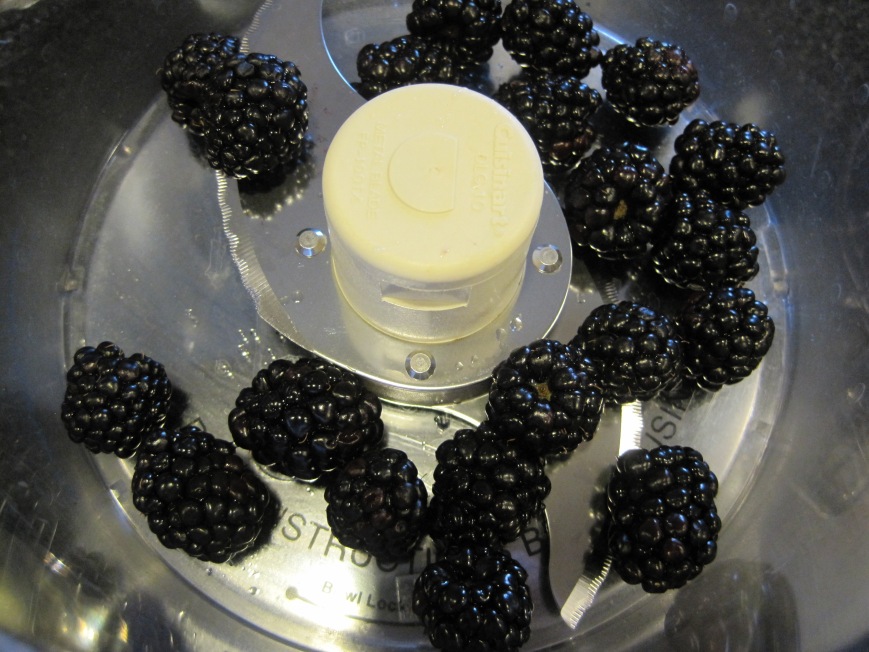
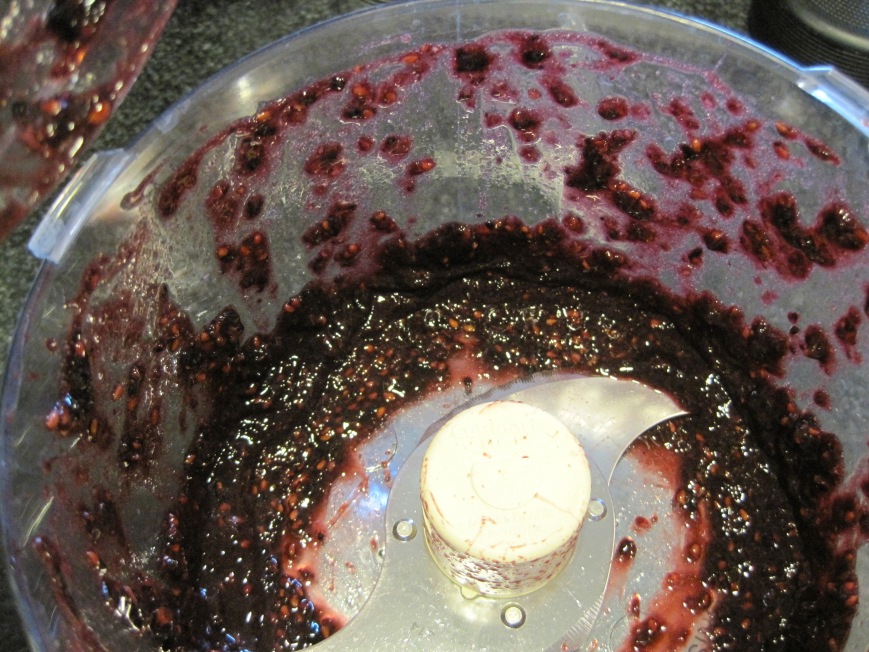
now onto the blackberry frosting. puree 20 blackberries in a food processor or blender.

IMG_8425

IMG_8427

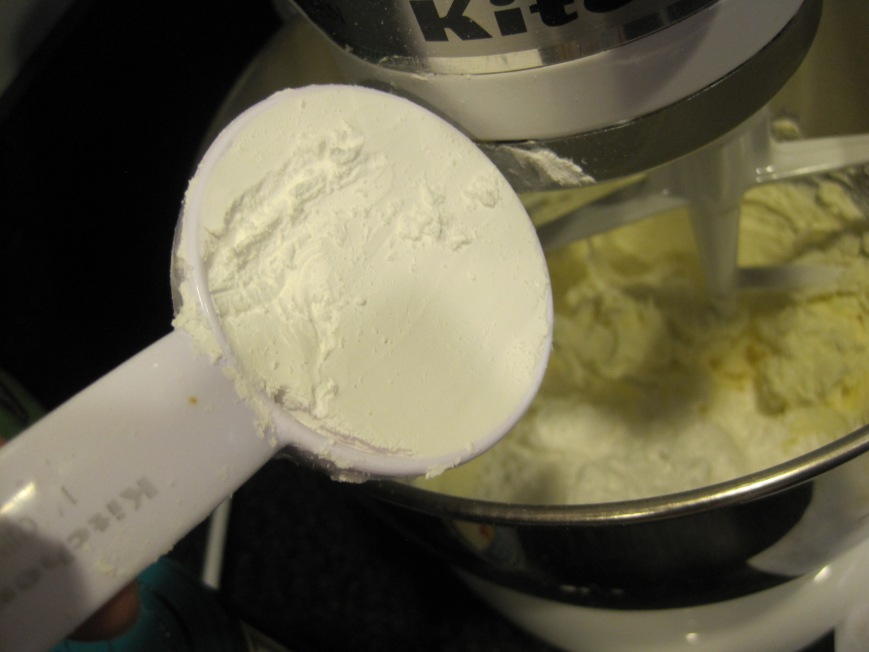
add powder sugar to butter/cream cheese mixture.

IMG_8430

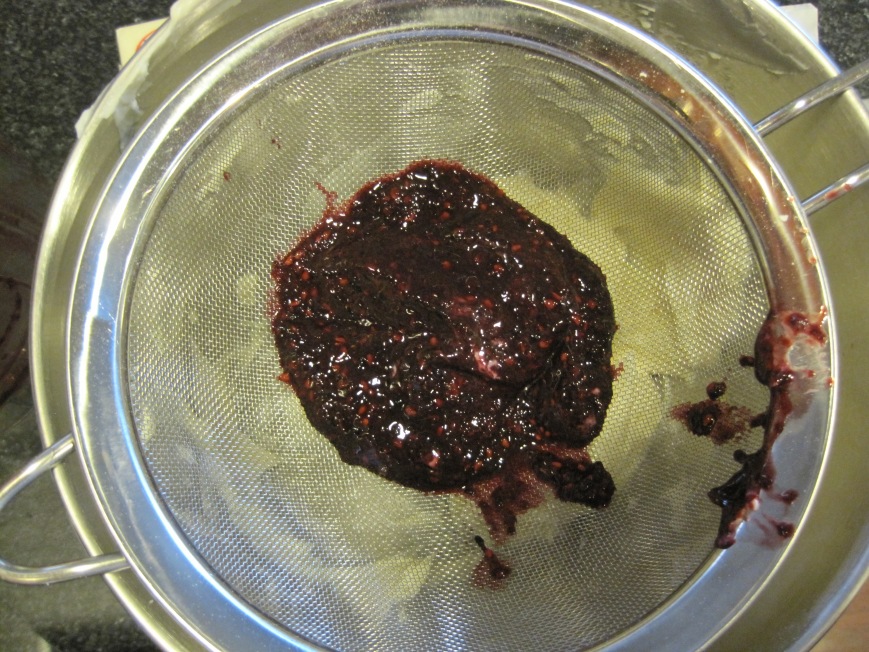
strain blackberry puree onto the frosting.

IMG_8433

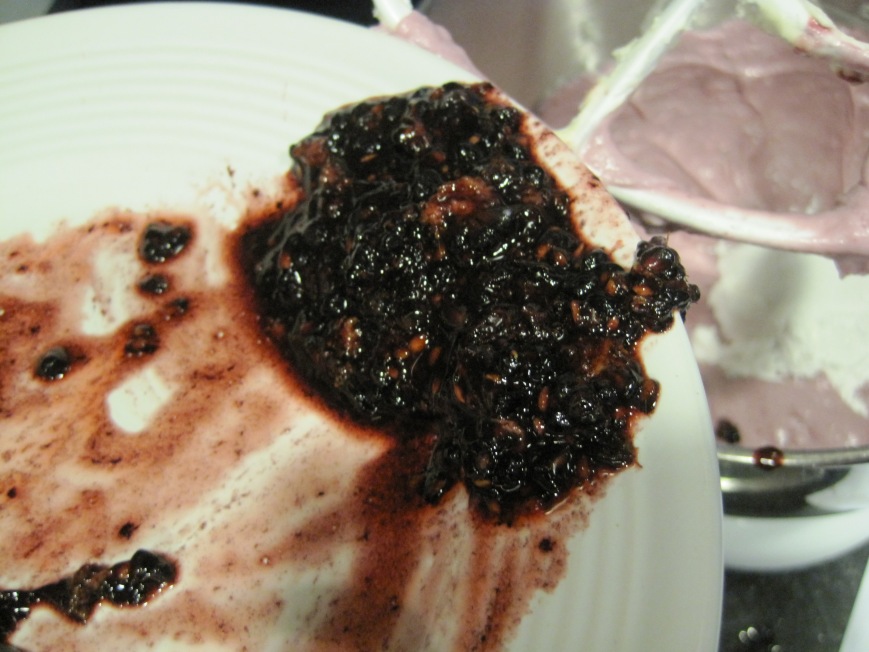
and add the other 20 mashed blackberries.

IMG_8437

and here’s how they look like once all finished!

IMG_8480

IMG_8445

IMG_8455

IMG_8461

IMG_8467

IMG_8468

IMG_8476

IMG_8481

IMG_8477

IMG_8484

IMG_8485

IMG_8487

IMG_8494

spring lemon cupcakes with blackberry cream cheese frosting

lemon cupcakes:
4 large eggs, room temperature {sitting on the counter for 30-50 minutes approx.}
1 1/4 sticks unsalted butter, room temperature {cold to the touch and not melted; sitting on the counter for 30-50 minutes approx.}
1 1/2 cups sugar
2 tsps vanilla extract
1/2 cup whole milk, room temperature {sitting on the counter for 30-50 minutes approx.}
1 1/2 cups cake flour, sifted
1 tsp baking powder
1/2 tsp sea salt
zest of two lemons
juice of one lemon

yields 15 to 17 cupcakes.

blackberry cream cheese frosting:
1 1/2 sticks unsalted butter, room temperature {cold to the touch and not melted; sitting on the counter for 30-50 minutes approx.}
12 oz cream cheese, room temperature, sliced in chunks {cold to the touch and not melted; sitting on the counter for 30-50 minutes approx.}
4 cups powder sugar, more if needed
1 tsp vanilla extract
1/2 tsp sea salt, or more
40 blackberries, divided
4 tbsps toasted coconut, for garnish

lemon cupcakes directions:

  1. preheat oven to 325F.
  2. line 2 cupcake pans with paper liners. between 15 and 17.
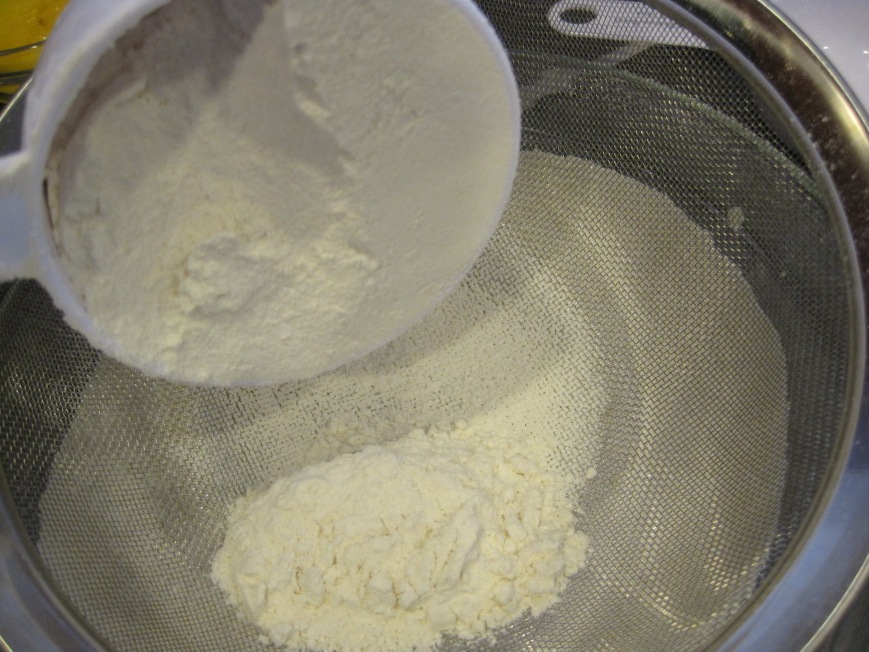
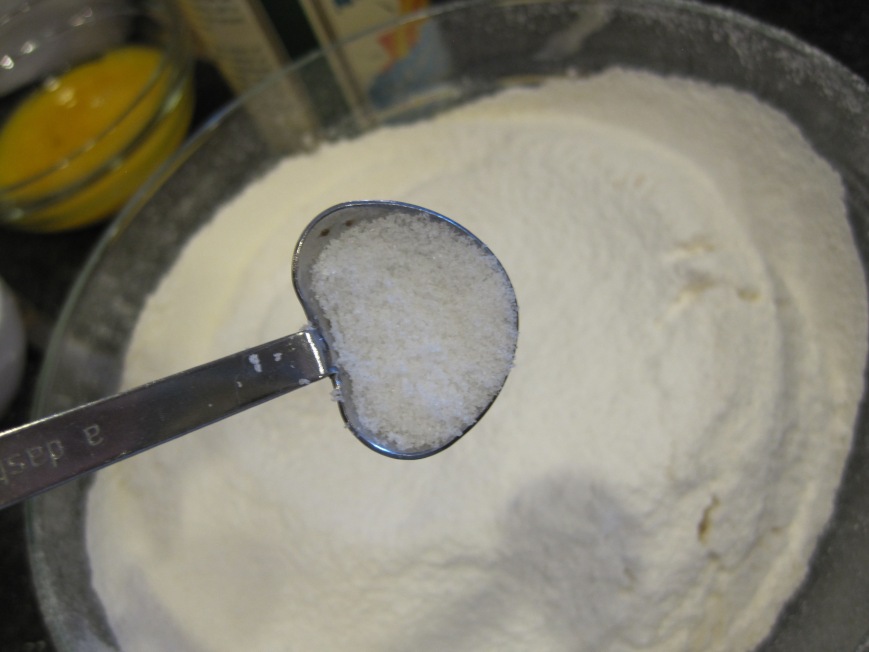
  3. in a large bowl, sift flour and baking powder. add sea salt and mix well.
  4. separate egg whites from yolks. beat egg whites in the bowl of a stand mixer fitted with the whisk attachment over high speed for 1 1/2 minutes or until soft peaks form. you can use a hand mixer as well {beat for about 3 minutes}.
  5. once egg whites are done beating add to a bowl and set aside.
  6. in the same bowl of a stand mixer, cream butter over medium high speed for 1 minute with the paddle attachment. add sugar and mix until fluffy and creamy, about 3 minutes. scrape the sides and bottom of the bowl with a rubber spatula and beat for 30 seconds on high.
  7. reduce speed to medium low and add egg yolks one at a time mixing well after each. mix in vanilla.
  8. scrape the sides and bottom of the bowl with a rubber spatula to make sure all ingredients are well incorporated. beat on high for 30 seconds.
  9. set speed to the lowest setting and add 1/3 of the egg whites alternating with 1/3 of flour mixture and 1/3 of milk. repeat until you use all ingredients. make sure to finish with egg whites or milk.
  10.  add lemon juice and zest. mix on low speed until combined, about 30 seconds. do not over mix.
  11.  bake for 18 minutes, rotating cupcake pans half way through.
  12.  place cupcake pan on a cooling rack and let cupcakes cool for 3 minutes.
  13.  take cupcakes out of the pan and cool completely before frosting, about 30 minutes.
  14.  store frosted {or unfrosted} cupcakes in an airtight container immediately to avoid dryness. they are good for up to 3 days at room temperature.

blackberry cream cheese frosting directions:

  1. wash and dry blackberries thoroughly.
  2. in a food processor or blender, puree 20 blackberries. set aside.
  3. with a fork, mash the other 20 blackberries. set aside.
  4. cream butter over medium speed with the whisk attachment of a stand mixer for 1 minute or until fluffy.
  5. add cream cheese and mix until incorporated.
  6. add salt and vanilla.
  7. strain blackberry puree over the frosting bowl to avoid the seeds going in.
  8. add mashed blackberries to the bowl. don’t use a strainer for this, you are going to want all of it.
  9. set speed to low and add powder sugar, little at a time, and mix well.
  10.  if the frosting is too runny, refrigerate for 30 minutes. if it’s still too runny, add 1/4 cup to 1/2 cup powder sugar more. you may want to add an additional dash of salt to balance out the sweetness.
  11. frost with desired tip. i used wilton 1A.
  12.  you can certainly make this frosting with a hand mixer.

IMG_8503

FacebookTwitterGoogle+

Share This Post

succulent mandocas

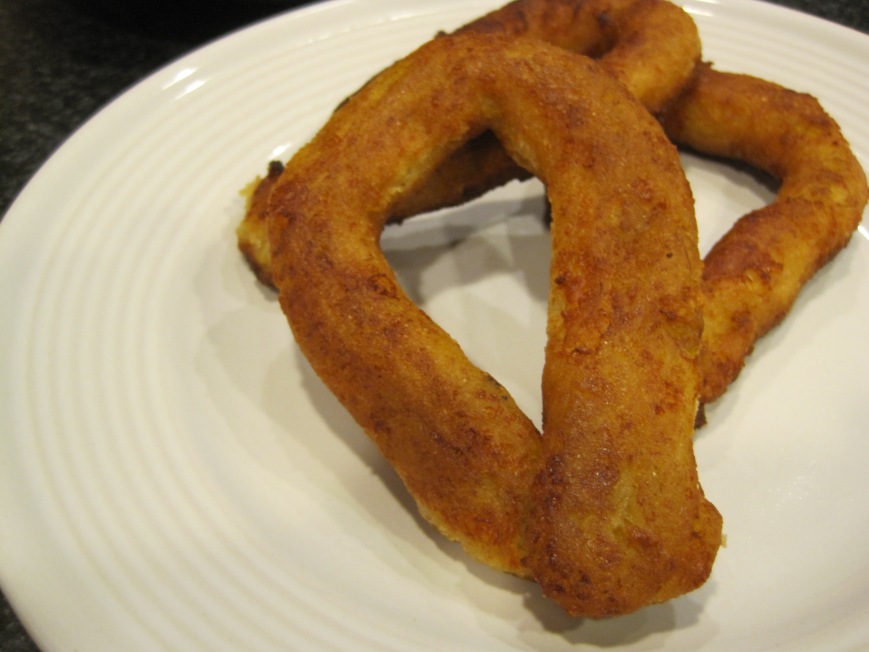
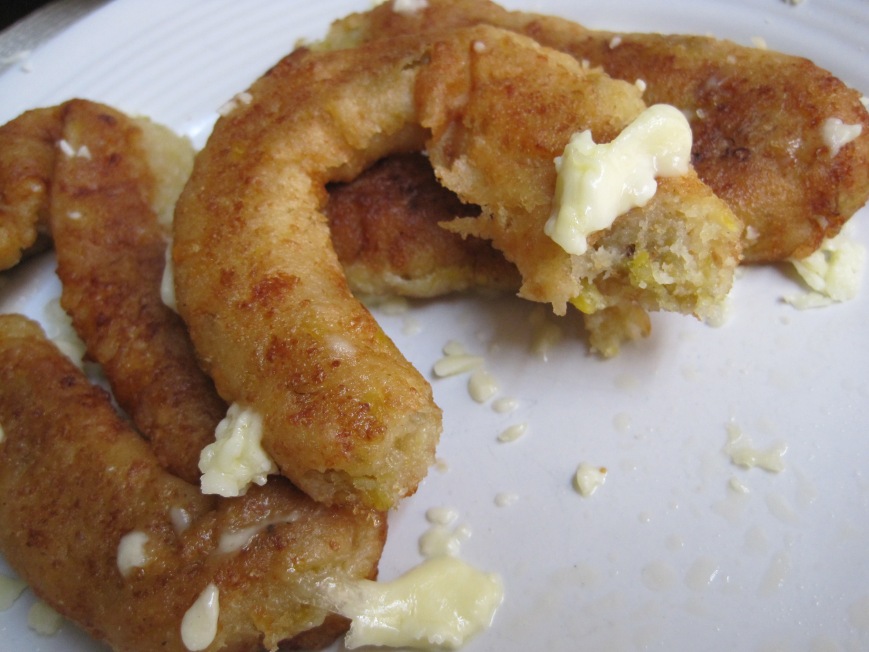
i know you are wondering what mandocas are. mando what?!? weird name, succulent snack.

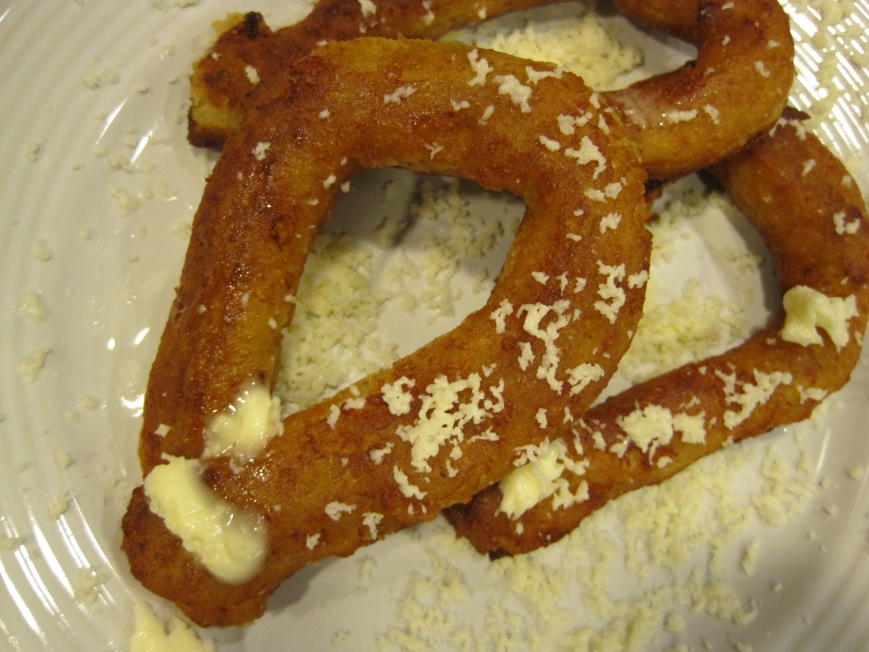
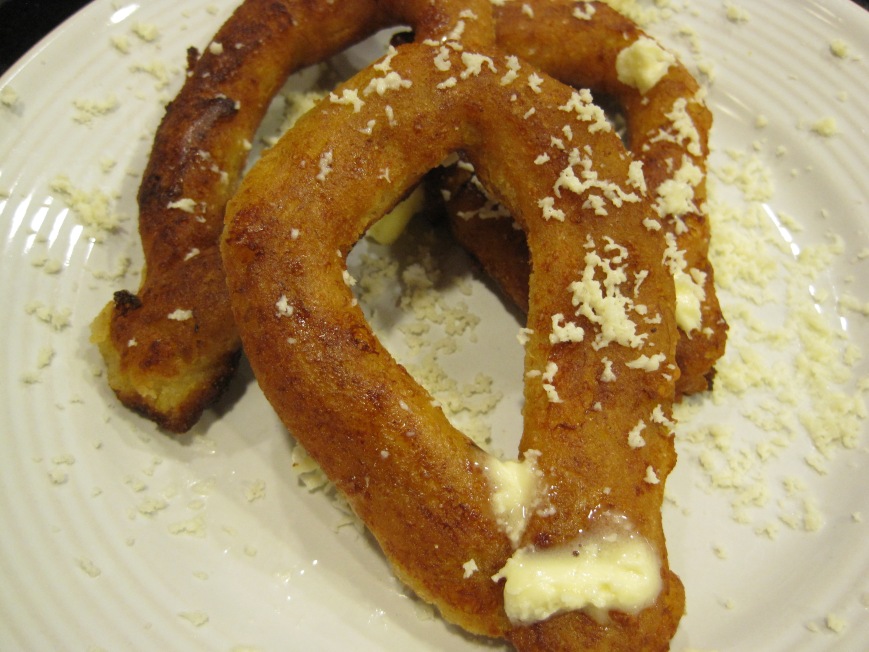
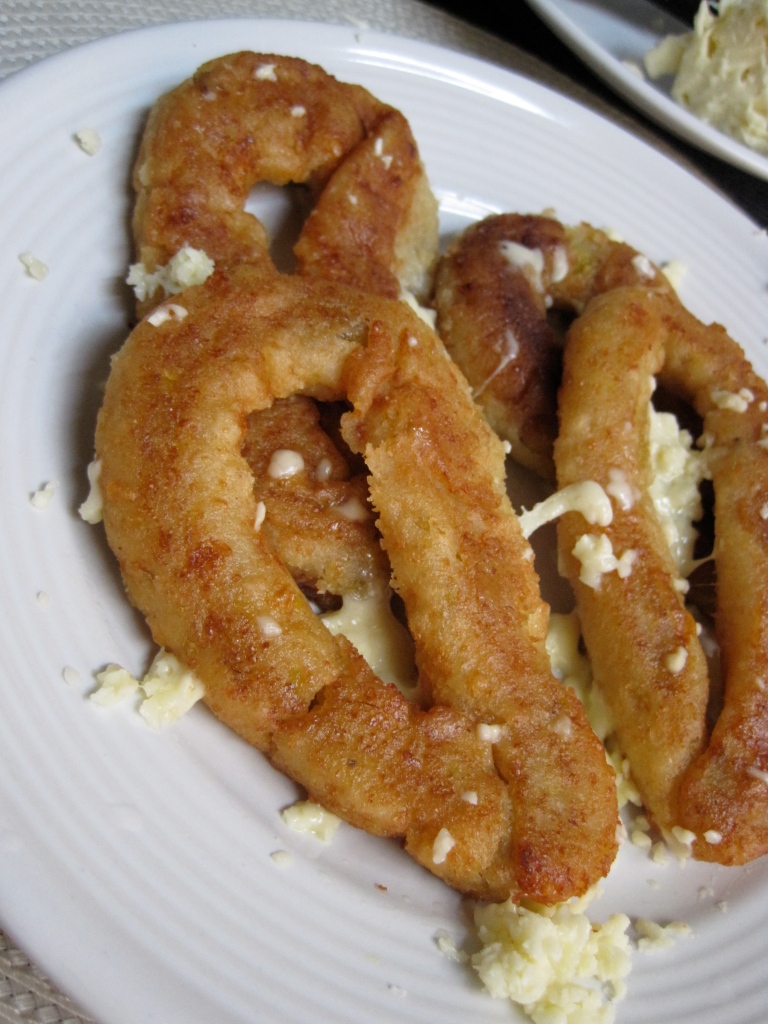
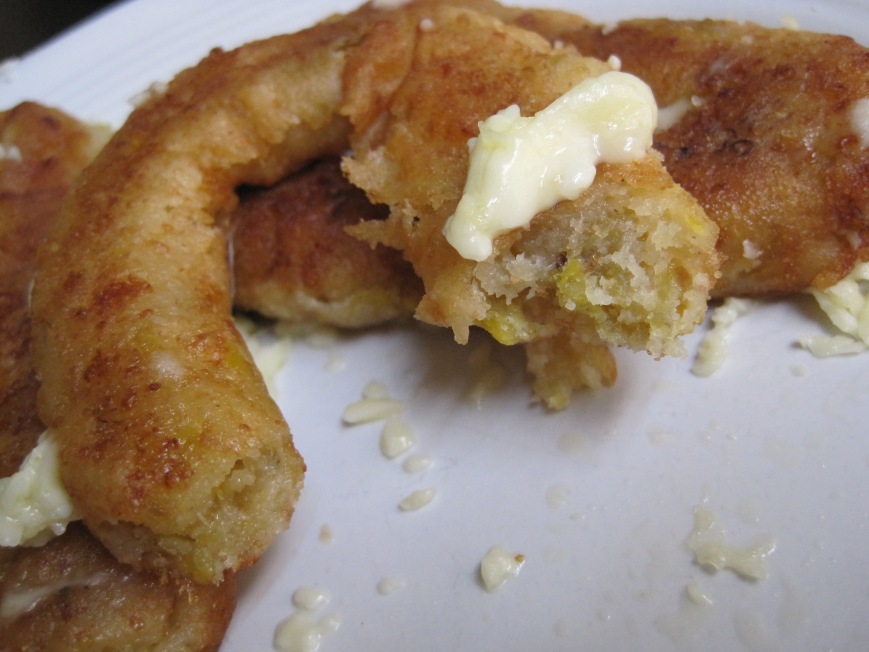
mandocas are originally and typical of maracaibo, venezuela. they are consumed at anytime as a snack, breakfast, dinner and even lunch. like pancakes, i can eat mandocas all day long. give me some butter and cheese, and oh sweet mother of food, i can just eat 20 in a row.

one of the main ingredients to make the mandocas is harina pan, venezuelan cornmeal. easy to find in local hispanic supermarkets or order from amazon. either works. i know there are other cornmeal brands out there but to be honest, i’m loyal to my country’s :) besides, i grew up on harina pan and don’t know any other way to make mandocas with!

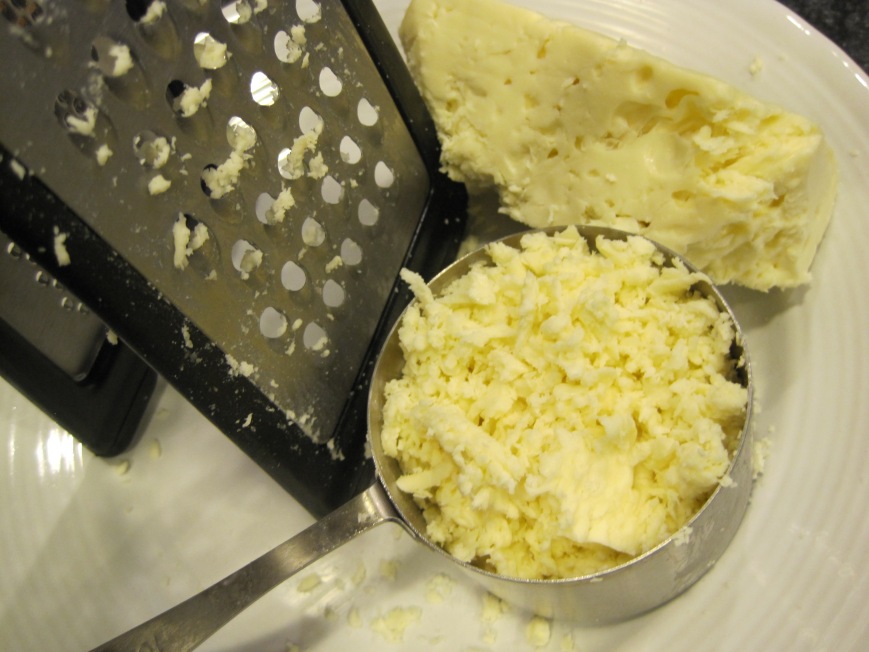
so. what are mandocas, you wonder? they are fried cornmeal drop-shaped pure deliciousness part of maracaibo’s culinary scene. the ingredients are simple and somewhat easy to find: ripe plantain, queso blanco {queso fresco or queso cotija} and panela or as known in mexico, piloncillo. in plain english: unrefined whole cane sugar in block form. trust me if i can make them, you can, too. and i live in the midwest. {you can buy panela online at amazon, if you want}.

if you like flavor combinations that explode in your mouth, then mandocas are for you. they have the perfect balance of sweet and salty for sure.

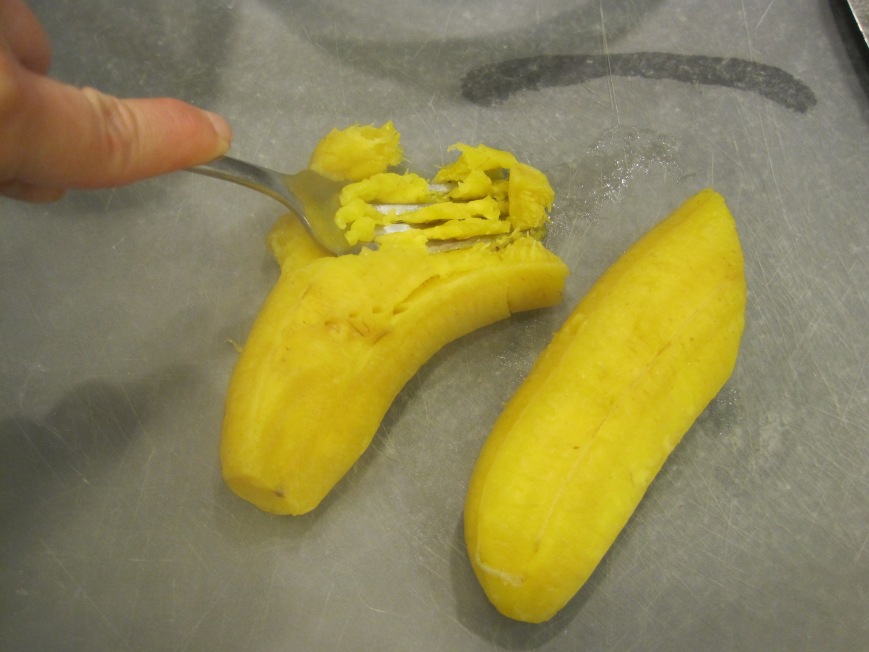
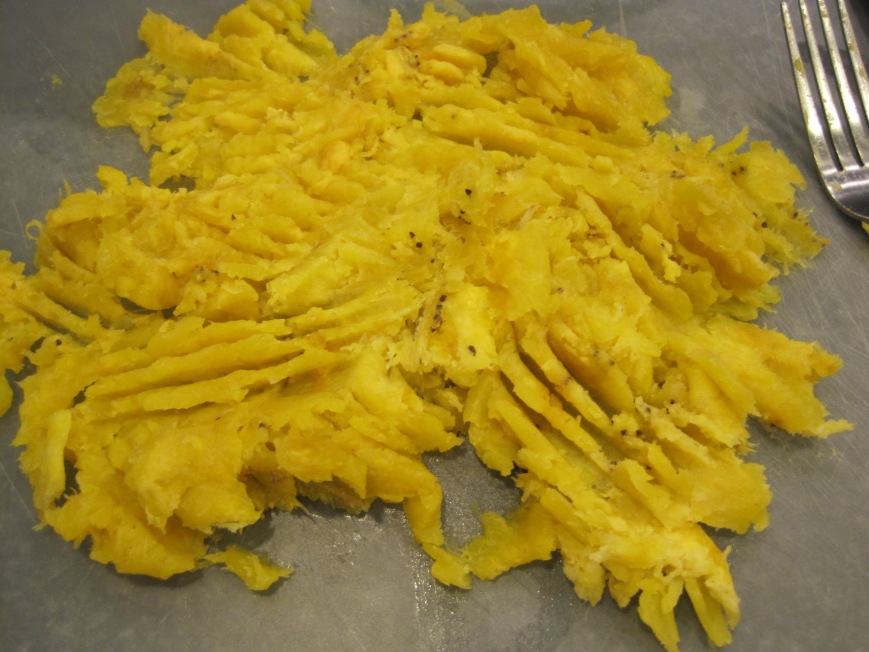
boil and mash ripe plantain.

IMG_7589

IMG_7594

add harina pan to panela/water mixture and plantain.

IMG_7597

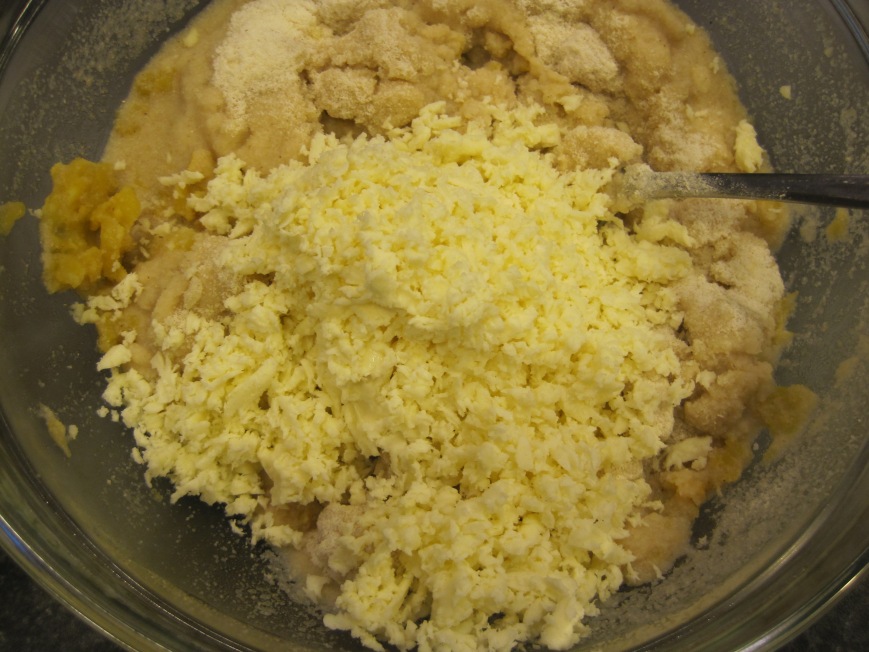
shredded cheese going in.

IMG_7601

IMG_7604

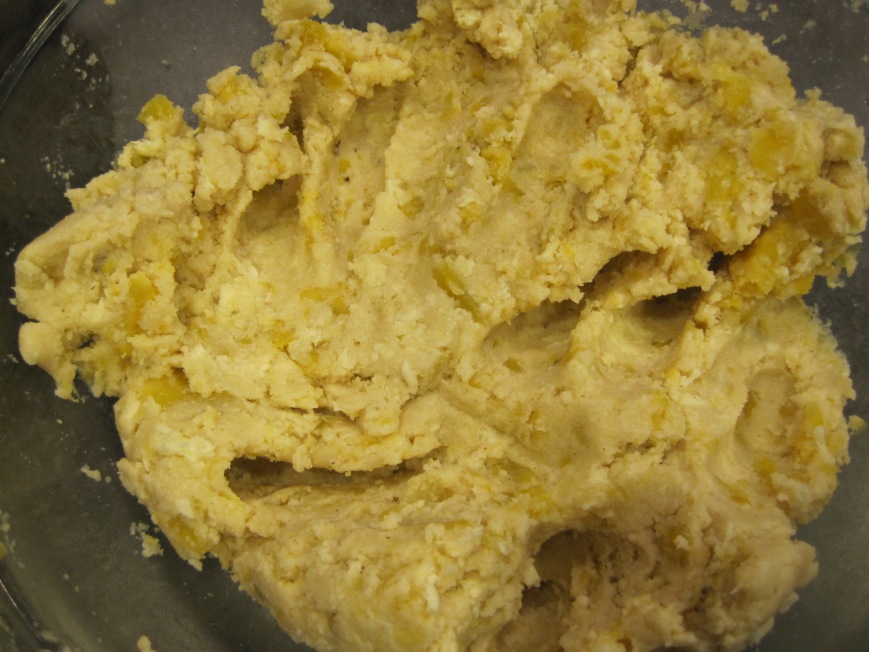
combine all ingredients with your hands.

IMG_7605

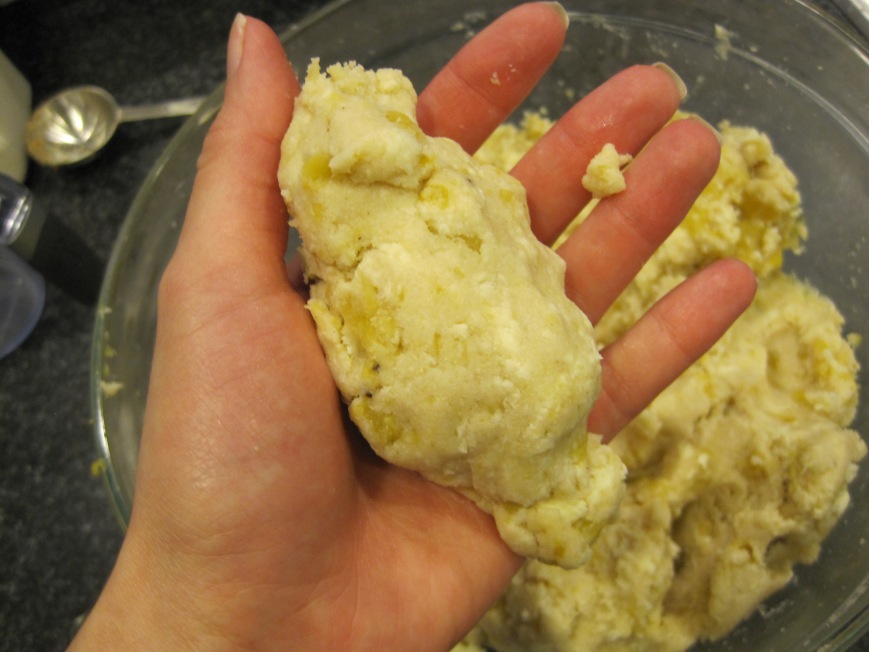
grab the quantity desired and form a cylinder with your hands.

IMG_7607

IMG_7609

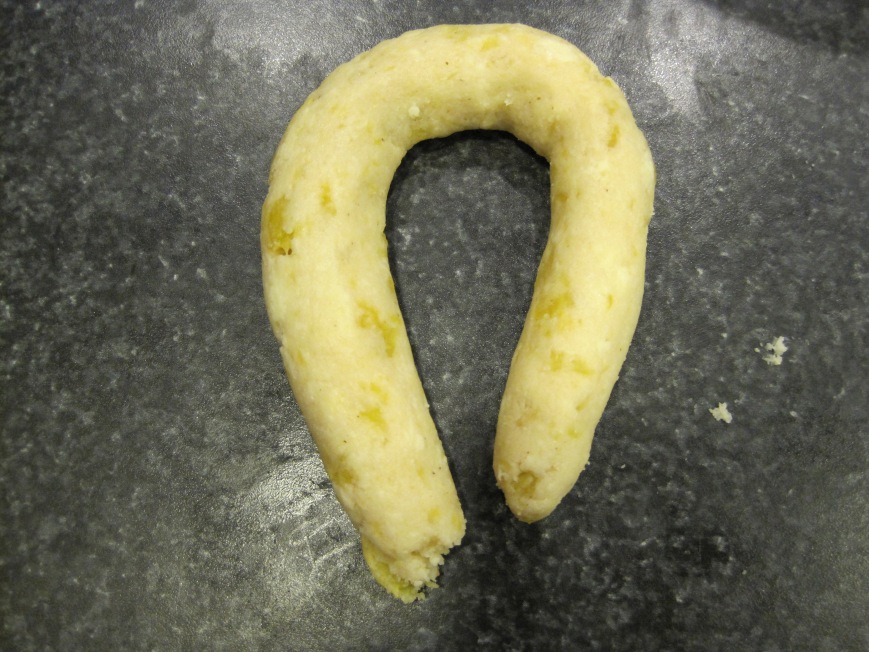
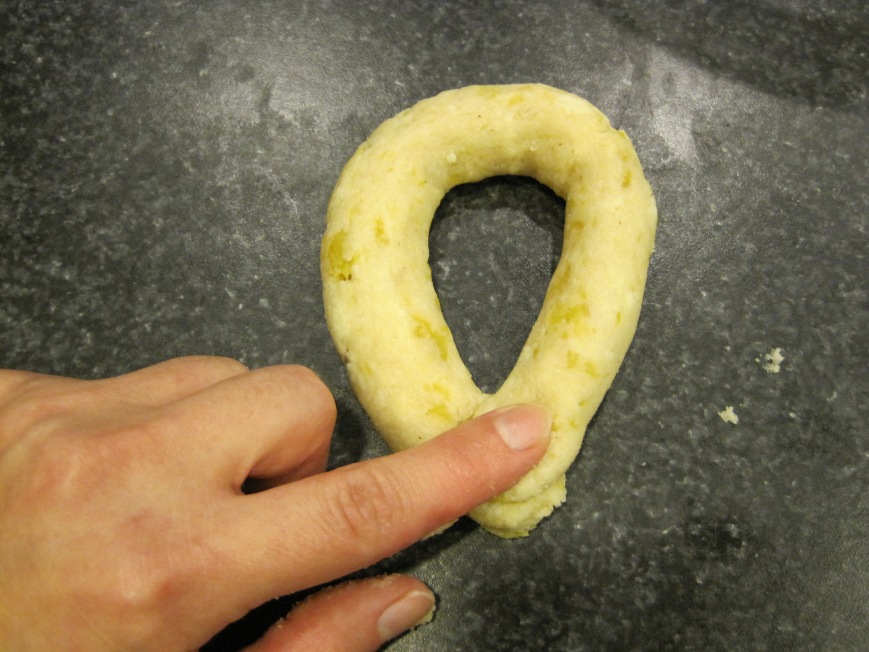
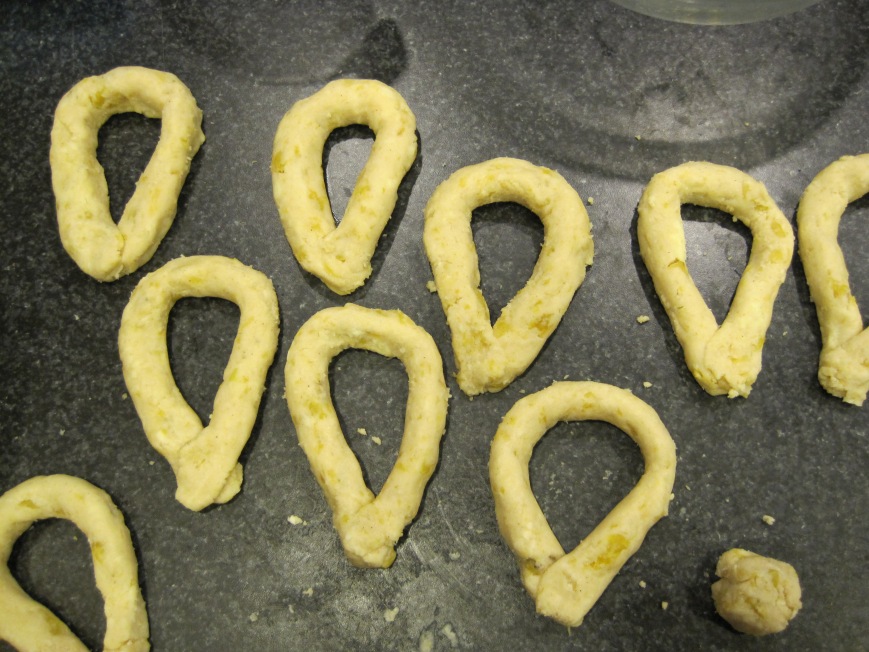
make a drop shape by pressing both ends together gently.

IMG_7616

IMG_7617

IMG_7623

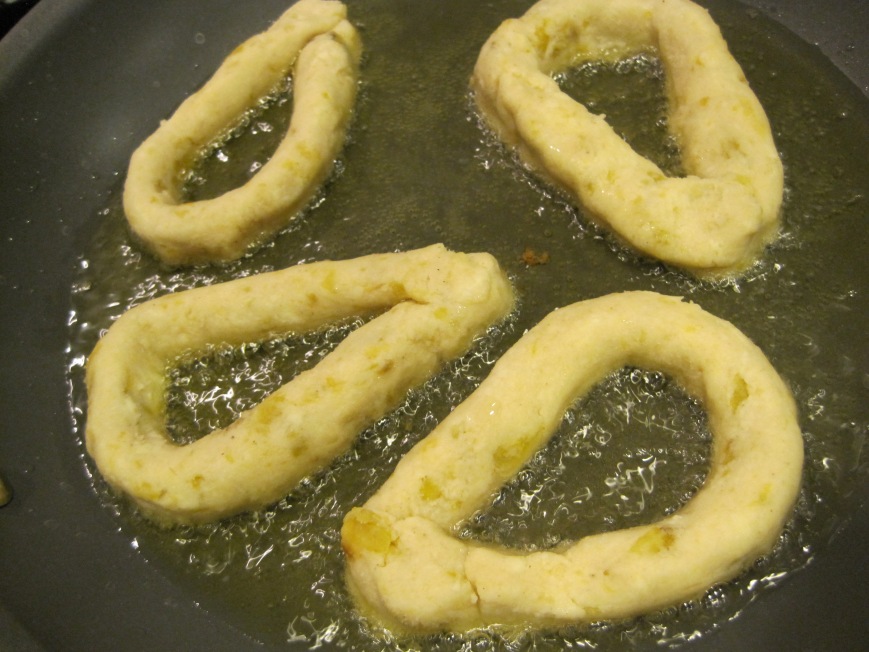
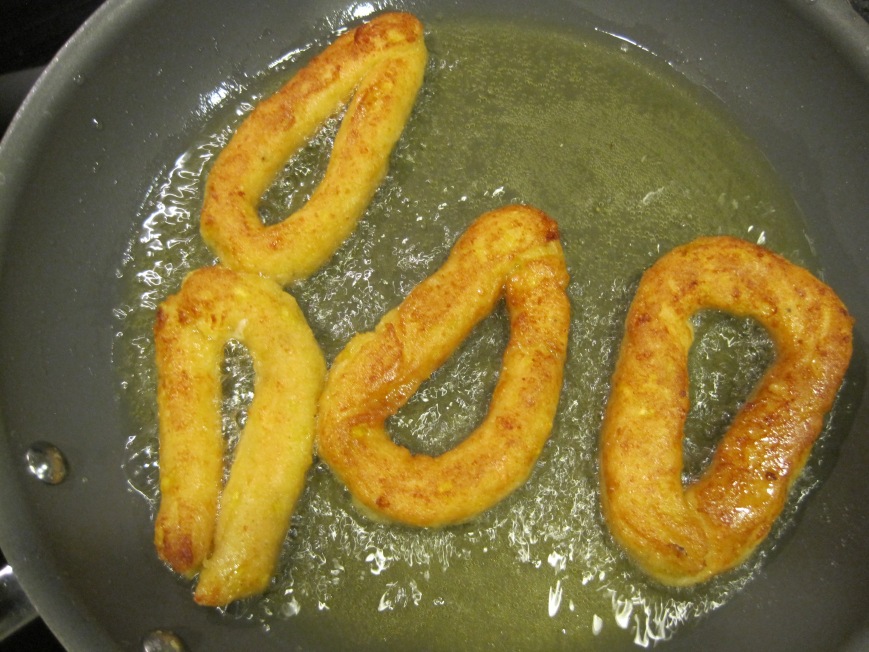
fry until golden brown.

IMG_7631

IMG_7632

serve hot with butter and cheese.

IMG_7635

IMG_7642

IMG_7643

IMG_7791

IMG_7806

succulent mandocas

ingredients:
1 cup harina pan
1 1/4 cups hot water
1 tsp sea salt
1/2 papelon block
1 ripe plantain
1 cup shredded queso blanco (semiduro) 
or queso cotija or queso fresco (mexican cheeses)
canola, vegetable or peanut oil for frying
cheese and margarine for serving

yields 10 to 12 large mandocas

directions:

  1. in a pot with boiling water over medium high heat, cook plantain until soft. about 12-15 minutes.
  2. in a large glass bowl, add hot water and papelon. dissolve papelon in water with a fork. if it’s not completely dissolved, pop in the microwave for a few seconds to help melt the papelon.
  3. once dissolved, season with sea salt and mix well.
  4. mash plantain with a fork once soft and add to papelon mixture and mix until incorporated.
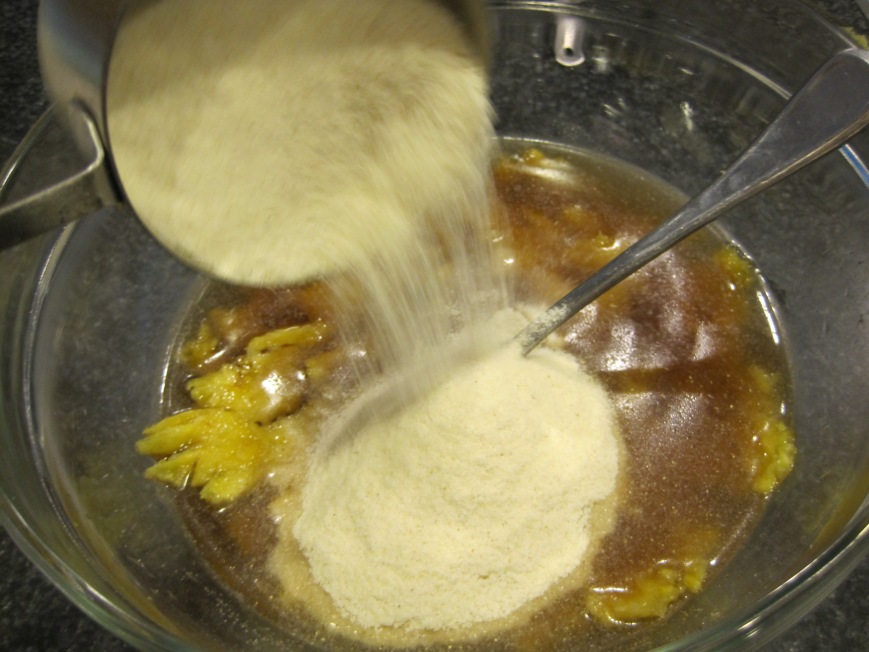
  5. add harina pan to bowl followed by cheese. mix well with hands until incorporated. don’t over mix.
  6. if dough it’s too hard and not manageable add a little bit of water to loosing it up.
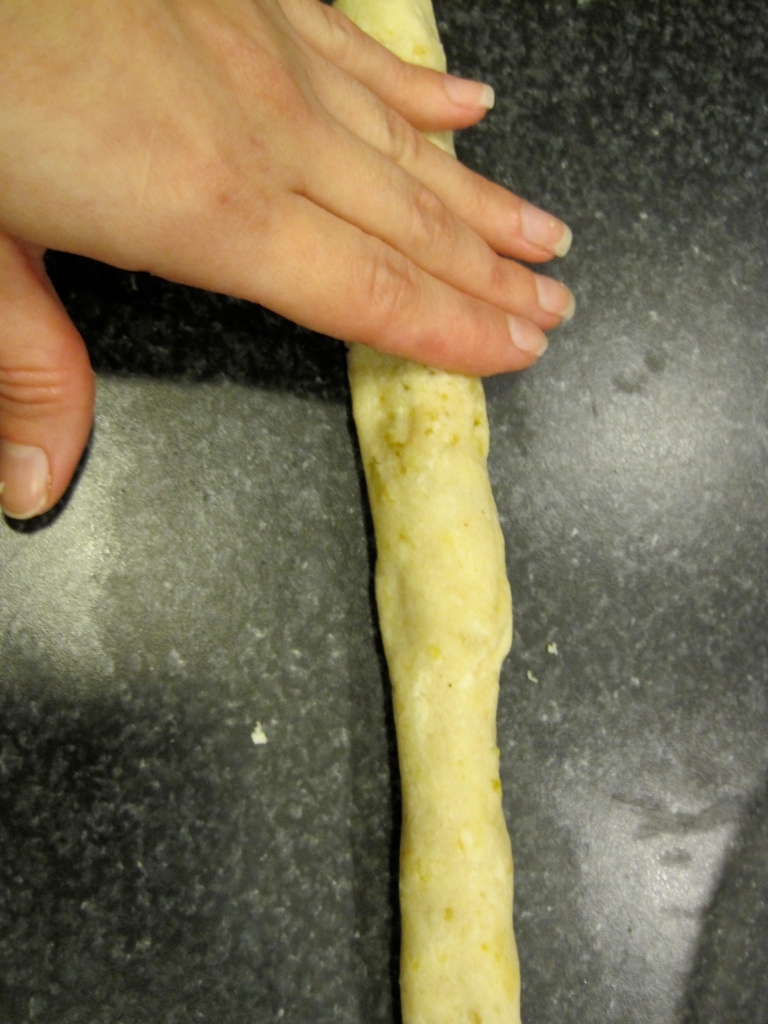
  7. grab a handful of dough and form a ball. then with your hands shape ball into a cylinder. put cylinder on counter top and roll back and forth with your hands until it has a medium size – not too thick – not too thin. bend one side of the cylinder followed by the other one. press both ends against each other gently. the ends are supposed to meet and hold together.
  8. fry over medium high heat until golden brown.
  9. serve hot with butter/margarine and more cheese! eat immediately since they are not the type of food you can refrigerate and heat the next day.

IMG_7807

quick beef tomato sauce

growing up, one of my favorite meals was pasta with ground beef, tomato sauce and parmesan cheese. tons of the latter, of course. cheese, cheese, cheese with everything :)

now, bolognese sauce or “ragu alla bolognese” originally from Bologna, Italy, is a different type of sauce and commonly served with flat, long pasta such as pappardelle or fettuccine. this is also delicious but it’s very different from the one in this post. the bolognese recipe calls for celery, carrots, milk, wine, onions, pancetta or bacon, sometimes ground pork, ground veal, and tomato paste. no tomatoes at all.

my quick beef tomato sauce has tons of tomatoes, garlic, onions, basil, bay leaves, and so on.

i always make this sauce during the week for dinner and eat it throughout the week for lunch. this is a kid’s friendly meal and adults, of course, and i assure you they will devour it. the sauce tastes better the next day, so feel free to make it in advance.

when making lasagna i whip up this quick sauce and add it in as the “beef” since this sauce will account for the tomato sauce as well. two in one, nice, right?

oh, and the sauce can be stored in the freezer for up to one month. defrost, and dinner is ready.

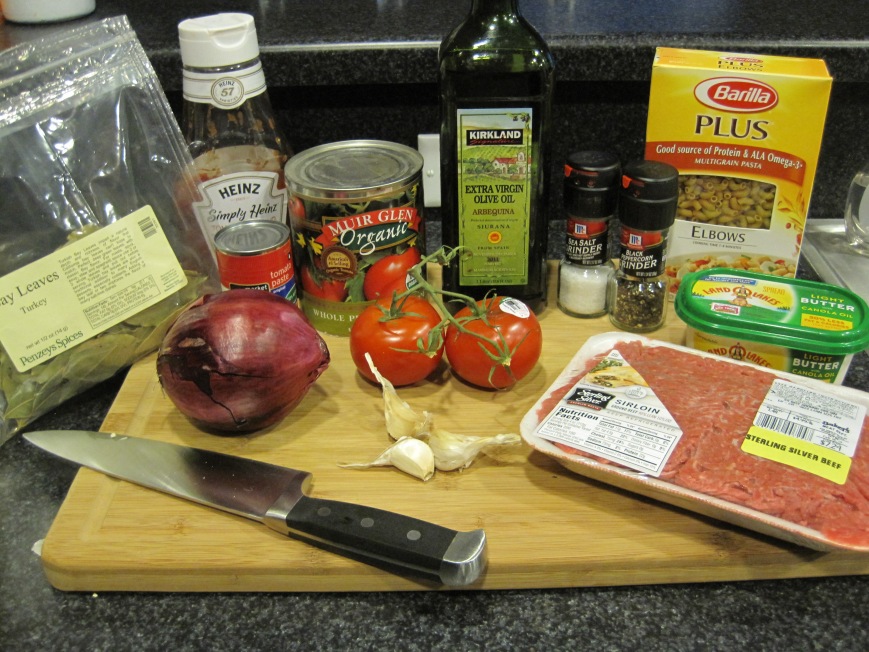
set ingredients on your counter top so they are easy to grab.

IMG_7651

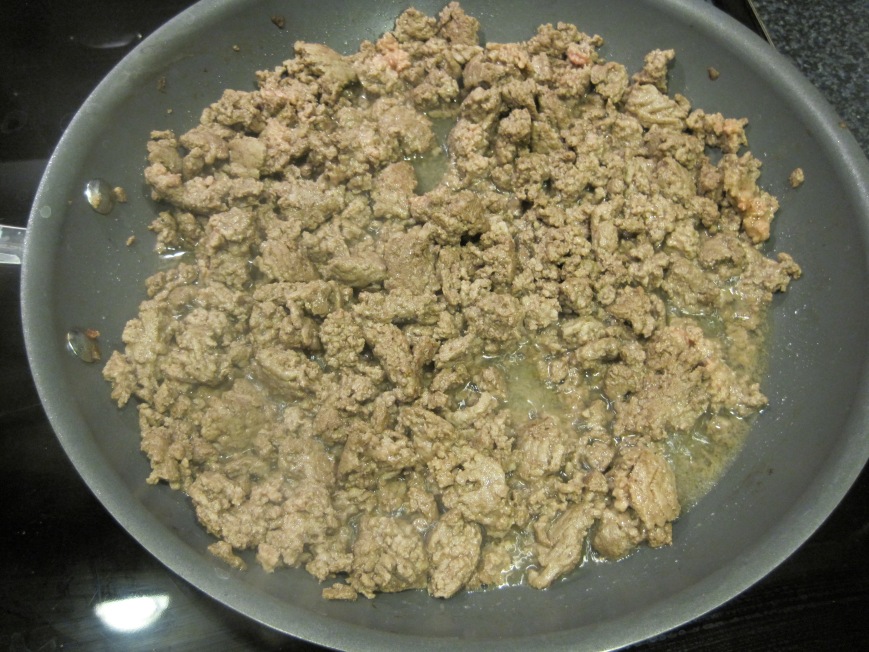
brown ground beef.

IMG_7654

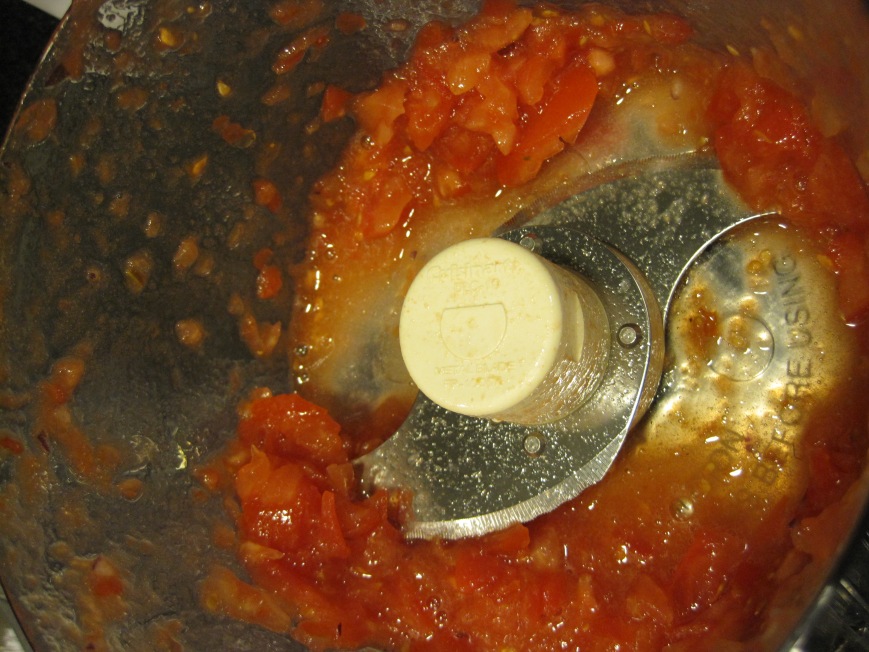
crush tomato in a food processor or blender.
IMG_7659

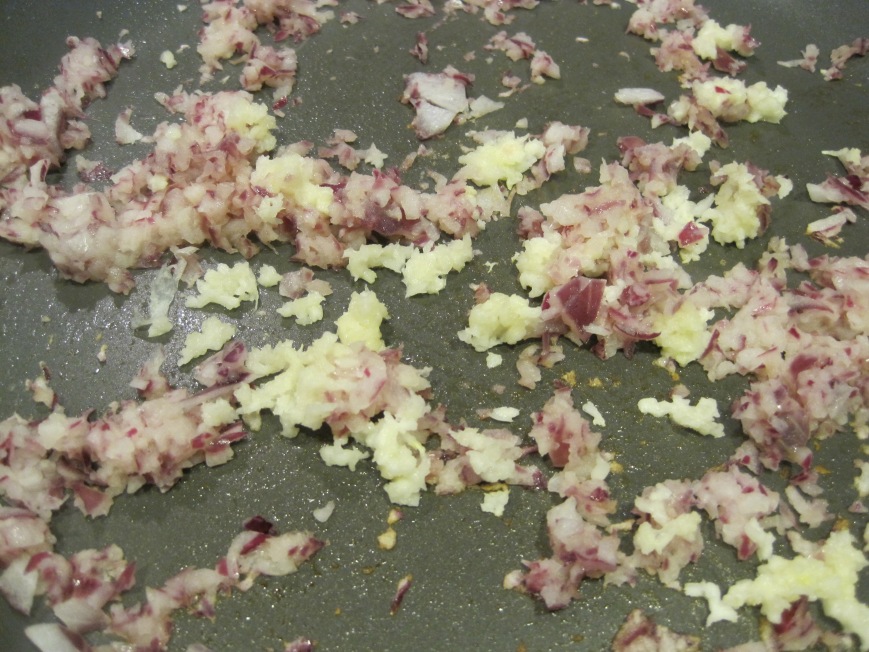
cook onions and garlic.

IMG_7660

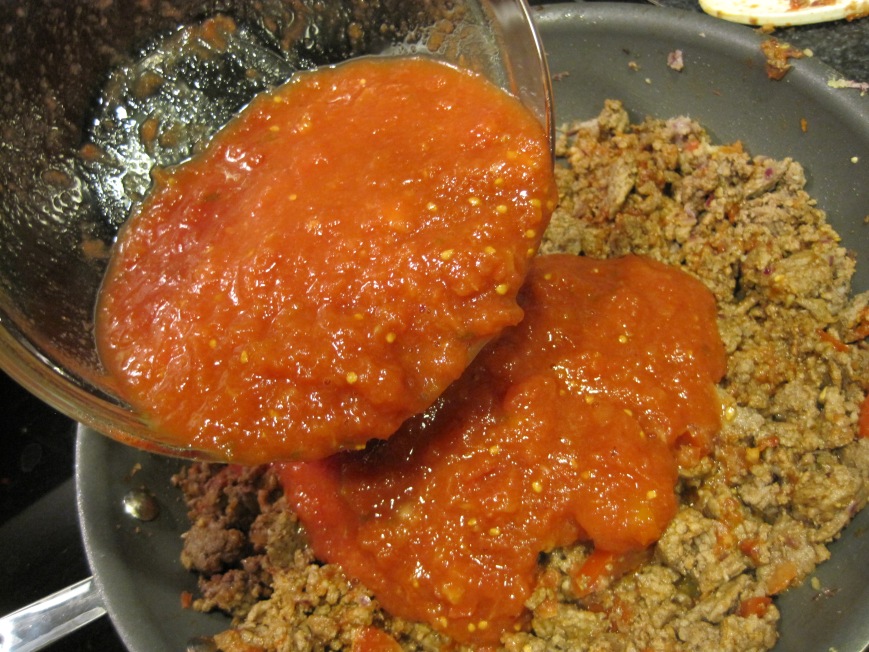
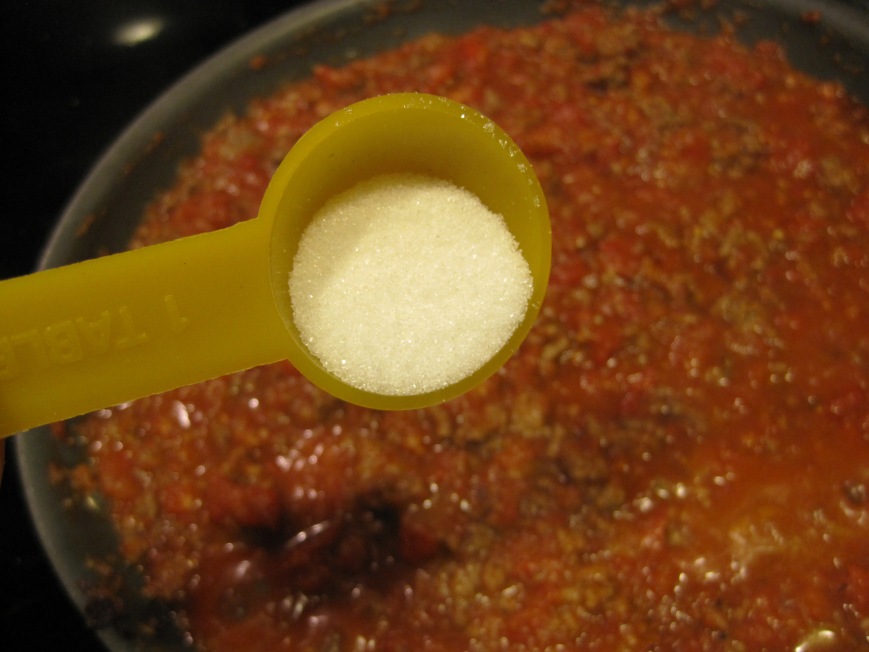
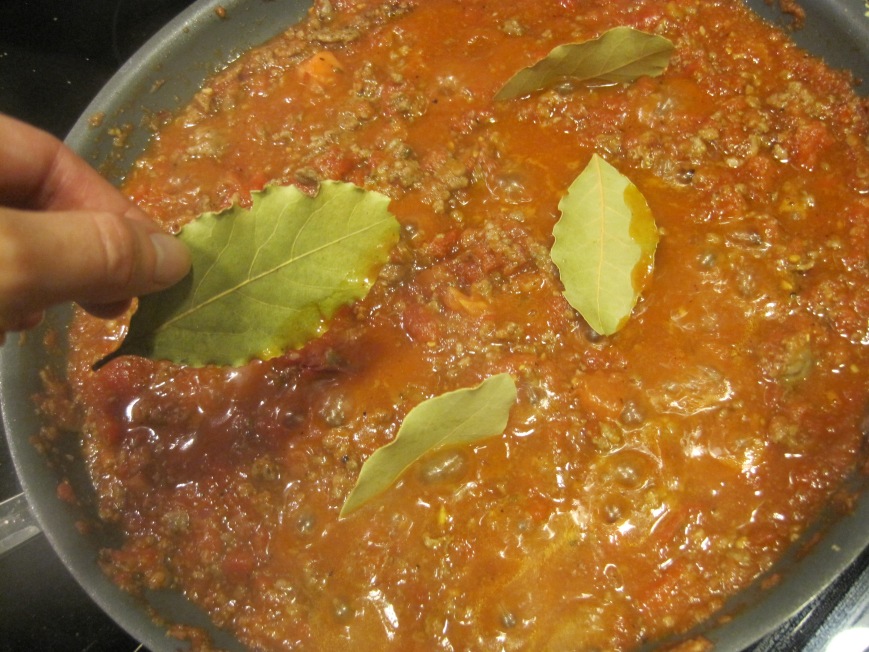
add ground beef back to the skillet along with crushed tomatoes, tomato paste, sugar, bay leaves, salt and pepper.
IMG_7661

IMG_7665

IMG_7669

IMG_7675

IMG_7676

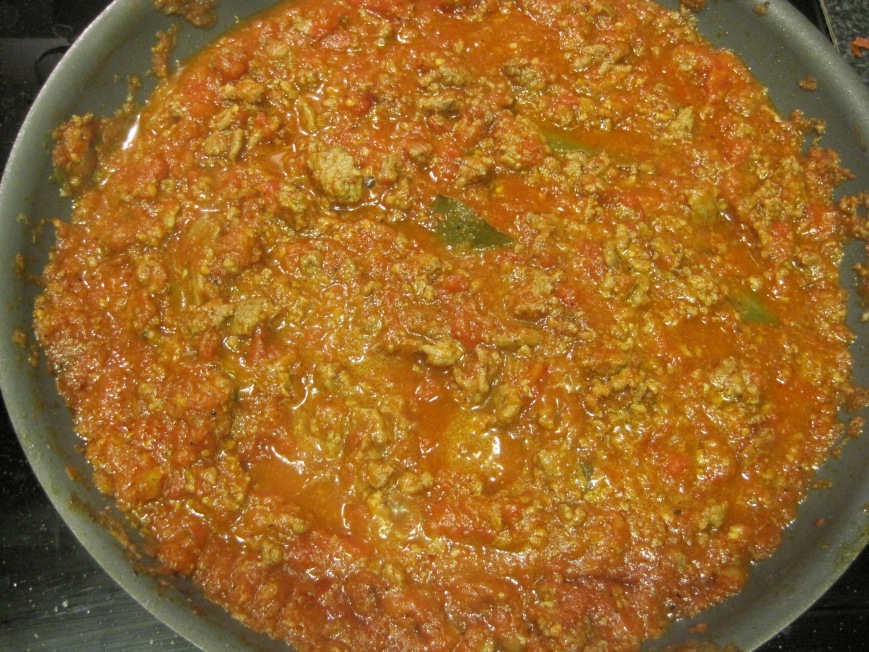
after 30 minutes of simmering, here’s what it looks like.
IMG_7680

IMG_7689

IMG_7711

IMG_7715

IMG_7722

IMG_7753

IMG_7760

quick beef tomato sauce

ingredients:
1 1/2 pounds lean ground beef {only 10% fat}
1/2 medium red onion or any other onion you have, finely chopped
4 cloves garlic, minced
1 tbsp light butter {i used land of lakes}
2 tbsps tomato paste
1 28 oz. can organic crushed tomatoes with basil
1 ripped tomato, chopped in the food processor or blender
2 tbsps organic ketchup
2 tbsps granulated sugar {you can use agave instead}
1 tsp sea salt, more or less to taste
1/2 tsp ground fresh pepper
4 bay leaves
1 tbsp olive oil
1 14.5 oz box elbow macaroni whole wheat pasta {i used barilla plus}
shredded parmesan cheese, for serving
chopped basil, for serving

serves six people

directions:

1. brown ground beef in a large nonstick skillet over medium heat. drain fat with a strainer and set aside. wipe skillet with a paper towel.

2. in the same large skillet cook onions with butter over medium heat for 1 to 2 minutes. add garlic and mix well. season with a little bit of the salt and pepper. add ground beef, tomato paste, ketchup, chopped tomato, crushed tomatoes and mix well.

3. sprinkle sugar and season with the rest of salt and pepper. add bay leaves and stir well until everything is well combined. bring to a boil for 3 minutes.

4. turn down heat to simmer or very low. cover skillet and simmer for 30 minutes.

5. add olive oil and mix well.

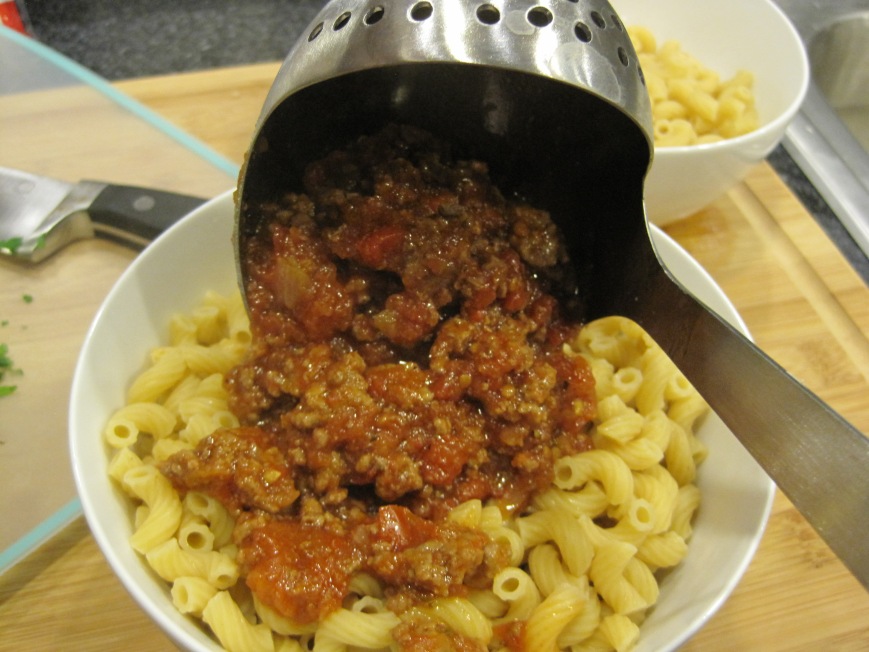
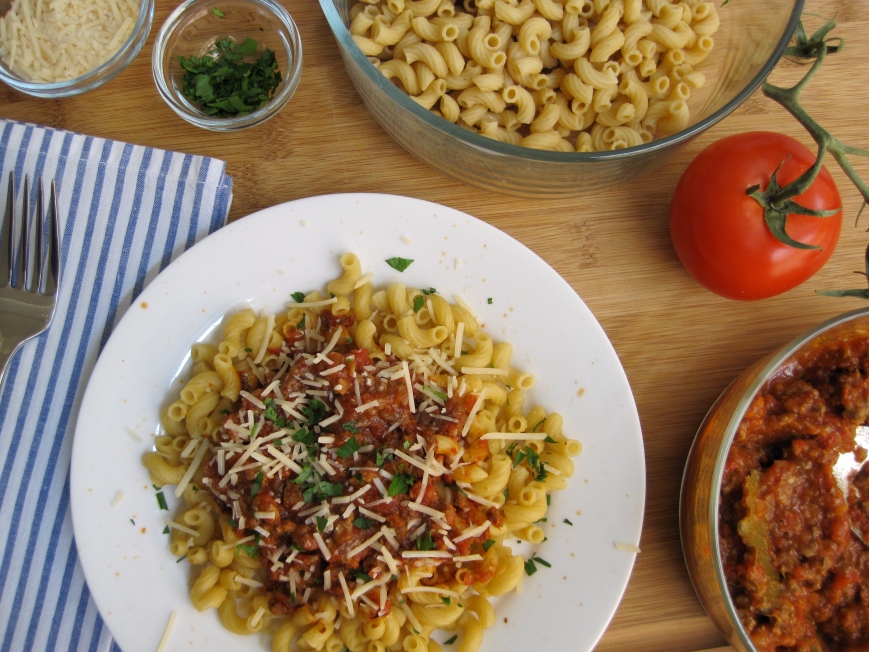
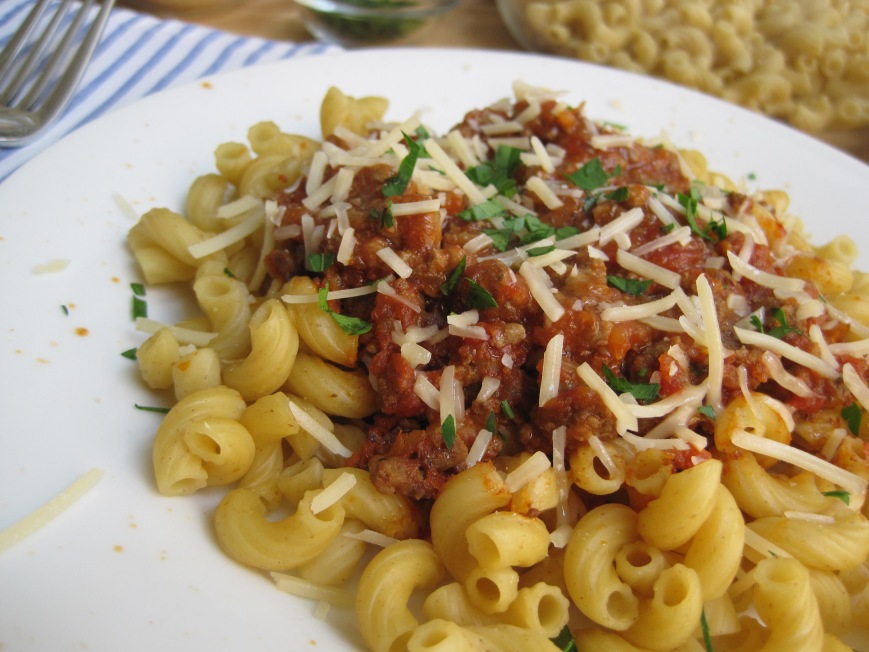
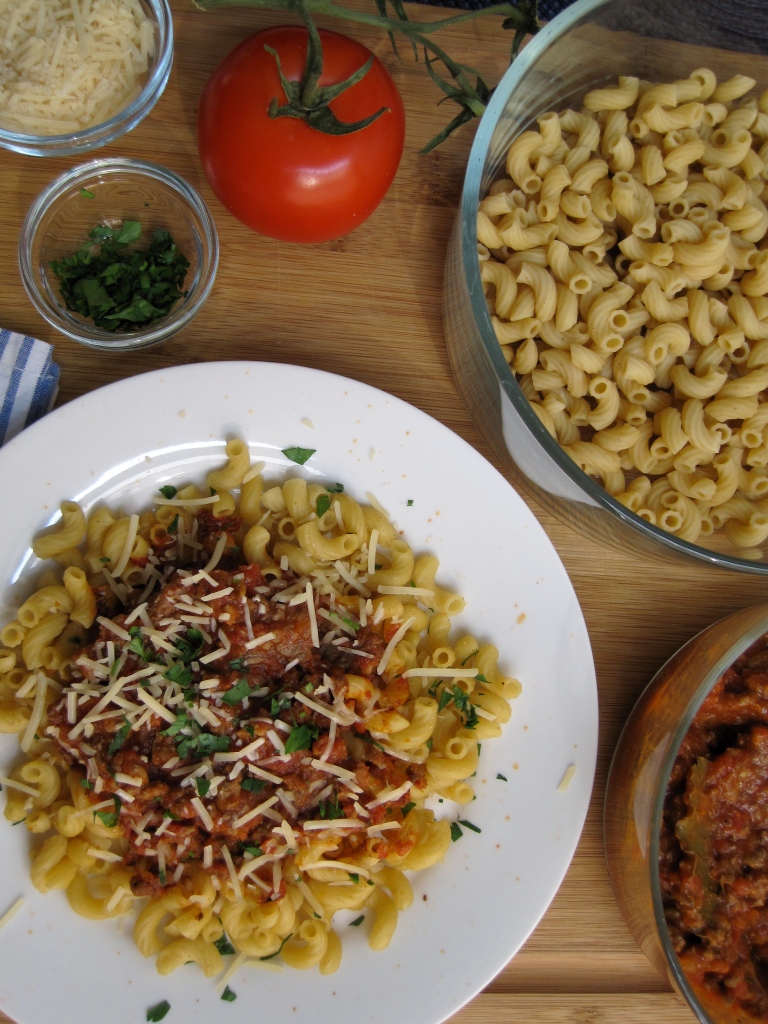
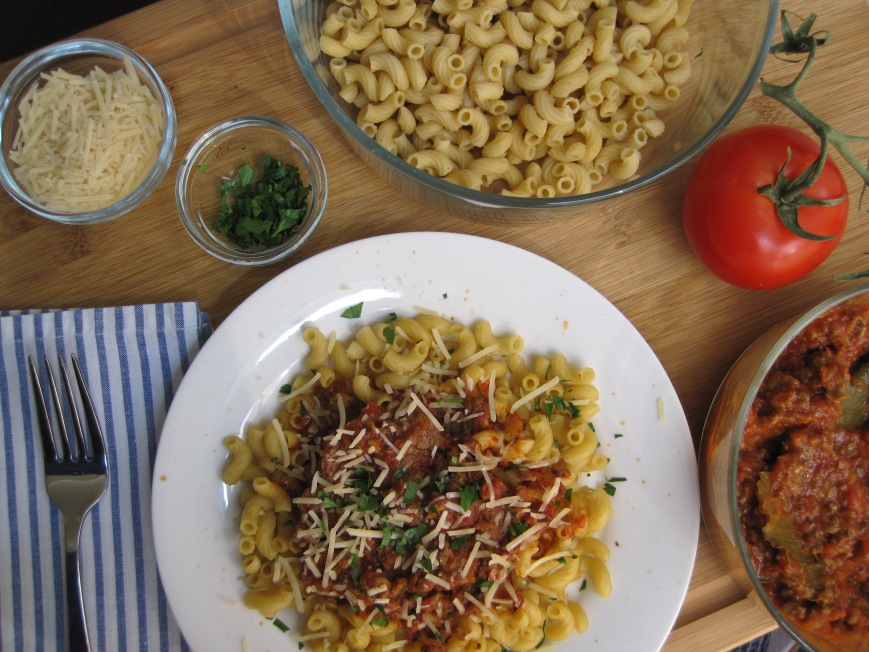
6. serve pasta in individual bowls and follow with the beef tomato sauce.

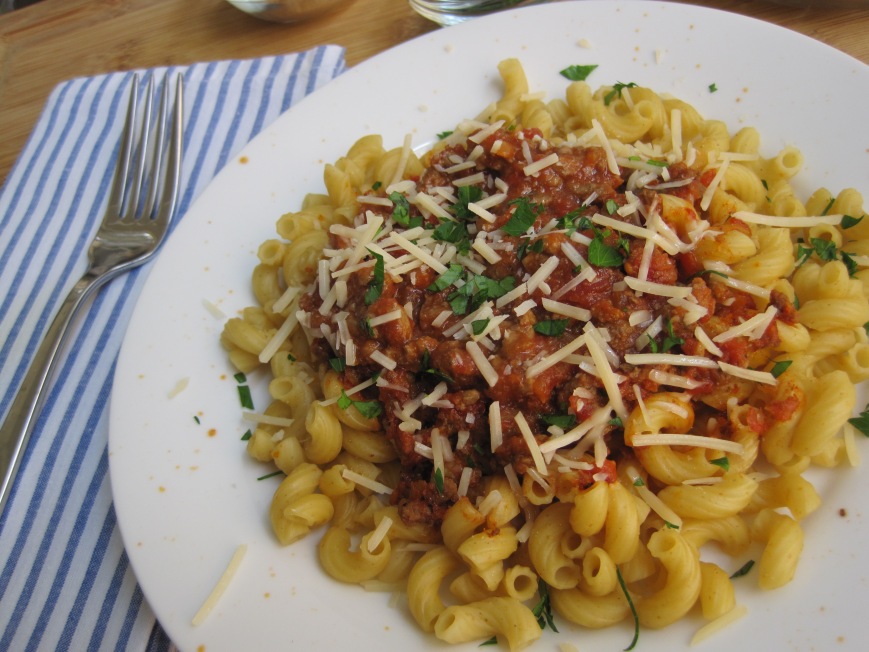
7. sprinkle parmesan cheese on top and garnish with chopped basil. serve hot!

sauce can be stored in the refrigerator for up to one week in an airtight container. you can freeze it for up to one month. defrost overnight before serving.

IMG_7709

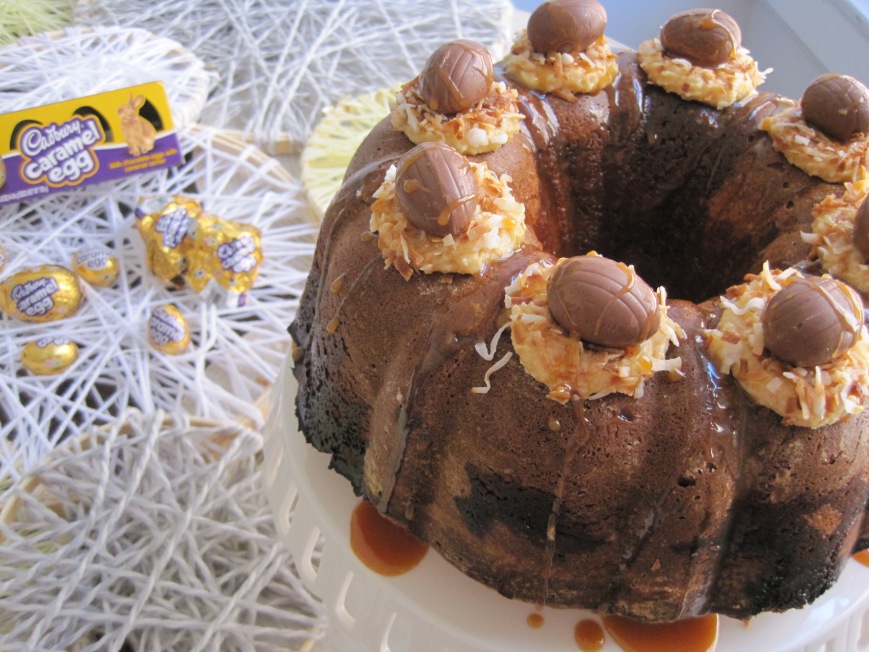
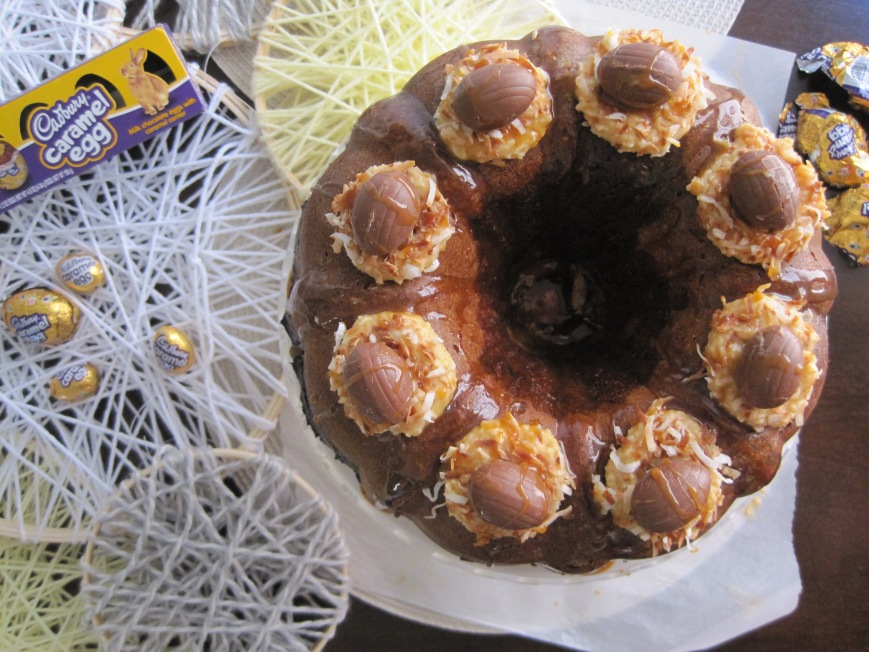
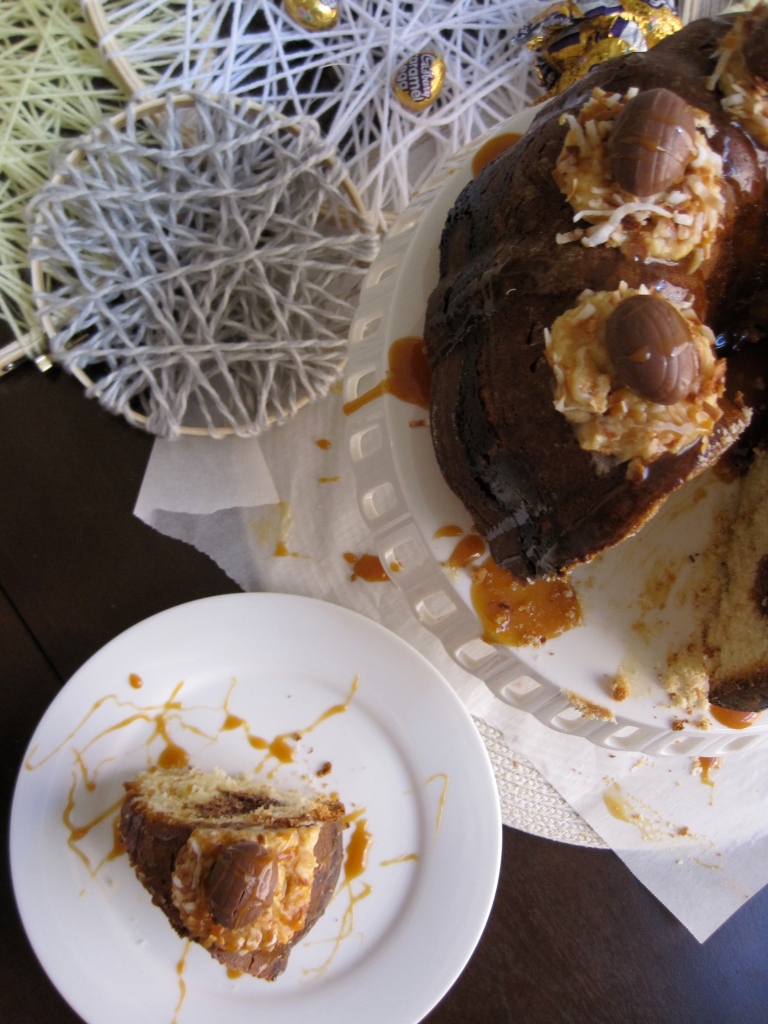
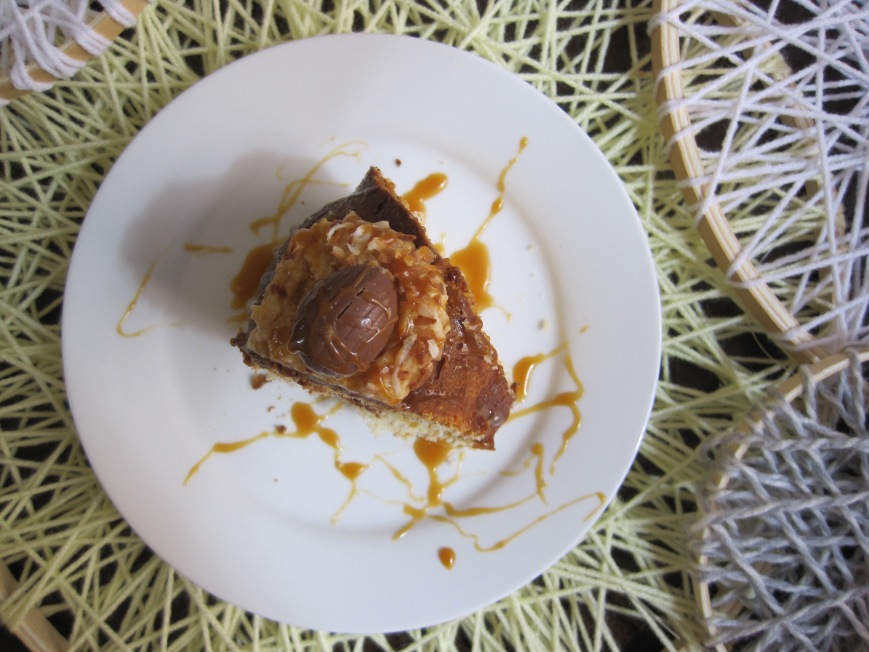
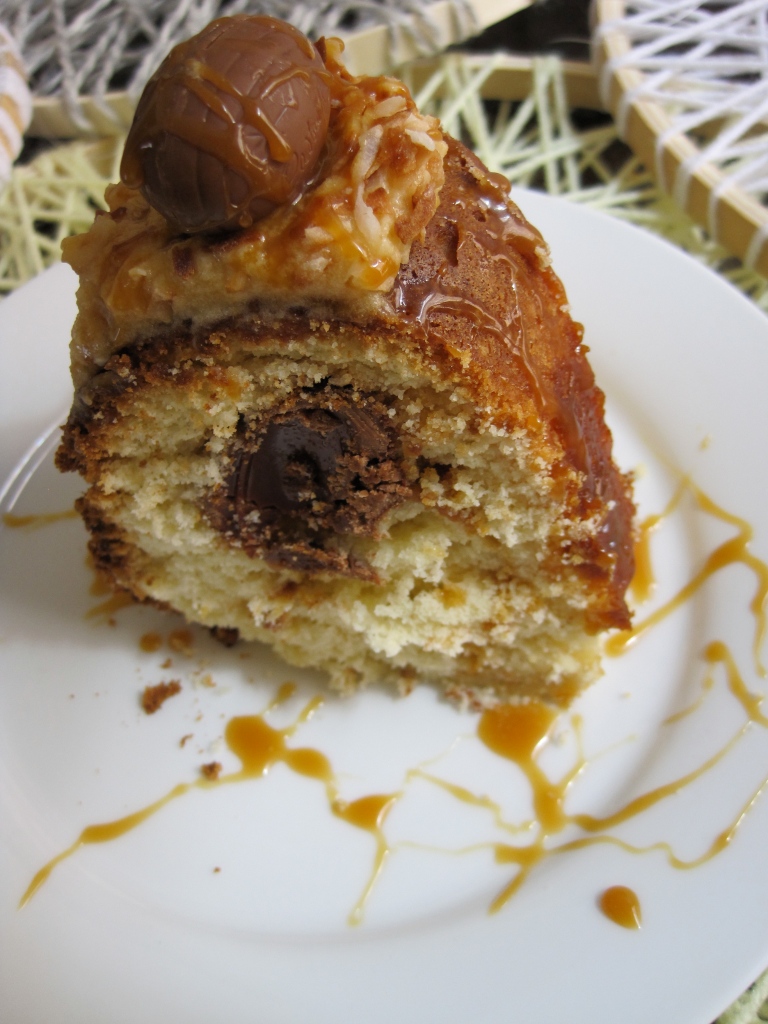
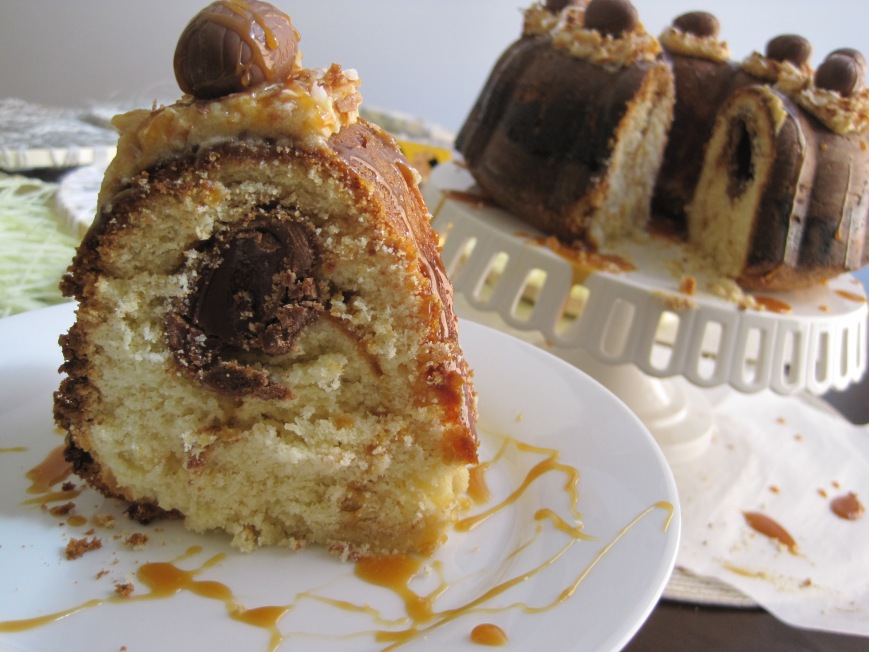
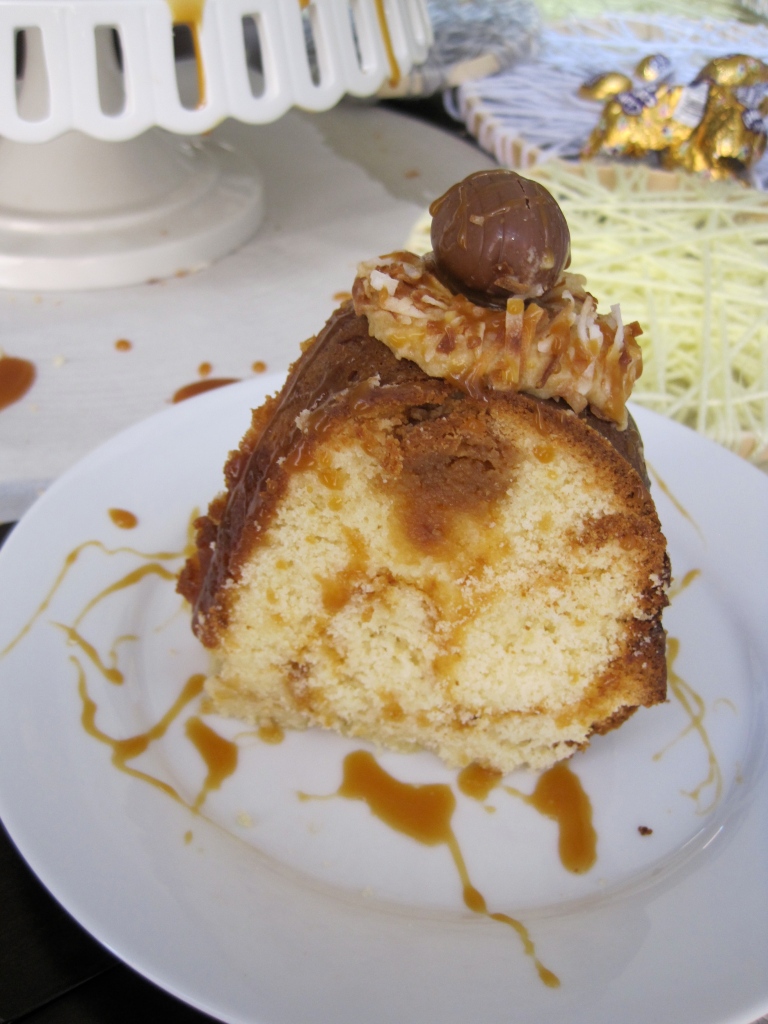
cadbury salted caramel bundt cake for easter!

it’s almost easter and i’m absolutely thrilled about it :)

don’t you love easter and pretty much any holiday where you get to celebrate it with food? **cough. cough. thanksgiving. clearing throat.**

so to celebrate in grand, make this cadbury salted caramel bundt cake i just made for your liberal consumption and indulgence.

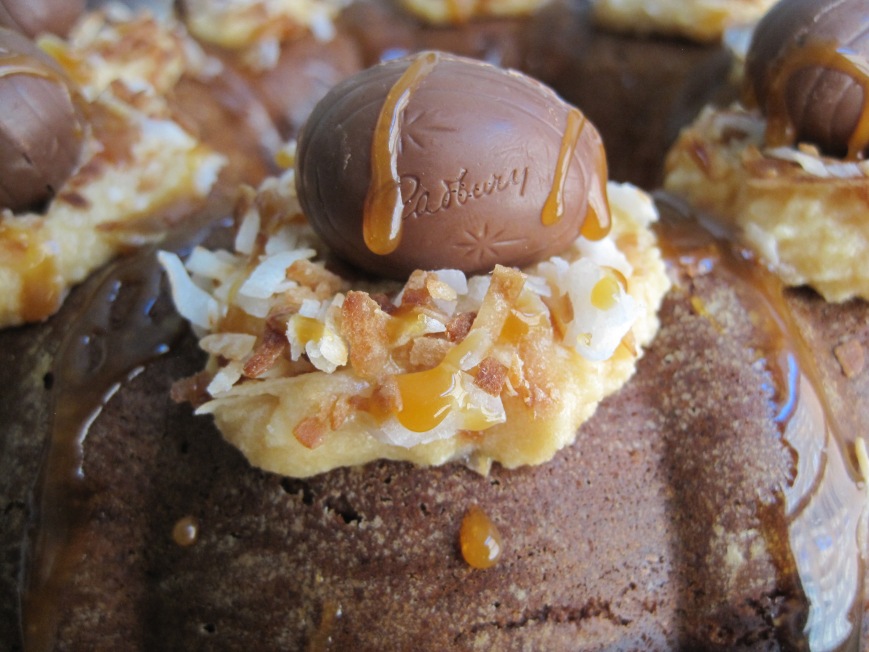
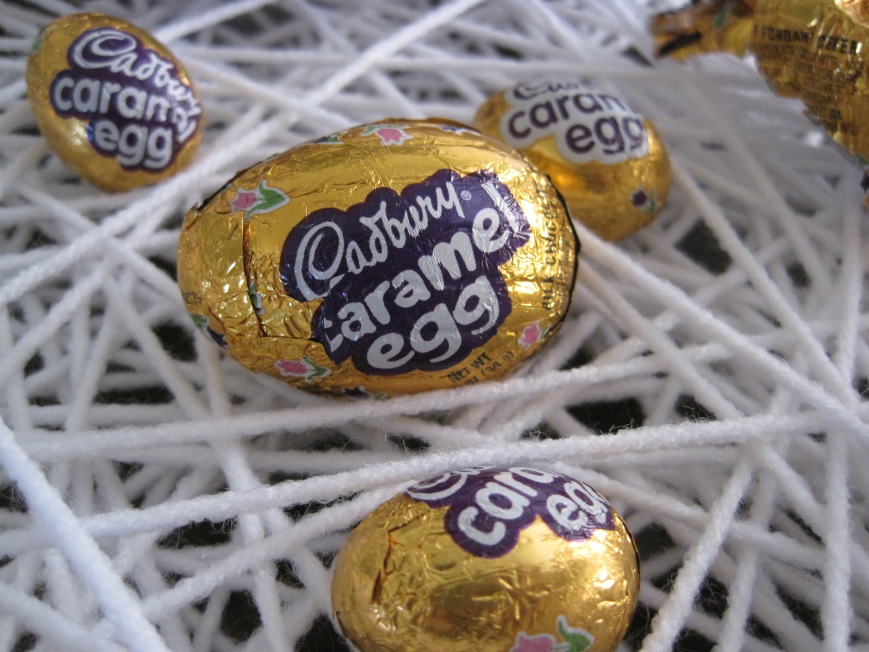
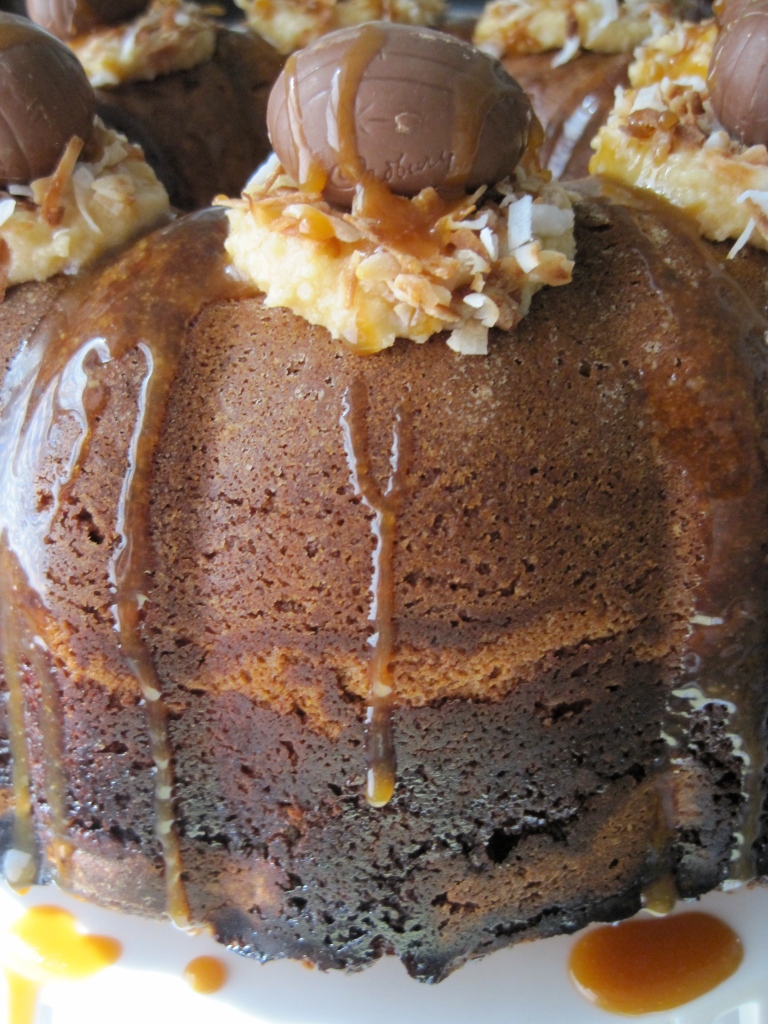
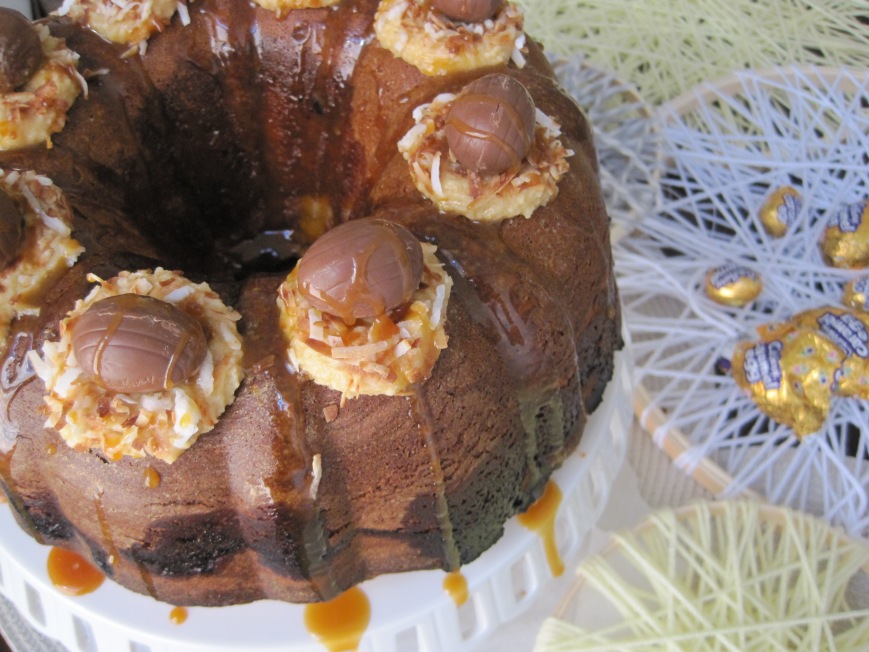
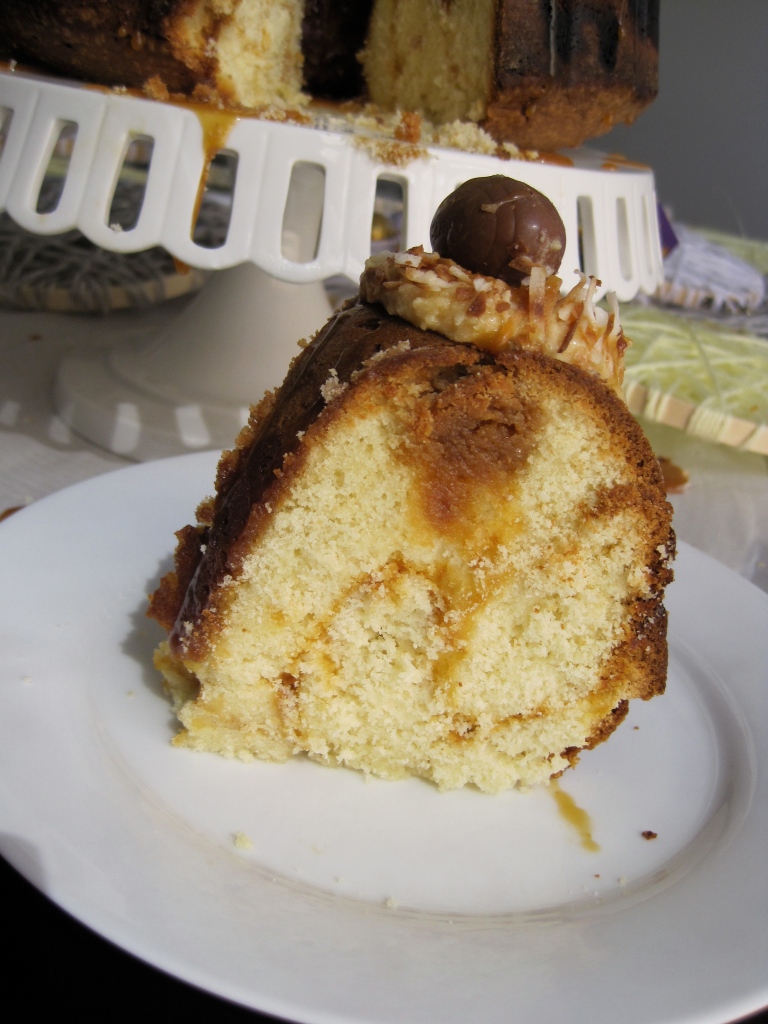
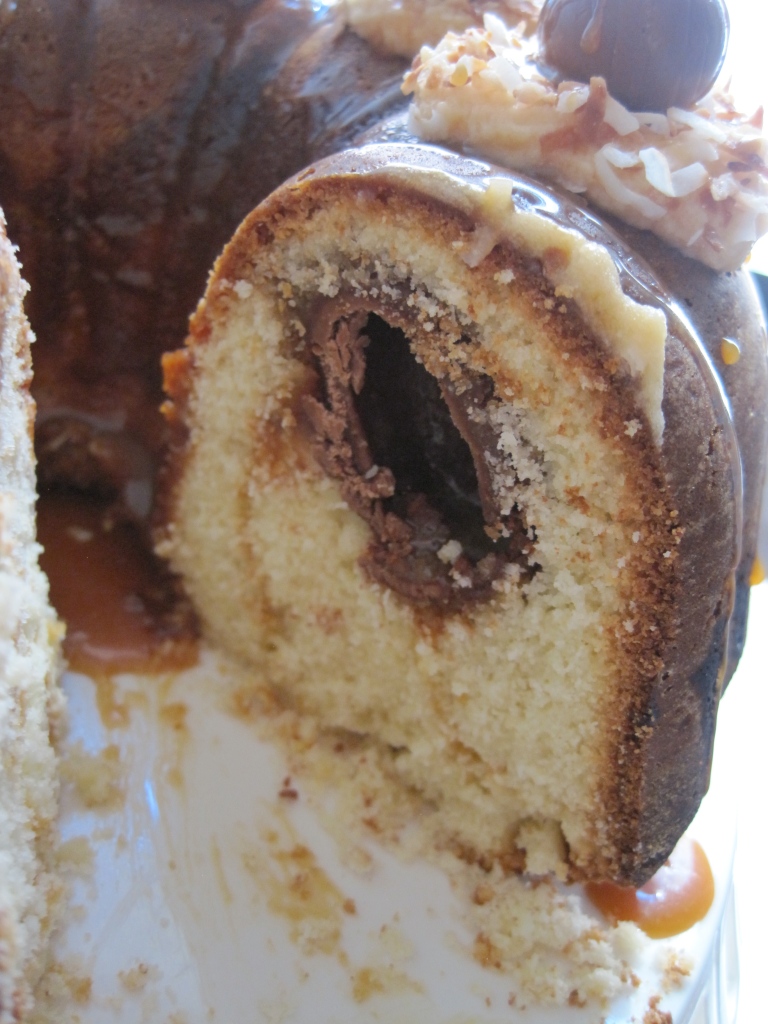
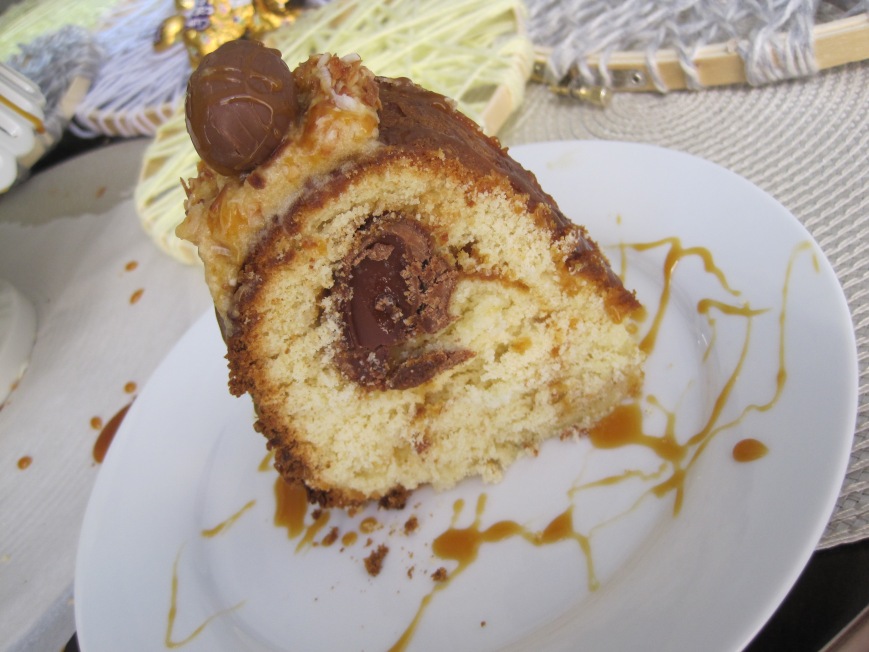
this cake is inspired by cadbury caramel eggs, of course. i added salted caramel to stay with the theme and flavor and recreated little nests for easter. not to mention, the cake is fluffy and has a salted caramel swirl and a whole cadbury caramel egg inside. mmm!

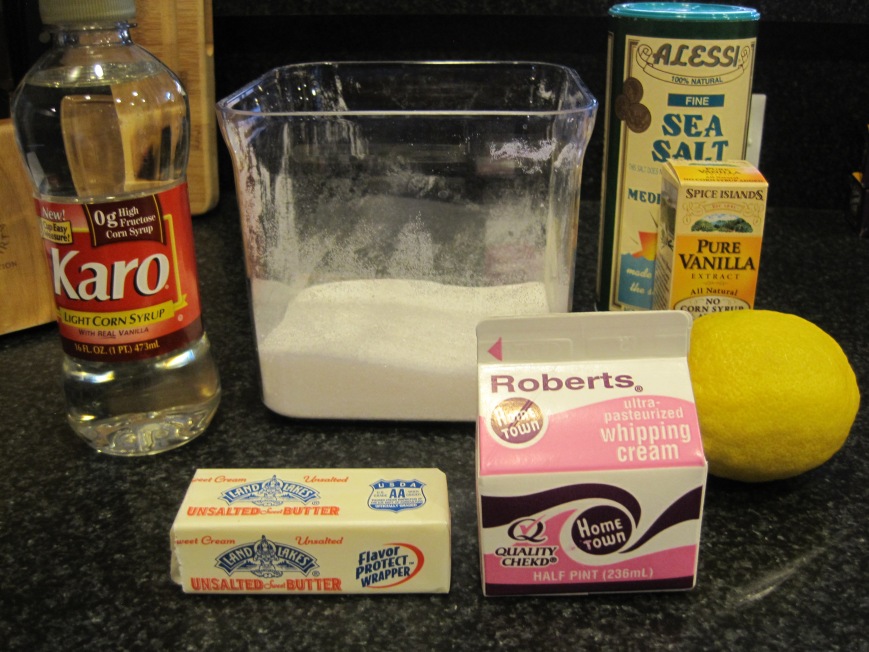
this recipe starts by making the salted caramel.

IMG_8037

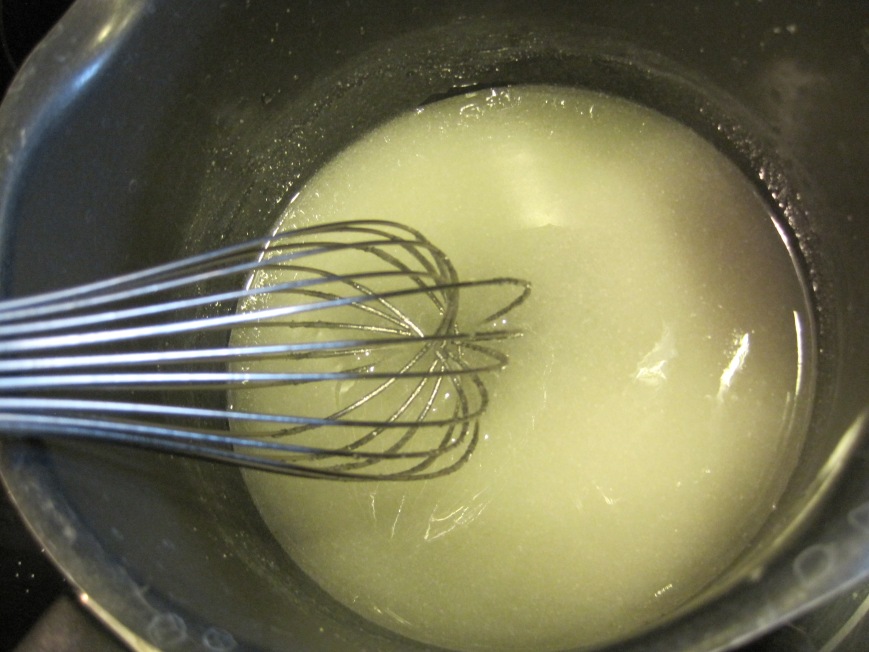
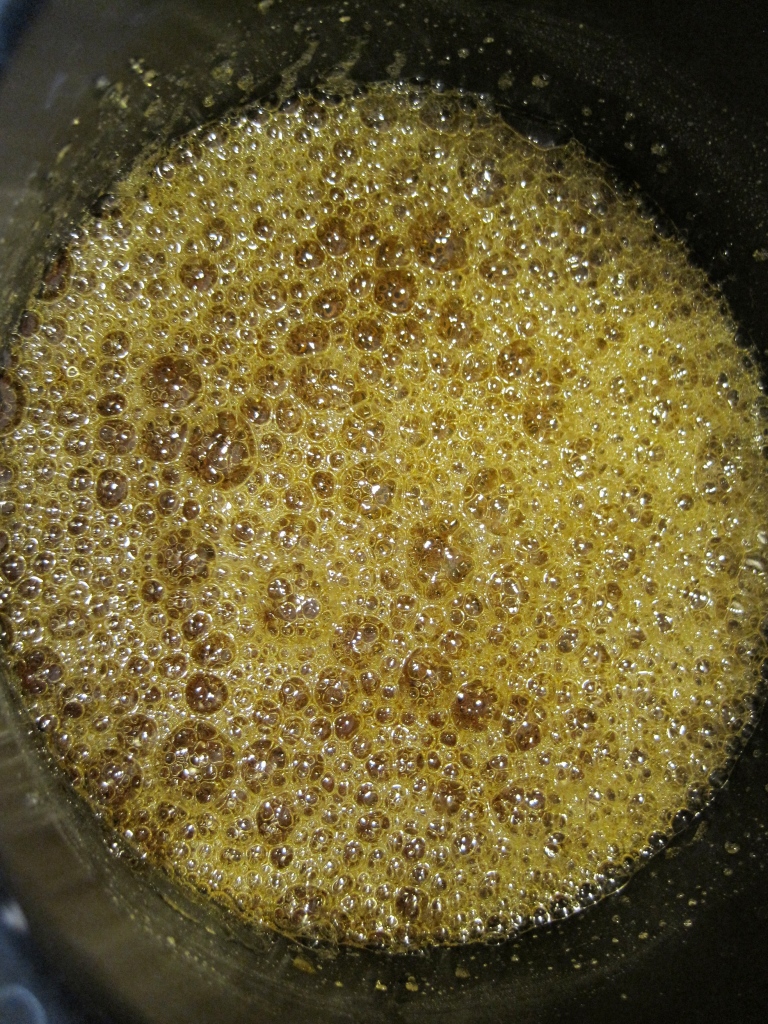
whisk sugar, water and light corn syrup and cook until caramel turns an amber color.

IMG_8045

IMG_8046

IMG_8049

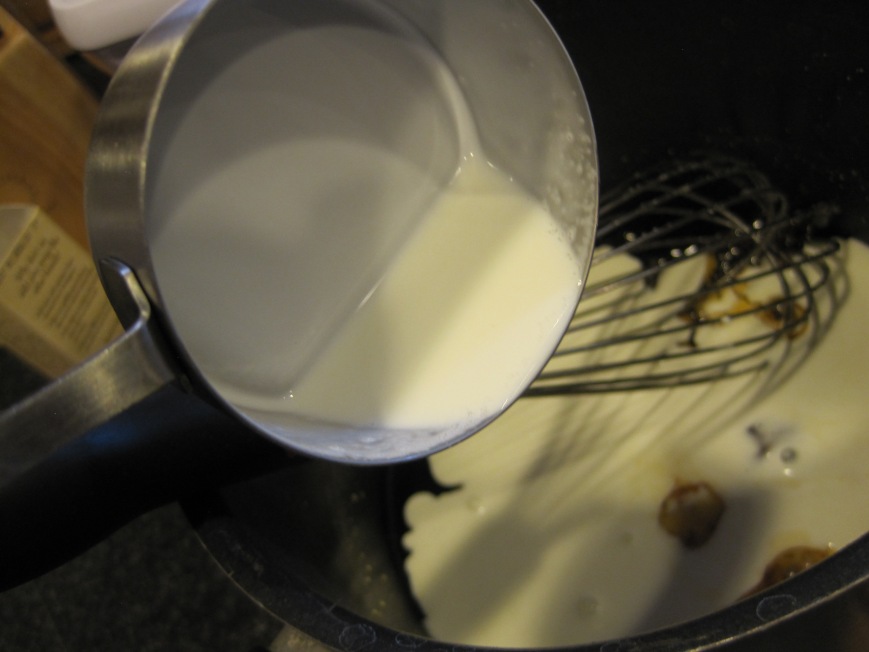
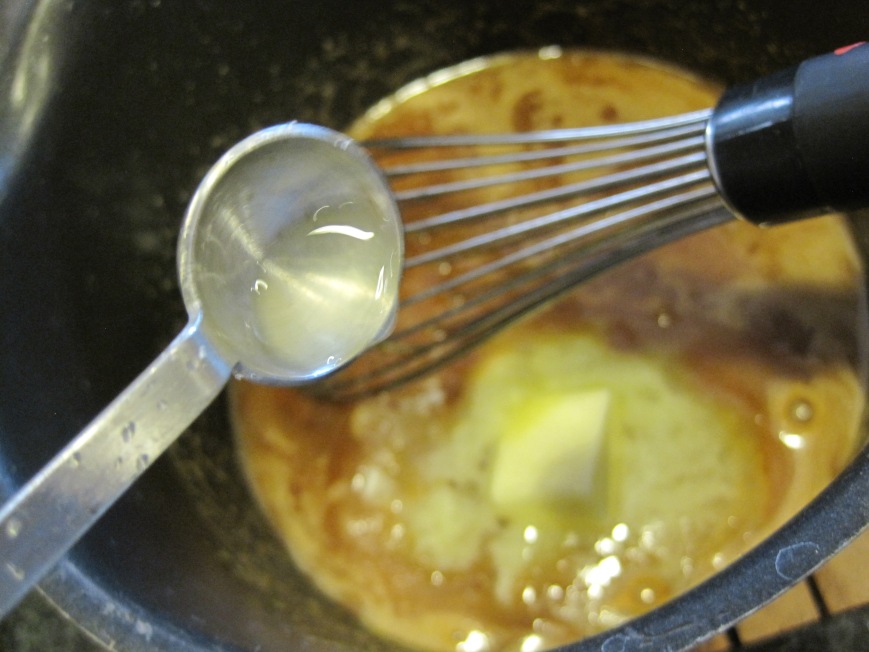
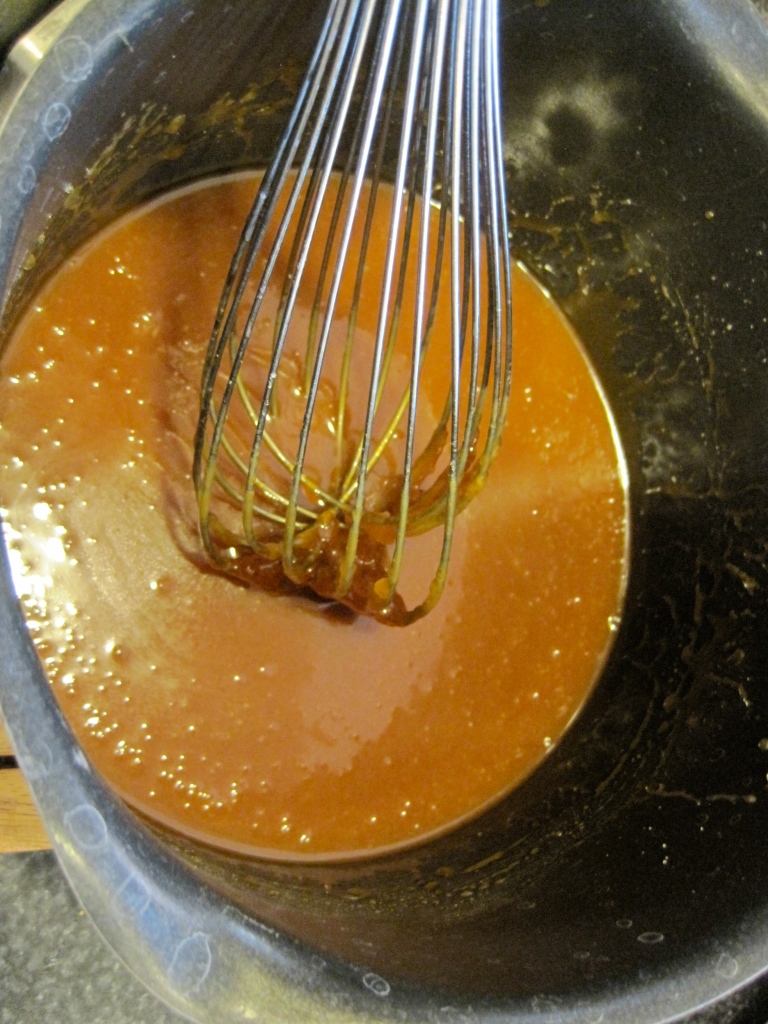
add heavy cream, butter, vanilla, sea salt and lemon juice.

IMG_8050

IMG_8055

IMG_8057

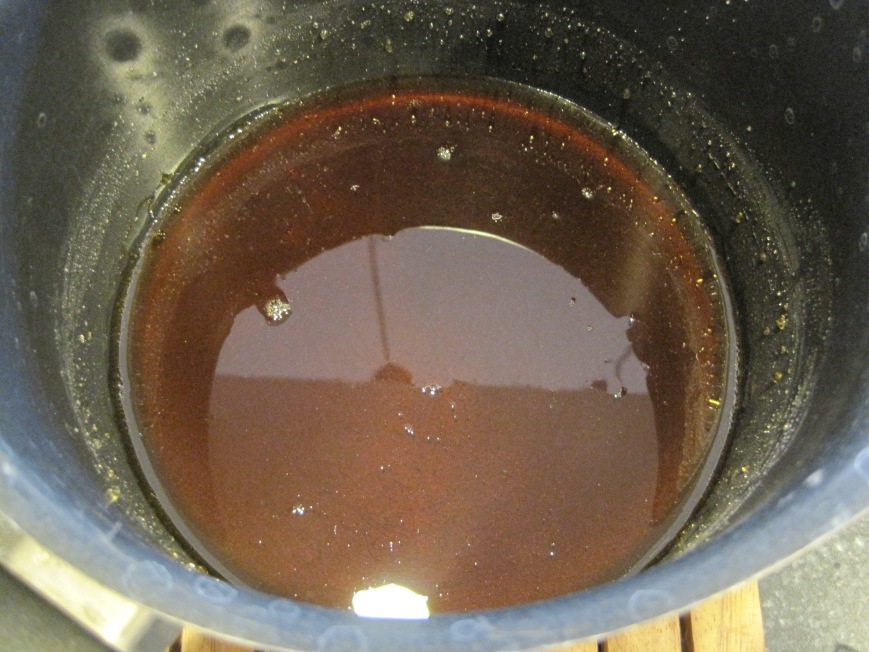
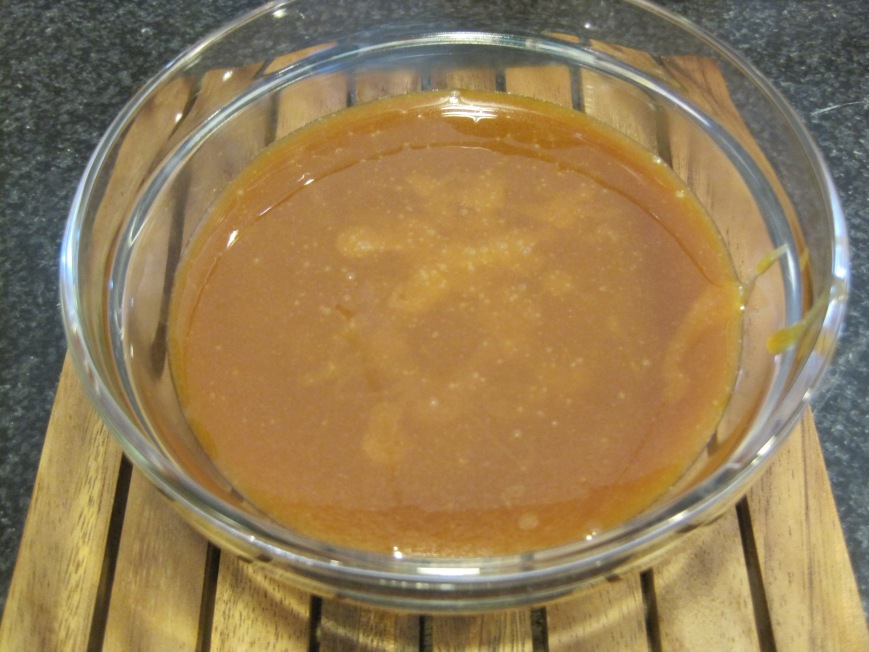
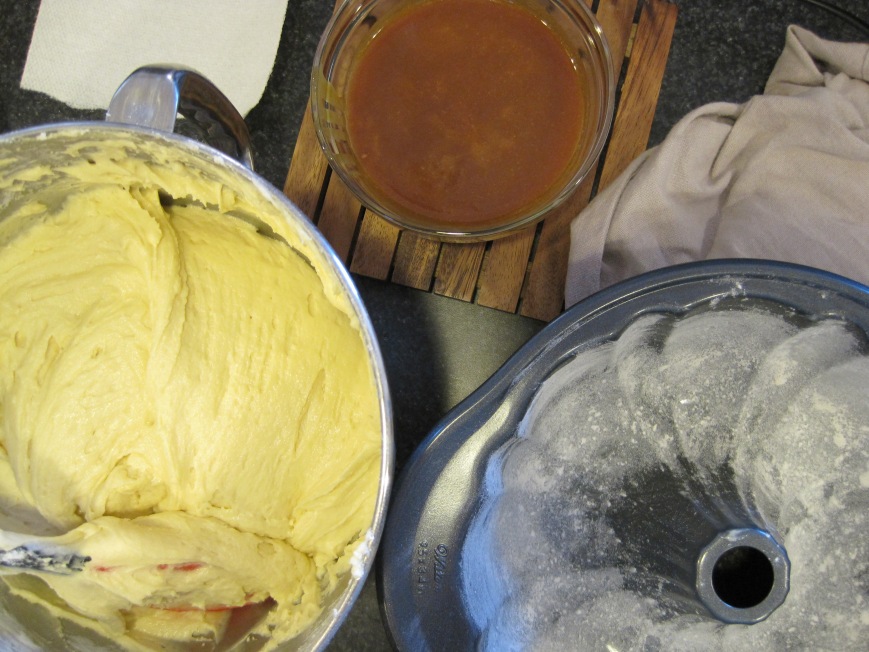
let caramel cool in a bowl.

IMG_8058

now let’s make the cake ;)

IMG_8063

sift flour with baking powder. add sea salt and mix well.

IMG_8065

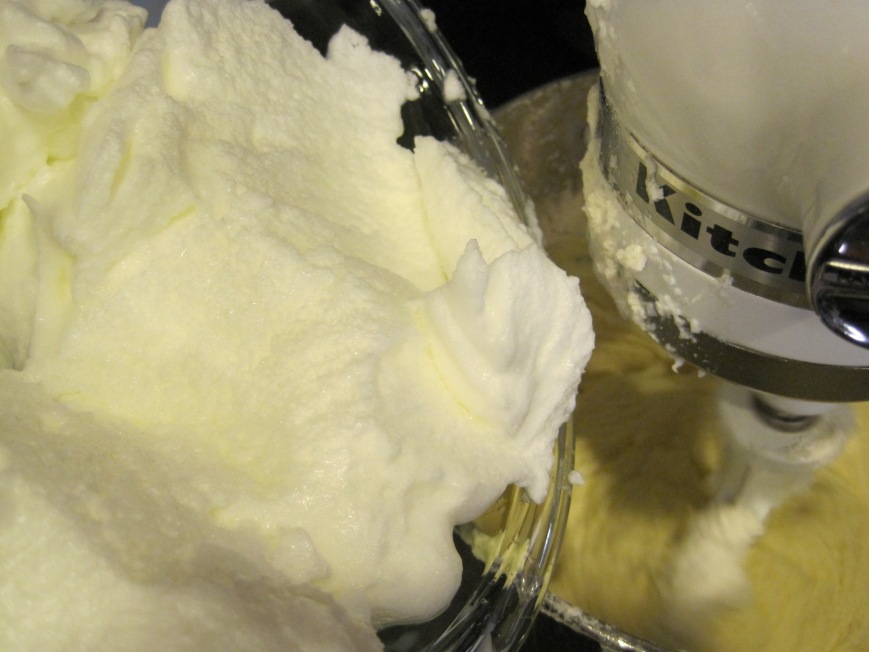
egg whites waiting to be added to the cake batter.

IMG_8066

dice up butter before creaming.

IMG_8069

add sugar, yolks, milk and vanilla.

IMG_8072

IMG_8075

IMG_8076

alternate flour mixture with egg whites.

IMG_8078

IMG_8080

IMG_8086

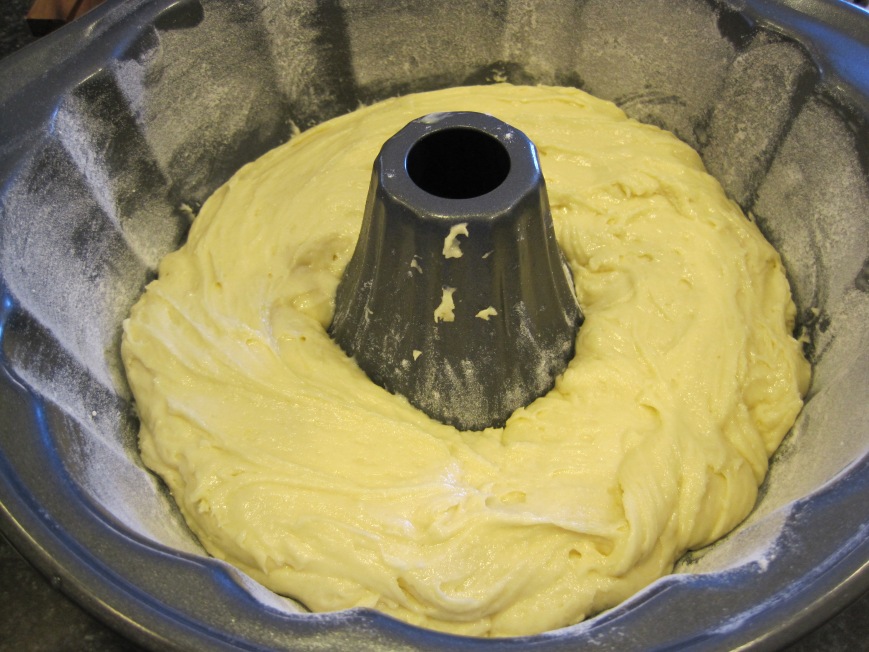
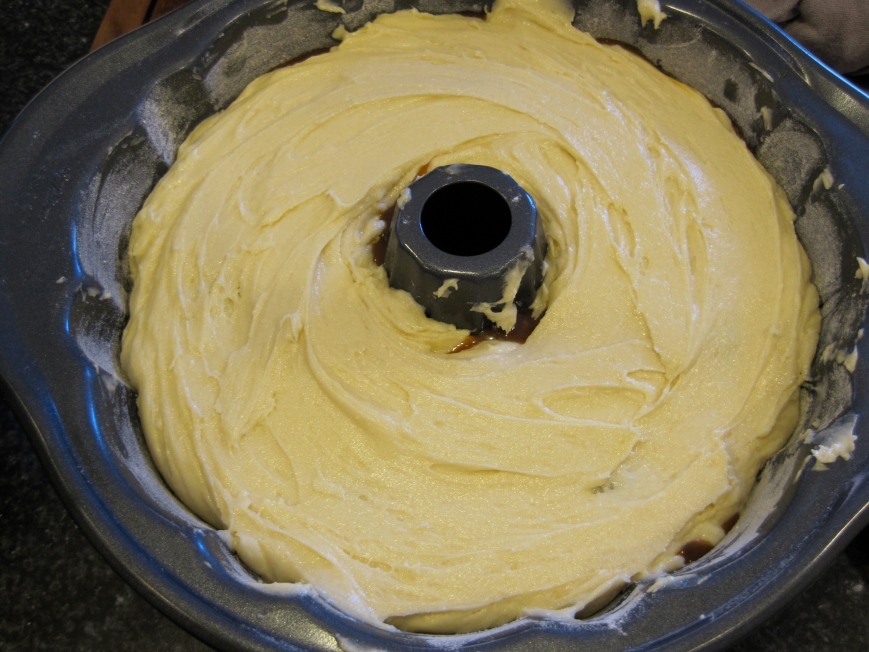
fill cake pan with batter.

IMG_8092

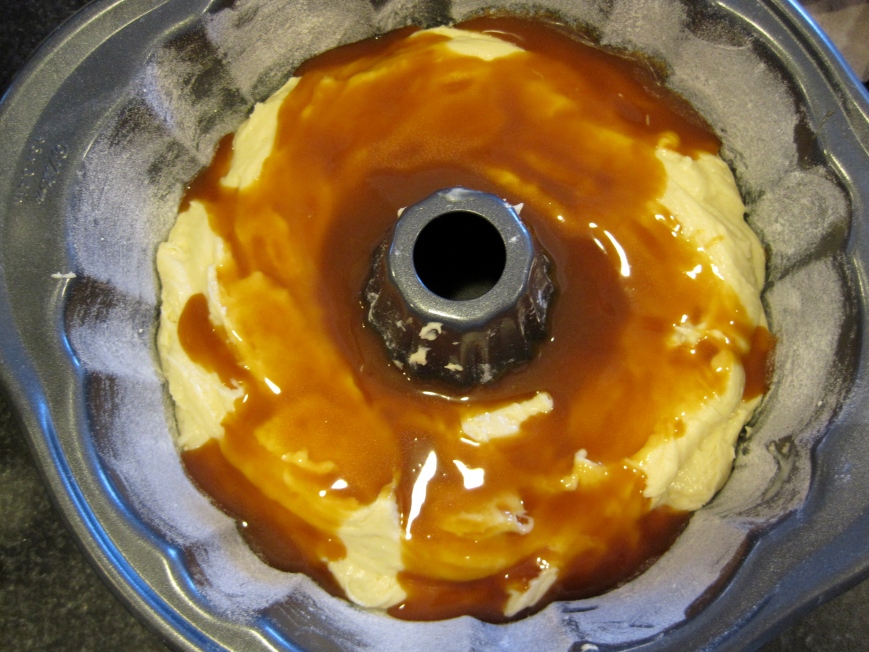
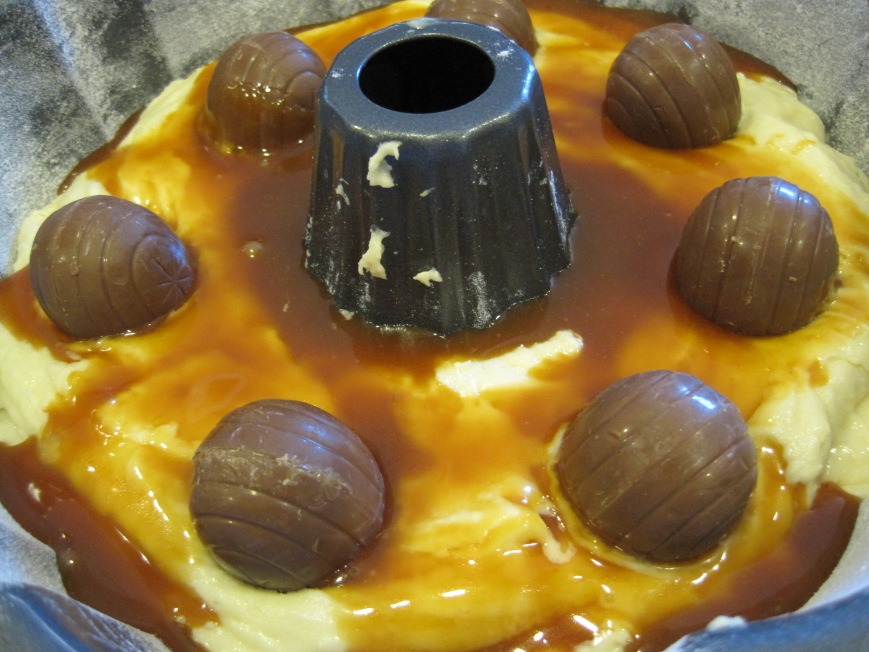
pour caramel. mmm!

IMG_8093

place cadbury caramel eggs in the pan and cover with the remainder of the cake batter.

IMG_8096

IMG_8097

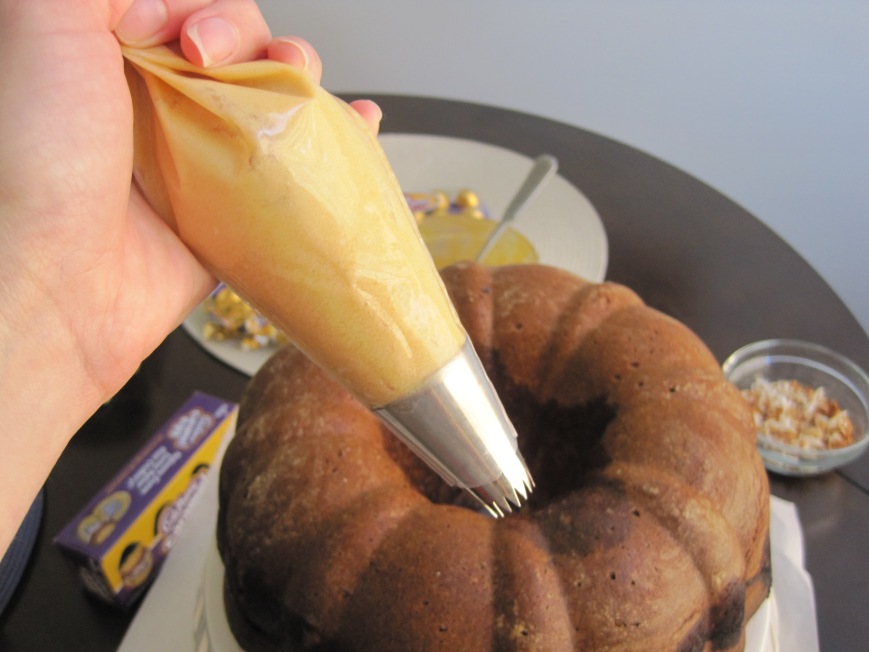
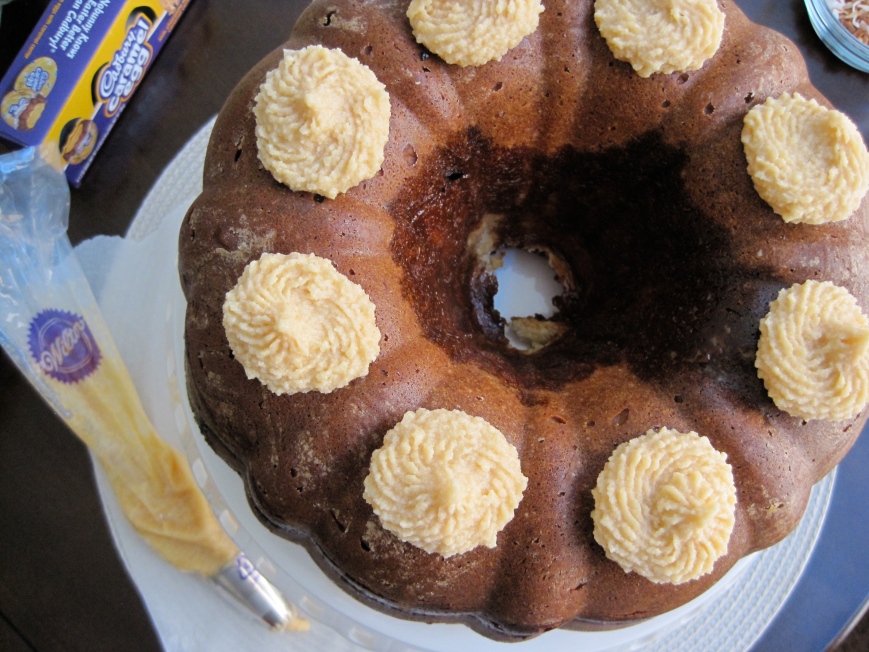
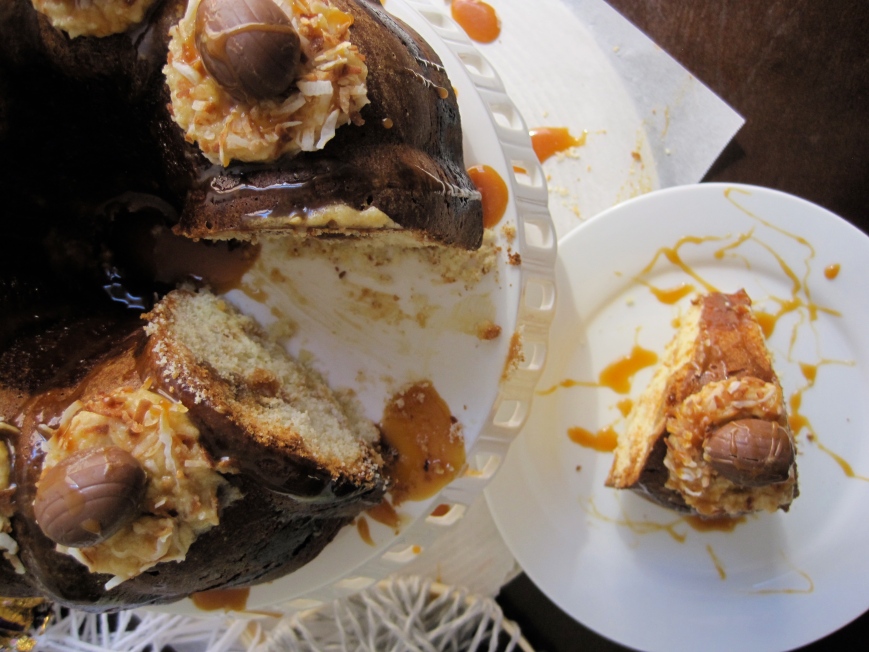
to assemble, frost little circles throughout cake to recreate nests.

IMG_8110

IMG_8111

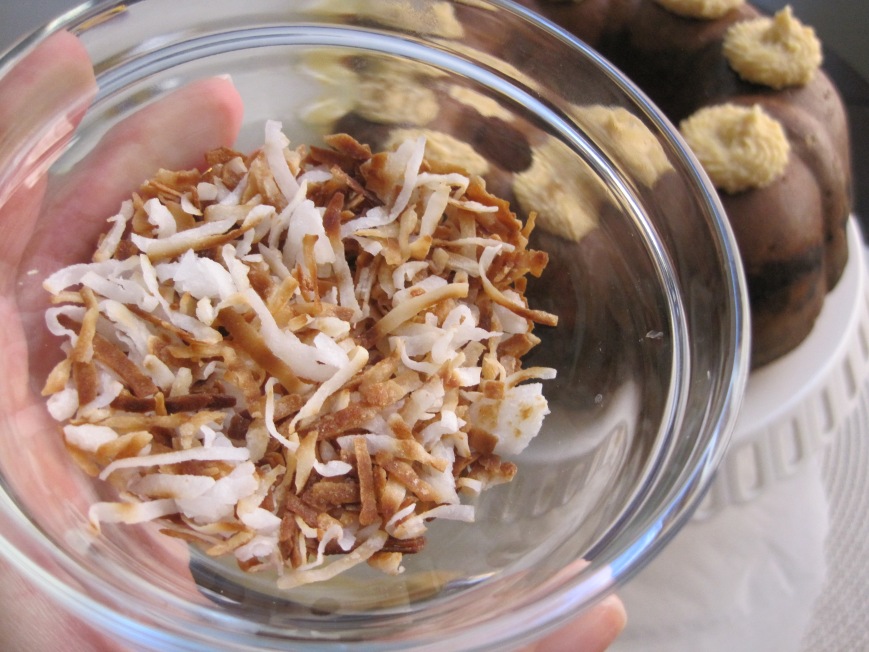
add toasted coconut or “branches” to each circle.

IMG_8115

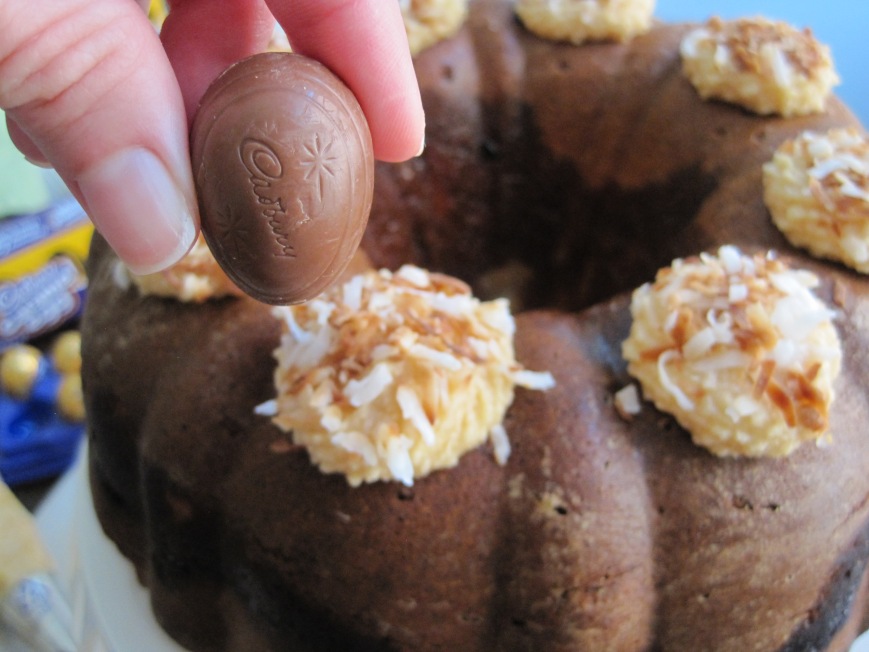
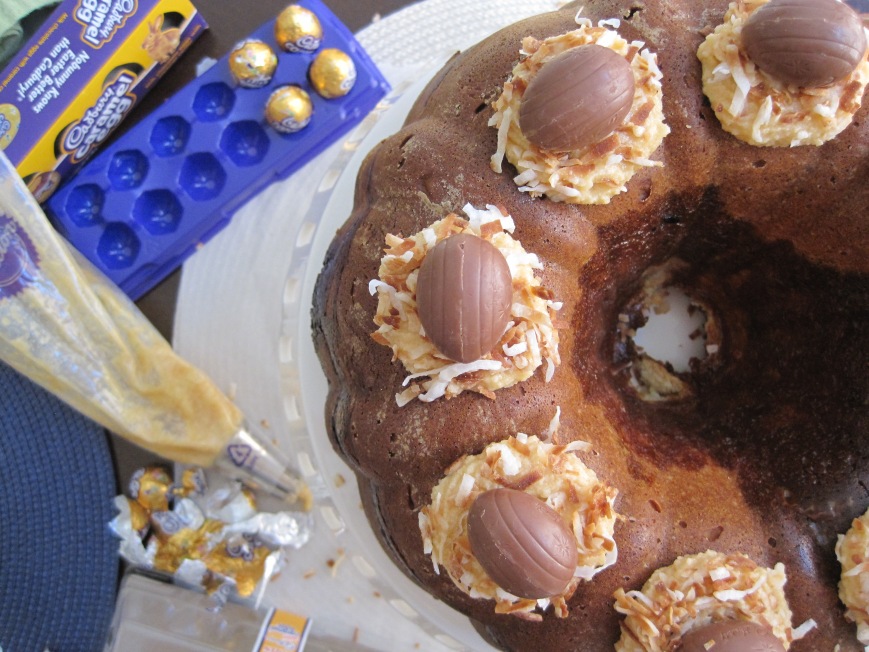
place mini cadbury caramel eggs.

IMG_8126

IMG_8130

oh yeah.

IMG_8134

IMG_8153

IMG_8162

IMG_8177

IMG_8181

IMG_8192

IMG_8215

IMG_8224

IMG_8234

IMG_8238

IMG_8256

IMG_8272

IMG_8274

IMG_8279

cadbury salted caramel bundt cake

ingredients

salted caramel:
1 cup sugar
2 tbsps light corn syrup
4 tbsps water
1/2 cup heavy or whipping cream
2 tbsps butter
1 tsp lemon juice
1 tsp sea salt
1 tsp vanilla extract

yields 1 1/2 cups

directions:

  1. in a medium saucepan add water, sugar and light corn syrup and whisk well over medium heat. let it cook for 4 minutes.
  2. increase the heat to medium high and bring sugar mixture to a boil. don’t mix with any utensils, just move the pan back and forth to shake it a little so the caramel cooks evenly.
  3. cook caramel until it turns an amber color. not too dark, not too light. don’t overcook since you don’t don’t want to burn the caramel. remove from the stove and let it rest for about one minute.
  4. add heavy cream to caramel VERY carefully and wearing oven mittens if possible. the caramel is very hot and it will bubble and splatter. whisk well.
  5. add butter, lemon juice, sea salt and vanilla to caramel. stir well with a whisk.
  6. carefully, add salted caramel to a bowl and let it cool.

bundt cake:
6 large eggs, room temperature {sitting on the counter for 30-50 minutes approx.}
2 1/2 sticks unsalted butter, room temperature but still cold to the touch {sitting on the counter for 30-50 minutes approx.}
2 1/2 cups sugar
3 tsps vanilla extract
1/2 cup whole milk, room temperature {sitting on the counter for 30-50 minutes approx.}
3 cups unbleached all purpose flour, sifted
2 tsps baking powder
1/2 tsp sea salt
7 caramel cadbury eggs, regular size
1 to 1 1/2 cups salted caramel, divided
8 caramel cadbury eggs, small size {optional}
1 cup salted caramel buttercream frosting {optional}
2 tbsp shredded coconut, toasted {optional}

directions:

  1. preheat oven to 350F.
  2. butter bundt cake pan. set aside.
  3. separate egg whites from yolks. beat egg whites in the bowl of a standing mixer over high speed for 3 minutes or until soft peaks form. you can use a hand mixer as well {beat for about 10 minutes}.
  4. in a large bowl, sift flour and baking powder. add sea salt and mix well.
  5. add egg whites to a bowl and set aside.
  6. in the same bowl of a standing mixer, cream butter over medium high speed for 1 minute. add sugar and mix until fluffy and creamy, about 3 to 5 minutes over medium high speed.
  7. reduce speed to medium and add egg yolks one at a time mixing well. follow with vanilla extract and milk.
  8. clean the sides and bottom of the bowl by scraping with a rubber spatula to make sure all ingredients are well incorporated. beat on medium high for 30 seconds.
  9. set speed to the lowest setting and alternate egg whites with flour mixture. make sure to finish with egg whites.
  10. add a little over 1/2 of the batter but less than 3/4 to cake pan. this is to avoid the eggs drown and touch the bottom of the pan.
  11. make an indentation in the middle of the batter with a knife going all the way around so when you add the caramel it stays put. pour about 3/4 to 1 cup of the salted caramel to cake batter avoiding the outer edges of the pan. this will avoid burning the caramel when the cake is baking.
  12.  place cadbury eggs, pointy side down, and with even spacing in between them throughout the cake.
  13.  add the rest of the batter in big dollops and carefully smoothing batter with a rubber spatula by turning the pan. tap the pan a few times to level batter.
  14.  bake for 55 to 60 minutes or until a knife inserted in the middle comes out clean.
  15.  let it cool in the pan for 20 minutes on a cooling rack.
  16.  take cake out of the pan and let it cool completely top side up on the cooling rack. it can take up to one hour.

to assemble the cake:

  1. once cake is baked and cooled, level the bottom if uneven. you can use a serrated knife or one of those special tools for layering cakes. i used a serrated knife because my cake was a bit uneven.
  2.  pipe frosting in desired tip in 8 small circles distributed evenly to create the nests. i used tip 6B from wilton.
  3.  carefully place toasted coconut in the frosting to recreate the branches of a nest.
  4.  place small cadbury eggs in each nest making sure they are well put.
  5.  drizzle cake with the remainder 1/2 cup salted caramel.
  6.  store at room temperature in an air-tight container for up to 3 days.

**note** i originally recommended to flour the bundt cake pan showing so in pictures on here. however, i discovered butter does the job when using a non-stick cake pan. i found that when using flour makes the outer layer too hard and crisp, which is not recommended for cakes. so if using a non-stick bundt cake pan, i highly recommend using only butter.

IMG_8251

orange soy pork tenderloin with roasted veggies

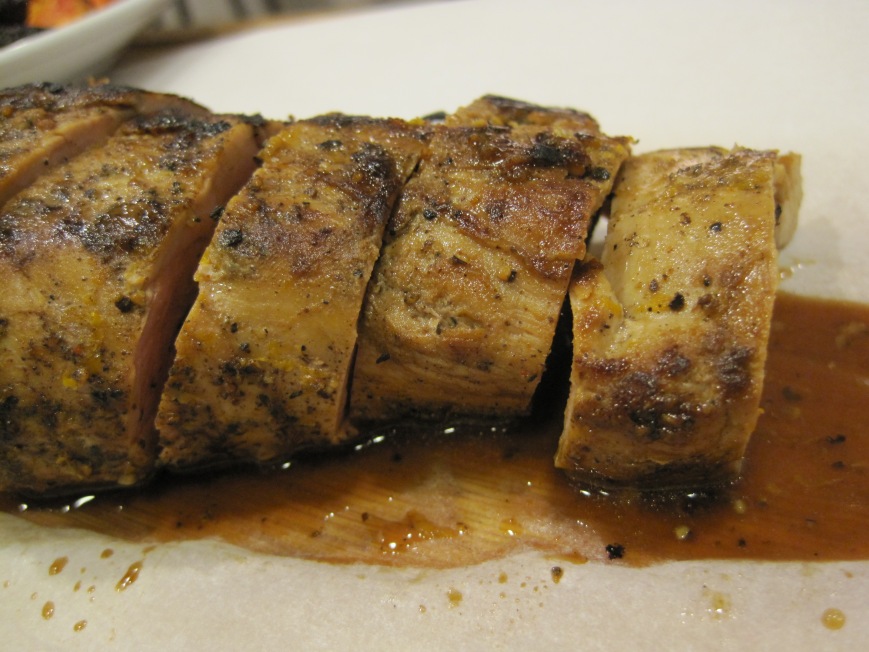
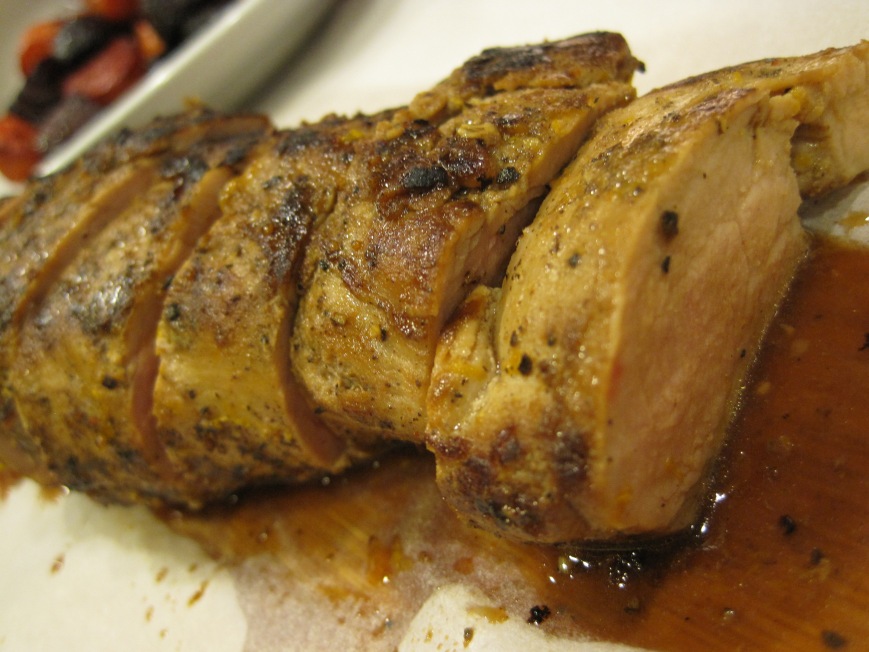
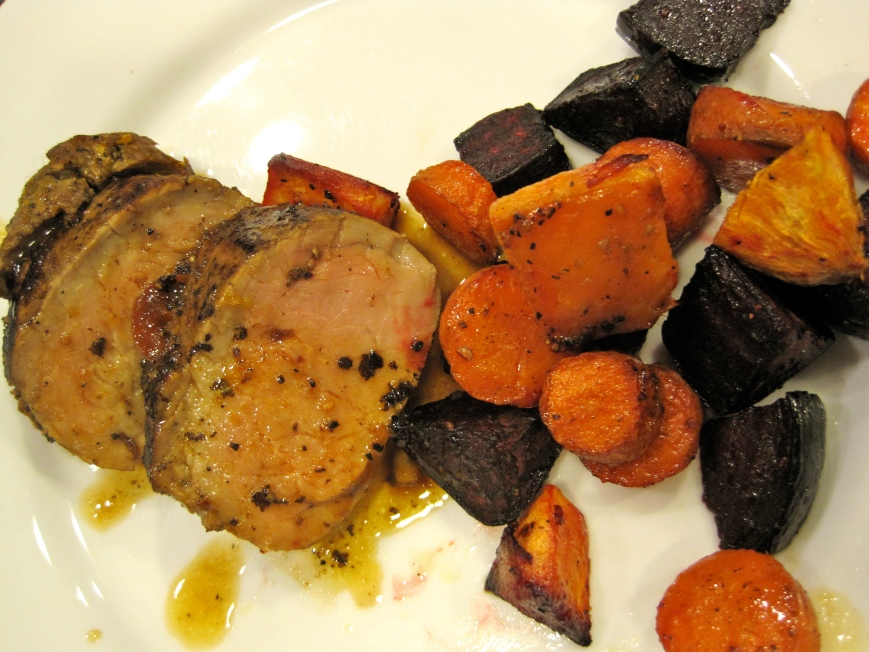
welcome to one of the most flavorful posts yet! this pork tenderloin is juicy, has a variety of flavors that go well together and is really easy to prepare. okay, yes, there’s some waiting time. but, it’s well worth it.

when i decided to make this dish, i was inspired by the sweet and salty dishes of the world. however, i didn’t see any pork tenderloin/orange combos and since i had oranges in my kitchen, i went ahead and made orange the main star of the dish :)

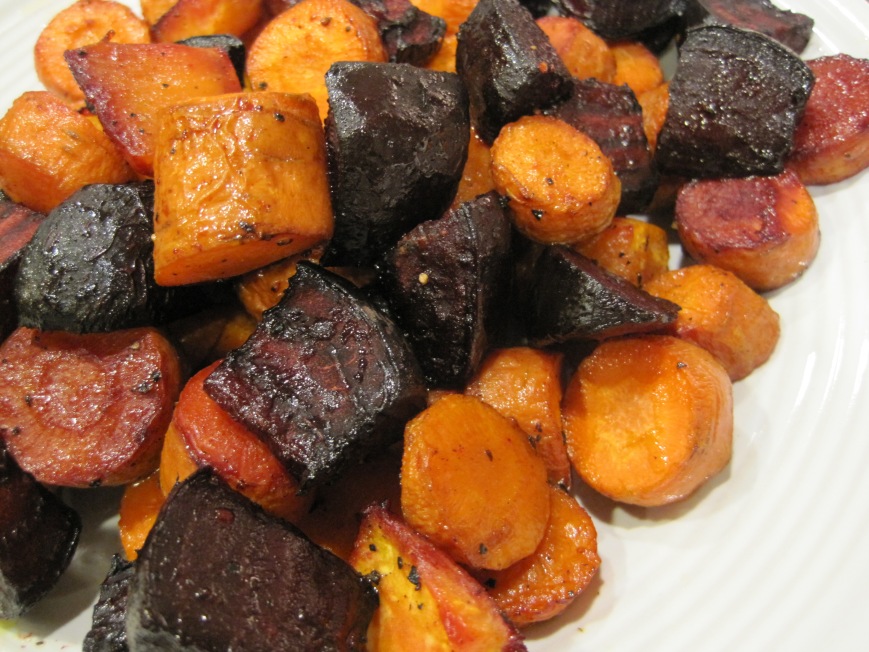
the roasted veggies are a nice touch and you can cook them in the same pan as the pork tenderloin. you are making dinner pretty much in one roasting pan, which is nice and convenient.

here’s the how-to pictures and below you’ll find the recipe and directions. enjoy!

IMG_7228

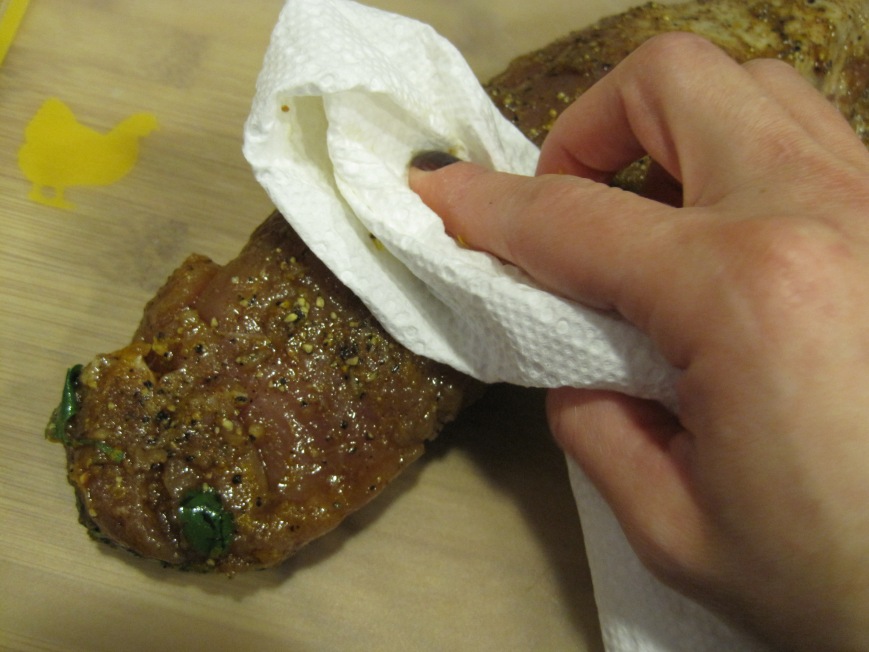
make sure to dry tenderloin with a paper towel before pan searing.

IMG_7275

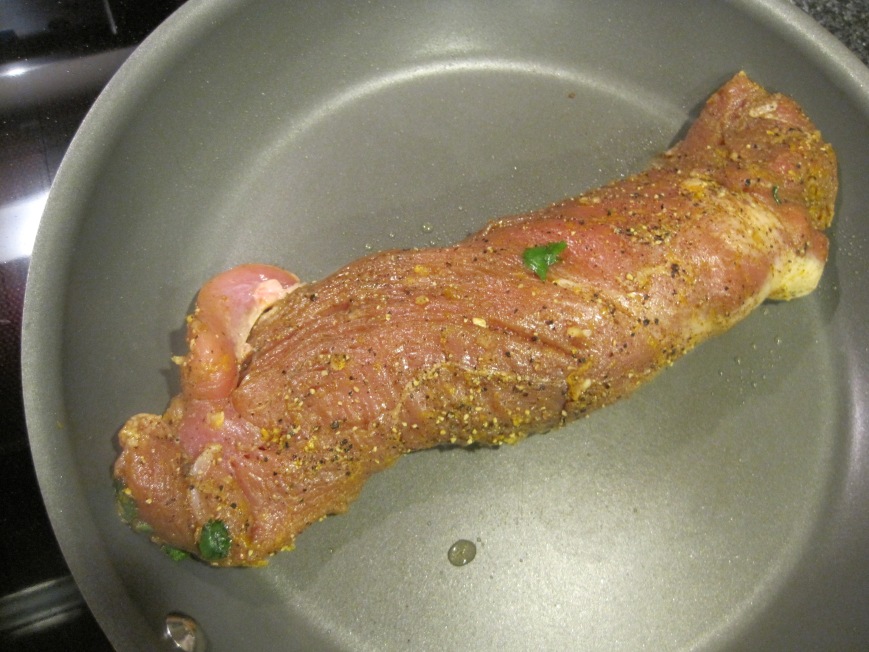
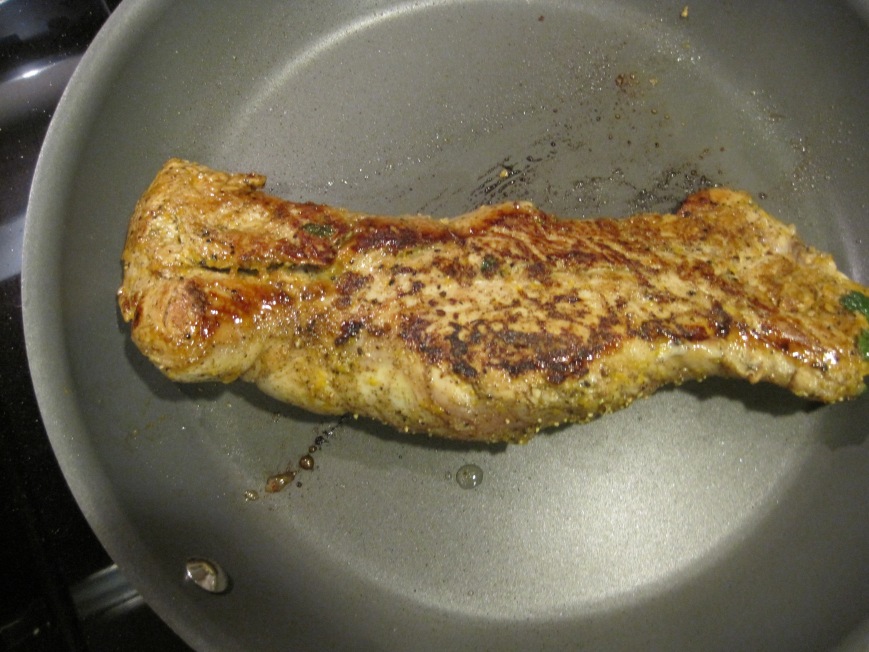
sear tenderloin over medium high heat.

IMG_7280

IMG_7281

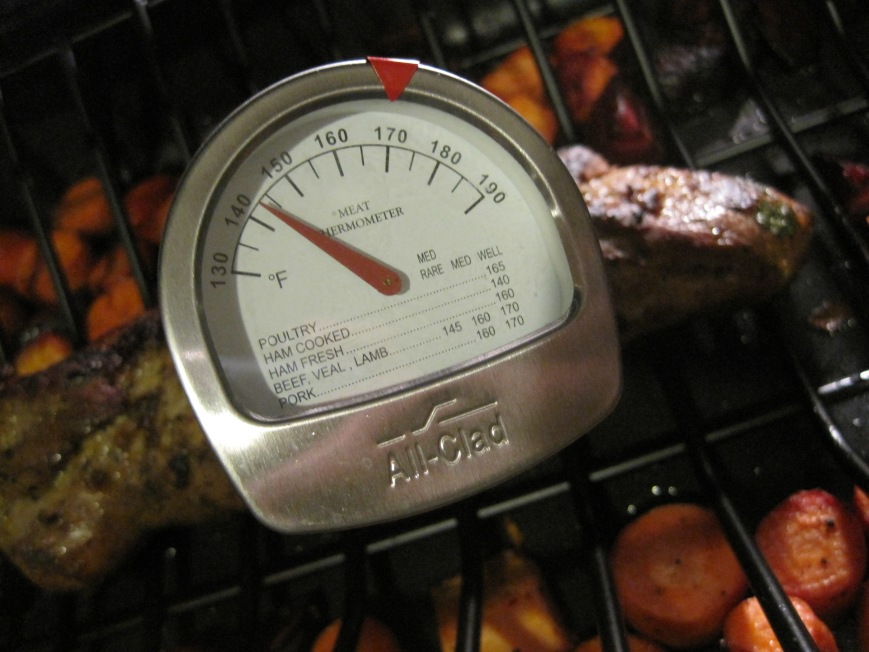
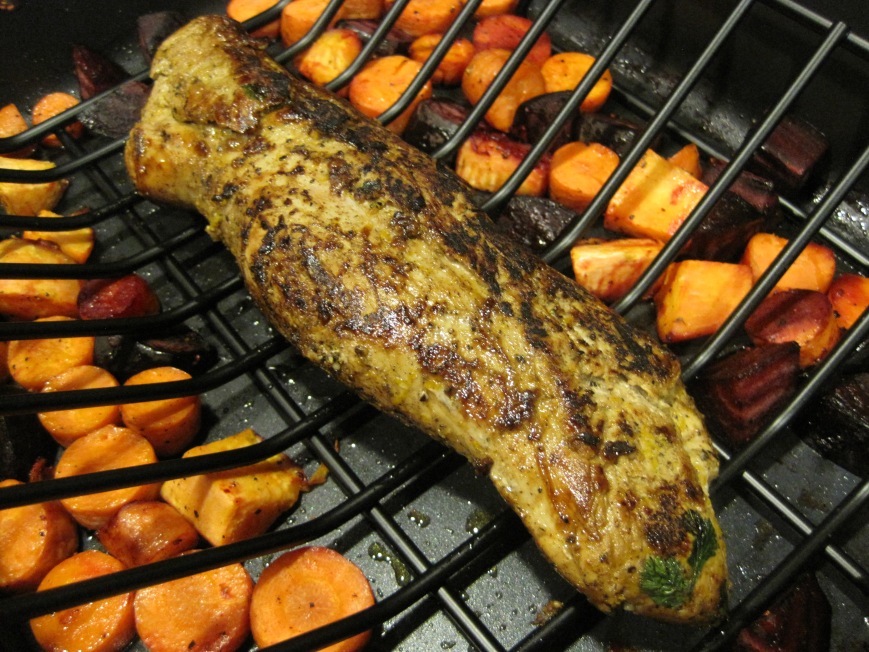
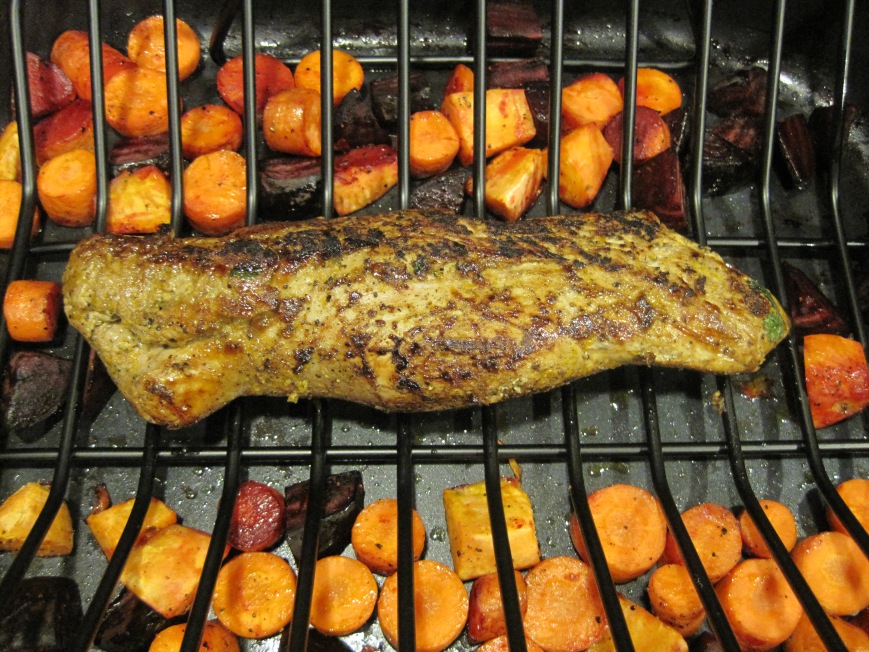
roast until internal temperature reaches 145F. or if you like it well done 160F. however, the roast will be dry if well done.

IMG_7286

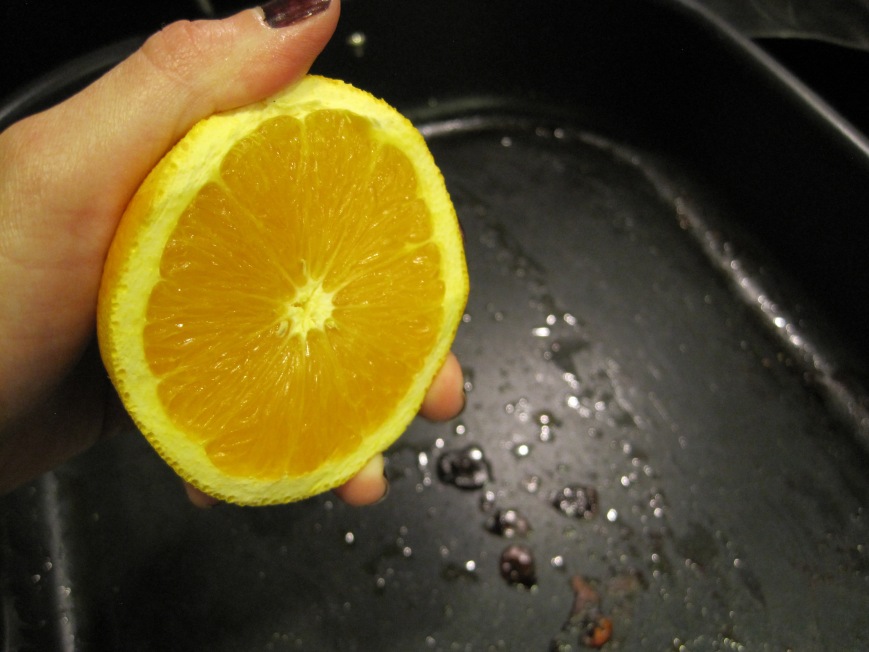
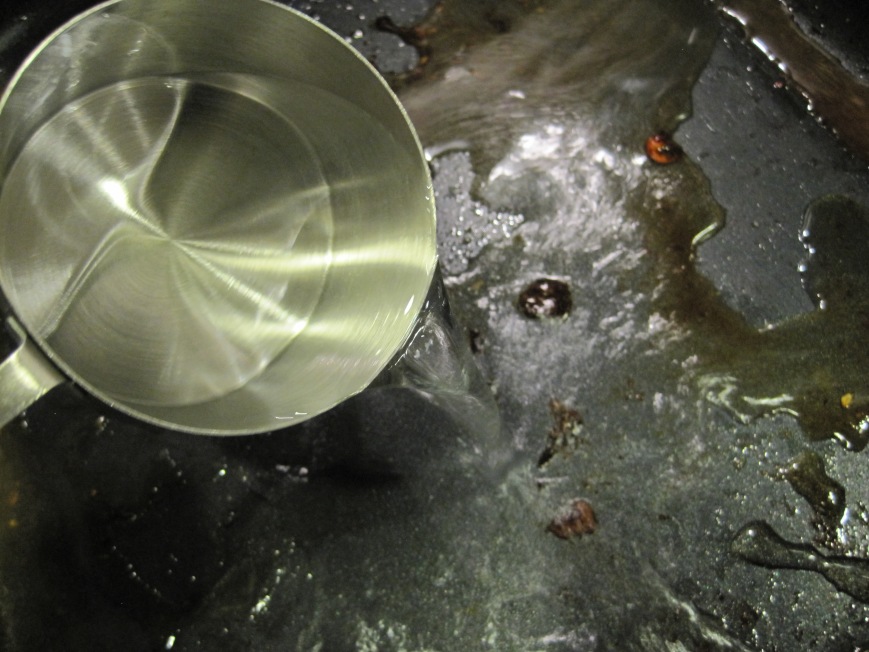
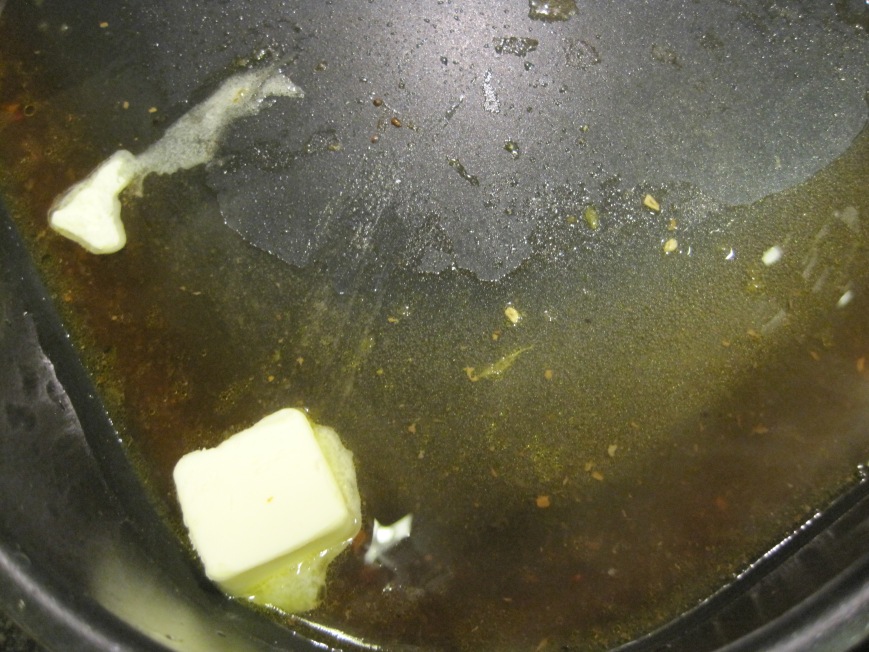
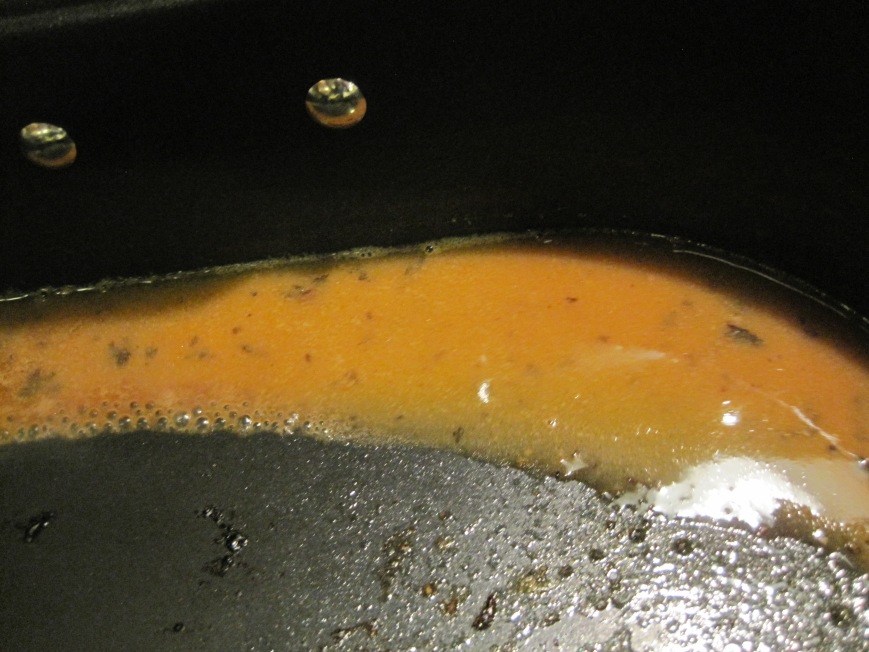
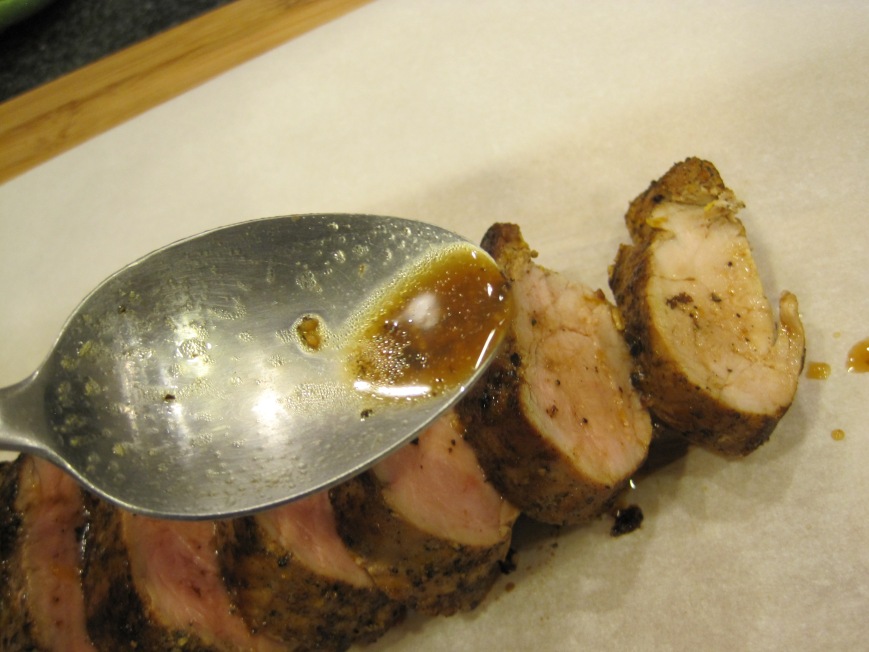
to make the sauce, deglaze roasting pan with orange juice, water, honey {not shown}, butter, sea salt and pepper.

IMG_7293

IMG_7294

IMG_7295

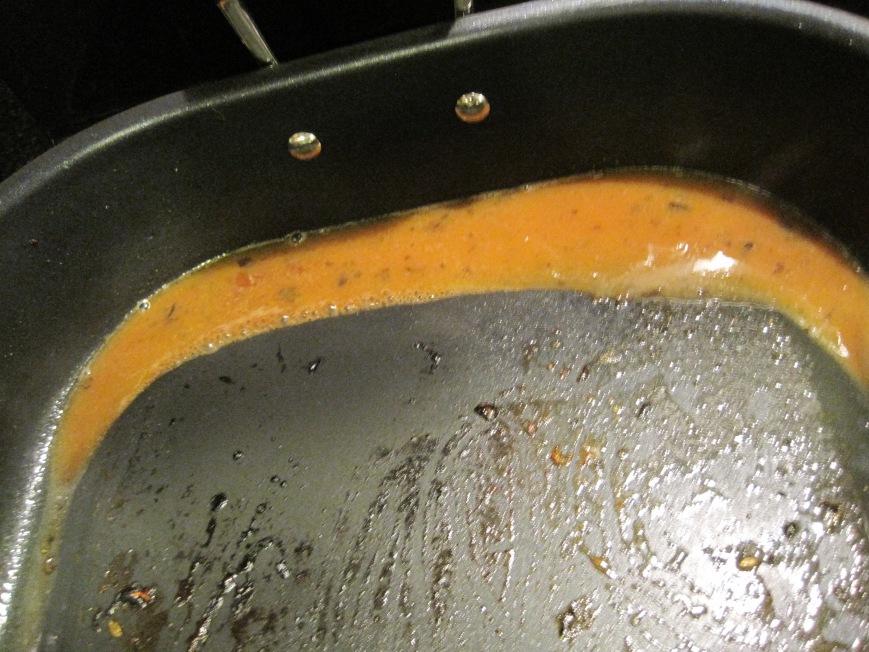
mix well and reduce 1/4 of the liquid by cooking for about 3 minutes until thickens.

IMG_7298

IMG_7299

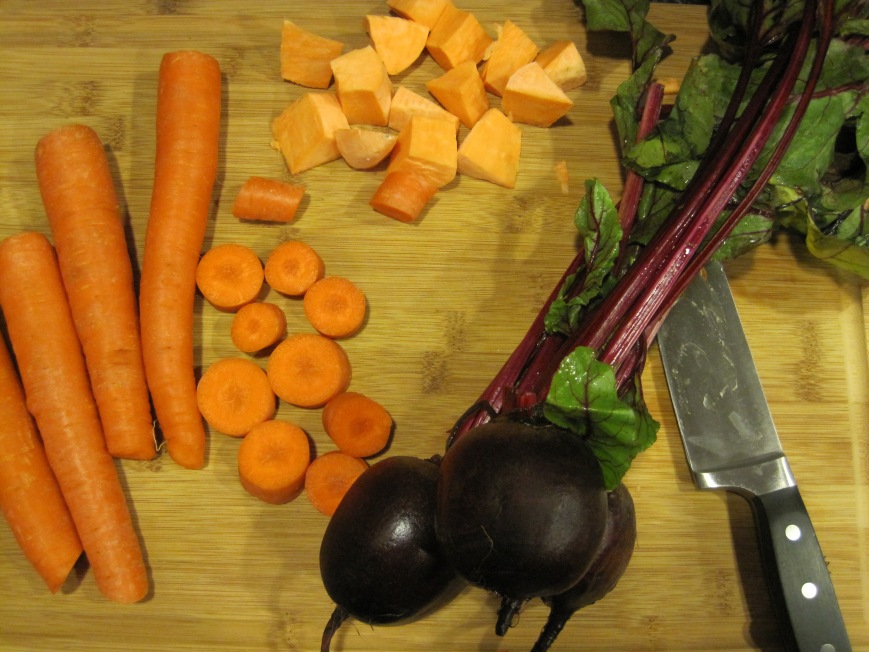
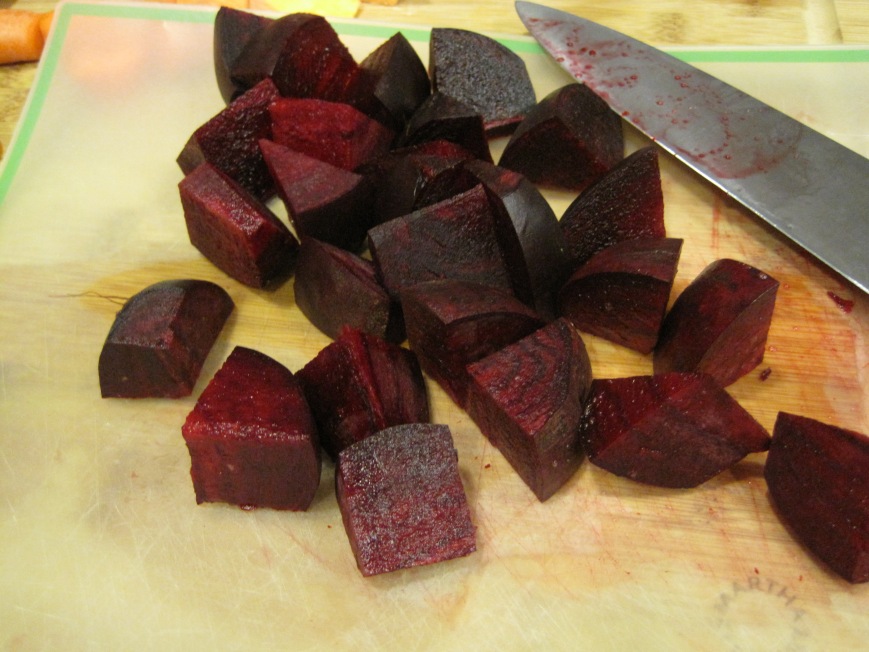
while oven is preheating and tenderloin has been dried with a paper towel, cube your vegetables.

IMG_7265

IMG_7266

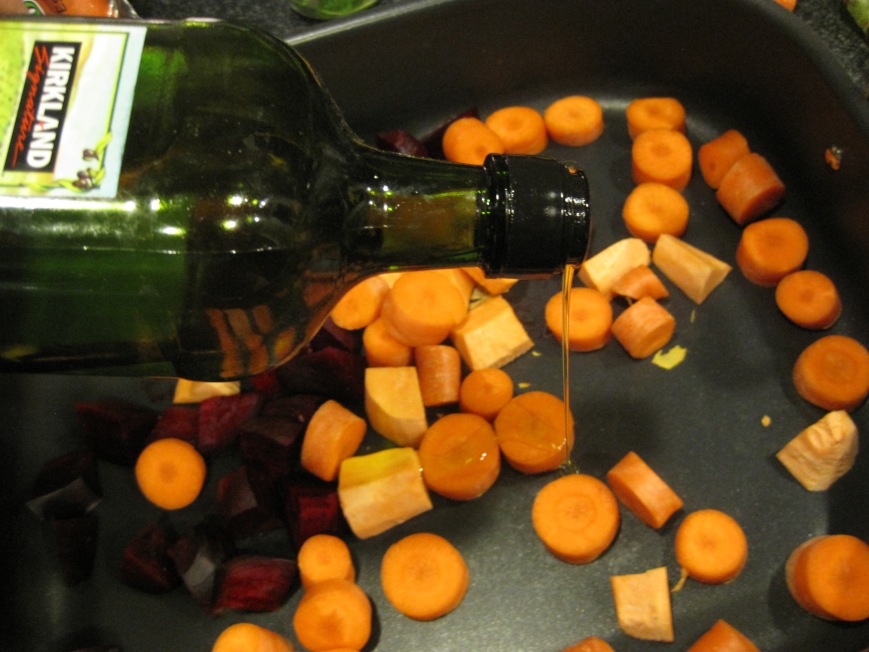
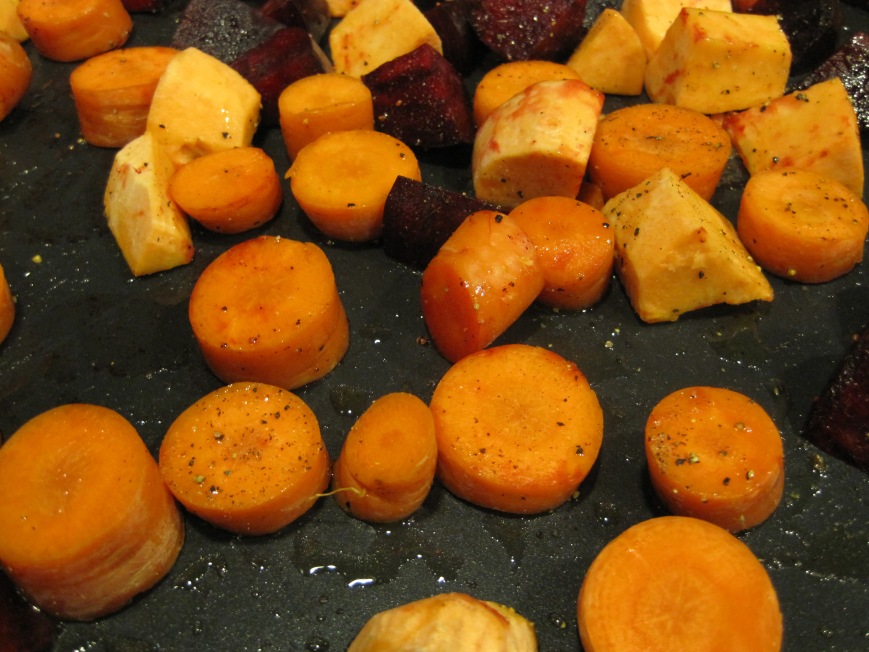
before putting the tenderloin in the roasting pan, season veggies with olive oil, sea salt and fresh ground pepper.

IMG_7268

IMG_7269

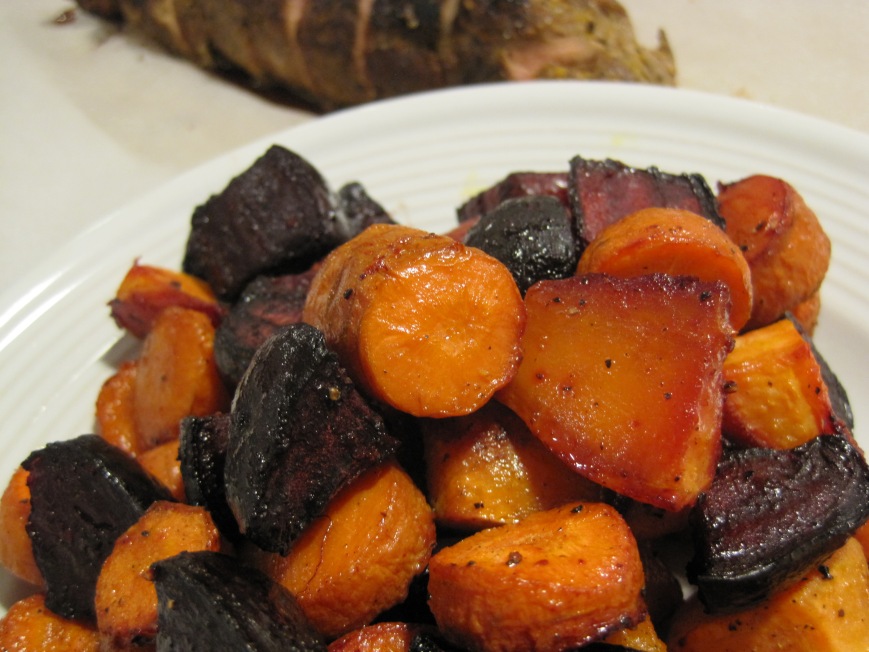
mmm! just out of the oven.

IMG_7285

IMG_7282

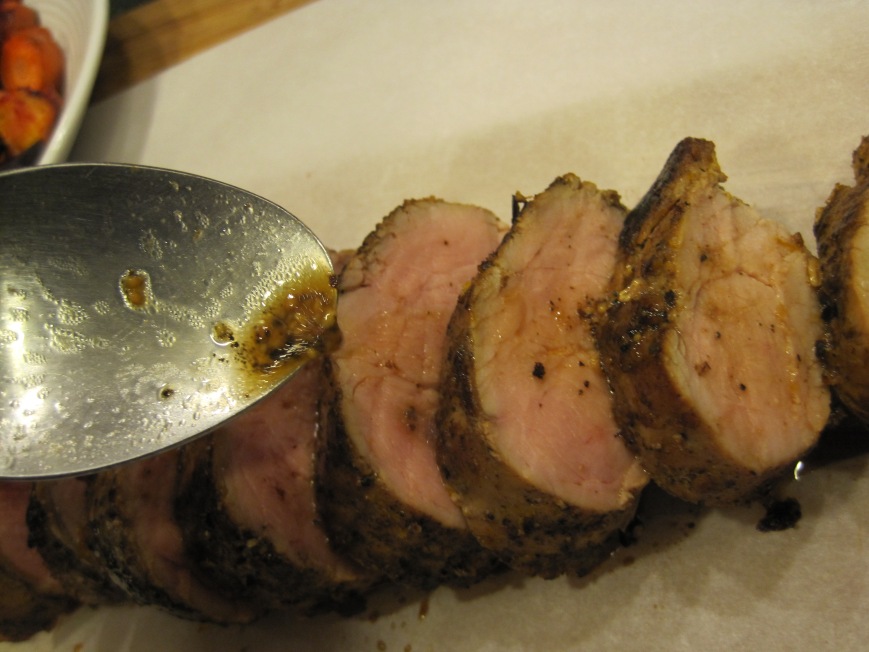
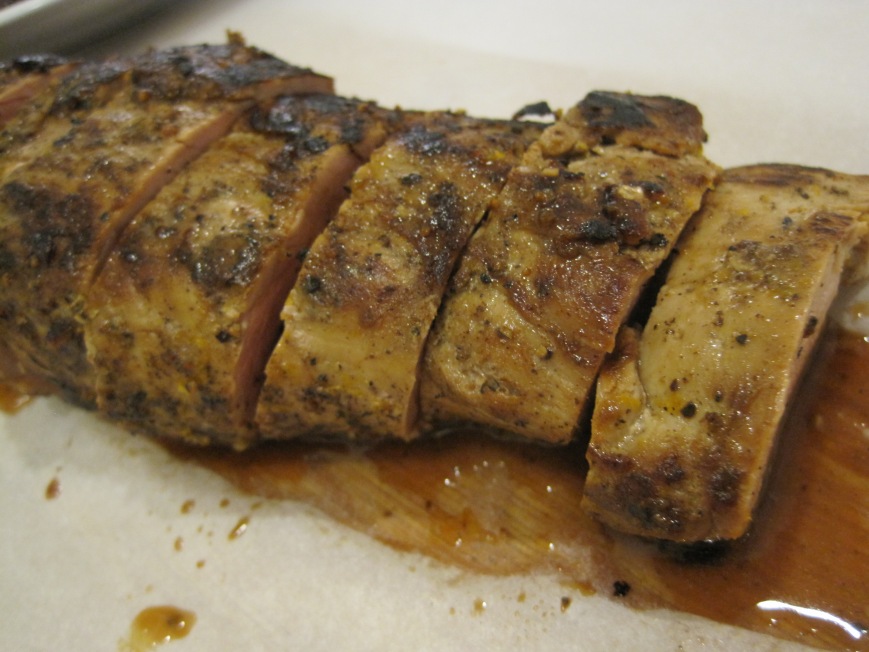
spoon sauce over roast and leave some aside. you want to use it when you serve the tenderloin.

IMG_7301

IMG_7302

IMG_7310

IMG_7314

IMG_7329

IMG_7325

IMG_7327

IMG_7330

IMG_7337

orange soy pork tenderloin with roasted veggies

ingredients:

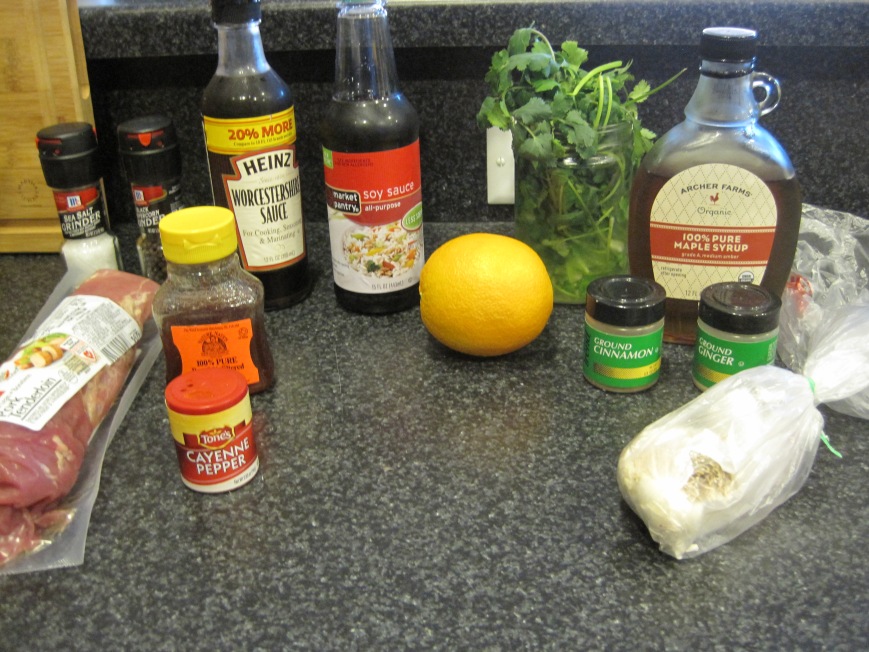
1 to 1 1/2 lbs boneless pork tenderloin, organic or all natural preferably.

marinade:
4 tbsp low sodium soy sauce
2 tbsp worcestaire sauce
2 tbsps organic maple syrup
1 tsp raw honey
1/2 tsp fresh ground black pepper
1/4 tsp ground ginger
1/4 tsp cayenne pepper
1/4 tsp cinnamon
1 tbsp cilantro, chopped
1 clove garlic, minced
1 tbsp olive oil
zest of 1 orange
juice of 1 orange or 1/4 cup orange juice

sauce:
juice of 1 orange or 1/4 cup orange juice
1 tbsp unsalted butter
1 tsp raw honey
1 cup hot water or veggie or chicken stock
sea salt and fresh ground pepper to taste

serves 4 people.

directions:
1. mix all marinade ingredients in a shallow baking dish or gallon-sized ziploc bag.
2. poke pork tenderloin with a fork throughout so it soaks in all the juices and flavors from the marinade.
3. marinate for 4 hours or up to overnight. if using a baking dish, cover with plastic paper.
4. bring pork tenderloin to room temperature before roasting. you can bring it to room temperature by setting aside on the counter for 30 minutes if marinated for 4 hours or 1 hour if marinated longer.
5. preheat oven to 415F.
6. dry tenderloin well with a paper towel.
7. in a skillet, pan sear first side for 2 minutes over medium-high heat. flip and sear for 1:30 minutes. sear the sides for 30 seconds each. you want a nice, crisp layer on the outside.
8. bake in a roasting pan with a rack {if you don’t have one, it’s totally okay} and roast for 25-30 minutes or until the internal temperature of the thickest part reaches 145F. if you like it well done, the internal temperature should be 160F. it will be on the dryer side, which i personally don’t recommend.
9. take pork tenderloin out from roasting pan and set aside on a cutting board or large plate. cover with tin foil.
10. make sauce in roasting pan. deglaze the pan with orange juice, butter, honey, water, salt and pepper cooking on the stove over medium high heat mixing well. cook for 3 minutes or until sauce has been reduced by a quarter and thickened.

**note** after step 7, i went ahead and added the cubed veggies to roasting pan and seasoned with a drizzle of olive oil, sea salt and fresh ground pepper. recipe follows.

roasted veggies
half a sweet potato, cubed in 1” pieces
2 beets, cubed in 1” pieces
4 carrots, cubed in 1” pieces
sea salt and fresh ground black pepper to taste
olive oil, drizzle

preheat oven to 415F.

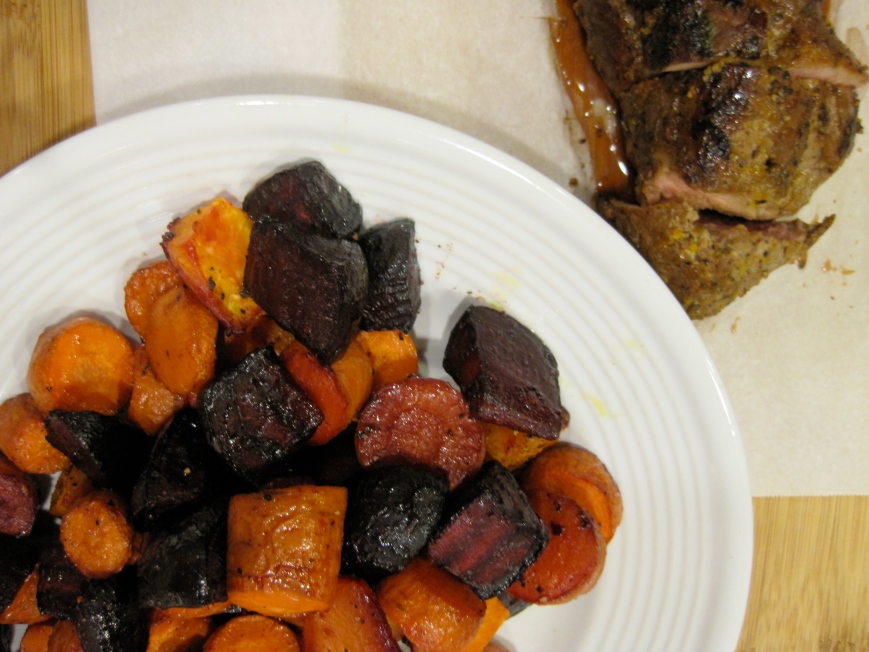
put veggies in baking dish, sheet or roasting pan (with pork tenderloin). drizzle olive oil and season with sea salt and pepper. toss well so they are well coated and bake for 35 minutes. stir a few times through baking time.