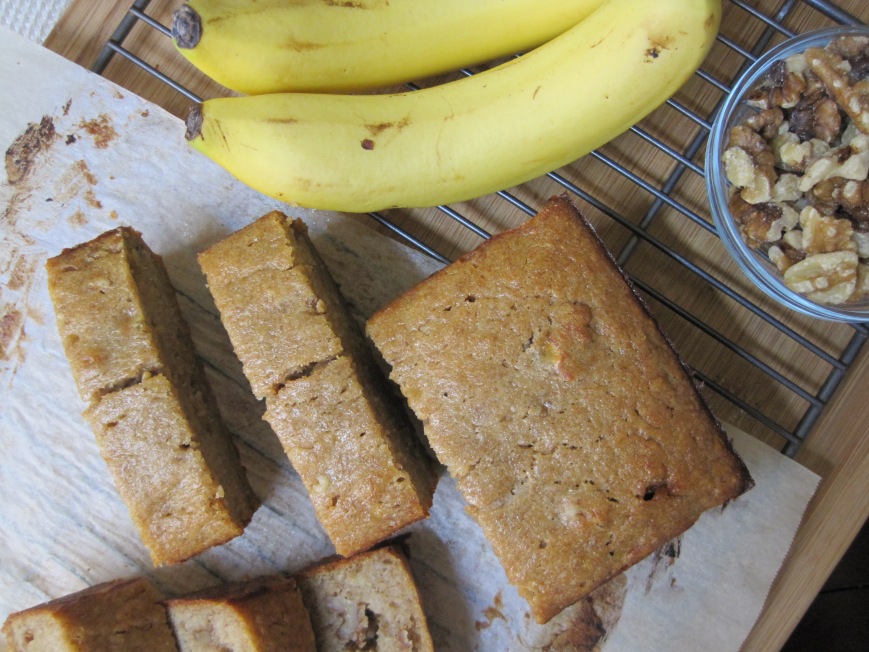
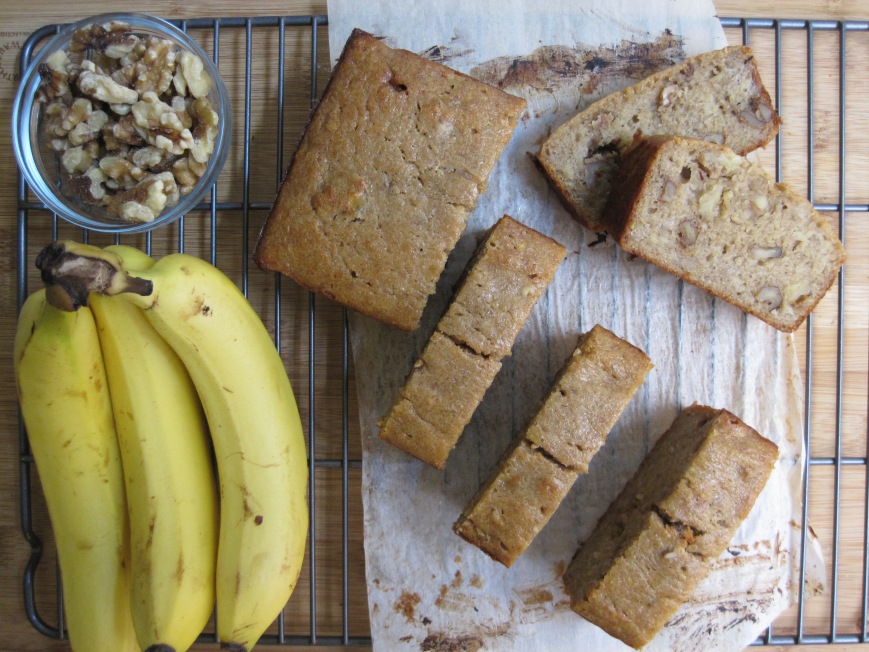
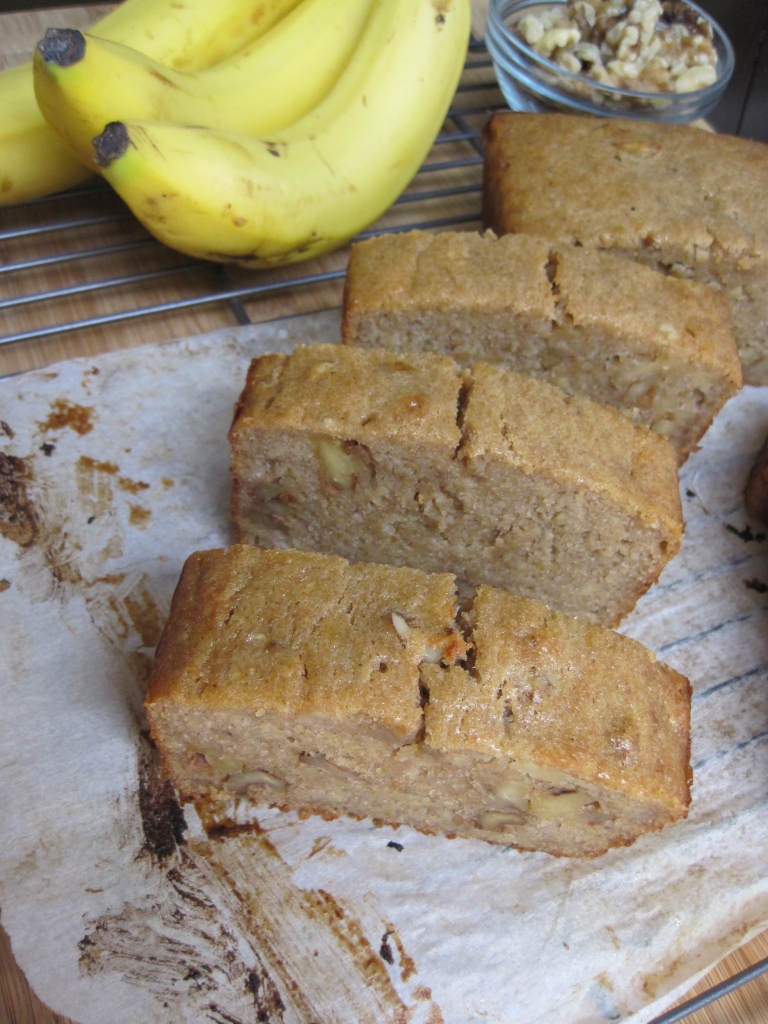
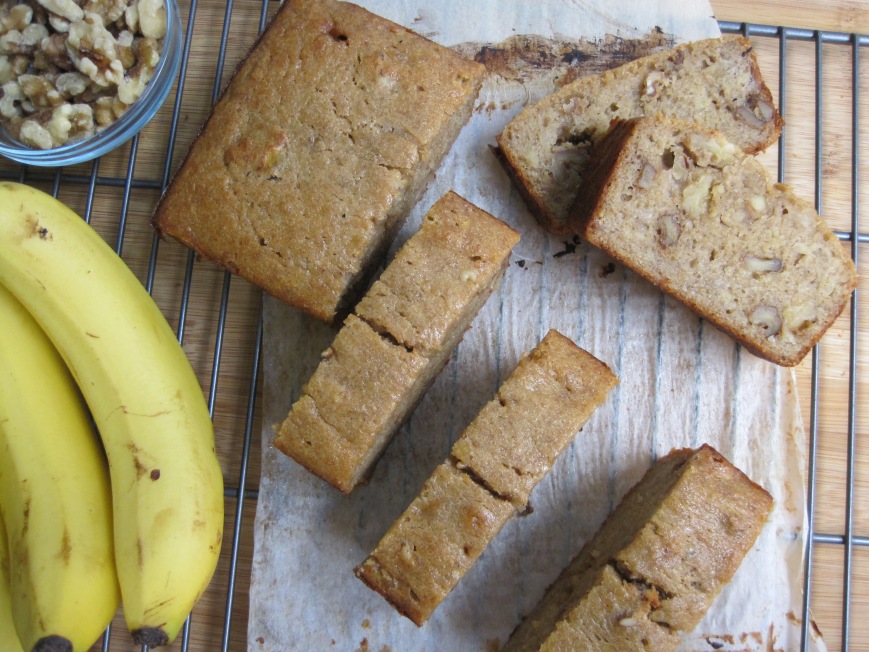
went bananas for this healthy banana nut bread

after making the “not your average nutella s’mores chocolate chip cookies” i needed something with fruit in it. i absolutely loved the cookies and you should try making them right now! they are that good :) but, it was time to change it up with a new recipe and also time {more like an excuse} to use my new loaf pan ;)

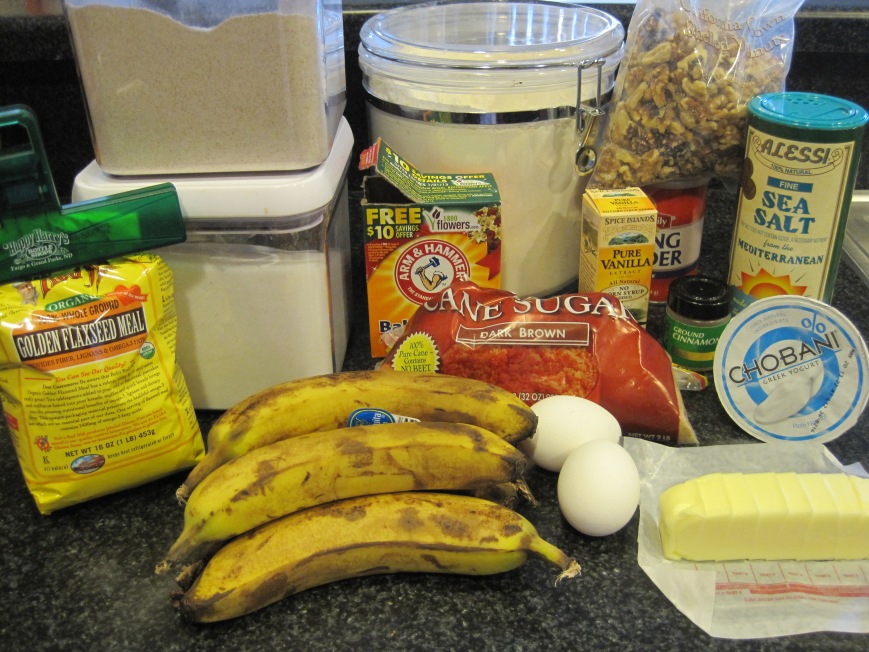
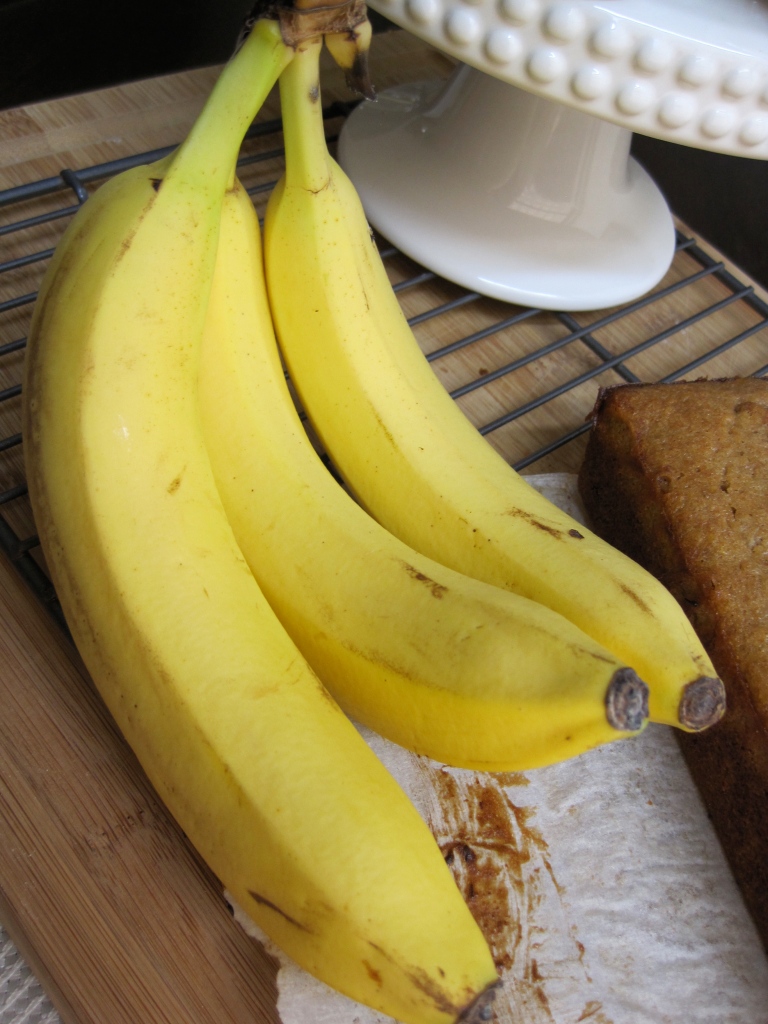
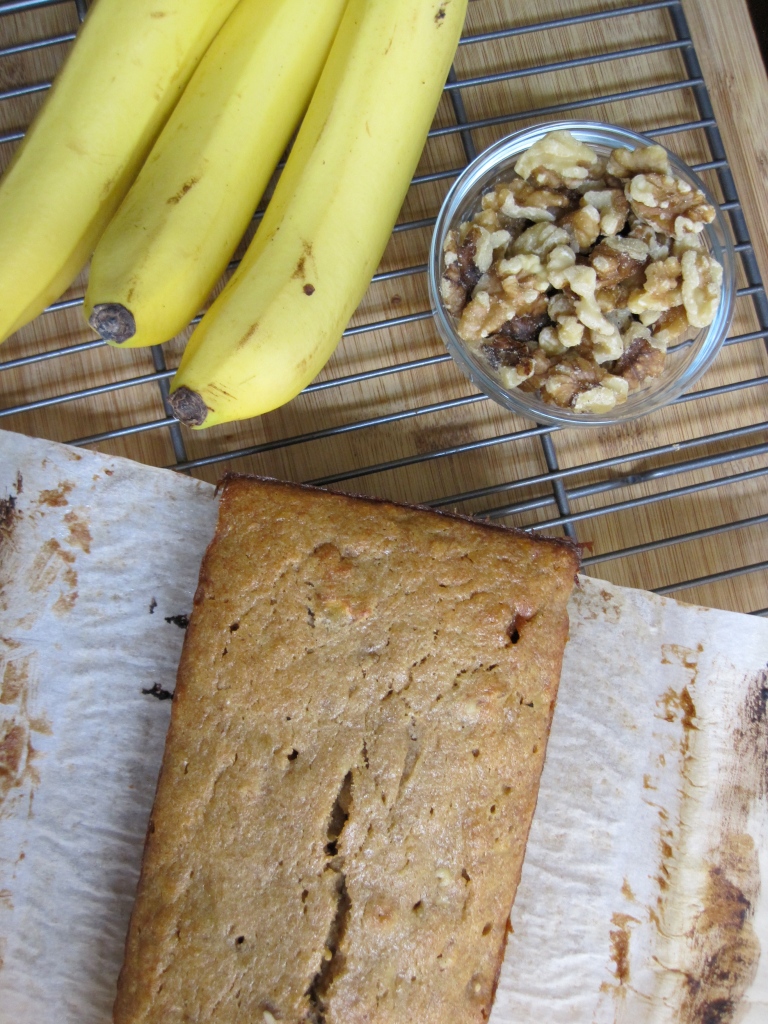
i had bananas in my fruit shelf and they were at the perfect stage for banana bread. ripe bananas with brown spots but not too many, and in overall good shape {see tip to ripen bananas below}. walnuts were also in my pantry so it was a sign for banana nut bread!

a trick my husband told me, yes, my husband {insert awww here} is to put the bananas right from the grocery store in a brown bag in the fridge for about 4 days and they will ripe perfectly. so let me know if you try it out! it worked for me. you can also leave the bag with the bananas at room temperature but check every day since they’ll ripen faster.

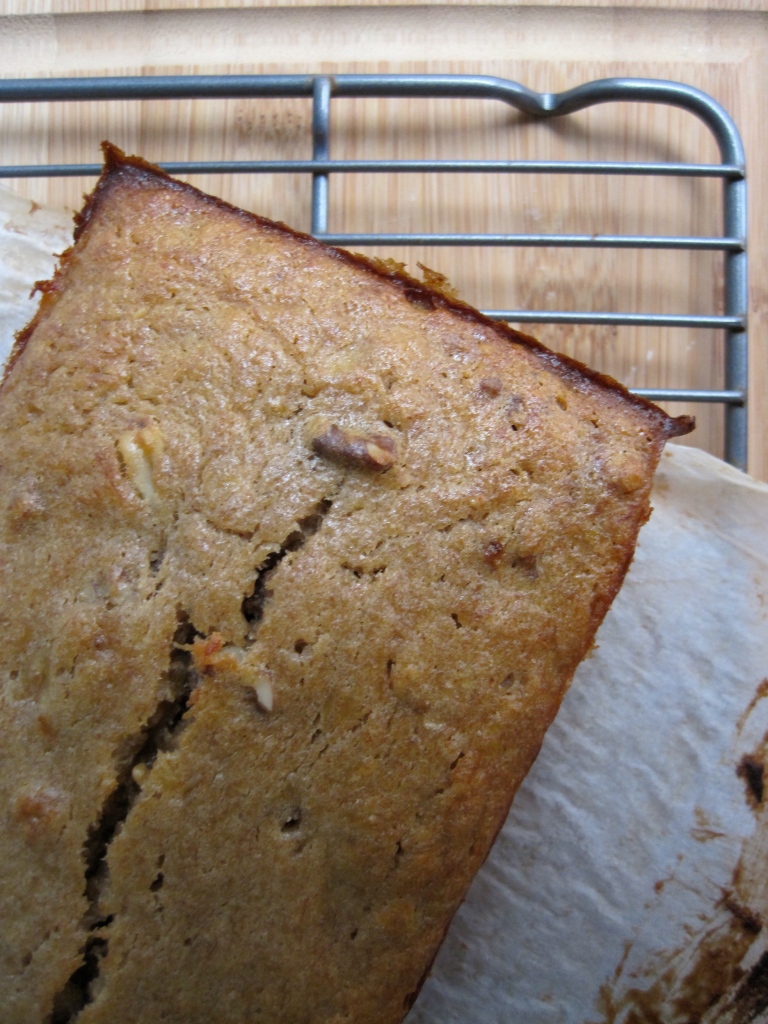
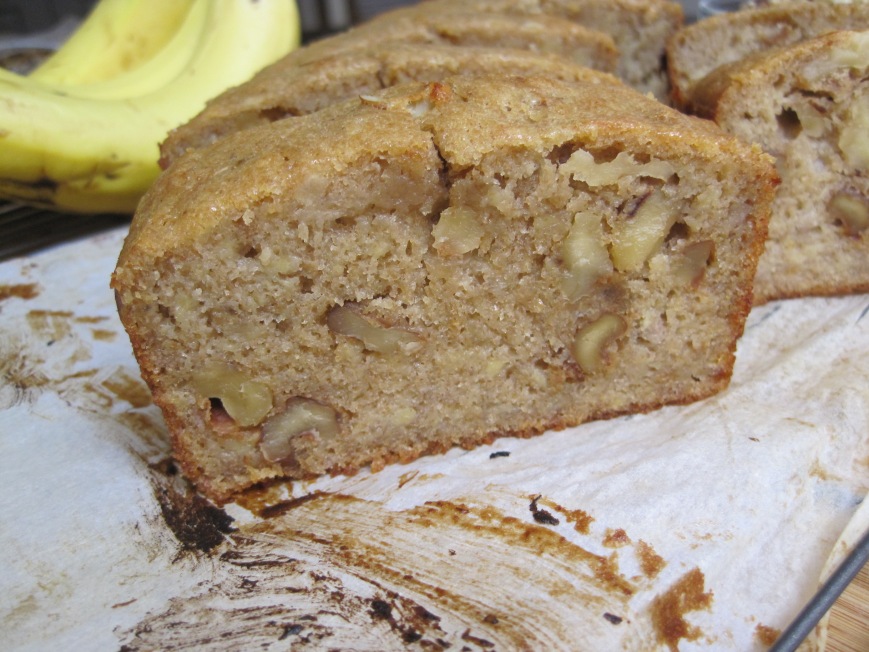
this banana nut bread recipe has healthy ingredients such as flaxseed, whole wheat flour and greek yogurt, as well as your regular butter and sugar. you can definitely make this gluten free or substitute the sugar with apple sauce. once the banana bread is done baking, you’ll see it has a crusty layer on the outside but it’s very moist, soft and dense on the inside. mmm!! like i like to say: business on the outside and party on the inside, hahaha.

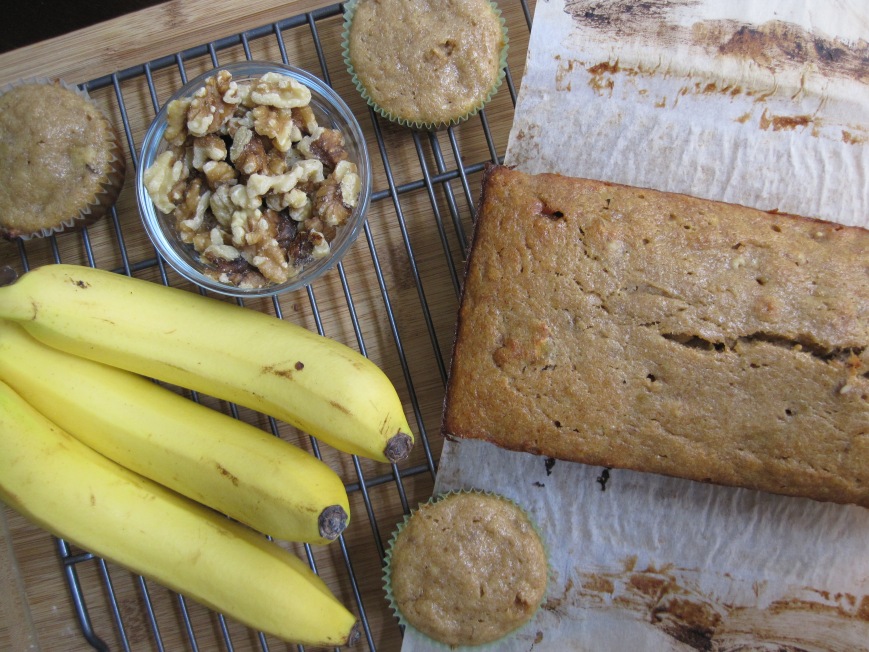
one thing i should mention is that i had a small loaf pan and i had to bake an additional 6 standard size muffins because it was too much batter for my little pan. i will tell you the exact size within the recipe.

follow these directions and you’ll be able to enjoy this very banana-y bread for a snack or as a complement to your breakfast!! if you like bananas and bread, then you are winning with this recipe.

IMG_8846

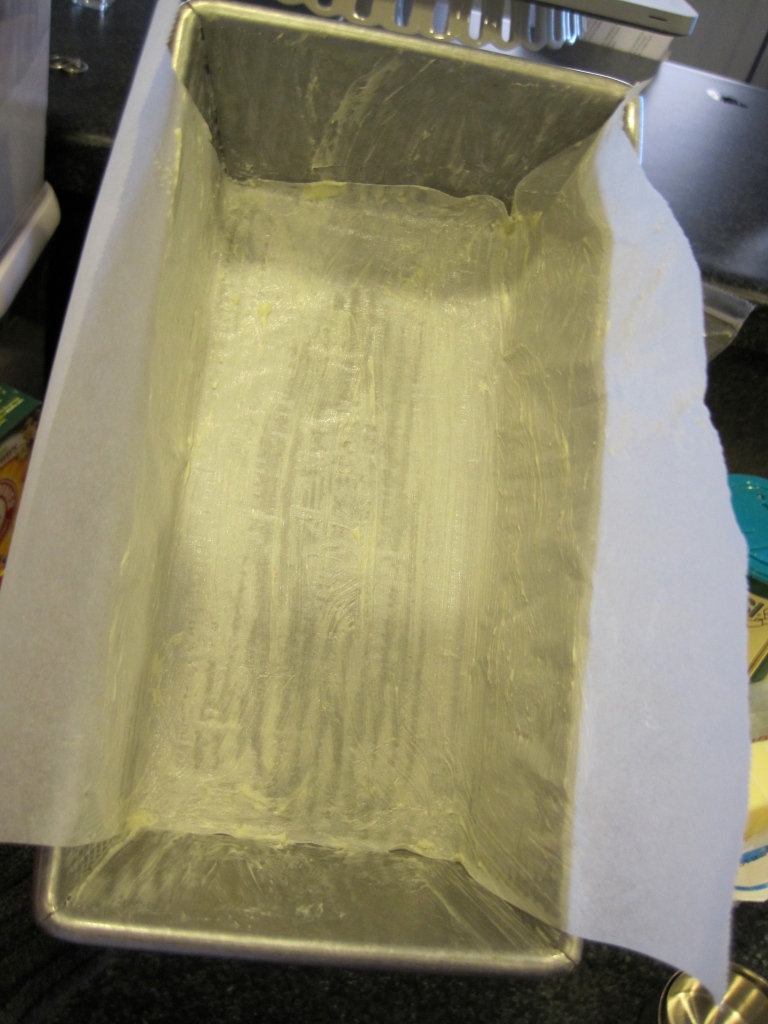
butter loaf pan and line with parchment paper.

IMG_8848

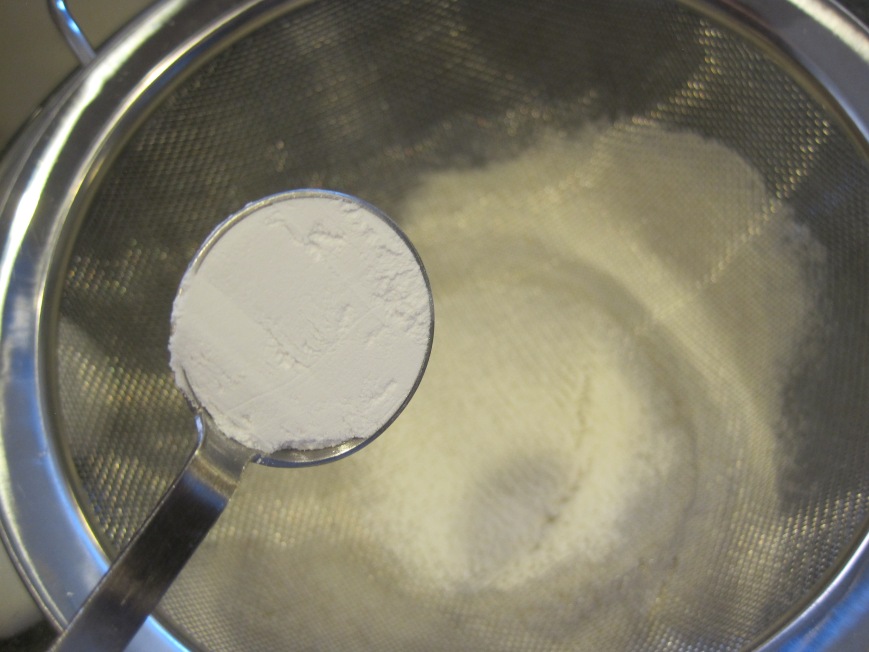
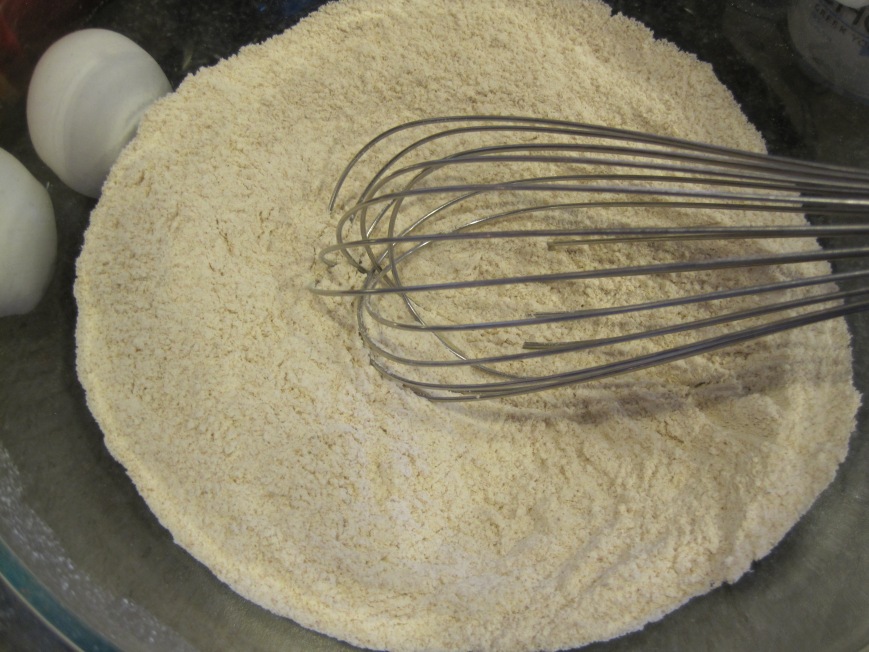
sift flours and whisk all dry ingredients together.

IMG_8854

IMG_8859

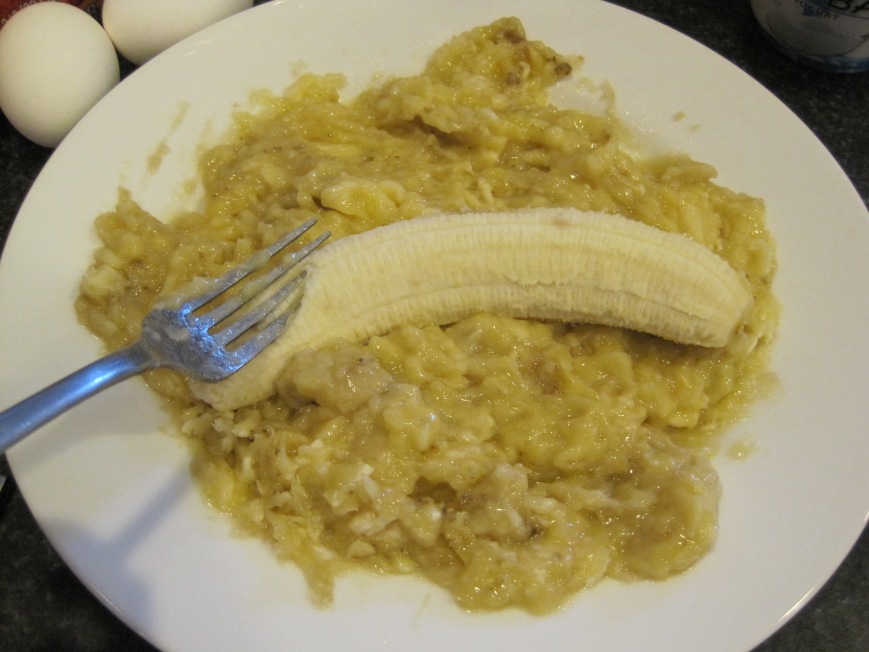
mash your bananas!

IMG_8861

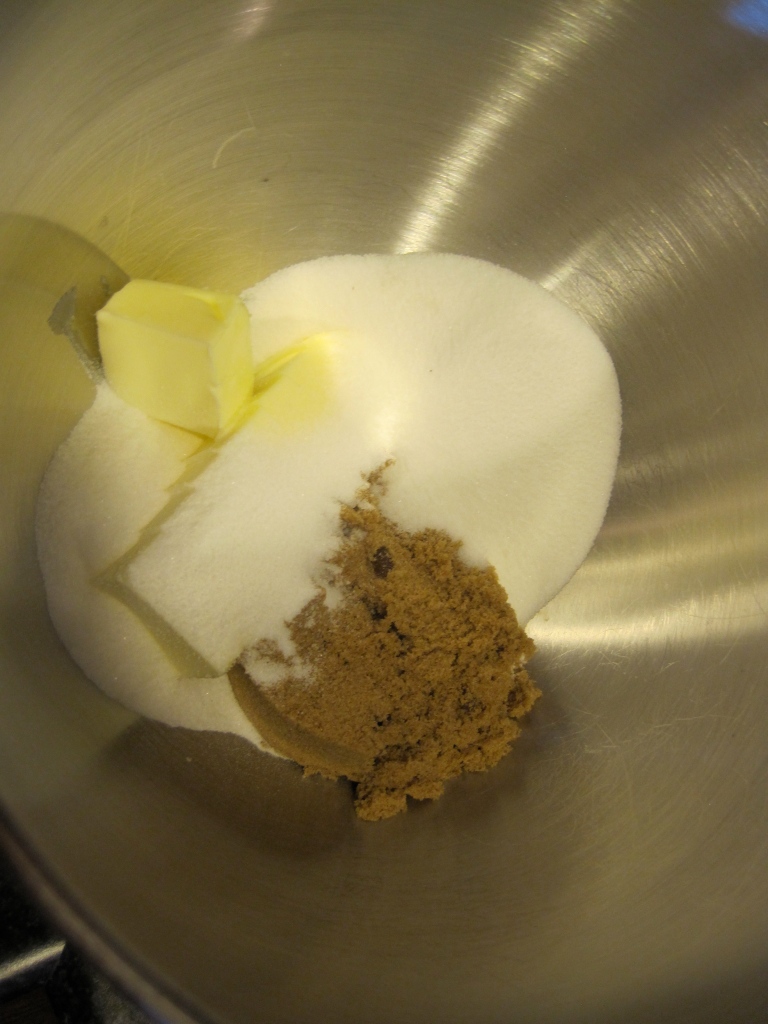
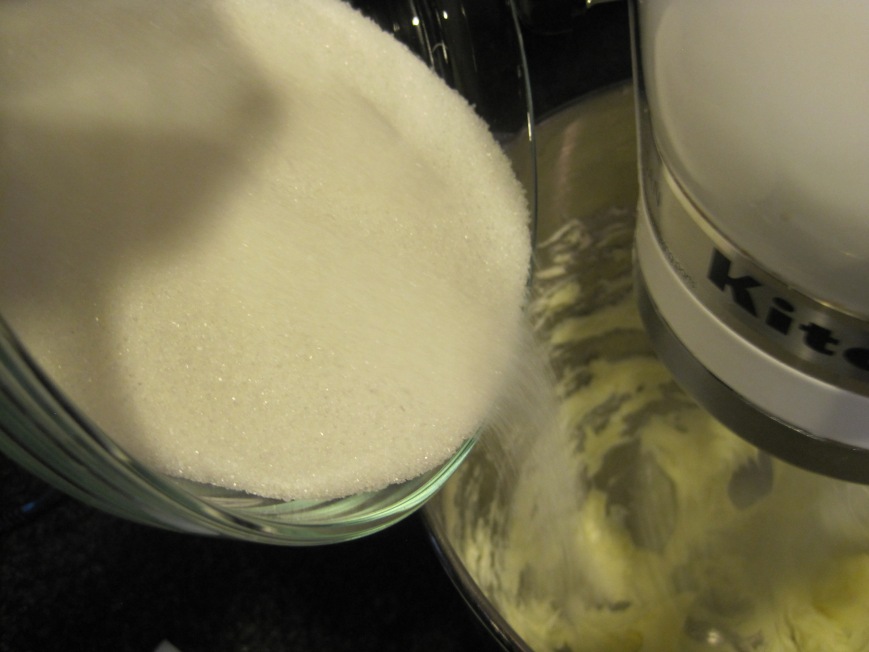
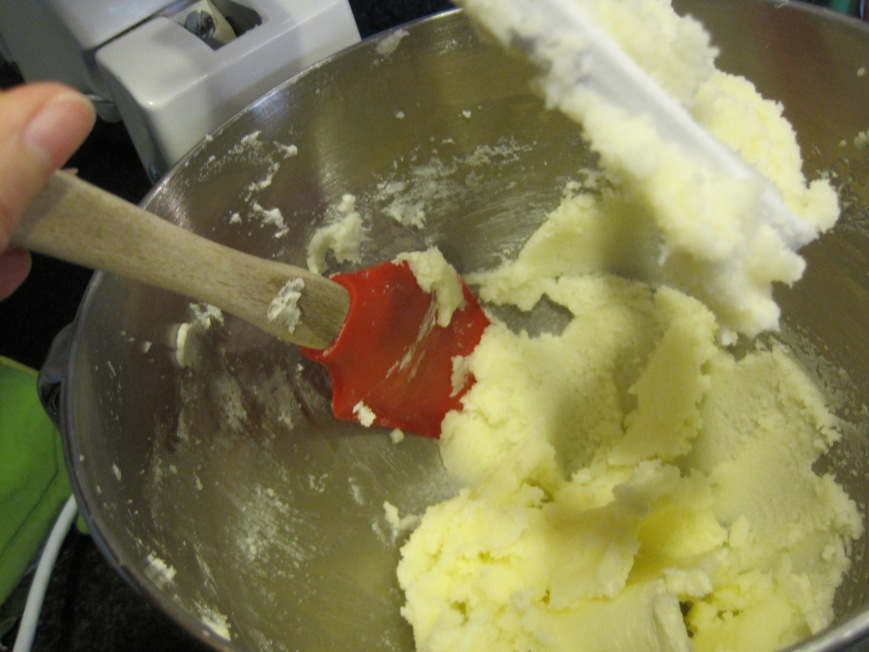
cream butter with sugars until fluffy.

IMG_8865

IMG_8867

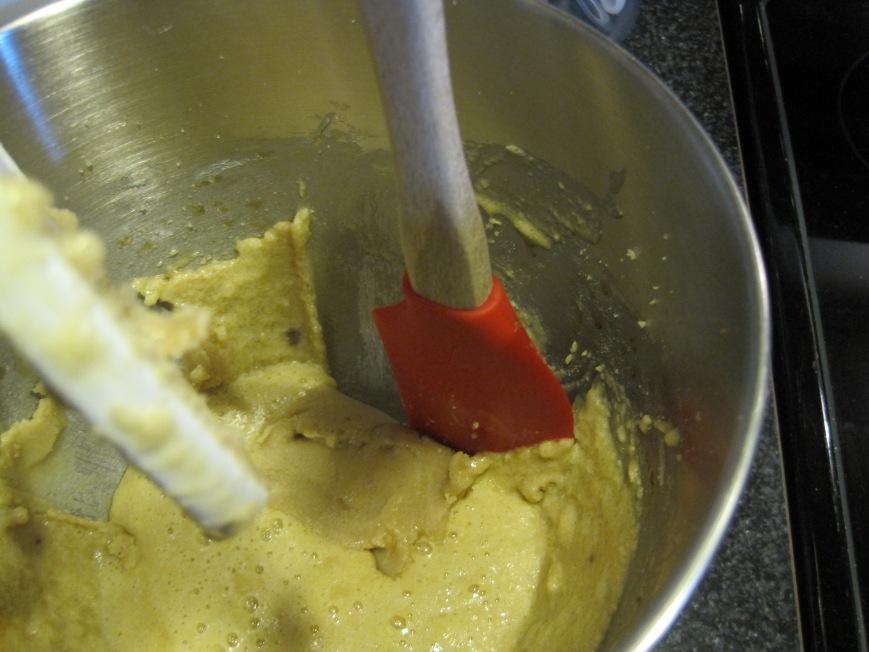
scrape bowl and mix on high for a little bit to combine all ingredients.

IMG_8870

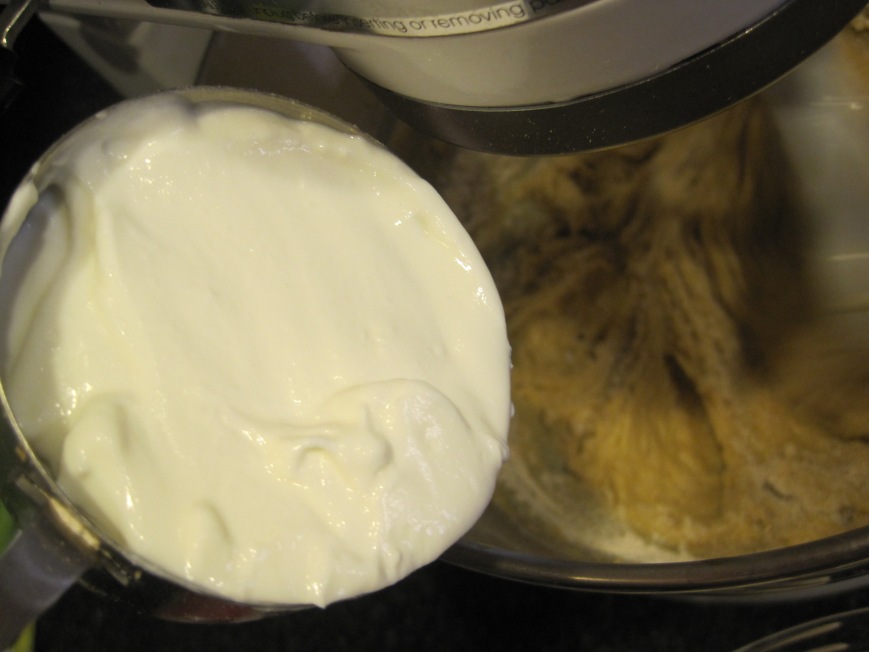
alternate flour mixture with yogurt and bananas.

IMG_8872

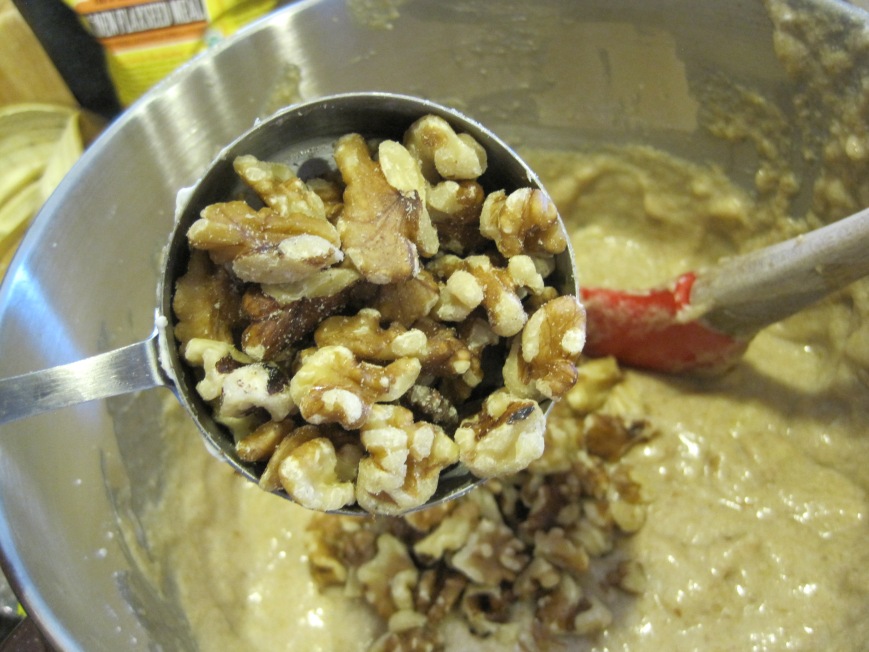
fold in walnuts.

IMG_8875

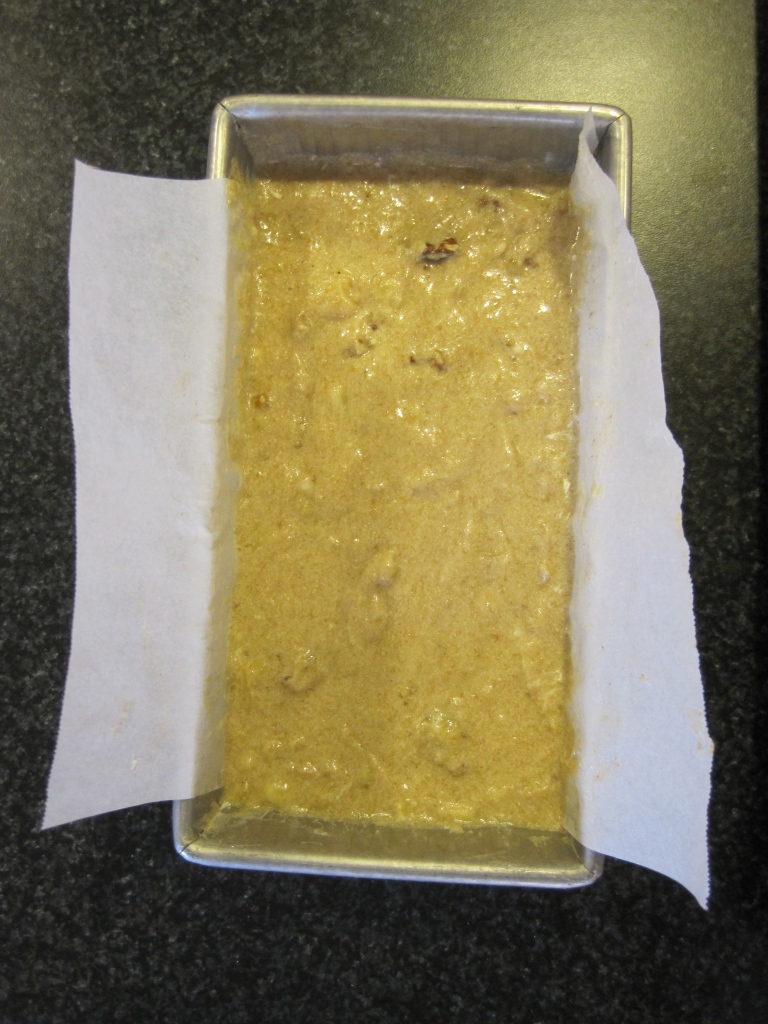
ready to go into the oven :)

IMG_8877

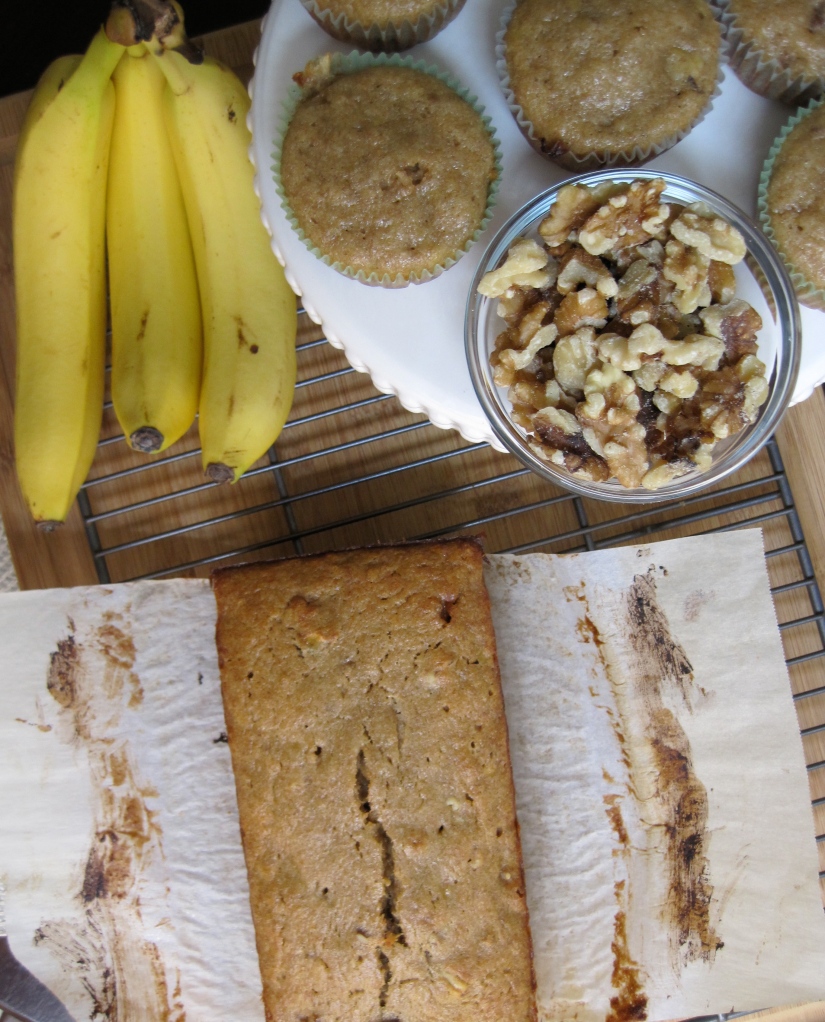
time to cut through this banana nut bread and go bananas, haha. cheesy, i know.

IMG_8884

IMG_8887

IMG_8899

IMG_8900

IMG_8923

IMG_8933

IMG_8942

IMG_8944

IMG_8956

healthy banana {nut} bread

ingredients:
5 very ripe bananas, mashed
1 cup whole wheat flour
1 cup unbleached all purpose flour
1/2 teaspoon sea salt
2 teaspoons baking powder
1/4 teaspoon baking soda
1 teaspoon ground cinnamon
1 tablespoon ground flaxseed {optional}
1 stick unsalted butter, room temperature {sitting on the kitchen counter for 30 to 50 minutes approximately}
3/4 cup granulated sugar
1/4 cup dark brown sugar, tightly packed
2 large eggs, room temperature {sitting on the kitchen counter for 30 to 50 minutes approximately}
2 teaspoons vanilla extract
1/2 cup non-fat greek yogurt, room temperature {sitting on the kitchen counter for 30 to 50 minutes approximately}
1 1/2 cups chopped walnuts or pecans, roughly chopped {optional}
8.5 x 4.5 inch loaf pan – i used this one {you can use a bigger pan – 9 x 5 inches – and you won’t have to make the muffins}

yields 1 small loaf and 6 standard size muffins.

directions:

  1. preheat oven to 350F. butter a 8.5 x 4.5 inch loaf pan, add parchment paper and butter parchment as well. parchment paper should hang over the sides of the pan. set aside. butter muffin tin {only 6 muffin cups} or you can use paper liners. set aside.
  2. in a bowl, sift flours, baking soda, baking powder, flaxseed and cinnamon. add salt and whisk well.
  3. cream butter and sugars with the paddle attachment of a stand mixer until fluffy and light in color, about 3 minutes at medium speed.
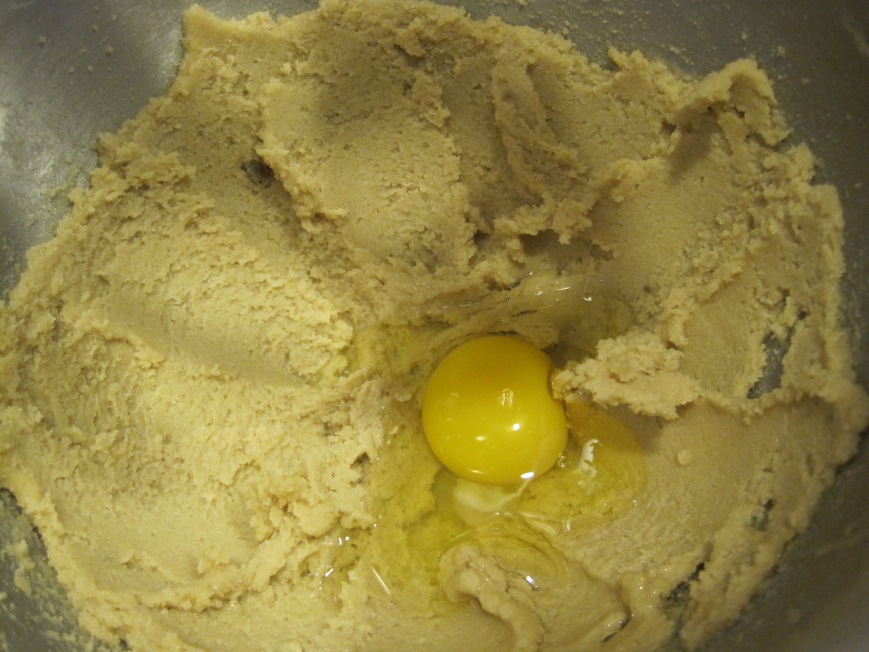
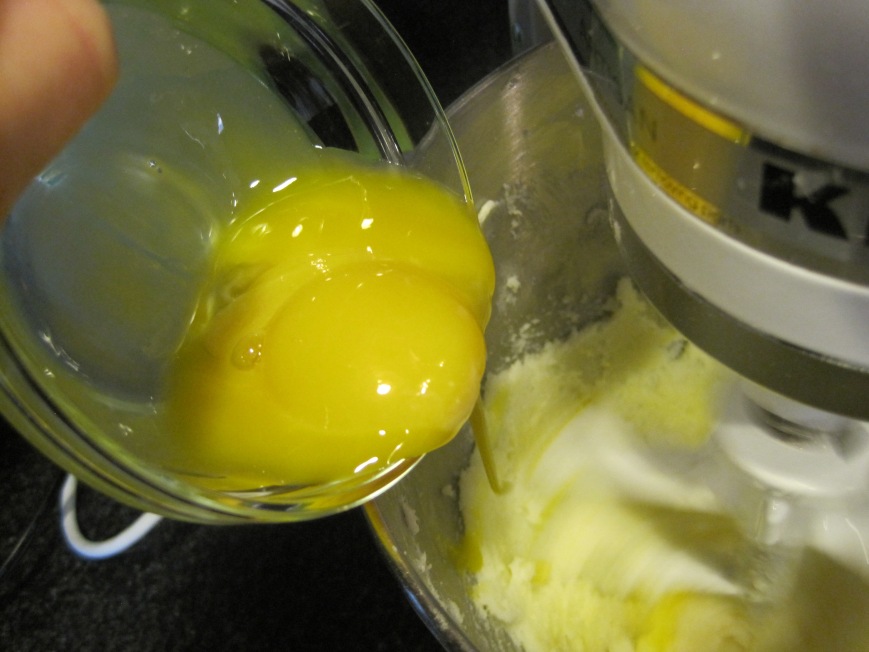
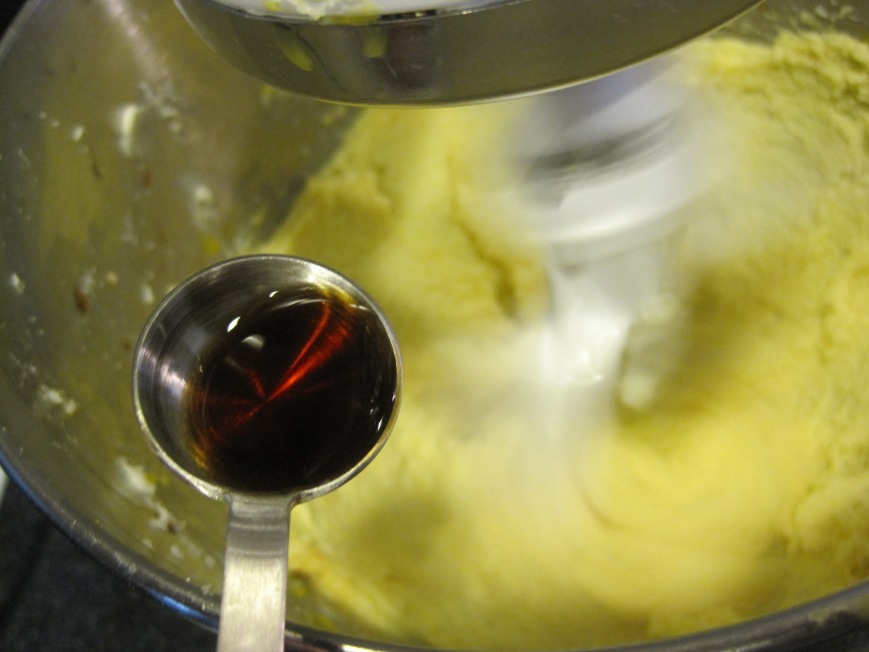
  4. add eggs, one at a time and mixing well after each addition over medium speed. add vanilla and mix until incorporated. make sure to scrape the bowl {sides and bottom} and mix on high for 30 seconds to mix well. do not over mix batter.
  5. set speed to the lowest setting. alternate a third of the flour mixture, with a third of the greek yogurt and a third of the mashed bananas. repeat until all ingredients are incorporated. do not over mix.
  6. fold in walnuts with a rubber spatula gently.
  7. fill 6 muffin cups 3/4 full. pour the rest of the batter into prepared loaf pan.
  8. bake banana bread for 60 to 70 minutes or until an inserted knife comes out with a few crumbs. start checking at 60 minutes though. bake muffins for 25-30 minutes or until toothpick comes out with a few crumbs.
  9. let muffins cool in the pan on a wire rack for 3 minutes. take out of the pan and cool completely on cooling rack. let banana bread cool in the pan on a wire rack for 10-15 minutes. cool banana bread out of the pan for 30 minutes more on a cooling rack.
  10. store banana bread and muffins in an airtight container at room temperature for up to 3 days.

IMG_8952

FacebookTwitterGoogle+

Share This Post

chimichurri

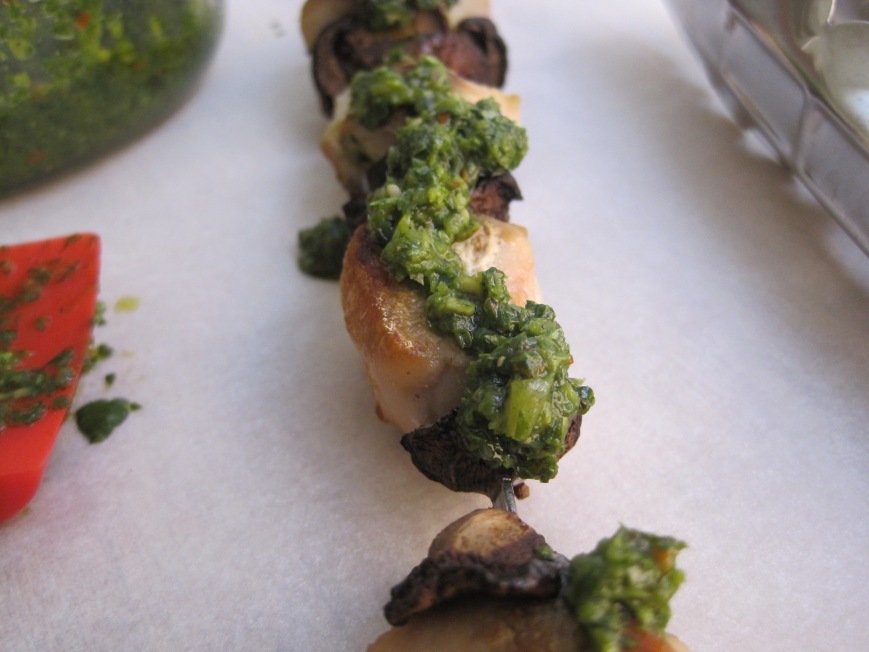
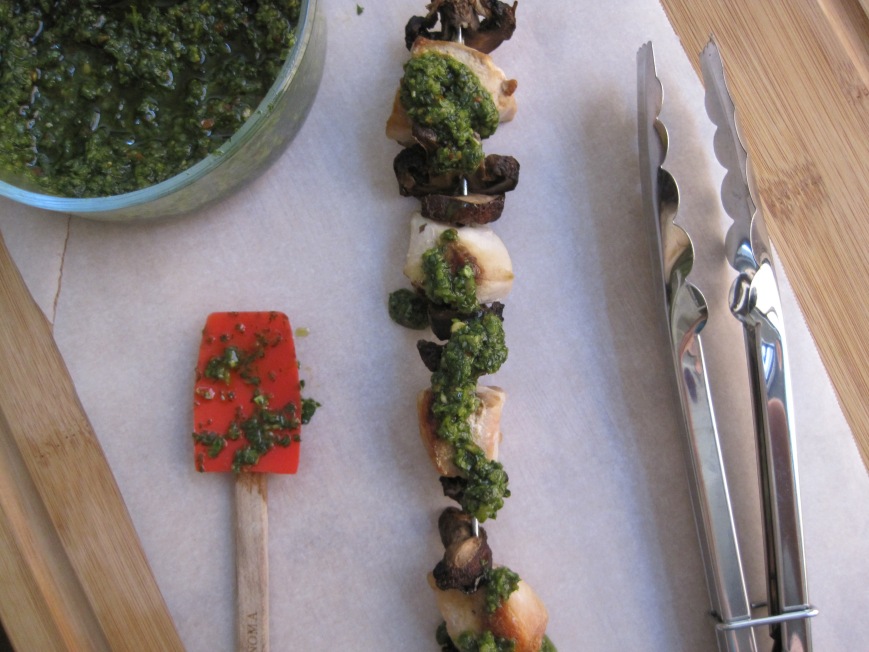
let me introduce you to chimichurri. originally from argentina, chimichurri is used on grilled meat {chicken, steak, burgers, you name it}, but it’s now common to dress your vegetables with this flavorful sauce, too. chimichurri seriously enhances the flavor of any grilled food you eat. no matter what, i guarantee you, it will, oh, it will, taste better. try it ;)

i remember the first time making chimichurri in the U.S. was for my husband back in college. we were dating and being from venezuela, i wanted to show him different flavors from south america. i remember it being summer, which was perfect for grilling steaks on the “front porch.” that’s a funny story. matt’s college house, which he rented with his high school friend, Joe, was hilarious. their bathroom was the size of an airplane bathroom, with the inside of the door “autographed” by every person to put a foot in the house. they didn’t start it, the previous tenants did. the door had so much sharpie on it that you couldn’t see the standard white paint doors have. that bathroom screamed college loudly. haha.
the other thing about the house is that they converted the “front porch” into a 4 x 6 bedroom or maybe it was 5 x 7. hahaha so tiny… {that’s what she said}. haha sorry, i had to.

okay, the funniest part of the bedroom was that the landlord did not lay a foundation and used only 4 concrete blocks to support the entire bedroom instead. so we would roll a pen from one side of the bedroom to the other and it would roll like it would down a hill. it was pretty cramped in there but they managed to put in a mini walk-in closet. i would just call it a closet but it’s all about the “perks” when you are trying to rent a house to college students. matt and joe changed bedrooms every 6 months so they could both have “the rights” to the nice bedroom, which was ginormous and even had hardwood floors.
so back to the “front porch” where the grill was. because the small bedroom was originally the front porch, the landlord moved the front door to the side of the house. the front door was accessible by two very small steps. the grill laid next to the steps against the house on the gravel. yeah, they didn’t have a driveway, hahaha it’s just funny because the house is just one block away from campus and it sounds like it’s in the middle of nowhere. oh college.

every summer, we would grill pretty much everything on joe’s grill {thank you joe!}. one afternoon i told matthew we were eating steaks with chimichurri. he’s never heard of it before. of course he said, “nice, i like chimichangas,” and i said, “wrong food, wrong country, it’s chi-mi-chu-rri.” so i went over the ingredients and he was down. alright i thought. i love my boyfriend!

chimichurri is pretty simple to prepare. very to the point, which is very convenient for a week day dinner or for a fast and flavorful lunch. i seriously love everything about it, and maybe you should too!

here i show you the how-to and recipe. enjoy!

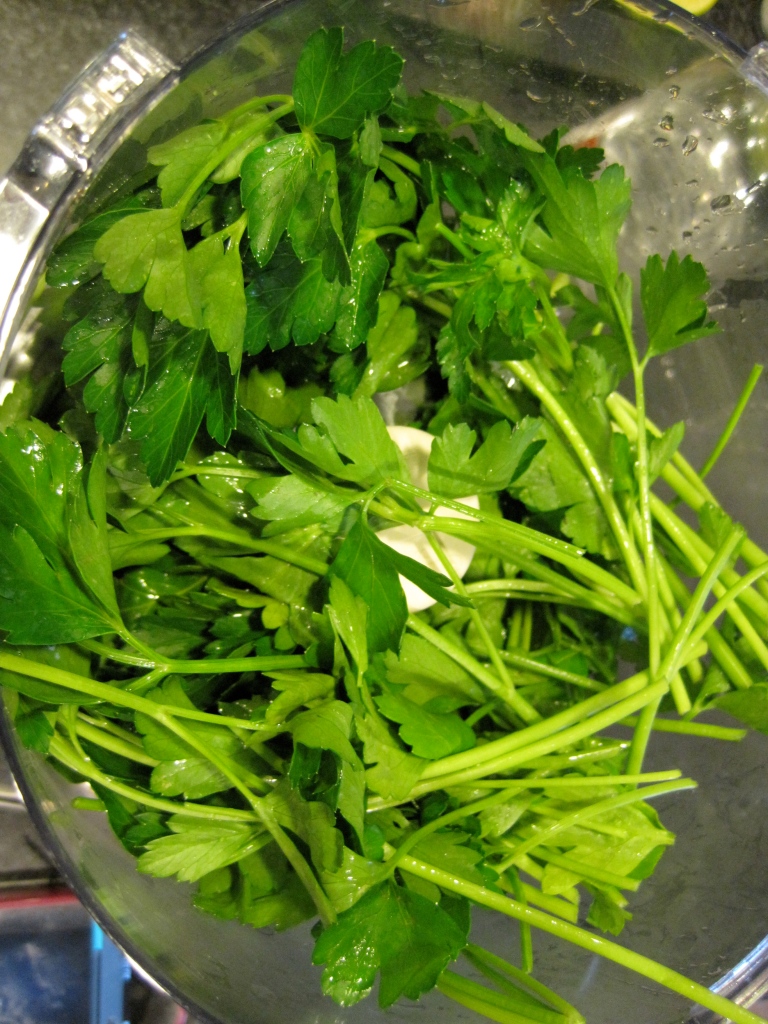
add garlic and red onion to food processor.

IMG_7764

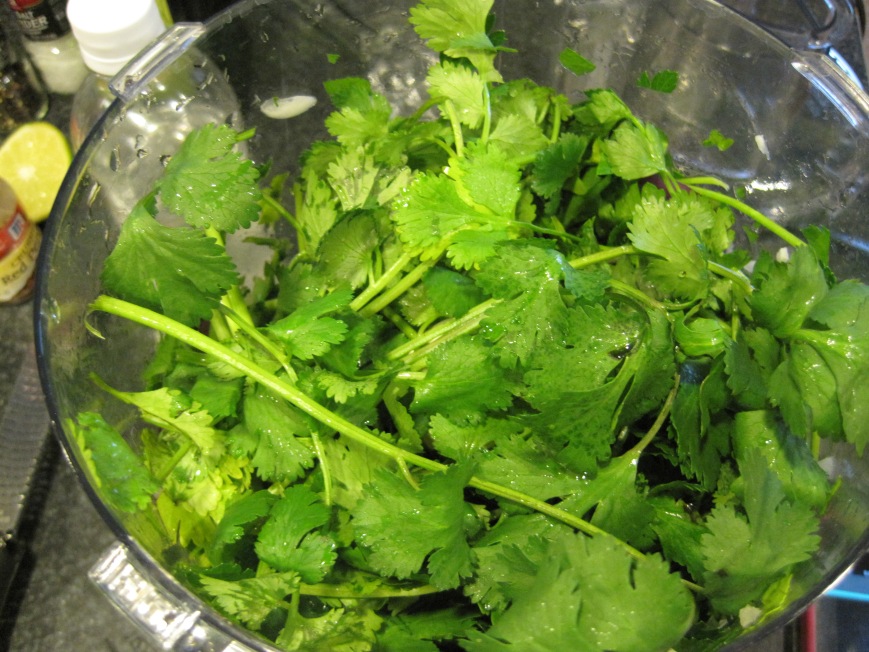
parsley and cilantro are next!

IMG_7765

IMG_7767

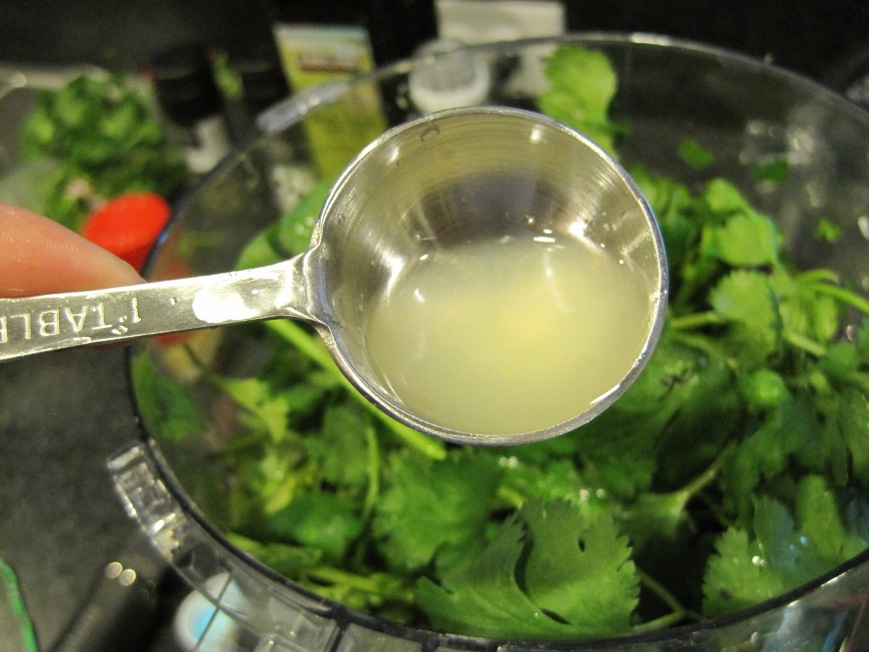
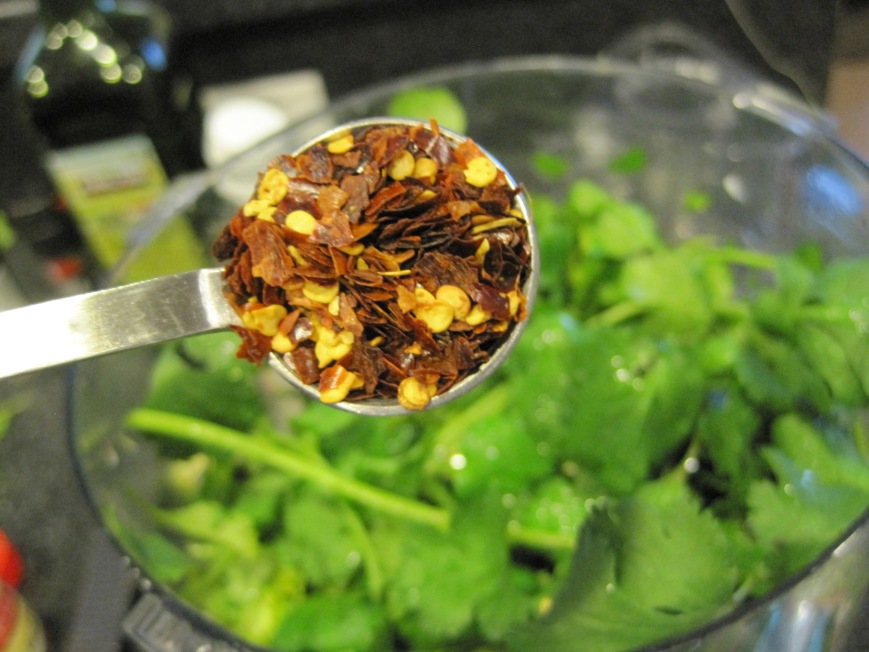
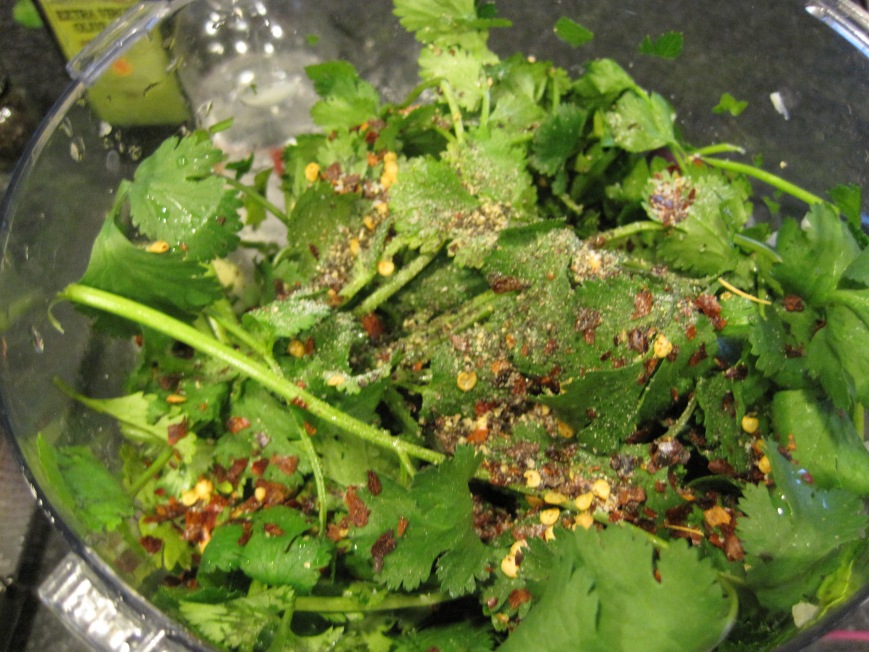
lime juice and red pepper flakes gives it an amazing flavor :)

IMG_7773

IMG_7774

IMG_7775

IMG_7777

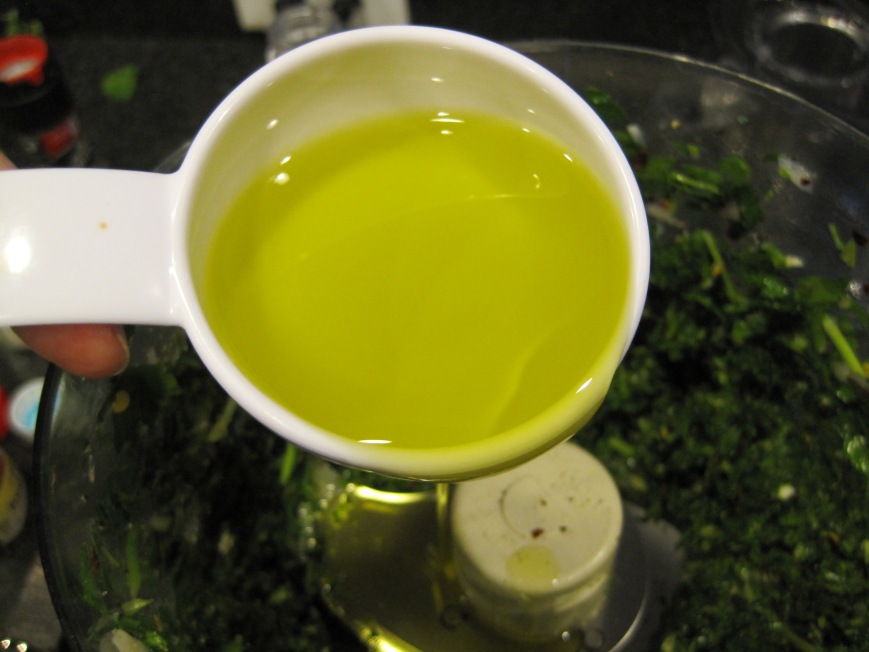
olive oil going in.

IMG_7778

IMG_7783

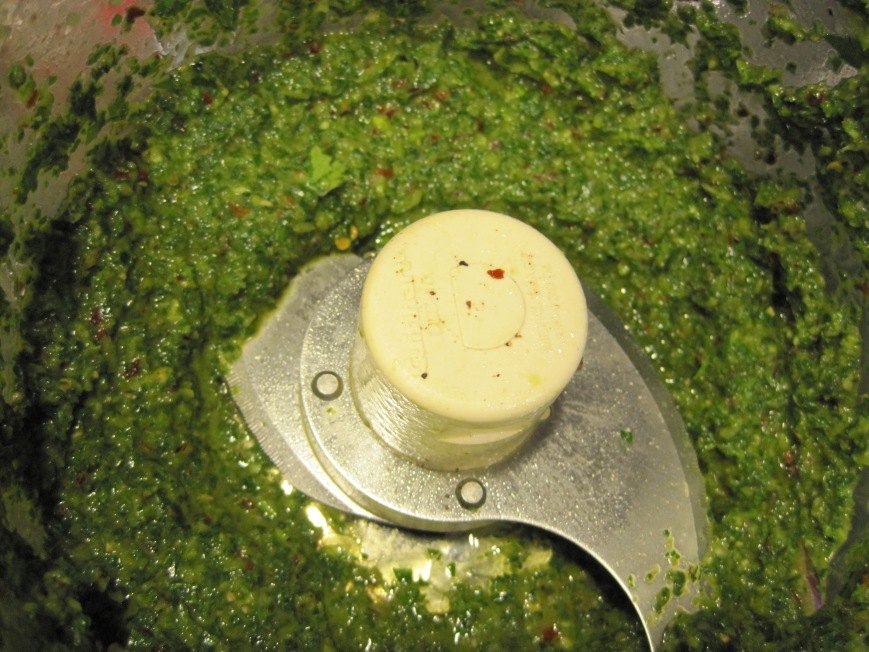
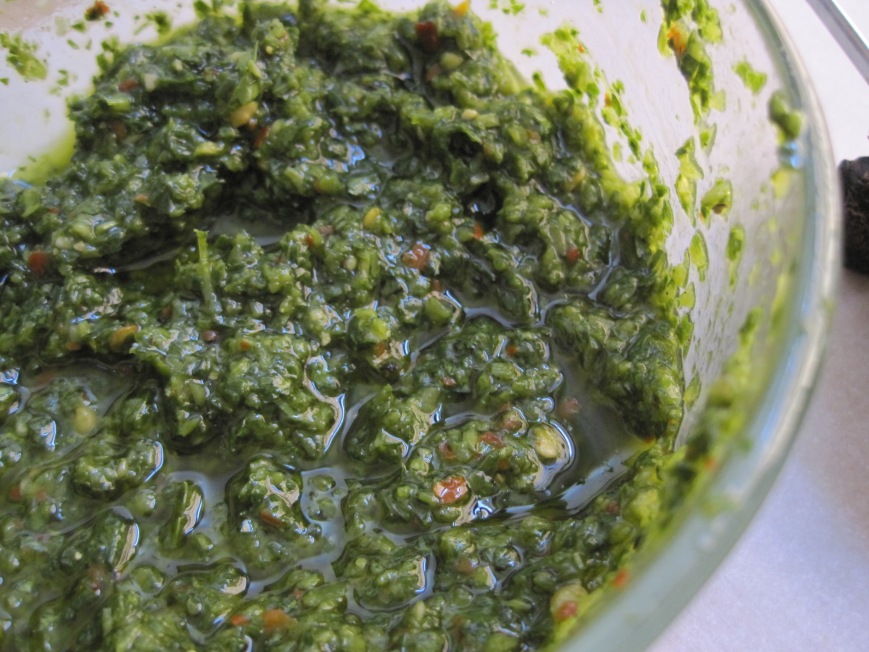
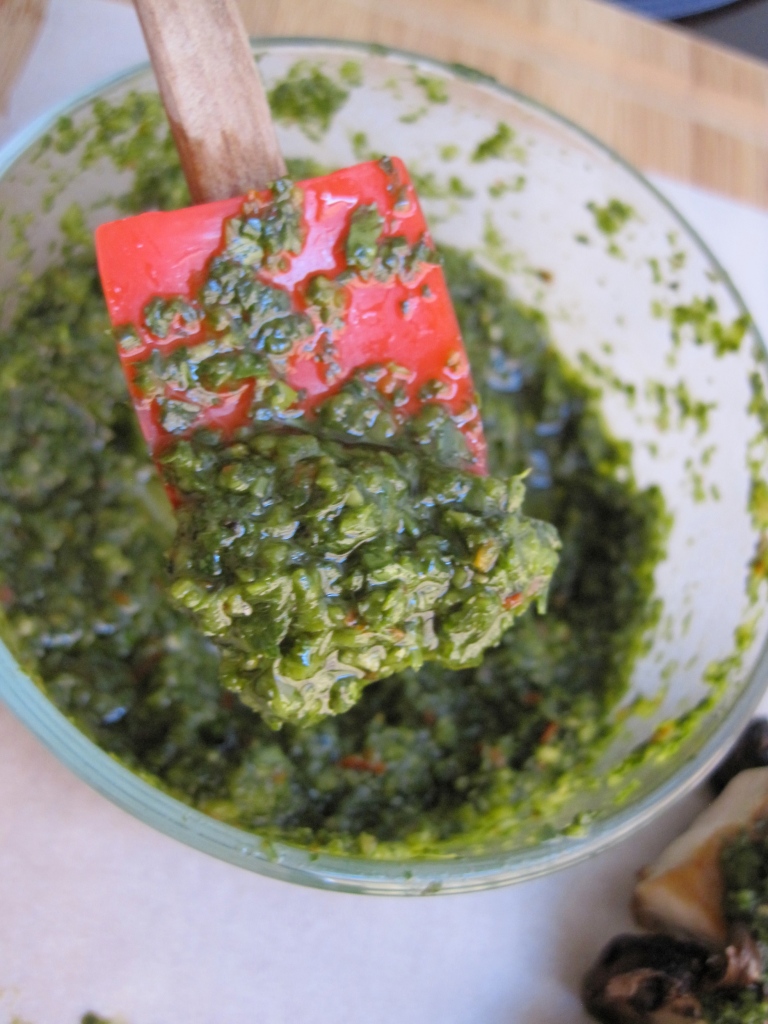
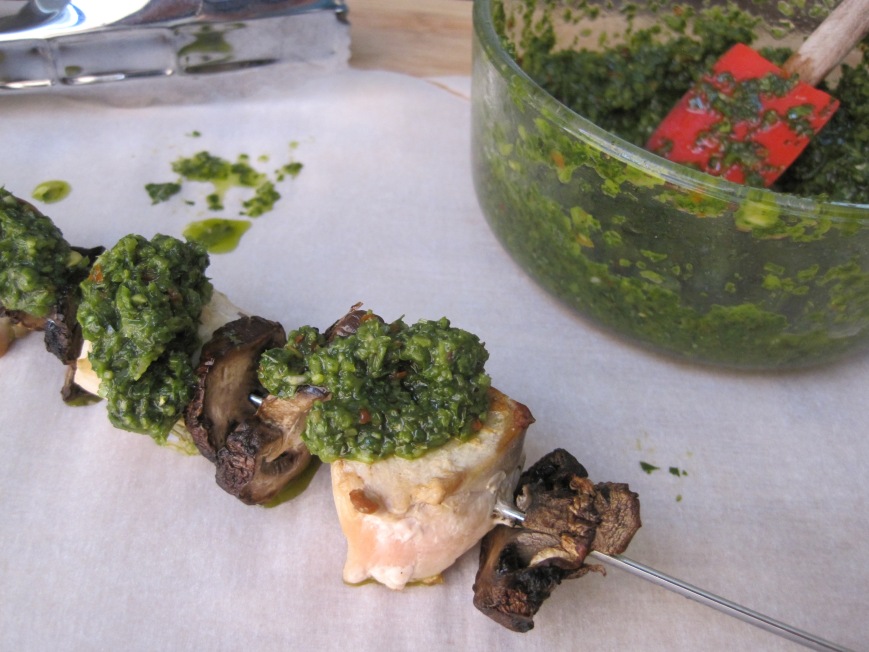
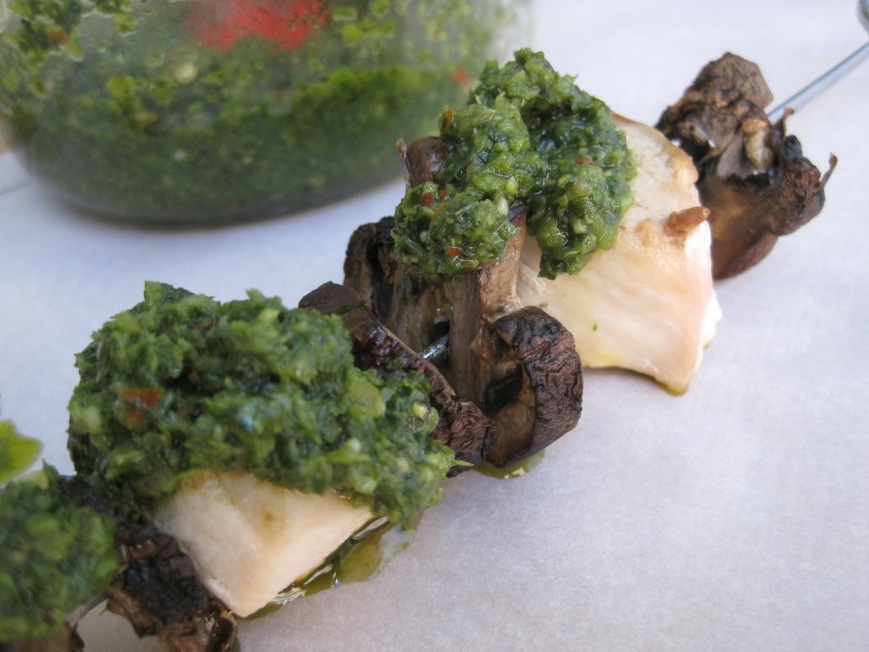
doesn’t the chimichurri look amazing?

IMG_7986

IMG_7989

IMG_7990

IMG_7995
IMG_7998

IMG_8007

chimichurri

ingredients:
1 bunch flat leaf parsley, medium size, rinsed and partially stemmed*
1/2 bunch cilantro, medium size, rinsed and partially stemmed*
2 cloves garlic
1/4 medium red onion
1/3 to 1/2 cup extra virgin olive oil
1/4 tsp red pepper flakes, less if you don’t like it spicy
1 tbsp red wine vinegar
1 tbsp lime juice {lemon juice works, too}
1/2 tsp sea salt, more or less to taste
1/2 tsp fresh ground pepper

yields 1-1/2 to 2 cups approximately.

directions:

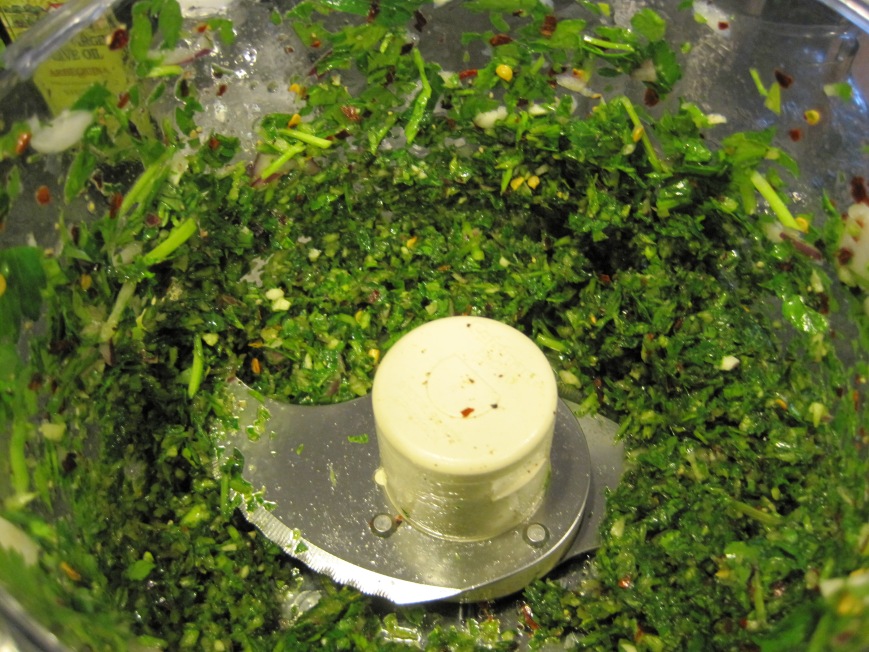
put all ingredients in a food processor, pulse a few times and blend until well combined. consistency should be somewhat thick and liquidity. you don’t want a paste, so if it’s too thick, add more olive oil. if you don’t have a food processor, chop everything by hand and mix in olive oil.

refrigerate up to 5 days in an airtight container. serve at room temperature so the consistency is somewhat liquidity.

serve with meats or veggies.

*cut the stems just right where the fresh herbs start and use.

IMG_8012

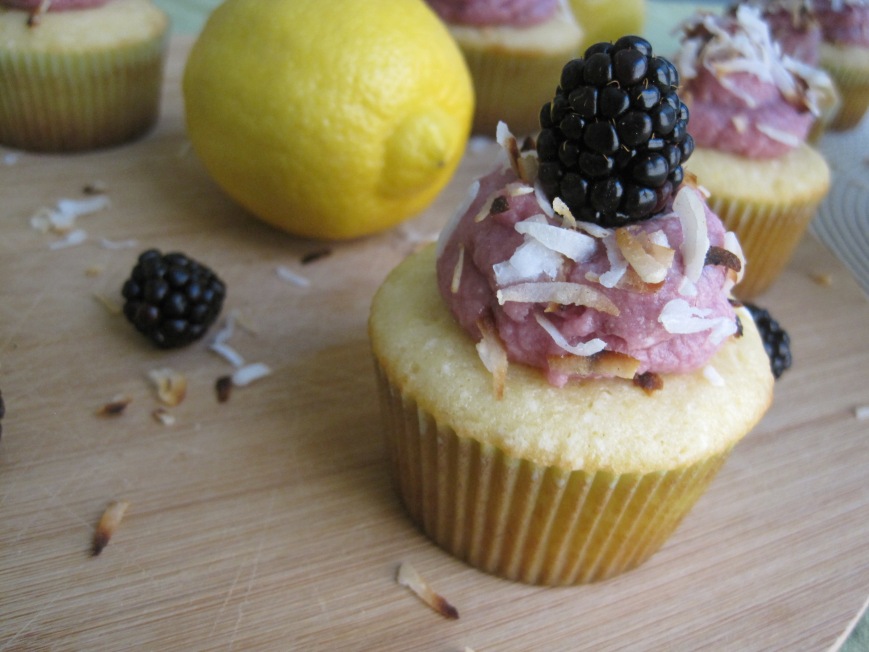
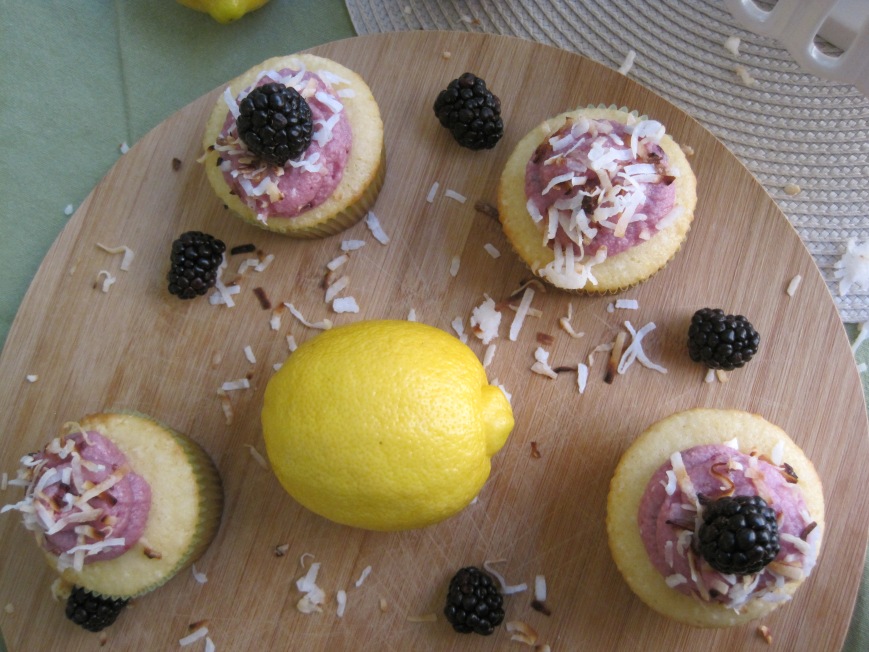
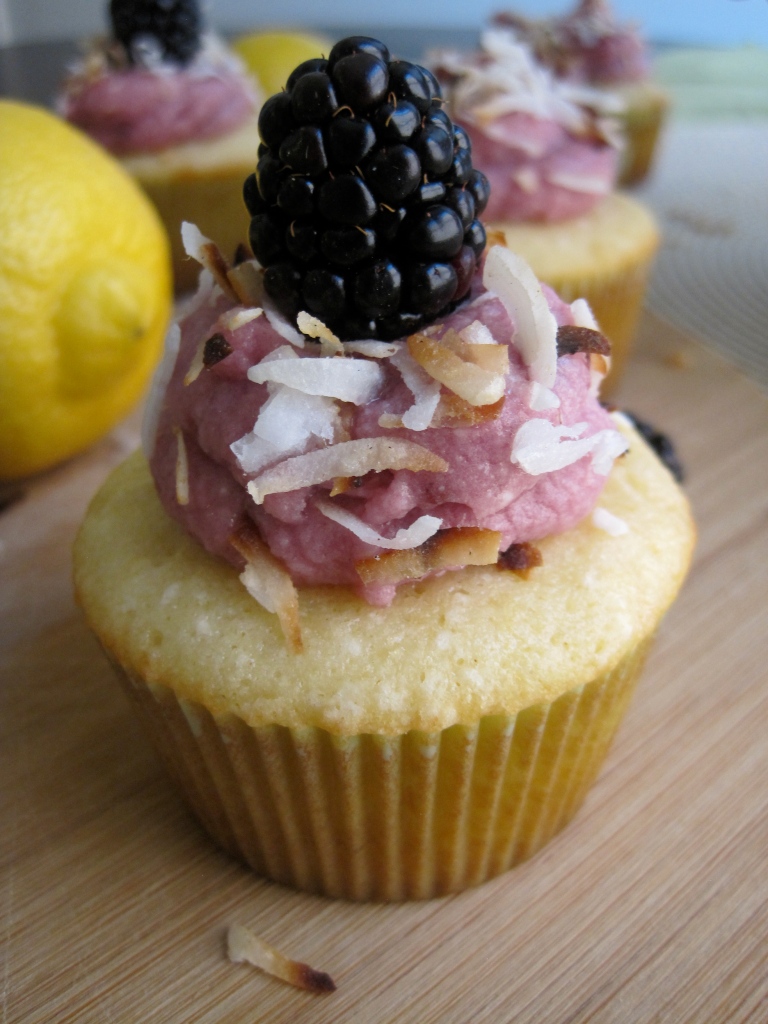
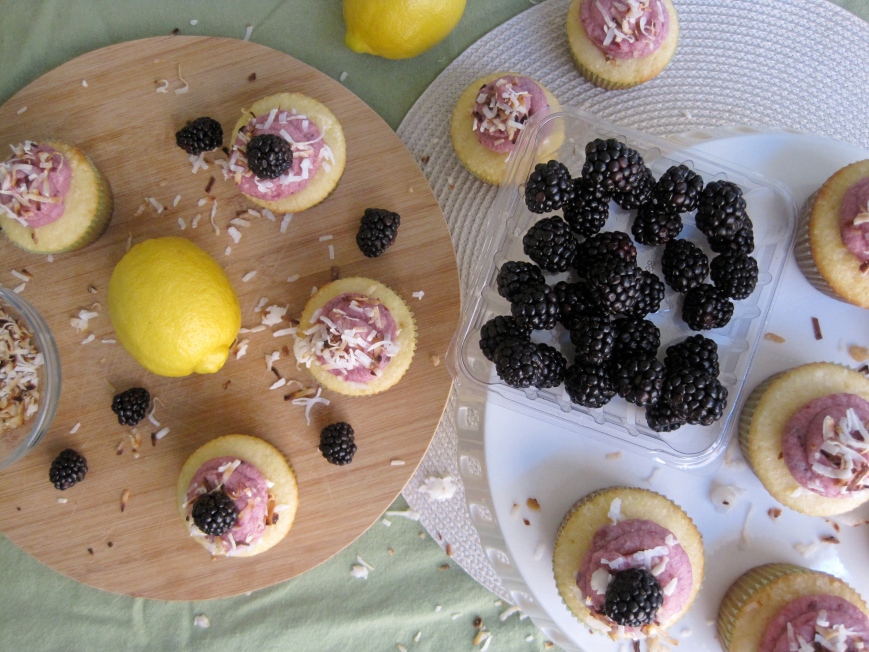
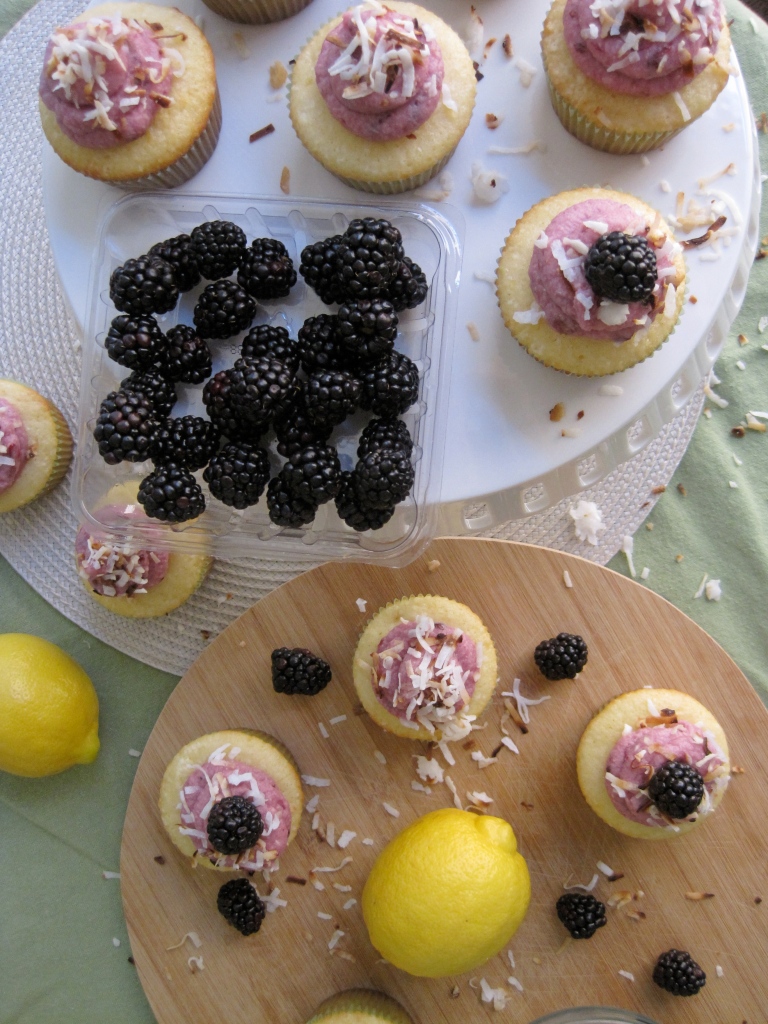
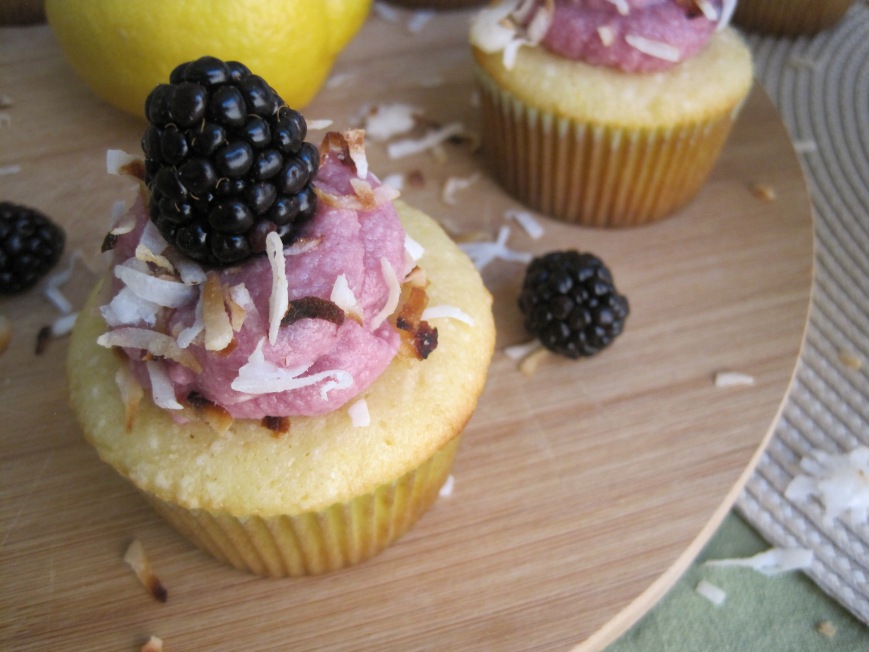
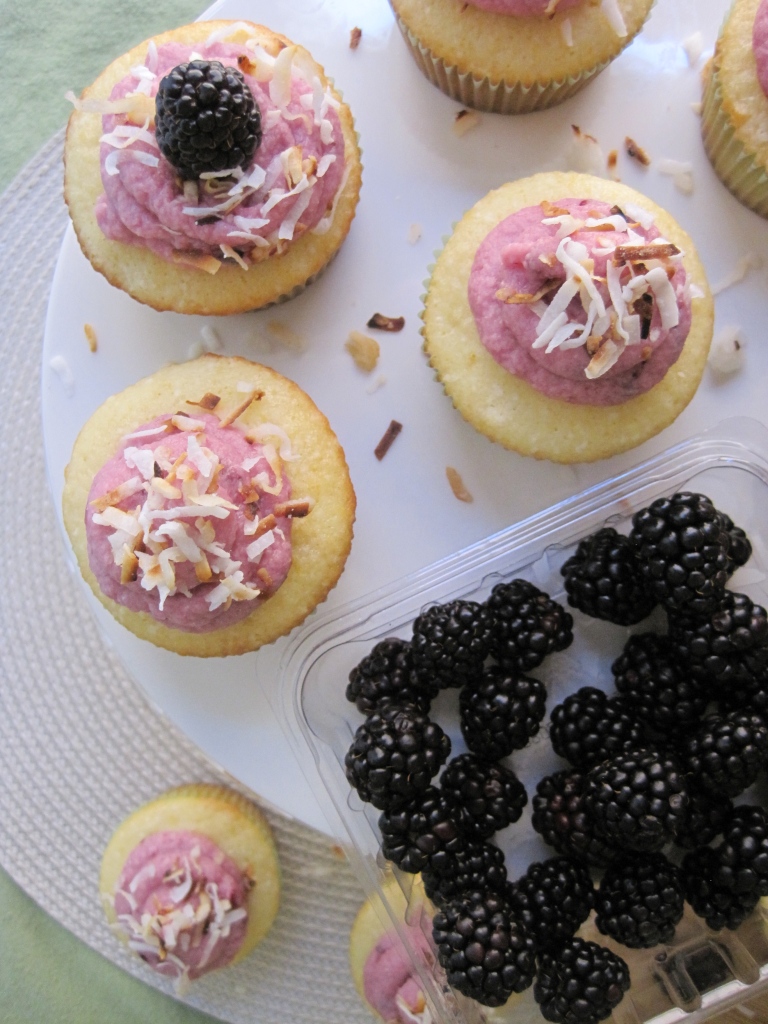
spring lemon blackberry cupcakes

so i’ve been inspired to bake more lately. i don’t like the clean up aftermath that comes with it, though. but, it’s worth it because i get to share my recipes with you :)

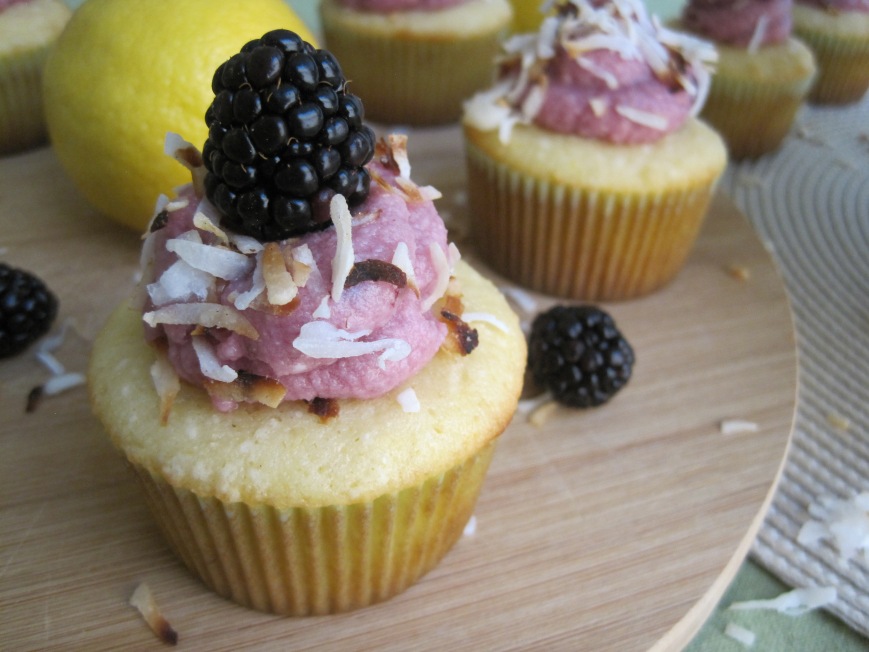
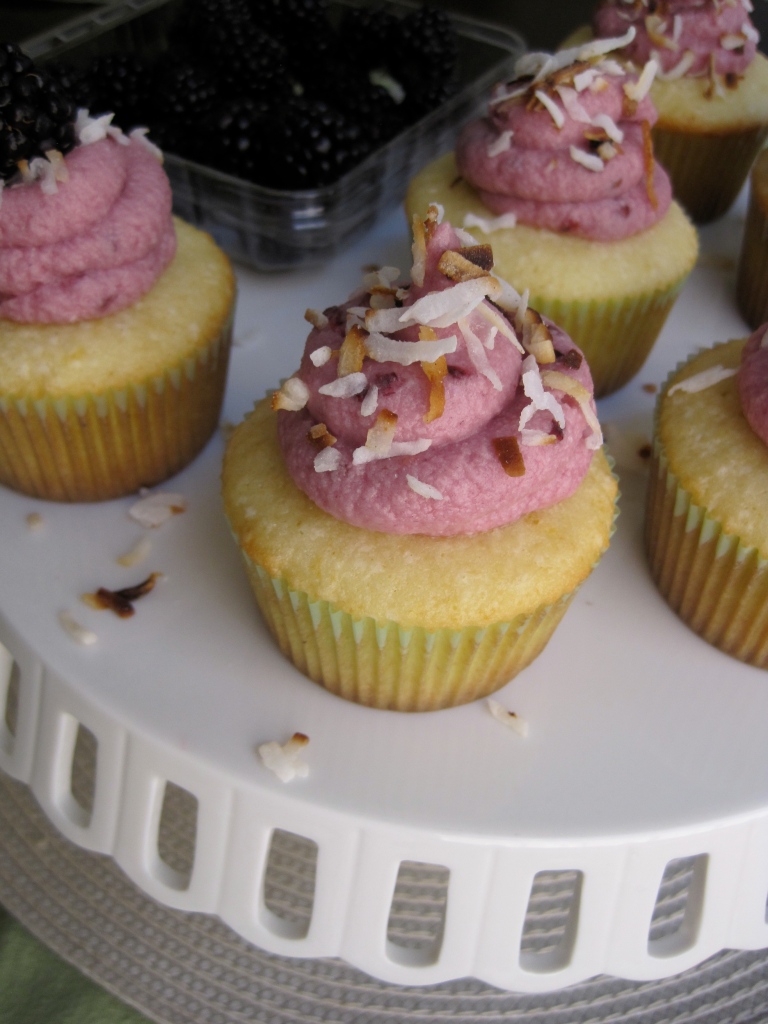
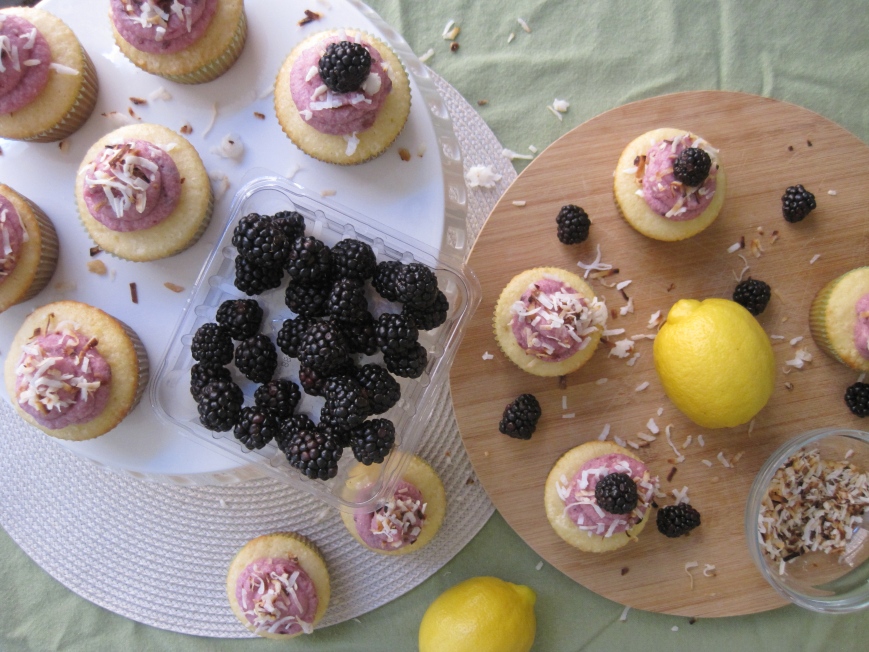
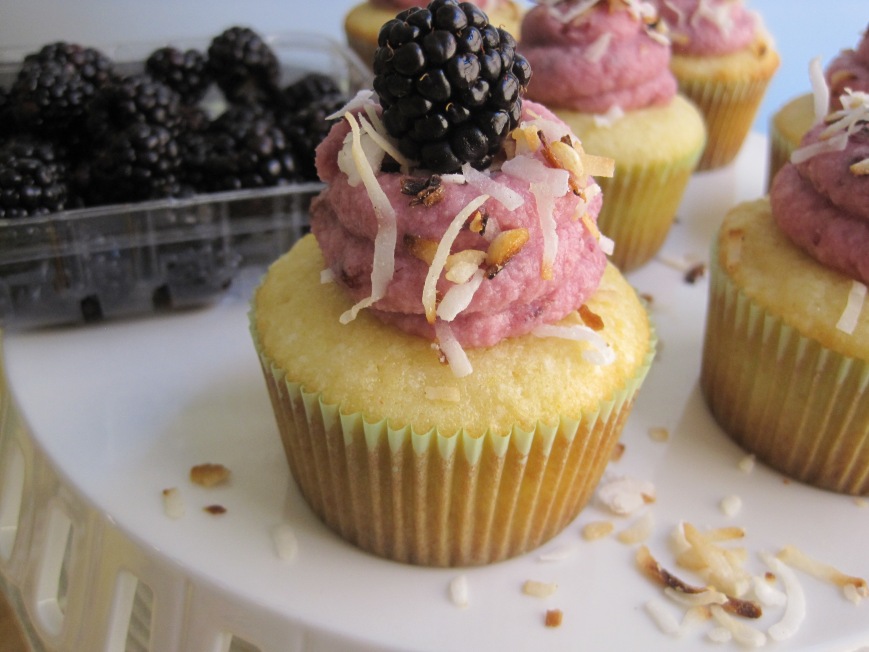
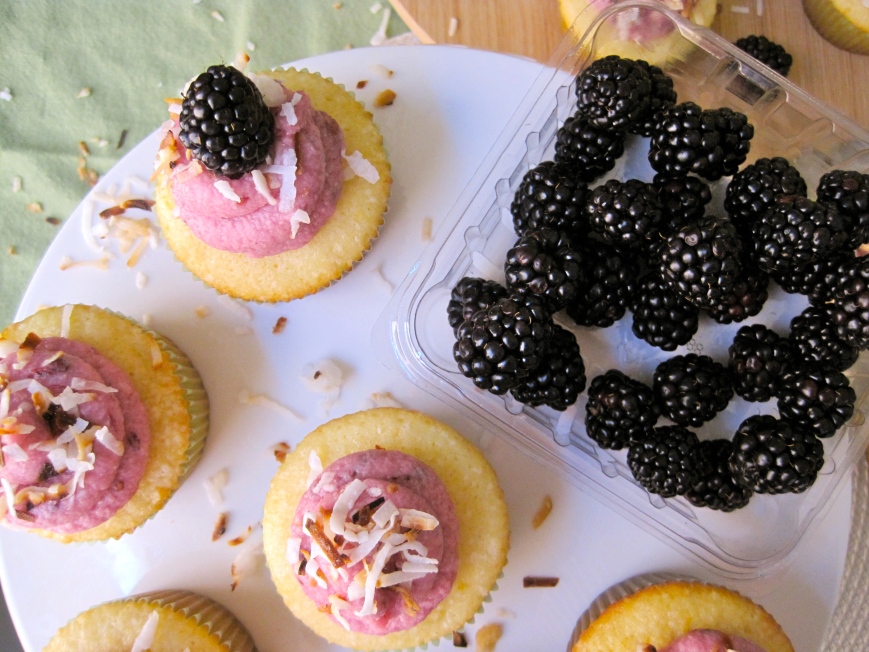
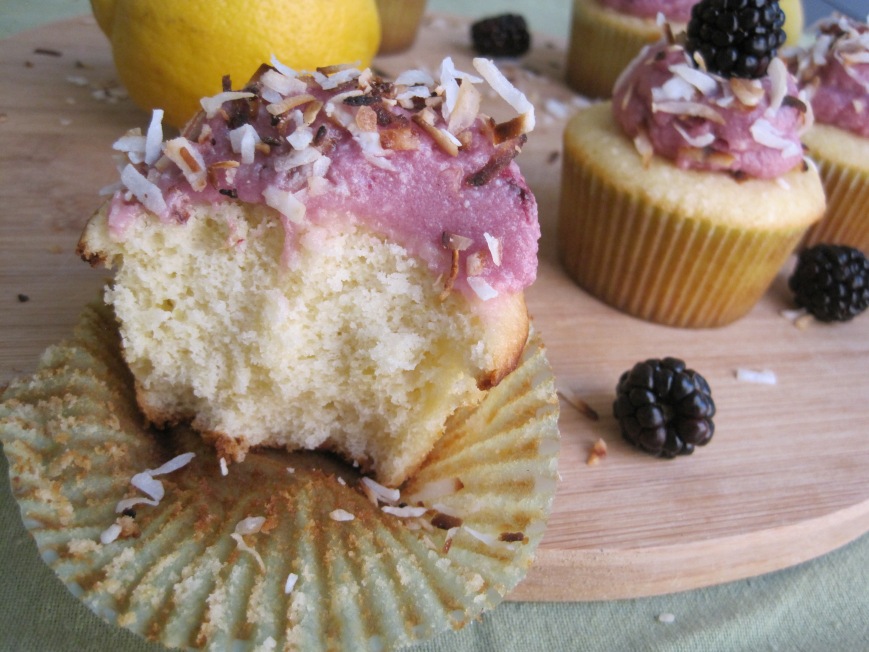
i made these cupcakes because they are fragrant, light and fresh {lemon is such a great spring flavor!}, paired with blackberry cream cheese frosting, which is just the perfect weekend or week-day dessert for spring and even summer. and to top it off, i used toasted coconut. you can certainly use regular coconut, lemon zest or any other topping of your preference. amazing spring flavors for sure :)

they are also perfect for a rainy day or any kids or adults party you have marked in your calendar.

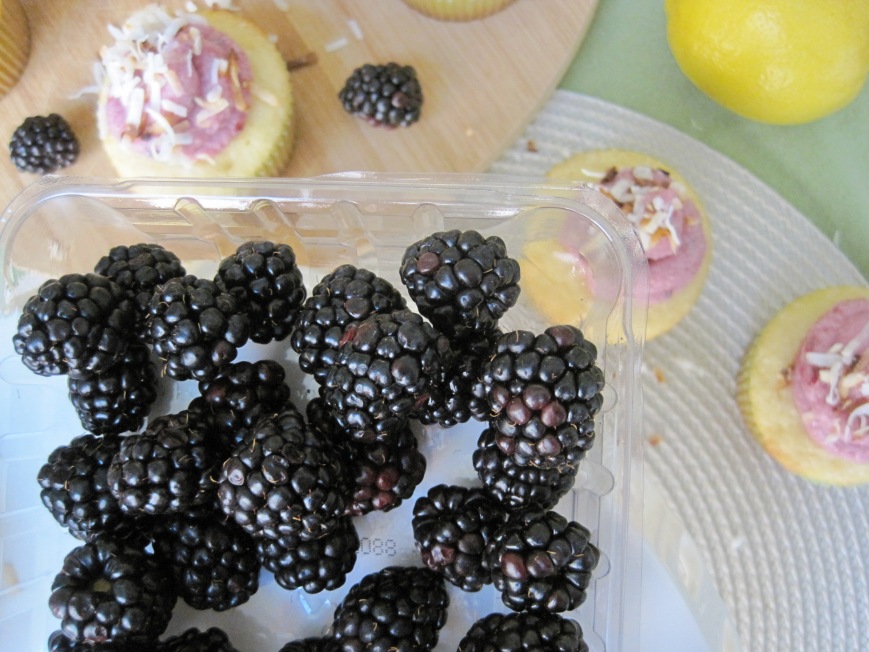
try these fluffy lemon cupcakes with a tangy blackberry cream cheese frosting, made with real blackberries. 40 to be exact! let me know when you make them and make sure to share pictures with me on facebook, instagram or twitter.

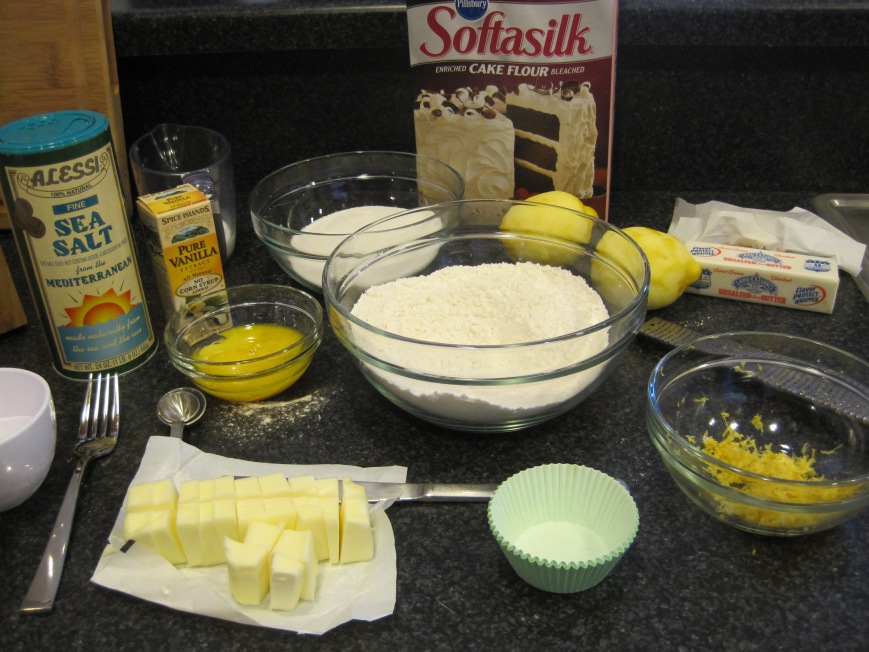
set all ingredients out so they are right there when you need them.

IMG_8399

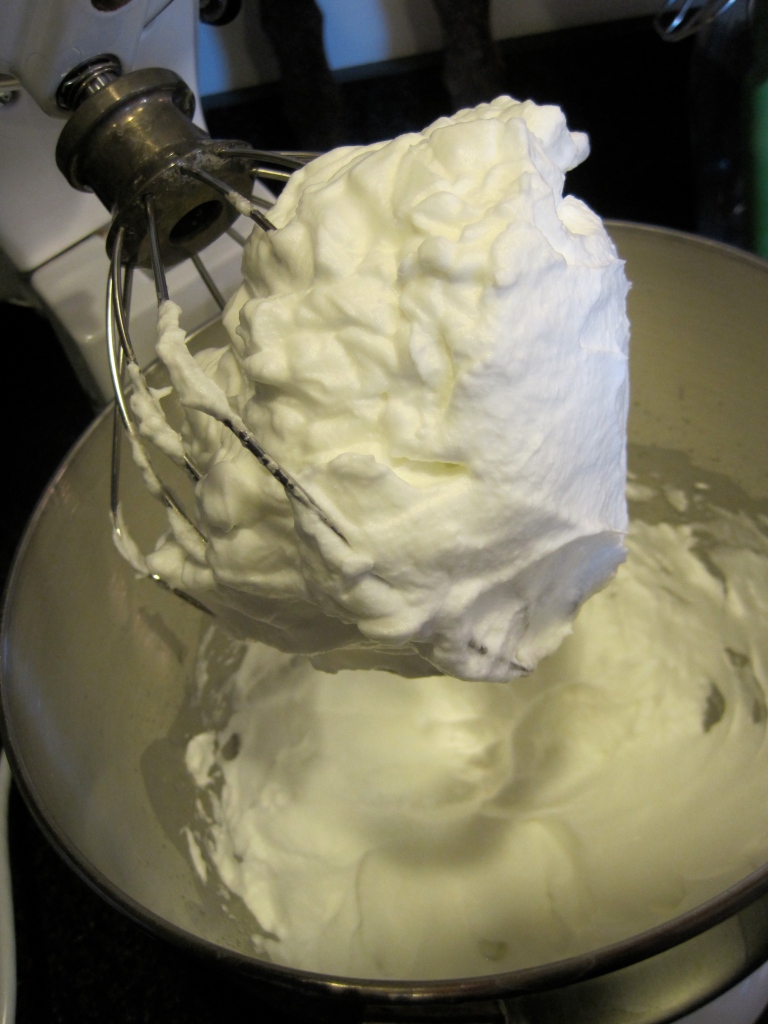
beat egg whites until soft peaks form.

IMG_8403

cream butter and sugar together.

IMG_8408

scrape the bowl so the ingredients are well incorporated.

IMG_8410

add egg yolks one at a time.

IMG_8412

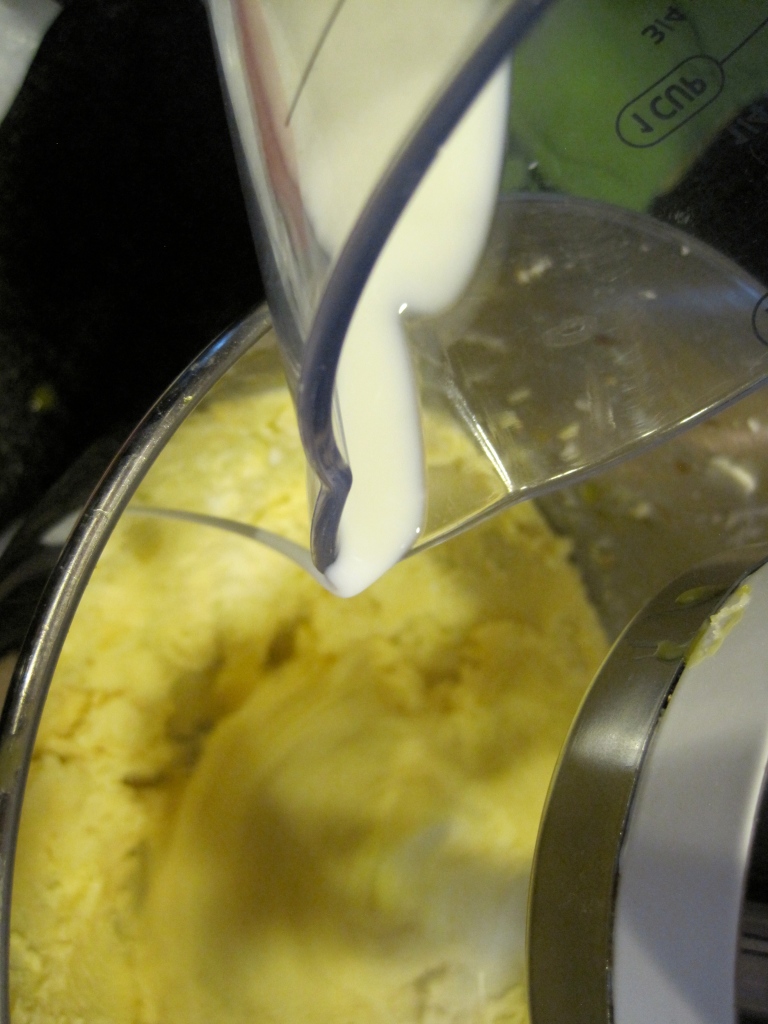
vanilla and milk are next!

IMG_8413

IMG_8415

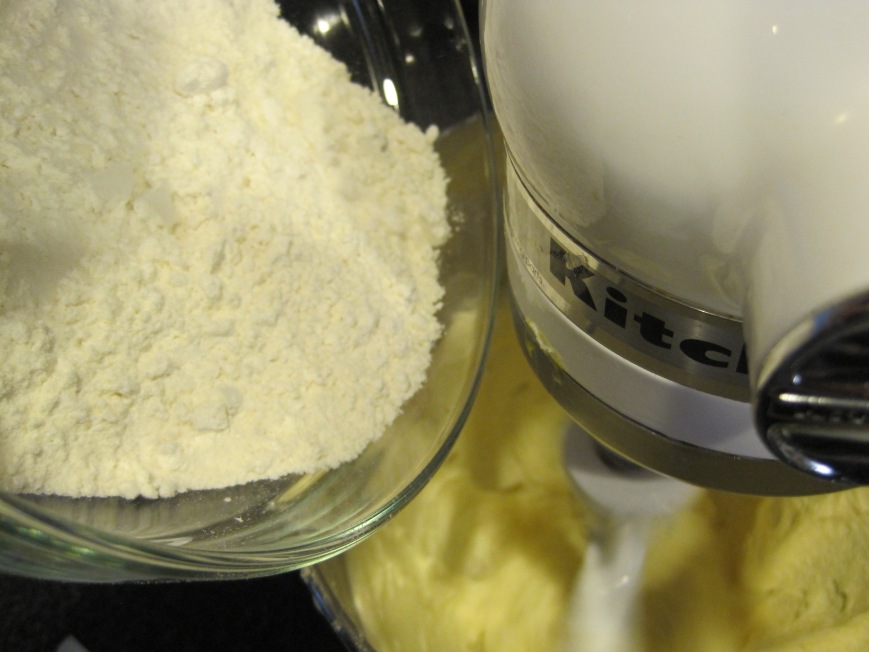
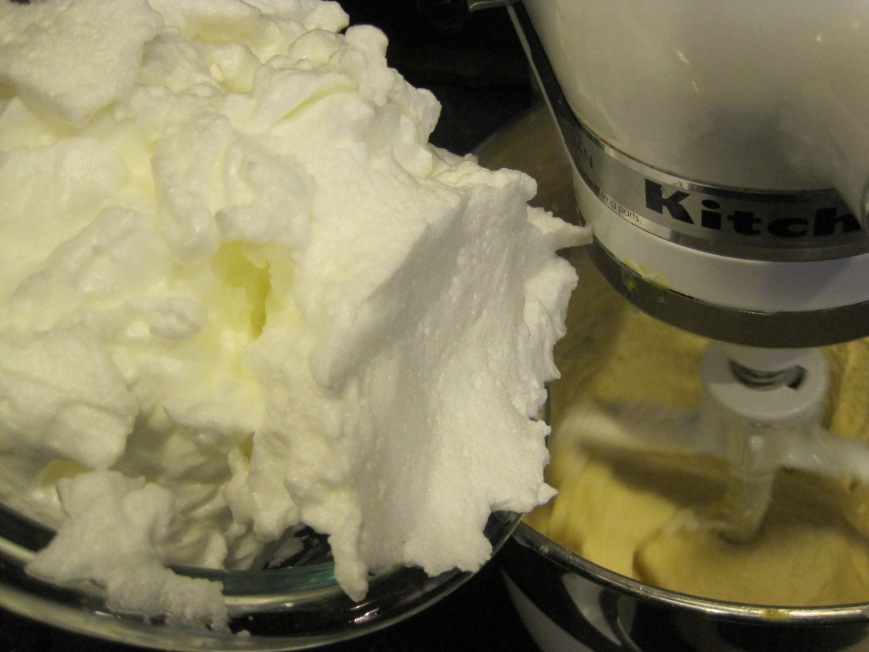
alternate flour and egg whites.

IMG_8416

IMG_8417

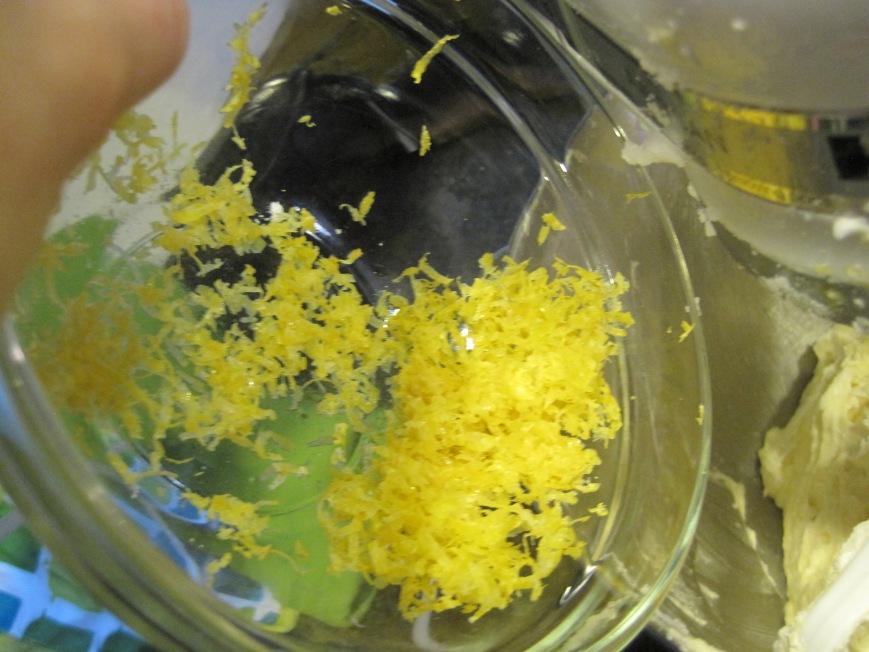
finish with lemon zest and juice.

IMG_8419

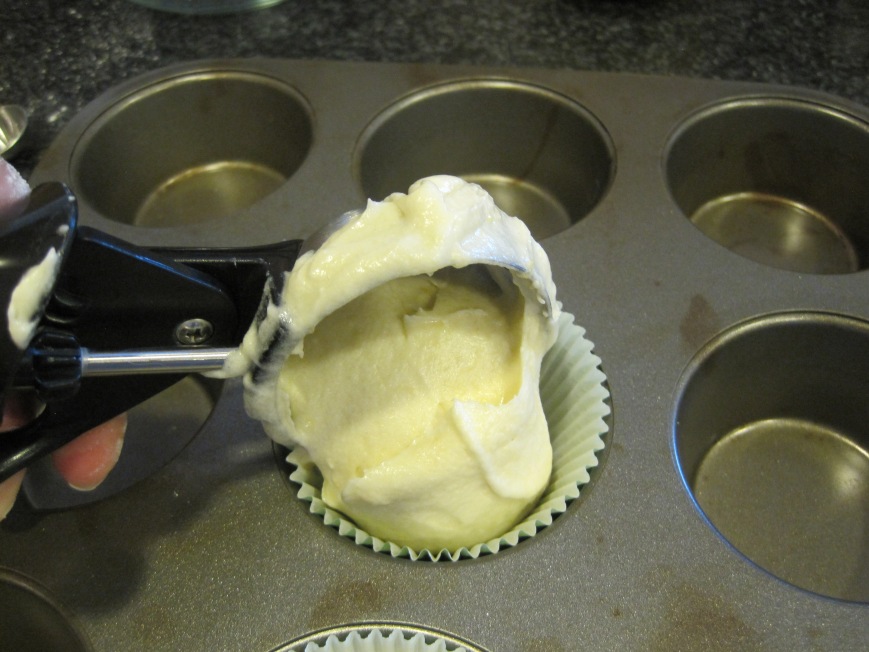
scoop batter in individual cups.

IMG_8422

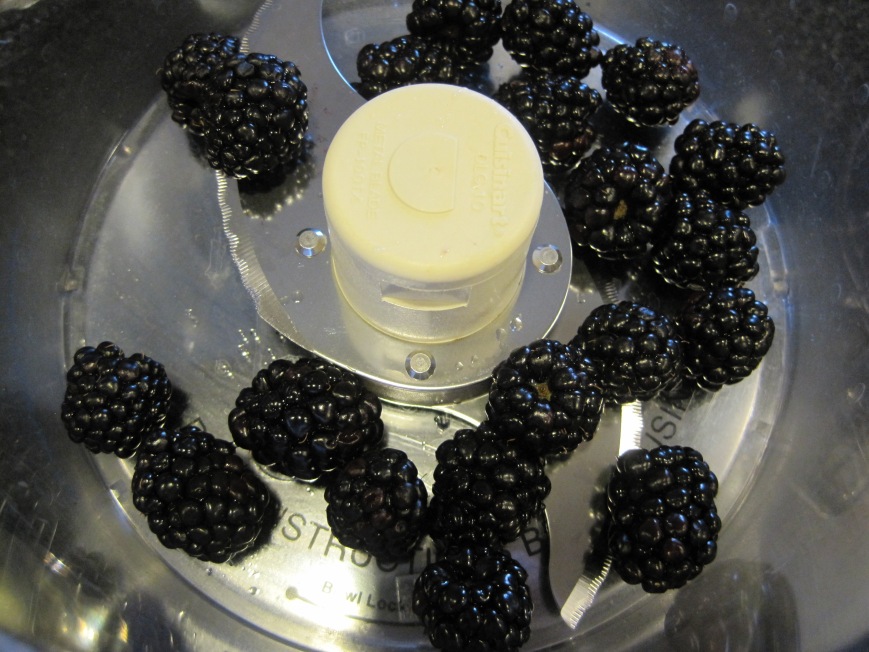
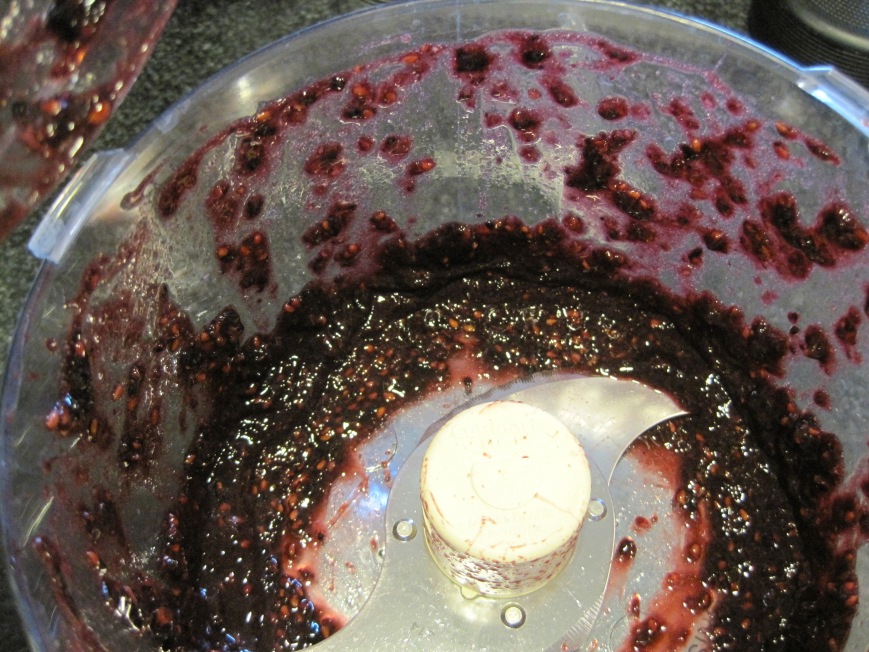
now onto the blackberry frosting. puree 20 blackberries in a food processor or blender.

IMG_8425

IMG_8427

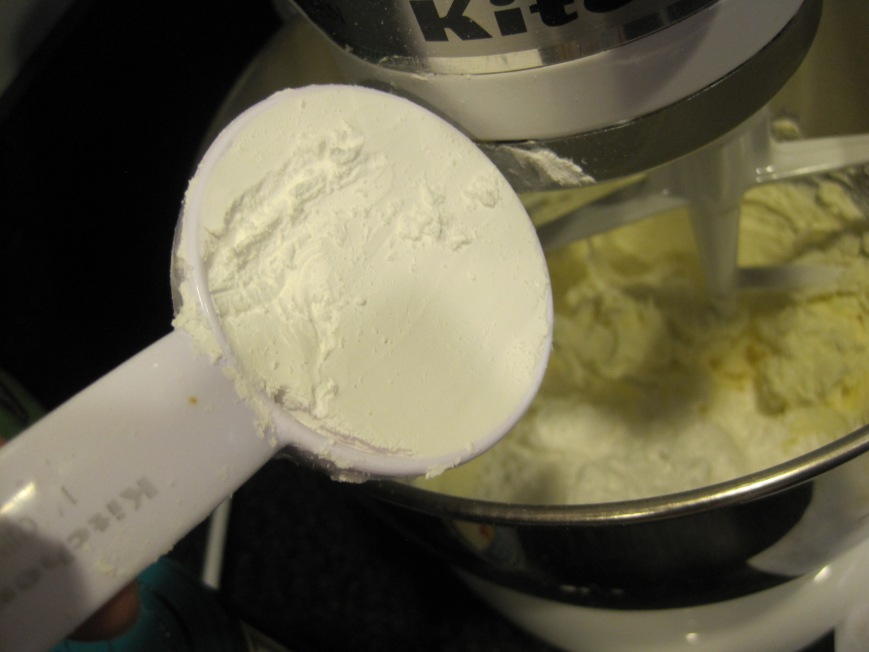
add powder sugar to butter/cream cheese mixture.

IMG_8430

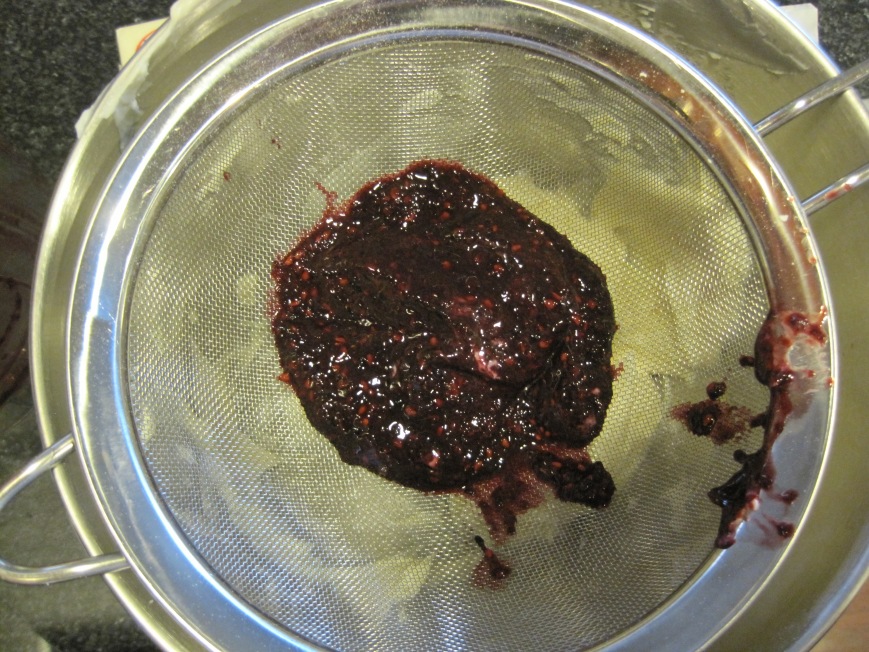
strain blackberry puree onto the frosting.

IMG_8433

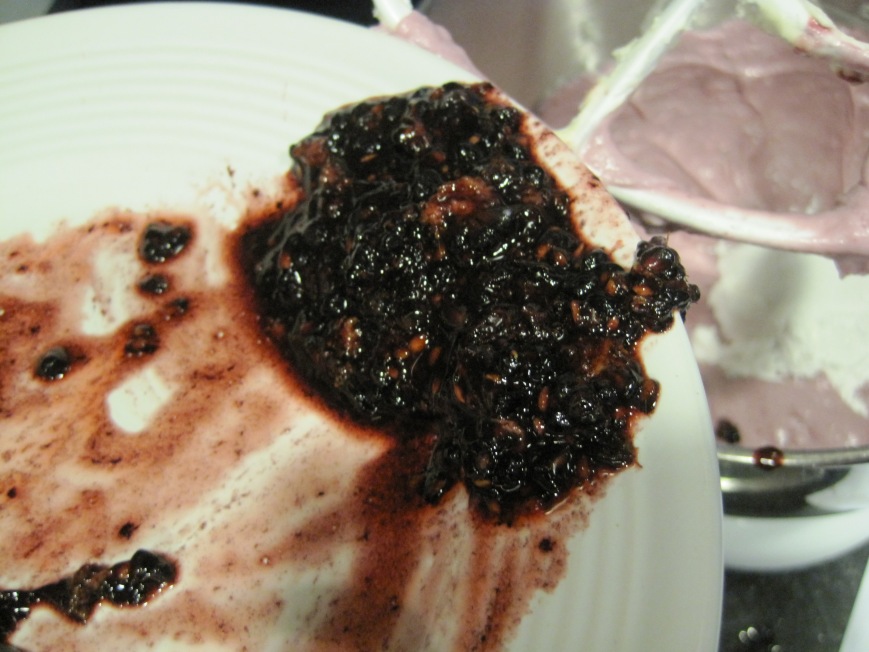
and add the other 20 mashed blackberries.

IMG_8437

and here’s how they look like once all finished!

IMG_8480

IMG_8445

IMG_8455

IMG_8461

IMG_8467

IMG_8468

IMG_8476

IMG_8481

IMG_8477

IMG_8484

IMG_8485

IMG_8487

IMG_8494

spring lemon cupcakes with blackberry cream cheese frosting

lemon cupcakes:
4 large eggs, room temperature {sitting on the counter for 30-50 minutes approx.}
1 1/4 sticks unsalted butter, room temperature {cold to the touch and not melted; sitting on the counter for 30-50 minutes approx.}
1 1/2 cups sugar
2 tsps vanilla extract
1/2 cup whole milk, room temperature {sitting on the counter for 30-50 minutes approx.}
1 1/2 cups cake flour, sifted
1 tsp baking powder
1/2 tsp sea salt
zest of two lemons
juice of one lemon

yields 15 to 17 cupcakes.

blackberry cream cheese frosting:
1 1/2 sticks unsalted butter, room temperature {cold to the touch and not melted; sitting on the counter for 30-50 minutes approx.}
12 oz cream cheese, room temperature, sliced in chunks {cold to the touch and not melted; sitting on the counter for 30-50 minutes approx.}
4 cups powder sugar, more if needed
1 tsp vanilla extract
1/2 tsp sea salt, or more
40 blackberries, divided
4 tbsps toasted coconut, for garnish

lemon cupcakes directions:

  1. preheat oven to 325F.
  2. line 2 cupcake pans with paper liners. between 15 and 17.
  3. in a large bowl, sift flour and baking powder. add sea salt and mix well.
  4. separate egg whites from yolks. beat egg whites in the bowl of a stand mixer fitted with the whisk attachment over high speed for 1 1/2 minutes or until soft peaks form. you can use a hand mixer as well {beat for about 3 minutes}.
  5. once egg whites are done beating add to a bowl and set aside.
  6. in the same bowl of a stand mixer, cream butter over medium high speed for 1 minute with the paddle attachment. add sugar and mix until fluffy and creamy, about 3 minutes. scrape the sides and bottom of the bowl with a rubber spatula and beat for 30 seconds on high.
  7. reduce speed to medium low and add egg yolks one at a time mixing well after each. mix in vanilla.
  8. scrape the sides and bottom of the bowl with a rubber spatula to make sure all ingredients are well incorporated. beat on high for 30 seconds.
  9. set speed to the lowest setting and add 1/3 of the egg whites alternating with 1/3 of flour mixture and 1/3 of milk. repeat until you use all ingredients. make sure to finish with egg whites or milk.
  10.  add lemon juice and zest. mix on low speed until combined, about 30 seconds. do not over mix.
  11.  bake for 18 minutes, rotating cupcake pans half way through.
  12.  place cupcake pan on a cooling rack and let cupcakes cool for 3 minutes.
  13.  take cupcakes out of the pan and cool completely before frosting, about 30 minutes.
  14.  store frosted {or unfrosted} cupcakes in an airtight container immediately to avoid dryness. they are good for up to 3 days at room temperature.

blackberry cream cheese frosting directions:

  1. wash and dry blackberries thoroughly.
  2. in a food processor or blender, puree 20 blackberries. set aside.
  3. with a fork, mash the other 20 blackberries. set aside.
  4. cream butter over medium speed with the whisk attachment of a stand mixer for 1 minute or until fluffy.
  5. add cream cheese and mix until incorporated.
  6. add salt and vanilla.
  7. strain blackberry puree over the frosting bowl to avoid the seeds going in.
  8. add mashed blackberries to the bowl. don’t use a strainer for this, you are going to want all of it.
  9. set speed to low and add powder sugar, little at a time, and mix well.
  10.  if the frosting is too runny, refrigerate for 30 minutes. if it’s still too runny, add 1/4 cup to 1/2 cup powder sugar more. you may want to add an additional dash of salt to balance out the sweetness.
  11. frost with desired tip. i used wilton 1A.
  12.  you can certainly make this frosting with a hand mixer.

IMG_8503

succulent mandocas

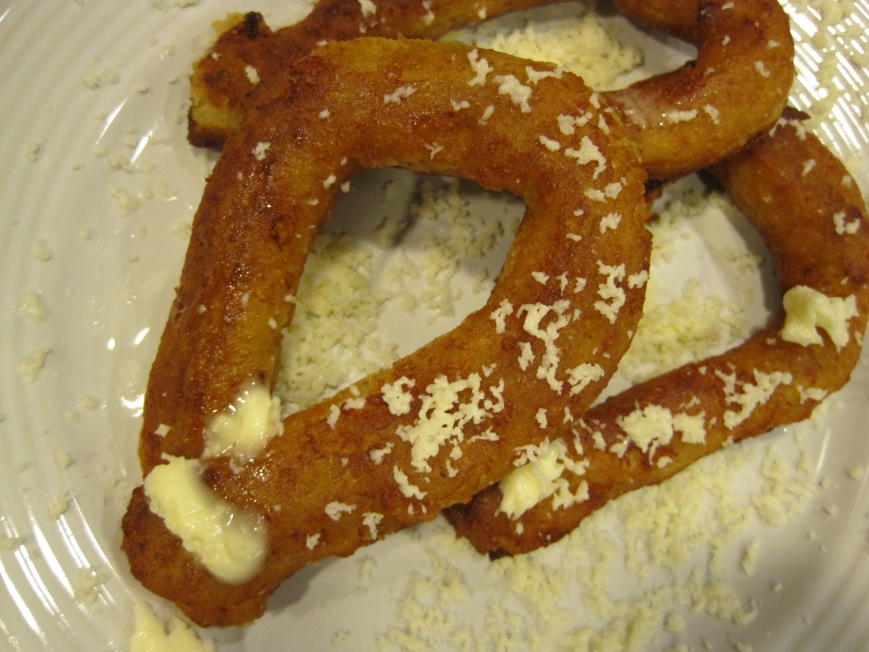
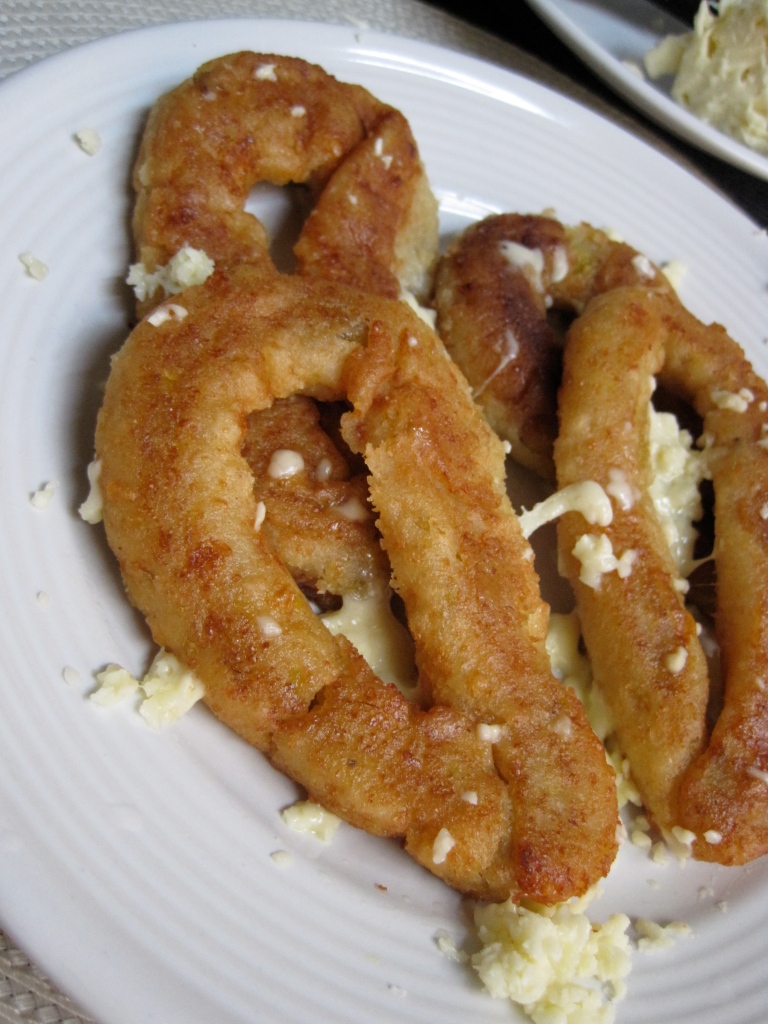
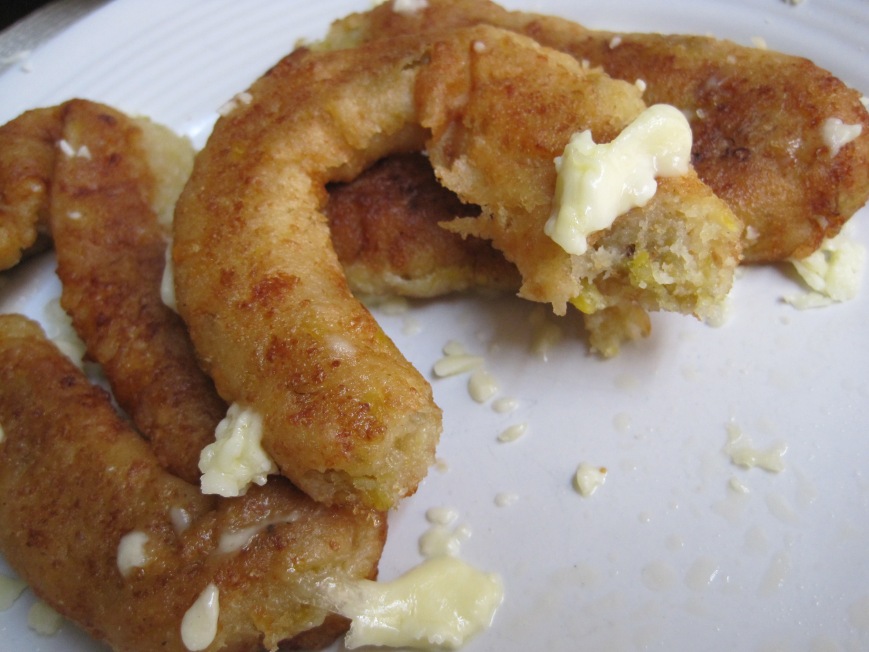
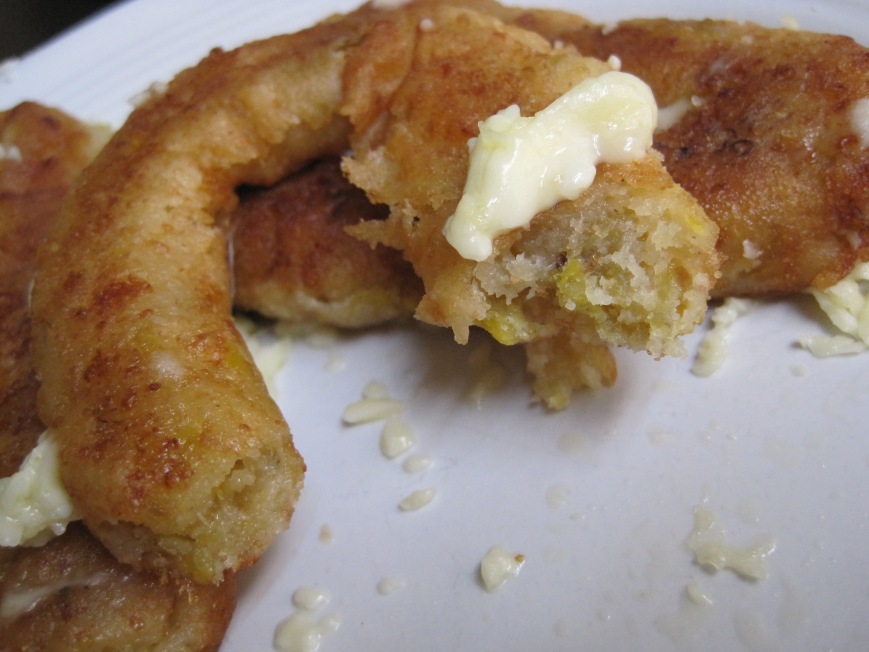
i know you are wondering what mandocas are. mando what?!? weird name, succulent snack.

mandocas are originally and typical of maracaibo, venezuela. they are consumed at anytime as a snack, breakfast, dinner and even lunch. like pancakes, i can eat mandocas all day long. give me some butter and cheese, and oh sweet mother of food, i can just eat 20 in a row.

one of the main ingredients to make the mandocas is harina pan, venezuelan cornmeal. easy to find in local hispanic supermarkets or order from amazon. either works. i know there are other cornmeal brands out there but to be honest, i’m loyal to my country’s :) besides, i grew up on harina pan and don’t know any other way to make mandocas with!

so. what are mandocas, you wonder? they are fried cornmeal drop-shaped pure deliciousness part of maracaibo’s culinary scene. the ingredients are simple and somewhat easy to find: ripe plantain, queso blanco {queso fresco or queso cotija} and panela or as known in mexico, piloncillo. in plain english: unrefined whole cane sugar in block form. trust me if i can make them, you can, too. and i live in the midwest. {you can buy panela online at amazon, if you want}.

if you like flavor combinations that explode in your mouth, then mandocas are for you. they have the perfect balance of sweet and salty for sure.

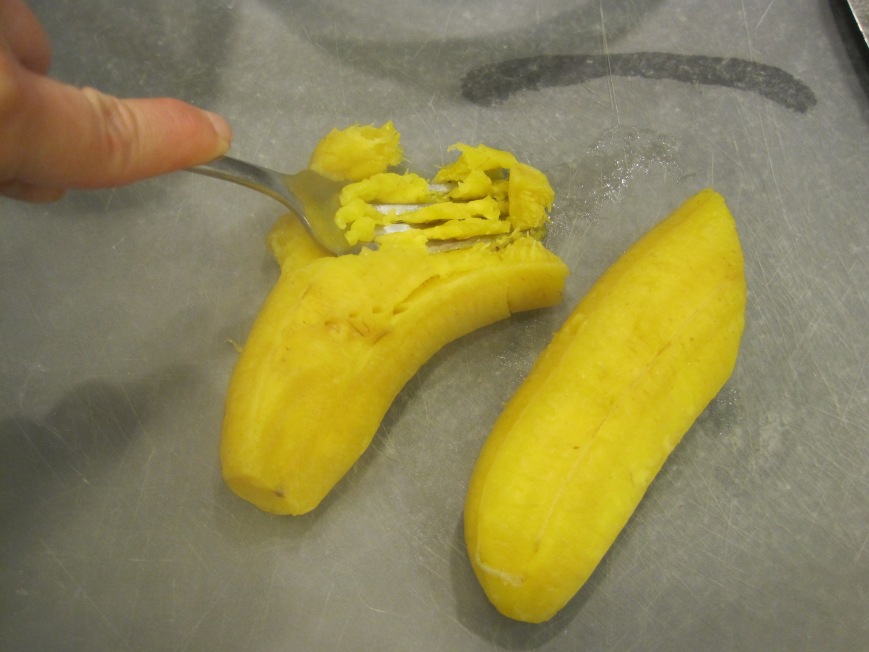
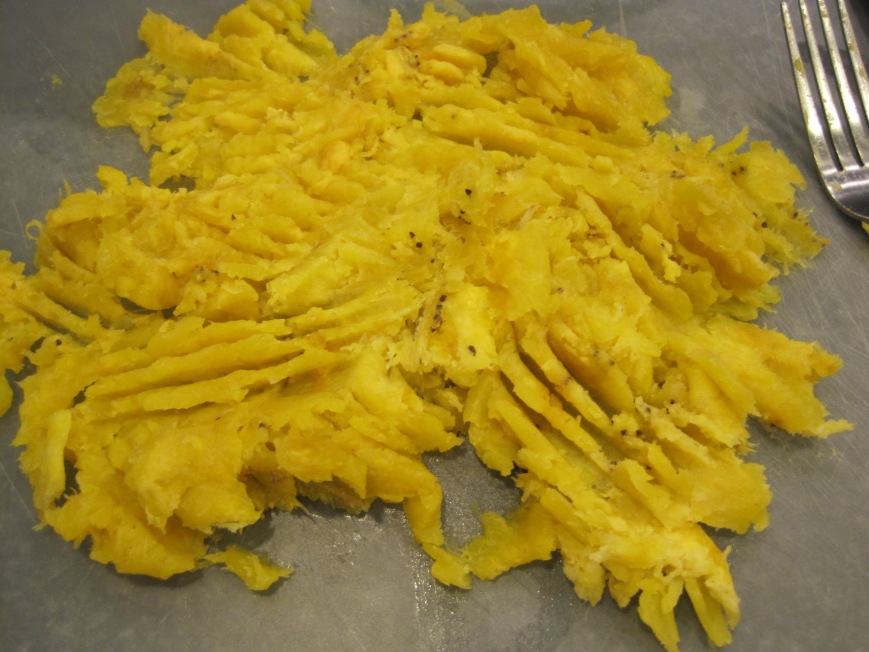
boil and mash ripe plantain.

IMG_7589

IMG_7594

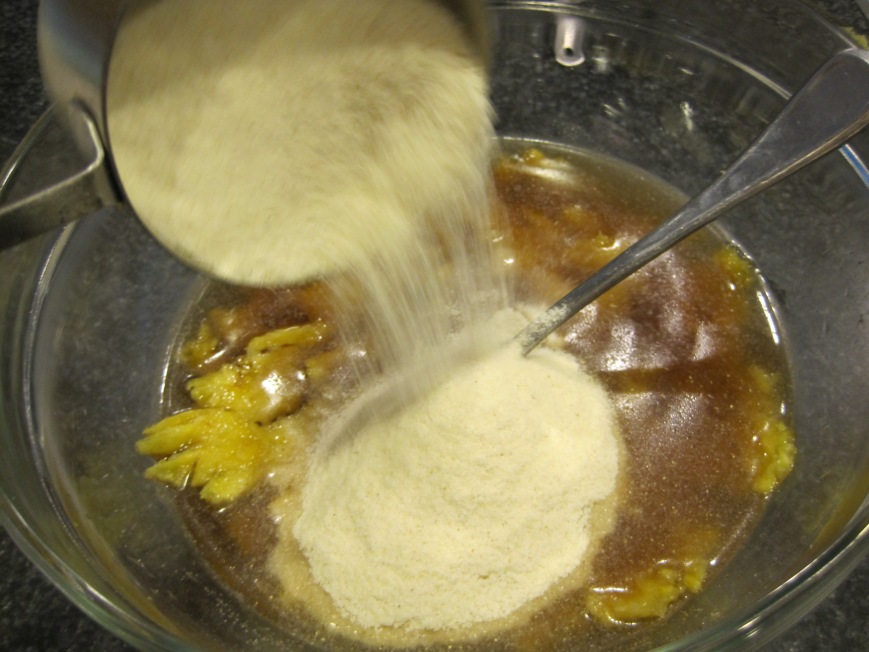
add harina pan to panela/water mixture and plantain.

IMG_7597

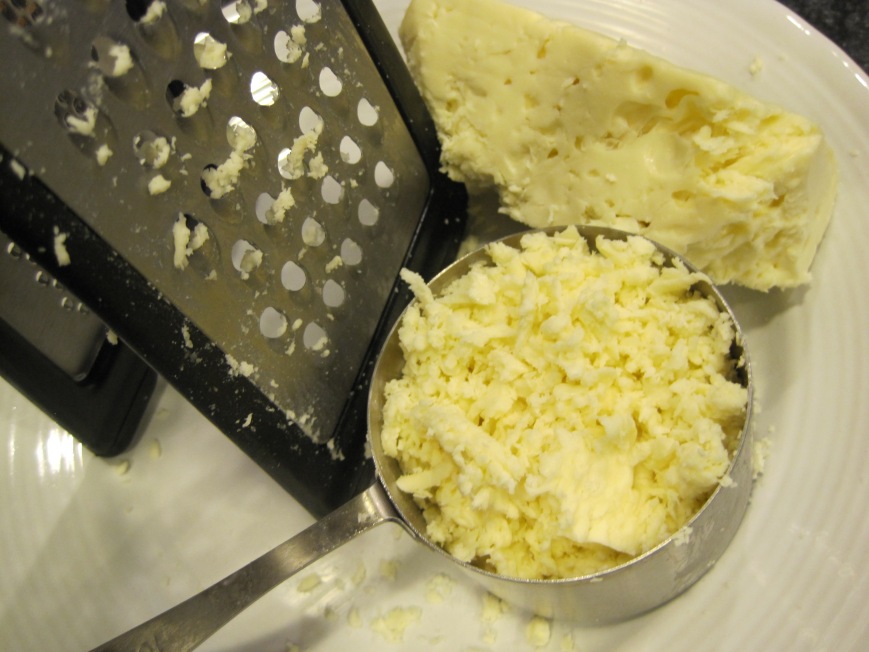
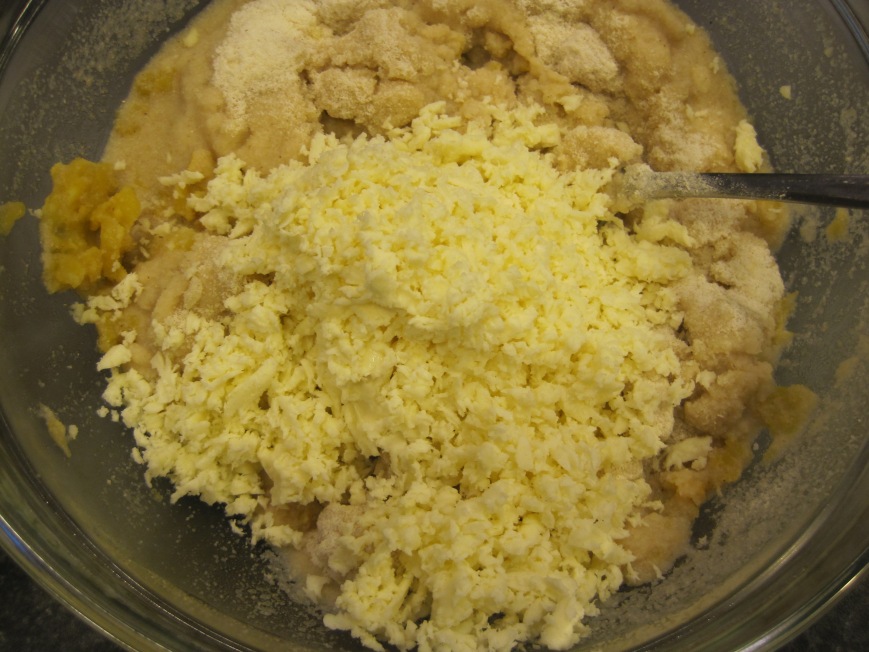
shredded cheese going in.

IMG_7601

IMG_7604

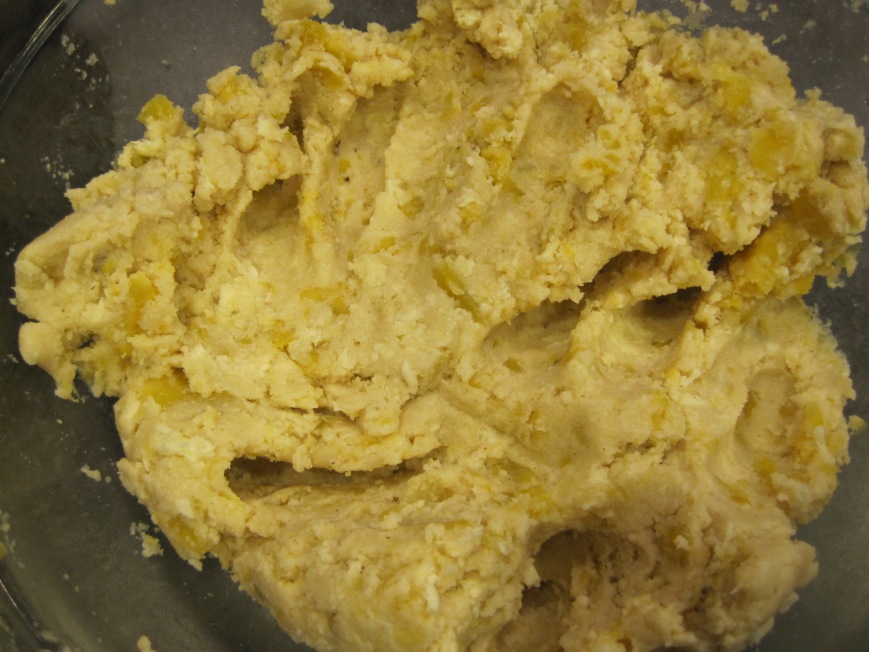
combine all ingredients with your hands.

IMG_7605

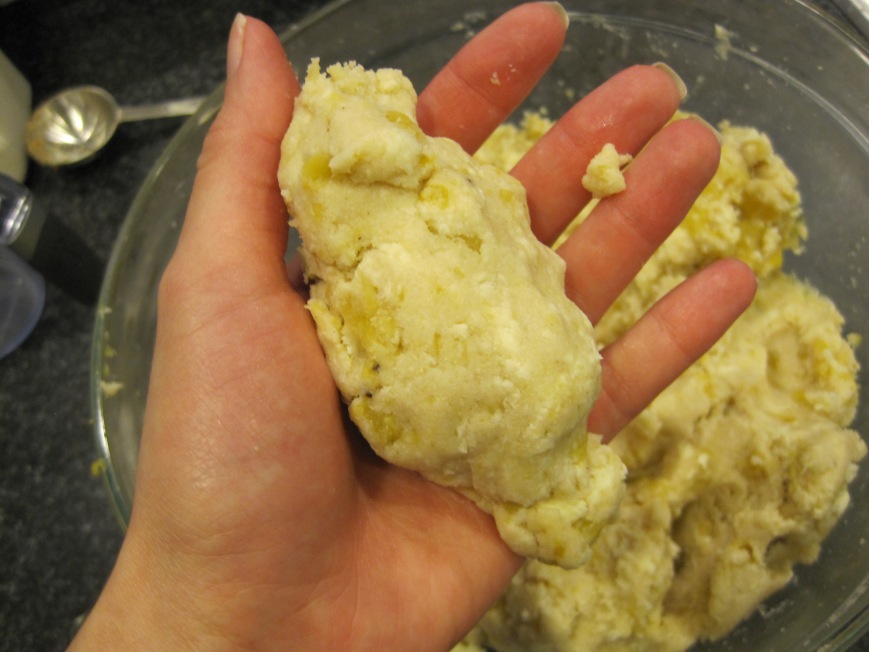
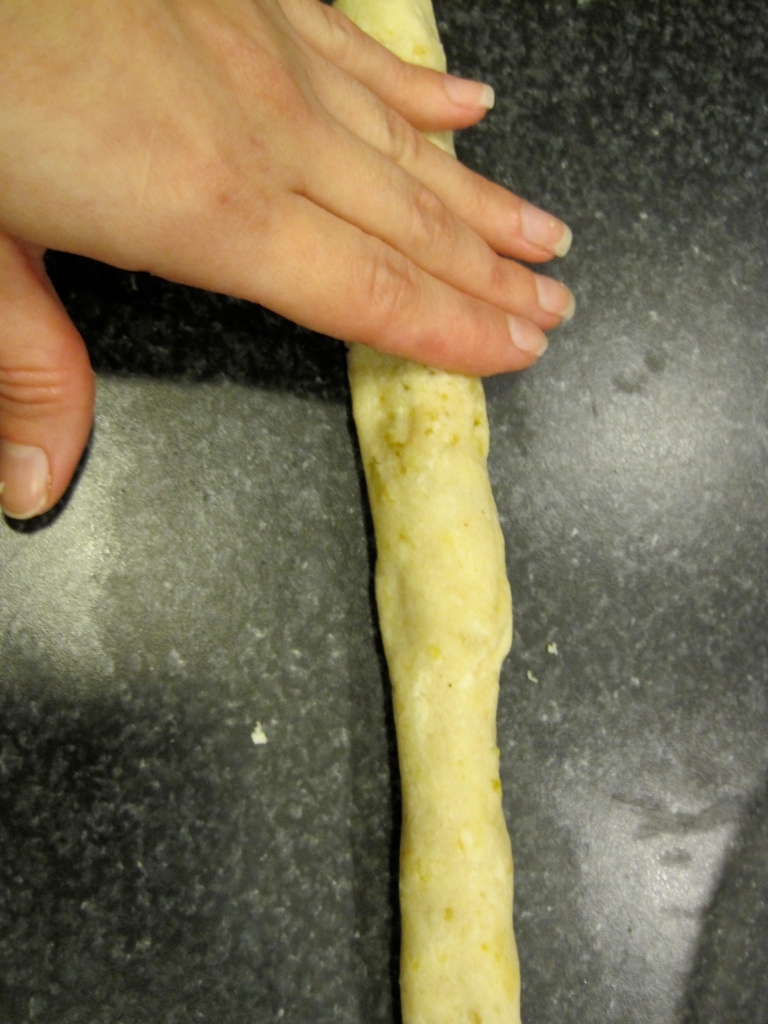
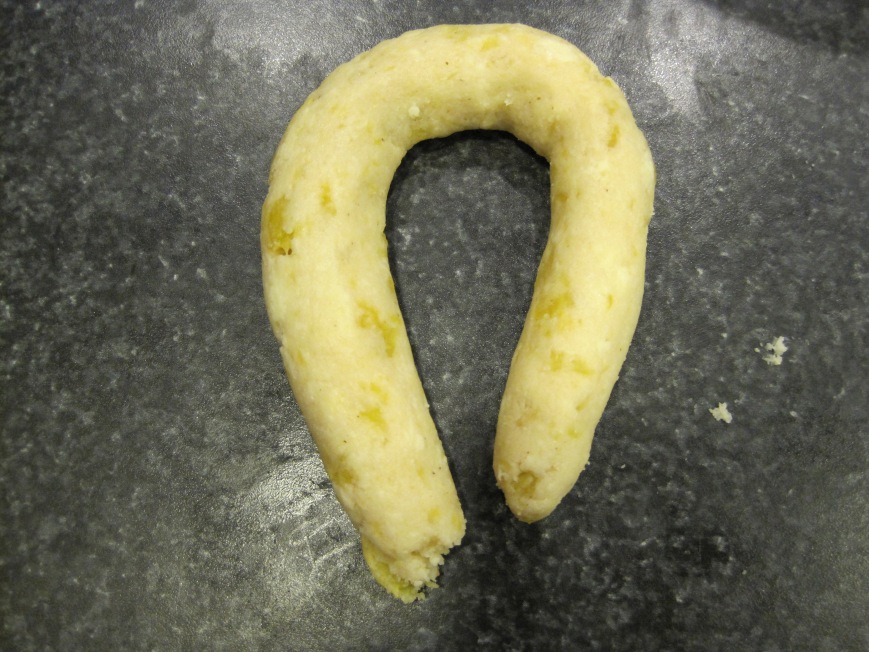
grab the quantity desired and form a cylinder with your hands.

IMG_7607

IMG_7609

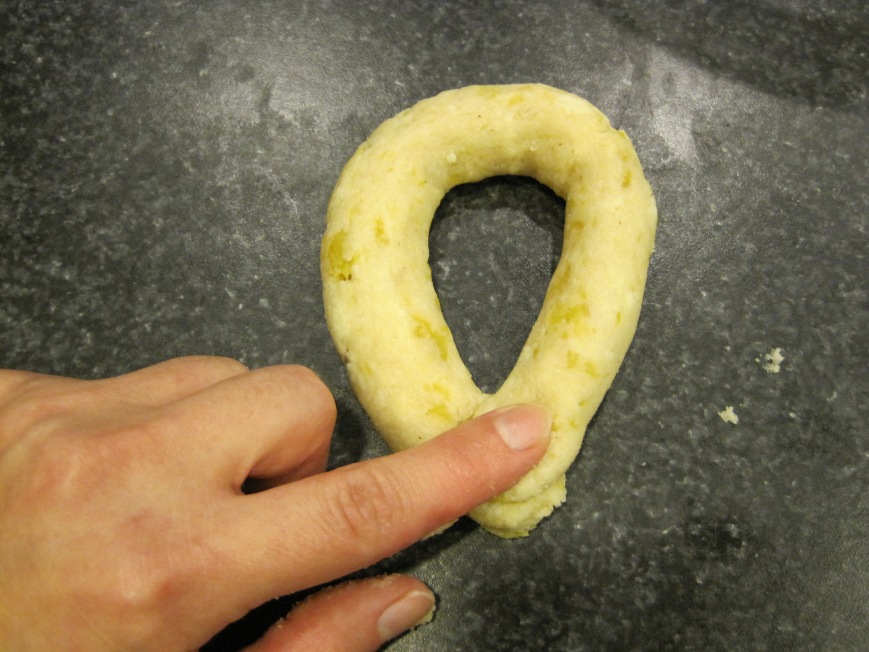
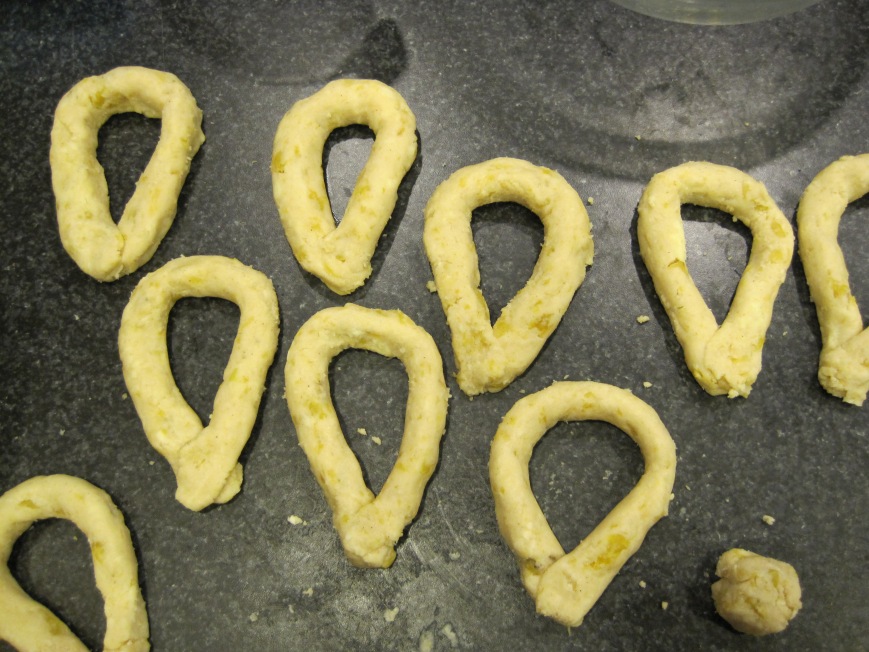
make a drop shape by pressing both ends together gently.

IMG_7616

IMG_7617

IMG_7623

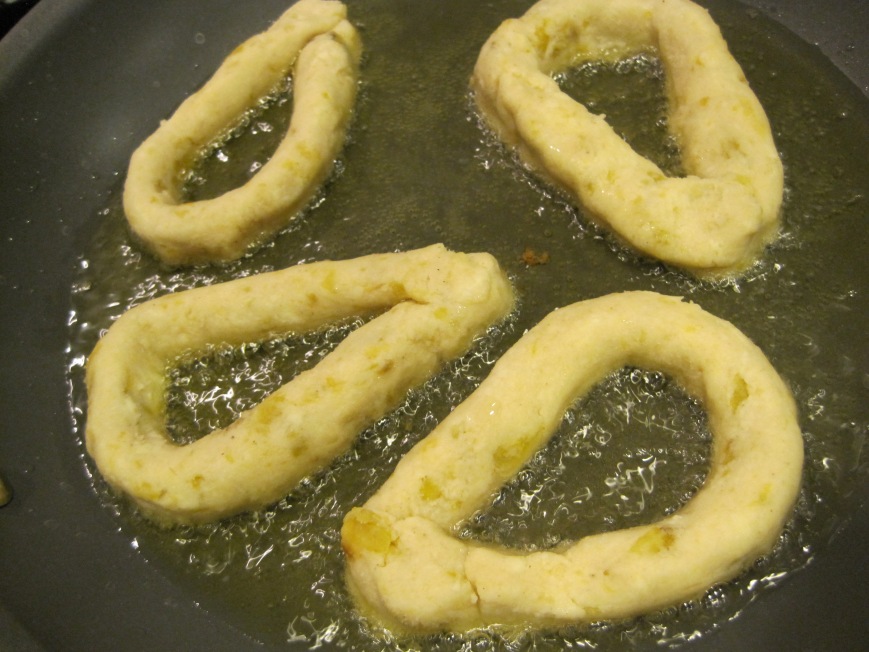
fry until golden brown.

IMG_7631

IMG_7632

serve hot with butter and cheese.

IMG_7635

IMG_7642

IMG_7643

IMG_7791

IMG_7806

succulent mandocas

ingredients:
1 cup harina pan
1 1/4 cups hot water
1 tsp sea salt
1/2 papelon block
1 ripe plantain
1 cup shredded queso blanco (semiduro) 
or queso cotija or queso fresco (mexican cheeses)
canola, vegetable or peanut oil for frying
cheese and margarine for serving

yields 10 to 12 large mandocas

directions:

  1. in a pot with boiling water over medium high heat, cook plantain until soft. about 12-15 minutes.
  2. in a large glass bowl, add hot water and papelon. dissolve papelon in water with a fork. if it’s not completely dissolved, pop in the microwave for a few seconds to help melt the papelon.
  3. once dissolved, season with sea salt and mix well.
  4. mash plantain with a fork once soft and add to papelon mixture and mix until incorporated.
  5. add harina pan to bowl followed by cheese. mix well with hands until incorporated. don’t over mix.
  6. if dough it’s too hard and not manageable add a little bit of water to loosing it up.
  7. grab a handful of dough and form a ball. then with your hands shape ball into a cylinder. put cylinder on counter top and roll back and forth with your hands until it has a medium size – not too thick – not too thin. bend one side of the cylinder followed by the other one. press both ends against each other gently. the ends are supposed to meet and hold together.
  8. fry over medium high heat until golden brown.
  9. serve hot with butter/margarine and more cheese! eat immediately since they are not the type of food you can refrigerate and heat the next day.

IMG_7807

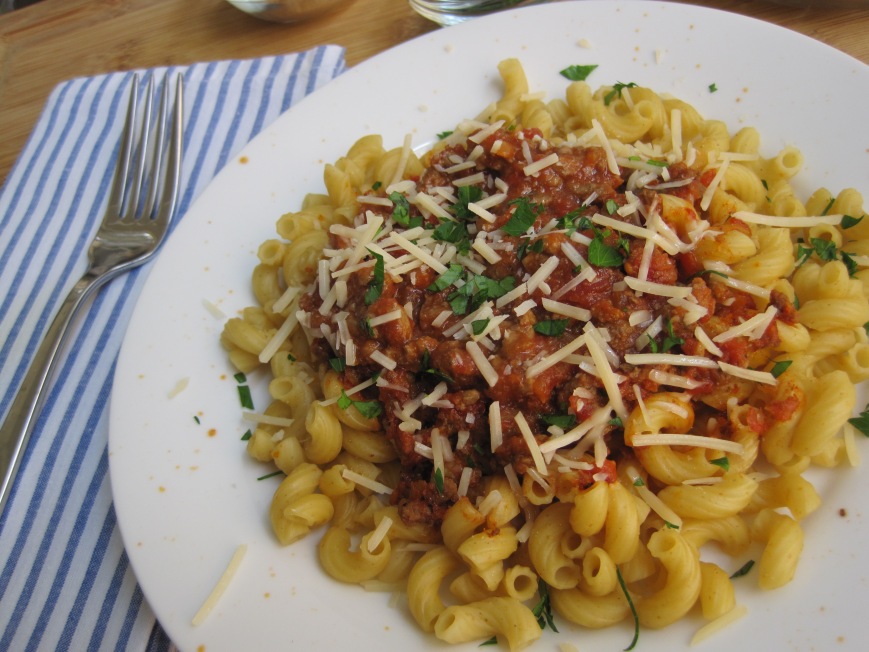
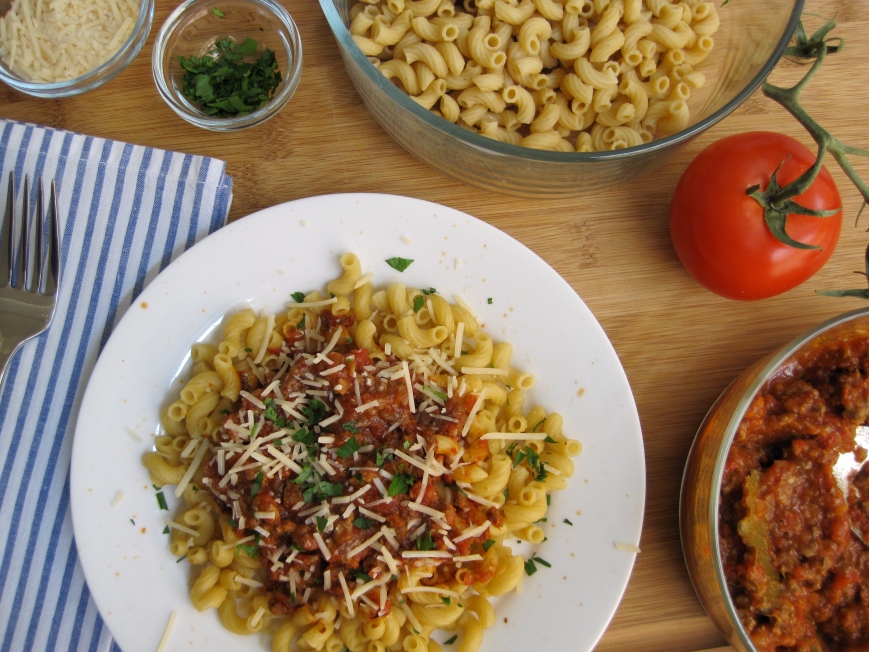
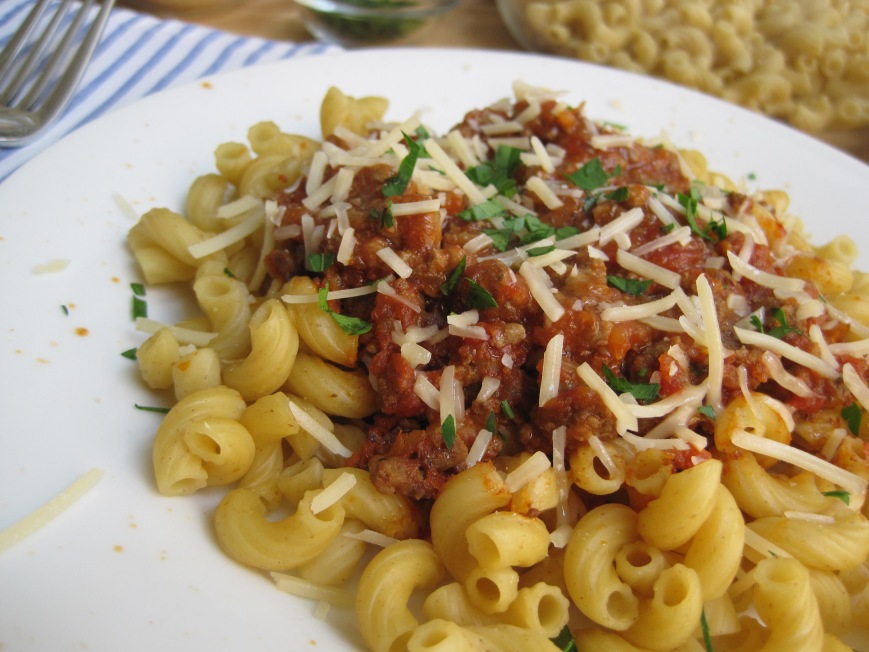
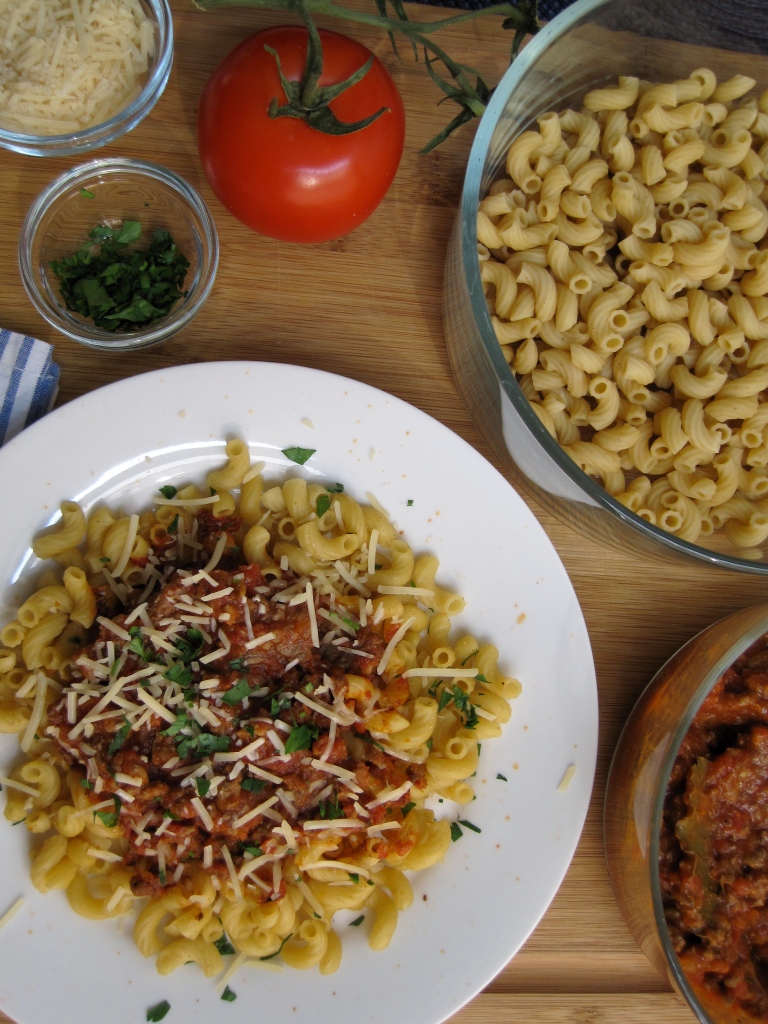
quick beef tomato sauce

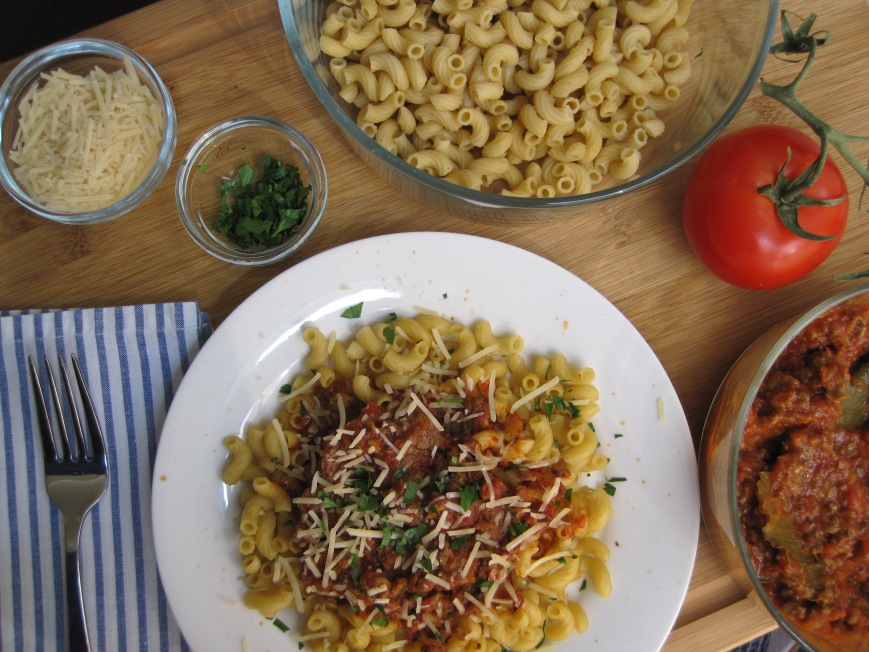
growing up, one of my favorite meals was pasta with ground beef, tomato sauce and parmesan cheese. tons of the latter, of course. cheese, cheese, cheese with everything :)

now, bolognese sauce or “ragu alla bolognese” originally from Bologna, Italy, is a different type of sauce and commonly served with flat, long pasta such as pappardelle or fettuccine. this is also delicious but it’s very different from the one in this post. the bolognese recipe calls for celery, carrots, milk, wine, onions, pancetta or bacon, sometimes ground pork, ground veal, and tomato paste. no tomatoes at all.

my quick beef tomato sauce has tons of tomatoes, garlic, onions, basil, bay leaves, and so on.

i always make this sauce during the week for dinner and eat it throughout the week for lunch. this is a kid’s friendly meal and adults, of course, and i assure you they will devour it. the sauce tastes better the next day, so feel free to make it in advance.

when making lasagna i whip up this quick sauce and add it in as the “beef” since this sauce will account for the tomato sauce as well. two in one, nice, right?

oh, and the sauce can be stored in the freezer for up to one month. defrost, and dinner is ready.

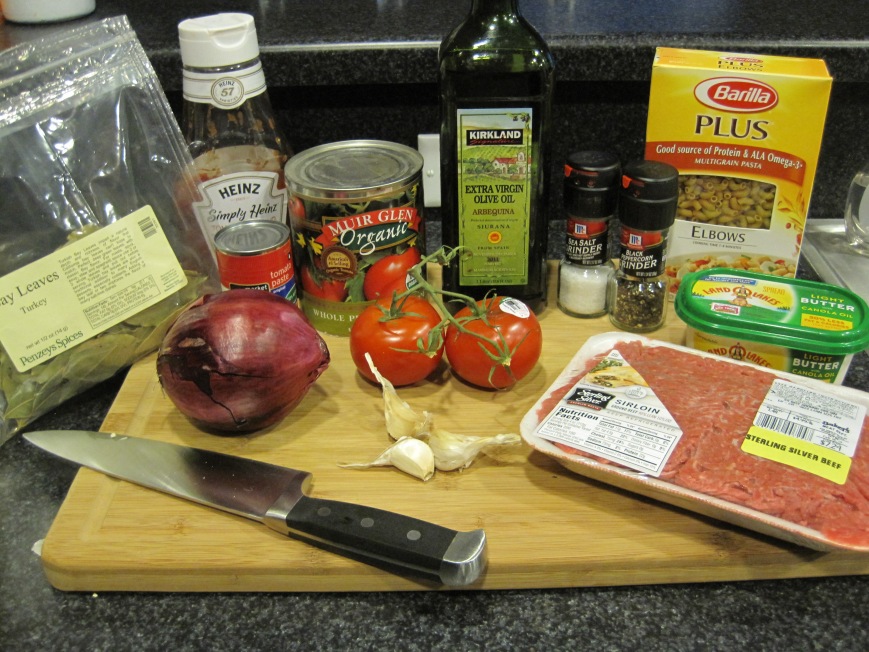
set ingredients on your counter top so they are easy to grab.

IMG_7651

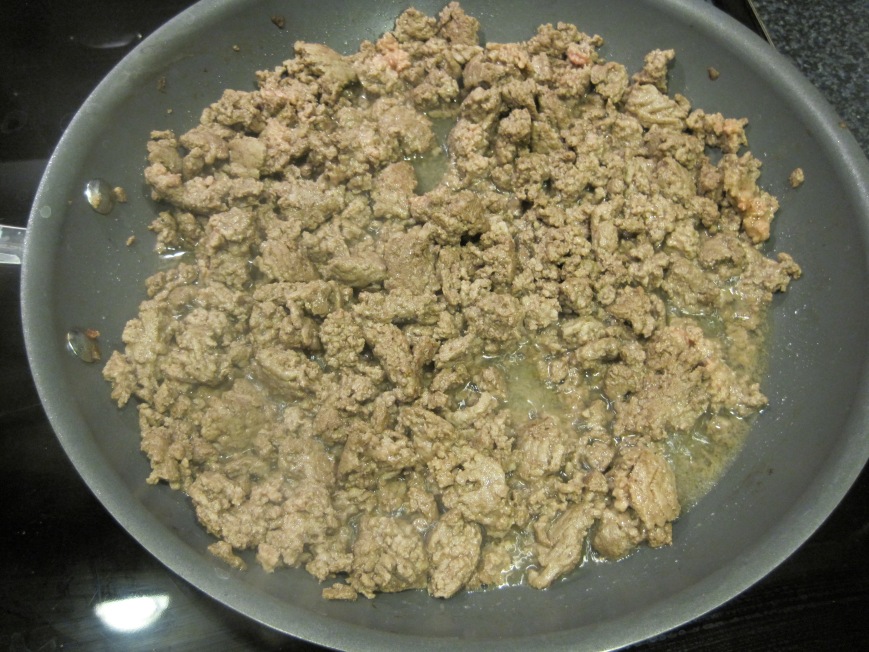
brown ground beef.

IMG_7654

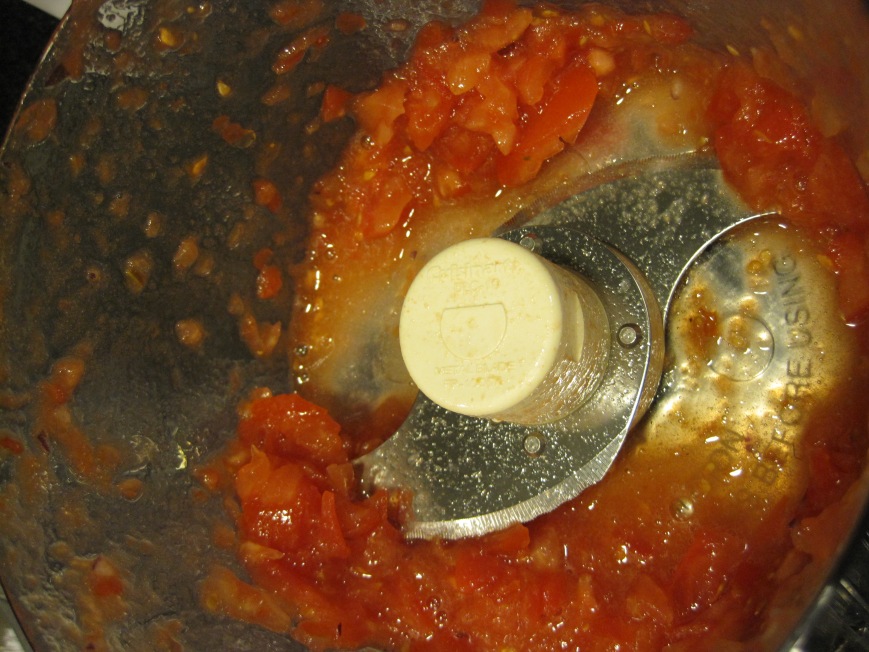
crush tomato in a food processor or blender.

IMG_7659

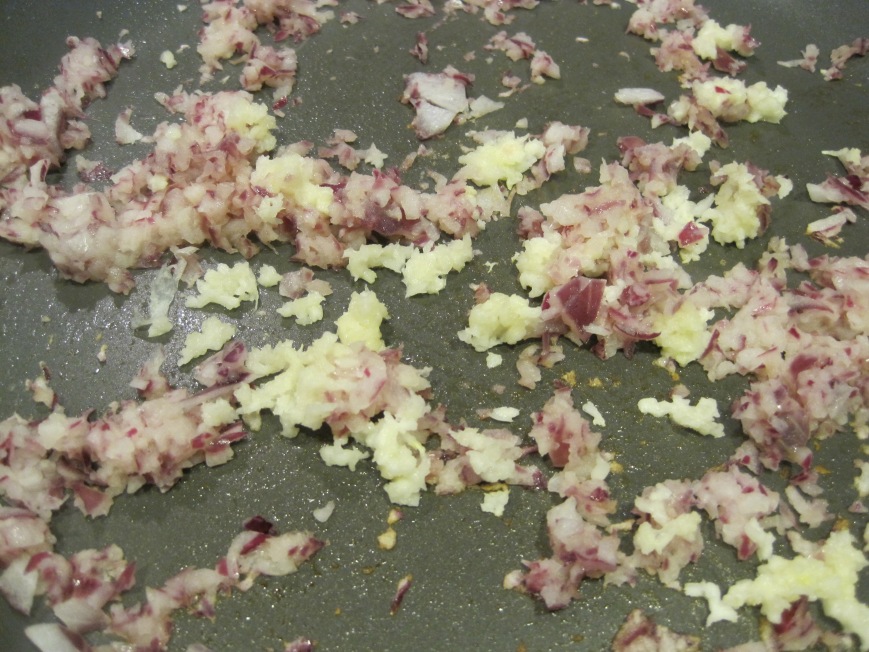
cook onions and garlic.

IMG_7660

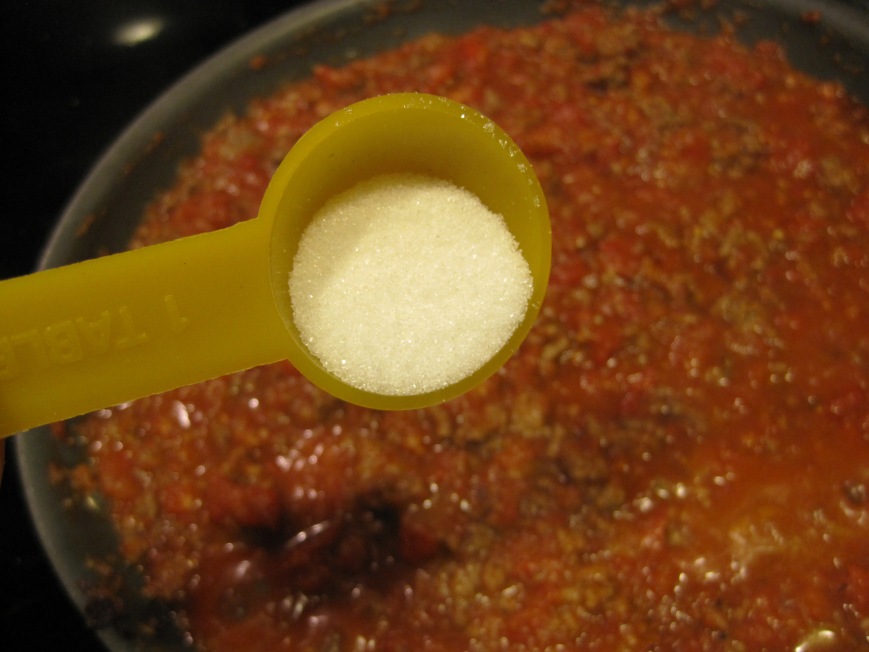
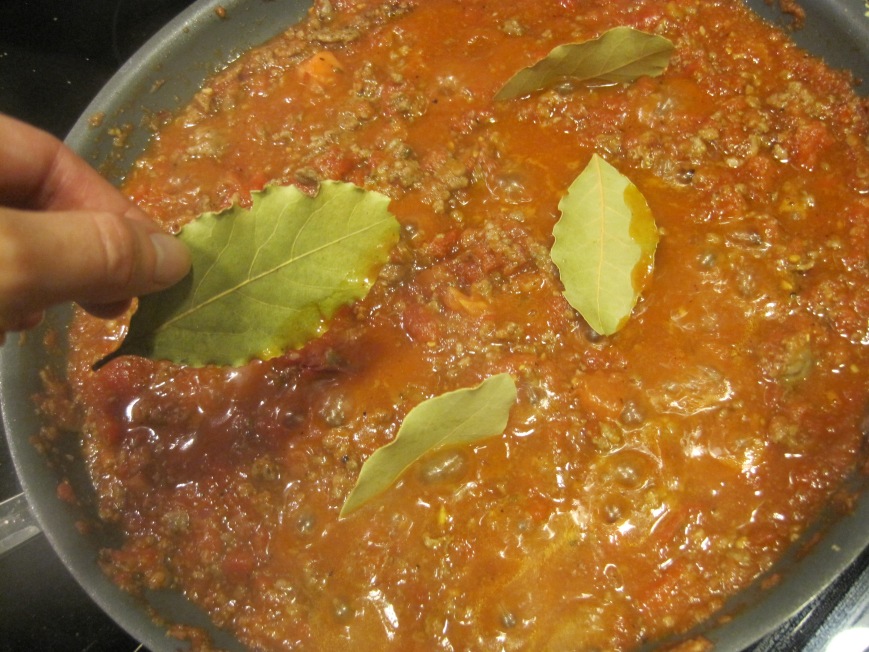
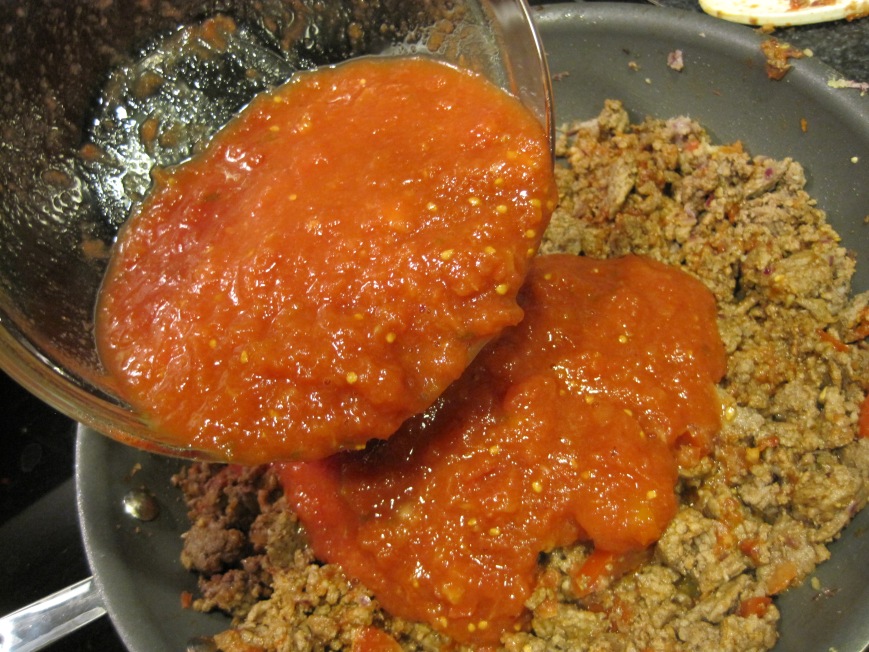
add ground beef back to the skillet along with crushed tomatoes, tomato paste, sugar, bay leaves, salt and pepper.

IMG_7661

IMG_7665

IMG_7669

IMG_7675

IMG_7676

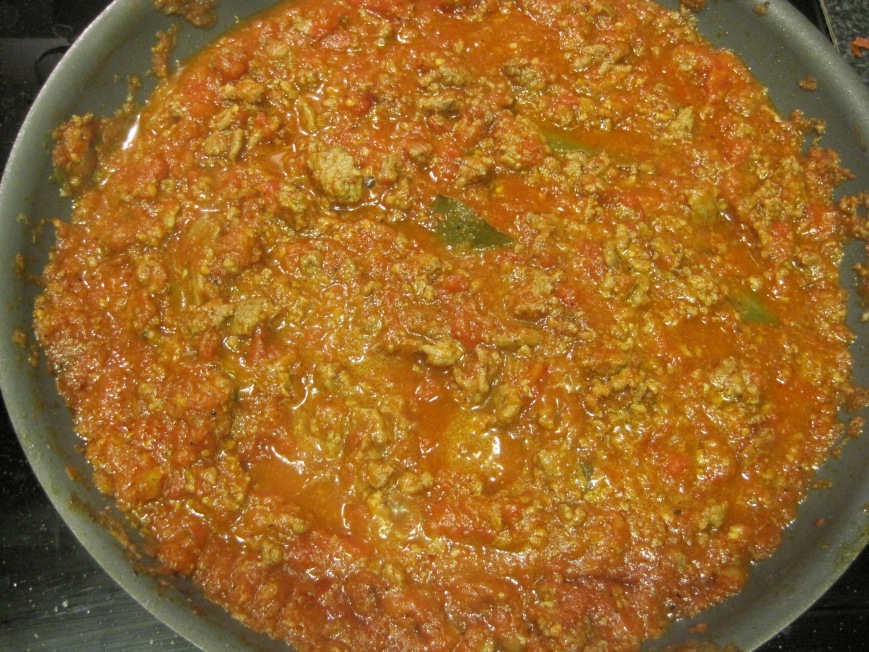
after 30 minutes of simmering, here’s what it looks like.

IMG_7680

IMG_7689

IMG_7711

IMG_7715

IMG_7722

IMG_7753

IMG_7760

quick beef tomato sauce

ingredients:
1 1/2 pounds lean ground beef {only 10% fat}
1/2 medium red onion or any other onion you have, finely chopped
4 cloves garlic, minced
1 tbsp light butter {i used land of lakes}
2 tbsps tomato paste
1 28 oz. can organic crushed tomatoes with basil
1 ripped tomato, chopped in the food processor or blender
2 tbsps organic ketchup
2 tbsps granulated sugar {you can use agave instead}
1 tsp sea salt, more or less to taste
1/2 tsp ground fresh pepper
4 bay leaves
1 tbsp olive oil
1 14.5 oz box elbow macaroni whole wheat pasta {i used barilla plus}
shredded parmesan cheese, for serving
chopped basil, for serving

serves six people

directions:

1. brown ground beef in a large nonstick skillet over medium heat. drain fat with a strainer and set aside. wipe skillet with a paper towel.

2. in the same large skillet cook onions with butter over medium heat for 1 to 2 minutes. add garlic and mix well. season with a little bit of the salt and pepper. add ground beef, tomato paste, ketchup, chopped tomato, crushed tomatoes and mix well.

3. sprinkle sugar and season with the rest of salt and pepper. add bay leaves and stir well until everything is well combined. bring to a boil for 3 minutes.

4. turn down heat to simmer or very low. cover skillet and simmer for 30 minutes.

5. add olive oil and mix well.

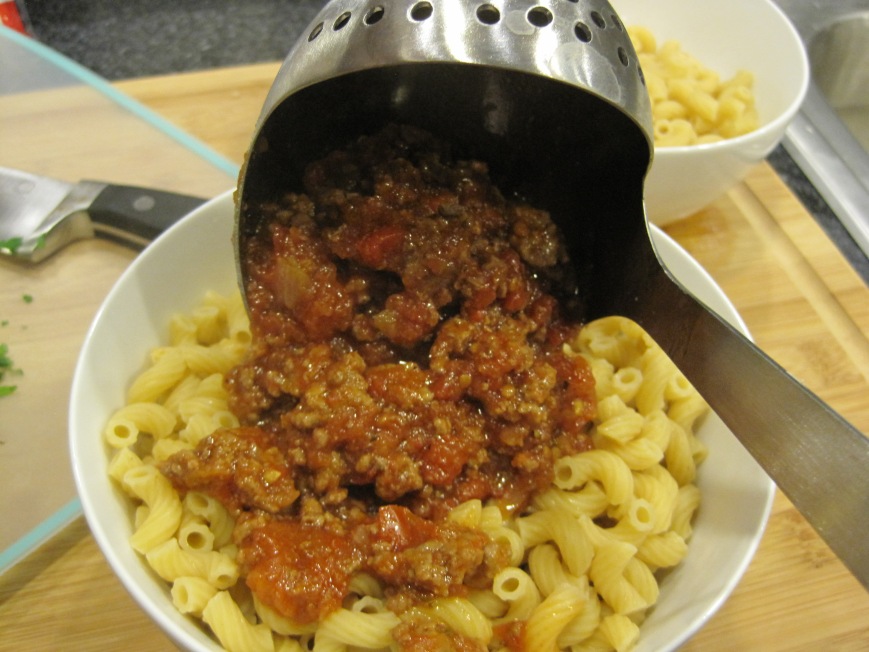
6. serve pasta in individual bowls and follow with the beef tomato sauce.

7. sprinkle parmesan cheese on top and garnish with chopped basil. serve hot!

sauce can be stored in the refrigerator for up to one week in an airtight container. you can freeze it for up to one month. defrost overnight before serving.

IMG_7709