cadbury salted caramel bundt cake for easter!

it’s almost easter and i’m absolutely thrilled about it :)

don’t you love easter and pretty much any holiday where you get to celebrate it with food? **cough. cough. thanksgiving. clearing throat.**

so to celebrate in grand, make this cadbury salted caramel bundt cake i just made for your liberal consumption and indulgence.

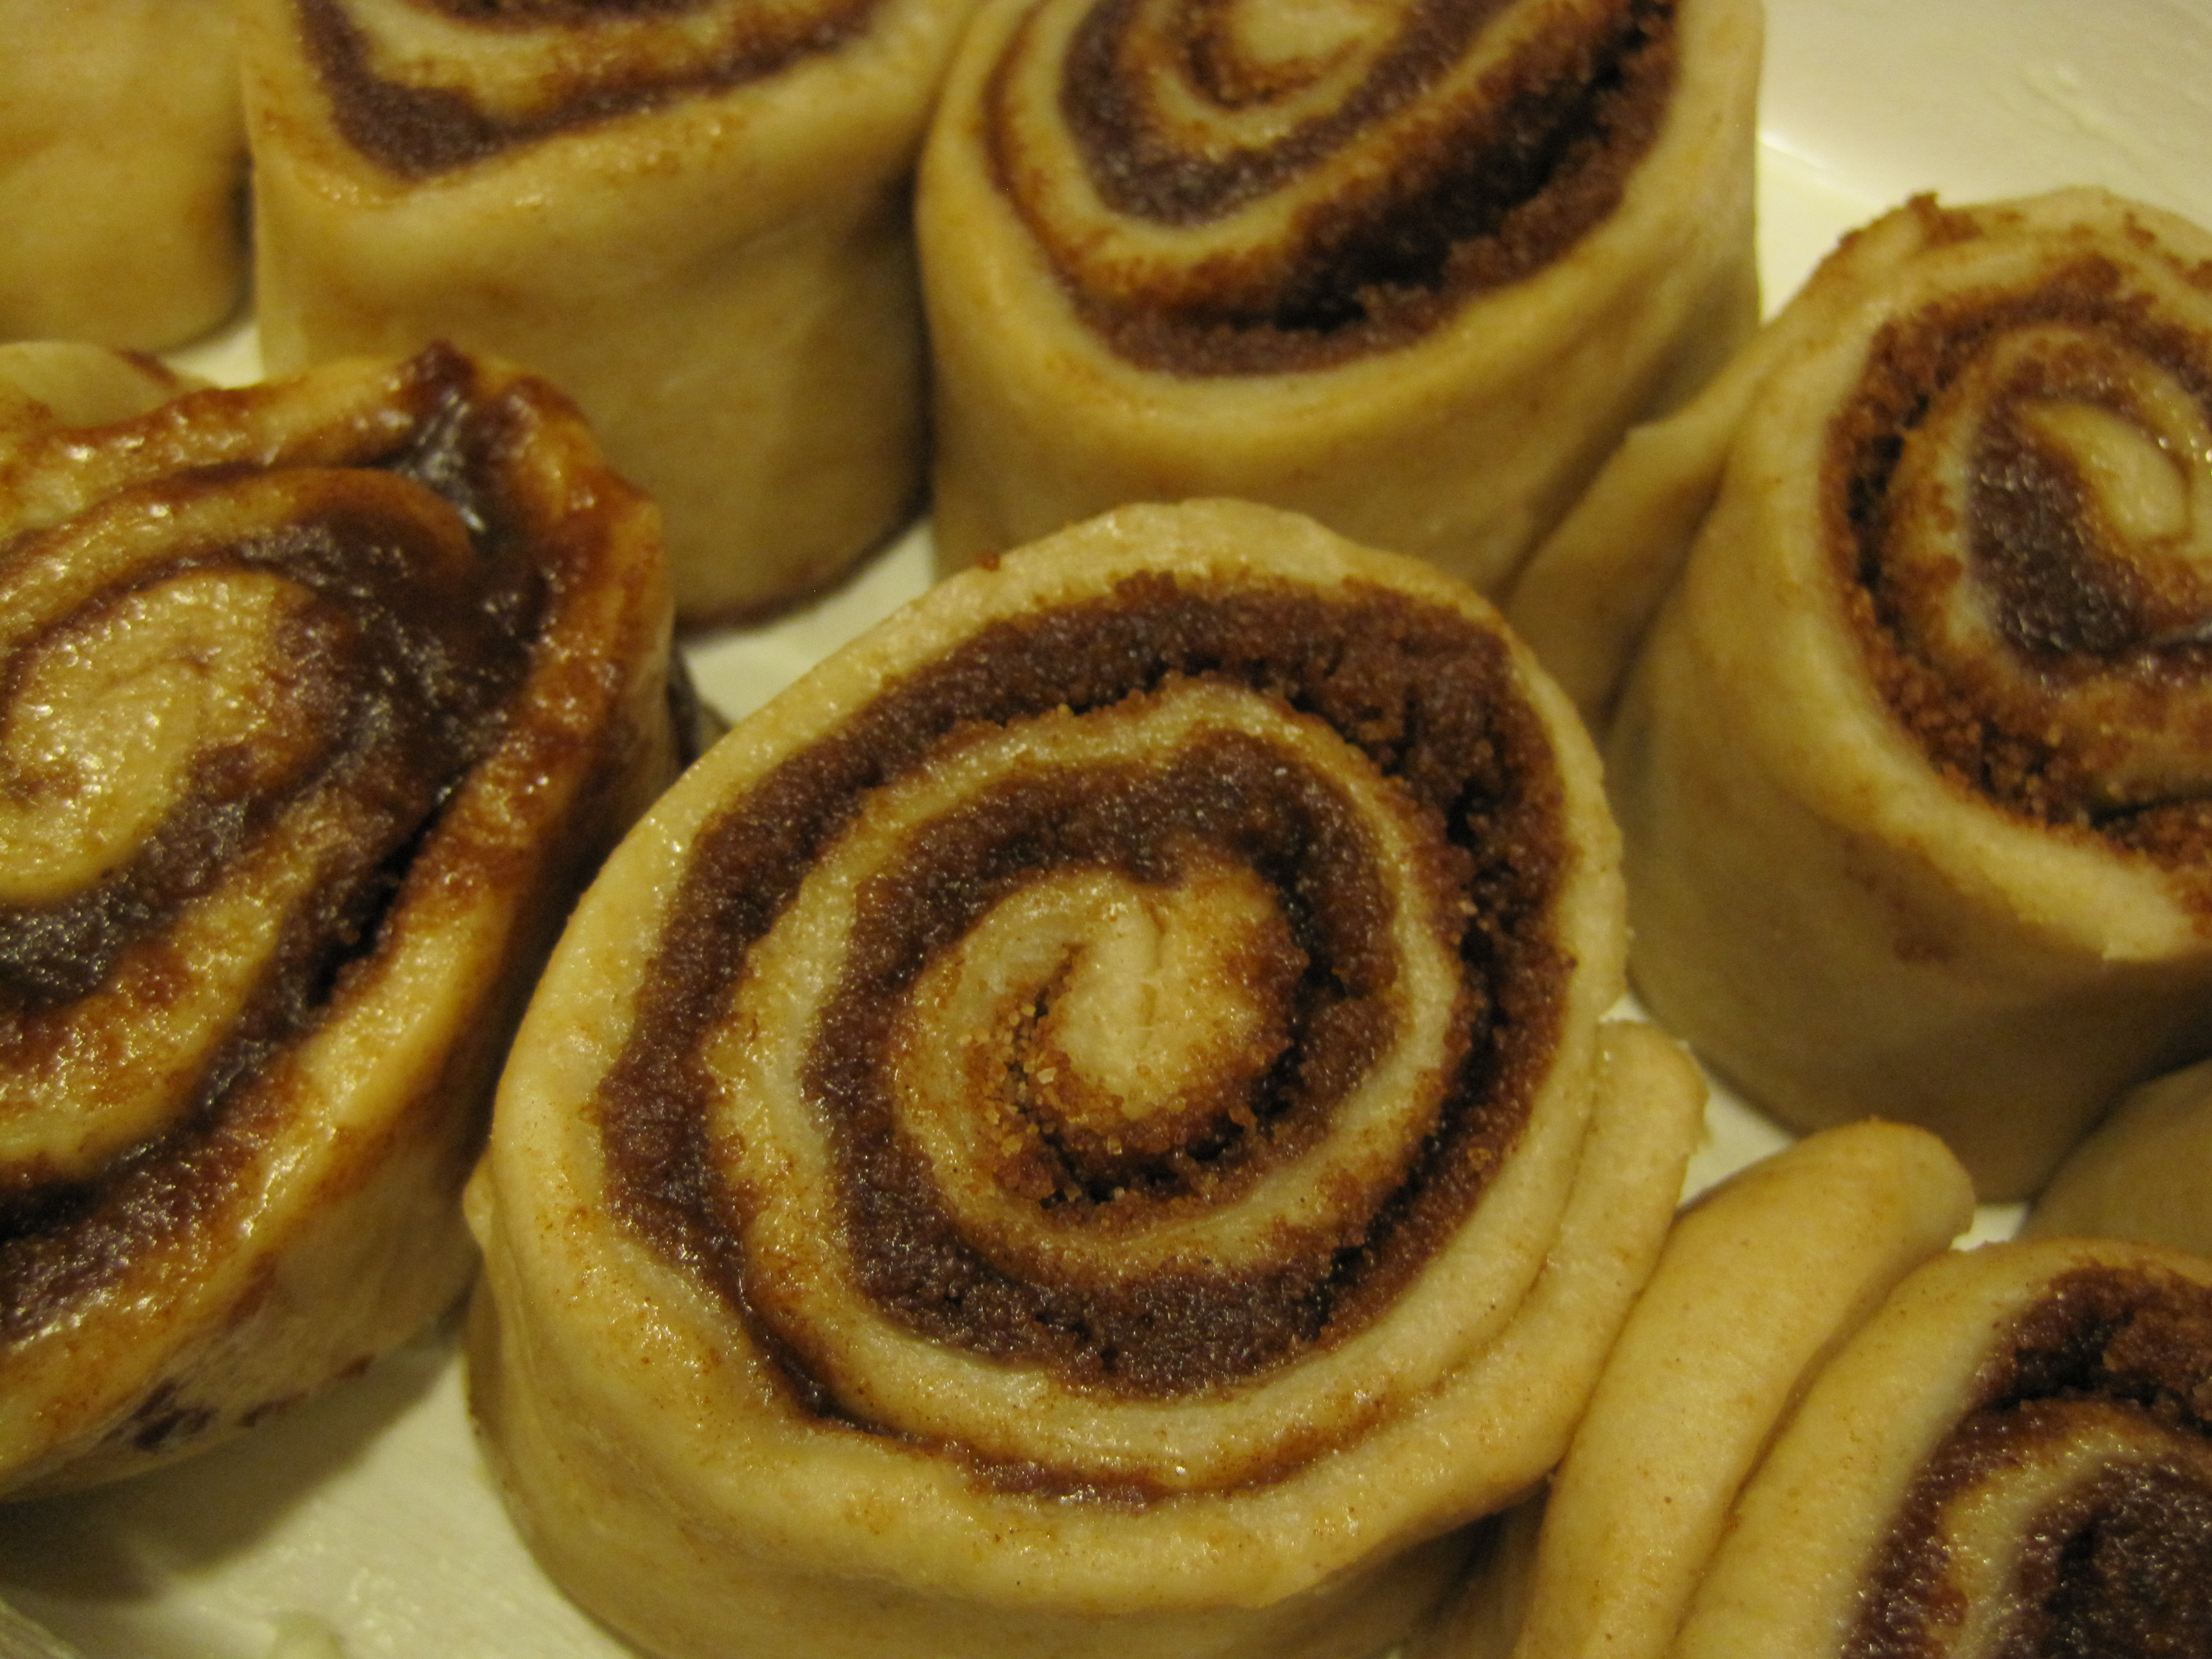
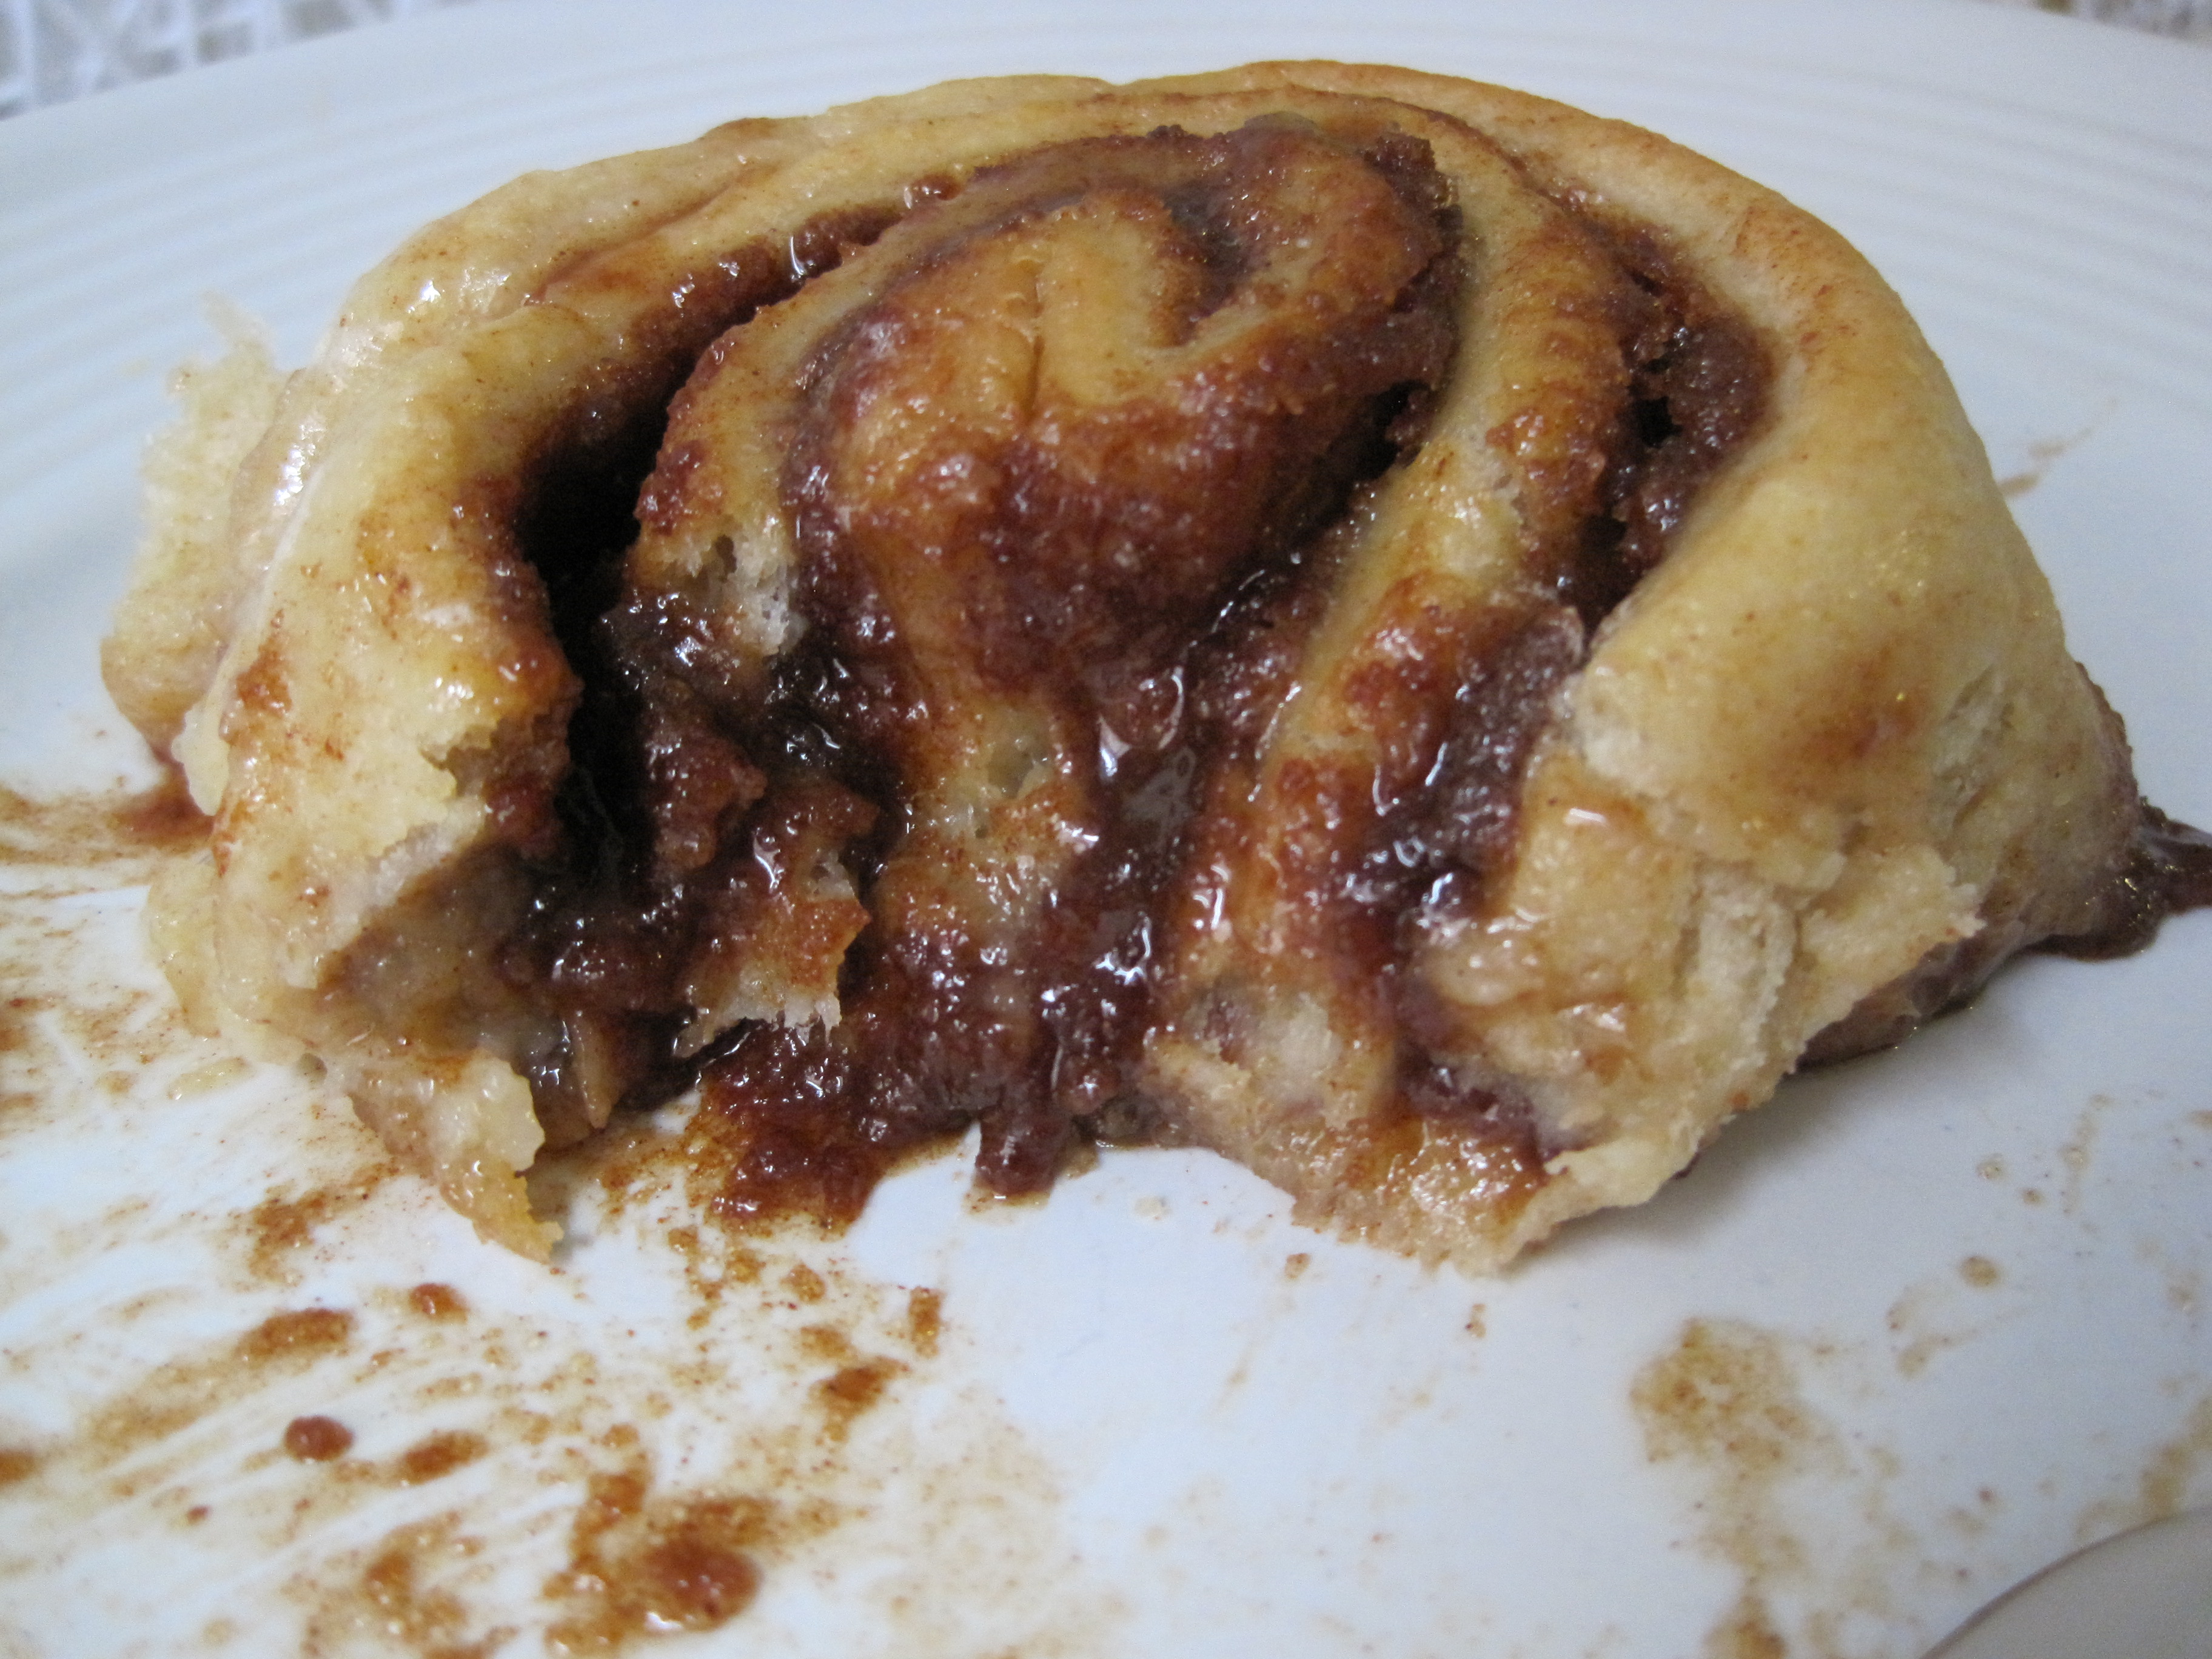
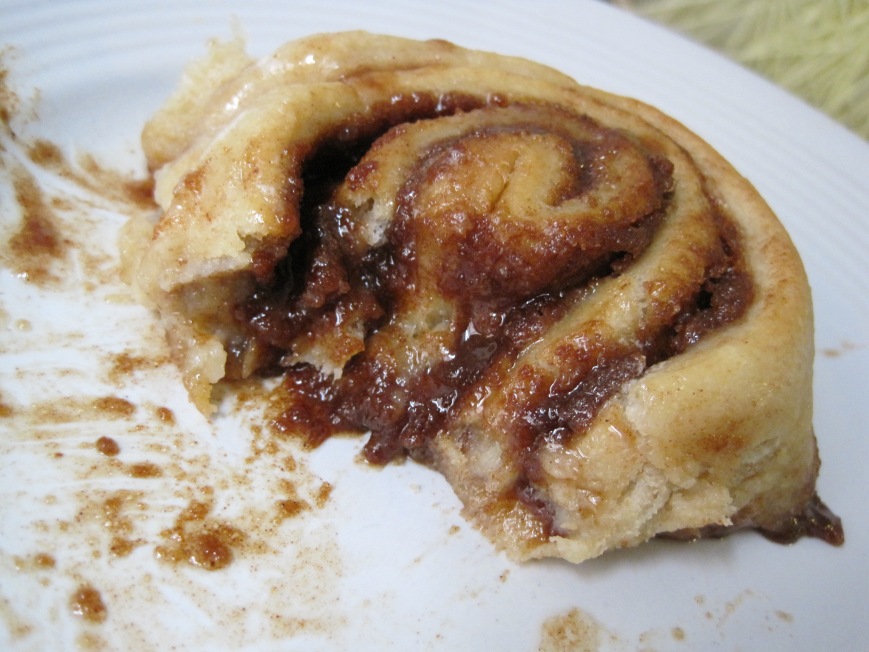
this cake is inspired by cadbury caramel eggs, of course. i added salted caramel to stay with the theme and flavor and recreated little nests for easter. not to mention, the cake is fluffy and has a salted caramel swirl and a whole cadbury caramel egg inside. mmm!

this recipe starts by making the salted caramel.

IMG_8037

whisk sugar, water and light corn syrup and cook until caramel turns an amber color.

IMG_8045

IMG_8046

IMG_8049

add heavy cream, butter, vanilla, sea salt and lemon juice.

IMG_8050

IMG_8055

IMG_8057

let caramel cool in a bowl.

IMG_8058

now let’s make the cake ;)

IMG_8063

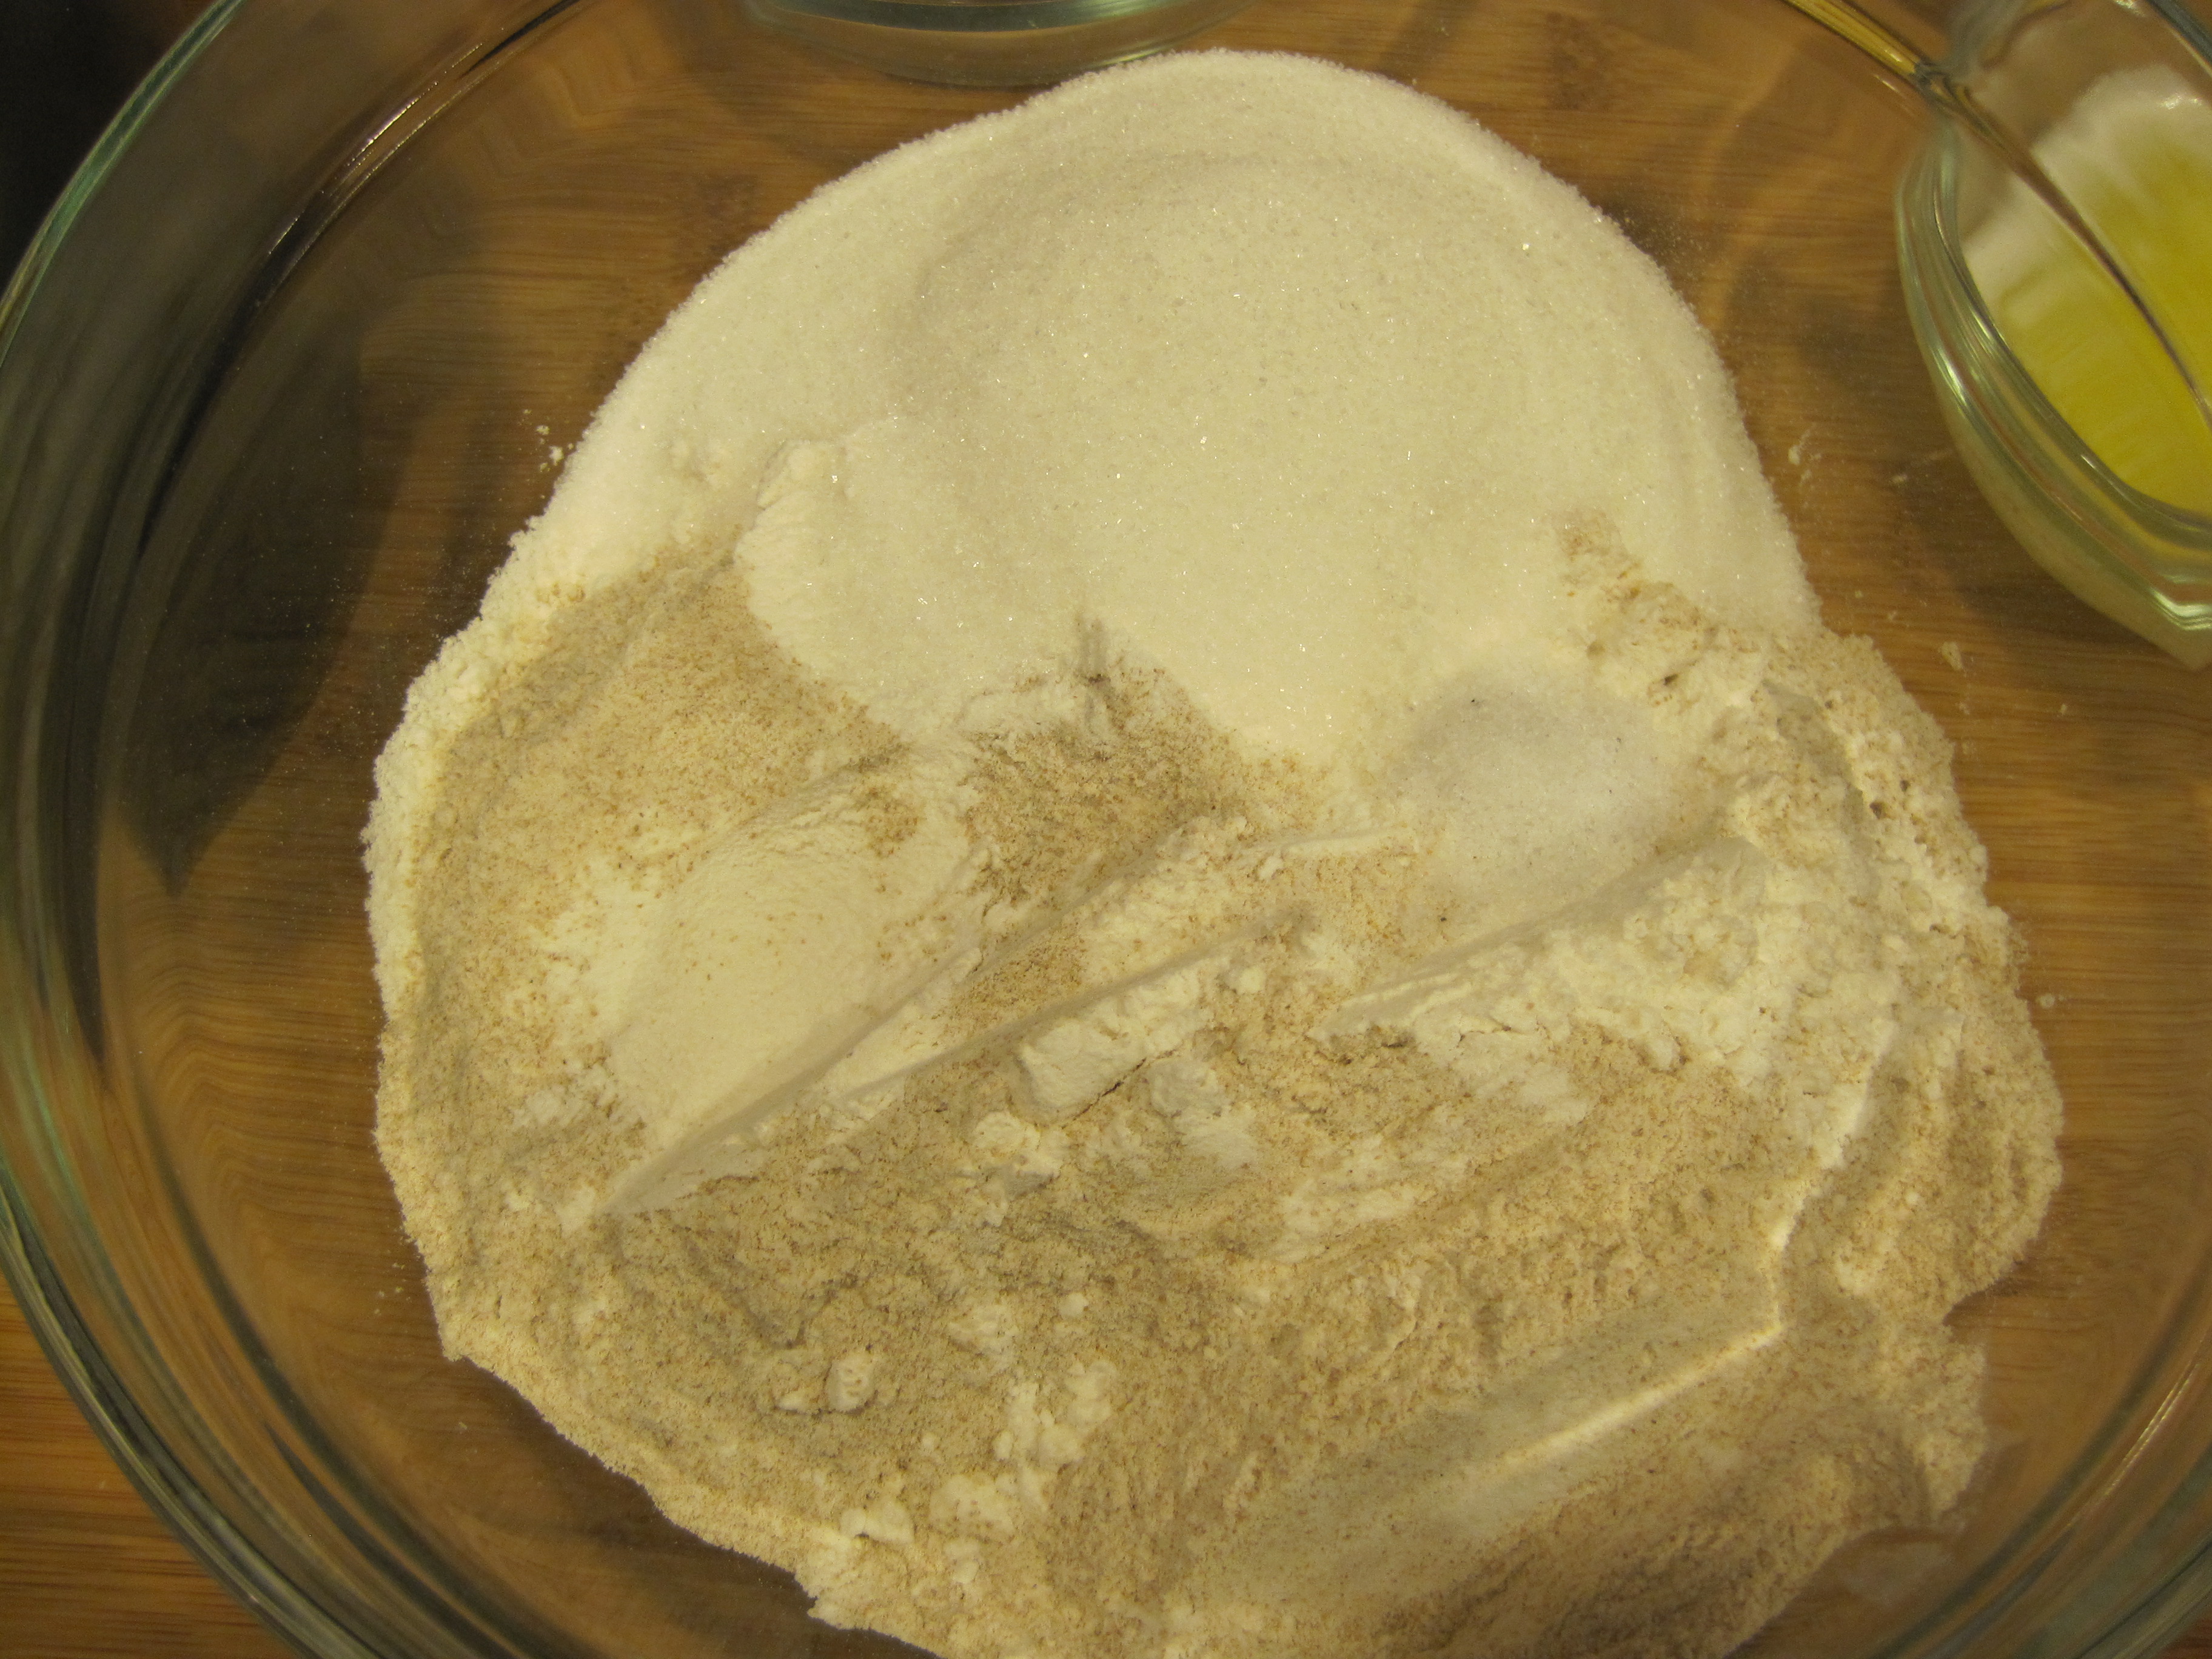
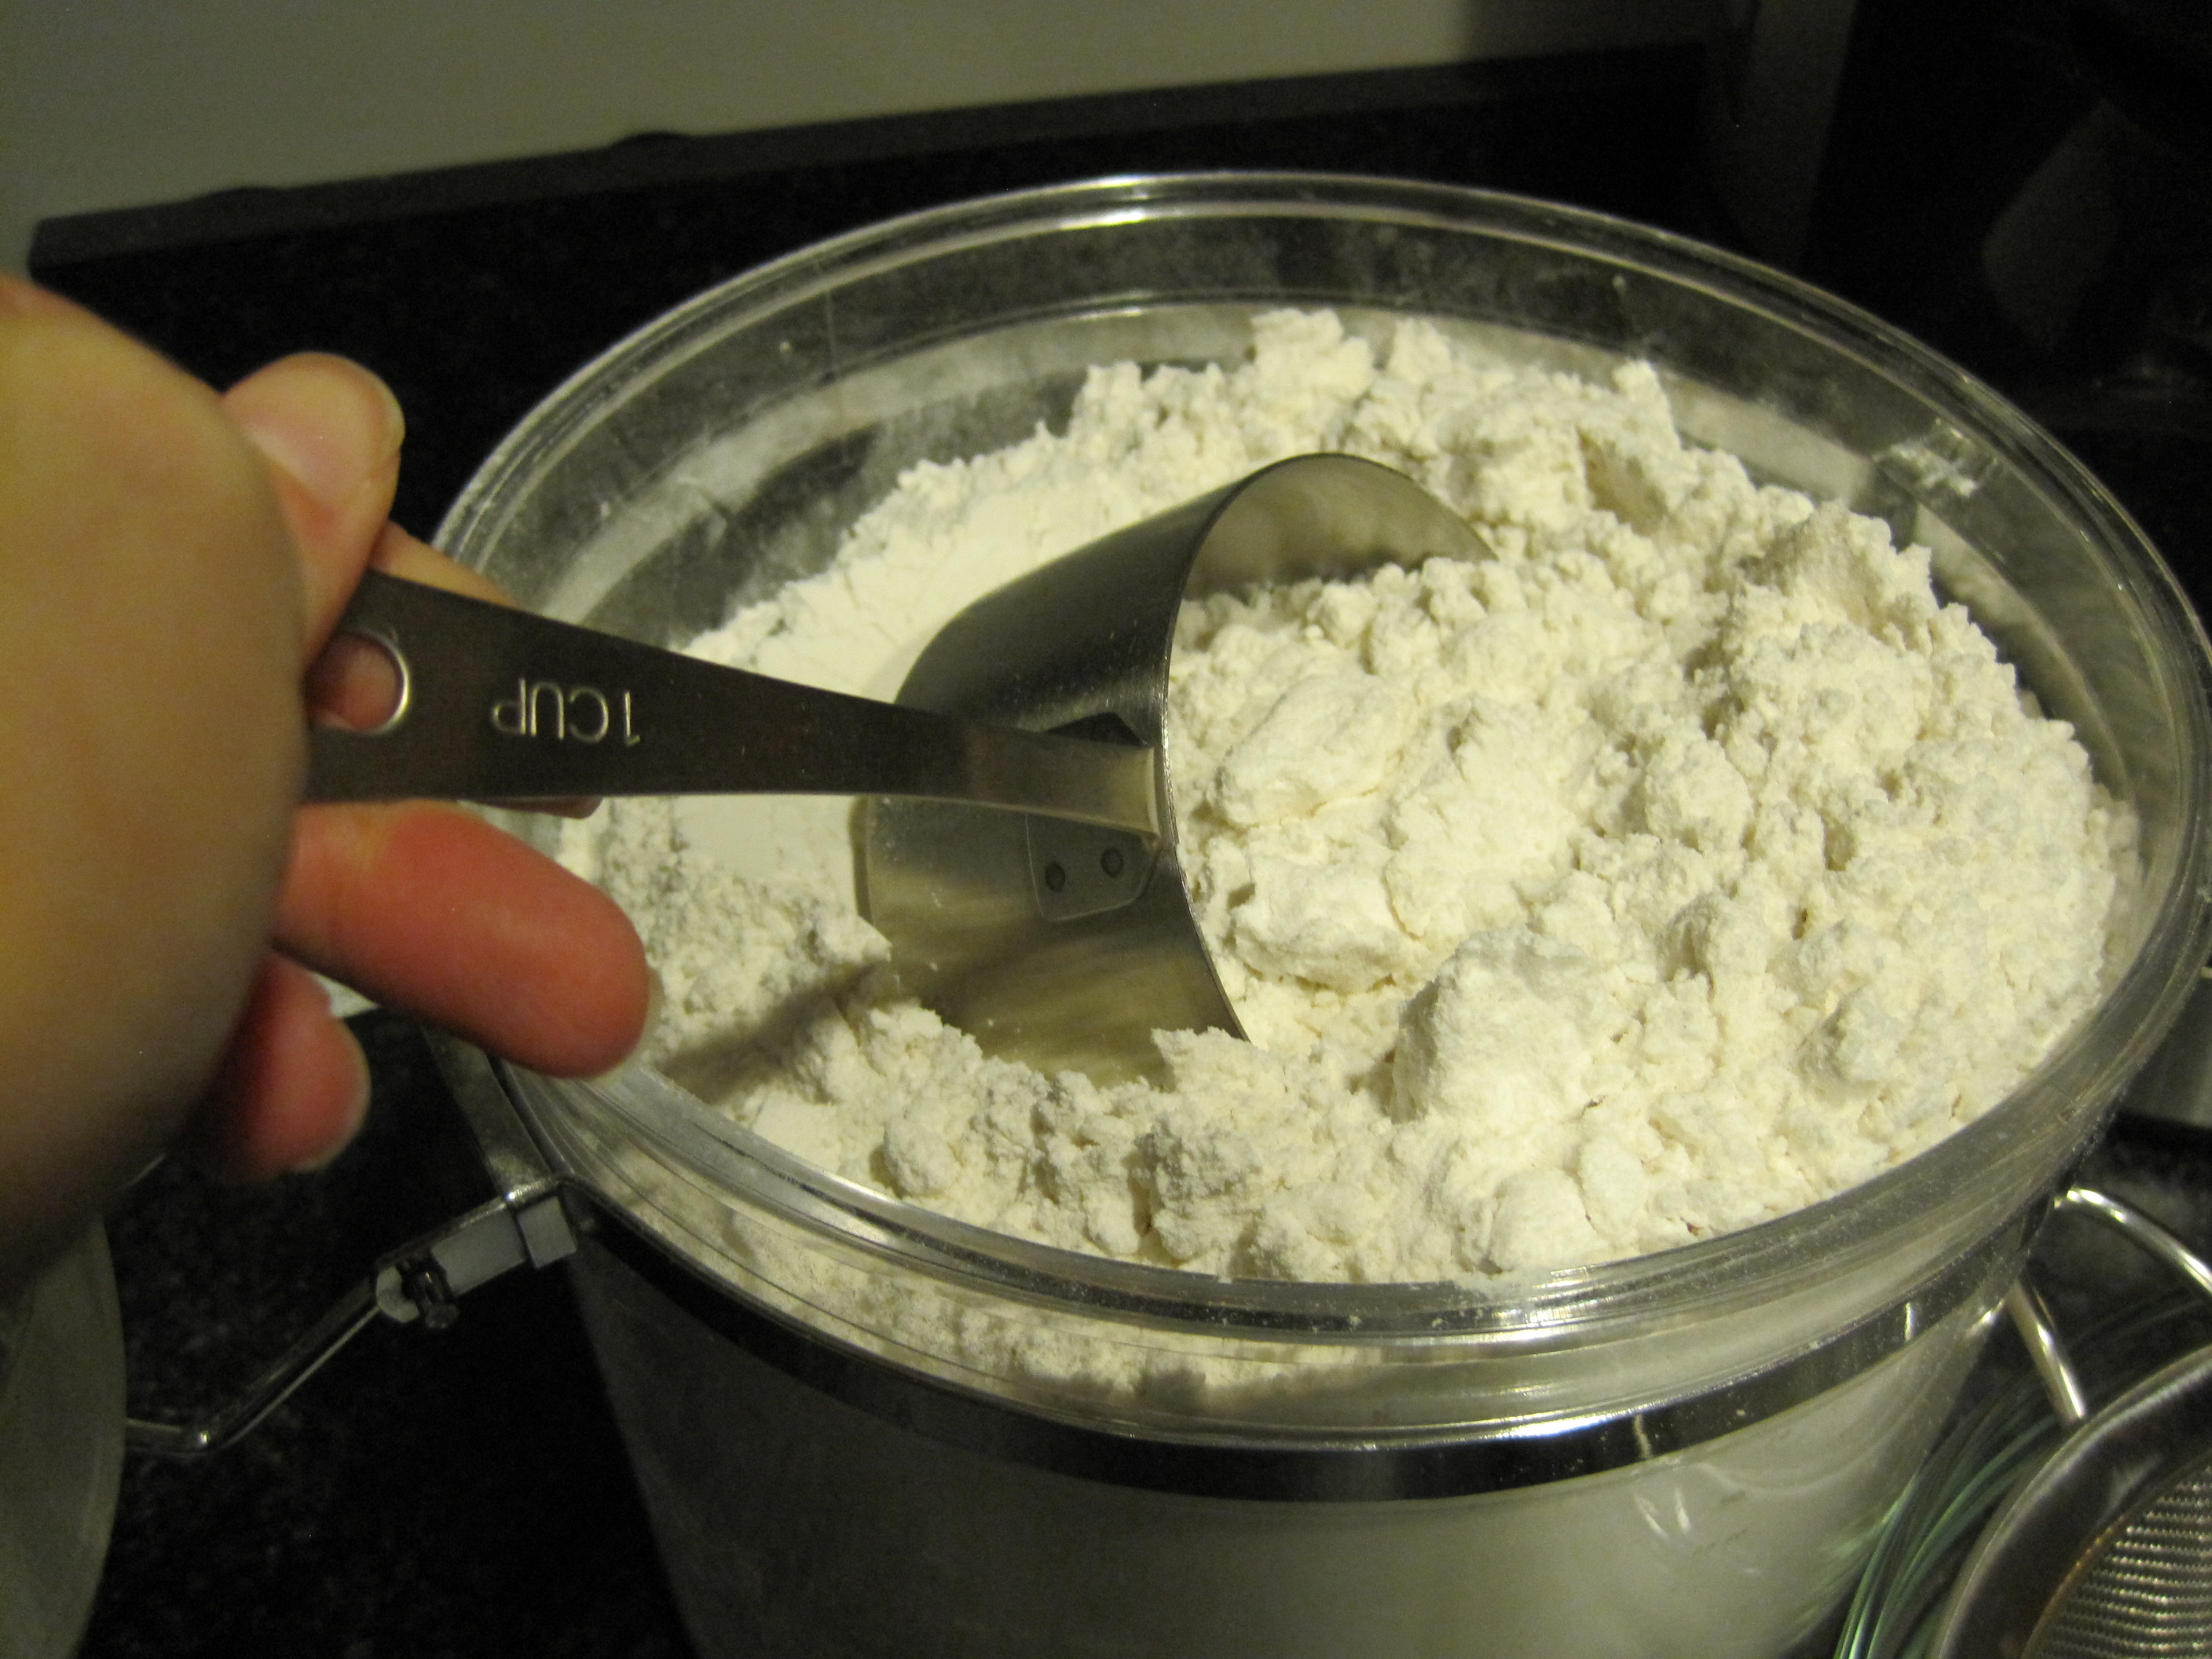
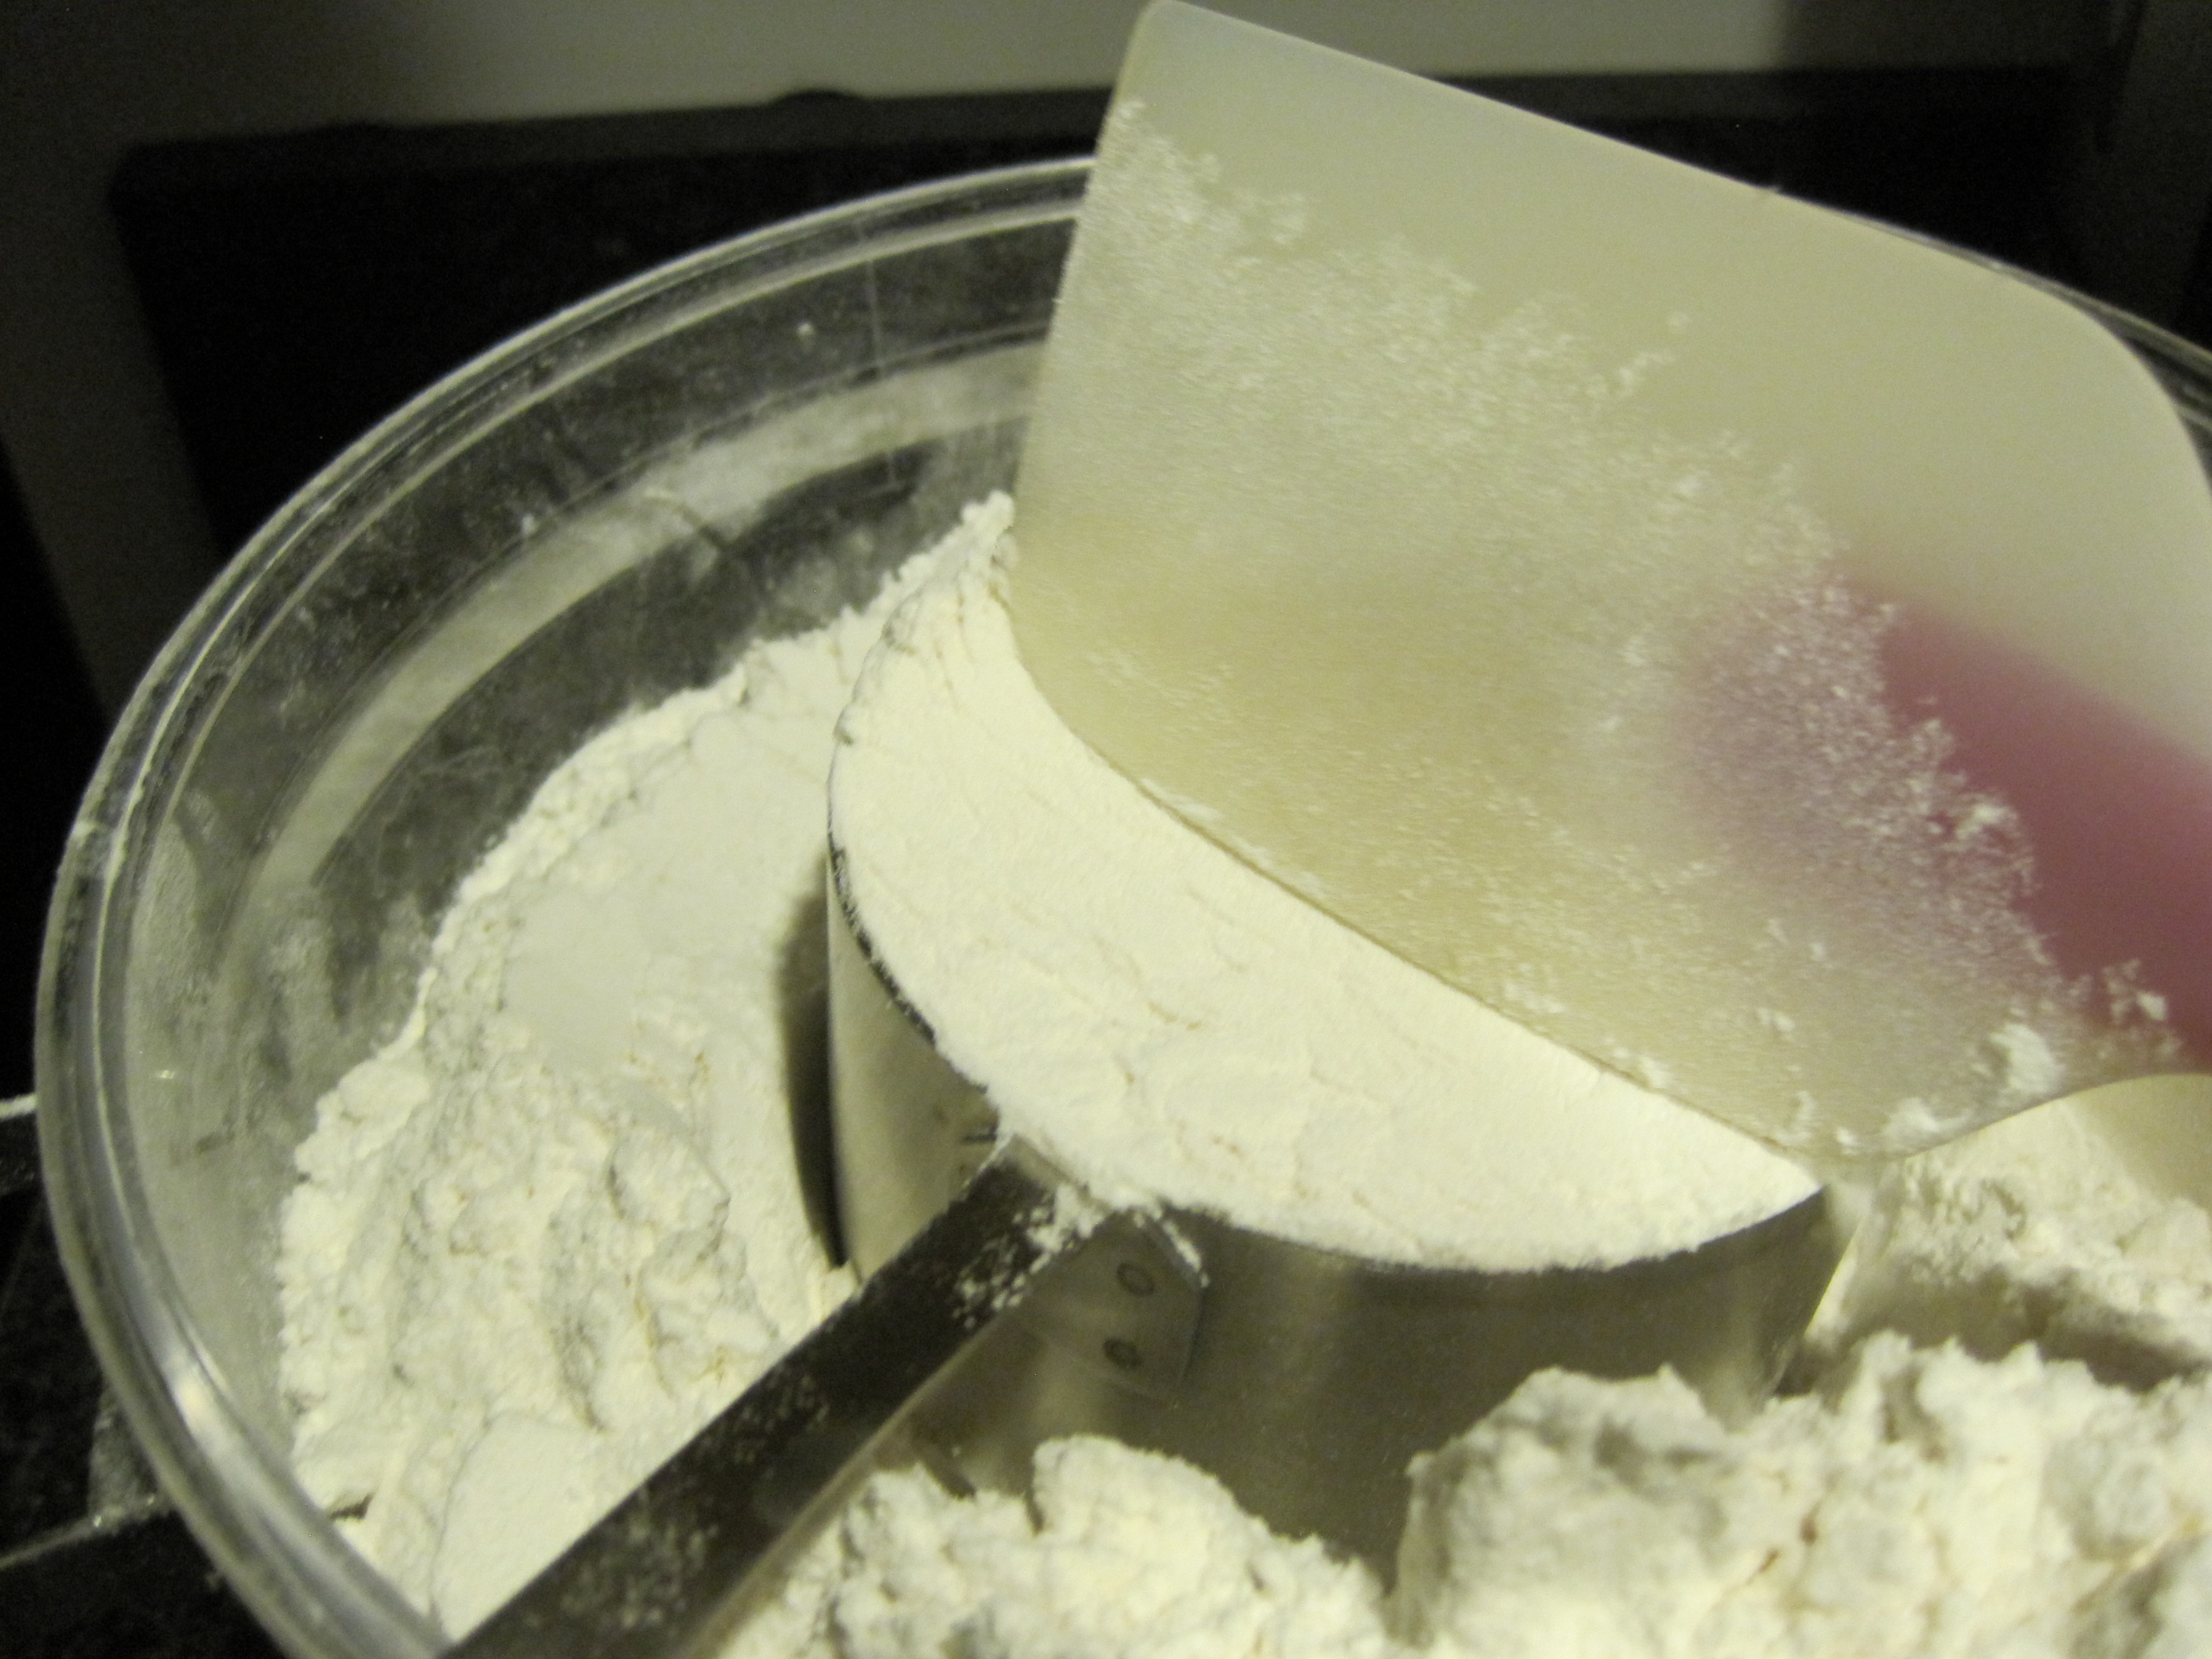
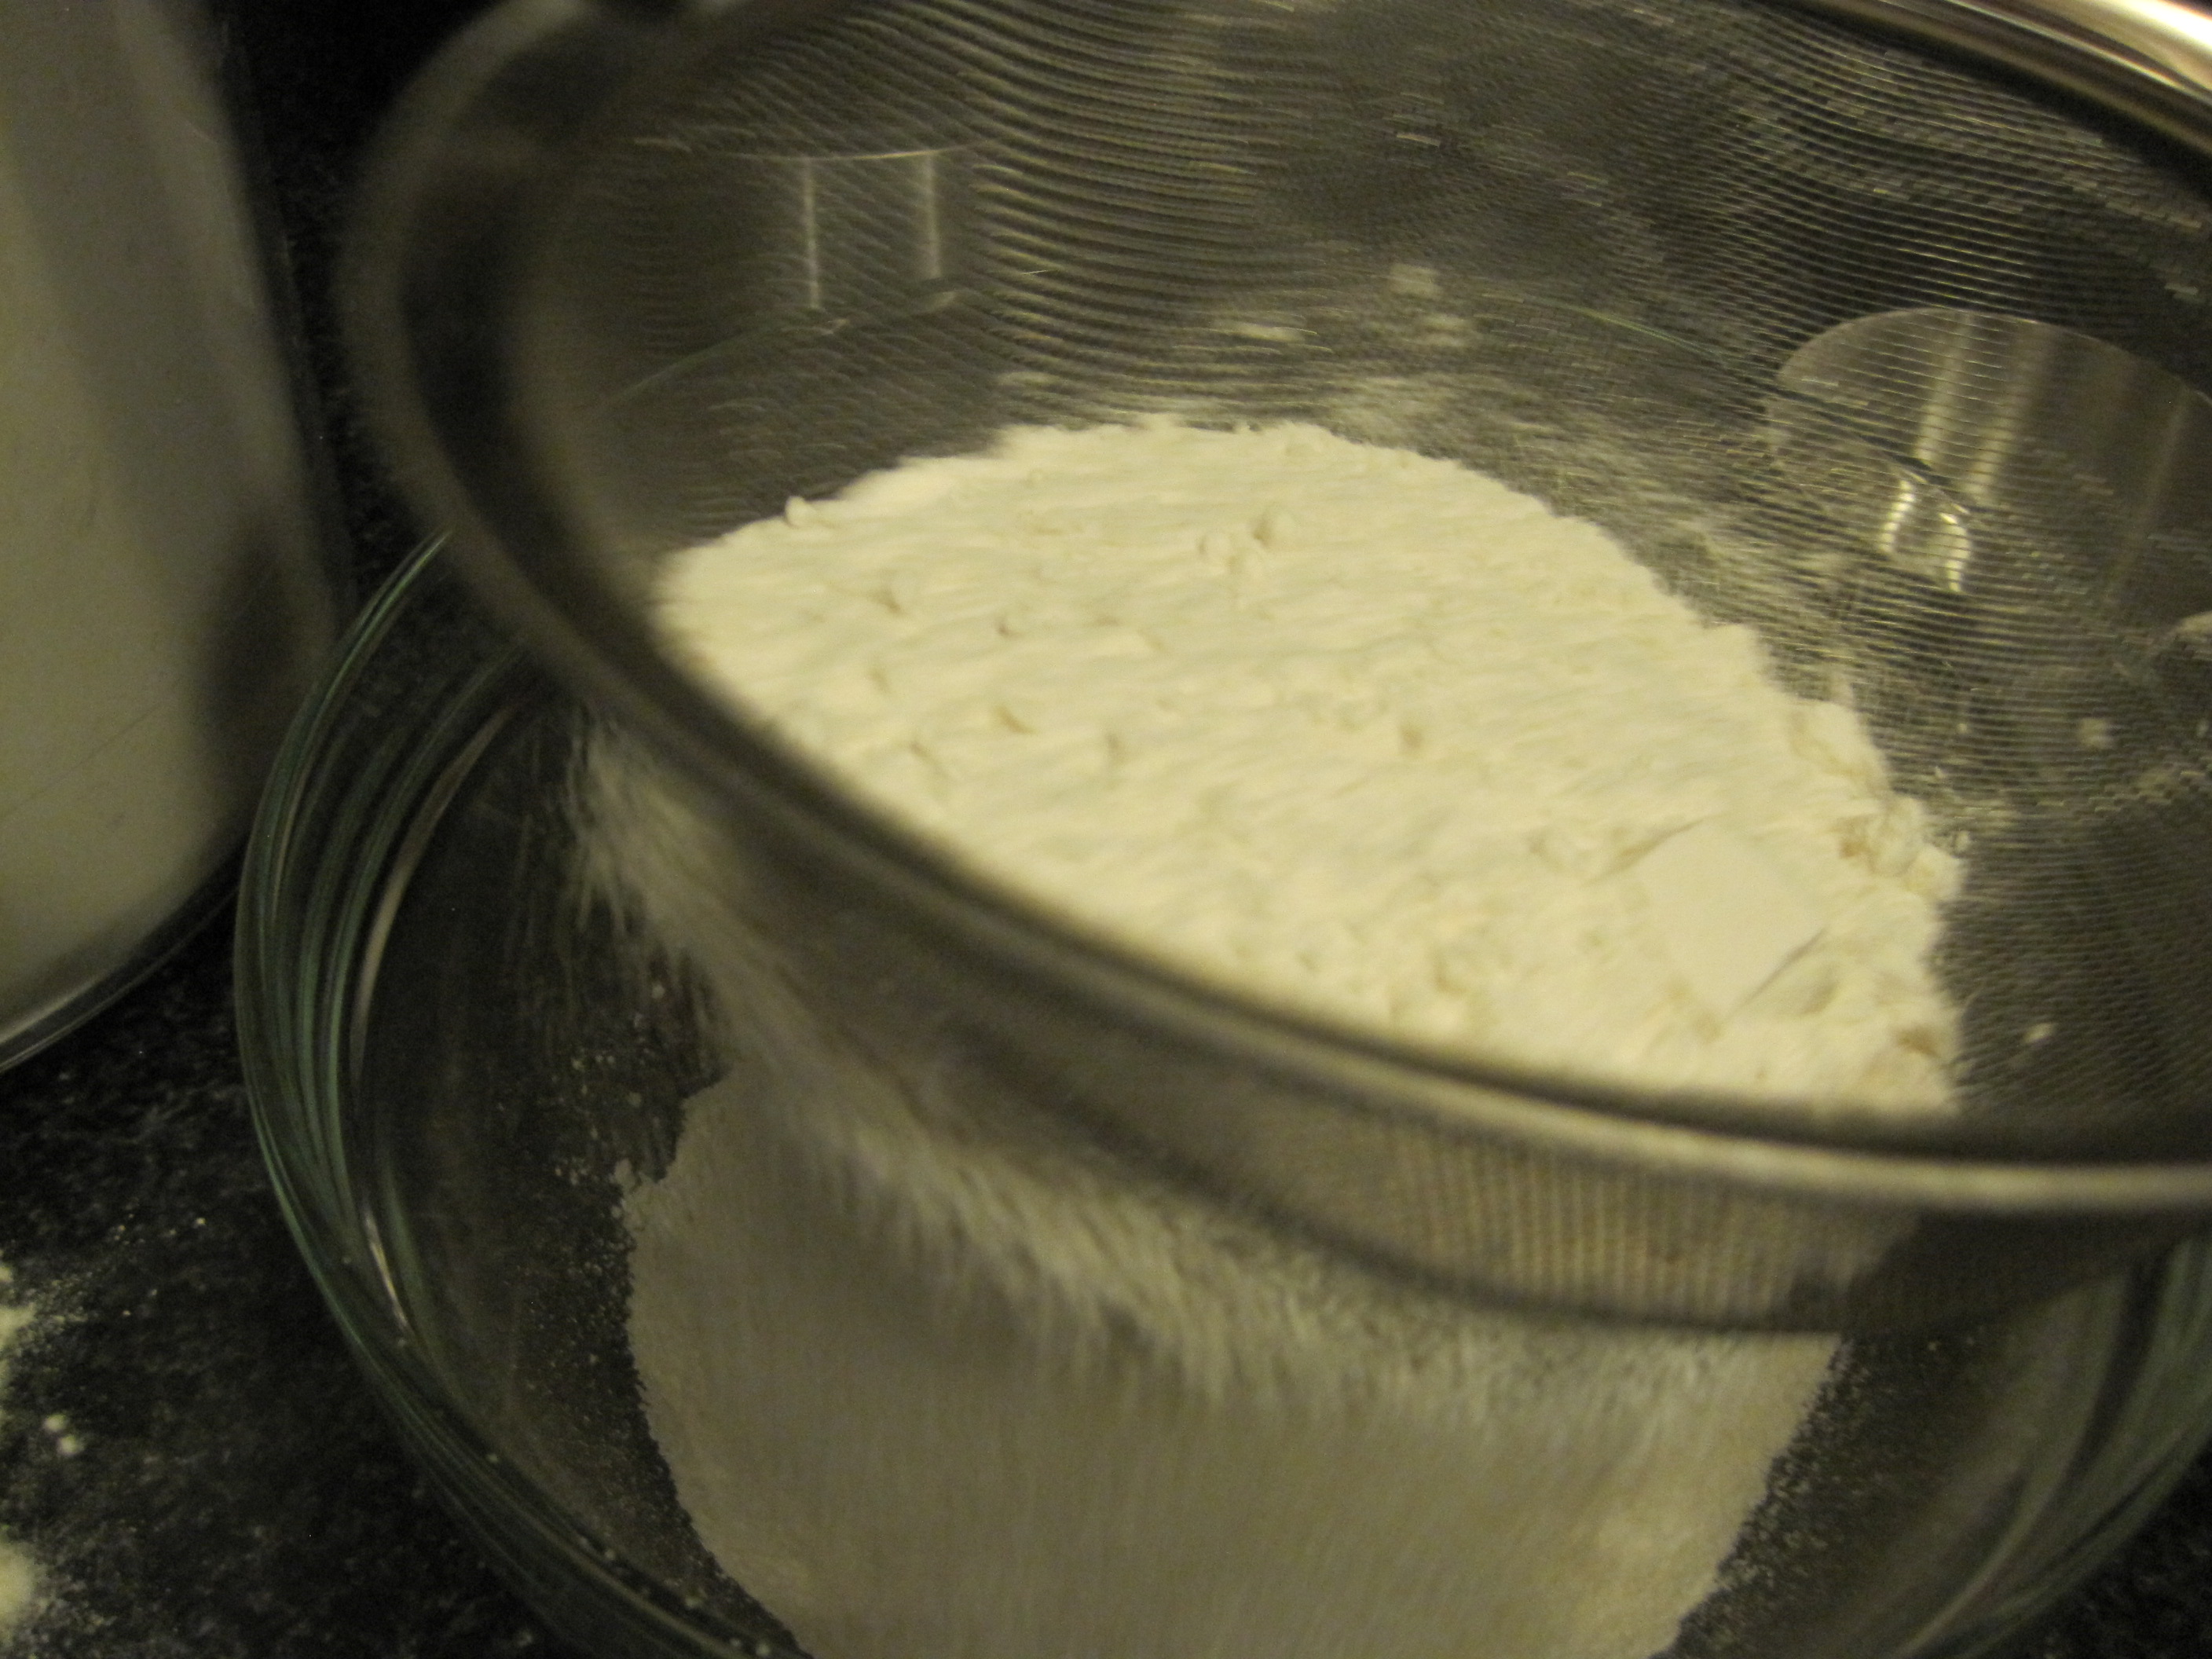
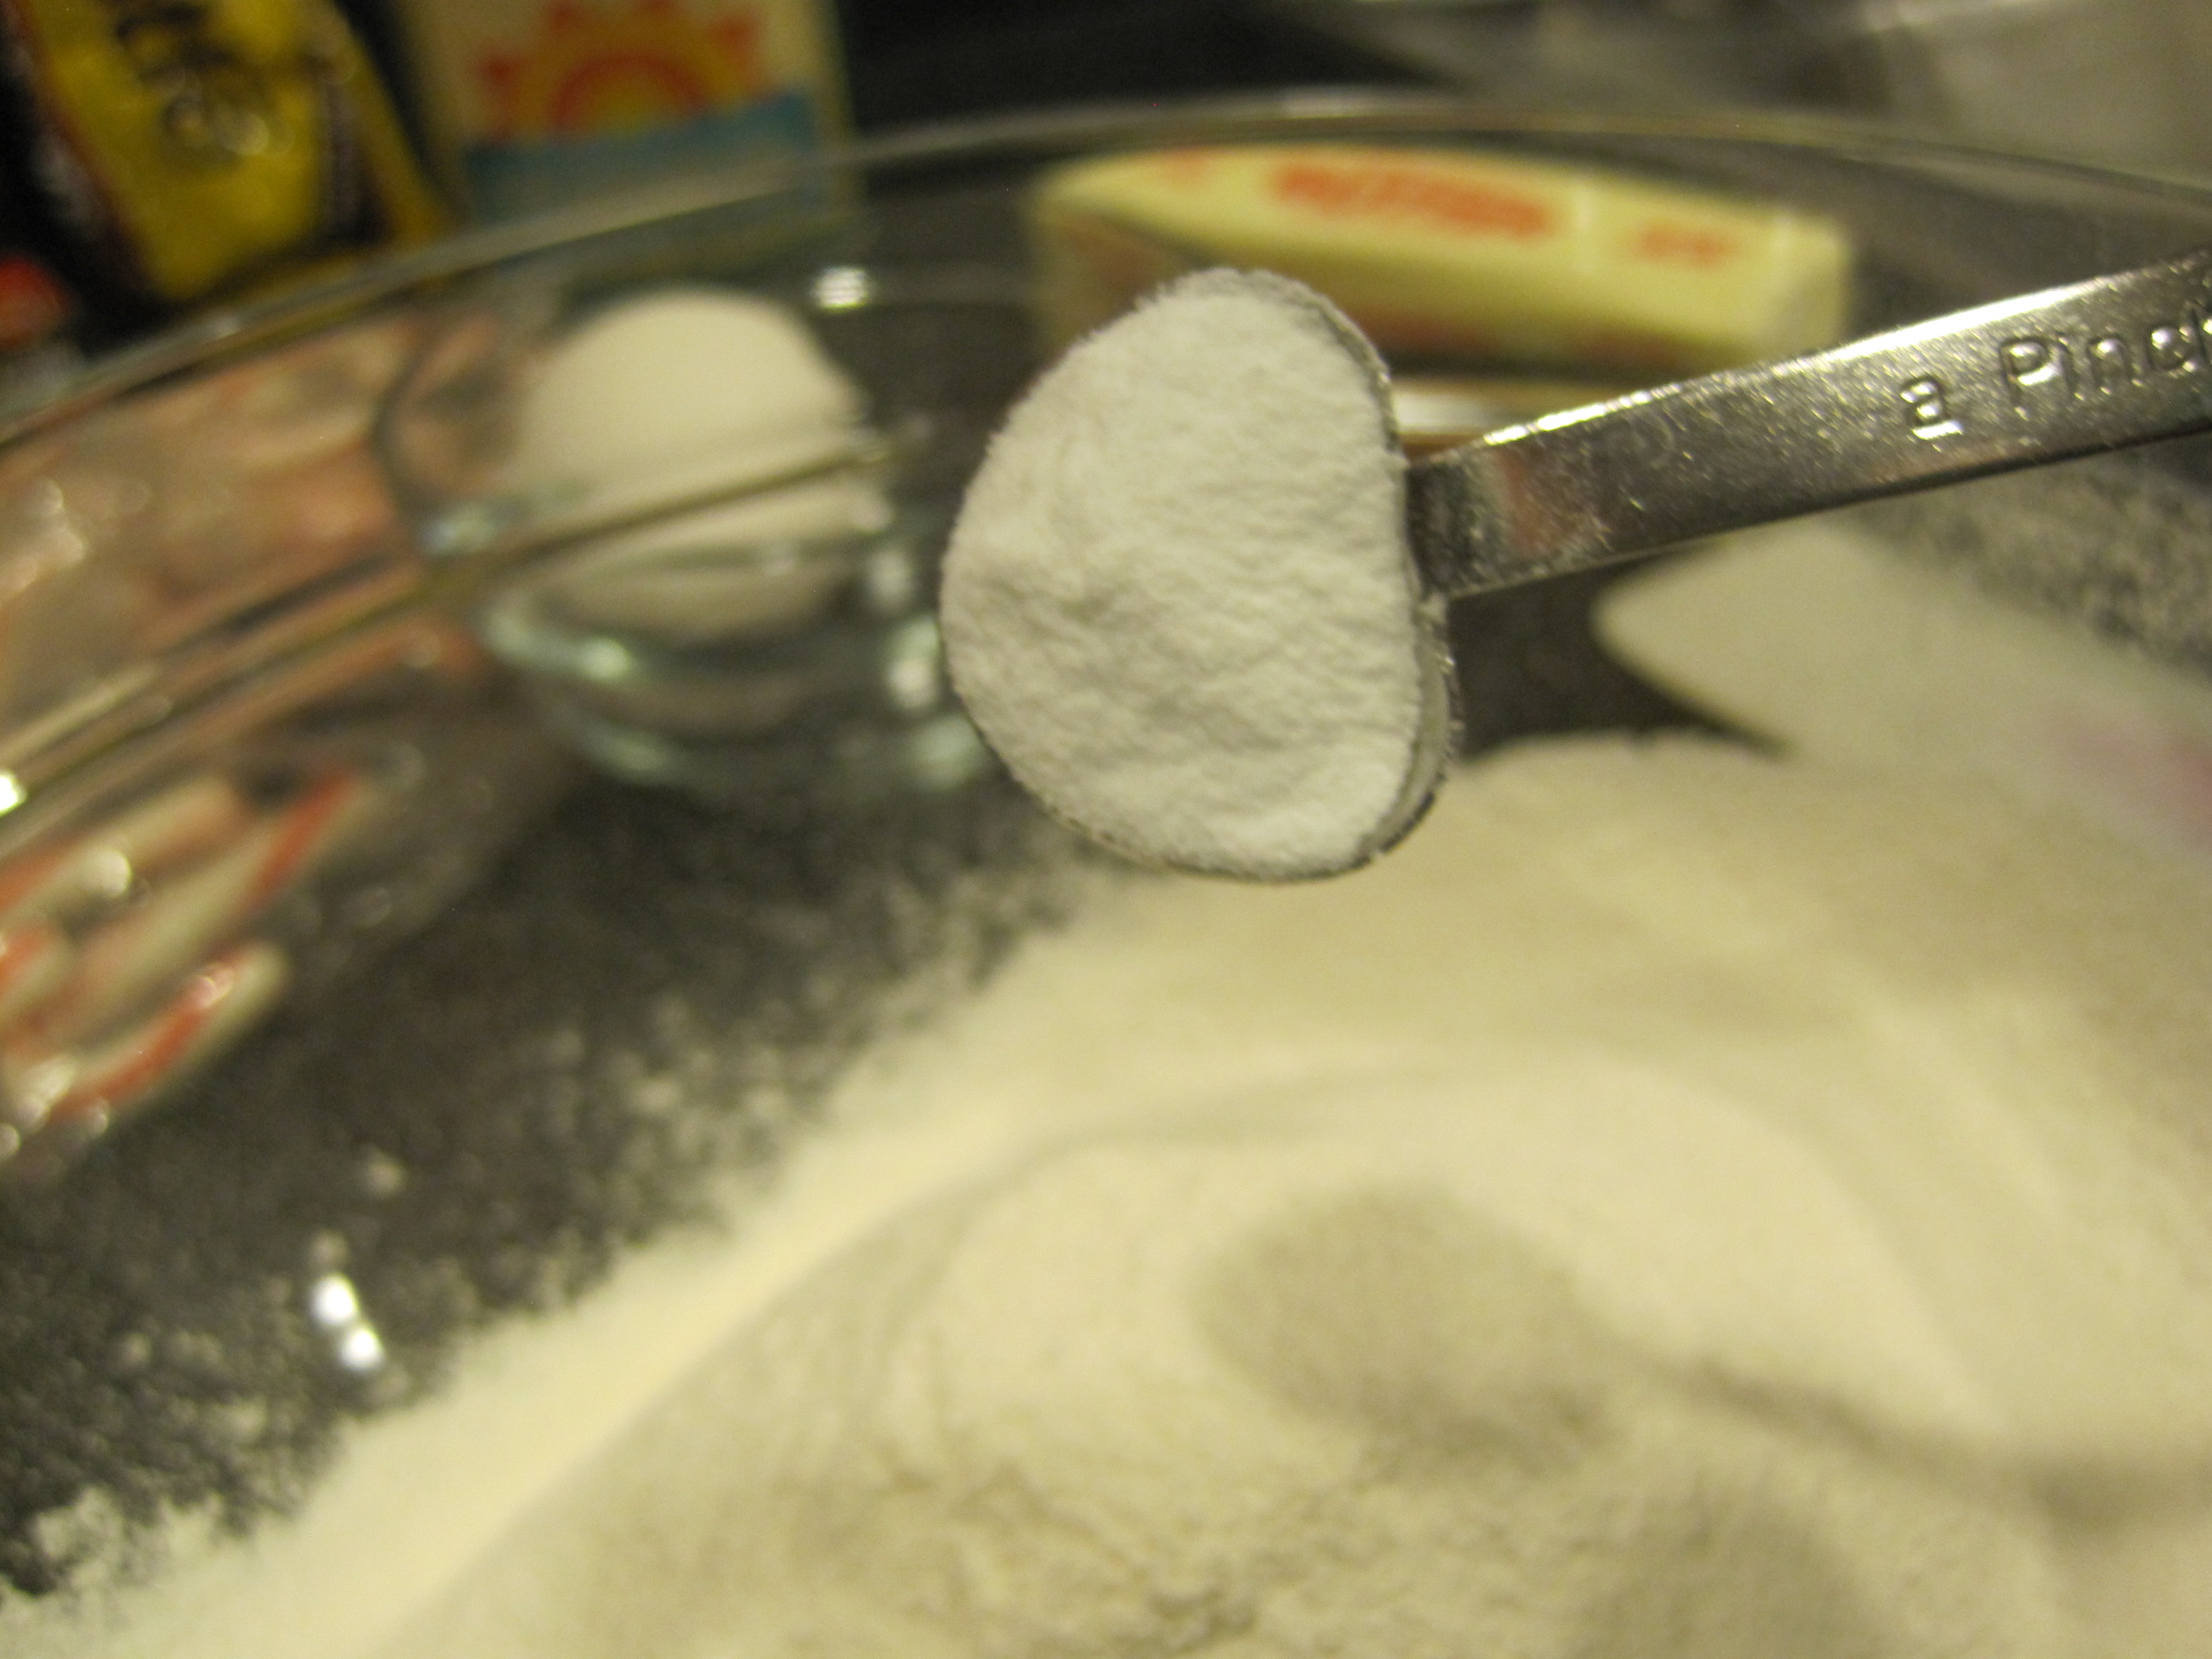
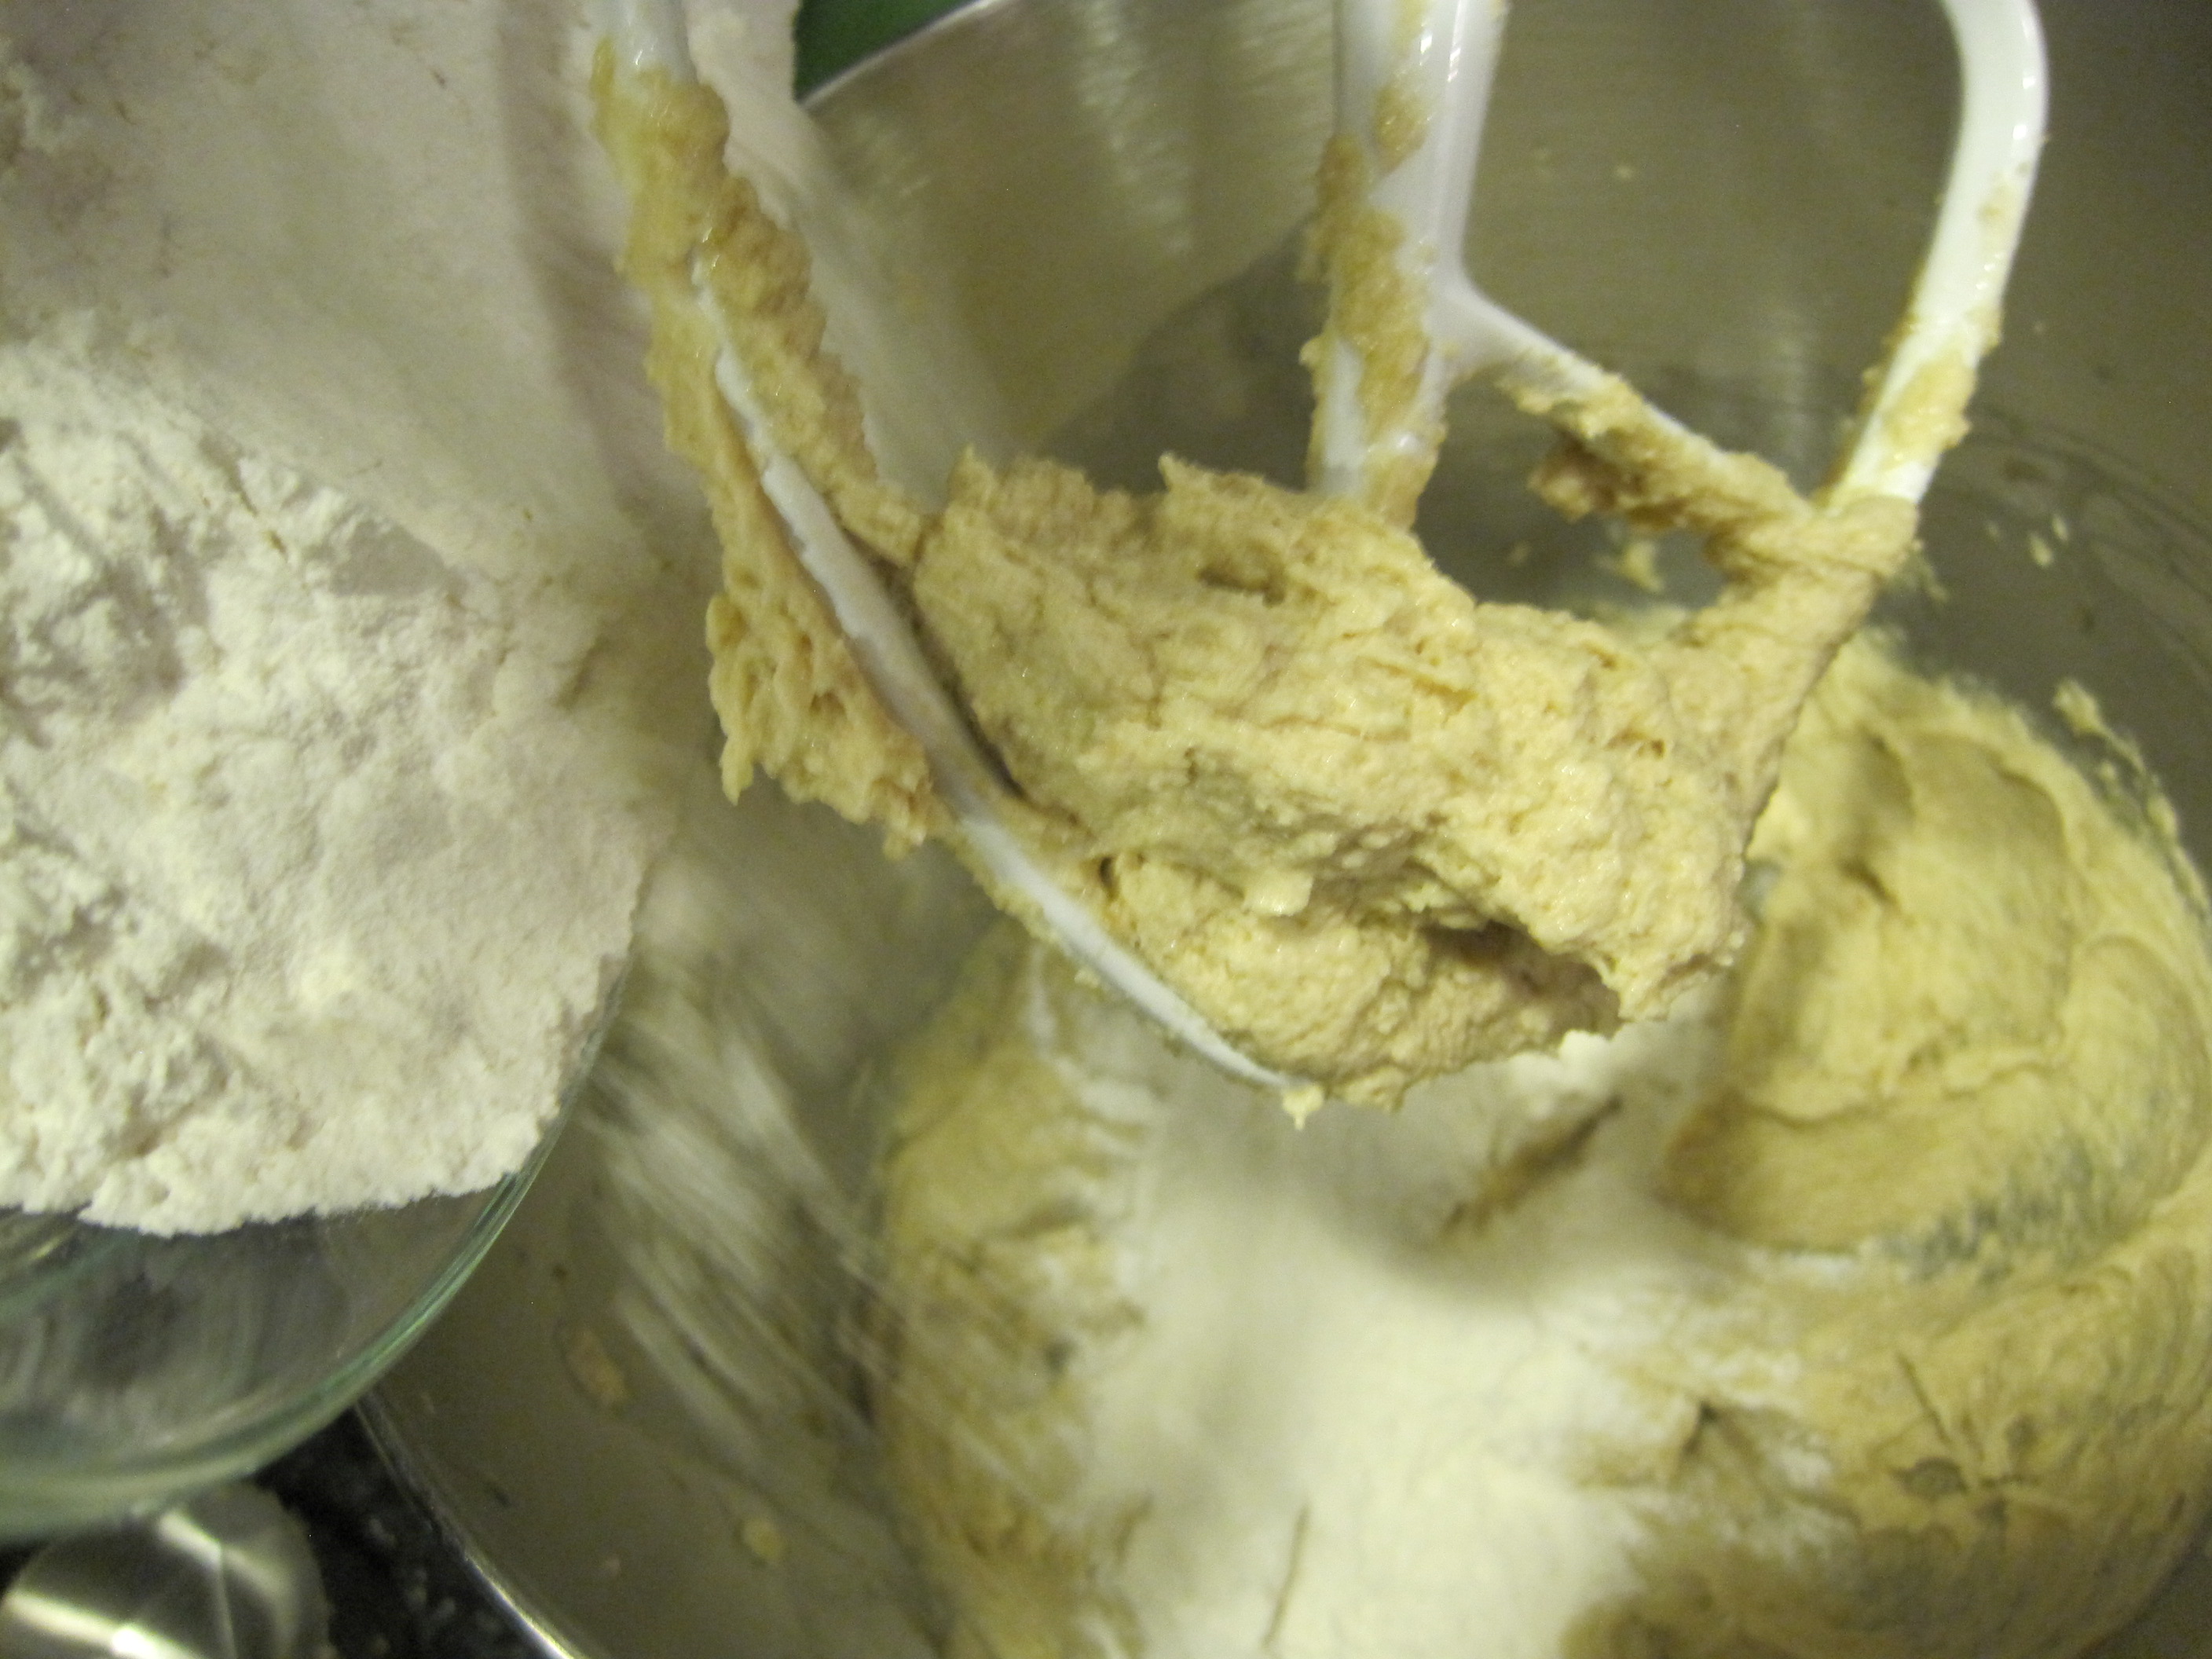
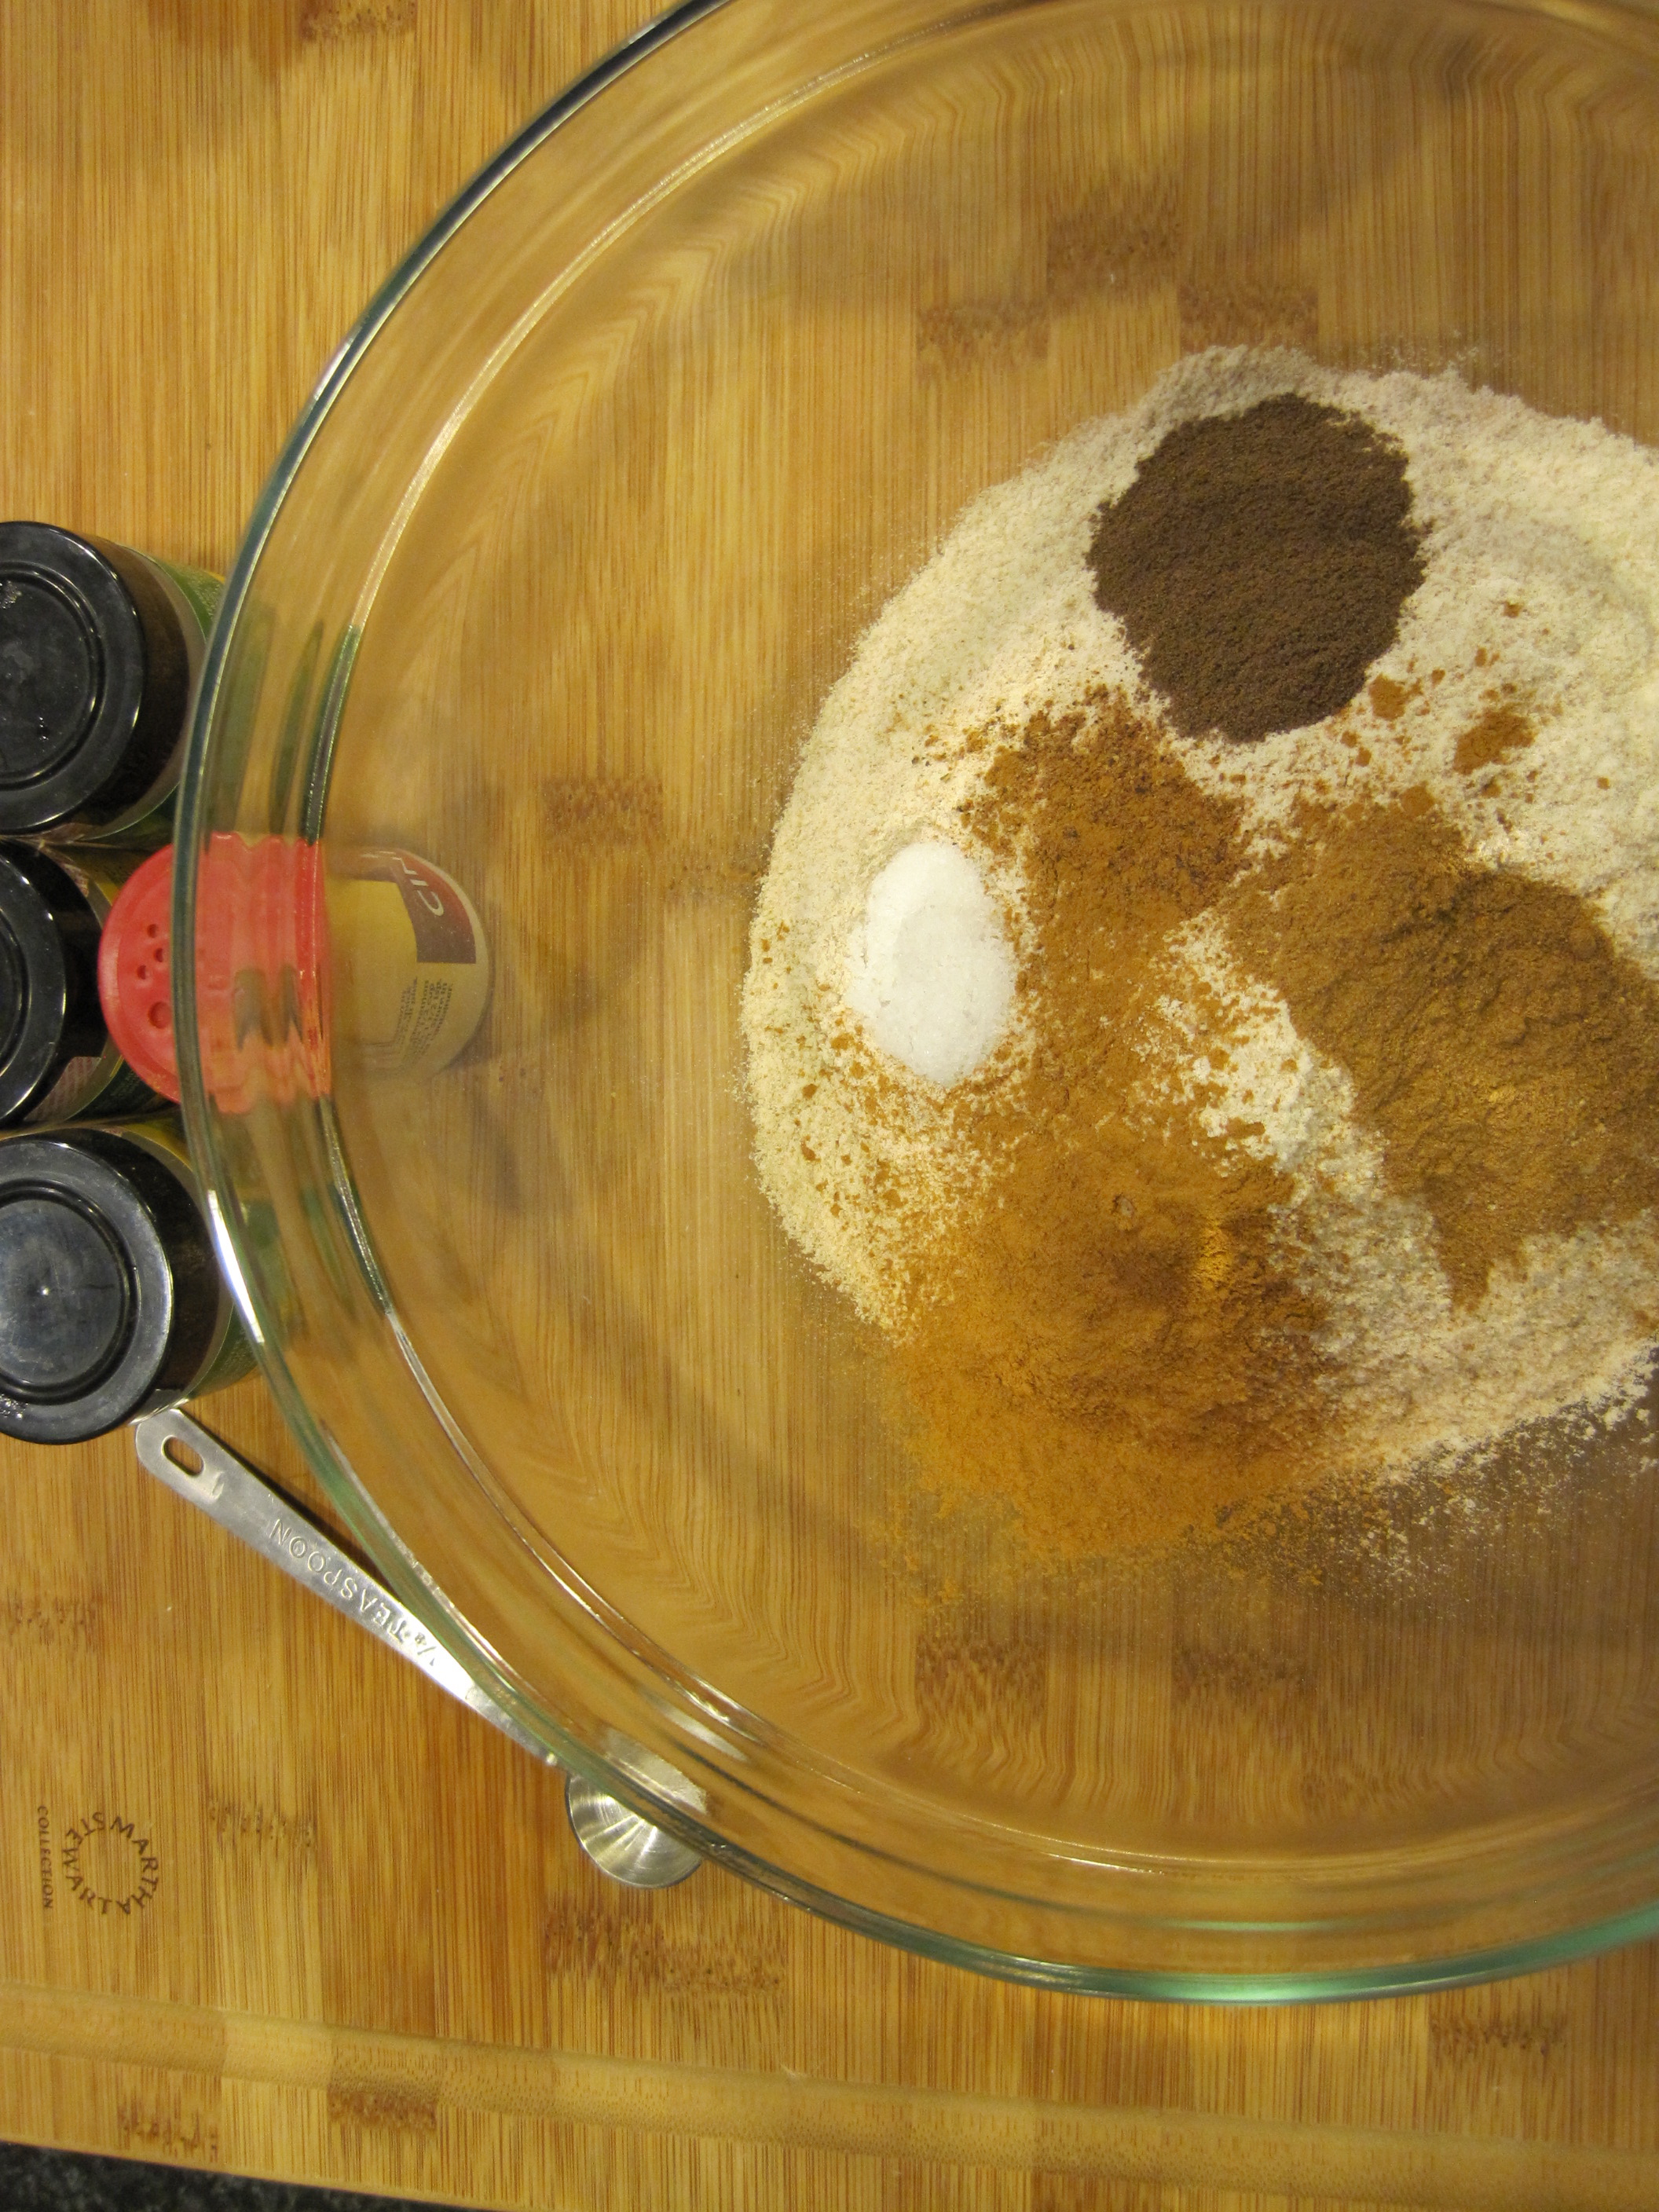
sift flour with baking powder. add sea salt and mix well.

IMG_8065

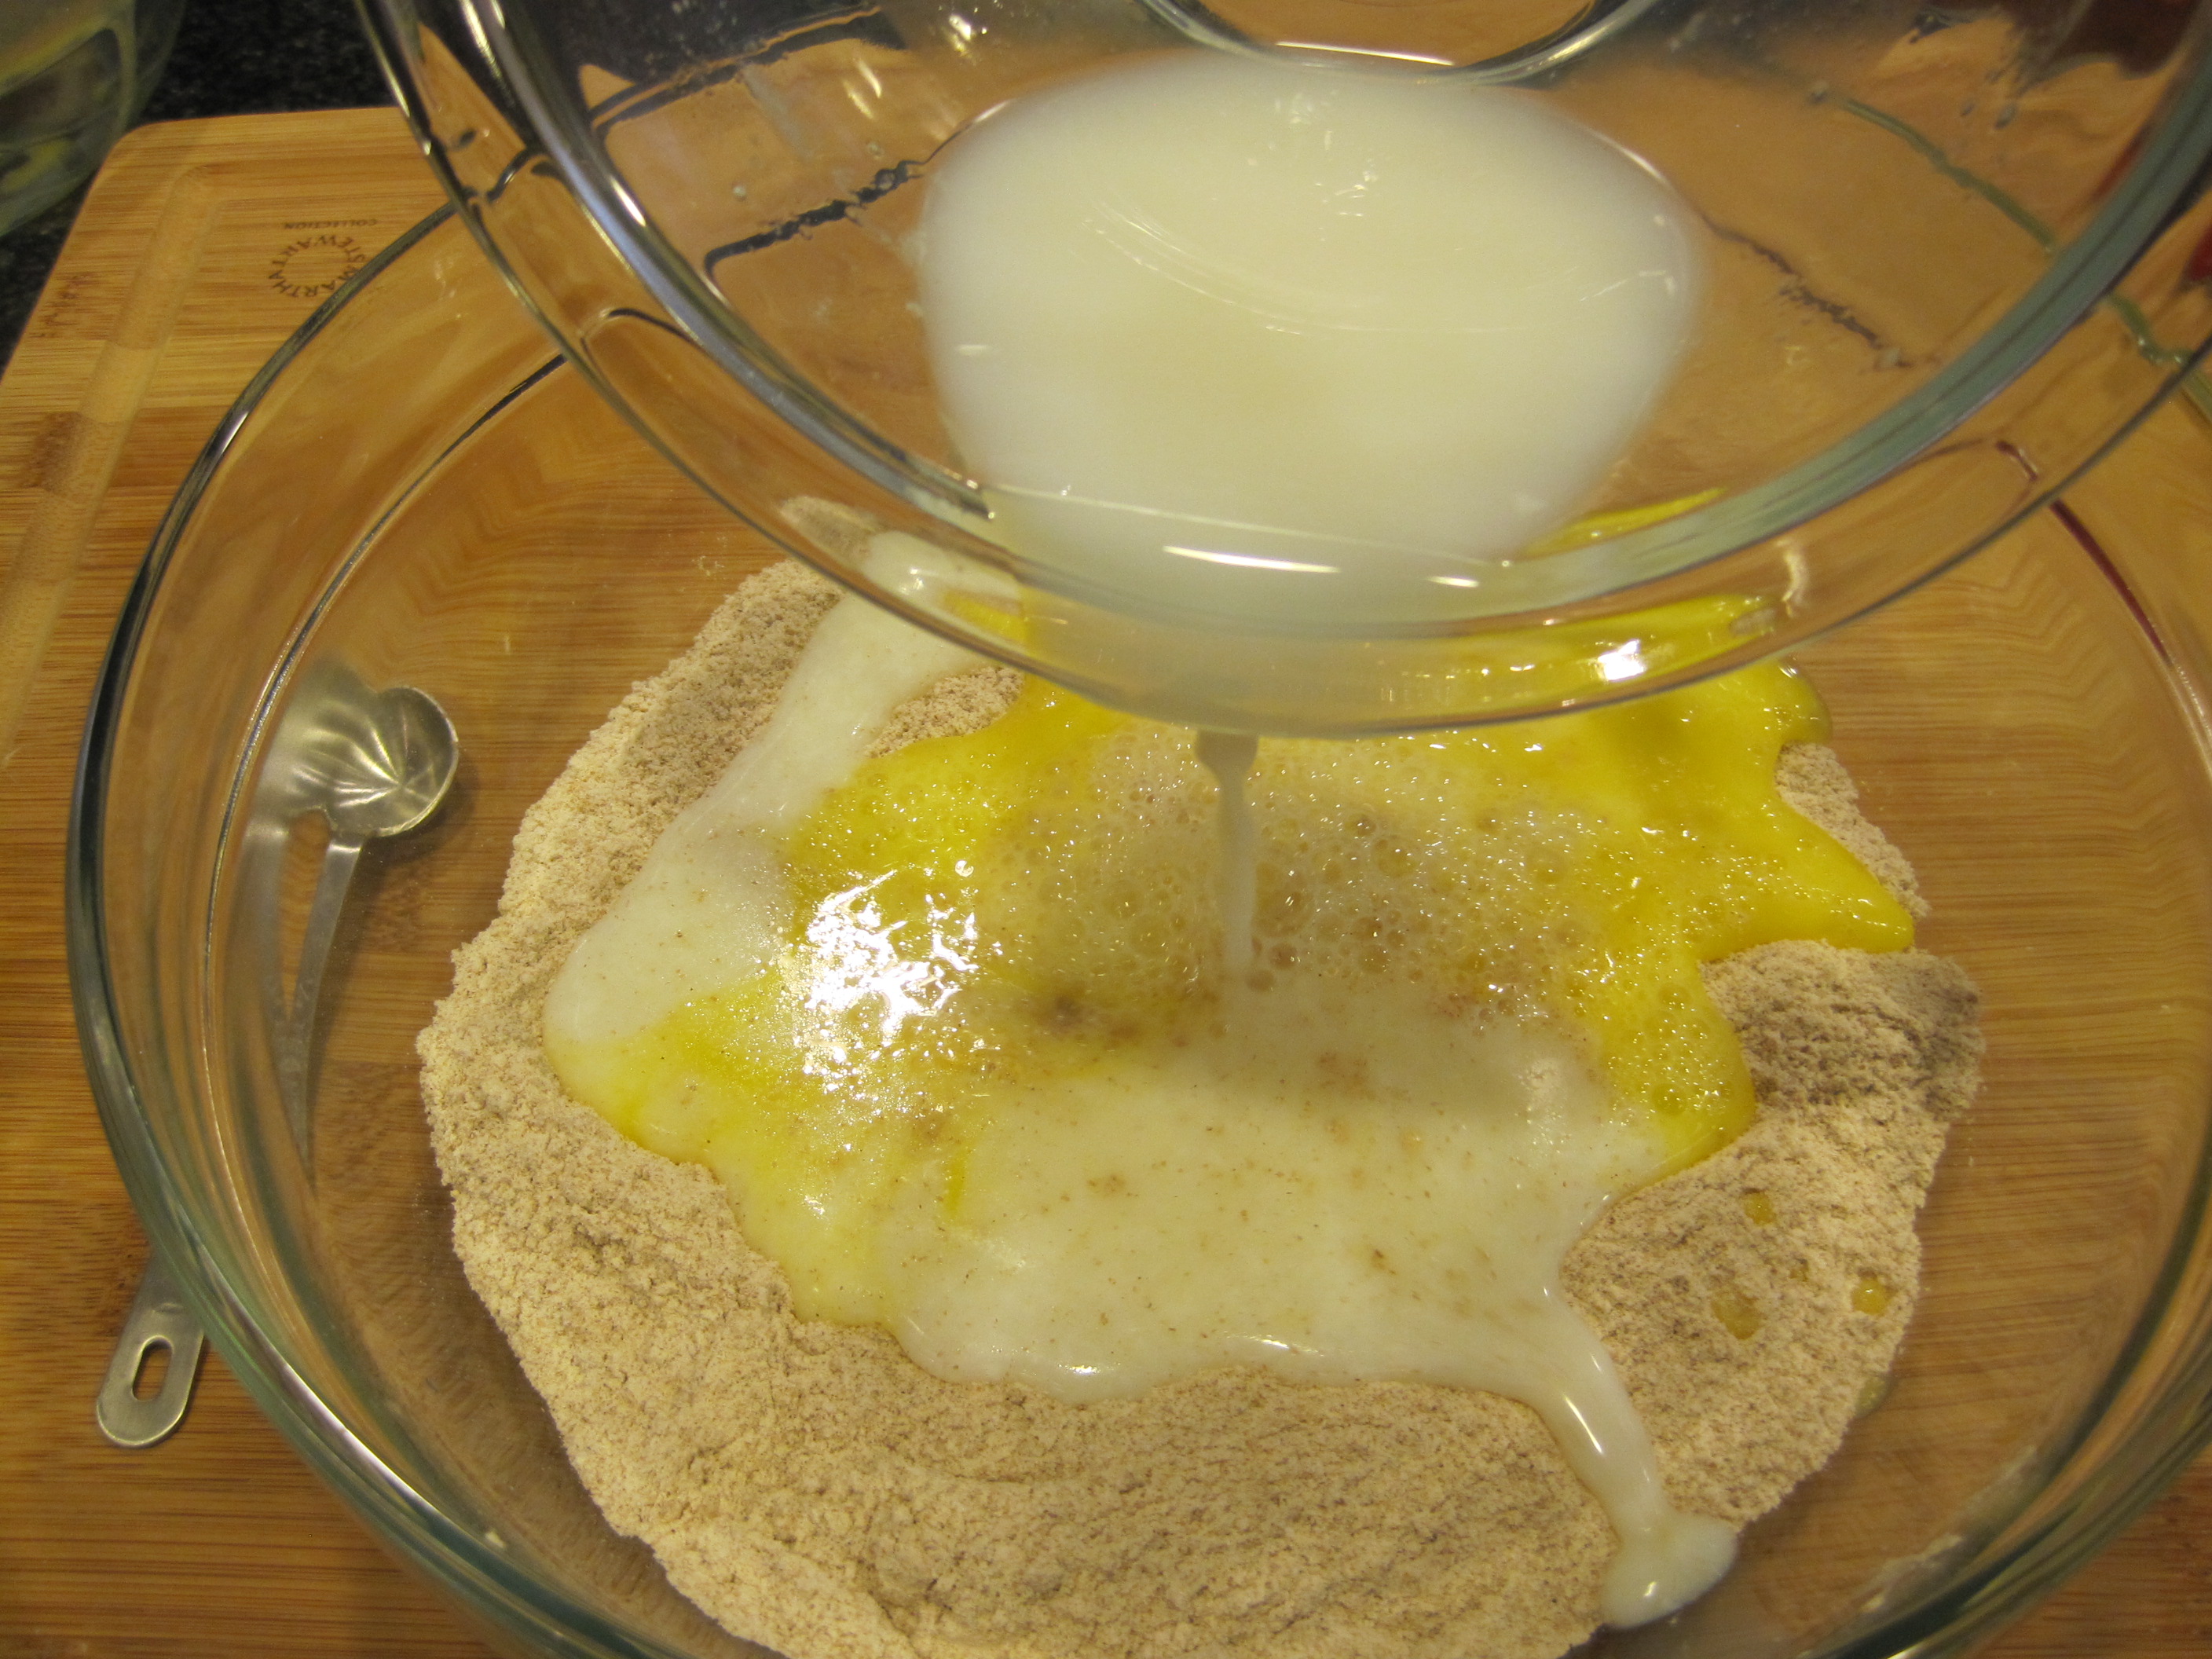
egg whites waiting to be added to the cake batter.

IMG_8066

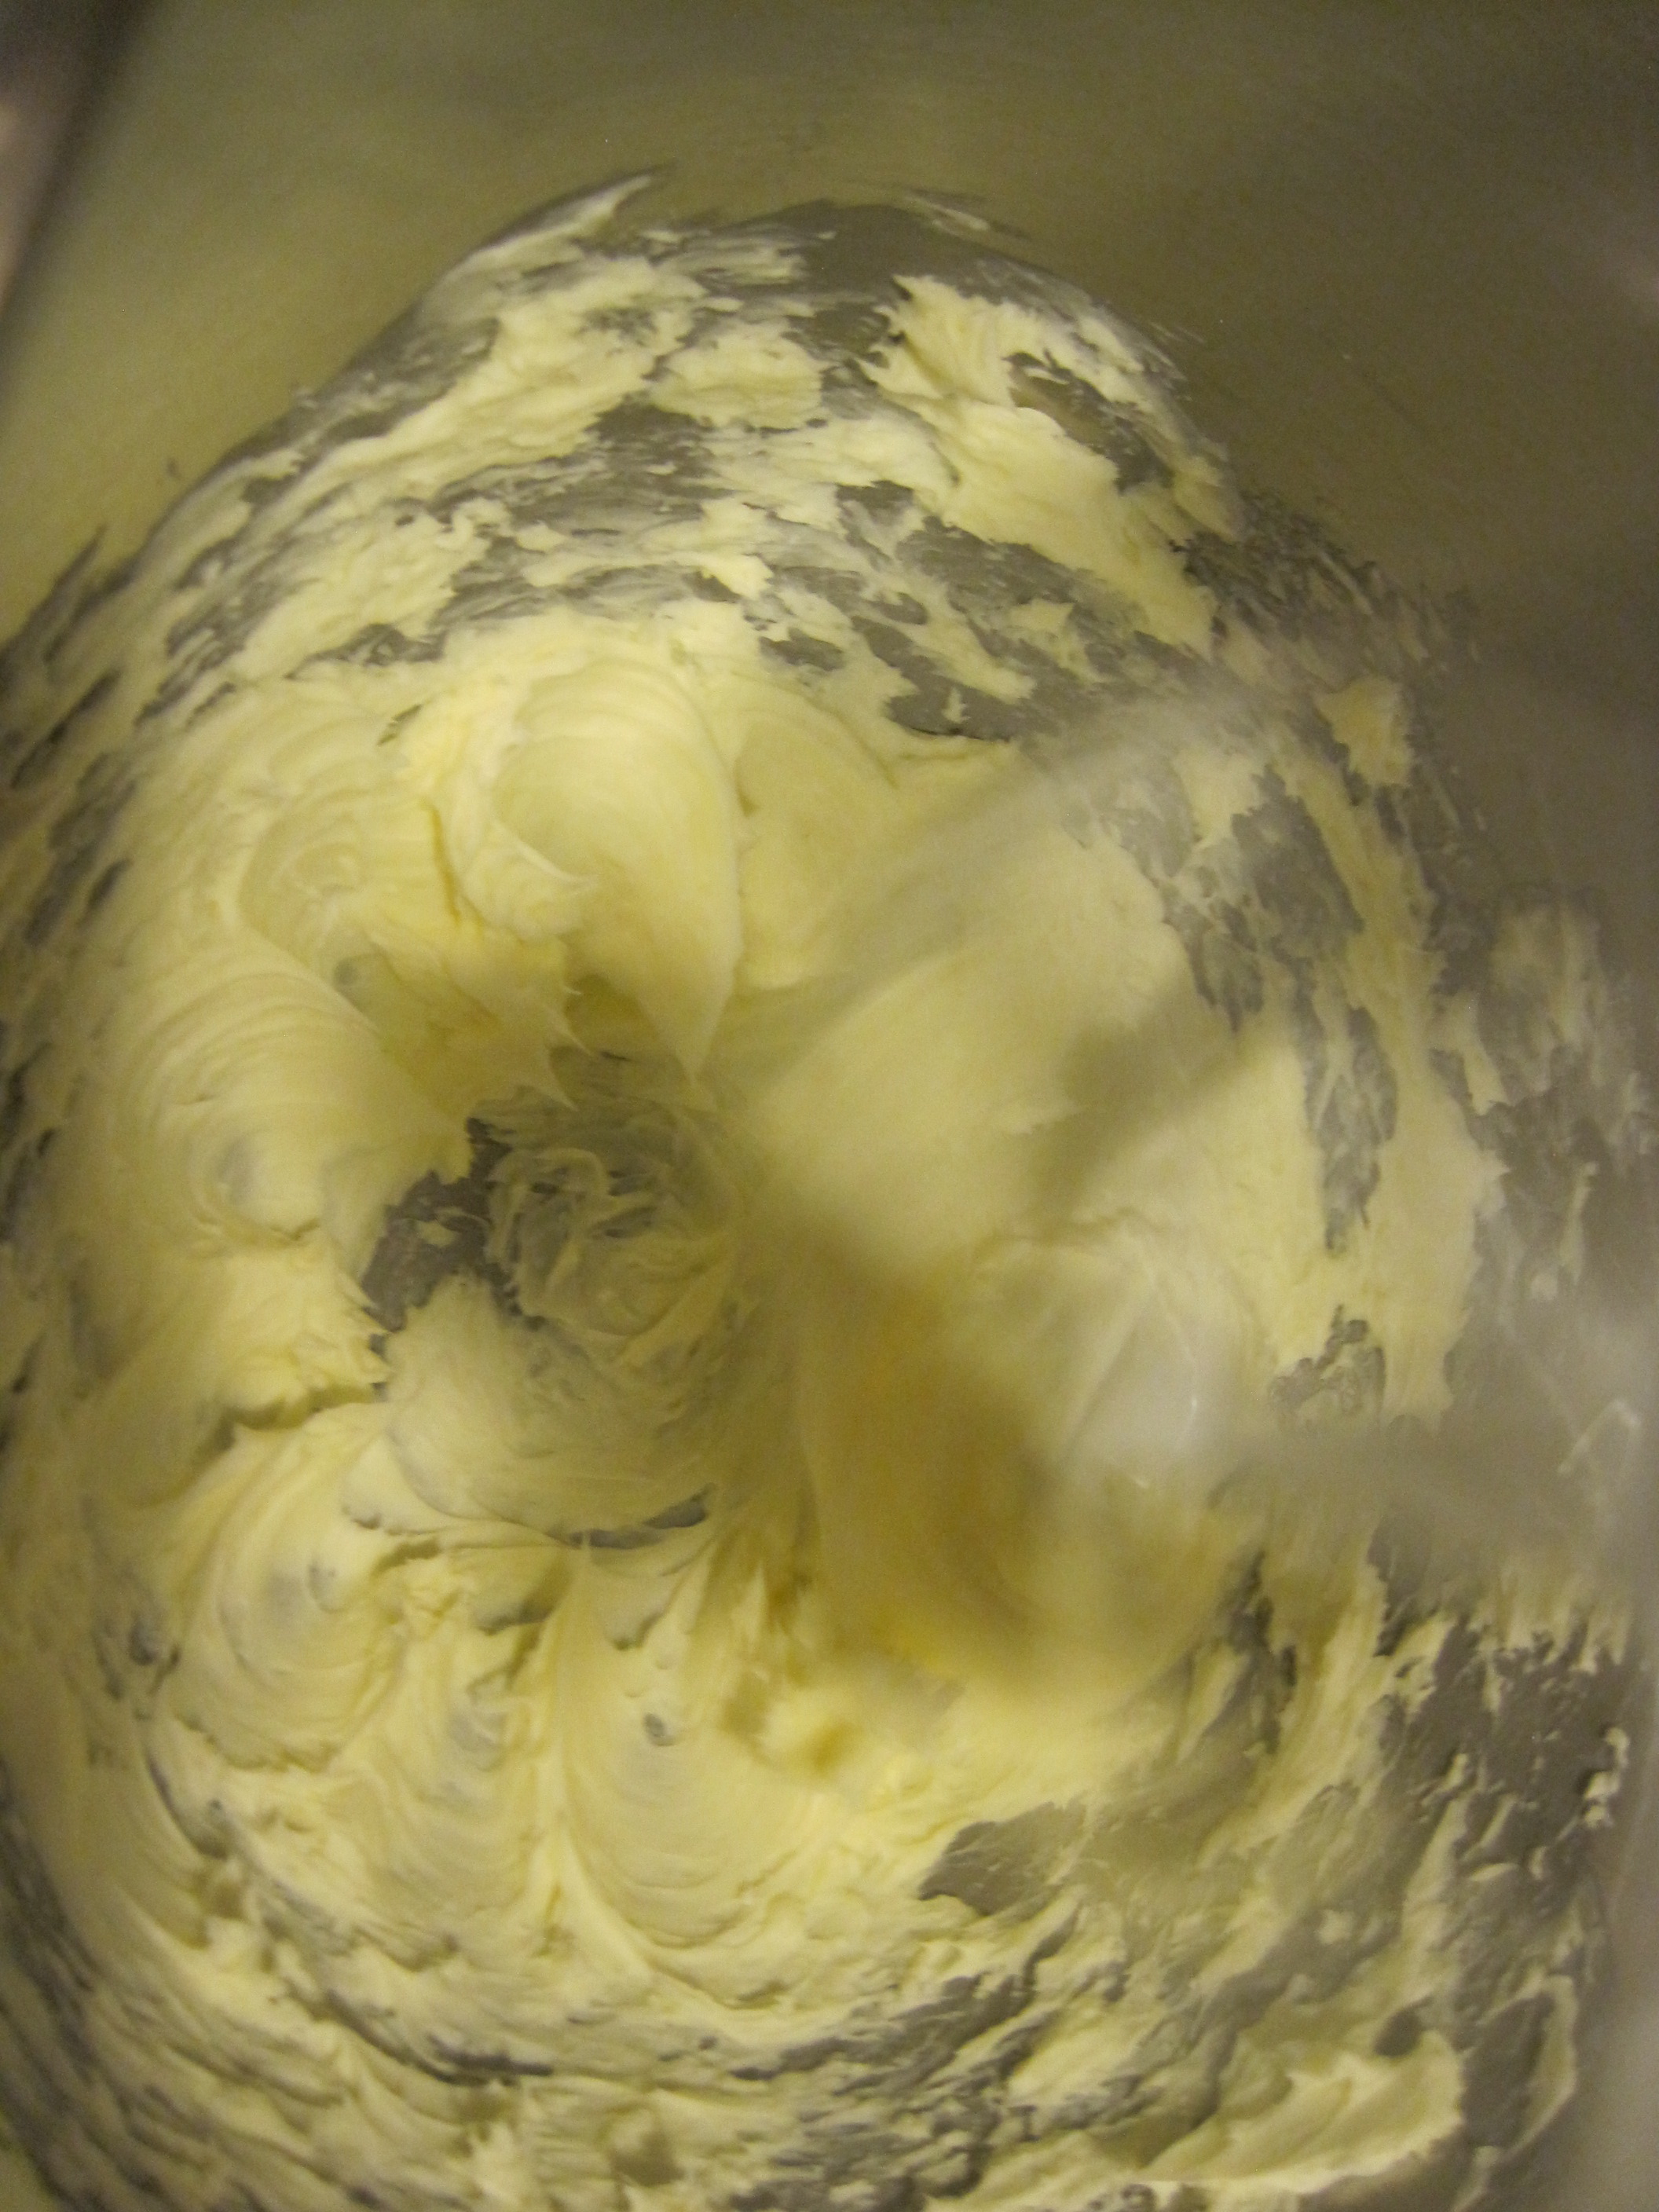
dice up butter before creaming.

IMG_8069

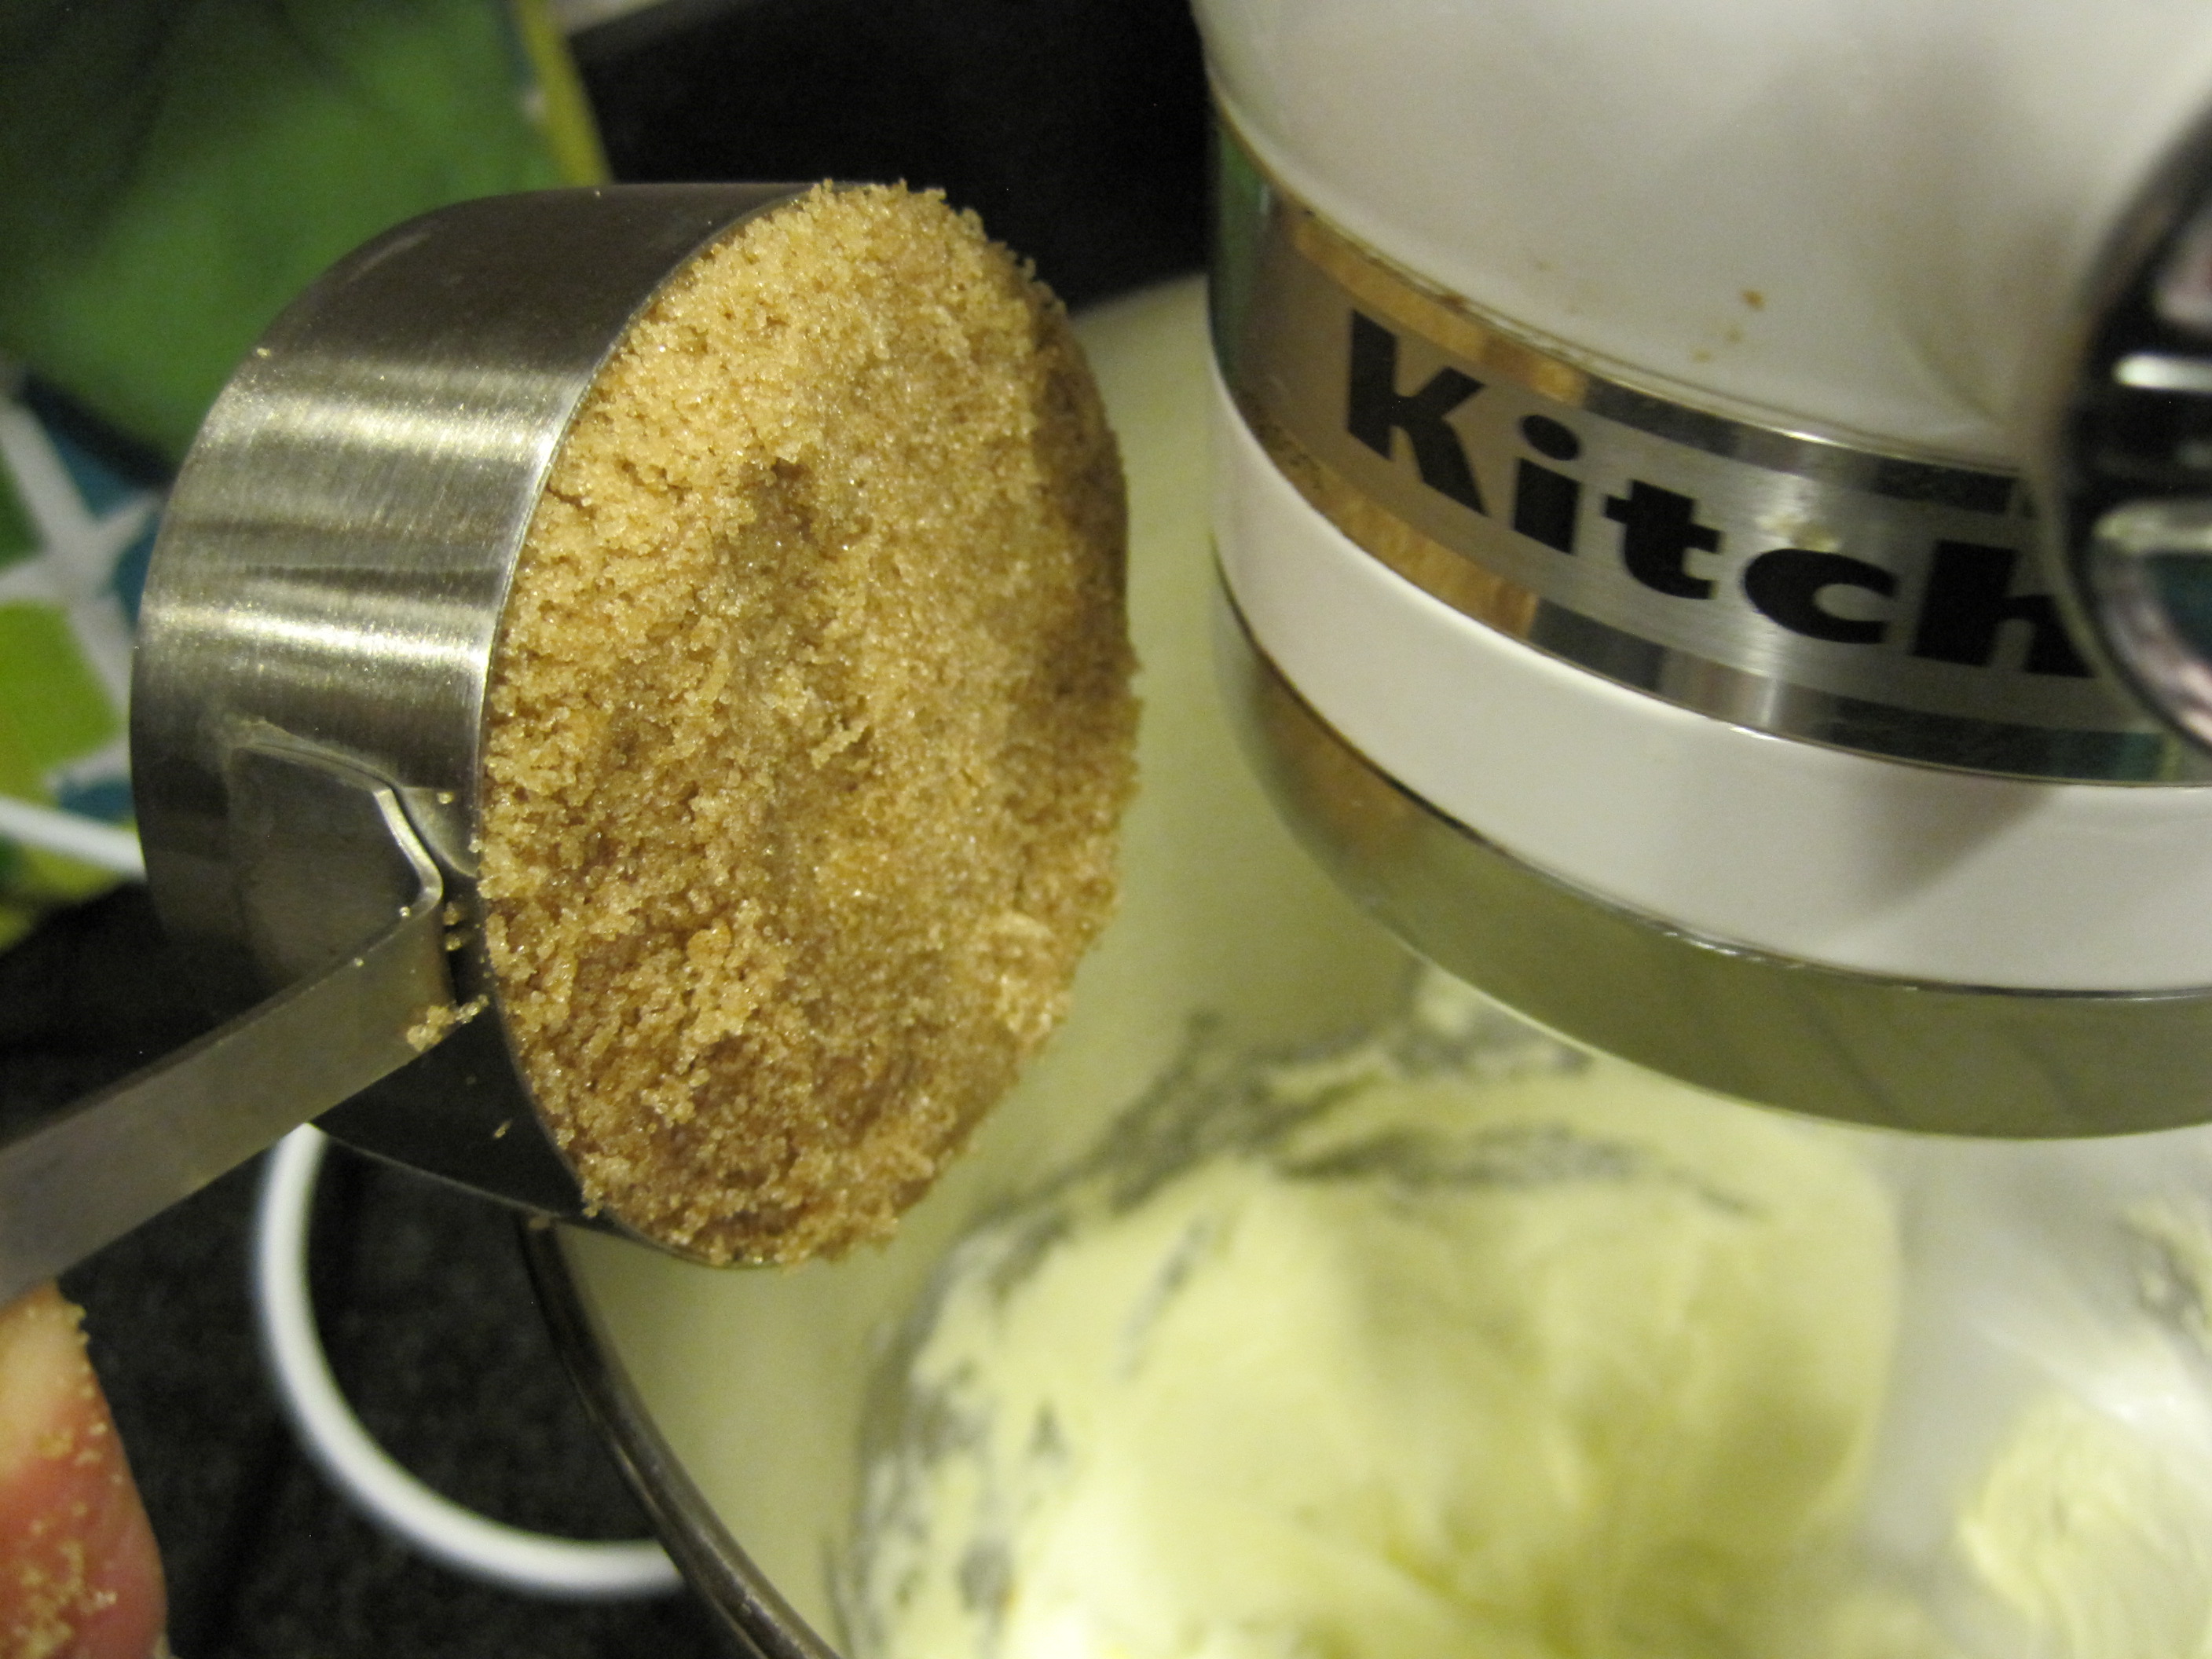
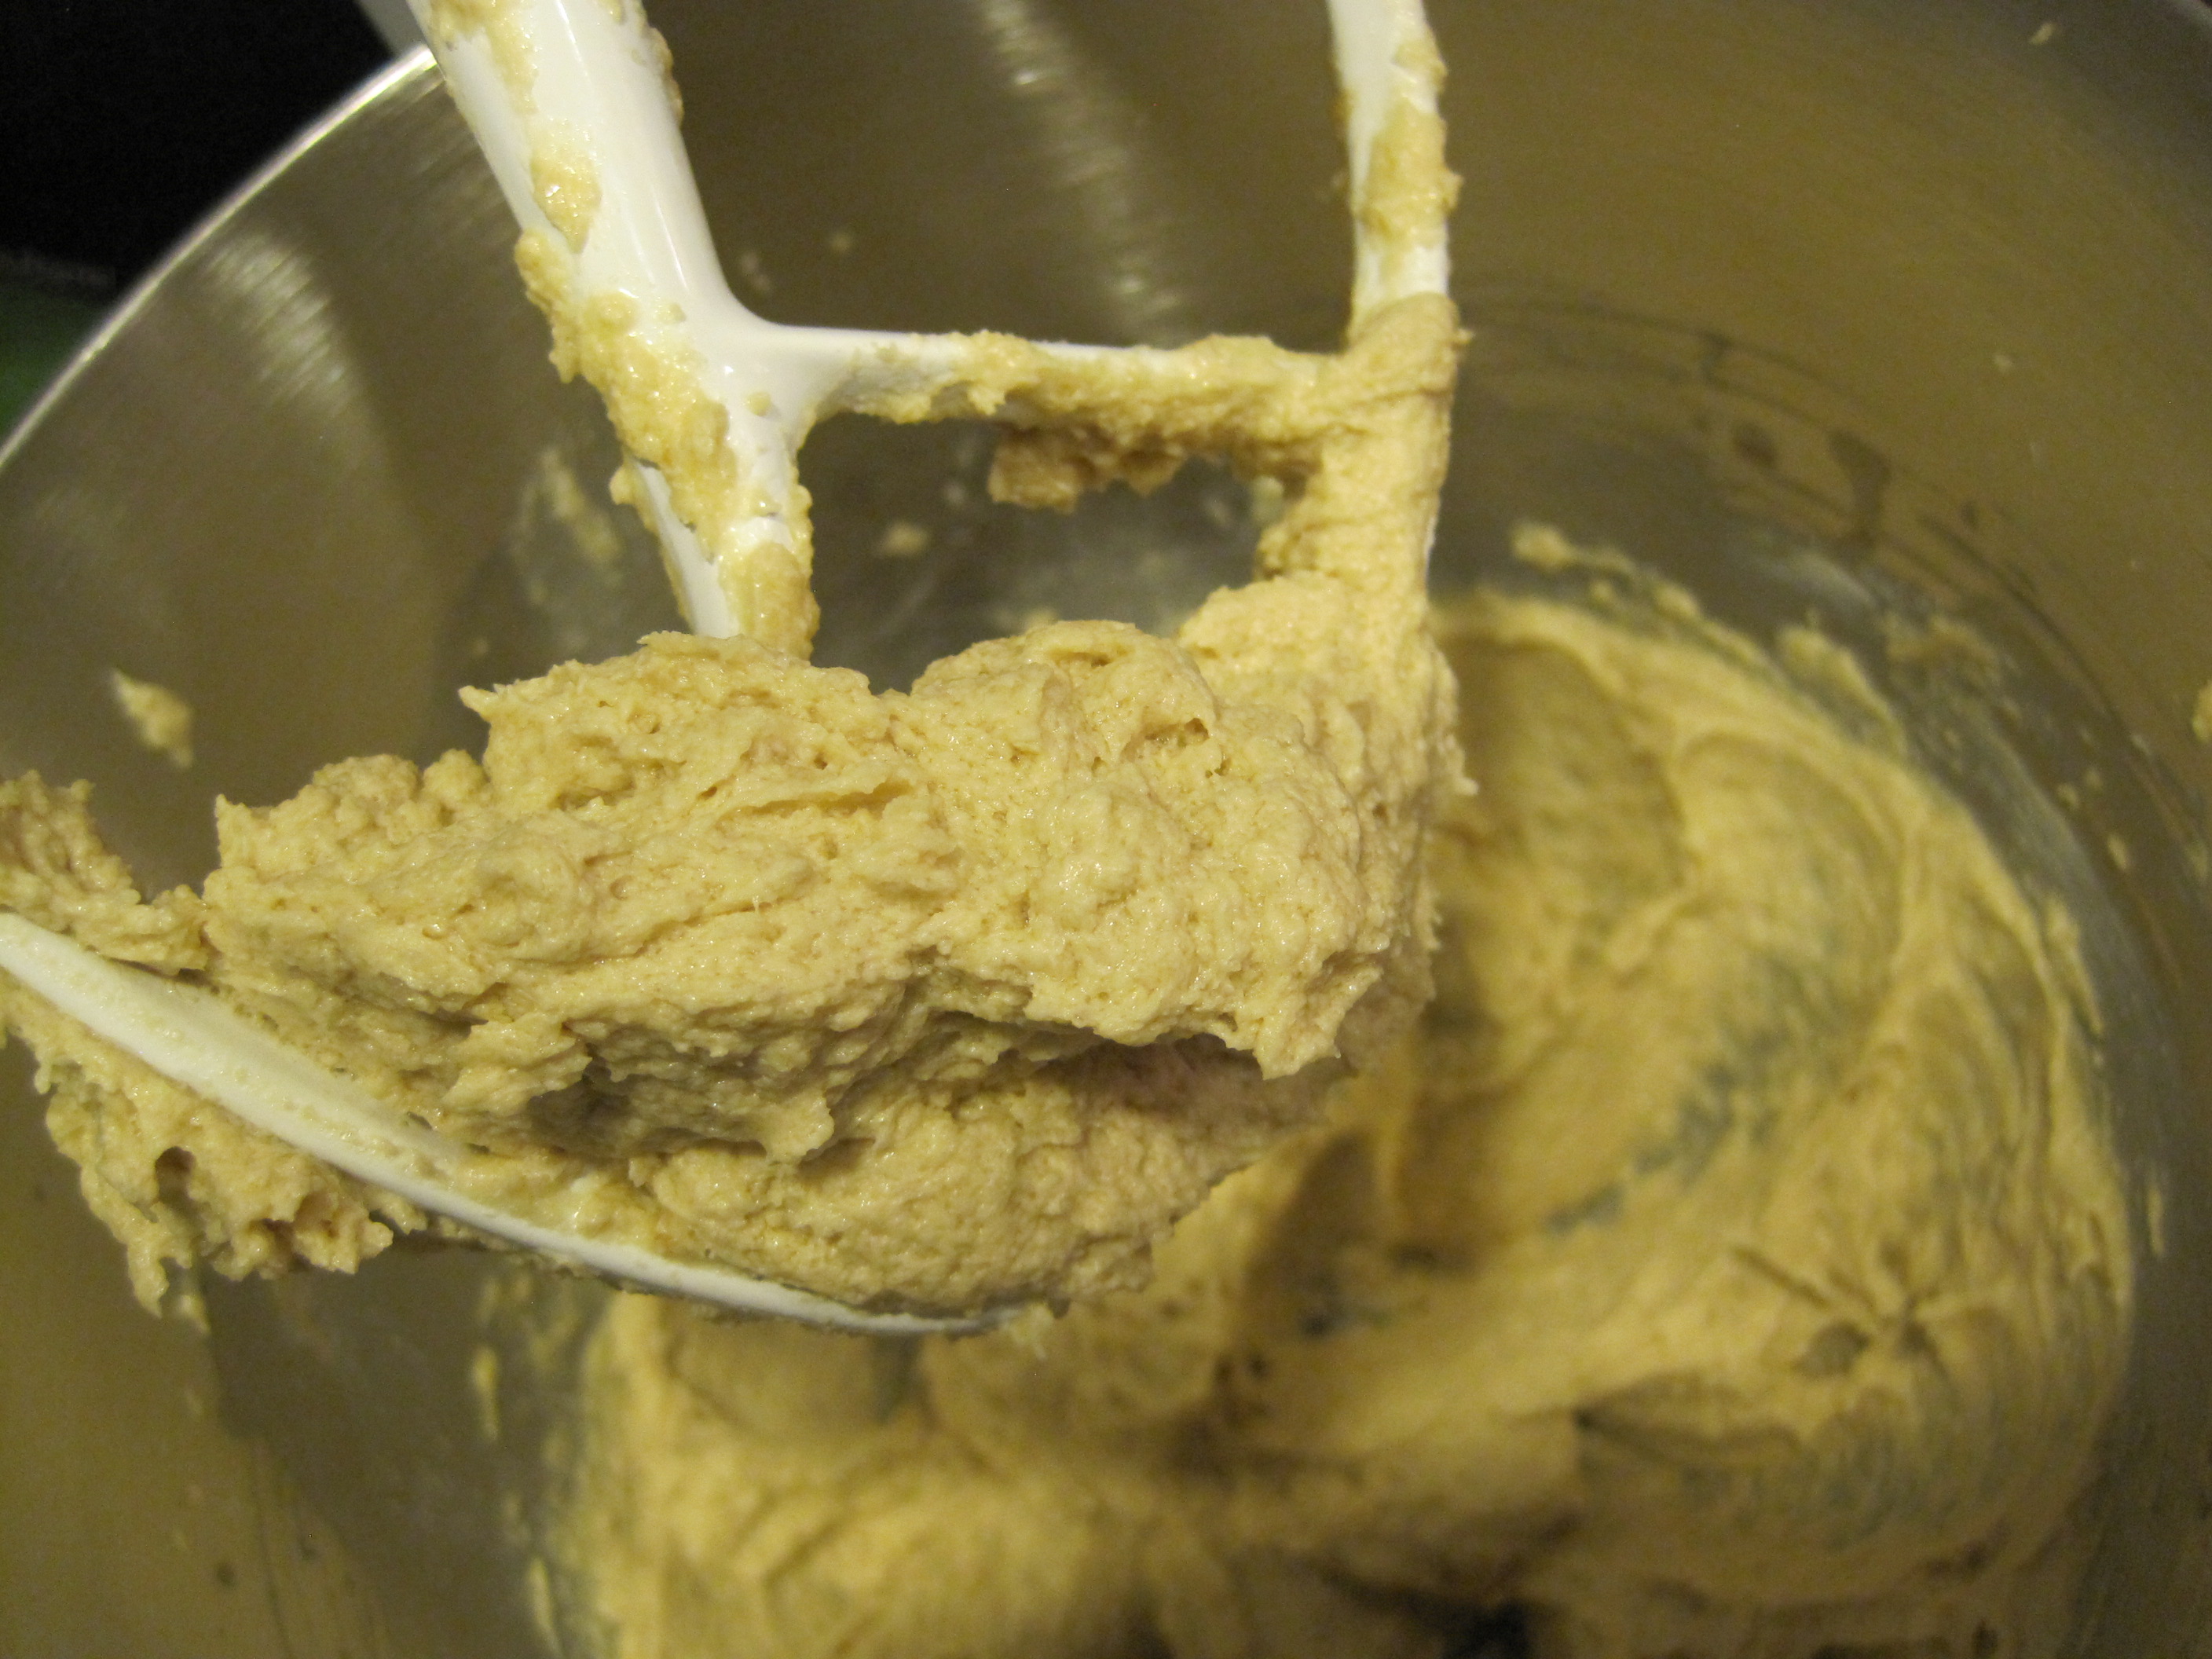
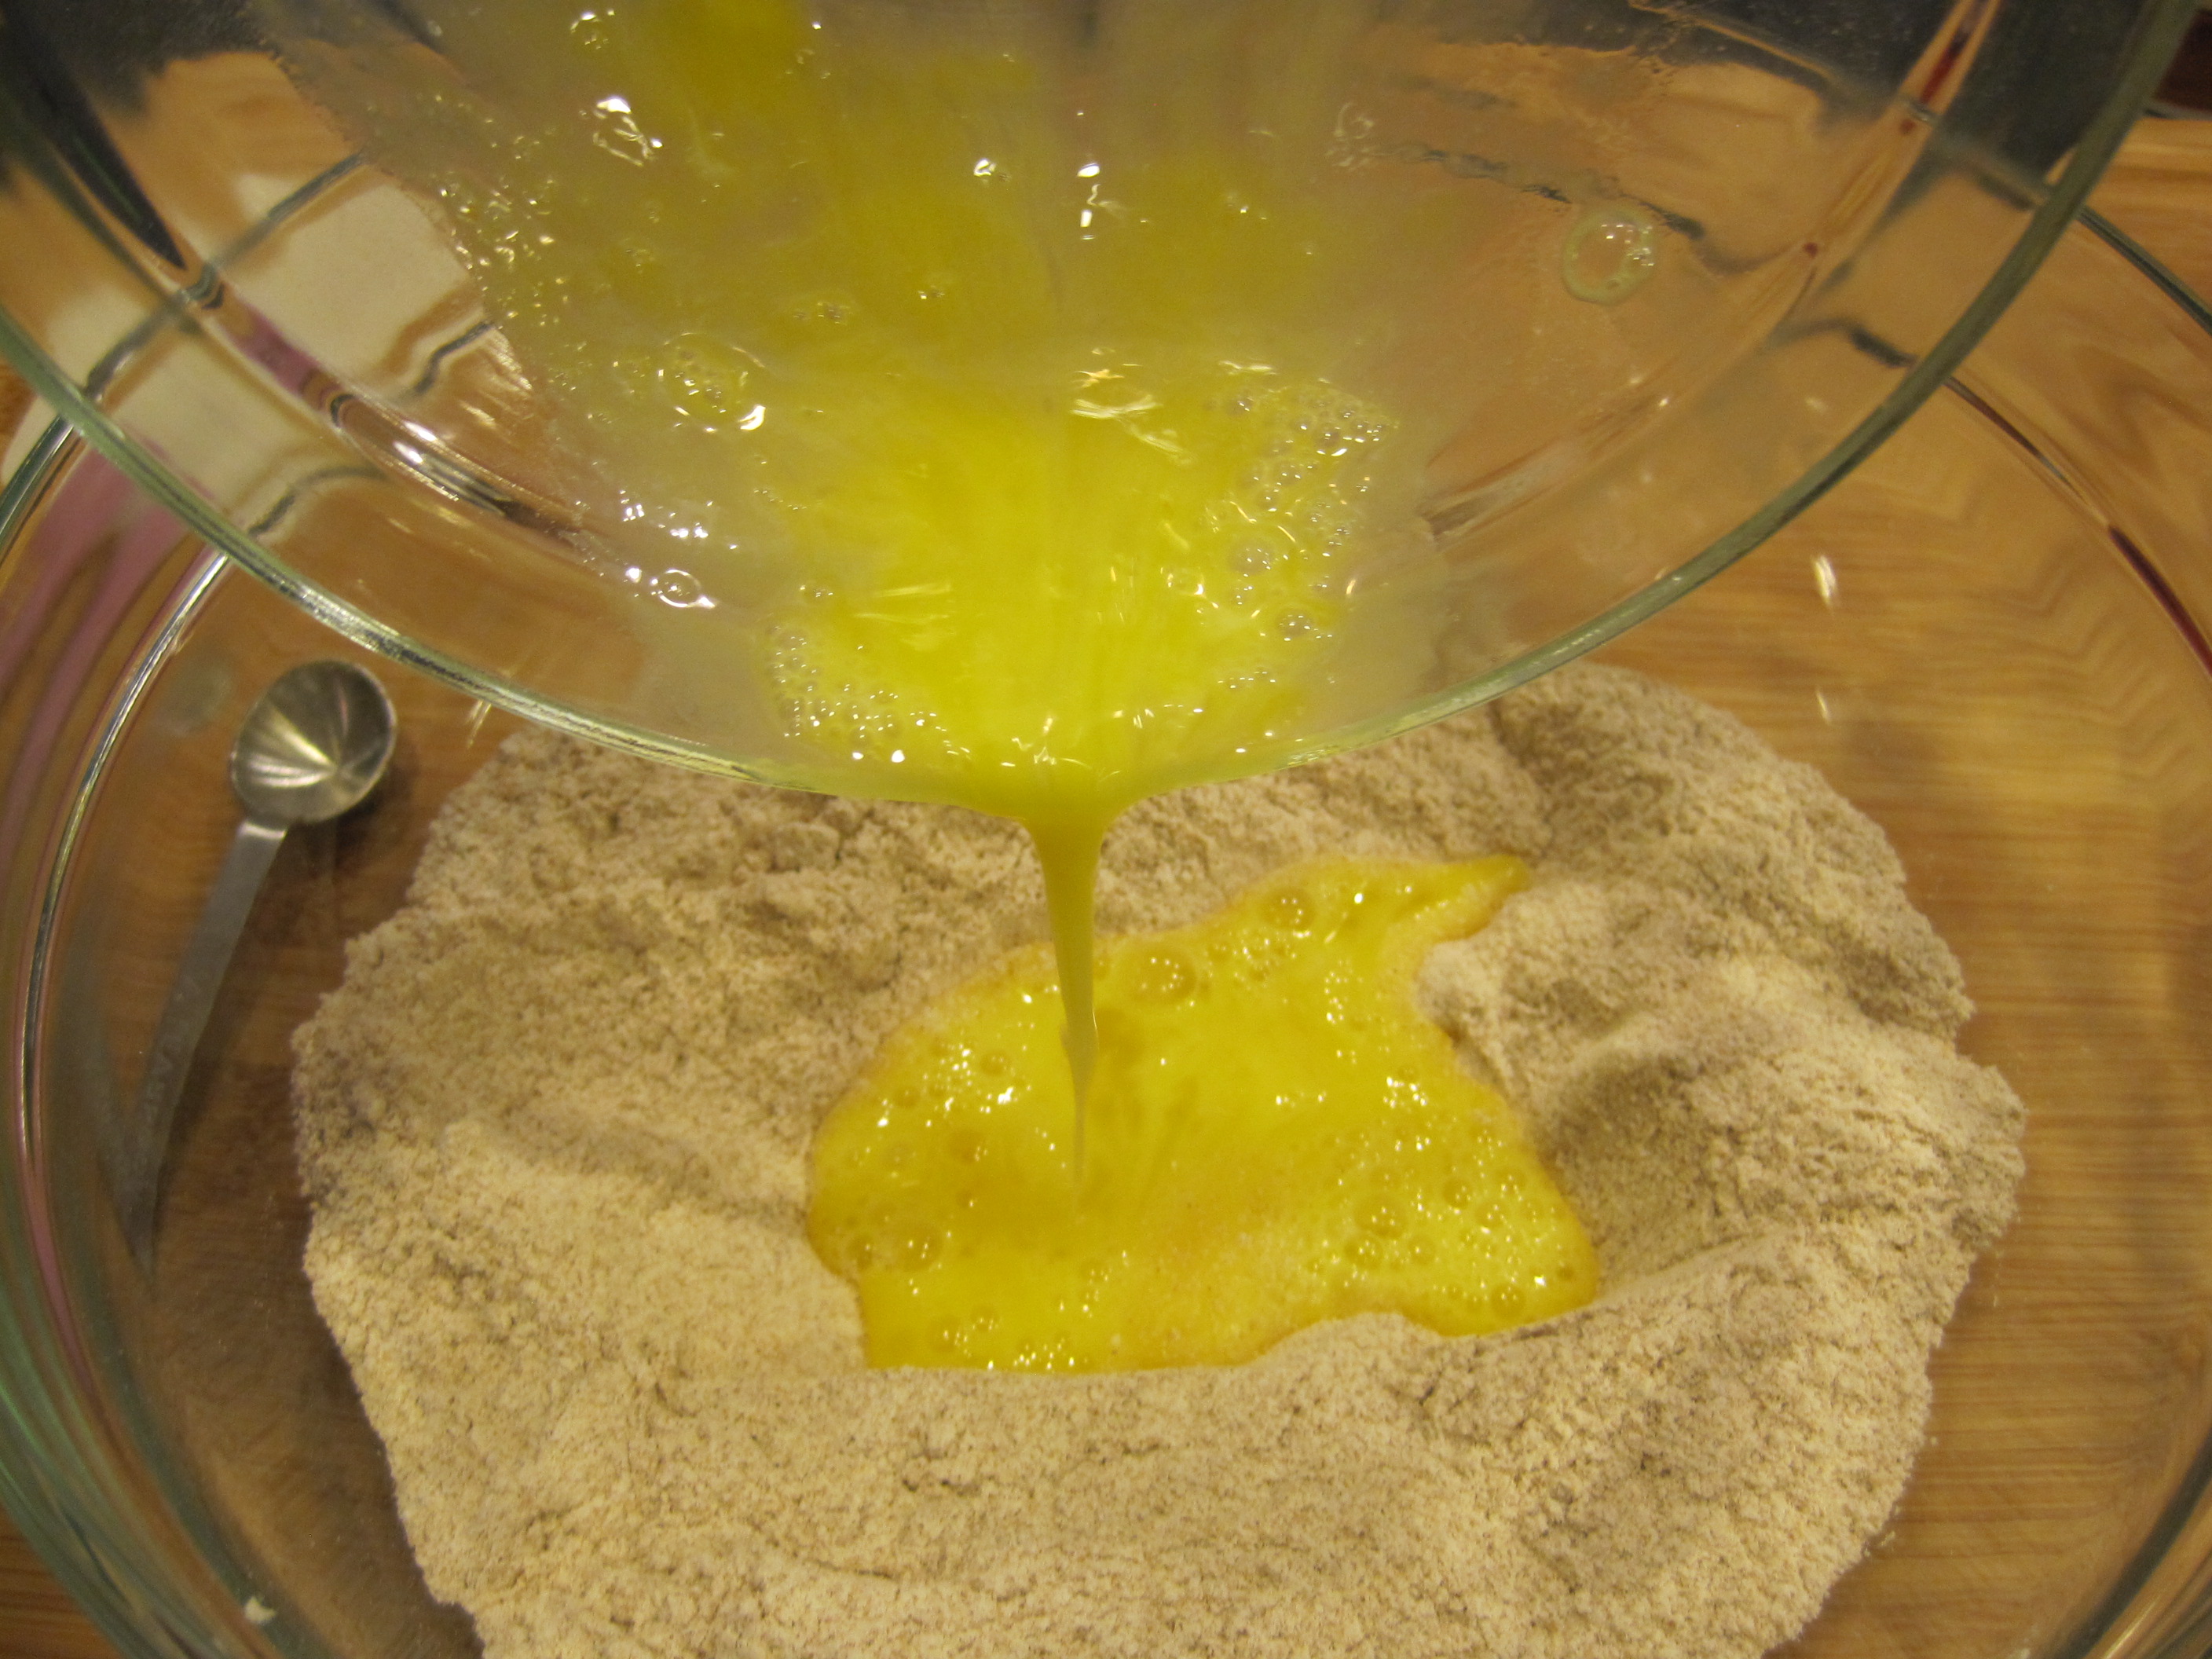
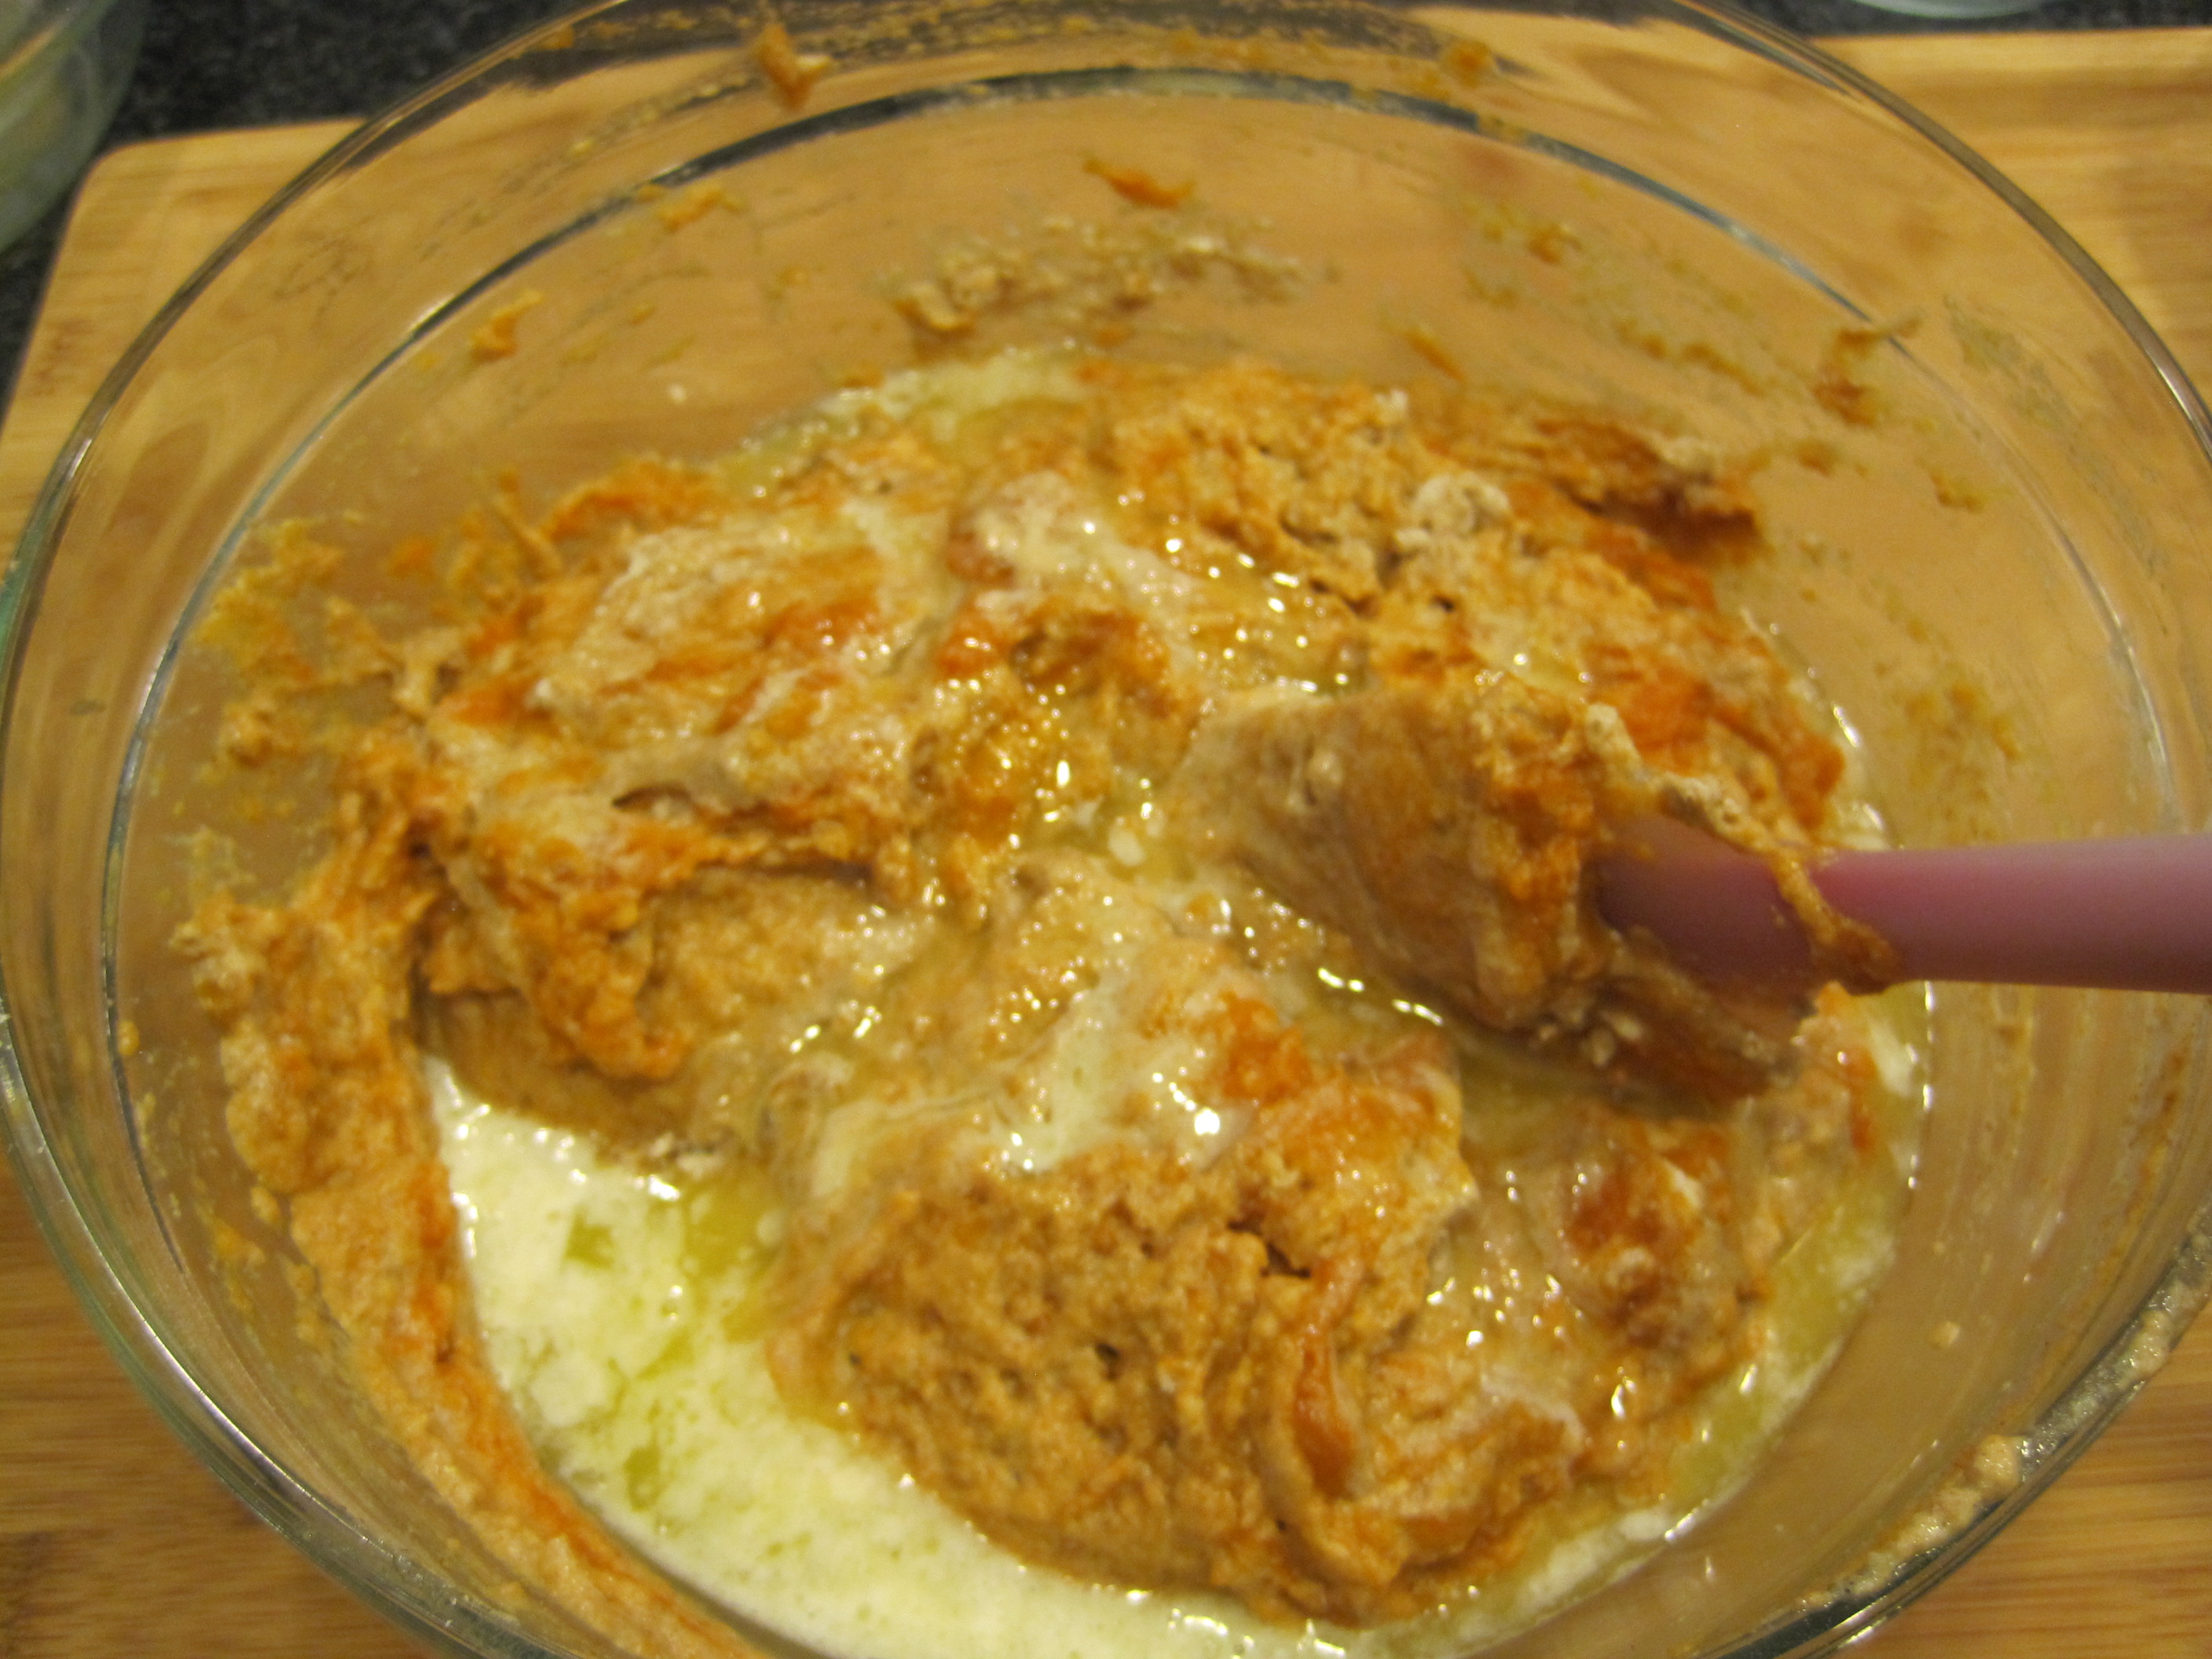
add sugar, yolks, milk and vanilla.

IMG_8072

IMG_8075

IMG_8076

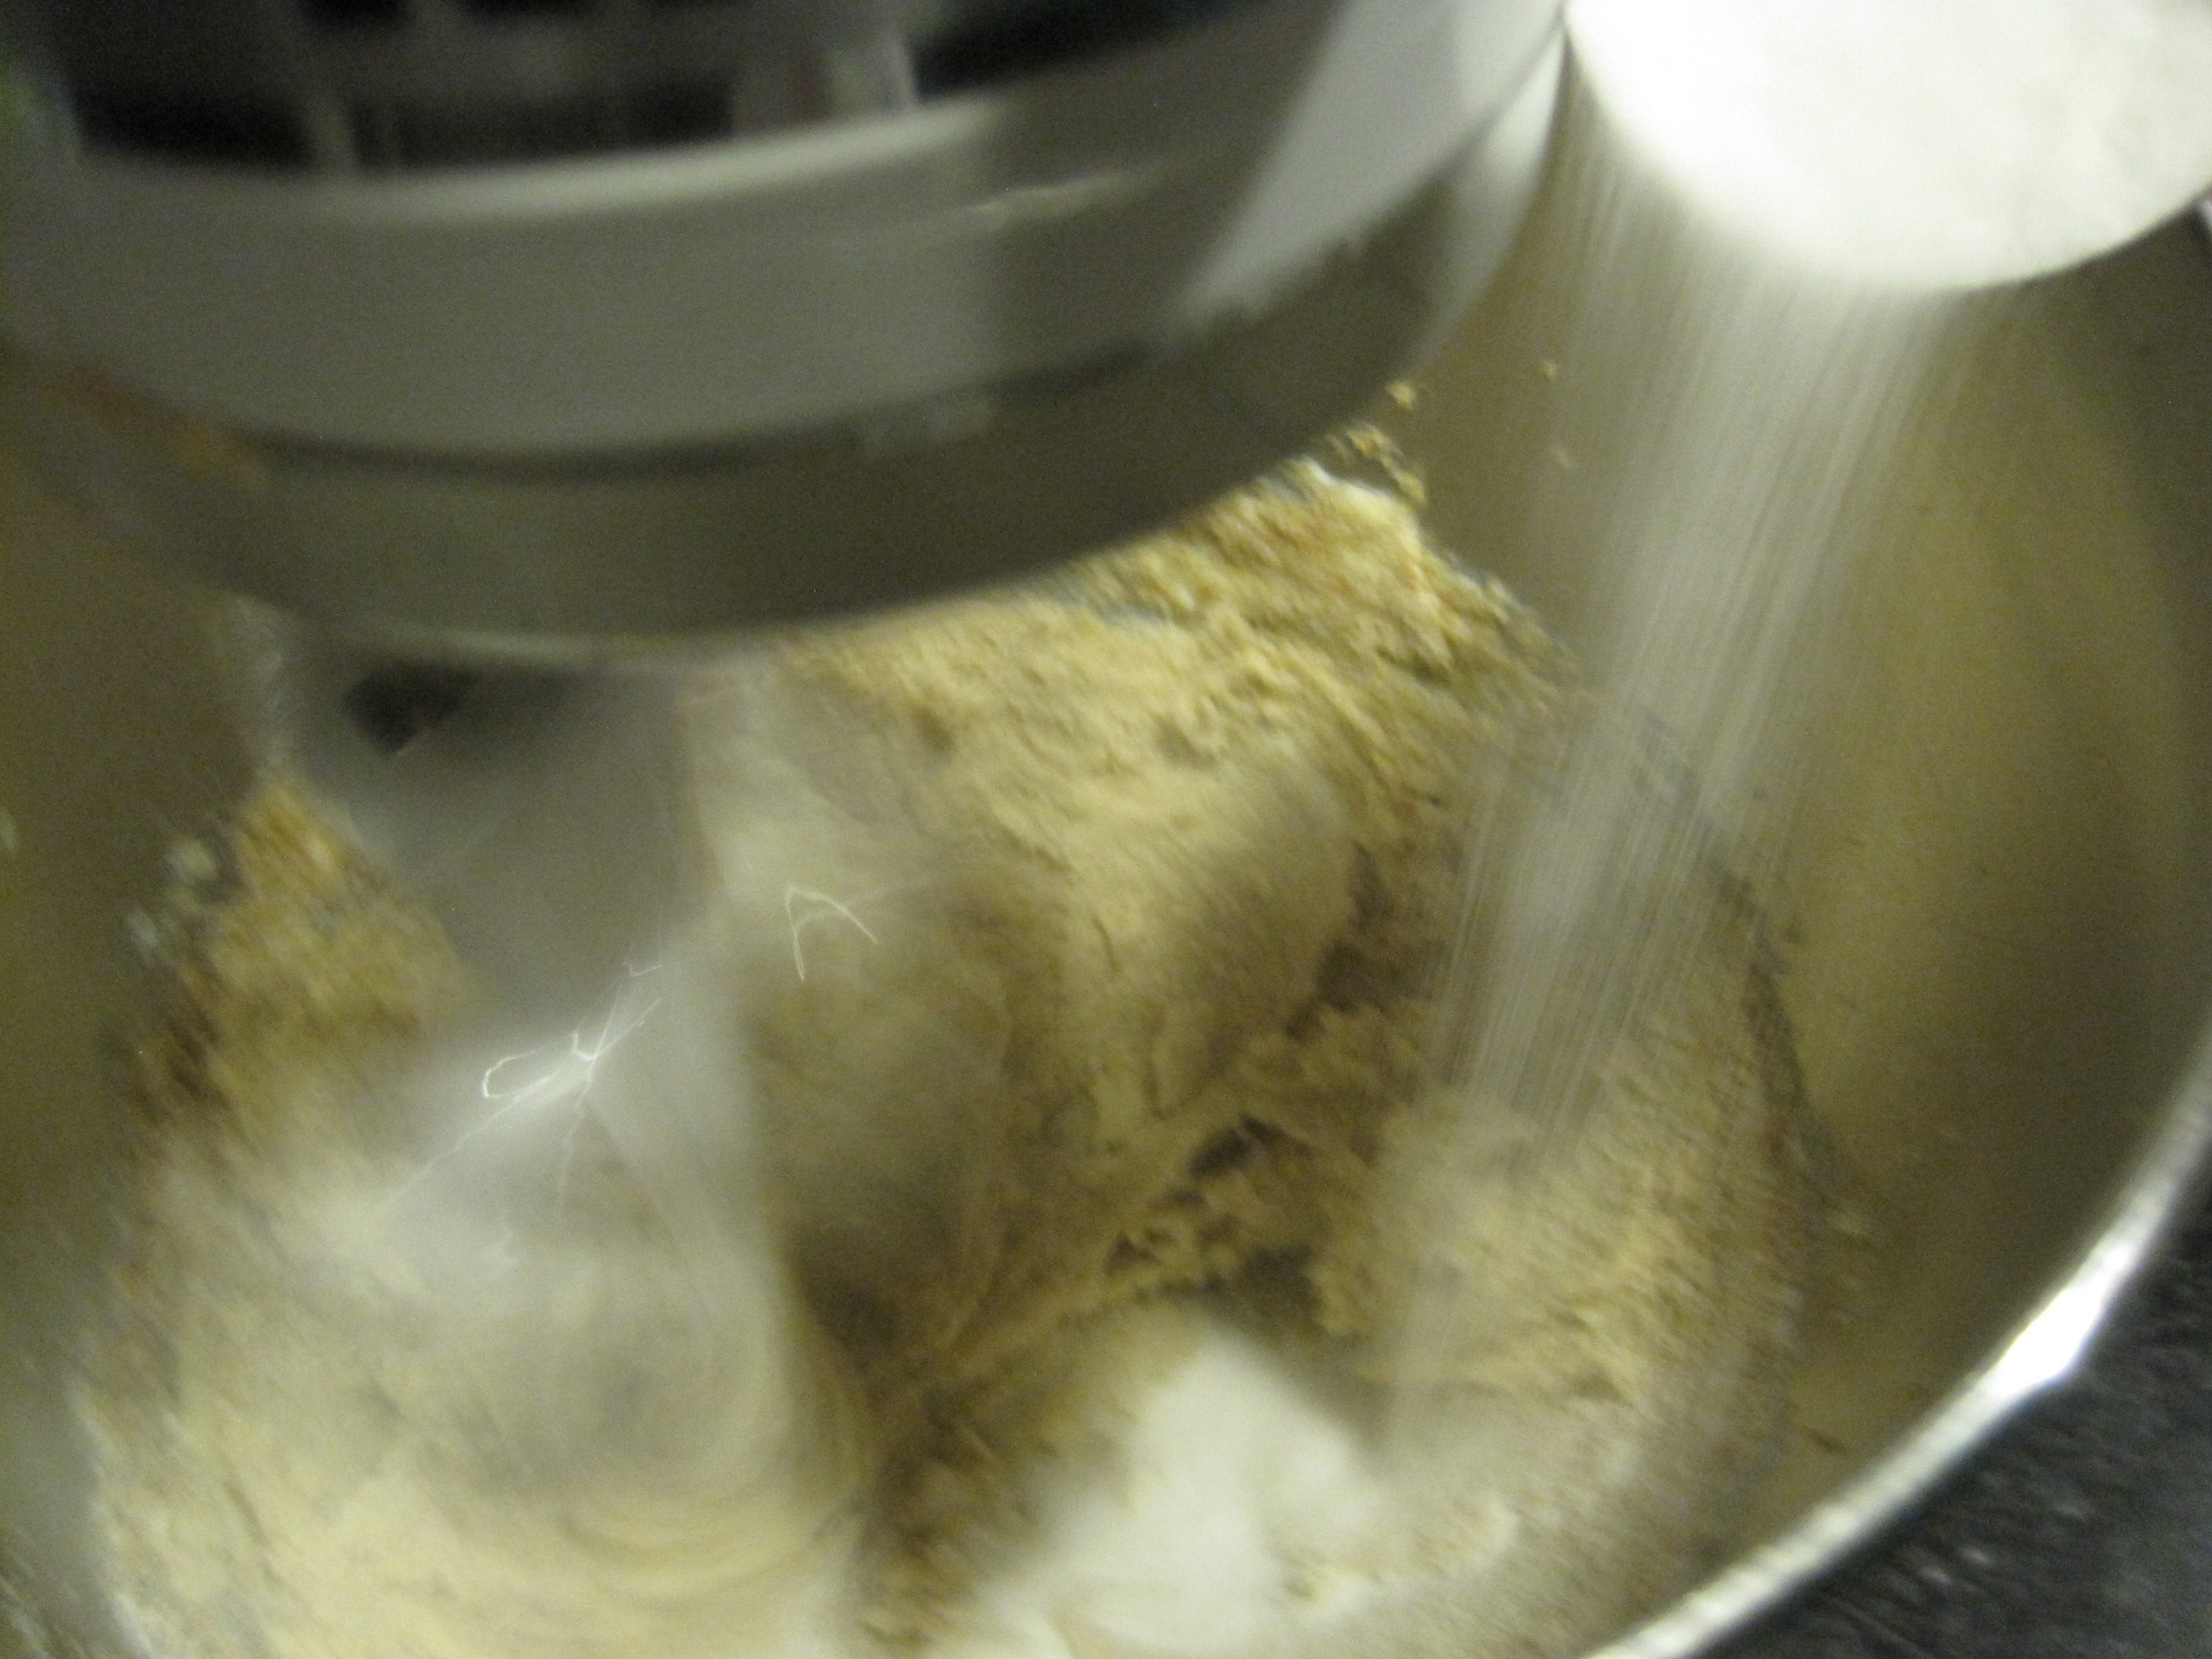
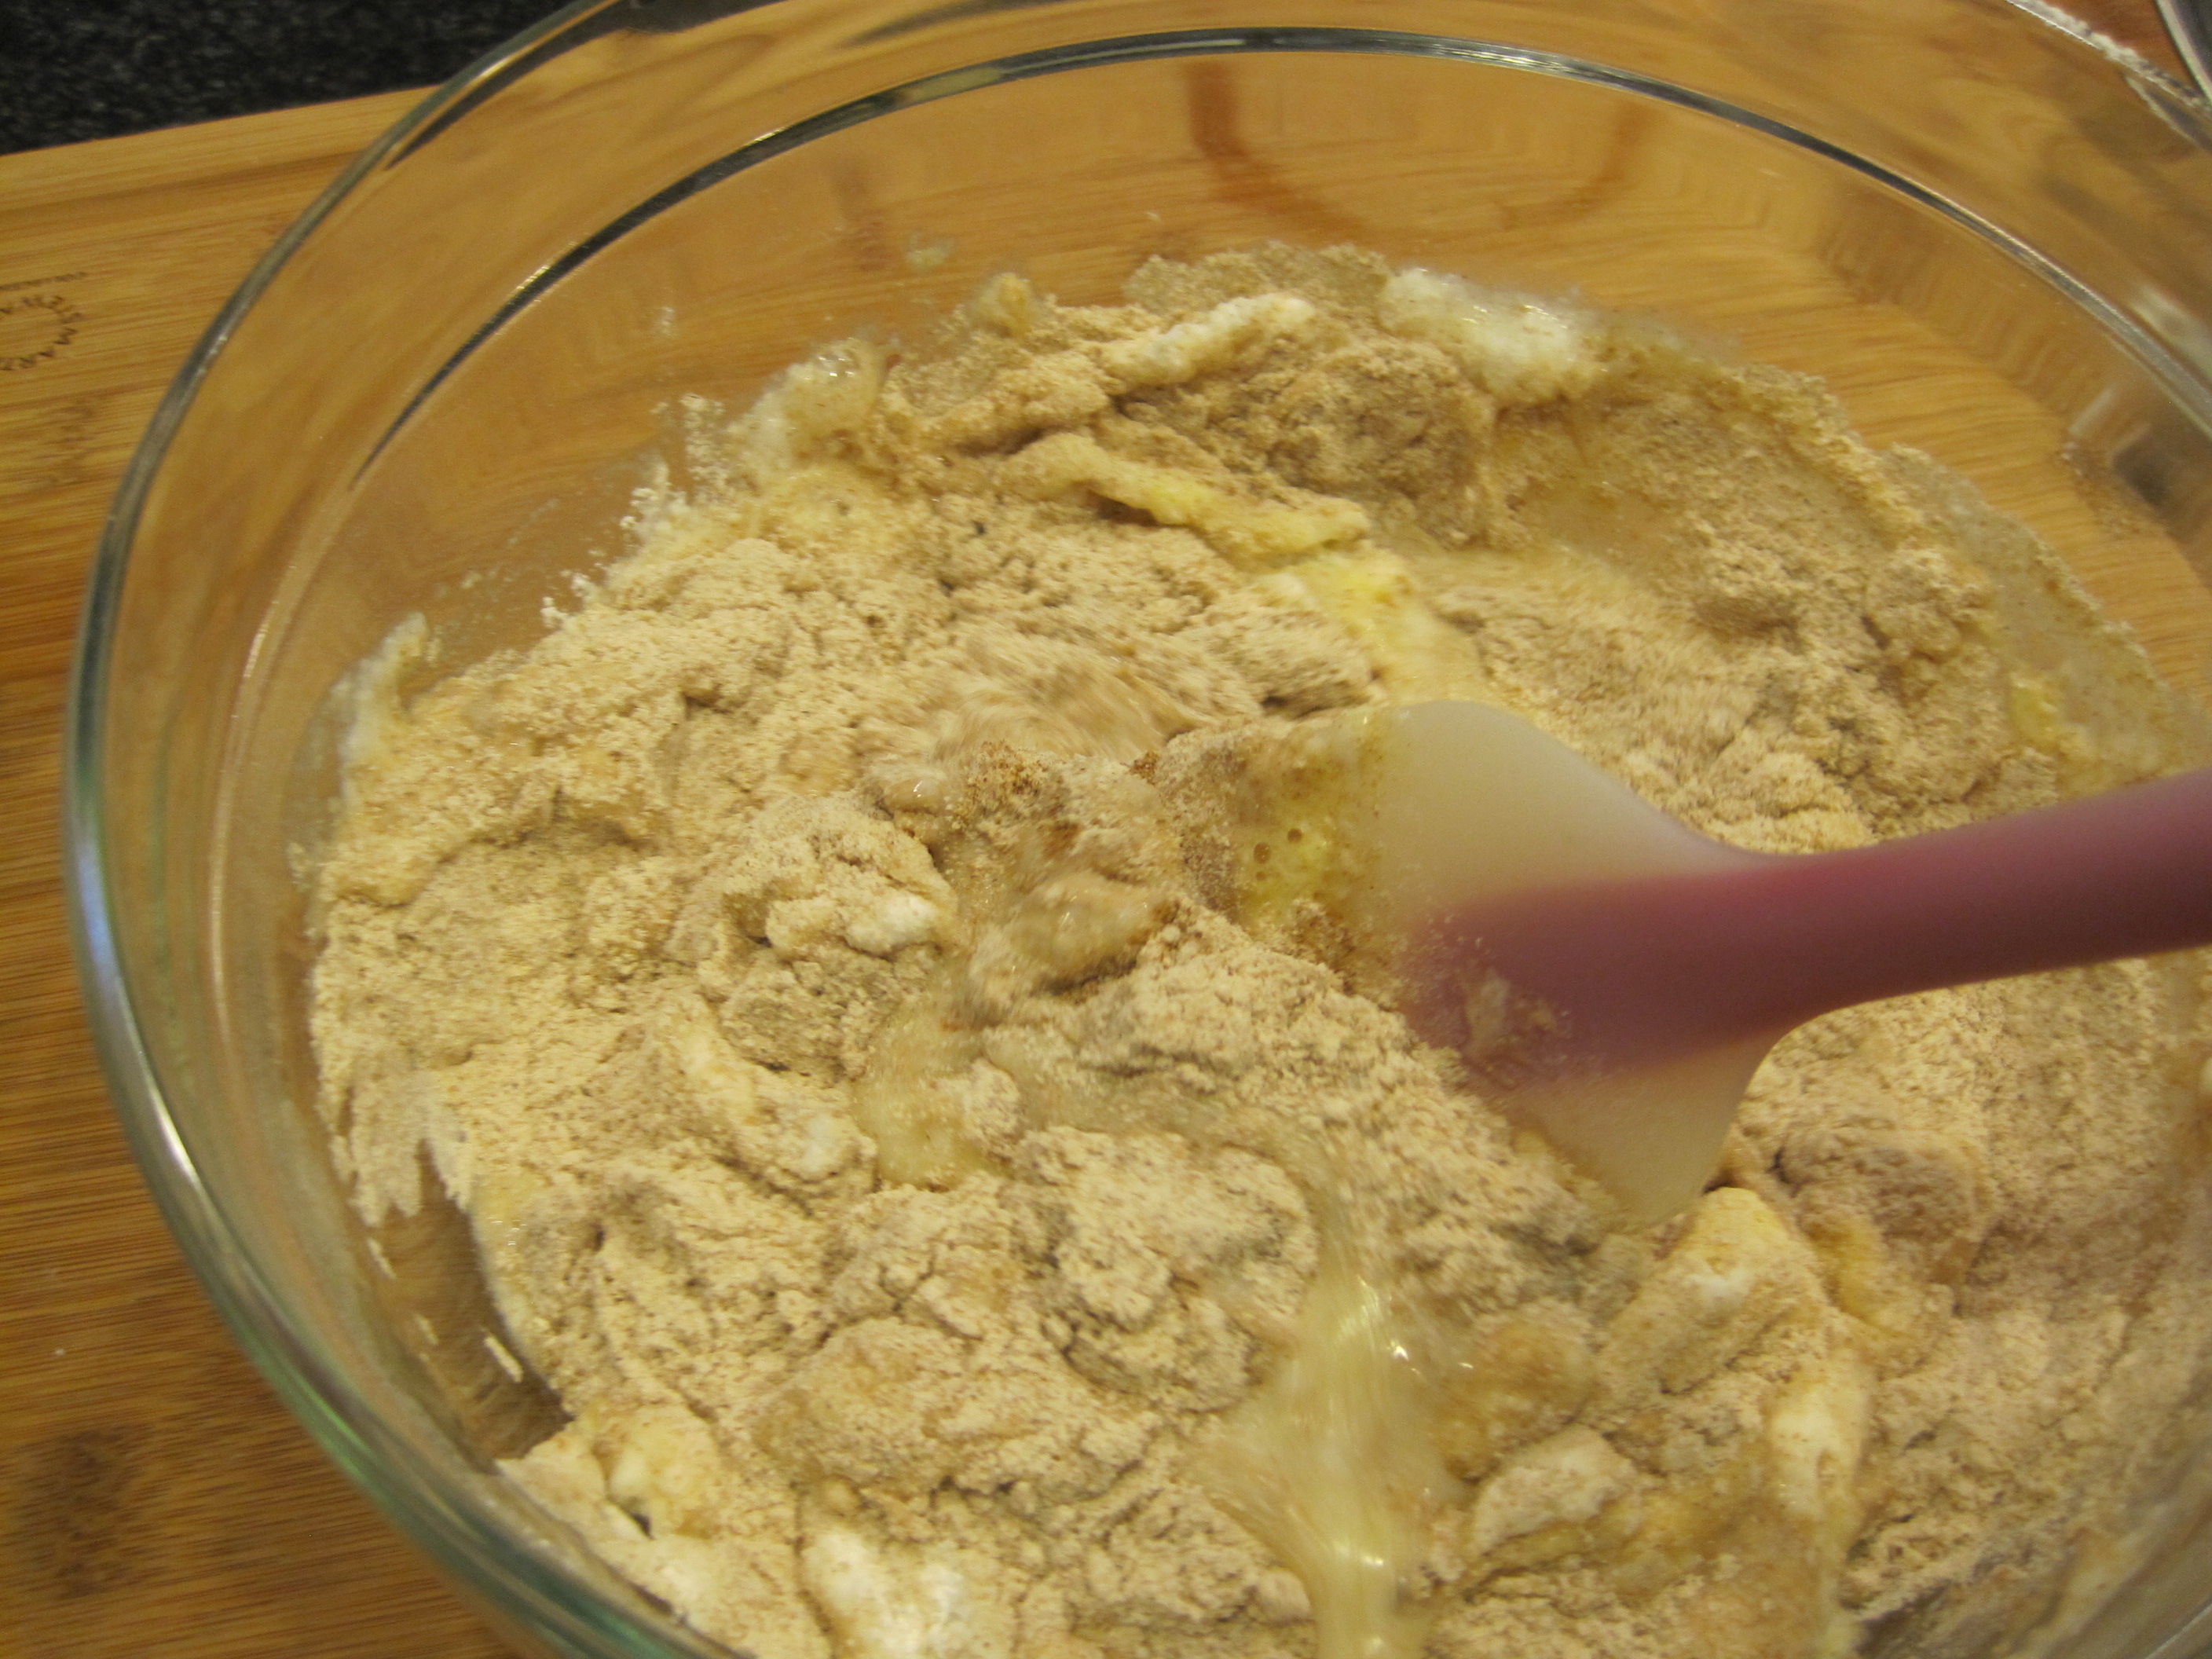
alternate flour mixture with egg whites.

IMG_8078

IMG_8080

IMG_8086

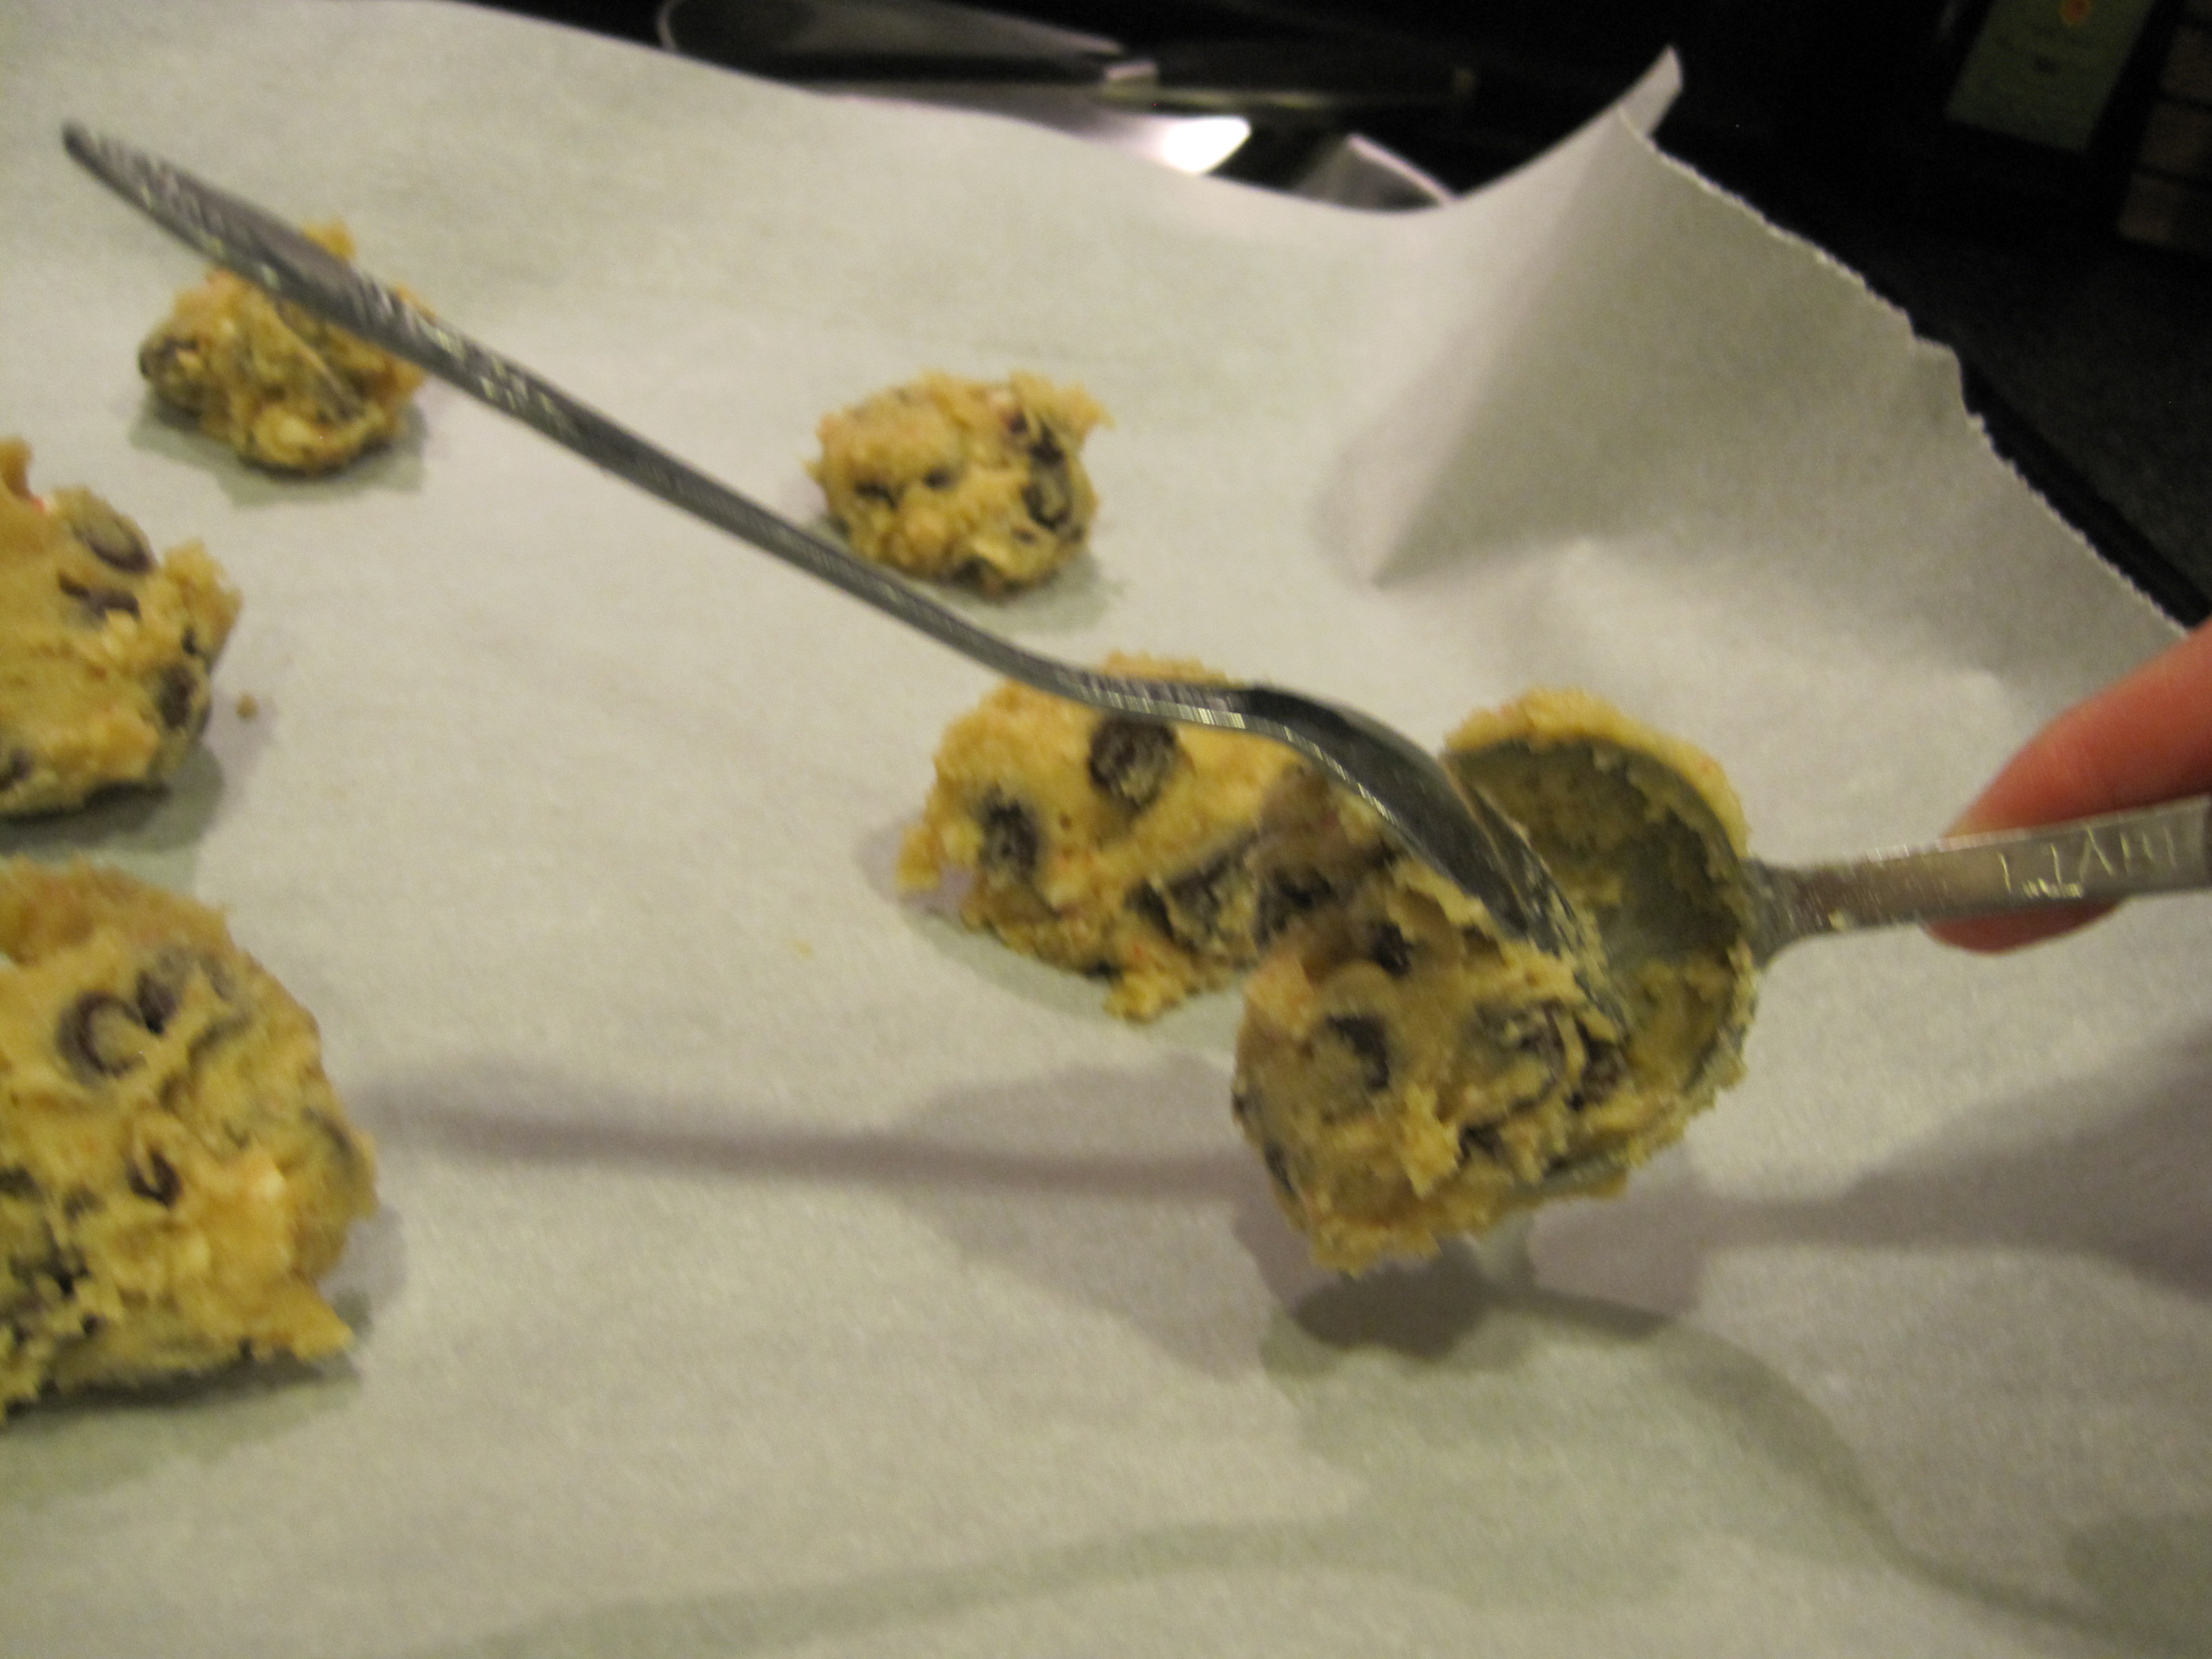
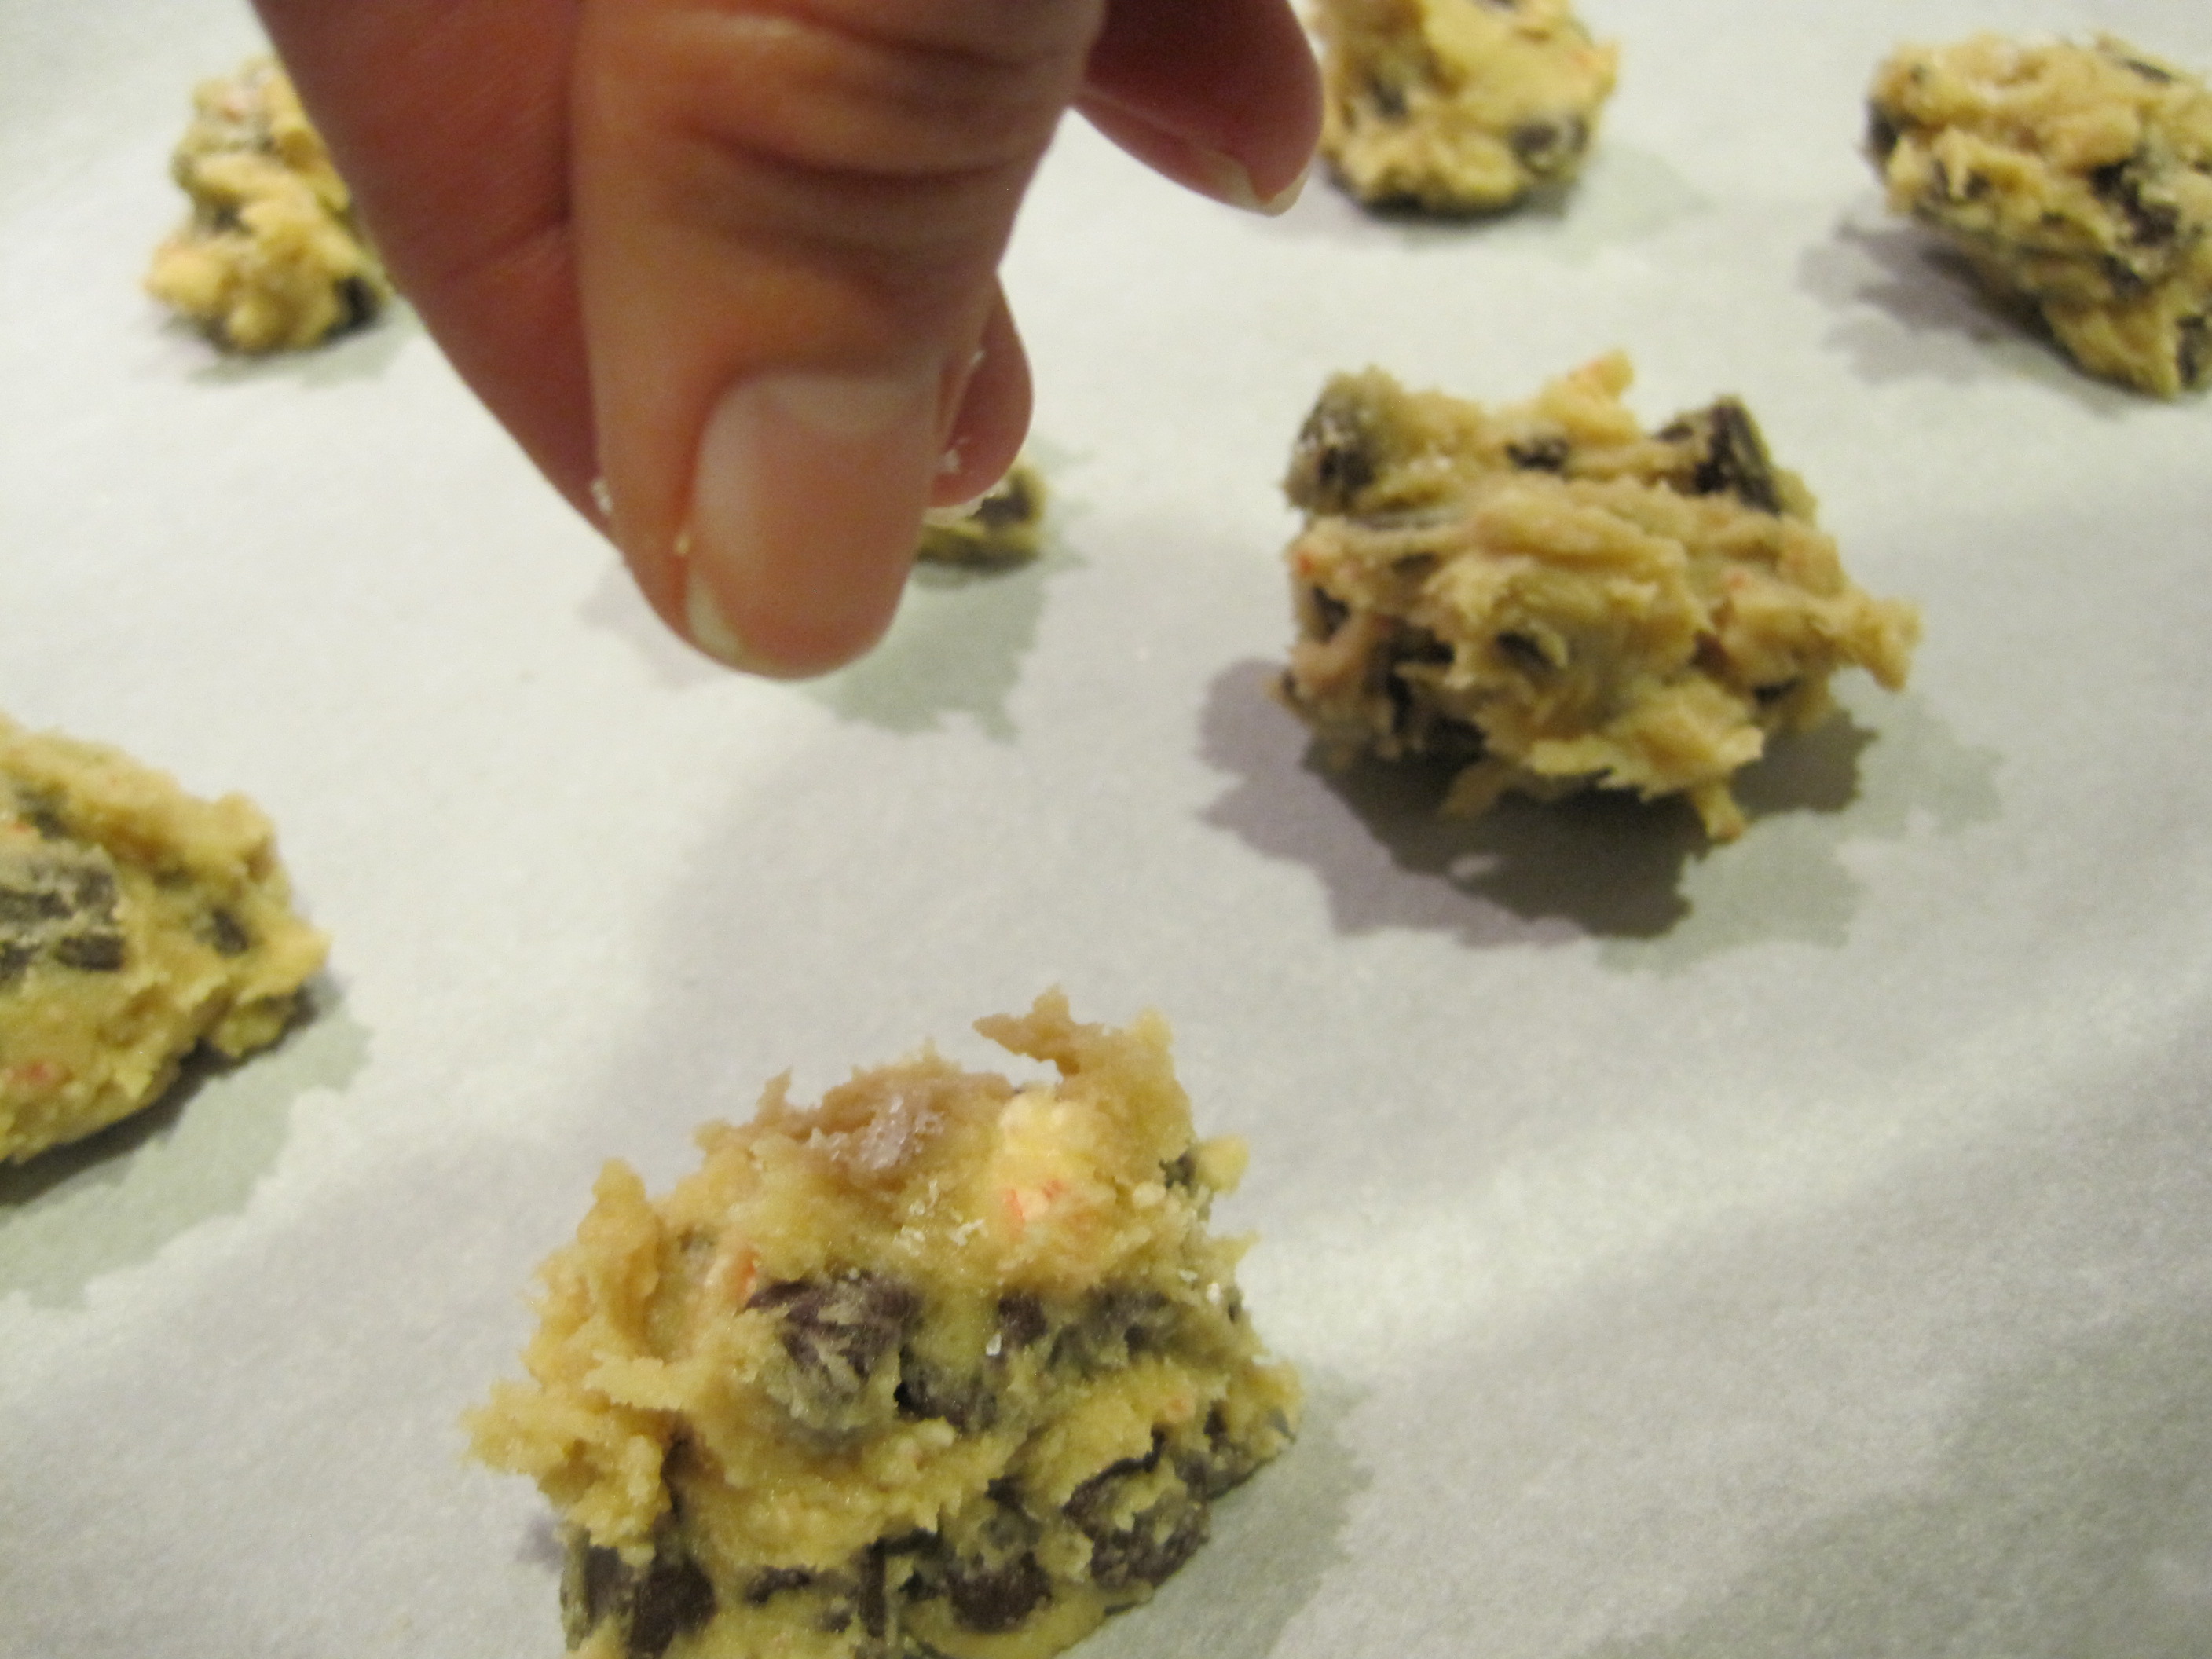
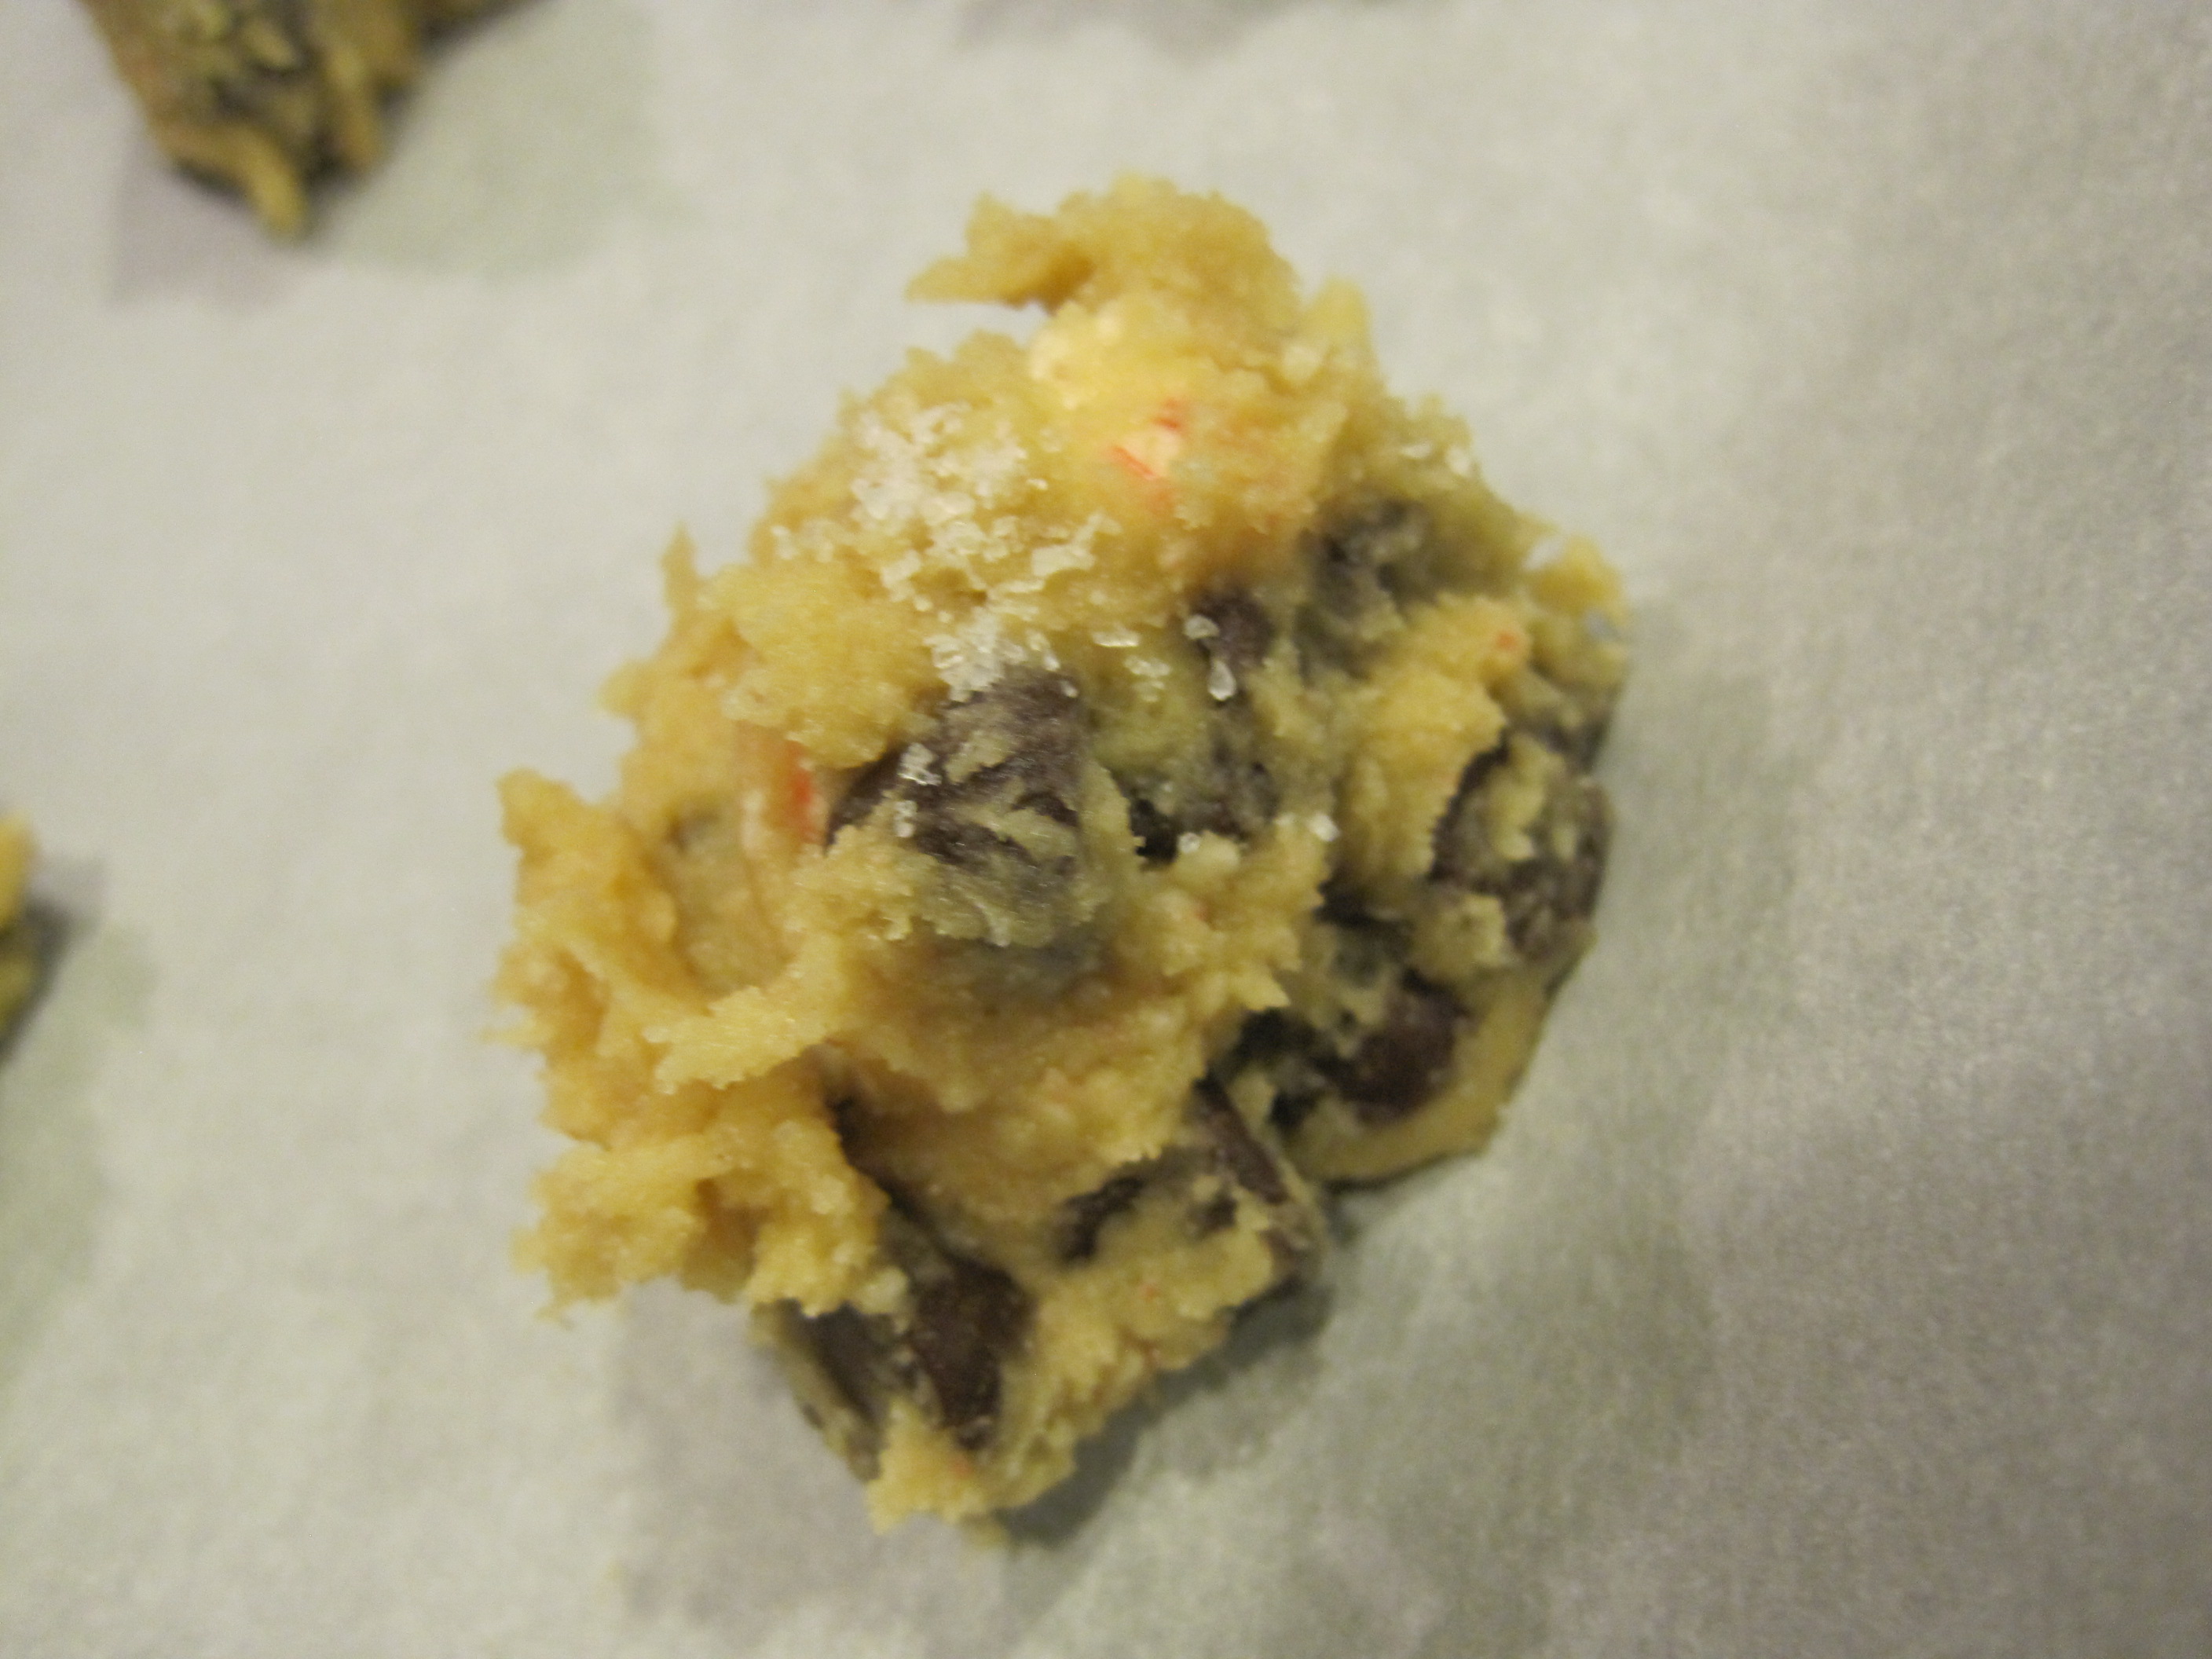
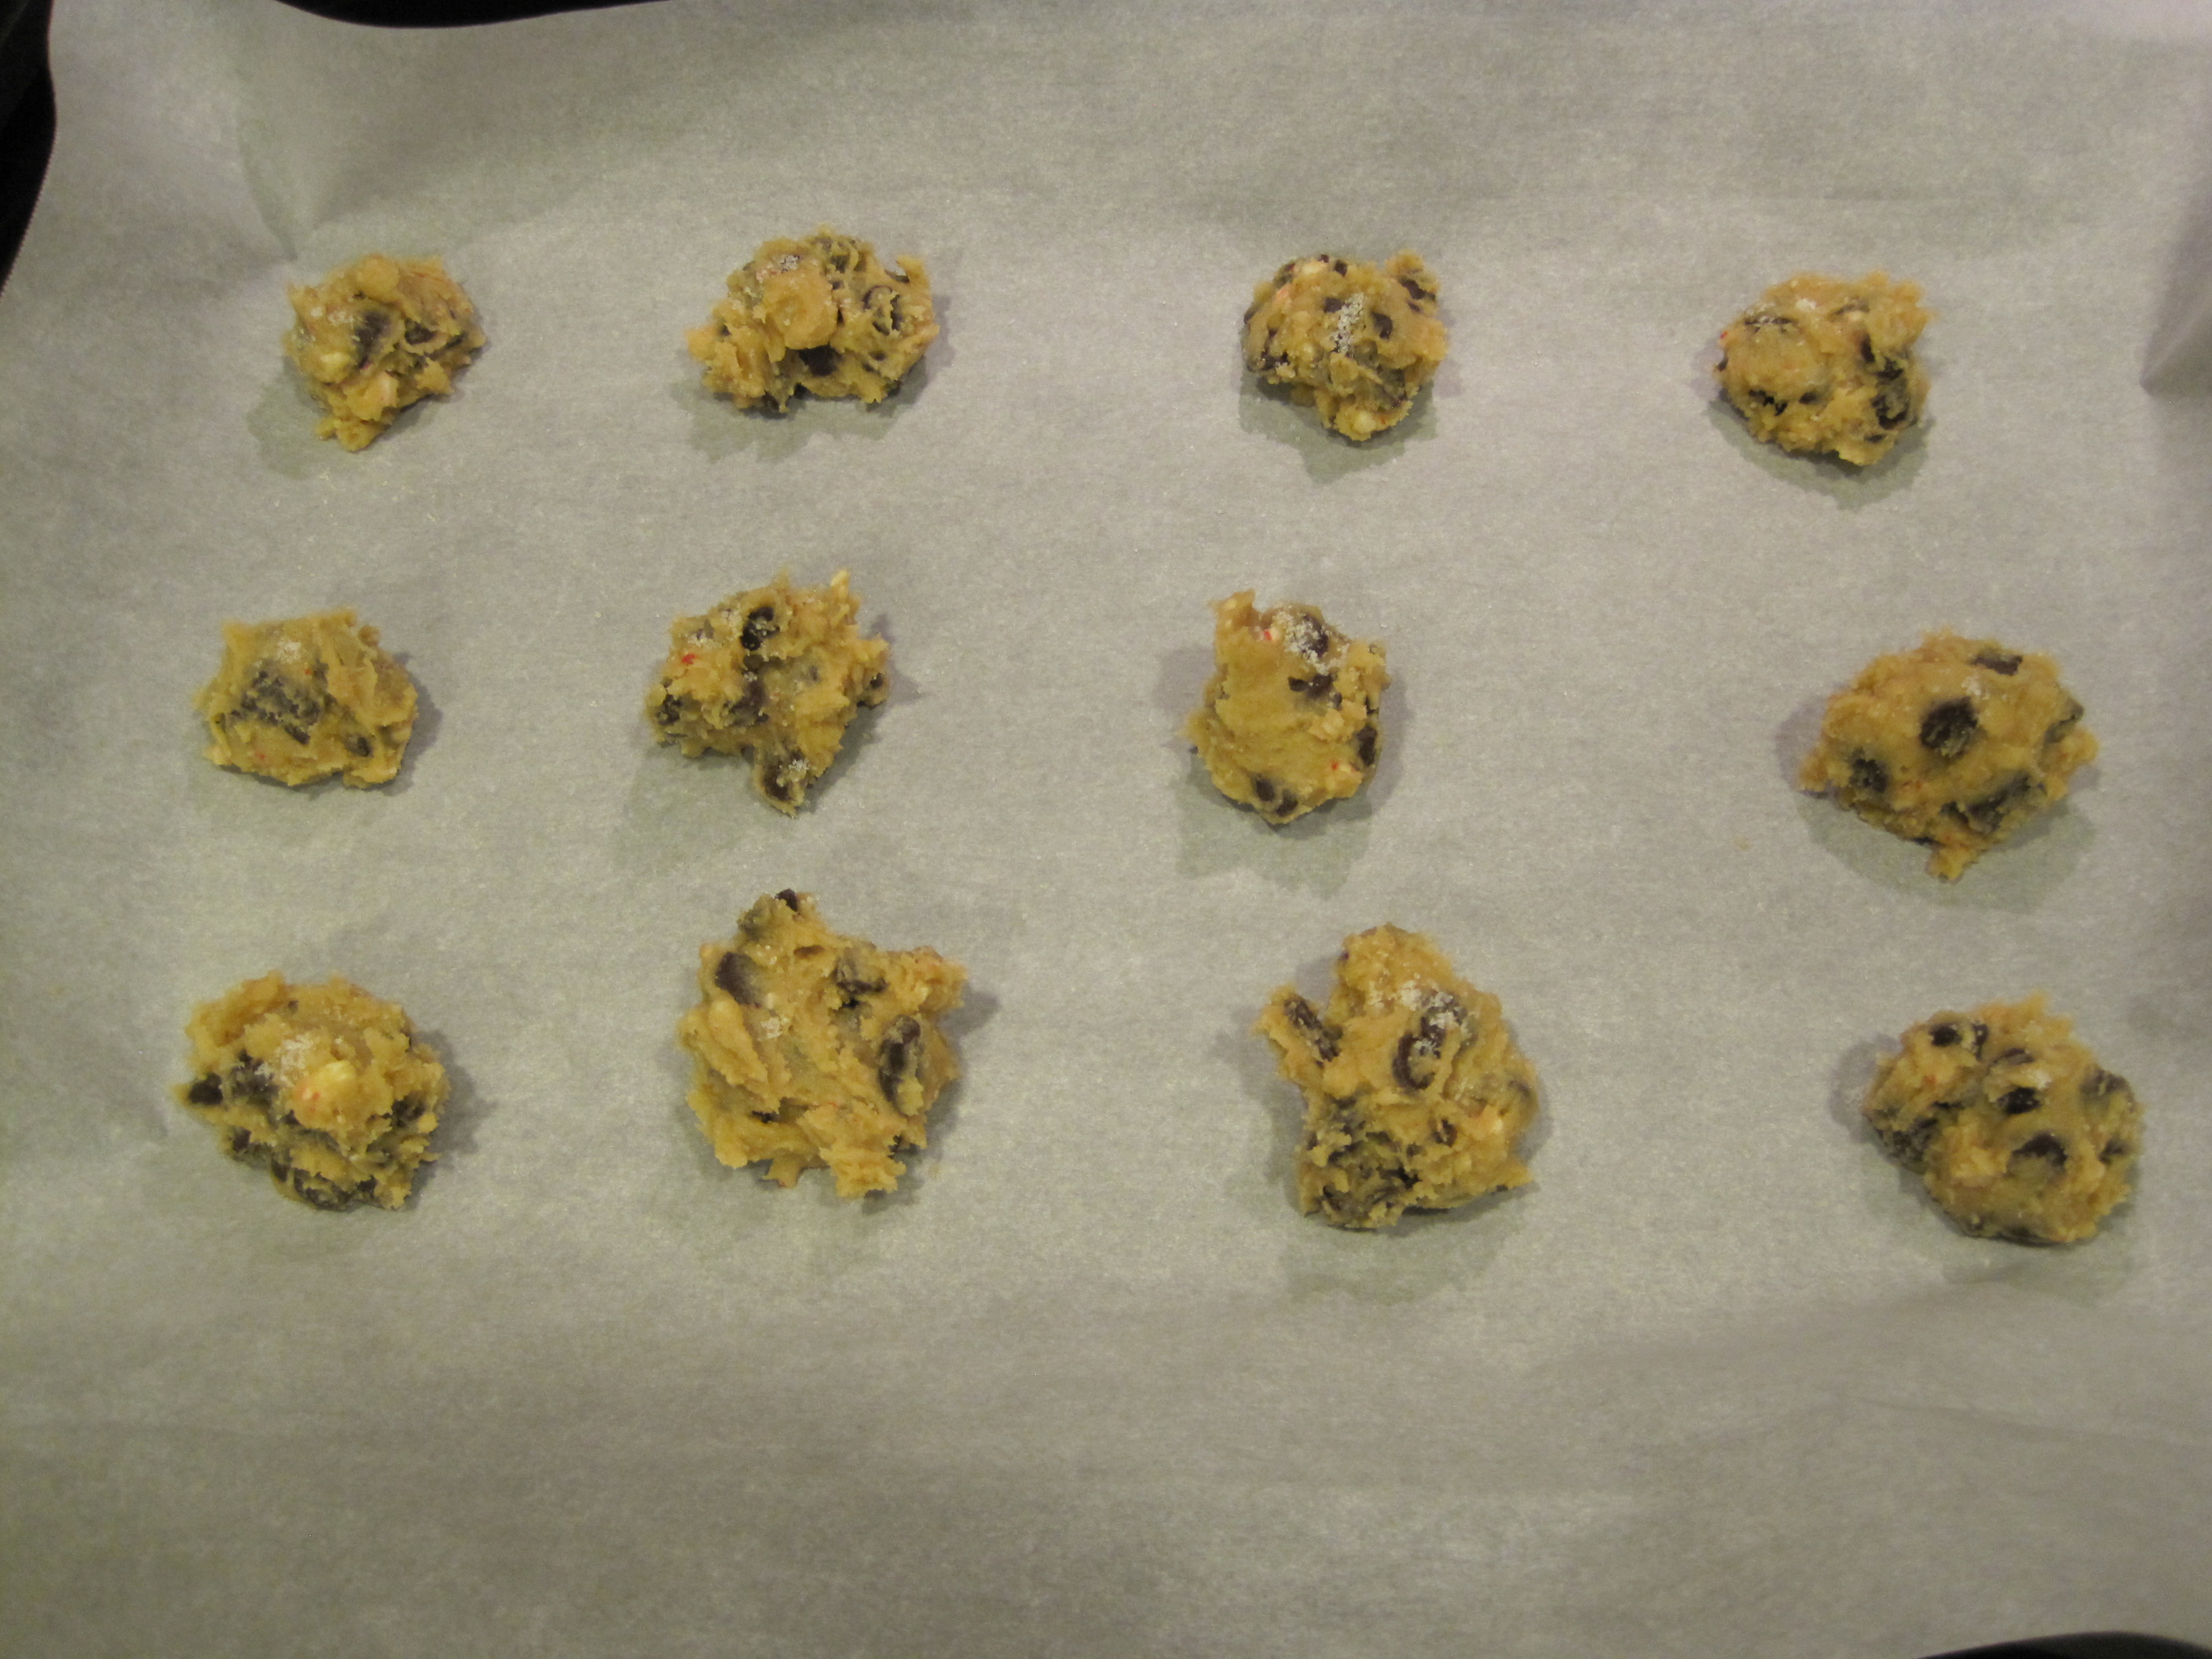
fill cake pan with batter.

IMG_8092

pour caramel. mmm!

IMG_8093

place cadbury caramel eggs in the pan and cover with the remainder of the cake batter.

IMG_8096

IMG_8097

to assemble, frost little circles throughout cake to recreate nests.

IMG_8110

IMG_8111

add toasted coconut or “branches” to each circle.

IMG_8115

place mini cadbury caramel eggs.

IMG_8126

IMG_8130

oh yeah.

IMG_8134

IMG_8153

IMG_8162

IMG_8177

IMG_8181

IMG_8192

IMG_8215

IMG_8224

IMG_8234

IMG_8238

IMG_8256

IMG_8272

IMG_8274

IMG_8279

cadbury salted caramel bundt cake

ingredients

salted caramel:
1 cup sugar
2 tbsps light corn syrup
4 tbsps water
1/2 cup heavy or whipping cream
2 tbsps butter
1 tsp lemon juice
1 tsp sea salt
1 tsp vanilla extract

yields 1 1/2 cups

directions:

  1. in a medium saucepan add water, sugar and light corn syrup and whisk well over medium heat. let it cook for 4 minutes.
  2. increase the heat to medium high and bring sugar mixture to a boil. don’t mix with any utensils, just move the pan back and forth to shake it a little so the caramel cooks evenly.
  3. cook caramel until it turns an amber color. not too dark, not too light. don’t overcook since you don’t don’t want to burn the caramel. remove from the stove and let it rest for about one minute.
  4. add heavy cream to caramel VERY carefully and wearing oven mittens if possible. the caramel is very hot and it will bubble and splatter. whisk well.
  5. add butter, lemon juice, sea salt and vanilla to caramel. stir well with a whisk.
  6. carefully, add salted caramel to a bowl and let it cool.

bundt cake:
6 large eggs, room temperature {sitting on the counter for 30-50 minutes approx.}
2 1/2 sticks unsalted butter, room temperature but still cold to the touch {sitting on the counter for 30-50 minutes approx.}
2 1/2 cups sugar
3 tsps vanilla extract
1/2 cup whole milk, room temperature {sitting on the counter for 30-50 minutes approx.}
3 cups unbleached all purpose flour, sifted
2 tsps baking powder
1/2 tsp sea salt
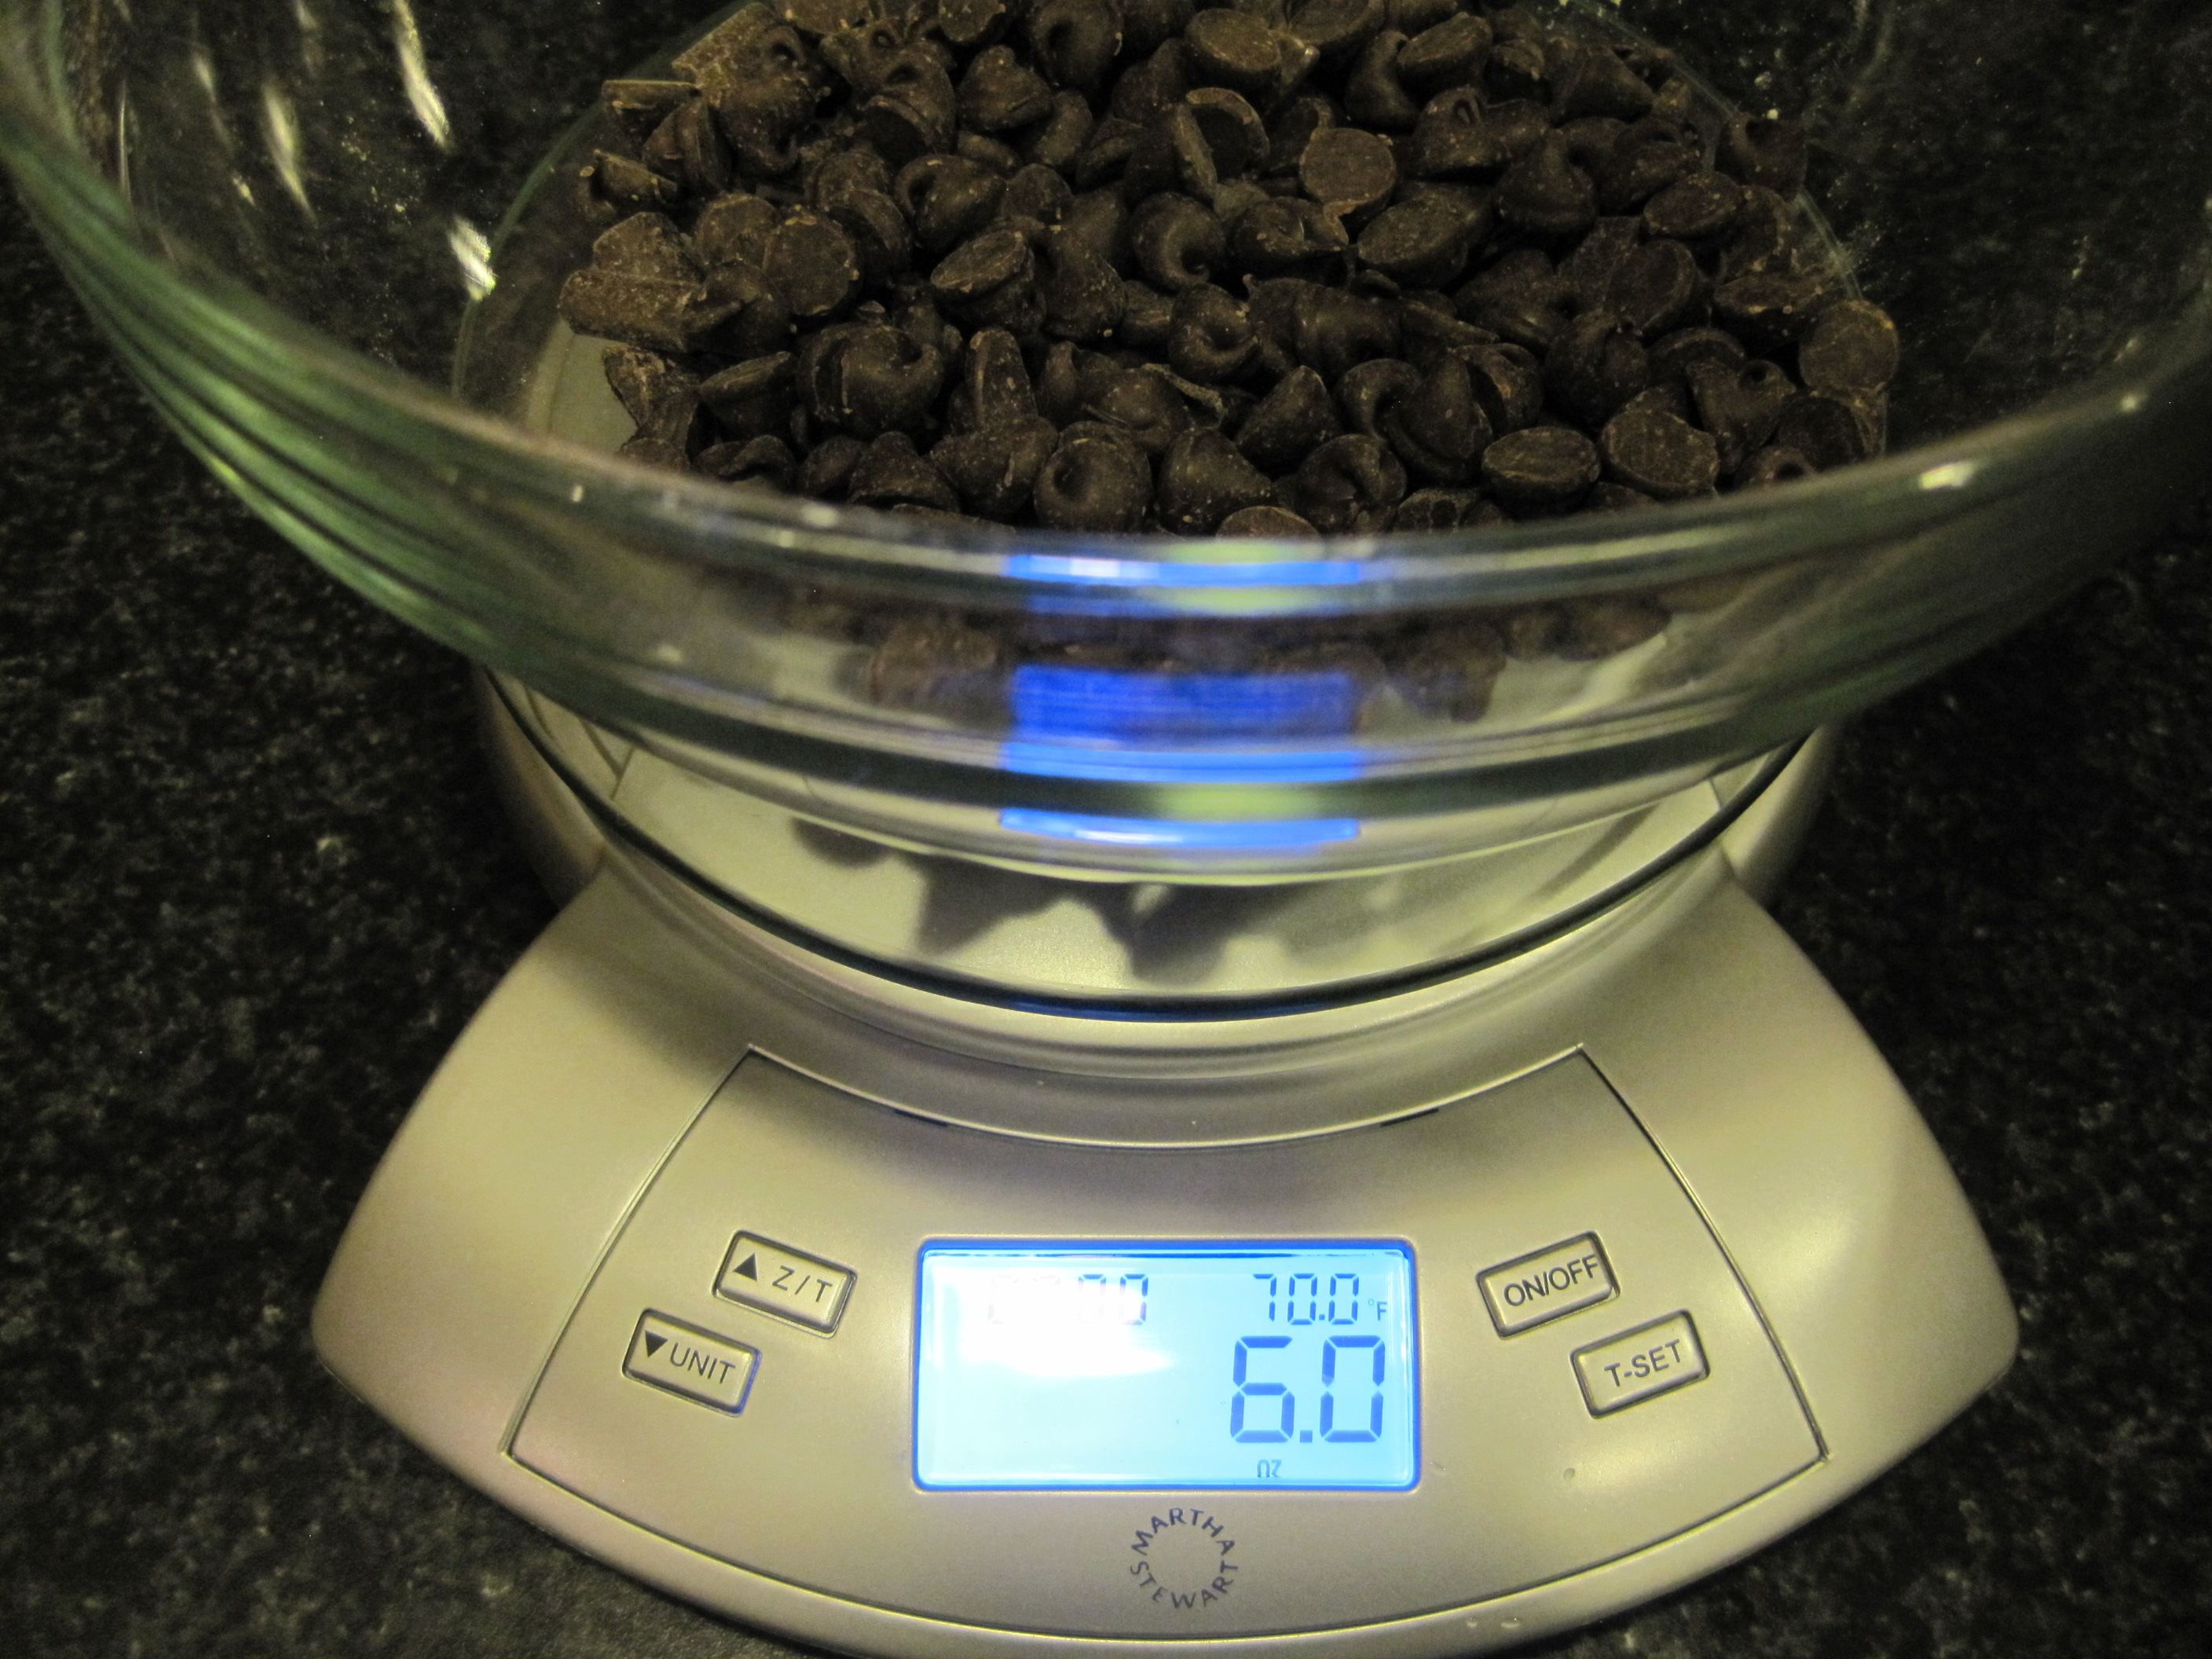
7 caramel cadbury eggs, regular size
1 to 1 1/2 cups salted caramel, divided
8 caramel cadbury eggs, small size {optional}
1 cup salted caramel buttercream frosting {optional}
2 tbsp shredded coconut, toasted {optional}

directions:

  1. preheat oven to 350F.
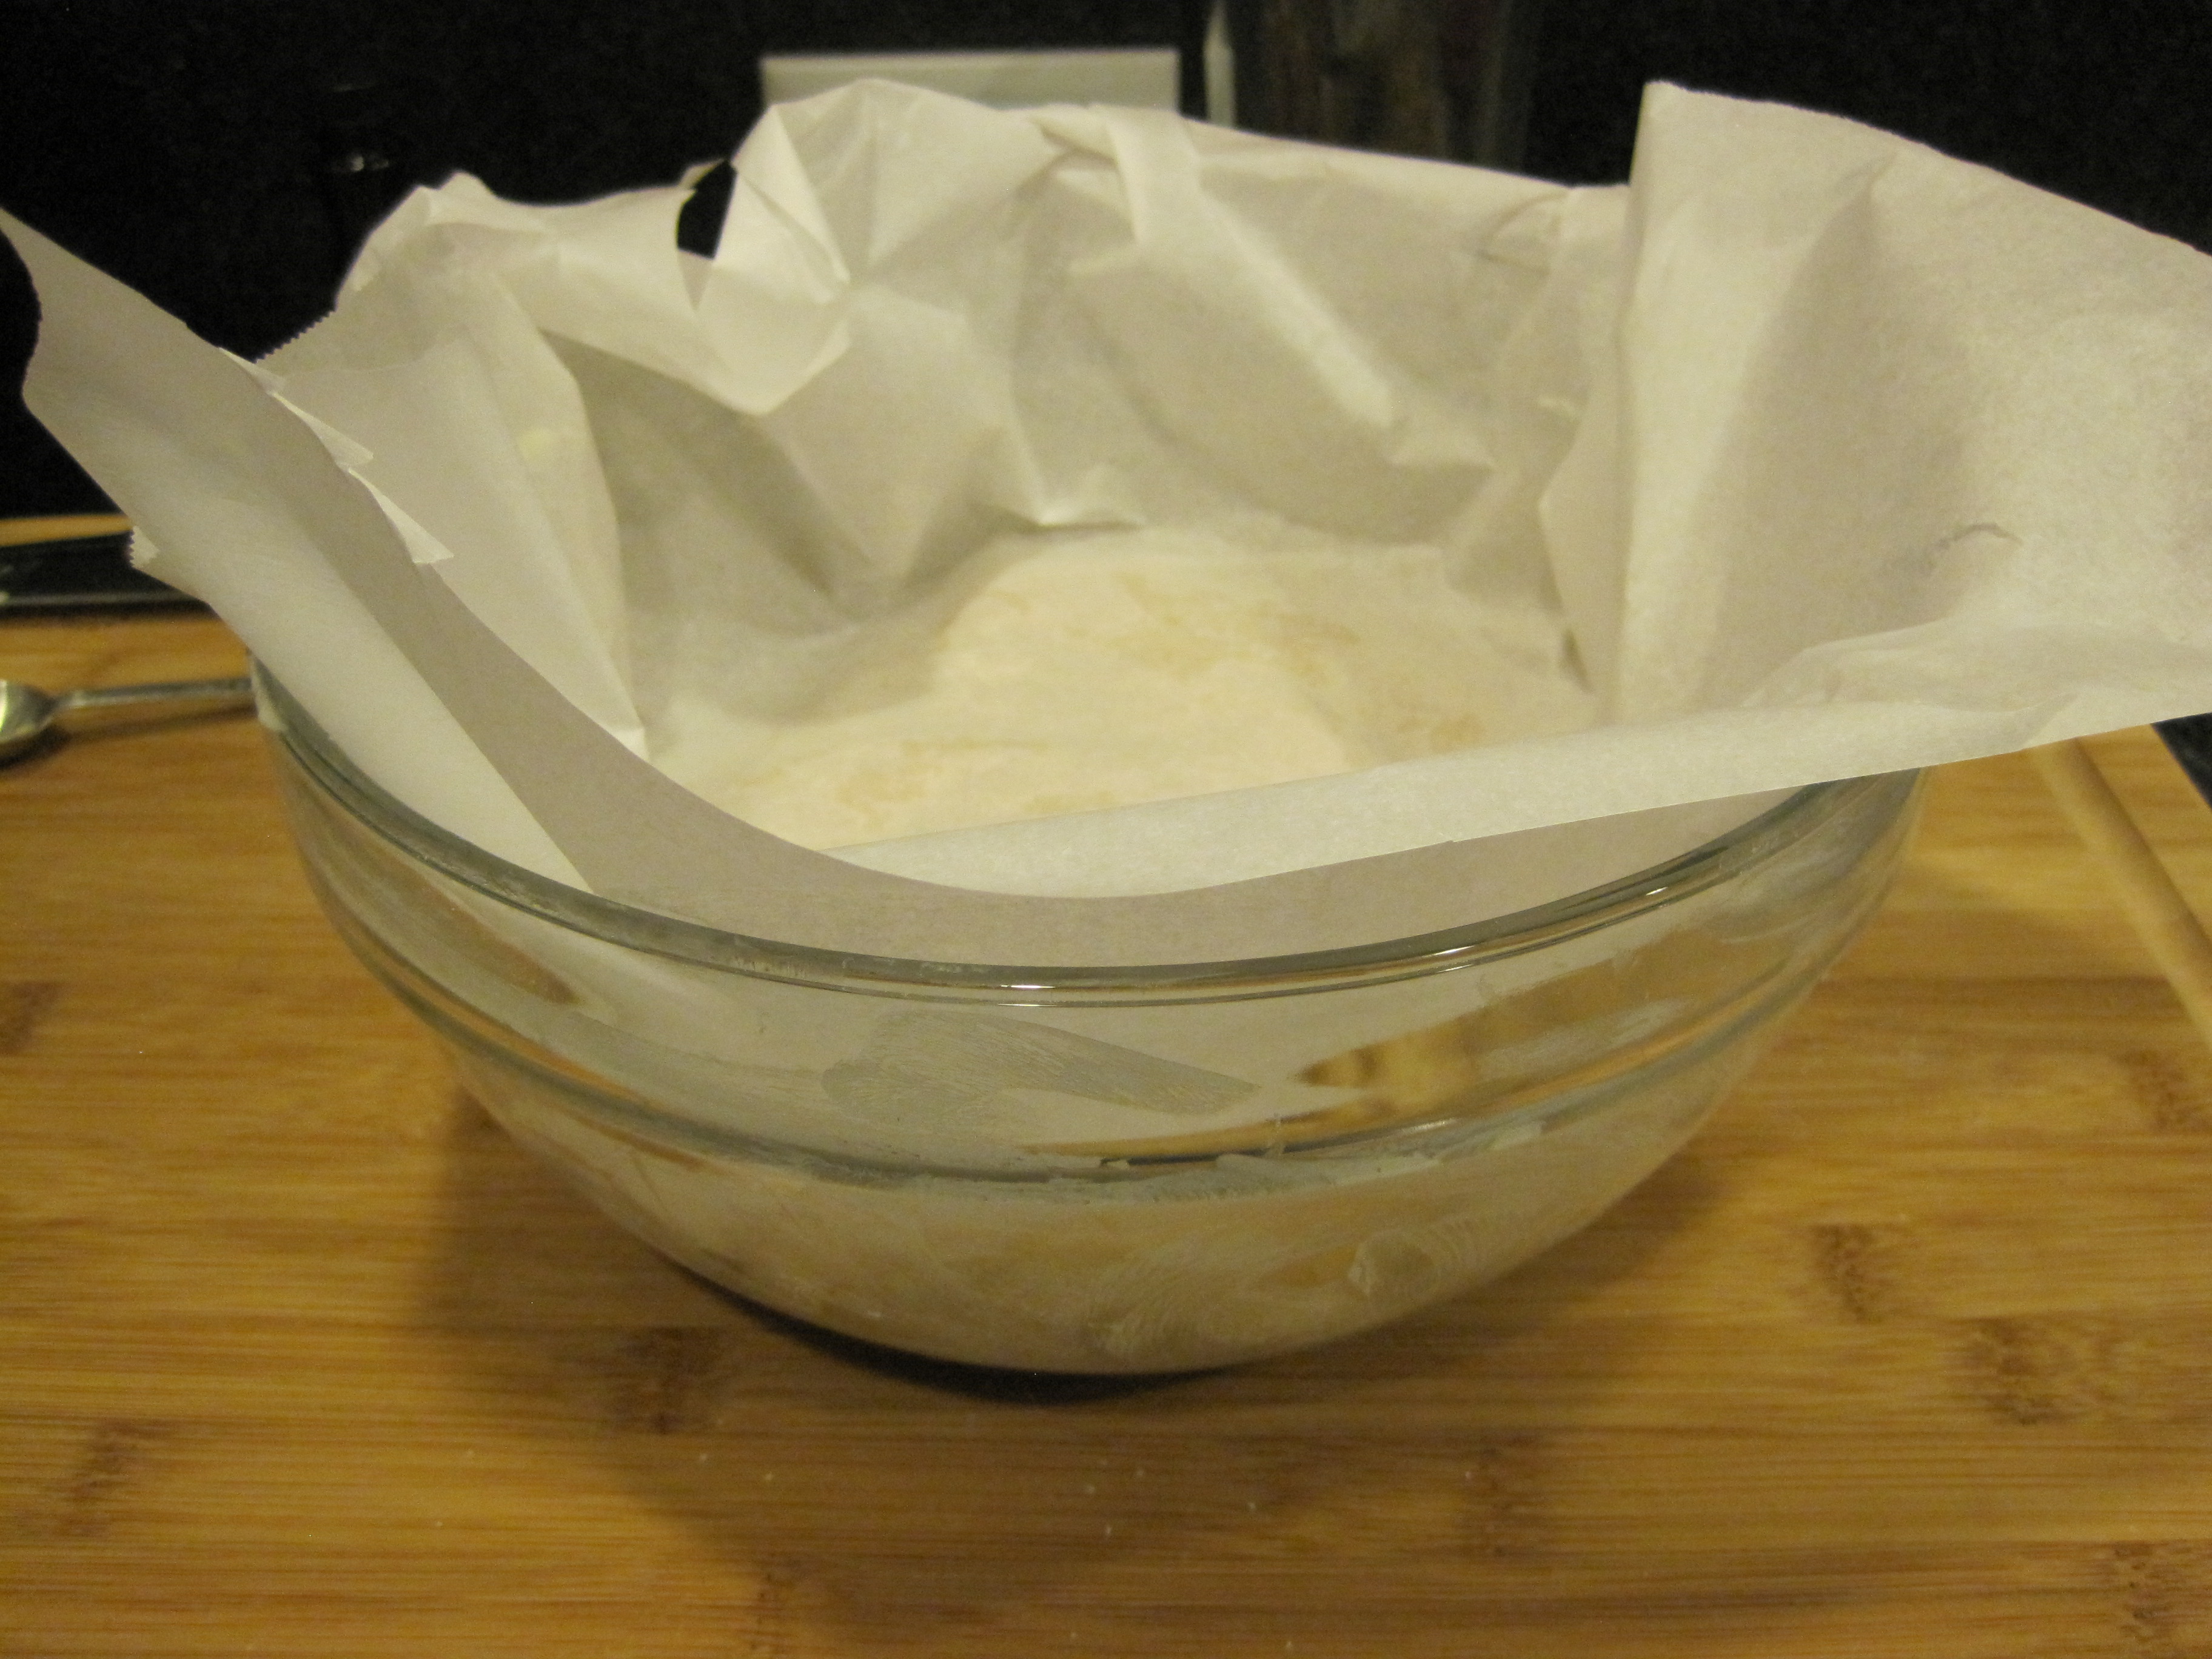
  2. butter bundt cake pan. set aside.
  3. separate egg whites from yolks. beat egg whites in the bowl of a standing mixer over high speed for 3 minutes or until soft peaks form. you can use a hand mixer as well {beat for about 10 minutes}.
  4. in a large bowl, sift flour and baking powder. add sea salt and mix well.
  5. add egg whites to a bowl and set aside.
  6. in the same bowl of a standing mixer, cream butter over medium high speed for 1 minute. add sugar and mix until fluffy and creamy, about 3 to 5 minutes over medium high speed.
  7. reduce speed to medium and add egg yolks one at a time mixing well. follow with vanilla extract and milk.
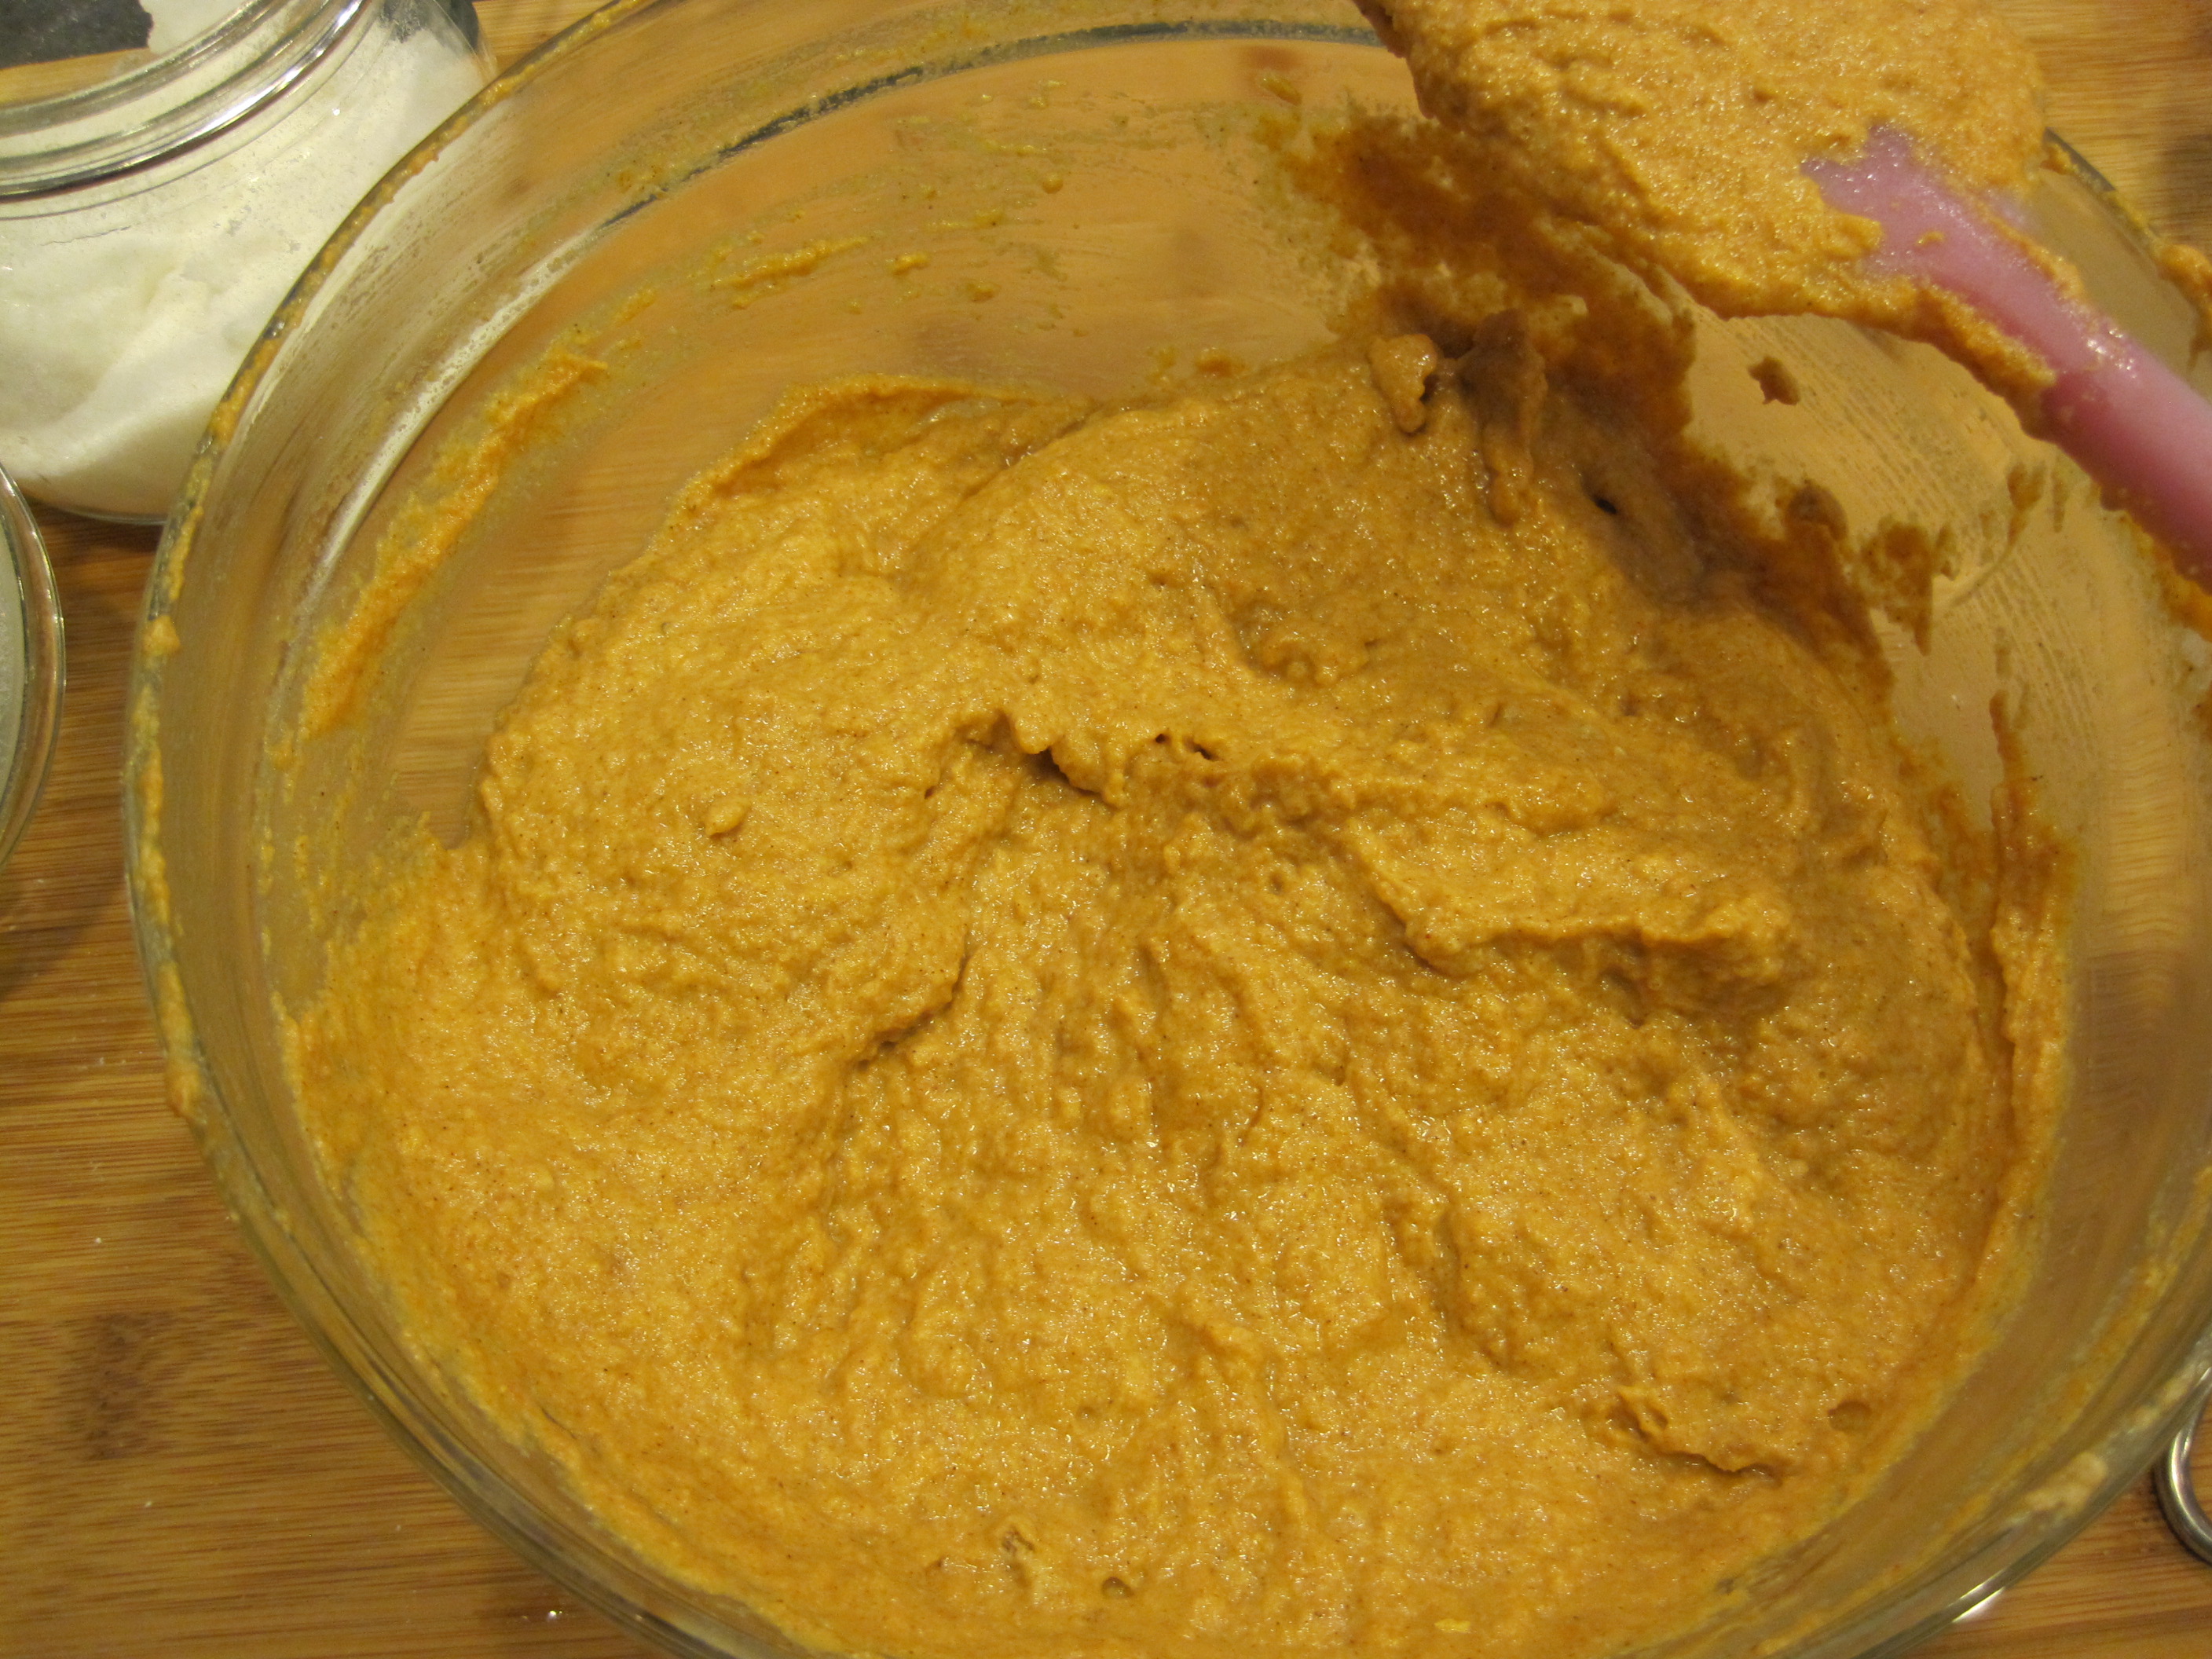
  8. clean the sides and bottom of the bowl by scraping with a rubber spatula to make sure all ingredients are well incorporated. beat on medium high for 30 seconds.
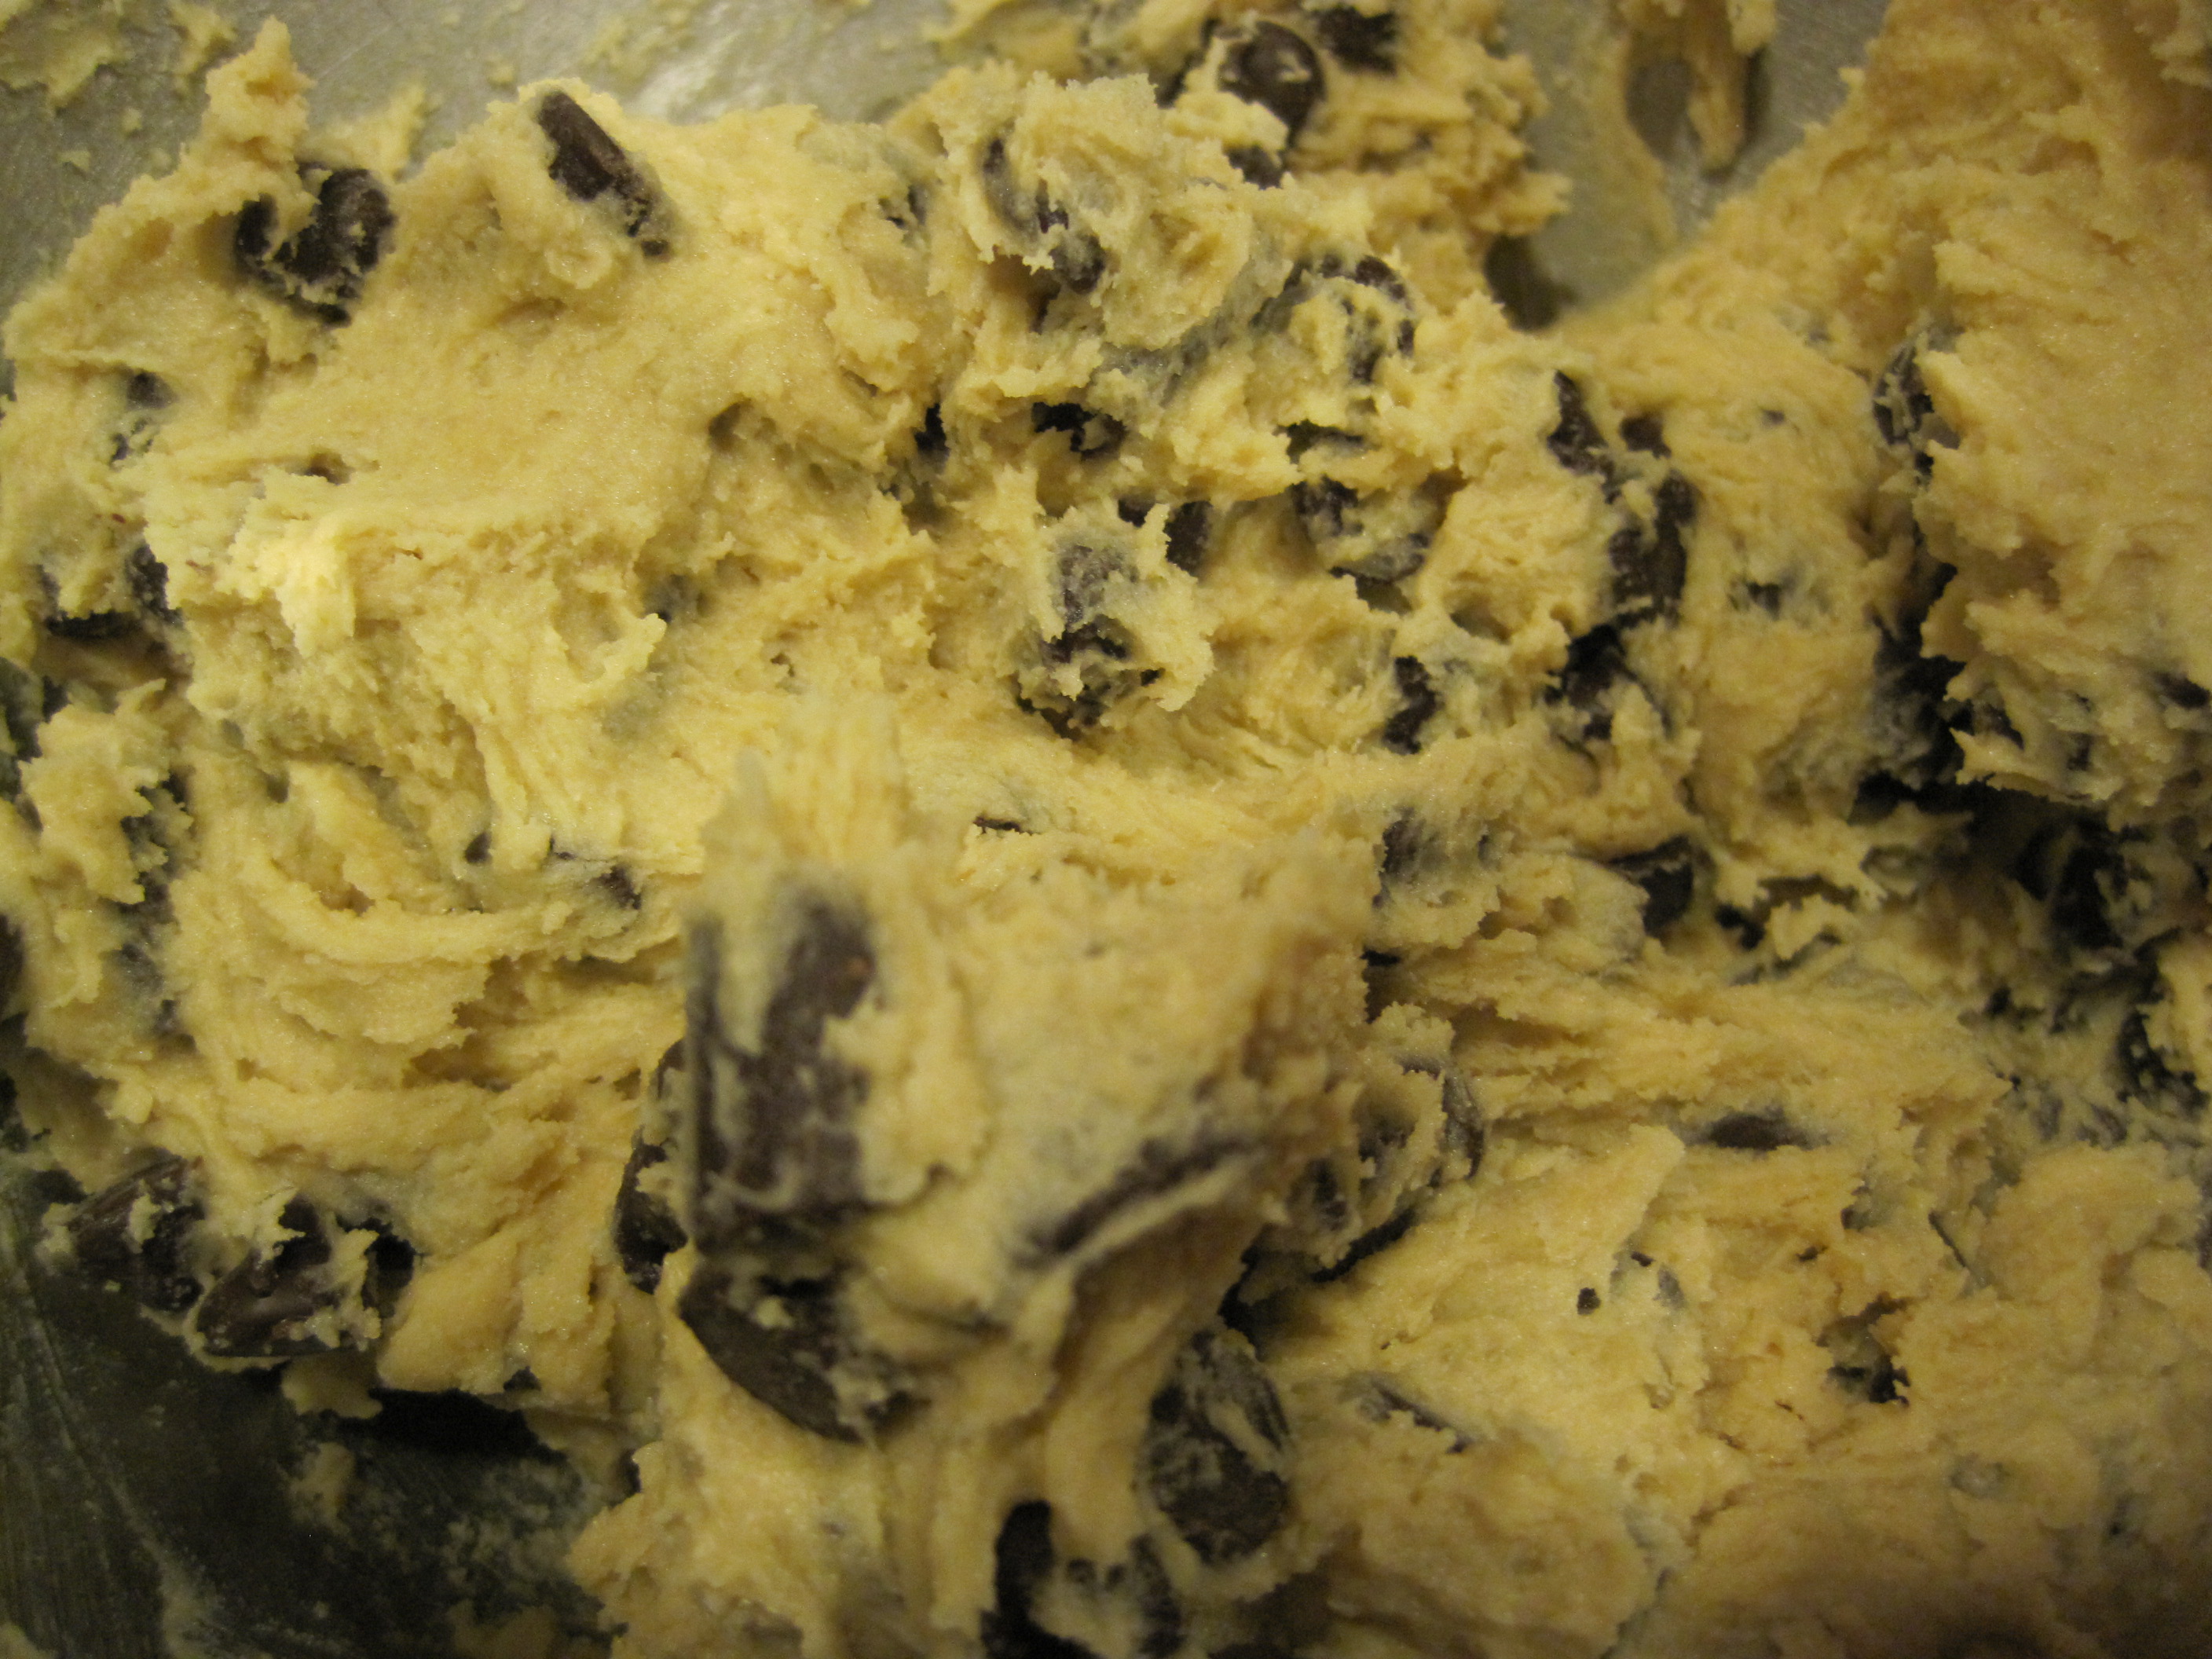
  9. set speed to the lowest setting and alternate egg whites with flour mixture. make sure to finish with egg whites.
  10. add a little over 1/2 of the batter but less than 3/4 to cake pan. this is to avoid the eggs drown and touch the bottom of the pan.
  11. make an indentation in the middle of the batter with a knife going all the way around so when you add the caramel it stays put. pour about 3/4 to 1 cup of the salted caramel to cake batter avoiding the outer edges of the pan. this will avoid burning the caramel when the cake is baking.
  12.  place cadbury eggs, pointy side down, and with even spacing in between them throughout the cake.
  13.  add the rest of the batter in big dollops and carefully smoothing batter with a rubber spatula by turning the pan. tap the pan a few times to level batter.
  14.  bake for 55 to 60 minutes or until a knife inserted in the middle comes out clean.
  15.  let it cool in the pan for 20 minutes on a cooling rack.
  16.  take cake out of the pan and let it cool completely top side up on the cooling rack. it can take up to one hour.

to assemble the cake:

  1. once cake is baked and cooled, level the bottom if uneven. you can use a serrated knife or one of those special tools for layering cakes. i used a serrated knife because my cake was a bit uneven.
  2.  pipe frosting in desired tip in 8 small circles distributed evenly to create the nests. i used tip 6B from wilton.
  3.  carefully place toasted coconut in the frosting to recreate the branches of a nest.
  4.  place small cadbury eggs in each nest making sure they are well put.
  5.  drizzle cake with the remainder 1/2 cup salted caramel.
  6.  store at room temperature in an air-tight container for up to 3 days.

**note** i originally recommended to flour the bundt cake pan showing so in pictures on here. however, i discovered butter does the job when using a non-stick cake pan. i found that when using flour makes the outer layer too hard and crisp, which is not recommended for cakes. so if using a non-stick bundt cake pan, i highly recommend using only butter.

IMG_8251

FacebookTwitterGoogle+

Share This Post

i went to cinnamon roll heaven

if you need to get information out of me, you could more likely have it if you bribed me with any type of sweets.

but if you need to get classified, top secret information from me and you give me warm, gooey cinnamon rolls, i will probably spill it all out, even if i went to prison afterwards. really. i’m that lame. but my weakness for cinnamon rolls are beyond words.

cinnamon rolls are so comforting… it’s like having a blanket 24/7 without getting junk mail in your mailbox. it’s the best thing ever, right?

i decided to experiment with tons of cinnamon, gooey frosting and the best part, not that i want to sell you these rolls, but, they are made with whole wheat flour. boom.

you can make the cinnamon rolls the night before and bake them in the morning for a special occasion, brunch, or as a gift for a friend. i’m telling you, they are going to love you and ask for more once they try them :)

these pictures show how i made the rolls. but, let me know if you have any questions!

here. we. go.

scald milk until the bottom of the pan looks like this.

IMG_6508

IMG_6511

IMG_6514

mix sugar with salt, whole wheat and all-purpose flours. mix well with a whisk.

IMG_6517

IMG_6519

when scalding the milk it should be around 125F. here’s a little over but it’s okay ;)

IMG_6520

add hot milk to dry yeast and combine well.

IMG_6522

here’s the bottom of the pan so you know what it looks like when scalding the milk.

IMG_6525

add melted butter to the mixing bowl.

IMG_6529

followed by oil and beaten egg.

IMG_6530

IMG_6533

after mixing well. change the mixing paddle with the dough hook and add flour, alternating with milk/yeast mixture.

IMG_6539

IMG_6545

IMG_6546

while the dough is kneading, butter a glass bowl where the dough will go.

IMG_6553

IMG_6558

cover with parchment paper and a dish towel.

IMG_6559

IMG_6560

combine sugars, cinnamon and salt in a glass bowl and whisk until incorporated.

IMG_6566

dough is looking awesome after 1 hour!

IMG_6570

sprinkle flour on the counter top.

IMG_6571

roll out dough in a rectangle-ish shape – hahaha – it should be a rectangle. oh well.

IMG_6572

pour butter evenly across the dough surface.

IMG_6574

followed by the cinnamon sugar mixture.

IMG_6580

start rolling!

IMG_6589

IMG_6590

IMG_6591

sorry about my arms being in these shots!

IMG_6592

IMG_6593

IMG_6594

IMG_6598

mmm! looking good.

IMG_6599

butter a baking dish and let the cinnamon rolls rest for one hour or overnight in the fridge before baking. i only put 8 rolls in here and the other two in a different baking dish.

IMG_6604

IMG_6606

rested and ready to go in the oven.

IMG_6607

for the frosting, add sugar, milk, melted butter, vanilla and salt to a food processor. blend until well combined.

IMG_6611

IMG_6615

IMG_6616

IMG_6617

IMG_6621

IMG_6622

IMG_6625

IMG_6631

IMG_6633

IMG_6649

IMG_6655

IMG_6657

IMG_6660

IMG_6664

IMG_6668

cinnamon rolls

dough:
3 1/4 cups all purpose flour, divided
1/2 cup whole wheat flour
1 tsp sea salt
3 packages instant dry yeast
4 tbsps unsalted butter, melted
1 egg slightly beaten, room temperature {sitting on the counter for 30-50 minutes approx.}
1 cup milk, scalded at 125F {any milk you have in your fridge works!}
1/2 cup granulated sugar
1/4 cup vegetable oil

yields 10 cinnamon rolls

1. preheat oven to 220F.

2. in a sauce pan, heat milk over low heat until scalded and reaches 125F. scalding is basically burning the liquid at the bottom of the sauce pan. you’ll see a thin texture forming on the bottom. don’t burn the milk or boil it.  if you don’t have a thermometer, turn off the heat when the milk starts steaming. make sure milk is hot.

3. in a bowl mix 3 cups all purpose flour, 1/2 cup whole wheat flour, salt and sugar. set aside.

4. open dry yeast packages and add to a medium sized bowl. follow by the warm milk and mix with a fork. lumps are okay.

5. in the bowl of a stand mixer, add cooled melted butter, oil and egg. mix on  speed setting #3 for two minutes. beating for a few minutes will make the dough airy and fluffy, which will pay off once the cinnamon rolls are done. if you don’t have a stand mixer, a hand mixer works well, too.

6. switch the mixing paddle with dough hook. set speed to low and add flour mixture to egg, oil and butter alternating with warm milk/yeast mixture until combined.

7. sprinkle the remainder 1/4 cup all purpose flour until dough is not longer sticking to the walls of the bowl. you’ll still have some dough left on the walls, which is fine. knead for 3 more minutes at low speed.

8. in the meantime, grease a glass bowl with butter. once dough it’s done kneading, transfer to bowl.

9. turn oven off.

10. cover dough with parchment paper and a dish towel. put bowl in warm oven and let it rise for 1 hour or until dough has doubled its size.

filling:
3/4 cup light brown sugar
1/4 cup white granulated sugar
1/4 tsp sea salt
1/4 cup ground cinnamon
8 tbsps unsalted butter, melted

11. turn oven back on to 220F. in a bowl, mix sugars, salt and ground cinnamon.

12. roll dough in a countertop sprinkled with flour in a rectangle shape. 15 inches long and 10 inches wide. it doesn’t have to be a perfect rectangle, but at least close to these measurements. you want the rectangle width to be in the thicker side, preferably.

13. melt butter and add to the dough evenly. follow with cinnamon sugar mixture. sprinkle it evenly as well so it’s leveled and you have the same amount of cinnamon sugar throughout. use your hands so it’s easier to spread.

14. start folding the dough by pinching the longer side closer to you. roll dough tightly as you go until you run out of dough. pinch ends so it’s tight as well.

15. cut 1 1/2 inch thick rolls with a serrated knife. put rolls in a greased 9” x 13” baking pan. 3 in a row. or any other pan you have available.

16. turn oven off. cover cinnamon rolls with parchment paper and dish towel. let it rise in the oven for one hour before baking.

17. bake for 18-20 minutes at 375F or until very light golden brown. do not over bake and proceed to make frosting.

frosting:
1/8 cup white granulated sugar
1/4 cup milk
1 tbsp unsalted butter, melted
1/4 tsp vanilla
dash of sea salt

18. in a food processor, add sugar and grind until it has a flour texture. you can use powder sugar instead.

19. add milk, melted butter, vanilla and sea salt. mix well. if it curds, pop it in the microwave for 15 seconds.

20. pour mixture over warm cinnamon rolls and let it absorb.

store in an airtight container for up to three days.

warm up cinnamon rolls for 15-20 seconds in the microwave and they will be as gooey as if you just took them out of the oven.

IMG_6669

IMG_6675

tis the season with peppermint chocolate chip cookies

happy holidays!!!!

here’s a great peppermint chocolate chip cookie recipe to give you a break from all the shopping.

when you make these cookies you are going to be the star everywhere you take them. these cookies are a.m.a.z.i.n.g. … seriously. go right now to your kitchen and preheat your oven. they are that good.

measure flour and sift in a large bowl.

IMG_5579

IMG_5580

IMG_5583

add baking soda and salt to the flour.

IMG_5584

cream butter until fluffy.

IMG_5593

add brown sugar and granulated sugar!

IMG_5596
IMG_5600

almost cookie dough…

IMG_5606

add flour slowly

IMG_5609
weigh your chocolate chips.

IMG_5626

mmm!

IMG_5633

put candy canes in food processor and pulse a few times.

IMG_5636 IMG_5642

add candy canes to cookie dough.

IMG_5647

i use a tablespoon to make the cookie dough balls. you can use a small sized ice cream scoop. or a large one but the baking time will be different.

IMG_5648 IMG_5649

sprinkle with sea salt!

IMG_5650 IMG_5654 IMG_5656

i wish you could SMELL this!!

IMG_5657 IMG_5658 IMG_5667 IMG_5668 IMG_5669

and here i went crazy and started to take a million pictures. i love the santa.

recipe and directions are below!

IMG_5673 IMG_5675 IMG_5676 IMG_5677 IMG_5682 IMG_5683 IMG_5687 IMG_5688 IMG_5692 IMG_5695 IMG_5697 IMG_5703 IMG_5707

peppermint chocolate chip cookies

ingredients:

6 oz semisweet chocolate chips
6 candy canes
1/4 cup granulated sugar
1/2 cup light brown sugar, tightly packed
1 large egg, room temperature {sitting on the counter for 30-50 minutes approx.}
2 tsps vanilla extract
1 stick {8 tbsps} unsalted butter, room temperature {cold to the touch and not melted; sitting on the counter for 30-50 minutes approx.}
1 1/4 cup all purpose flour, sifted
1/4 tsp sea salt, and more to sprinkle cookie dough balls
1/2 tsp baking soda

yields about 28 cookies

directions:

preheat oven to 375F.

measure flour and sift. add salt baking soda and mix well.

cream butter in medium-high speed until fluffy {2 minutes}. add sugars and mix well.

reduce speed to medium and add egg and vanilla. make sure to scrape the sides and bottom of mixing bowl so everything is mixed well.

reduce speed to low and add flour slowly until combined. don’t over mix.

add chocolate chips and mix with a rubber or wooden spatula.

in a food processor grind candy canes until they are powder. well, you’ll have chunks, but that’s the idea :) add candy canes to cookie dough.

spoon cookie dough with a tablespoon and release dough with the help of a teaspoon onto a cookie sheet. i could fit 12 cookies in mine {about 2-3 inches apart}. sprinkle with sea salt.

bake for 8-10 minutes rotating cookie sheet half way through. yes. you have to rotate it because it makes a huge difference.

let cookies cool a minute and transfer to a cooling rack to cool even more. then you’ll have the chewiest cookies you ever did eat ;)

repeat the steps above until you are out of cookie dough!

***note*** if using a large ice cream scoop, bake for 10-12 minutes. if you have a thin cookie sheet turn down oven temperature to 350F or bake for less time. If the cookie dough it’s too soft, put it in the fridge for 15-30 minutes and start baking away! you may make this recipe without the peppermint and watch everybody drool ;)

have a great holiday season!

love,

carolina

crowd pleaser side dish

for some reason I didn’t take as many pictures of the “how to” for this post. i truly don’t know what happened. um, maybe too much cooking and distractions {insert laziness here} during thanksgiving day that i completely spaced it out. my sincere apologies.

mashed potatoes are that type of food {not so good for you} but, mmm, sooo good that if you do it in moderation, the guilt cloud hanging over your head won’t be as big and heavy as you’d think.

this recipe is for classic and flavorful mashed potatoes. it’s also versatile since you can add either garlic, chives, cheddar cheese {or other type of cheese}, green onions, you name it. trust me, you can’t go wrong!

we accompanied our traditional thanksgiving meal {lemon chicken & roasted carrots} with these mashed potatoes!!!!

let me know if you make this recipe, your thoughts and if you made any variations – i’d love to hear from you!

classic mashed potatoes {yields 8 servings}

ingredients:

5 russet potatoes, scrubbed and washed
1 cup of milk, extremely hot
4 tbsp unsalted butter
2 tsp sea salt, more if needed
fresh ground black pepper to taste

preparation:

put a large pot with cold water to boil. enough water to cover the potatoes. salt water to taste and let it boil.

meanwhile cut potatoes in big chunks, approximately 3 inches. it varies by potato. when water is boiling add potatoes and cover half way with lid. boil for 30 minutes or until tender when pinching with a fork.

once potatoes and ready to be mashed, rinse and put half in a large bowl. add 1/2 cup of hot milk and 2 tbsp of butter. mix with a hand mixer on the medium high setting until combined and potatoes are mashed and creamy.

IMG_5312

IMG_5313
add the rest of the potatoes to bowl and follow with the other 1/2 cup of milk and 2 tbsp of butter. mix with hand mixer until desired consistency. add salt and black pepper. taste and add a bit more salt if needed.

IMG_5317
serve hot!! {i garnished with parsley} mmmm!!!

IMG_5372

IMG_5374

IMG_5376

i decided to grind some black pepper in the middle of taking pictures. haha.

IMG_5384

IMG_5386

IMG_5391

and my pumpkin obsession continues

i’m mildly extremely obsessed with pumpkin and anything that has a hint of the awesome flavor in it. i didn’t used to like it. but now. now. now i can eat it all day long.

pancakes on the other hand are my weakness. i could also eat them all day long for breakfast, lunch and dinner. one day i went to an “all you can eat” pancakes breakfast and ate 9. nine good sized pancakes!!! nine! not good for a bride-to-be hahaha.

i created this recipe for you to enjoy on sunday mornings or like me, any day/any time of the week :)

one thing about this recipe is that it has tons of spices, which makes them really flavorful. you can add more, less or substitute with your favorite spice. you can also add pecans, walnuts or chocolate chips.

pumpkin whole wheat pancakes


preheat oven to 170F and place an oven proof platter or plate in upper rack. preheat griddle to 400F or skillet to medium high. if you are using a skillet, heat up when you are almost done with the batter so it’s not too hot. burnt pancakes are a crime ;)

in a large bowl, whisk in flour, sugars, spices, salt and baking powder.

IMG_5548

IMG_5550

add egg, vanilla, melted butter and pumpkin puree to flour mixture. whisk in together for a few seconds. don’t over mix. it’s okay if there’re lumps in the batter :)

IMG_5552

IMG_5556

add buttermilk {i made mine by adding two teaspoons of lemon juice to the milk and let it rest for 10 minutes or until a curd forms}.

IMG_5554

IMG_5558

IMG_5559

add 2 to 3 tablespoons of batter to griddle or skillet and push down batter with the back of the spoon {if needed} so it’s flat. i used an ice cream scoop and the pancakes were too thick. if using a skillet, coat with butter or cooking spray prior adding pancake batter.

{my husband wanted to show you his r2d2 spatula}

IMG_5561

IMG_5563

IMG_5566

let pancakes cook for 2 to 3 minutes per side. place cooked pancakes in the oven so they stay warm.

IMG_5567

serve with butter and really good quality maple syrup. i like target’s archer farm organic maple syrup.

pumpkin whole wheat pancakes by the baking cup

pumpkin whole wheat pancakes by the baking cup

pumpkin whole wheat pancakes by the baking cup

pumpkin whole wheat pancakes by the baking cup

pumpkin whole wheat pancakes by the baking cup

ingredients:

1 cup pumpkin puree
1 1/2 cups whole wheat flour or regular flour
2 cups buttermilk or regular milk {skim, 1%, 2% or whole}
1/2 tsp sea salt
2 1/2 tsp baking powder
1 tsp granulated sugar
2 tsp light brown sugar
2 tsp vanilla extract
2 tsp ground cinnamon
1/4 tsp ground nutmeg
1 tsp pumpkin pie spice
1 tsp all ground spice
2 tbsp unsalted butter, melted and cooled
1 large egg, lightly beaten

yields 15 pancakes

directions:

preheat oven to 170F and place an oven proof platter or plate in upper rack. preheat griddle to 400F or skillet to medium high. if you are using a skillet, heat up when you are almost done with the batter so it’s not too hot. burnt pancakes are a crime ;)

in a large bowl, whisk in flour, sugars, spices, salt and baking powder. add buttermilk {i made mine by adding two teaspoons of lemon juice to the milk and let it rest for 10 minutes or until a curd forms}.

add egg, vanilla, melted butter and pumpkin puree to milk and flour mixture. whisk in together for a few seconds. don’t over mix. it’s okay if there’re lumps in the batter :)

add 2 to 3 tablespoons of batter to griddle or skillet and push down batter with the back of the spoon {if needed} so it’s flat. i used an ice cream scoop and the pancakes were to thick. if using a skillet, coat with butter or cooking spray prior adding pancake batter.

let pancakes cook for 2 to 3 minutes per side. place cooked pancakes in the oven so they stay warm.

serve with butter and really good quality maple syrup. i like target’s archer farm organic maple syrup.